- Input Voltage: 10 Volt to 20 Volt
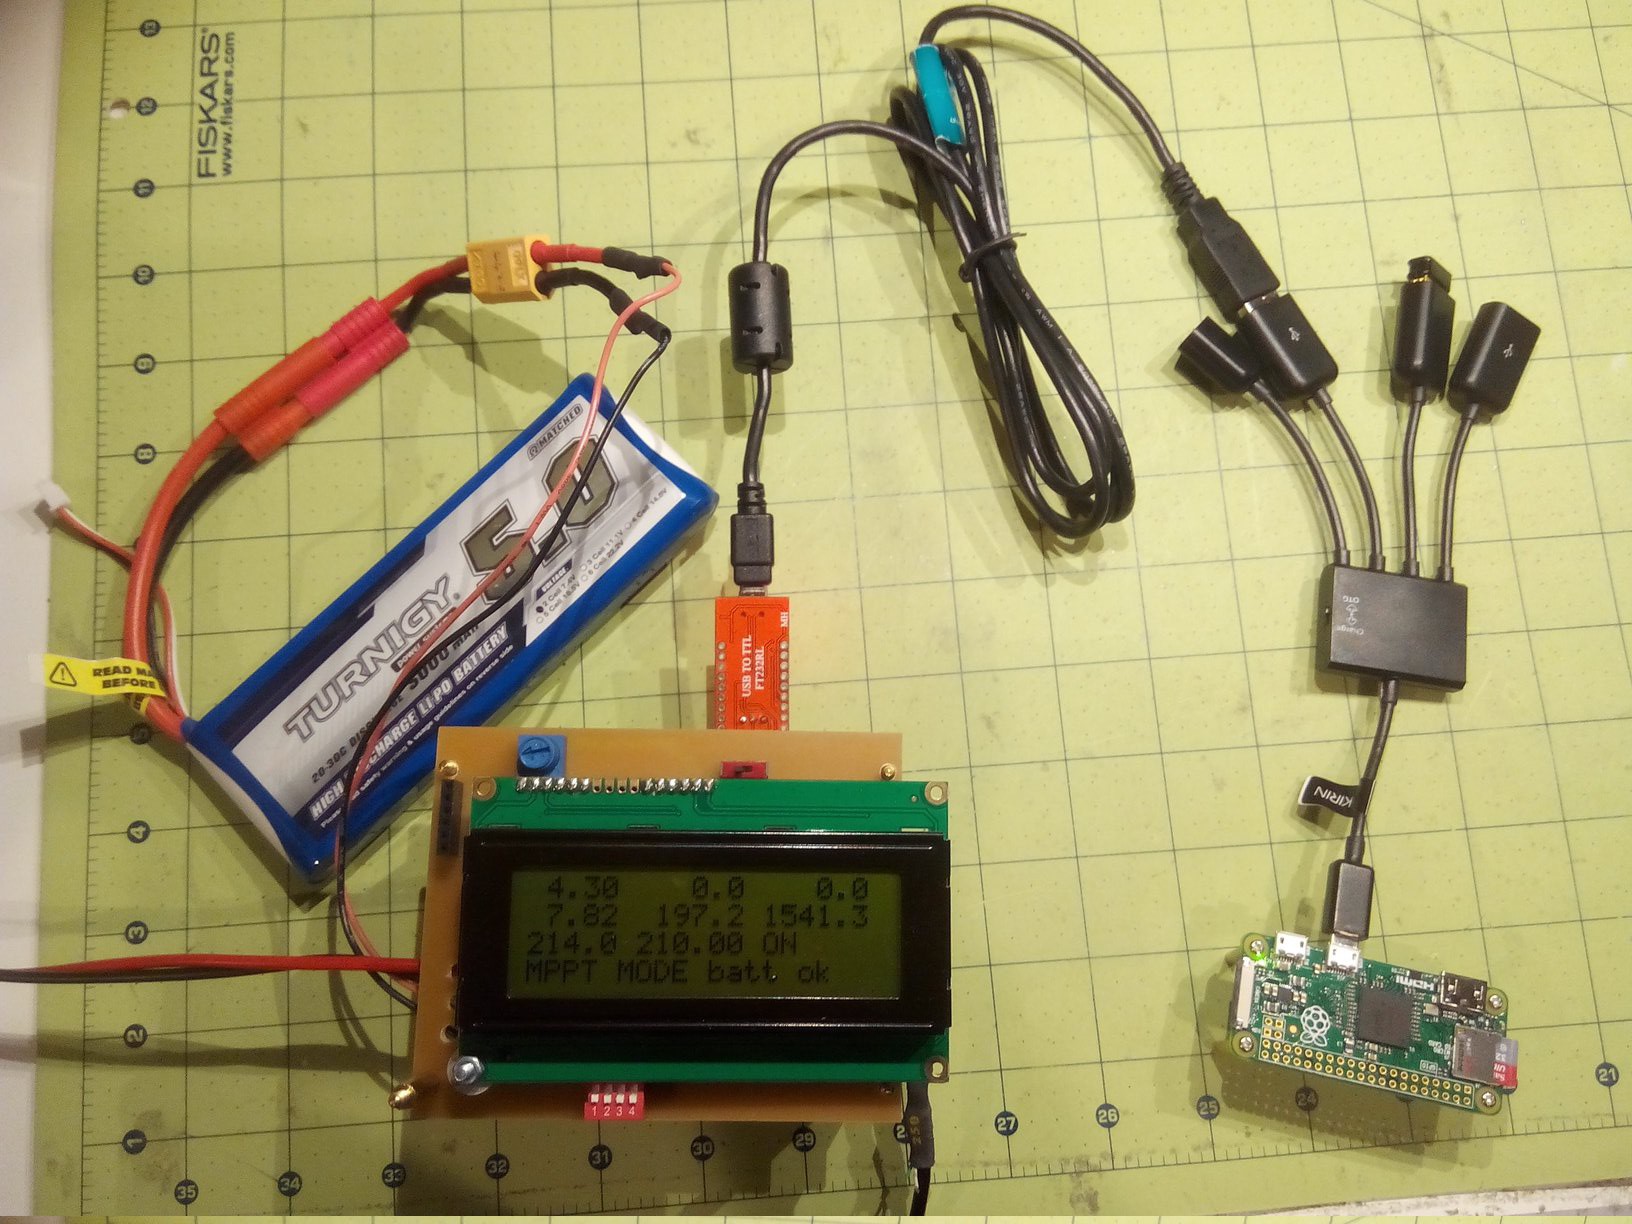
- Battery Type: Lipo 2S 7.4 Volt to 8.4 Volt
- Output:
(1) 5 Volt for Raspberry Pi
(2) 7.4 Volt to 8.4 Volt for Motors - Solar Controller Mode: Selectable by DIP switch:
(1) fixed PWM
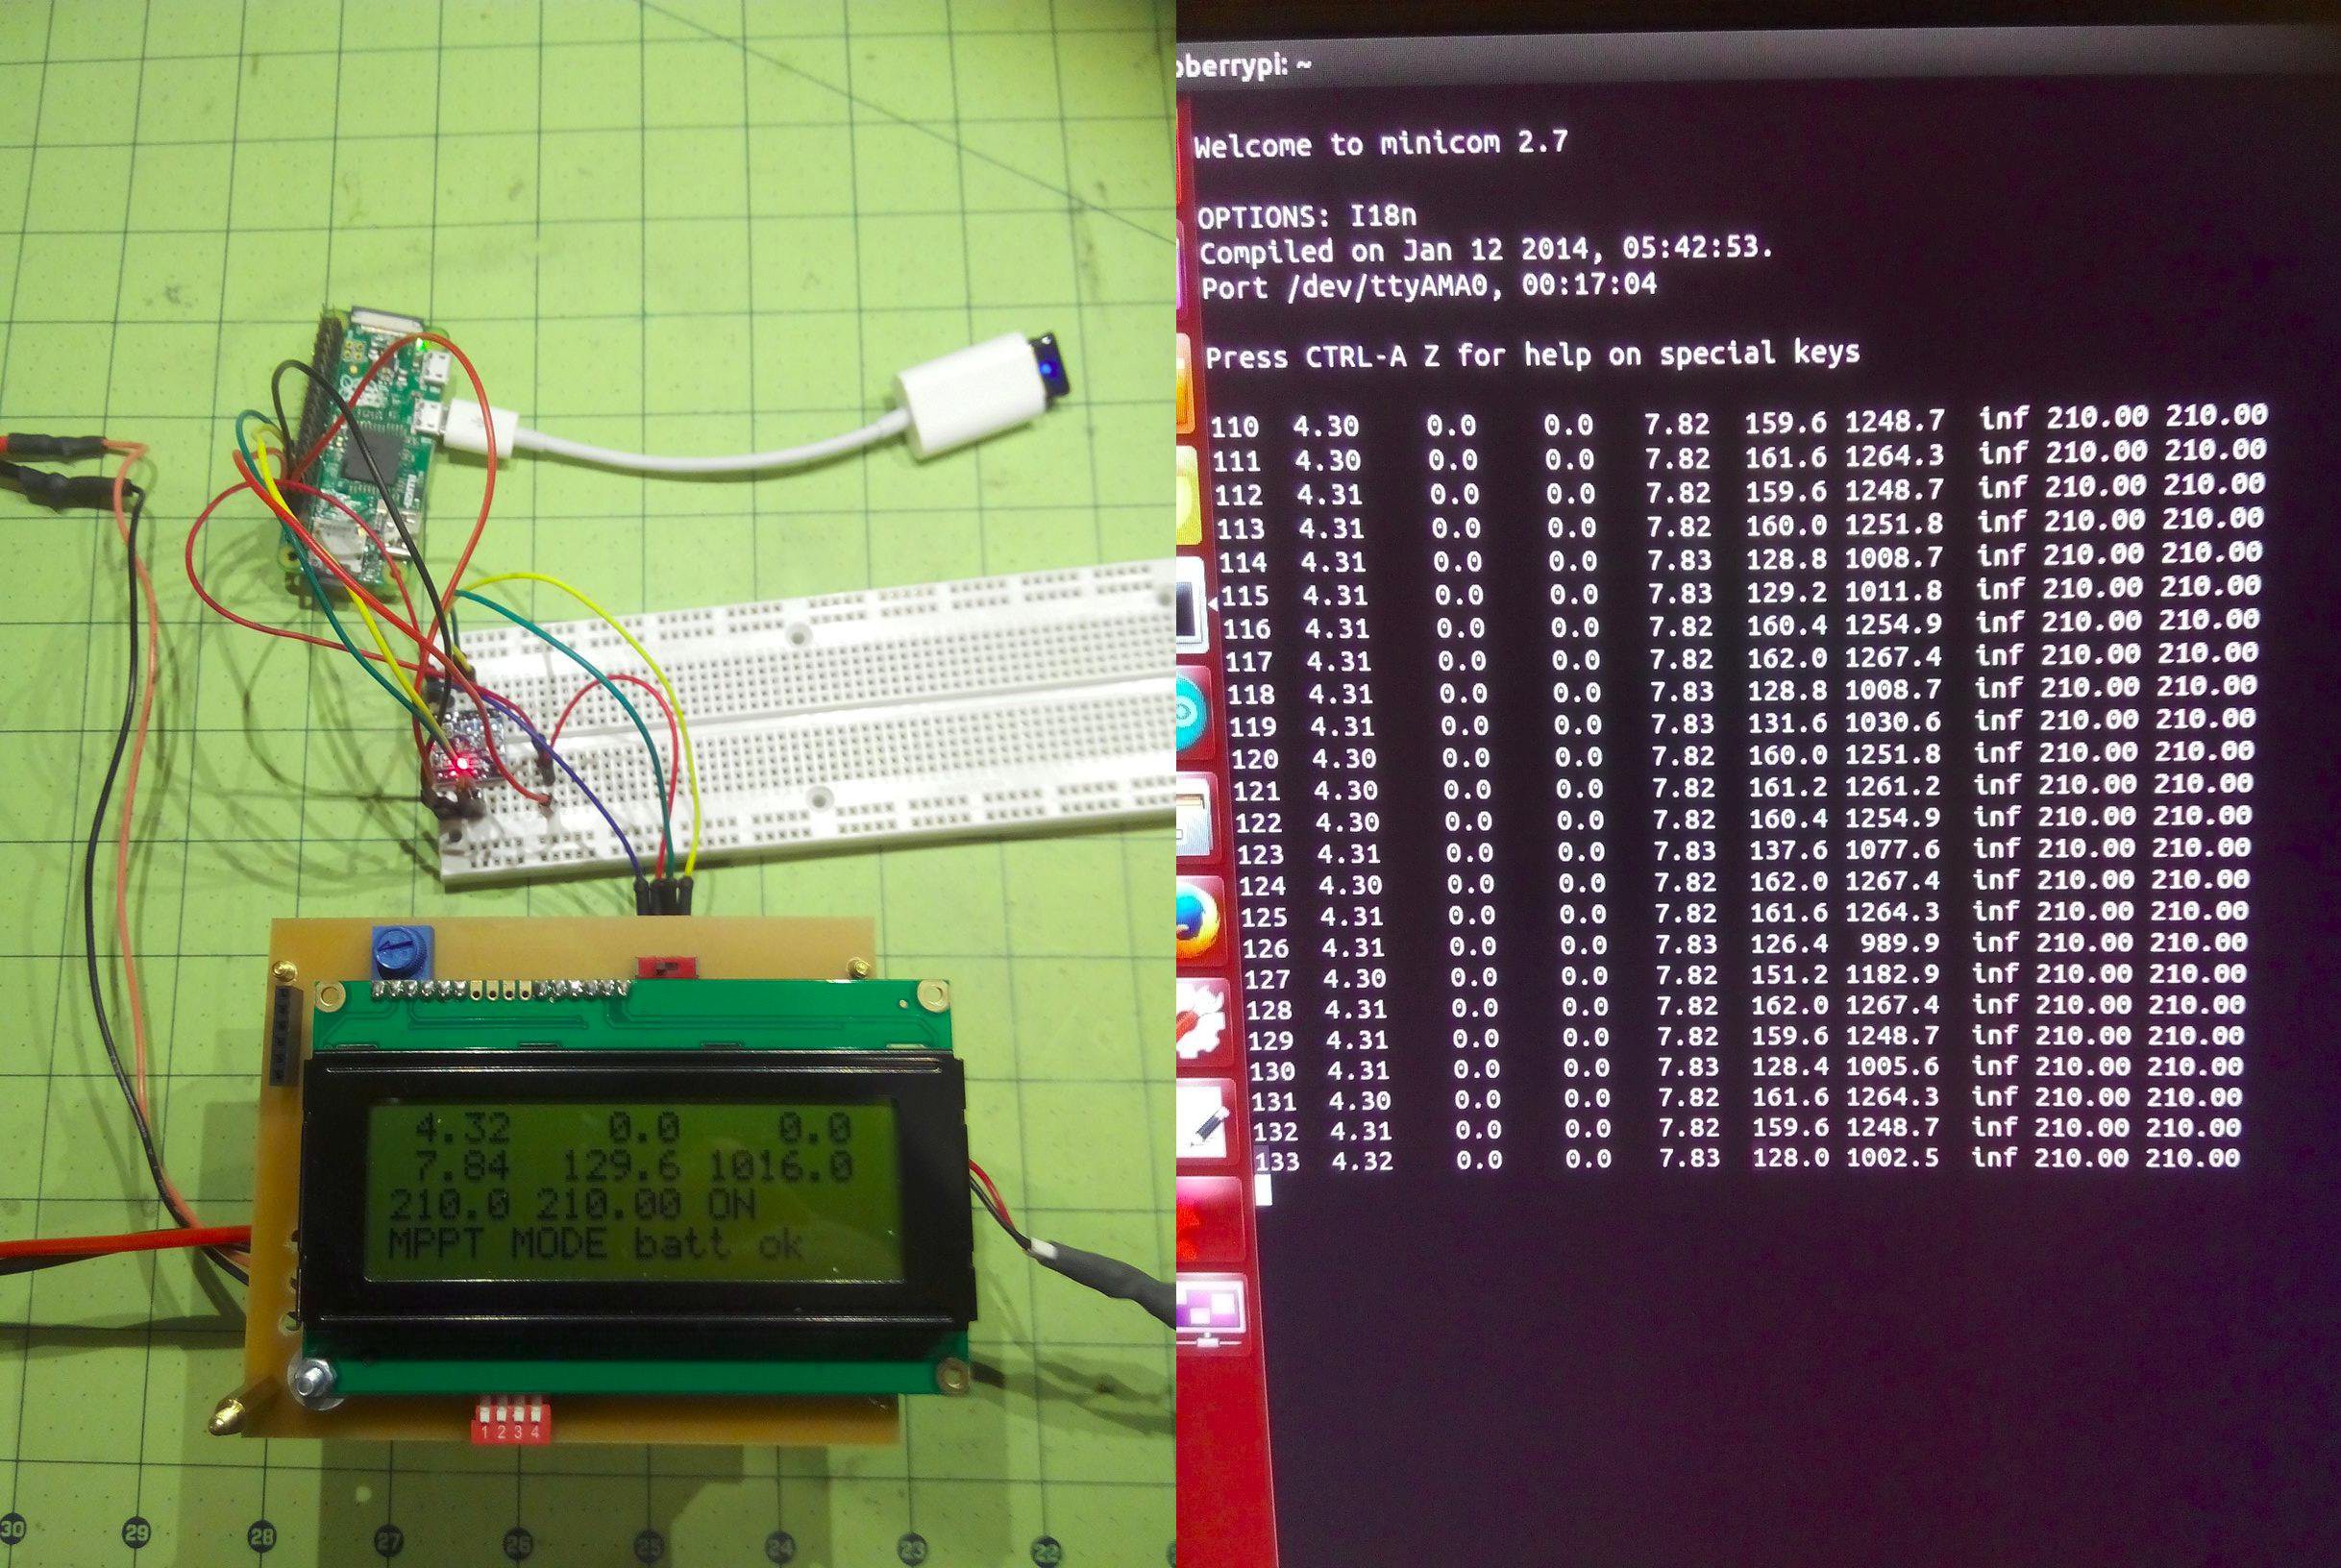
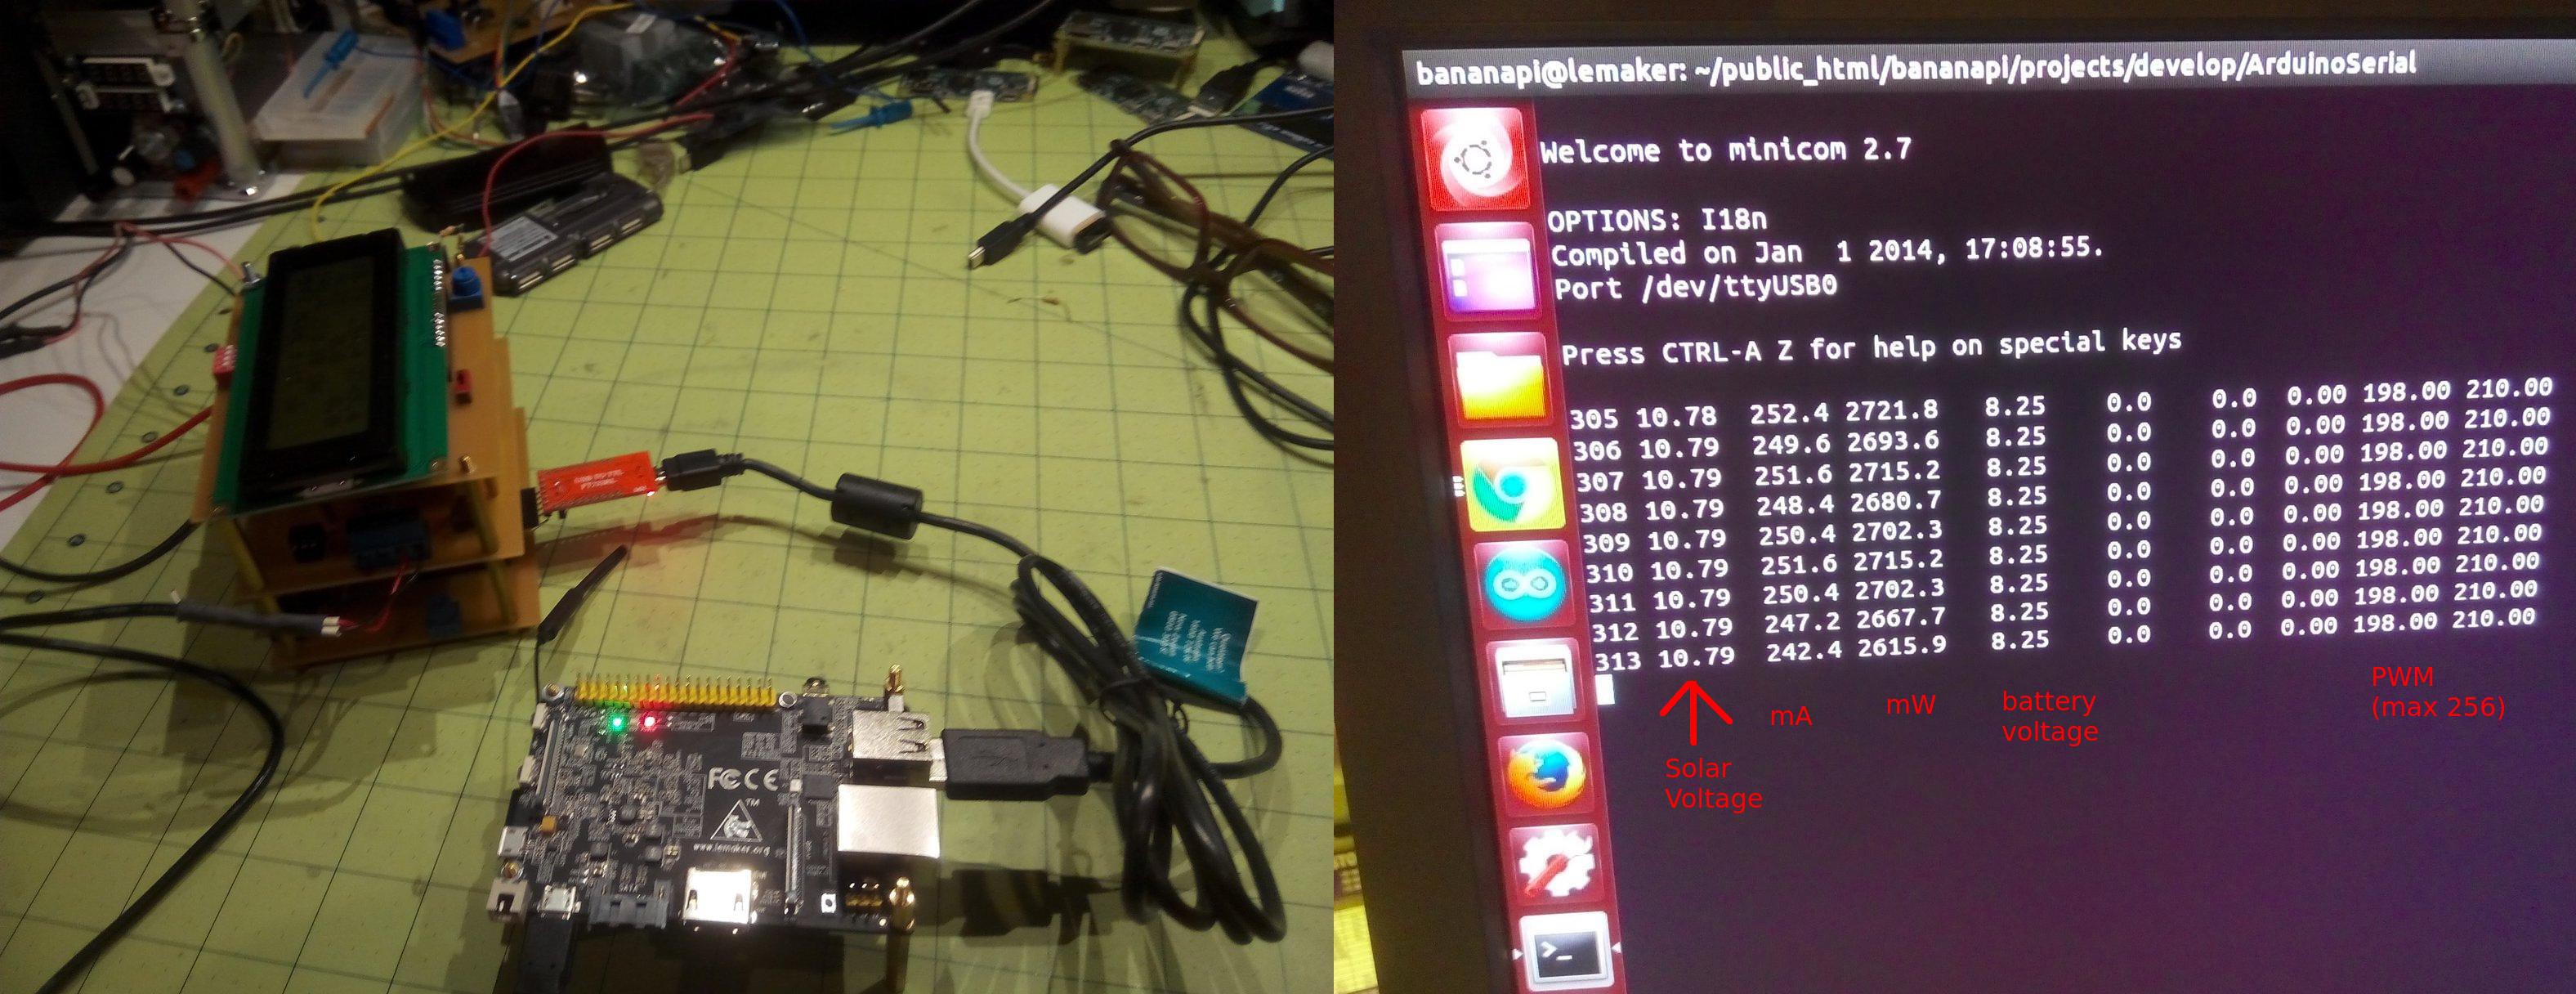
(2) Variable PWM set by Serial Port Message
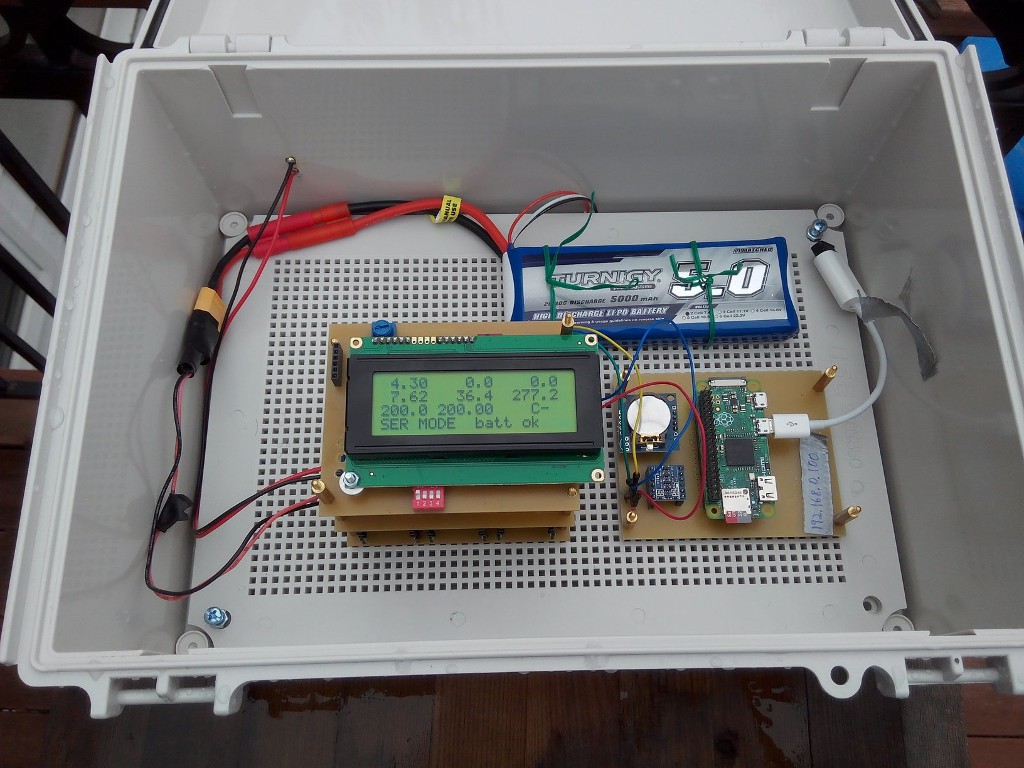
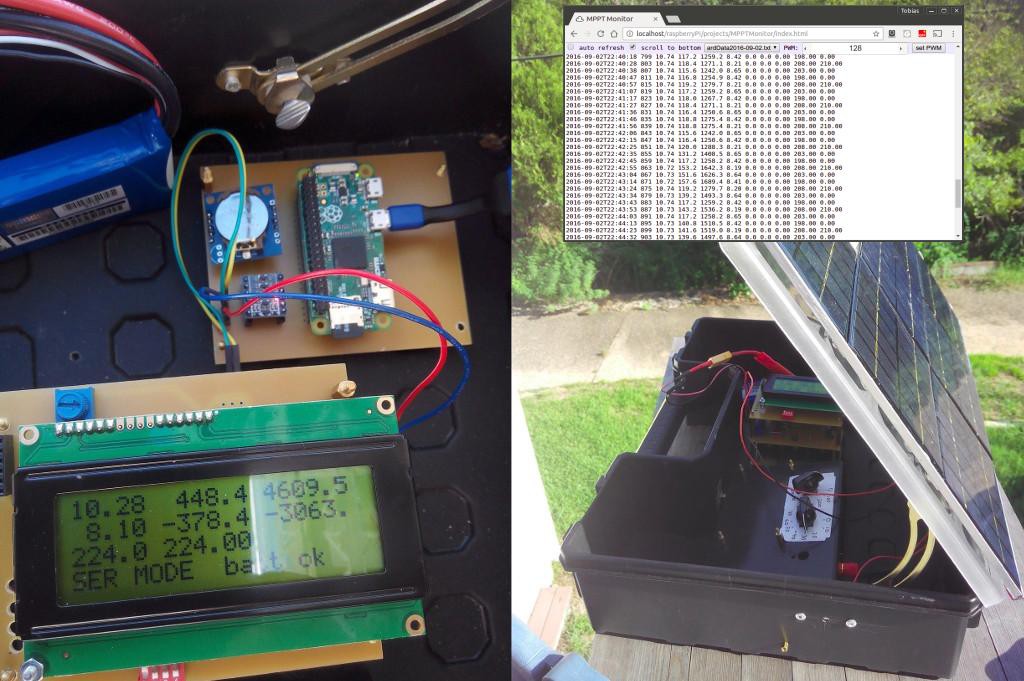
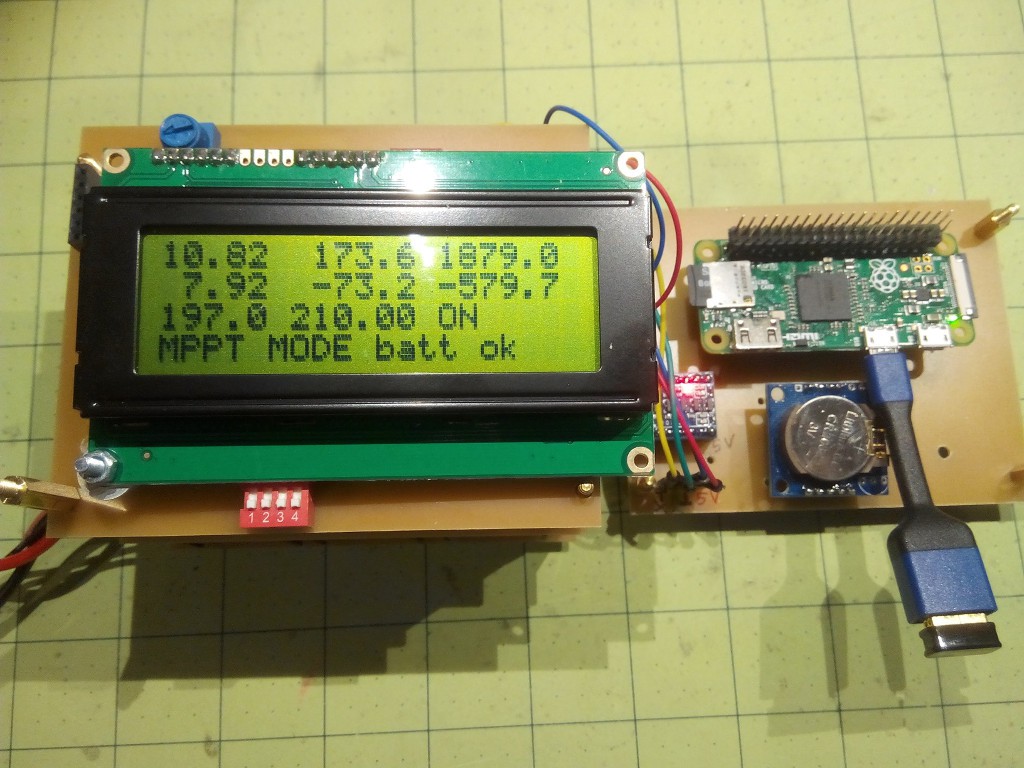
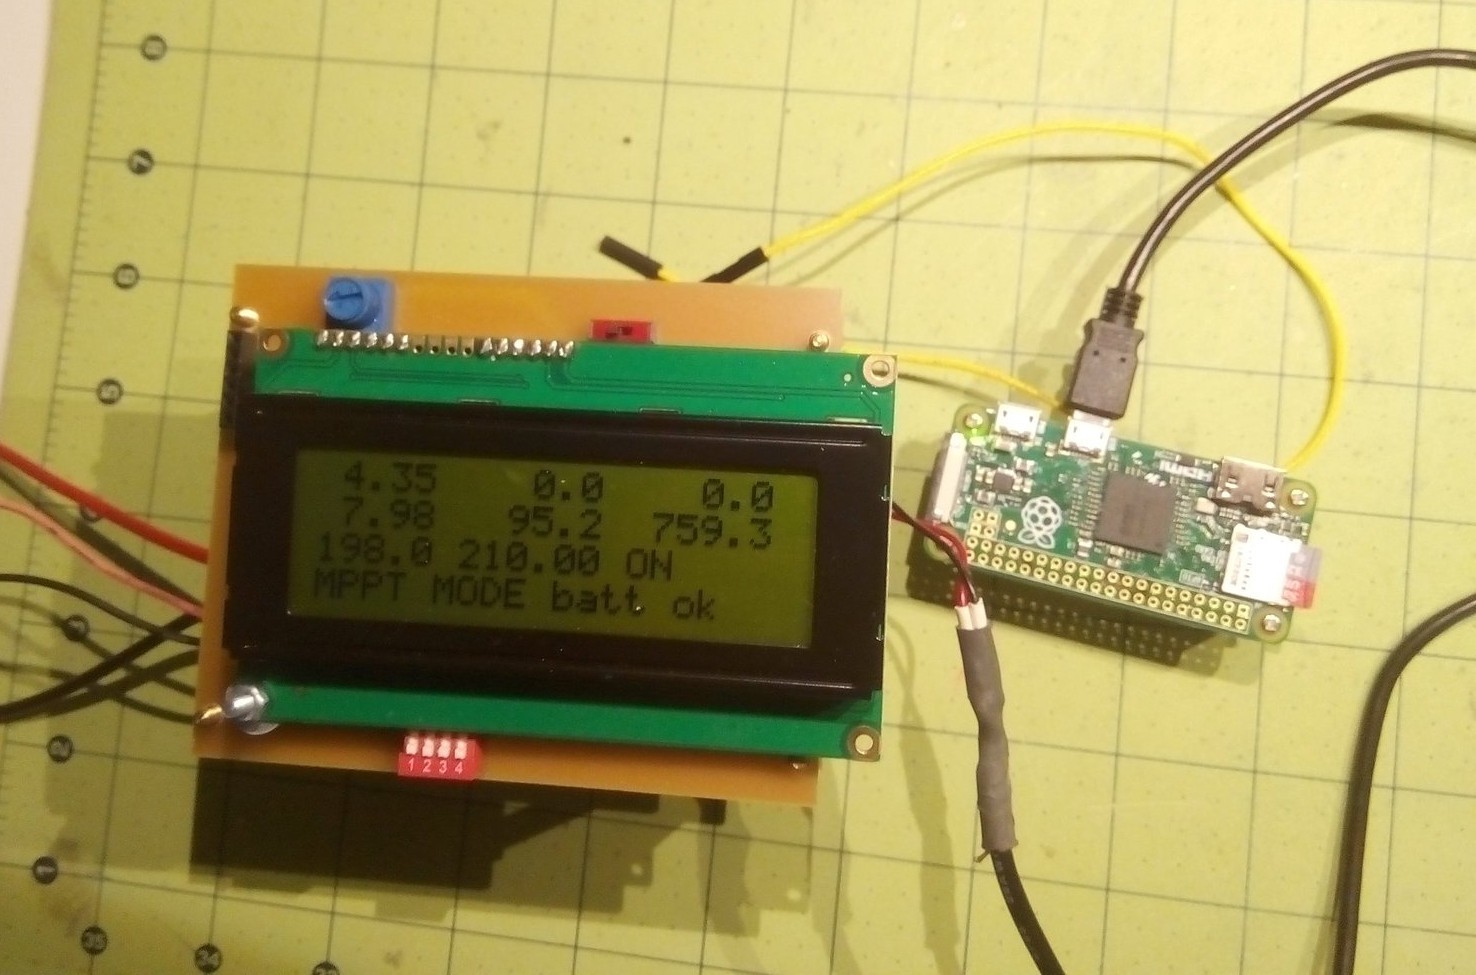
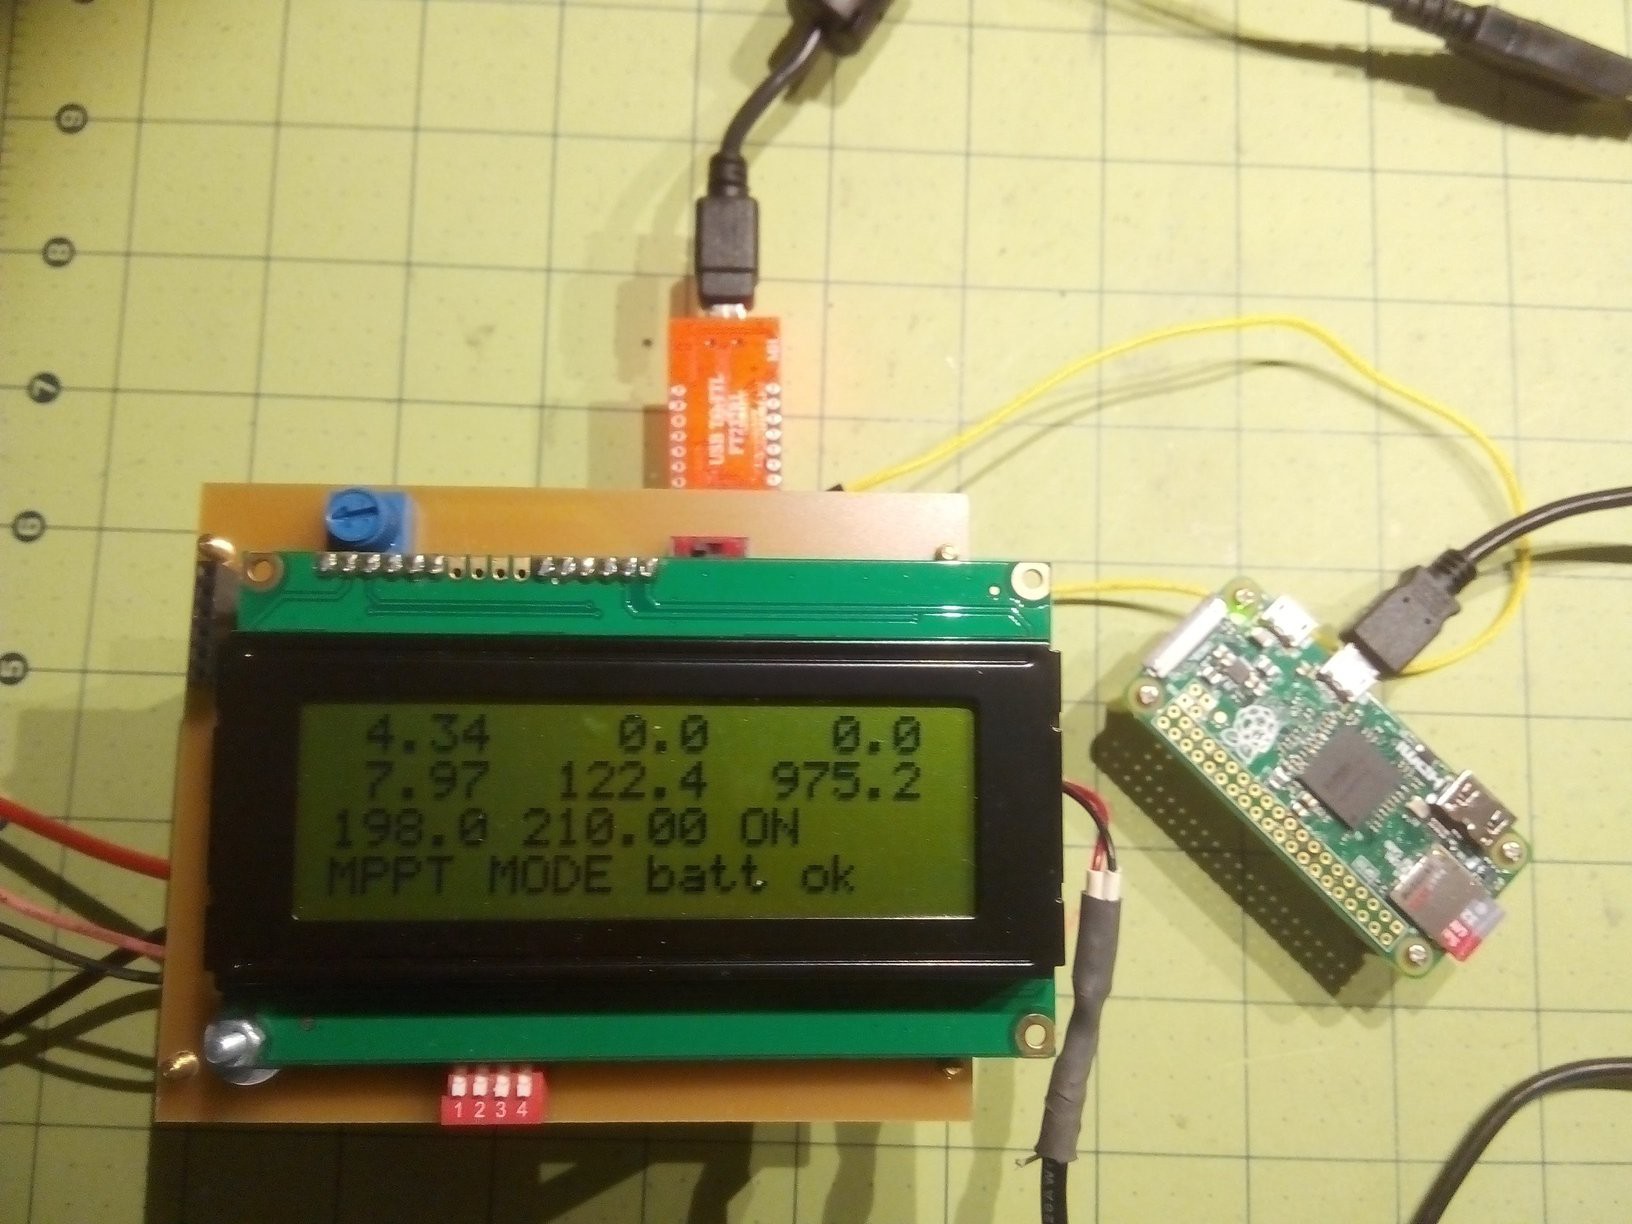
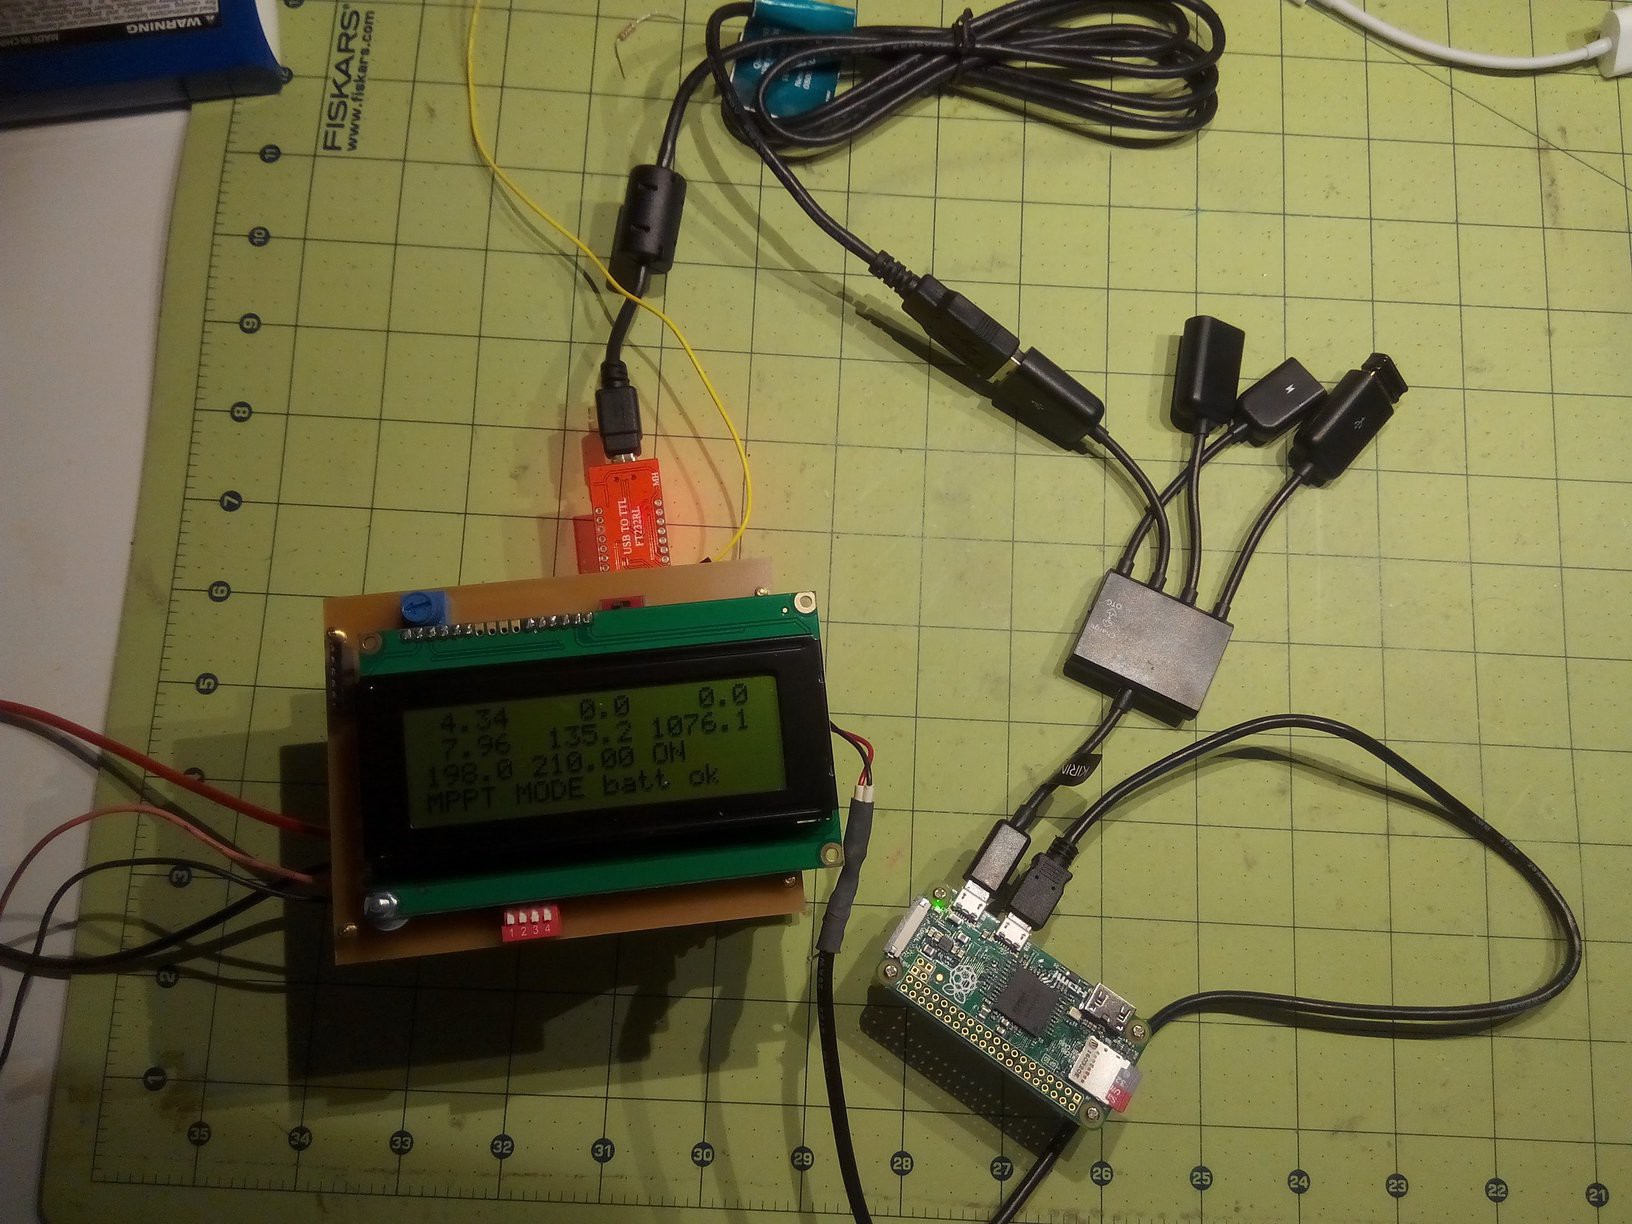
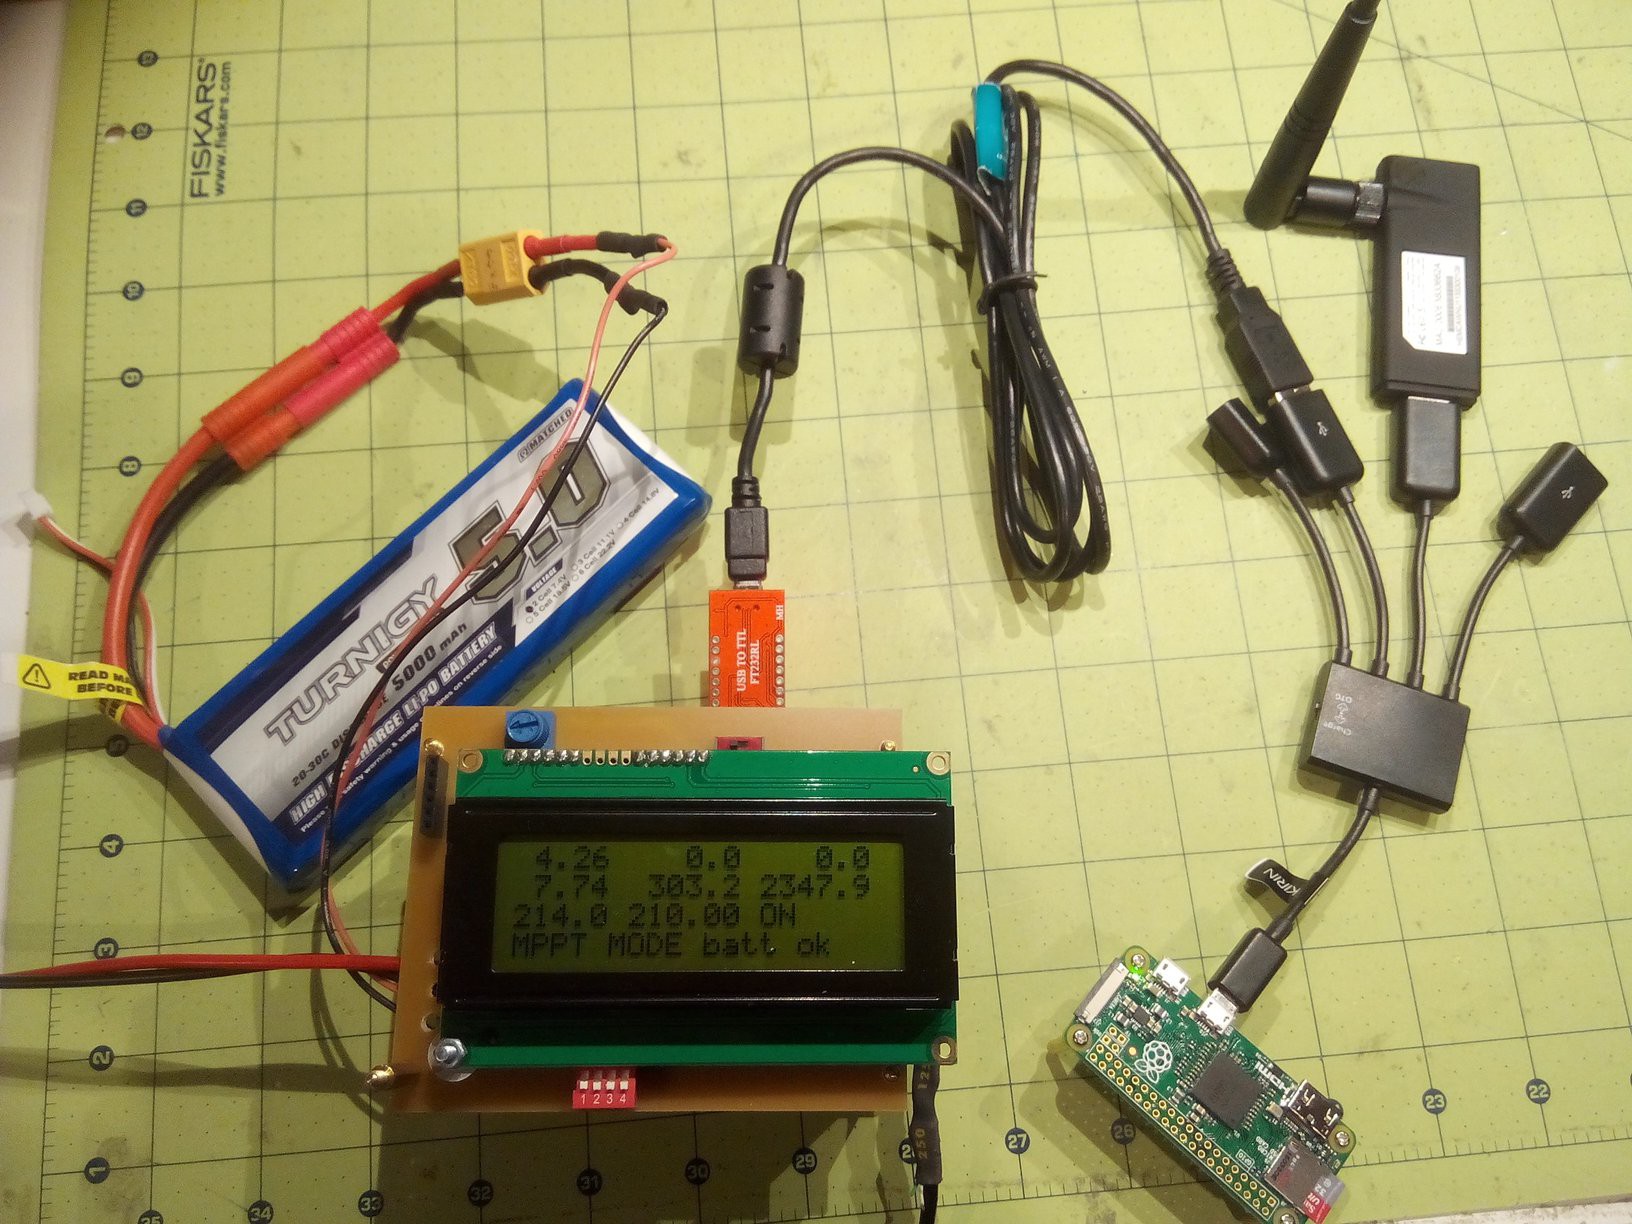
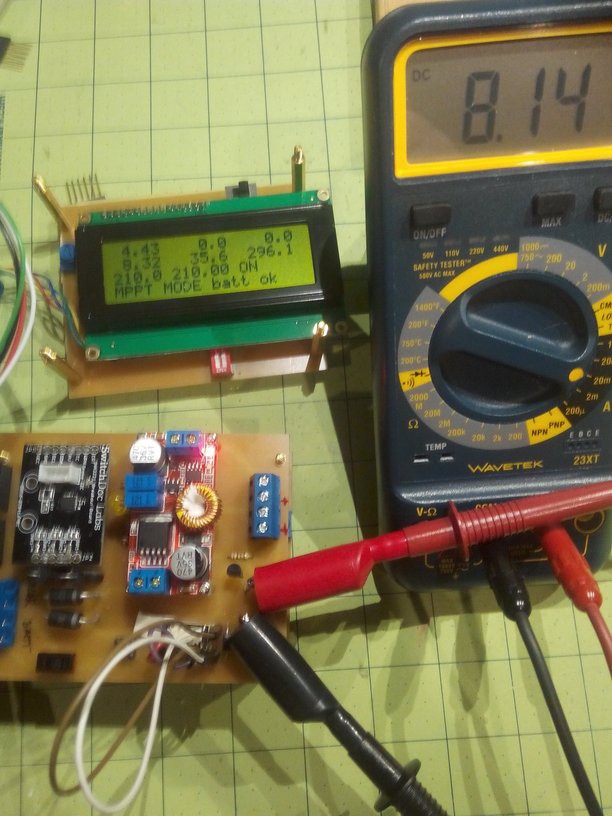
(3) MPPT - Optional LCD add-on board
What is an MPPT solar charge controller? In fact, what is a solar charge controller? If you connect a solar panel directly to a battery, you will likely destroy the battery because batteries don't like too high voltages. The charge controller limits the voltage, sometimes the current so that doesn't happen.
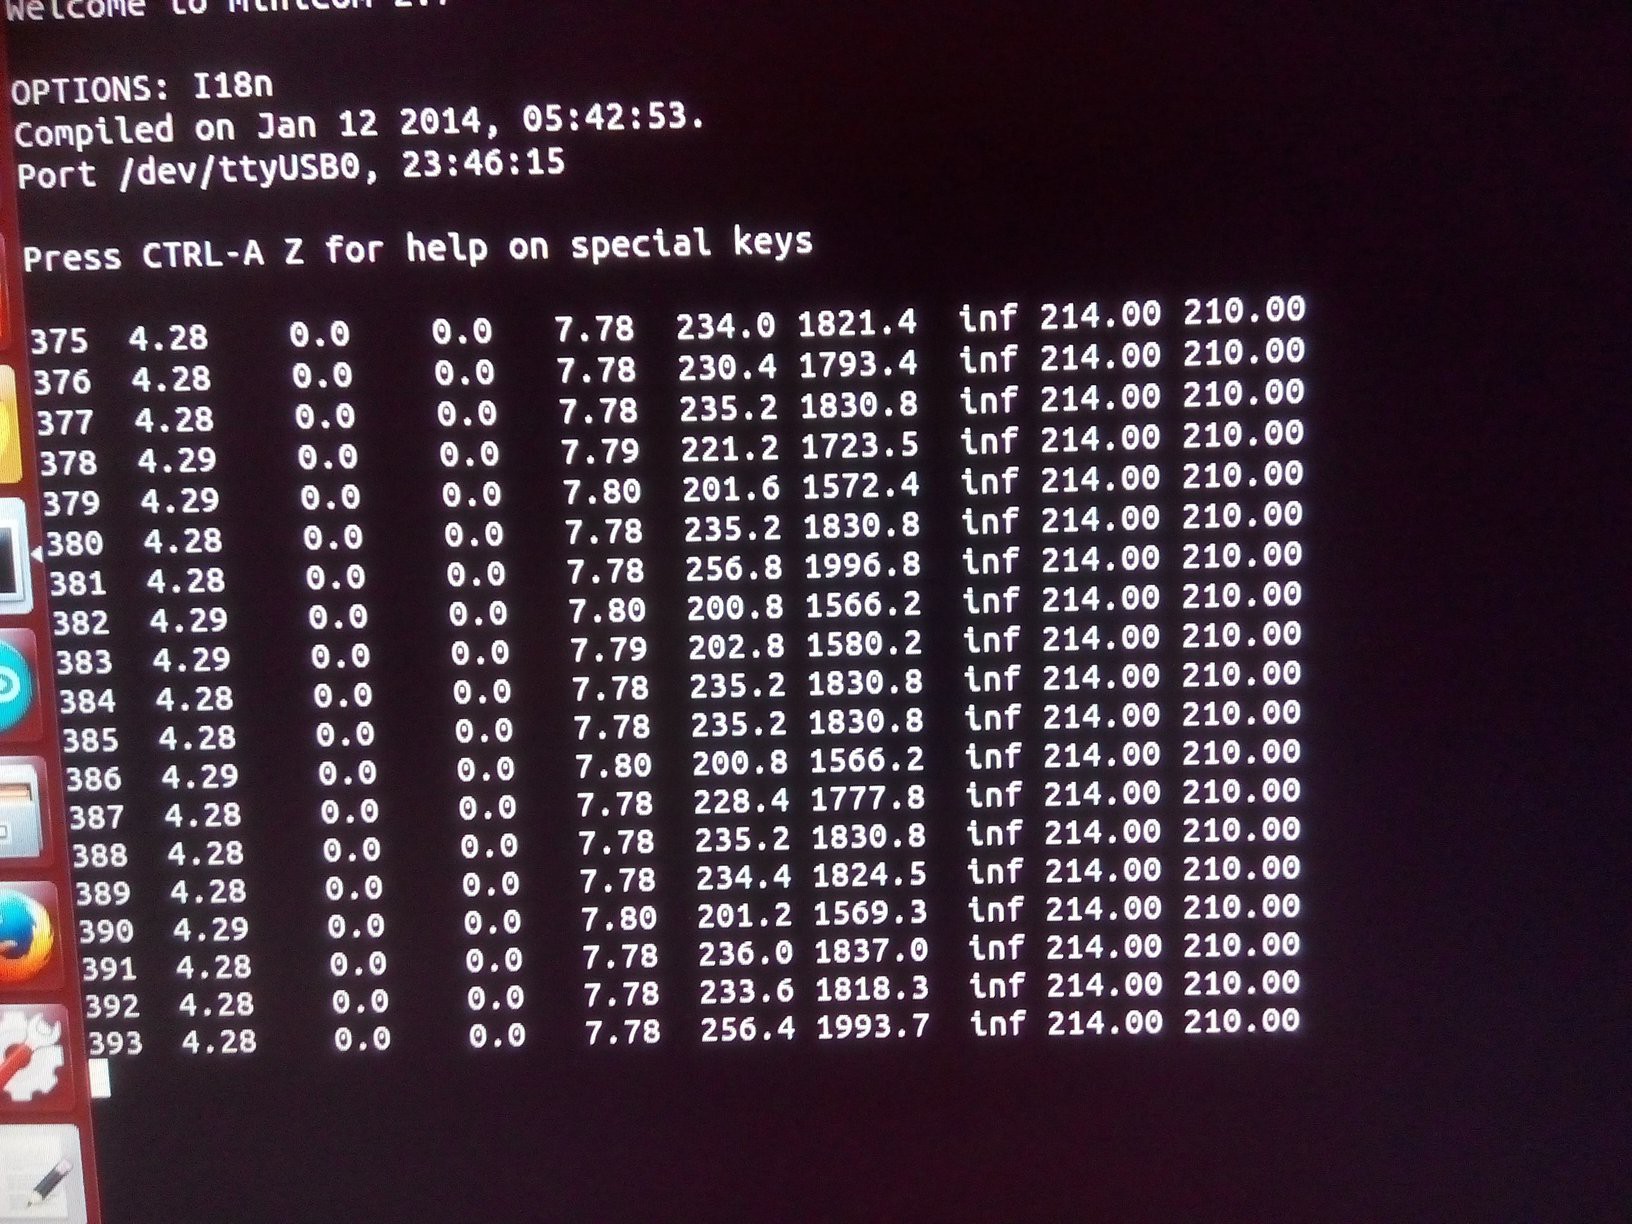
MPPT stands for "Maximum Power Point Tracking." Solar panels have a combination of voltage and current that corresponds to maximum power (P=U*I). Against intuition, reducing the current may lead to higher power because the voltage may go up more than the current goes down! Excellent videos: Julian Ilett MPPT # 4 and #5
So how do you do it? First, you get a solar panel with a higher output voltage than the battery. Then you use pulse width modulation in order to lower the output voltage AND cause the solar panel to operate at its maximum power point.
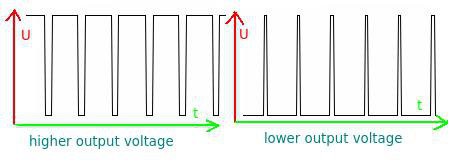
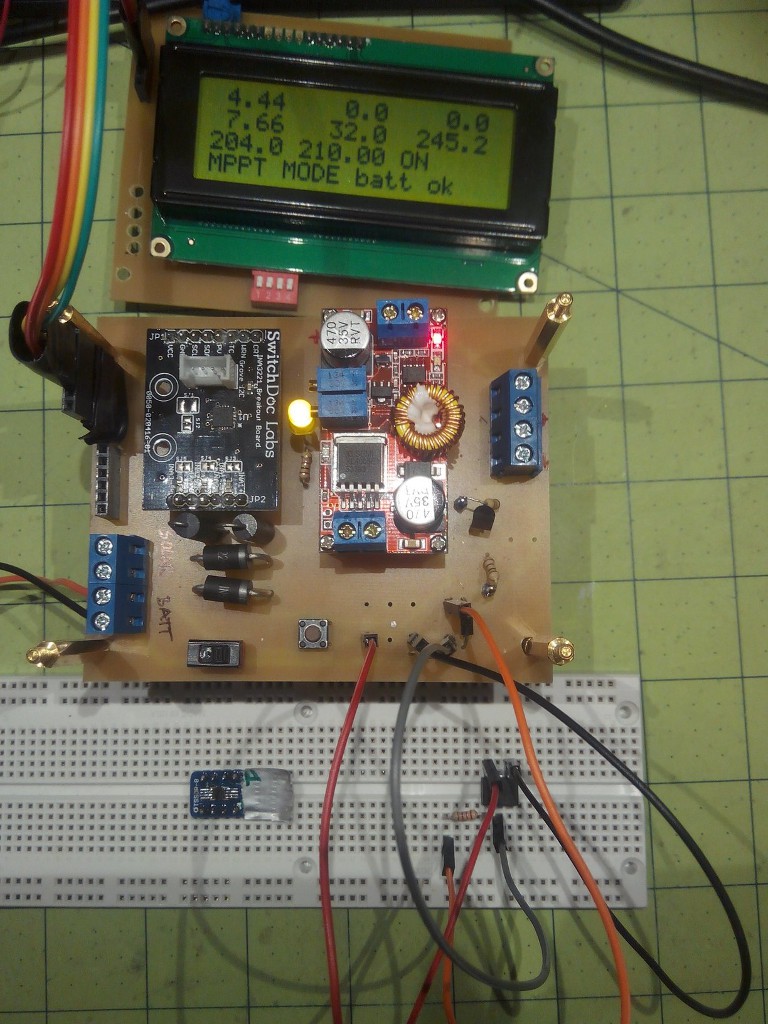
The board uses an Arduino to generate the PWM signal at 5 Volts and an IR2104 Half-bridge driver for MOSFETs and three IRLZ44Z logic level MOSFETs to drive the higher solar panel and battery charging voltage.
 Tobias





 Arkadi
 Dan Julio
 Open Green Energy