Close
0%
0%

Stranger Board

Stranger Things themed desktop board / word clock

Similar projects worth following
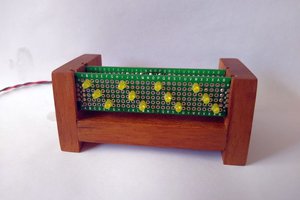
A desktop version of Joyce Byers Christmas lights that you can connect to using your phone and send custom messages. As a bonus it spells the time at each minute.

The project is wholly composed by off the shelf components:

  • ESP-01
  • Arduino
  • DS3231 RTC
  • NeoPixels
  • 5V to 3V3 regulator

The ESP-01 creates a hotspot and serves a page with a form and a button
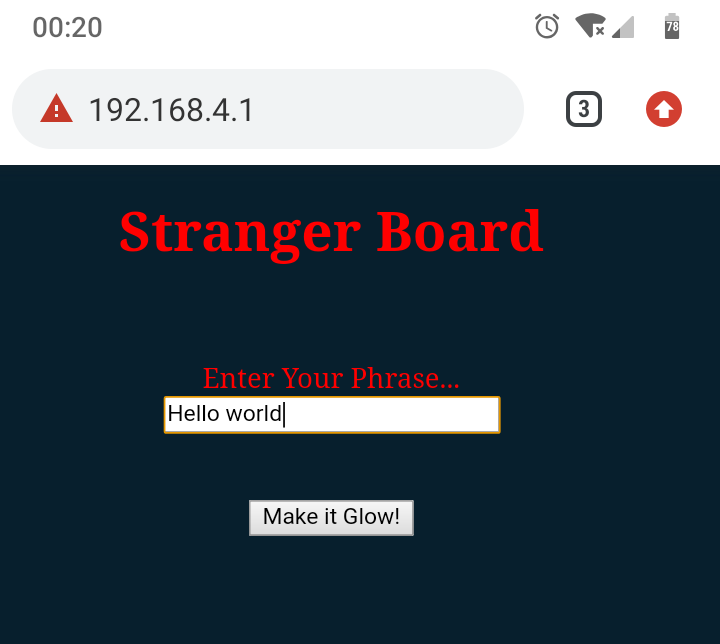
The Make it Glow button  maskes the ESP01 send the string typed  on the serial port.

void handleMessage()
{
String phrase;
   ... 
   phrase=server.arg("myPhrase");
   Serial.println(phrase);
   ...
}

The Arduino boars listens to the serial port. As soon as a message arrives it lits each character using a special function

void strangePrint ( String s) {
  char *pStr = &s[0];
  if (*pStr != '\0')
    while (*pStr != '\0')
      putpixel (*pStr++);
  pixels.clear();
  pixels.show();
...
} 

The putpixel function basically checks if the character is in [a..z][A..Z] then assign an index corresponding the position of the character in the alphabet (1..26).

Every pixel has a particular RGB color coordinate that was picked from a screenshot of the TV show;

const PROGMEM uint8_t lampColor[26*3]  =
{
    253 , 244 , 237  ,  //  A    Pre defined lamp colors picked from a snapshot 
     26 ,  54 , 158  ,  //  B    of the TV series
    179 ,  10 , 144  ,  //  C
    174 , 230 , 221  ,  //  D
     21 , 191 , 219  ,  //  E
    255 , 198 , 61   ,  //  F
    214 ,  86 , 137  ,  //  G
      4 , 172 , 200  ,  //  H
     61 , 209 , 219  ,  //  I
    212 ,  77 , 131  ,  //  J
     75 , 193 , 219  ,  //  K
    200 , 239 , 239  ,  //  L
    240 , 195 , 31   ,  //  M
    219 ,  89 , 149  ,  //  N
    179 ,   1 , 160  ,  //  O
    214 , 232 , 235  ,  //  P
    235 , 109 , 209  ,  //  Q
    242 , 244 , 244  ,  //  R
    255 , 239 , 212  ,  //  S
    251 , 202 , 26   ,  //  T
      4 , 144 , 191  ,  //  U
    214 , 126 , 174  ,  //  V
     31 , 135 , 177  ,  //  W
    247 , 195 , 59   ,  //  X
    237 , 175 , 212  ,  //  Y
    239 , 186 , 214     //  Z
}; 

When in Idle, the arduino check if a minute as passed since the last call of the function:

bool aMinuteHasPassed() {
  static uint8_t lastMinute=0;
  uint8_t thisMinute;
  rtc.refresh();
  thisMinute = rtc.minute();

  if (thisMinute != lastMinute) {
     lastMinute=thisMinute;
     return true;    
  } else 
     return false;
}

 Whenever the function above return true, the time is converted to words and lit using StrangeTime( ) function. Most of the code for this function  mostly taken from a word clock code (link). Some function calls were adapted and the only change in logic was to use a flag to print the "O clock" after the  hour (on a word clock the sequence the words are added to the board it does not matter).

void strangeTime(uint8_t h, uint8_t m) {  
  uint8_t h2 = h;
  bool oclock=false;
  strangePrint("it is") ;
  // Minutes
  if (m == 0) {
    if (h == 0) {
      strangePrint(" midnight");
    } else if (h == 12) {
      strangePrint(" noon");
    } else {
      oclock=true;
    } 
...
...

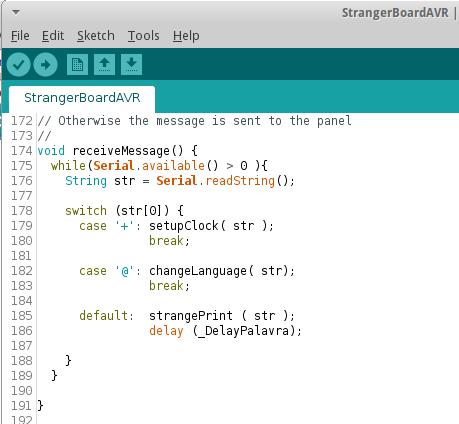
To make things simple, no button was used to set the Real Time clock, neither physical nor on the web interface. Instead a character based encoding was used.

If the first character of the message begins with a "+" (plus signal) then the characters on the message received will be interpreted by a special function.

 The same method can be used to expand the functionalities like display the temperature, mute/unmute, spell proverbs occasionally, etc

void receiveMessage() {  
  while(Serial.available() > 0 ){
    String str = Serial.readString();

    switch (str[0]) {
      case '+': setupClock( str );
                break;

      default:  strangePrint ( str );
                delay (_DelayPalavra);
    } // switch
  } // while
} 

The clock set commands are quite simple, basically you can advance hours, minutes, etc in one or 10 units:

// General
'R': // Reset time -> 00:00:00 sunday 01-january-2000 

// Time settings
'H': // Advance 10 units of hour, round at 24:00
'h': // Advance  1 unit  of hour, round at 24:00
'M': // Advance 10 units of minute, round at :60
'm': // Advance  1 unit  of minute, round at :60
'S': // reset seconds
's': 

// DATE Settings       
'D': // Advance 10 days, round at end of month
'd': // Advance  1 unit  of minute, round at :60
'O': // Advance 10 units of month...
Read more »

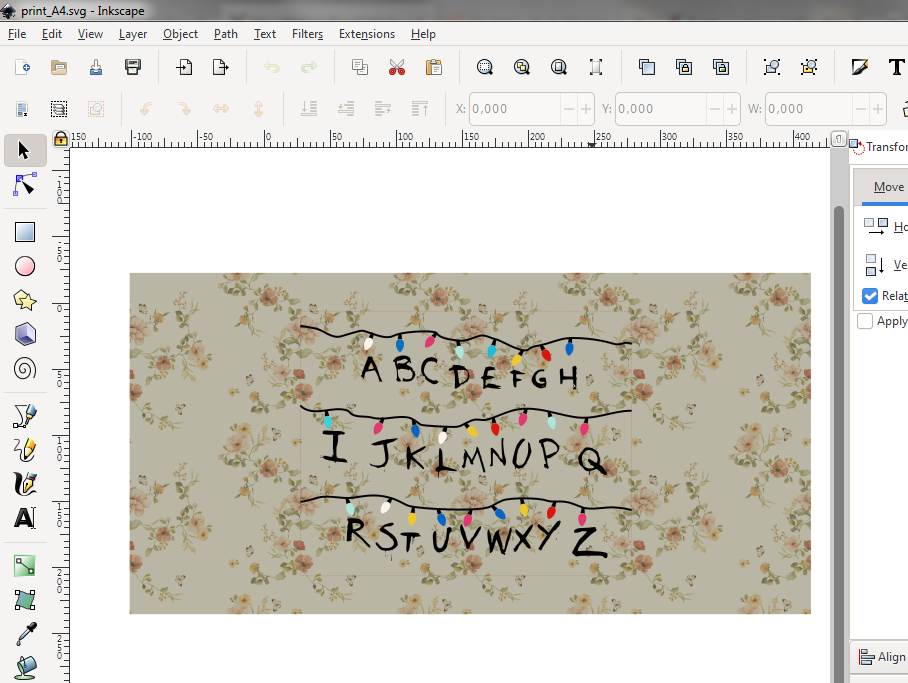
print_A4.svg

Inkscape generated artwork with cutting mark for 20x25 cm board.

svg+xml - 730.64 kB - 08/21/2021 at 15:18

Download

  • 1 × ESP-01
  • 1 × Arduino
  • 1 × DS3231 RTC
  • 1 × 5V to 3V3 converter (AMS1117)
  • 26 × Neopixels (WS2812B)

  • Artwork available

    danjovic08/21/2021 at 15:23 0 comments

    The artwork is available at files section for this project (link).


  • Second Unit

    danjovic08/21/2021 at 15:17 0 comments

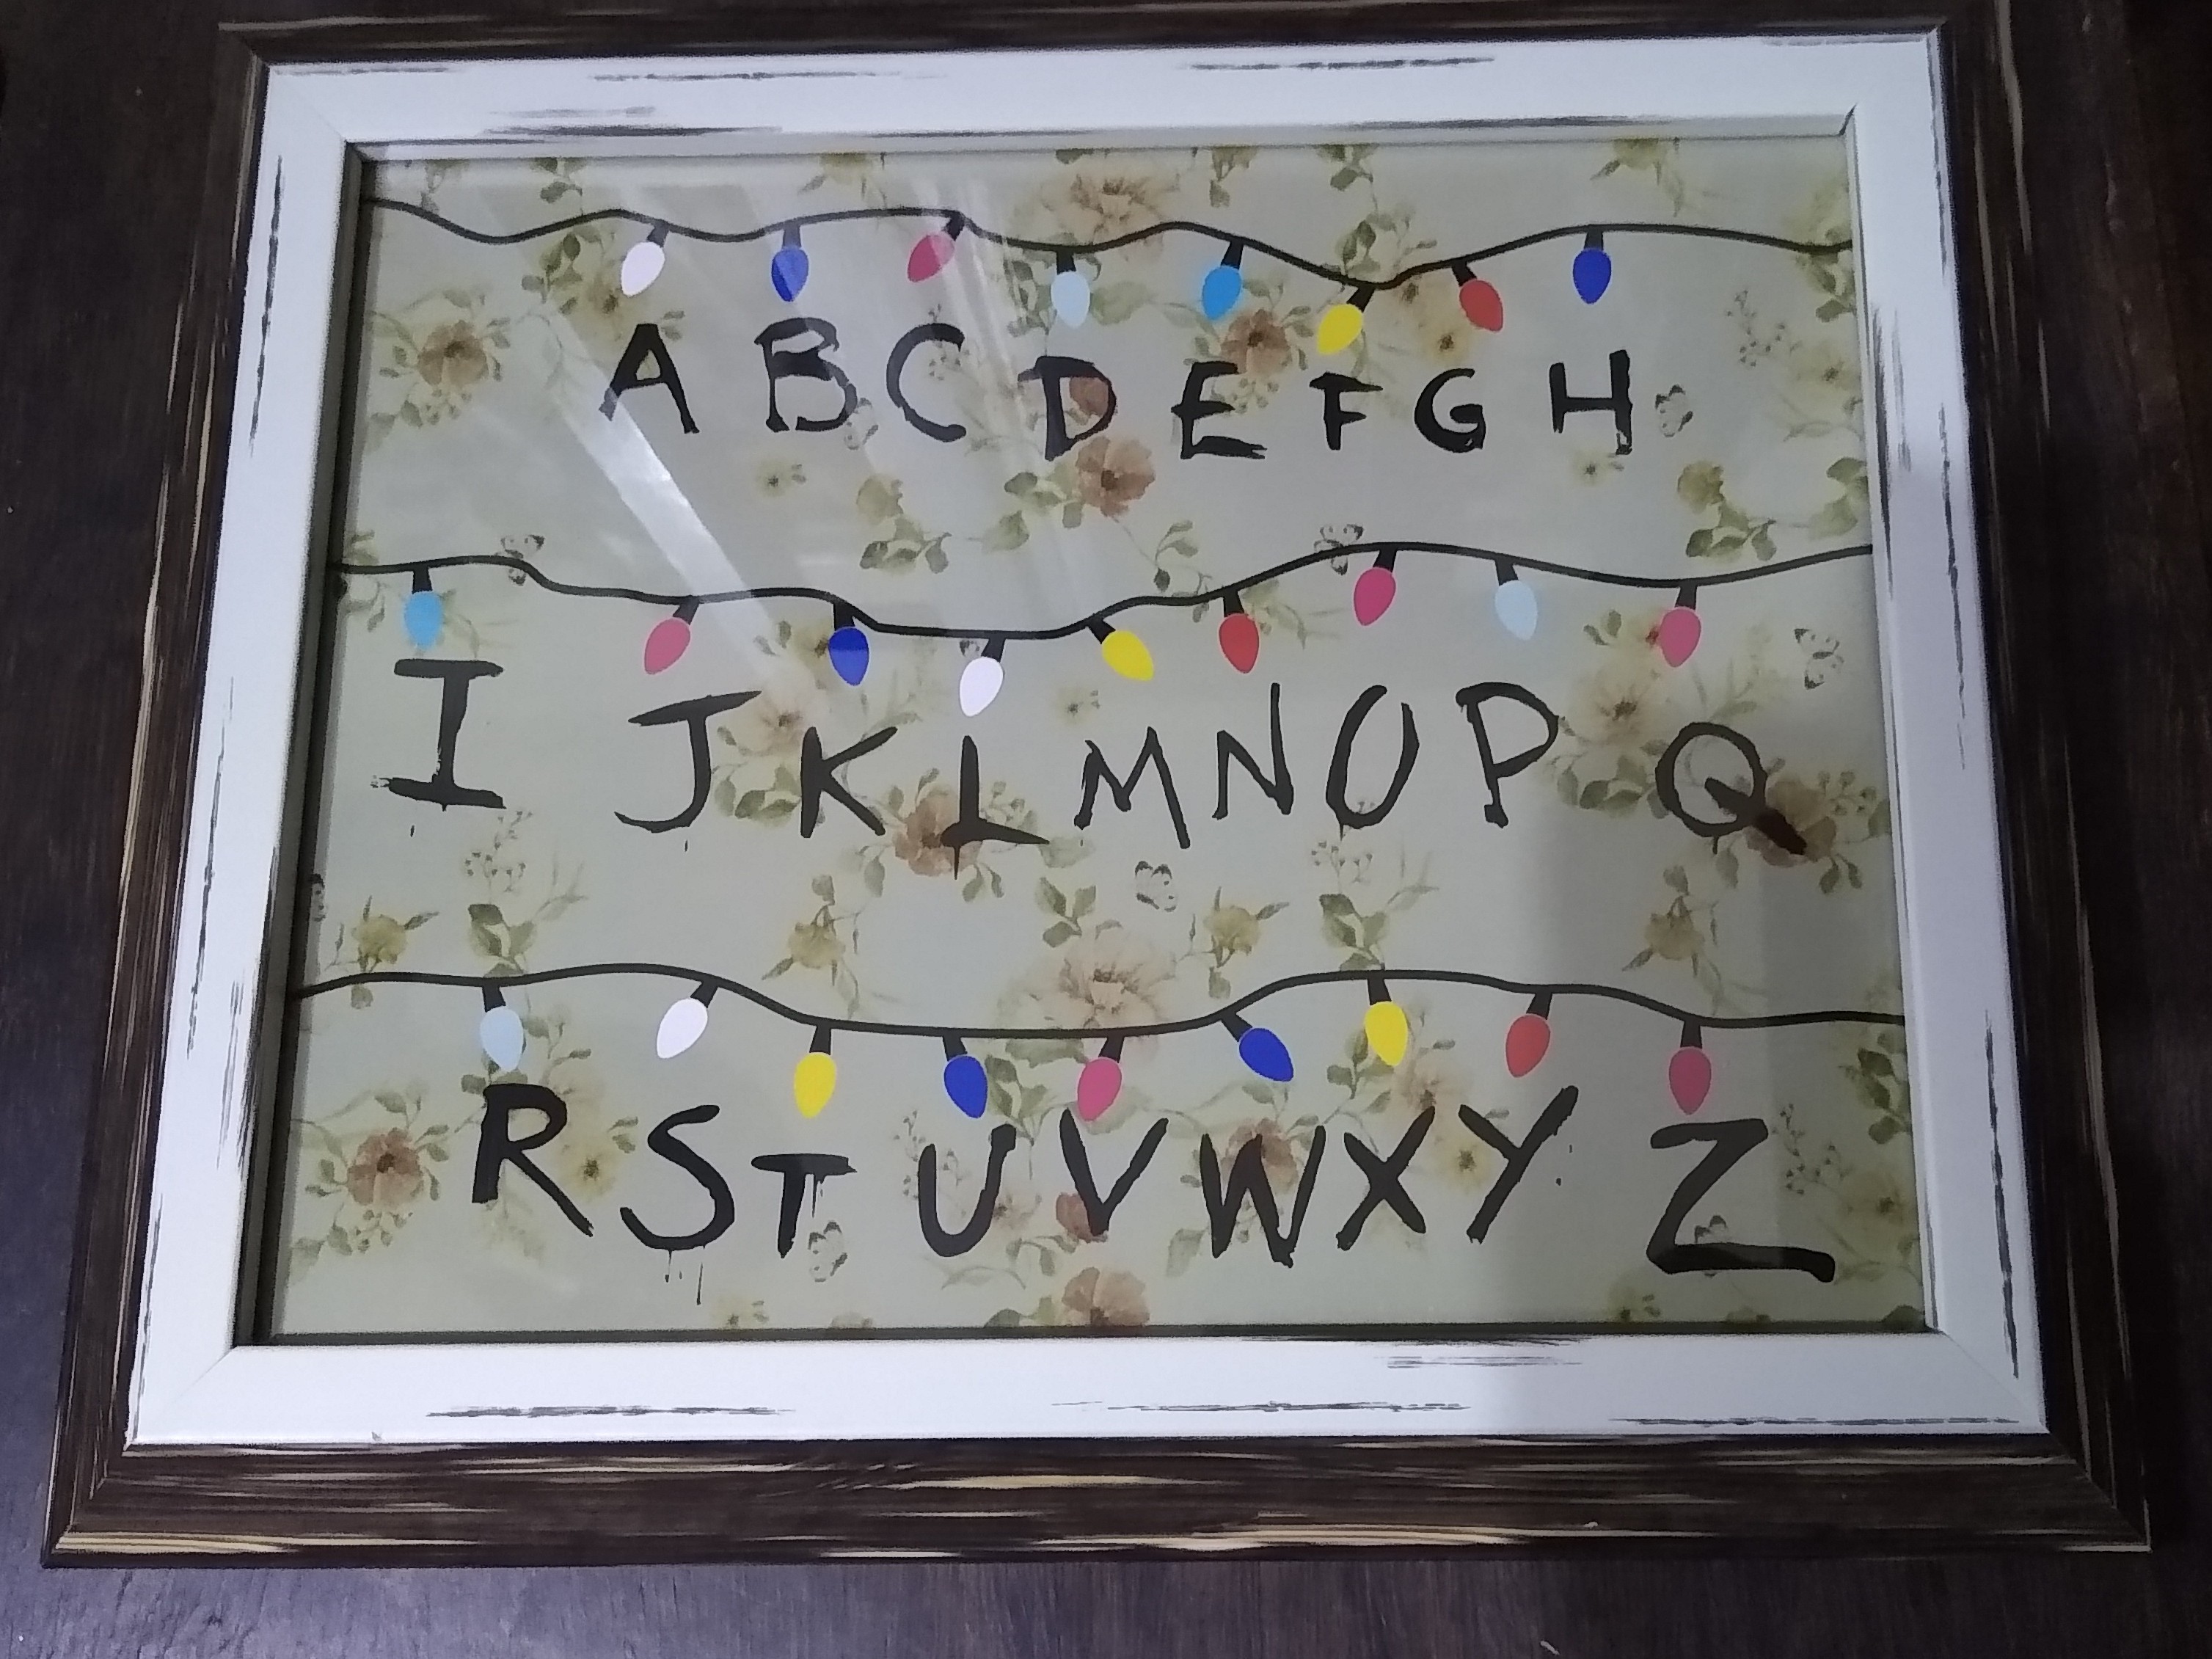
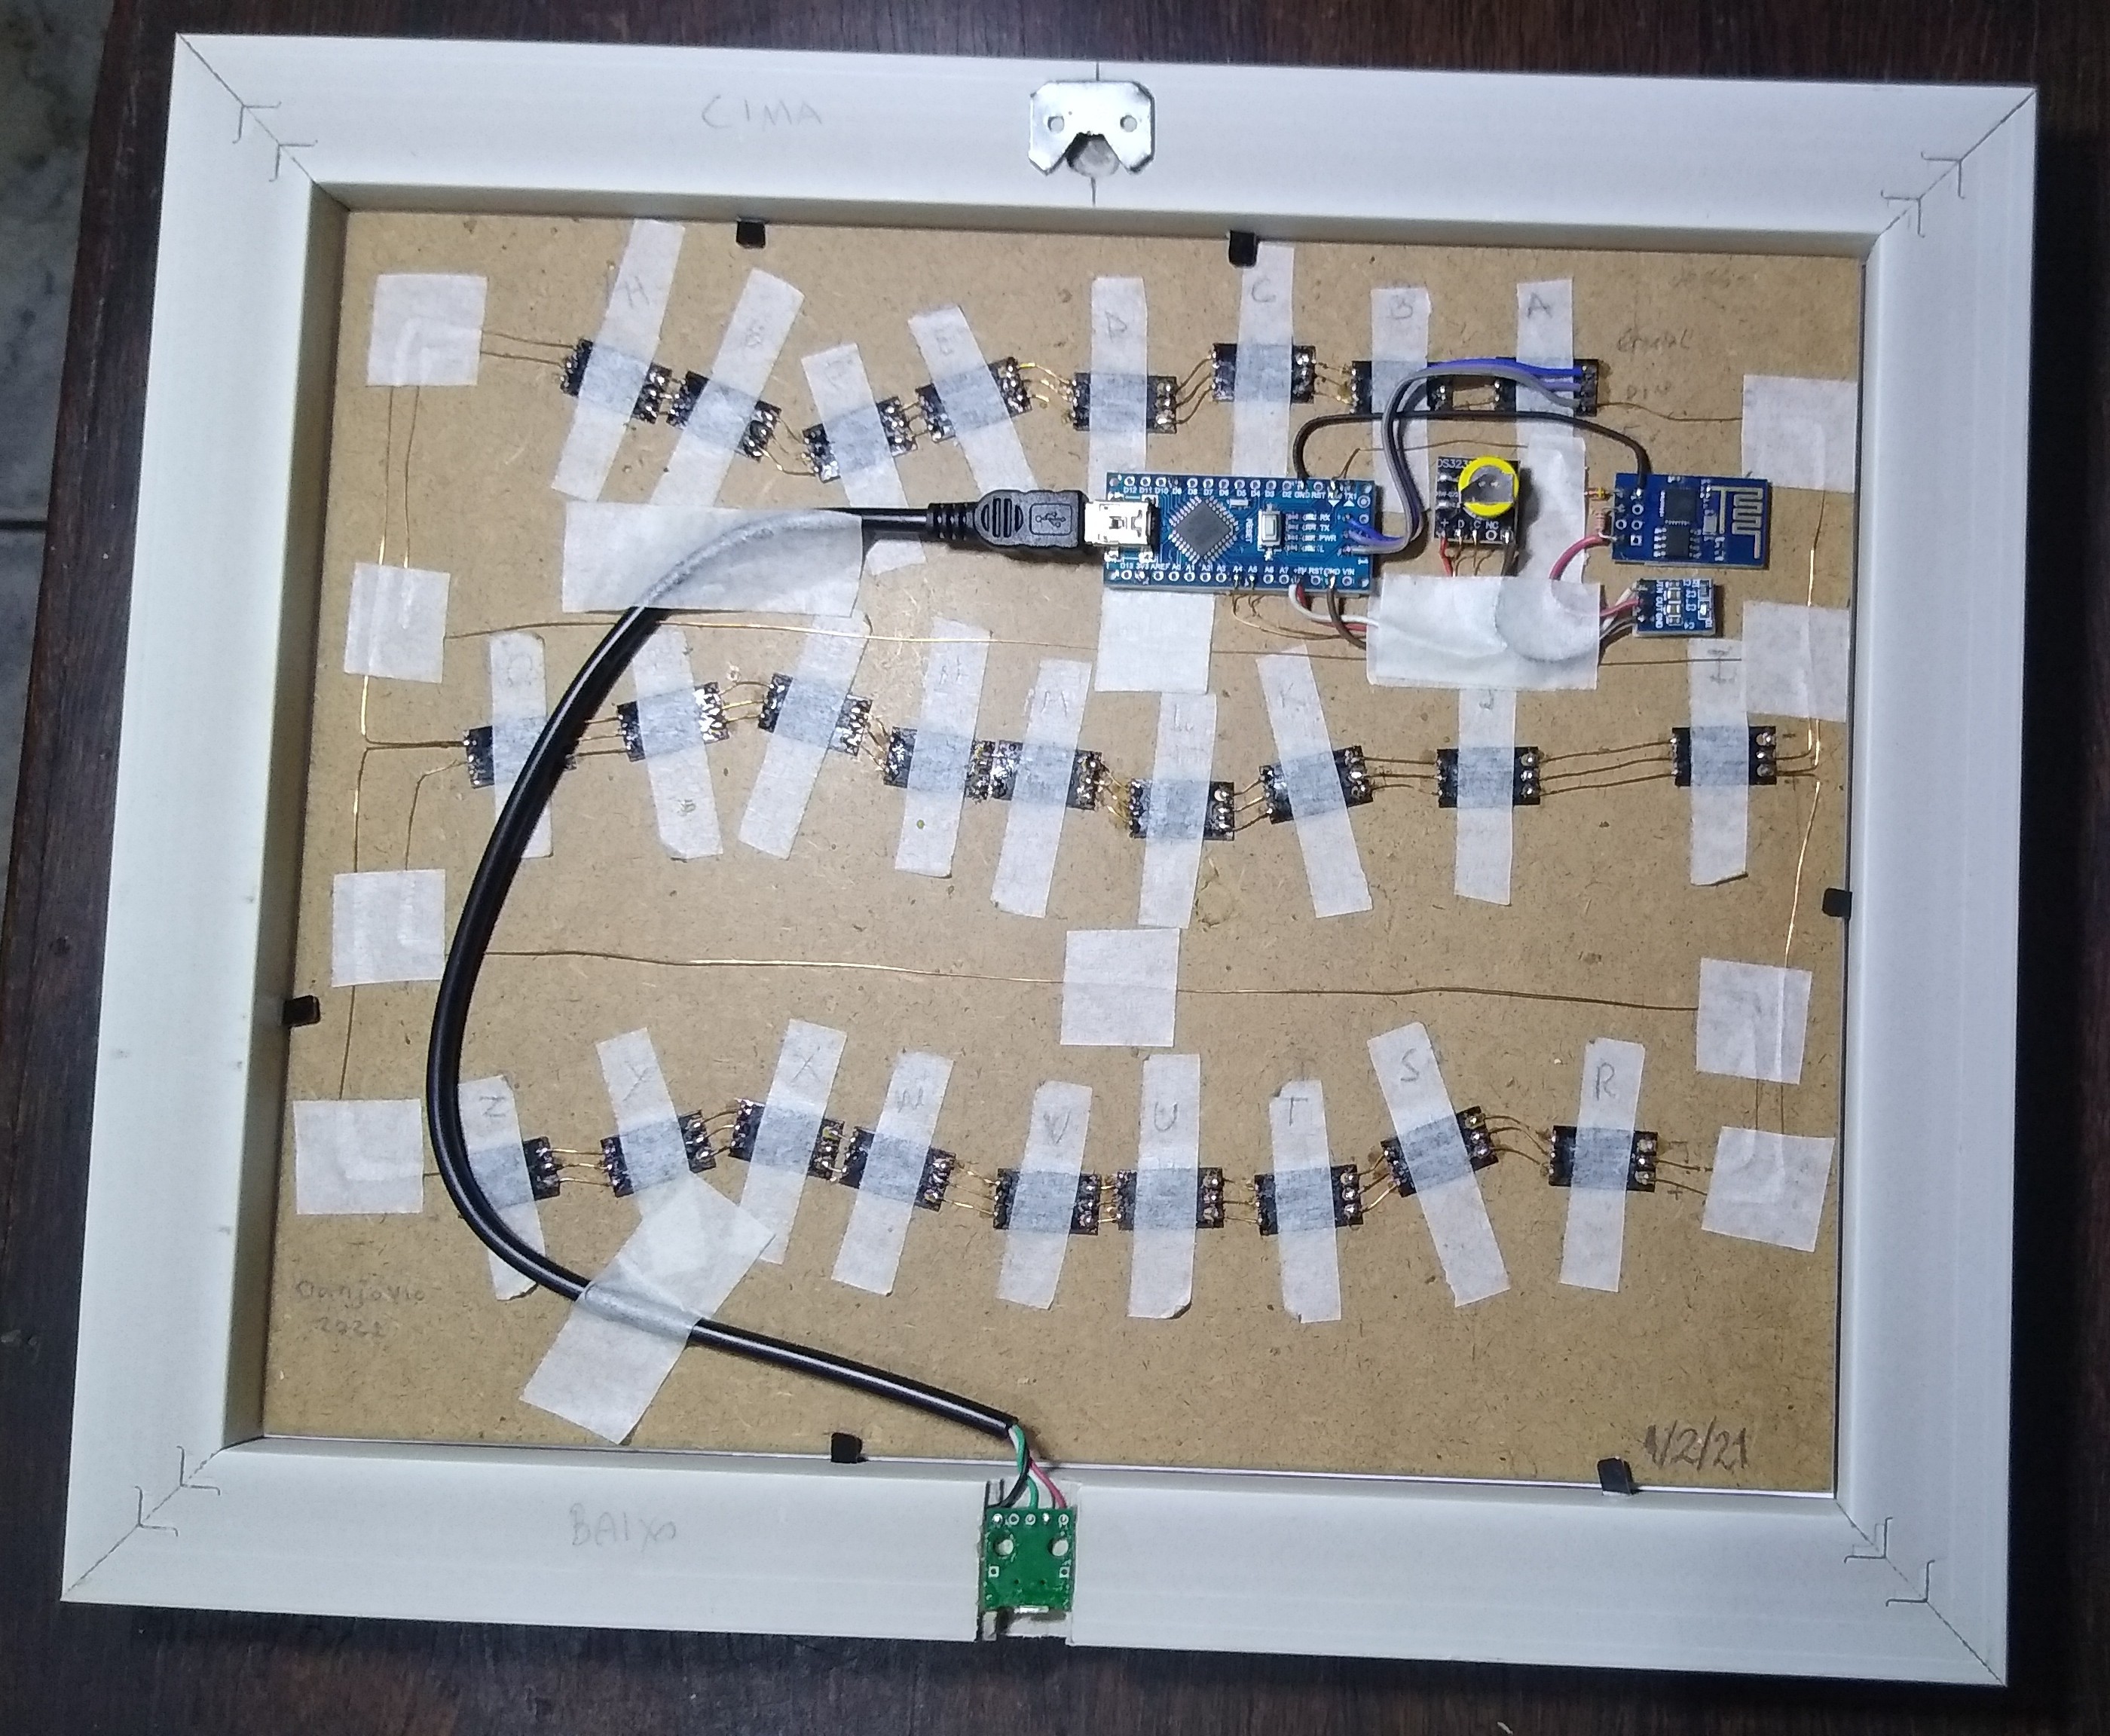
    I have made a second unit to be hung on the wall. I have bought a 20 x 25 cm photo frame, and this time the art was printed on a professional print shop over 90 gram gloss paper.


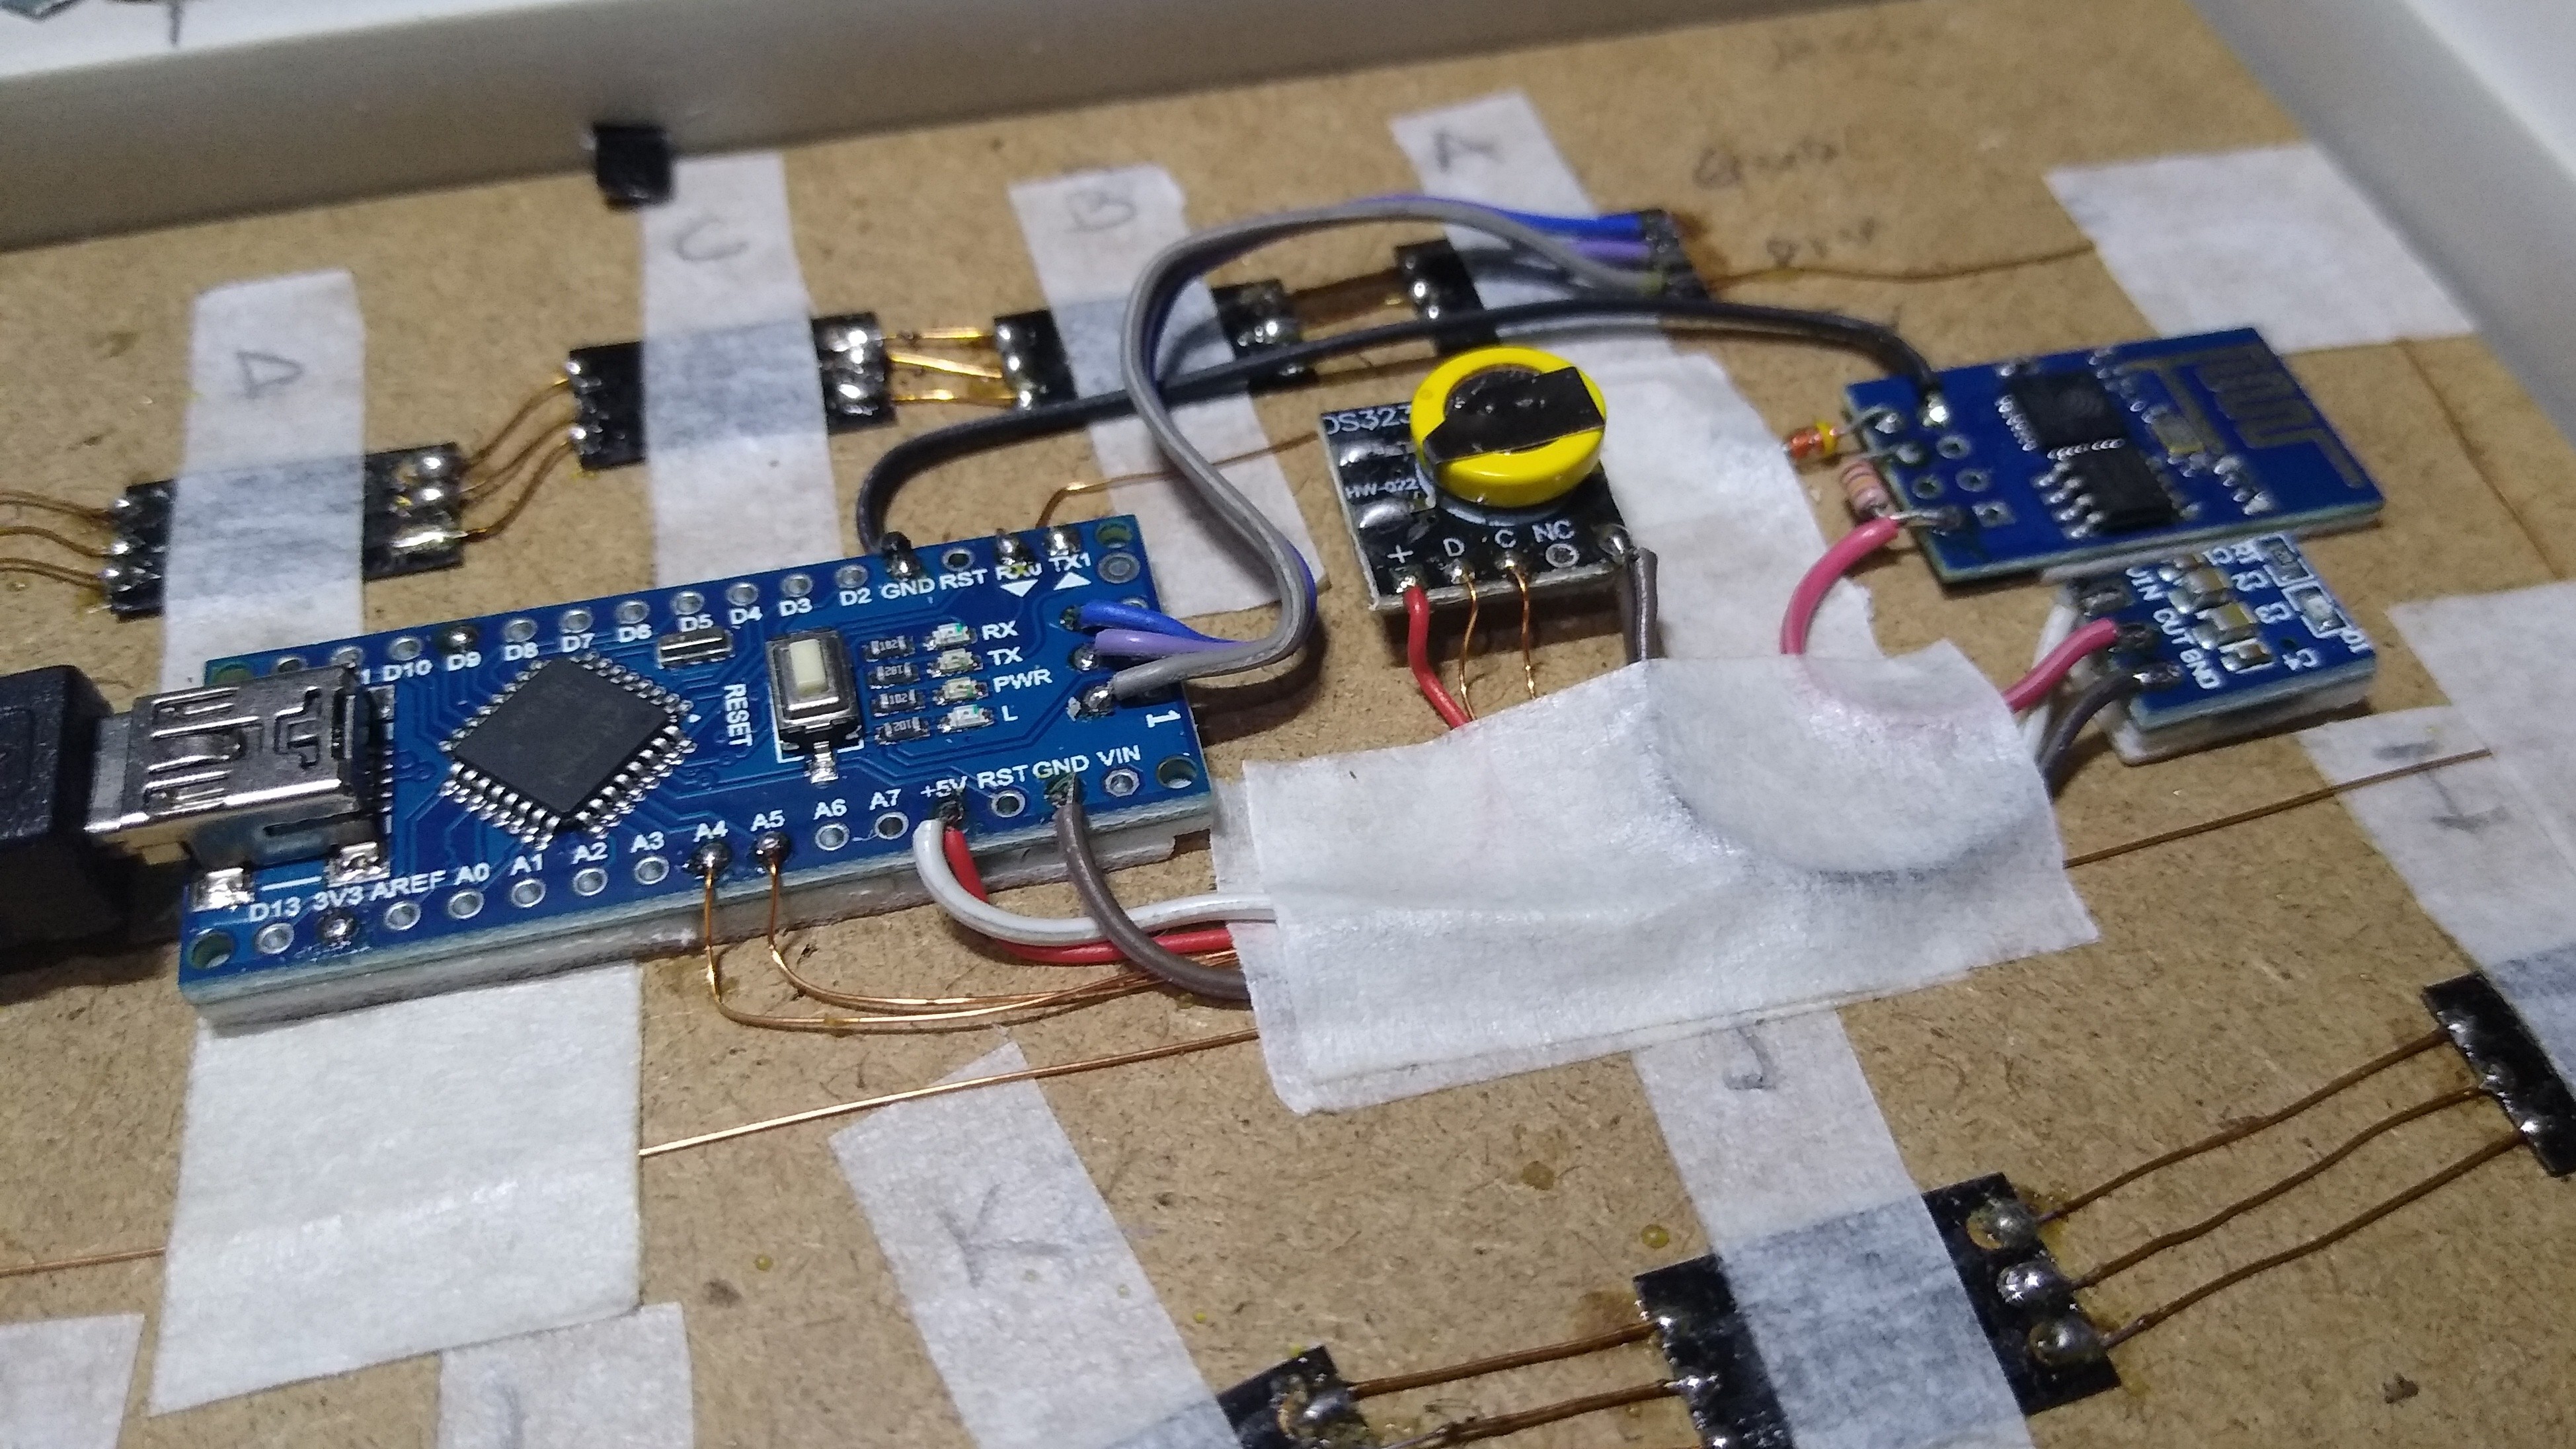
    The board modules are thin enough to fit on the rear side of the frame and they were fixed in place using (double sided) mounting tape.


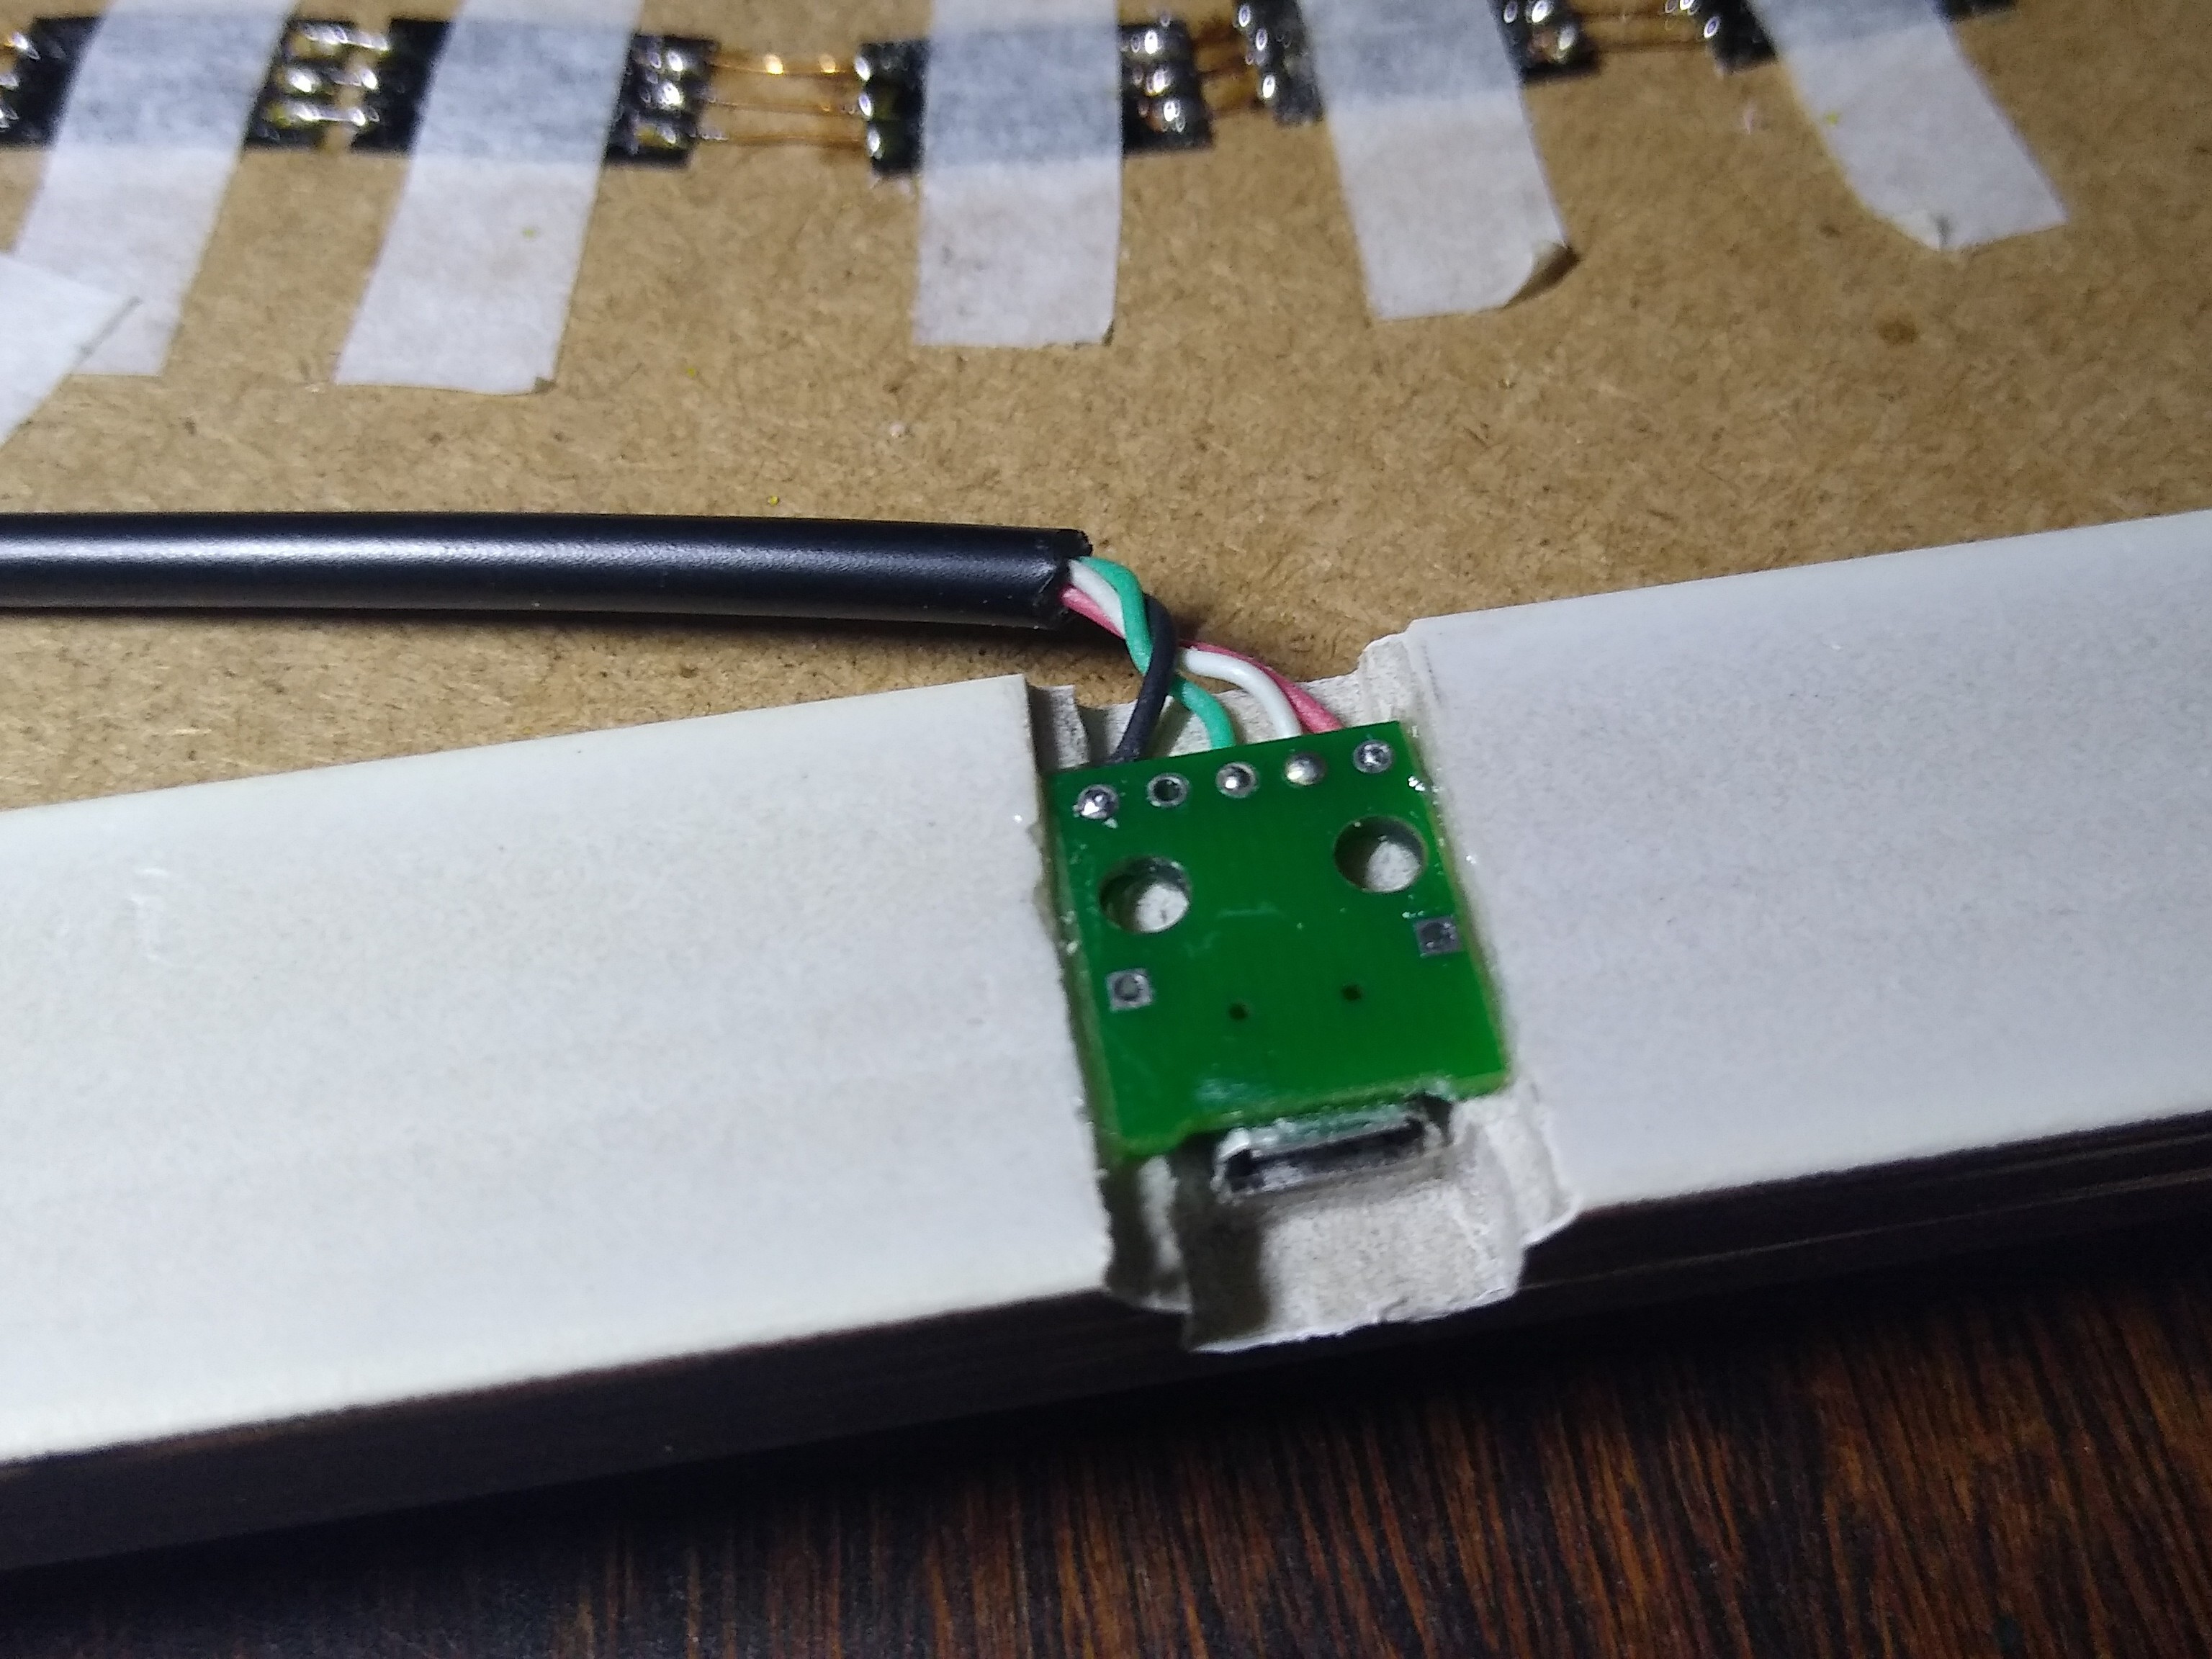
    The device is powered by a Mini-USB connector module fixed on the lower side of the frame.

    The rear was covered by a layer of cardboard (no picture, unfortunately). Nevertheless here's a full picture of the assembly. Most of the wiring is done using enameled wire

    It was done in February 2020 but only now I remembered to upload the pictures.

  • Clock Function Demo

    danjovic12/17/2019 at 10:33 0 comments

    Here's a couple of videos I made do demonstrate the clock function. First one is in English

    "Hello Hackaday, it is Sixteen to Nine" (08:44)

    And the second one is in Portuguese

    "Olá Hackaday, Oito e quarenta e sete"  (08:47)

    On both videos a message has been sent through wifi right after the last minute has finished to flash, but the time function repeats every minute.

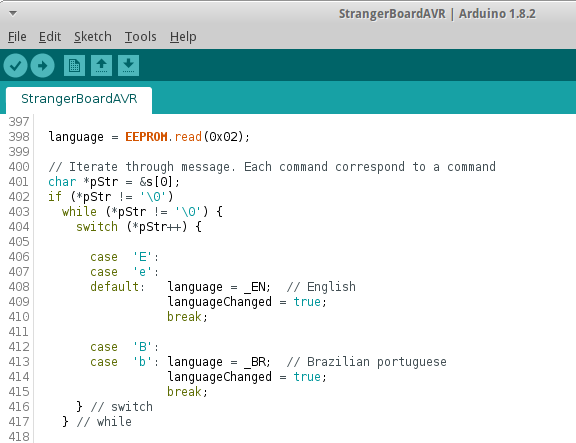
    The language can be switched by issuing the command @e for English or @b for Portuguese (Brazilian)

  • Finishing the case

    danjovic09/18/2019 at 02:42 0 comments

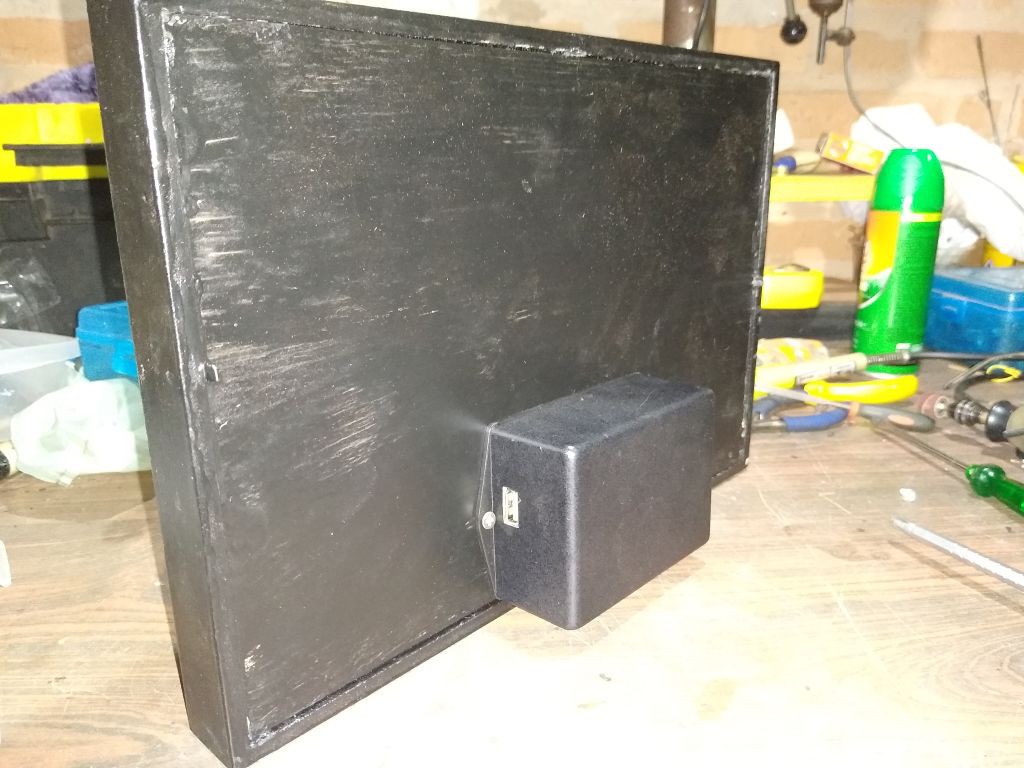
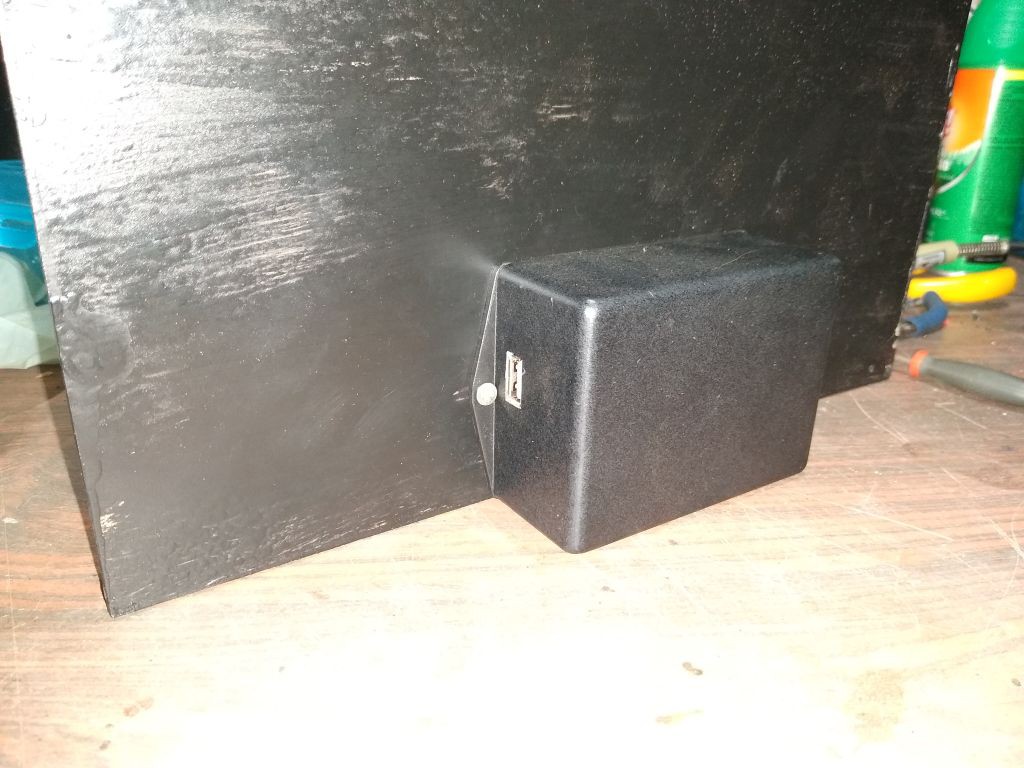
    The box that enclosures the circuit was attached to the rear of the case


    Three wires connect the circuit box to the Neopixel LEDs inside the board.

  • BOX and PCB

    danjovic09/14/2019 at 05:20 0 comments

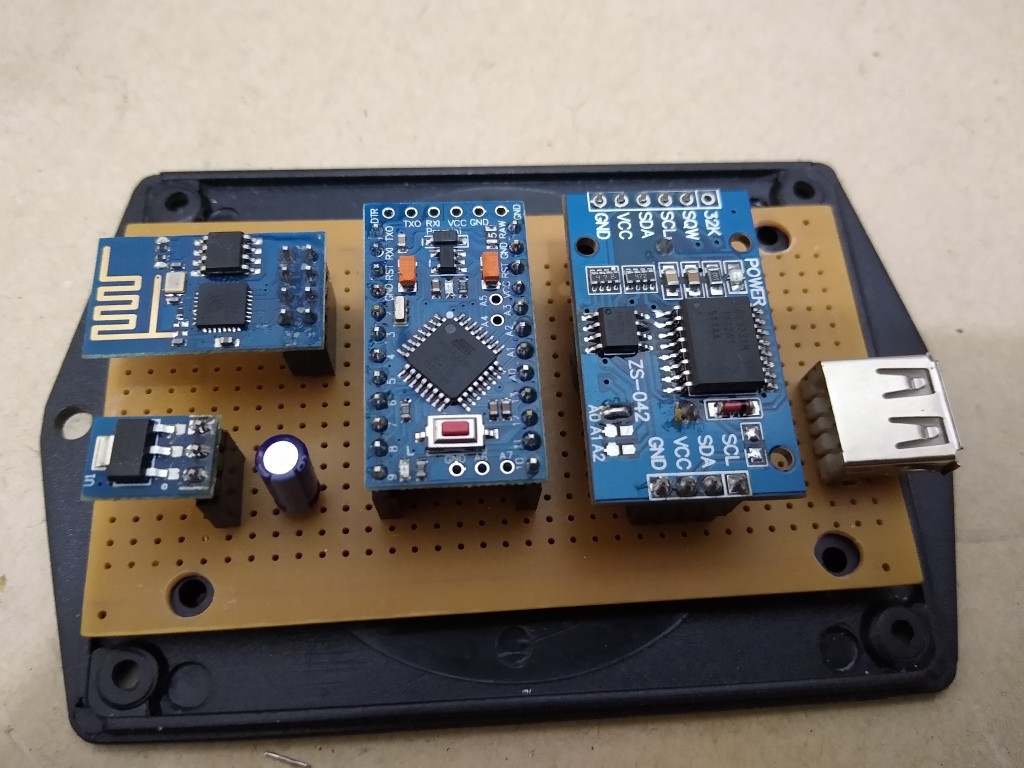
    The modules were laid out on a perfboad.

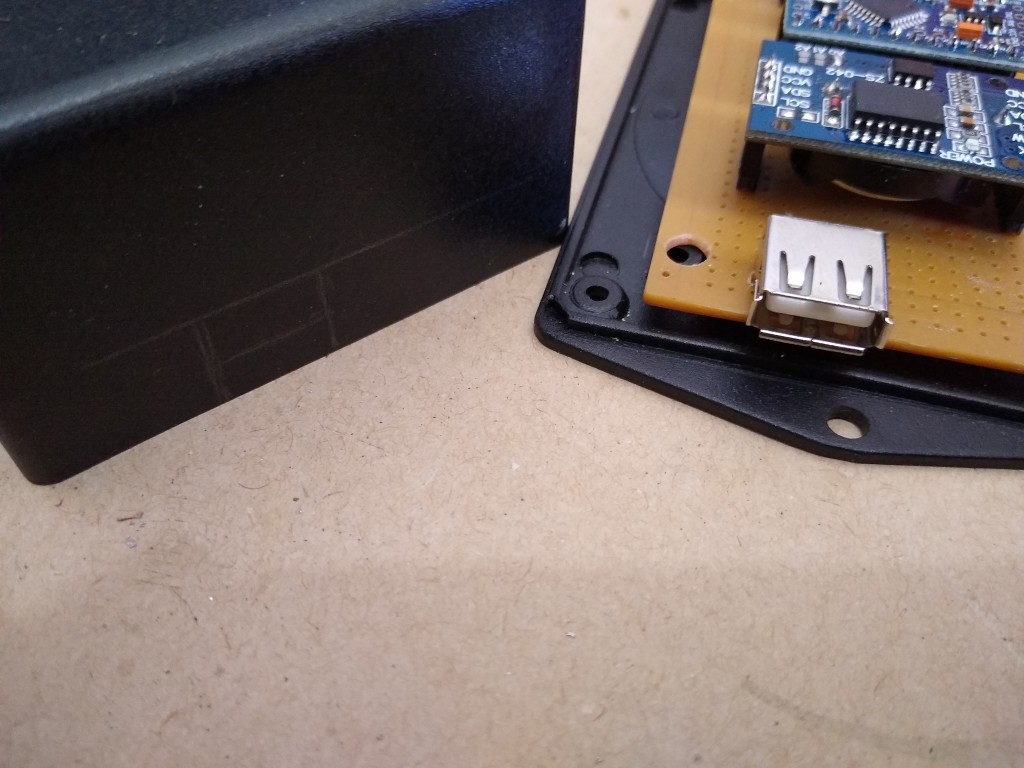
    The box that was choose to enclosure the board is a Patola PB-107.  The flanges on the box will be handy to attach it to the rear of the board, helping to hold it standing.

    The box will receive a cut to pass through the USB A connector to power the board


  • Multilanguage support

    danjovic09/14/2019 at 05:04 0 comments

    Added the command '@' to change the language.

    So far English (@E) and Brazilian Portuguese (@B) are supported.

    The spell time routine has written from scratch to support Brazilian Portuguese. Other languages will probably require an specific spelling routine due to differences in the structure of each language.

  • Learning from the fails

    danjovic09/10/2019 at 04:37 0 comments

    So far I have stumbled upon two problems:

    - The ESP-01 did not produced a stable signal to drive the neopixels either using the Adafruit library or the library that uses the serial port.  That is the reason why I have added  the Arduino board.

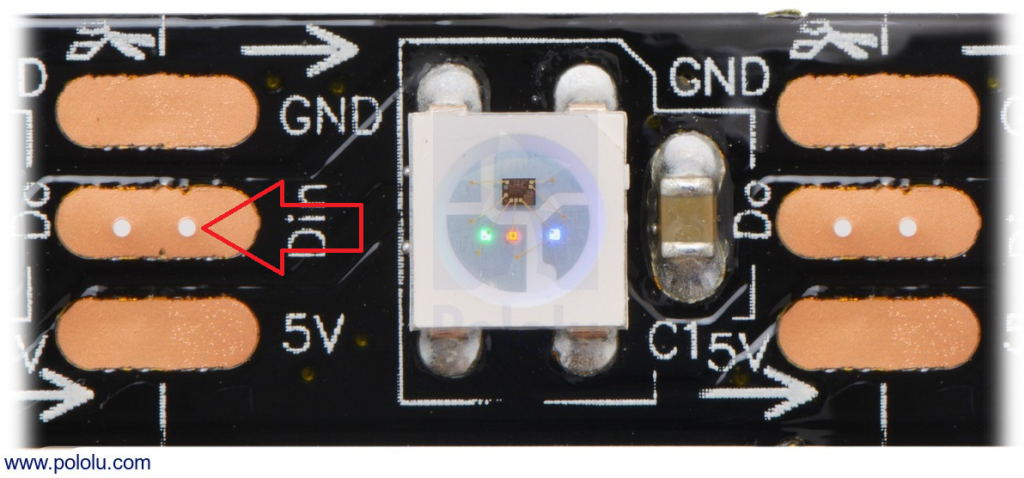
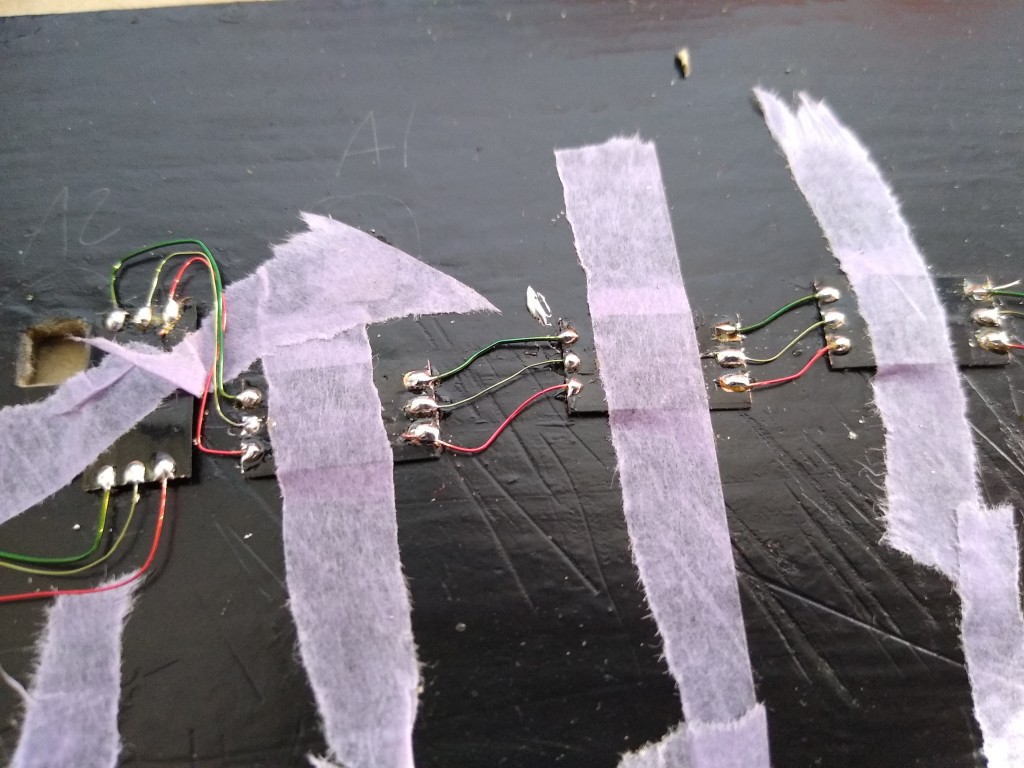
    - The Data In lane of the neopixel strip that I have bought is certainly on the component side. I haven' t notice the importance of the via on the strip until It was too late an I had cut all the pixels apart. On the image below the vias can be clearly seen.

    As I have soldered all my LEDs from back It was necessary to change the connection on 4 of them to the other side. As none of them presented problem in the DOUT lane I suppose that in my strip the DOUT was on the solder side (or both).

  • Brief video

    danjovic09/10/2019 at 04:14 0 comments

    A brief video of the prototype

View all 8 project logs

Enjoy this project?

Share

Discussions

Dan Maloney wrote 09/10/2019 at 15:46 point

You nailed the look and feel, that's for sure. This might be cool for Halloween...

  Are you sure? yes | no

danjovic wrote 09/10/2019 at 16:04 point

Thanks!!

  Are you sure? yes | no

Similar Projects

Does this project spark your interest?

Become a member to follow this project and never miss any updates