A GCODE compatible galvo laser cutter/engraver.
To make the experience fit your profile, pick a username and tell us what interests you.
We found and based on your interests.
|
Network Common Data Form (NetCDF) - 1.11 kB - 10/10/2020 at 07:26 |
|
|
|
Standard Tesselated Geometry - 5.36 kB - 07/23/2020 at 08:10 |
|
|
|
Standard Tesselated Geometry - 26.16 kB - 07/23/2020 at 08:10 |
|
|
|
Standard Tesselated Geometry - 41.59 kB - 07/23/2020 at 08:05 |
|
|
|
Standard Tesselated Geometry - 26.84 kB - 07/23/2020 at 08:05 |
|
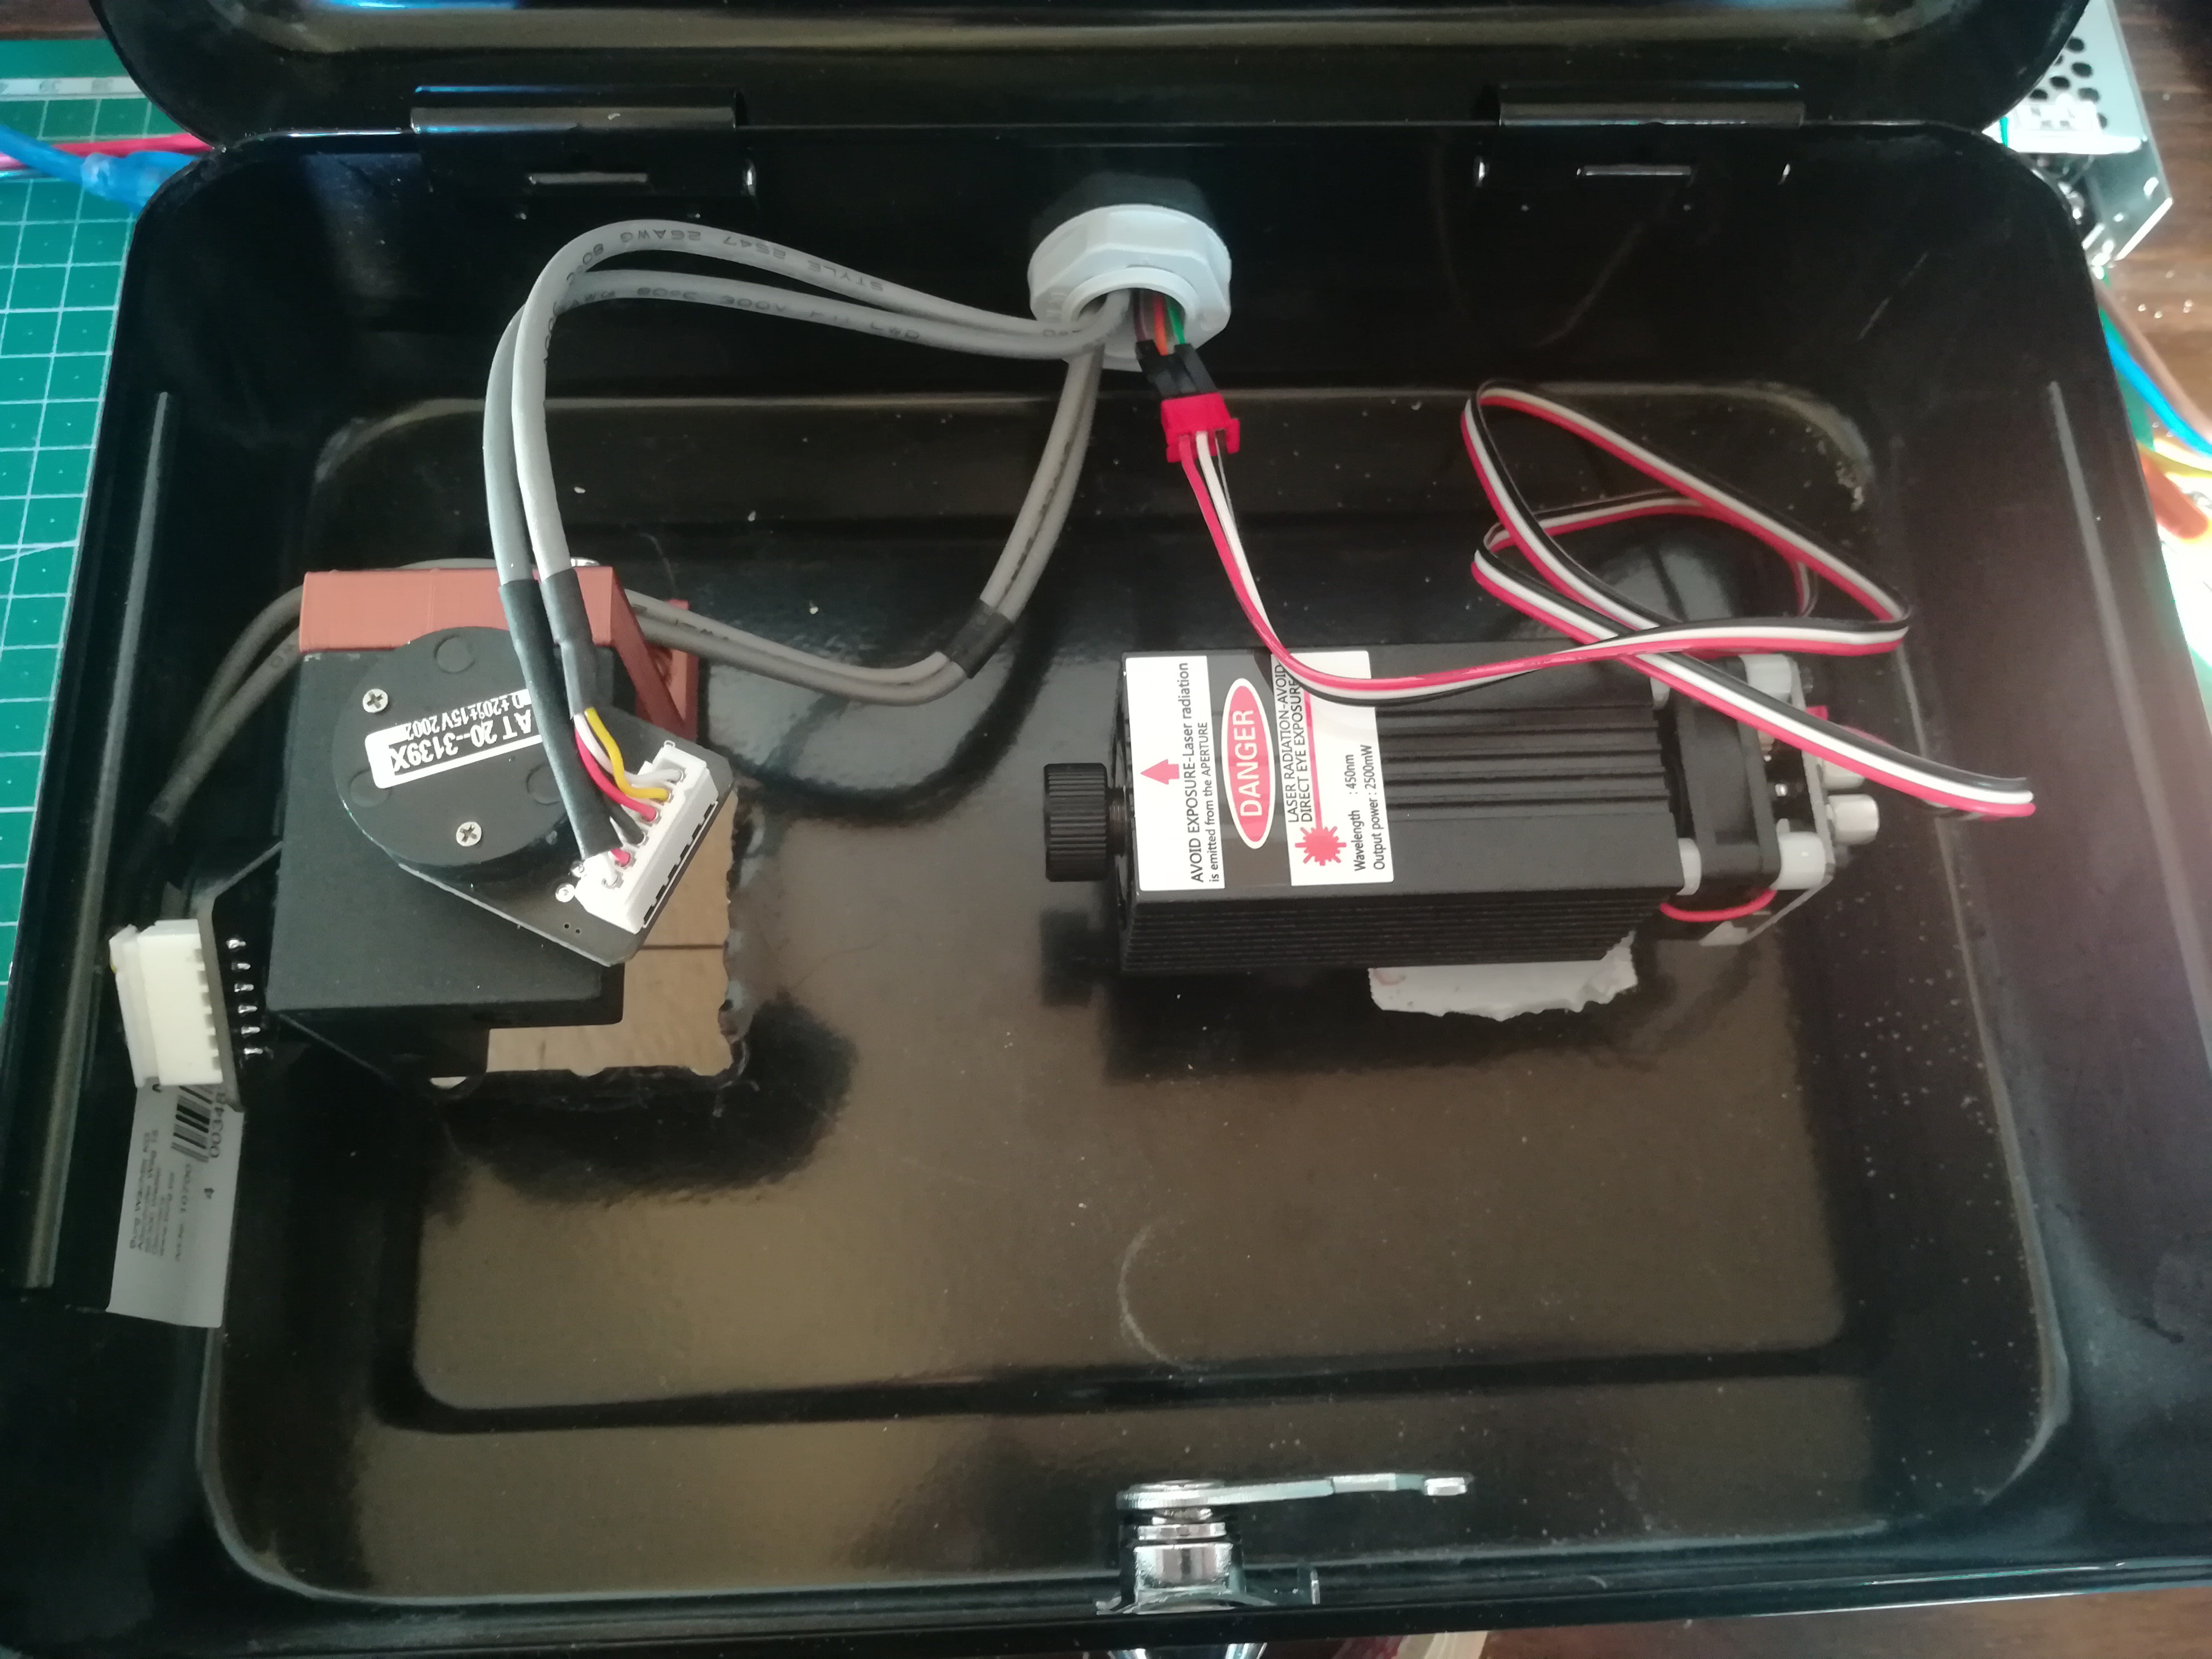
The dichroic mirror arrived, I printed a mounting bracket for it and put everything back in the cash case.
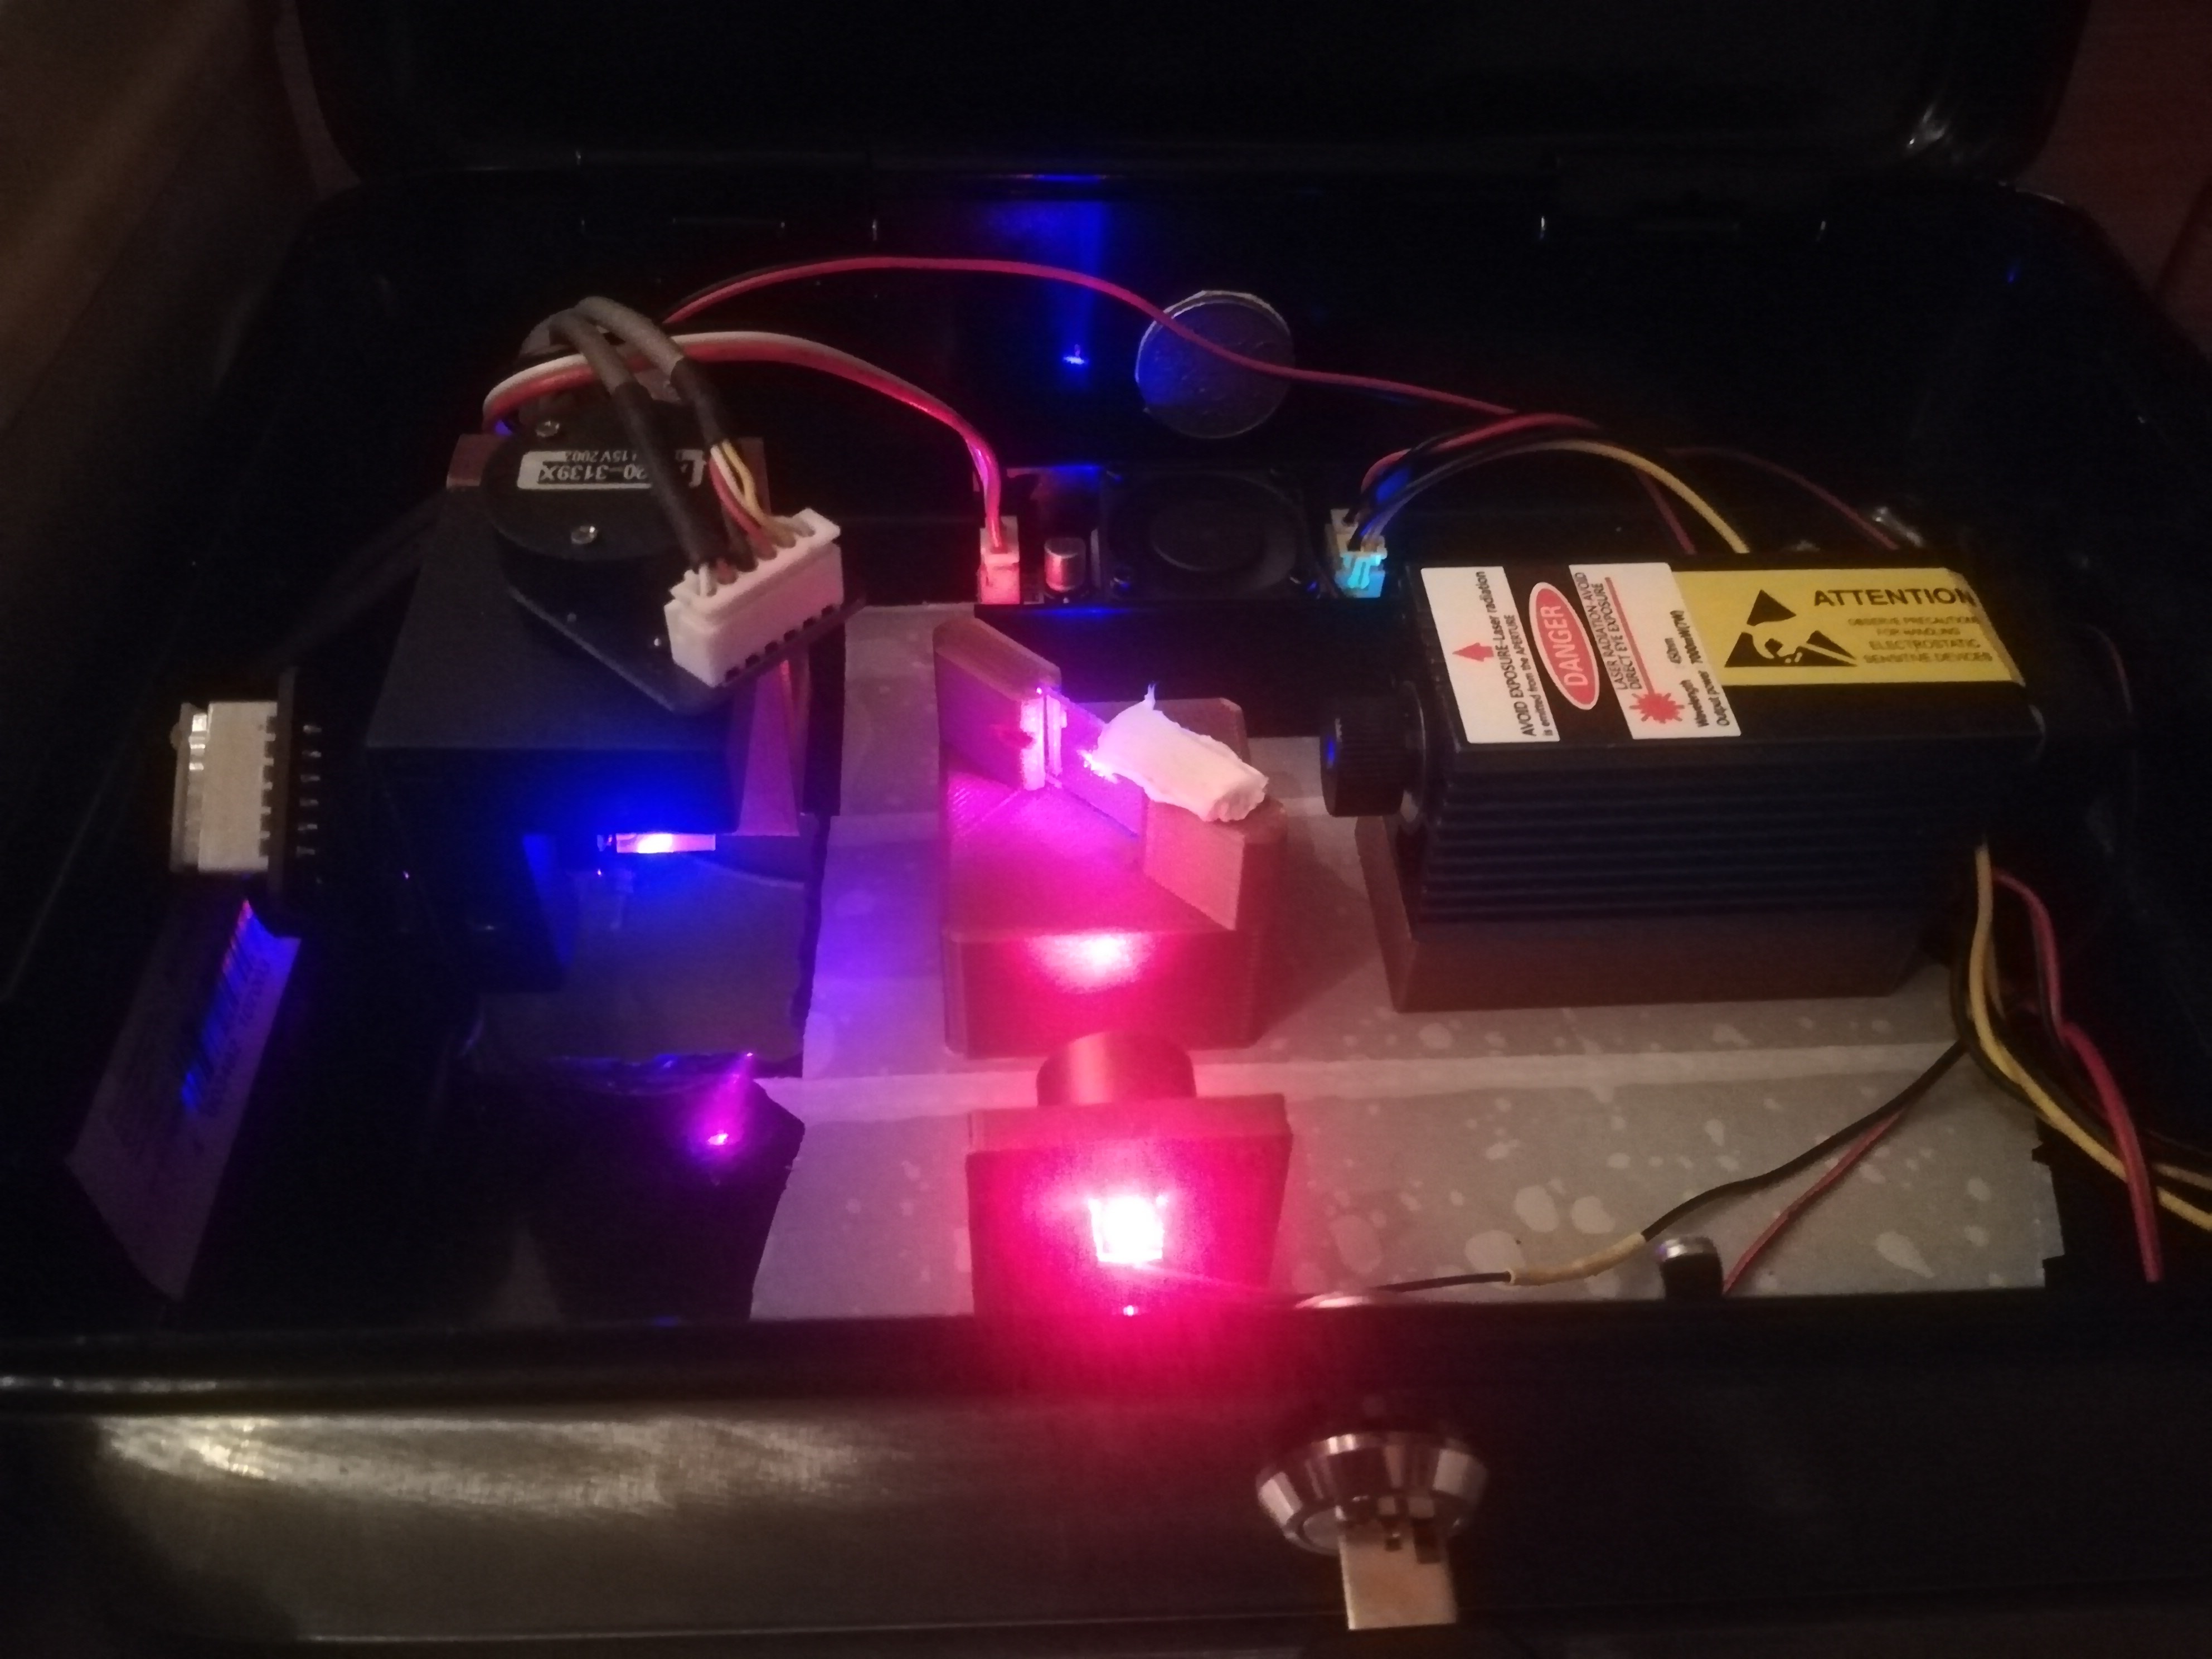
I secured the mirrow with a piece of tape on the top against vibration from the laser fan. The parts inside the case are just placed on a layer of double sided tape, but if you want you could also secure the parts with magnets or align them and mount them with screws. The Red Dot Laser can be turned on by sending M8 and turned off by sending M9 to grbl.
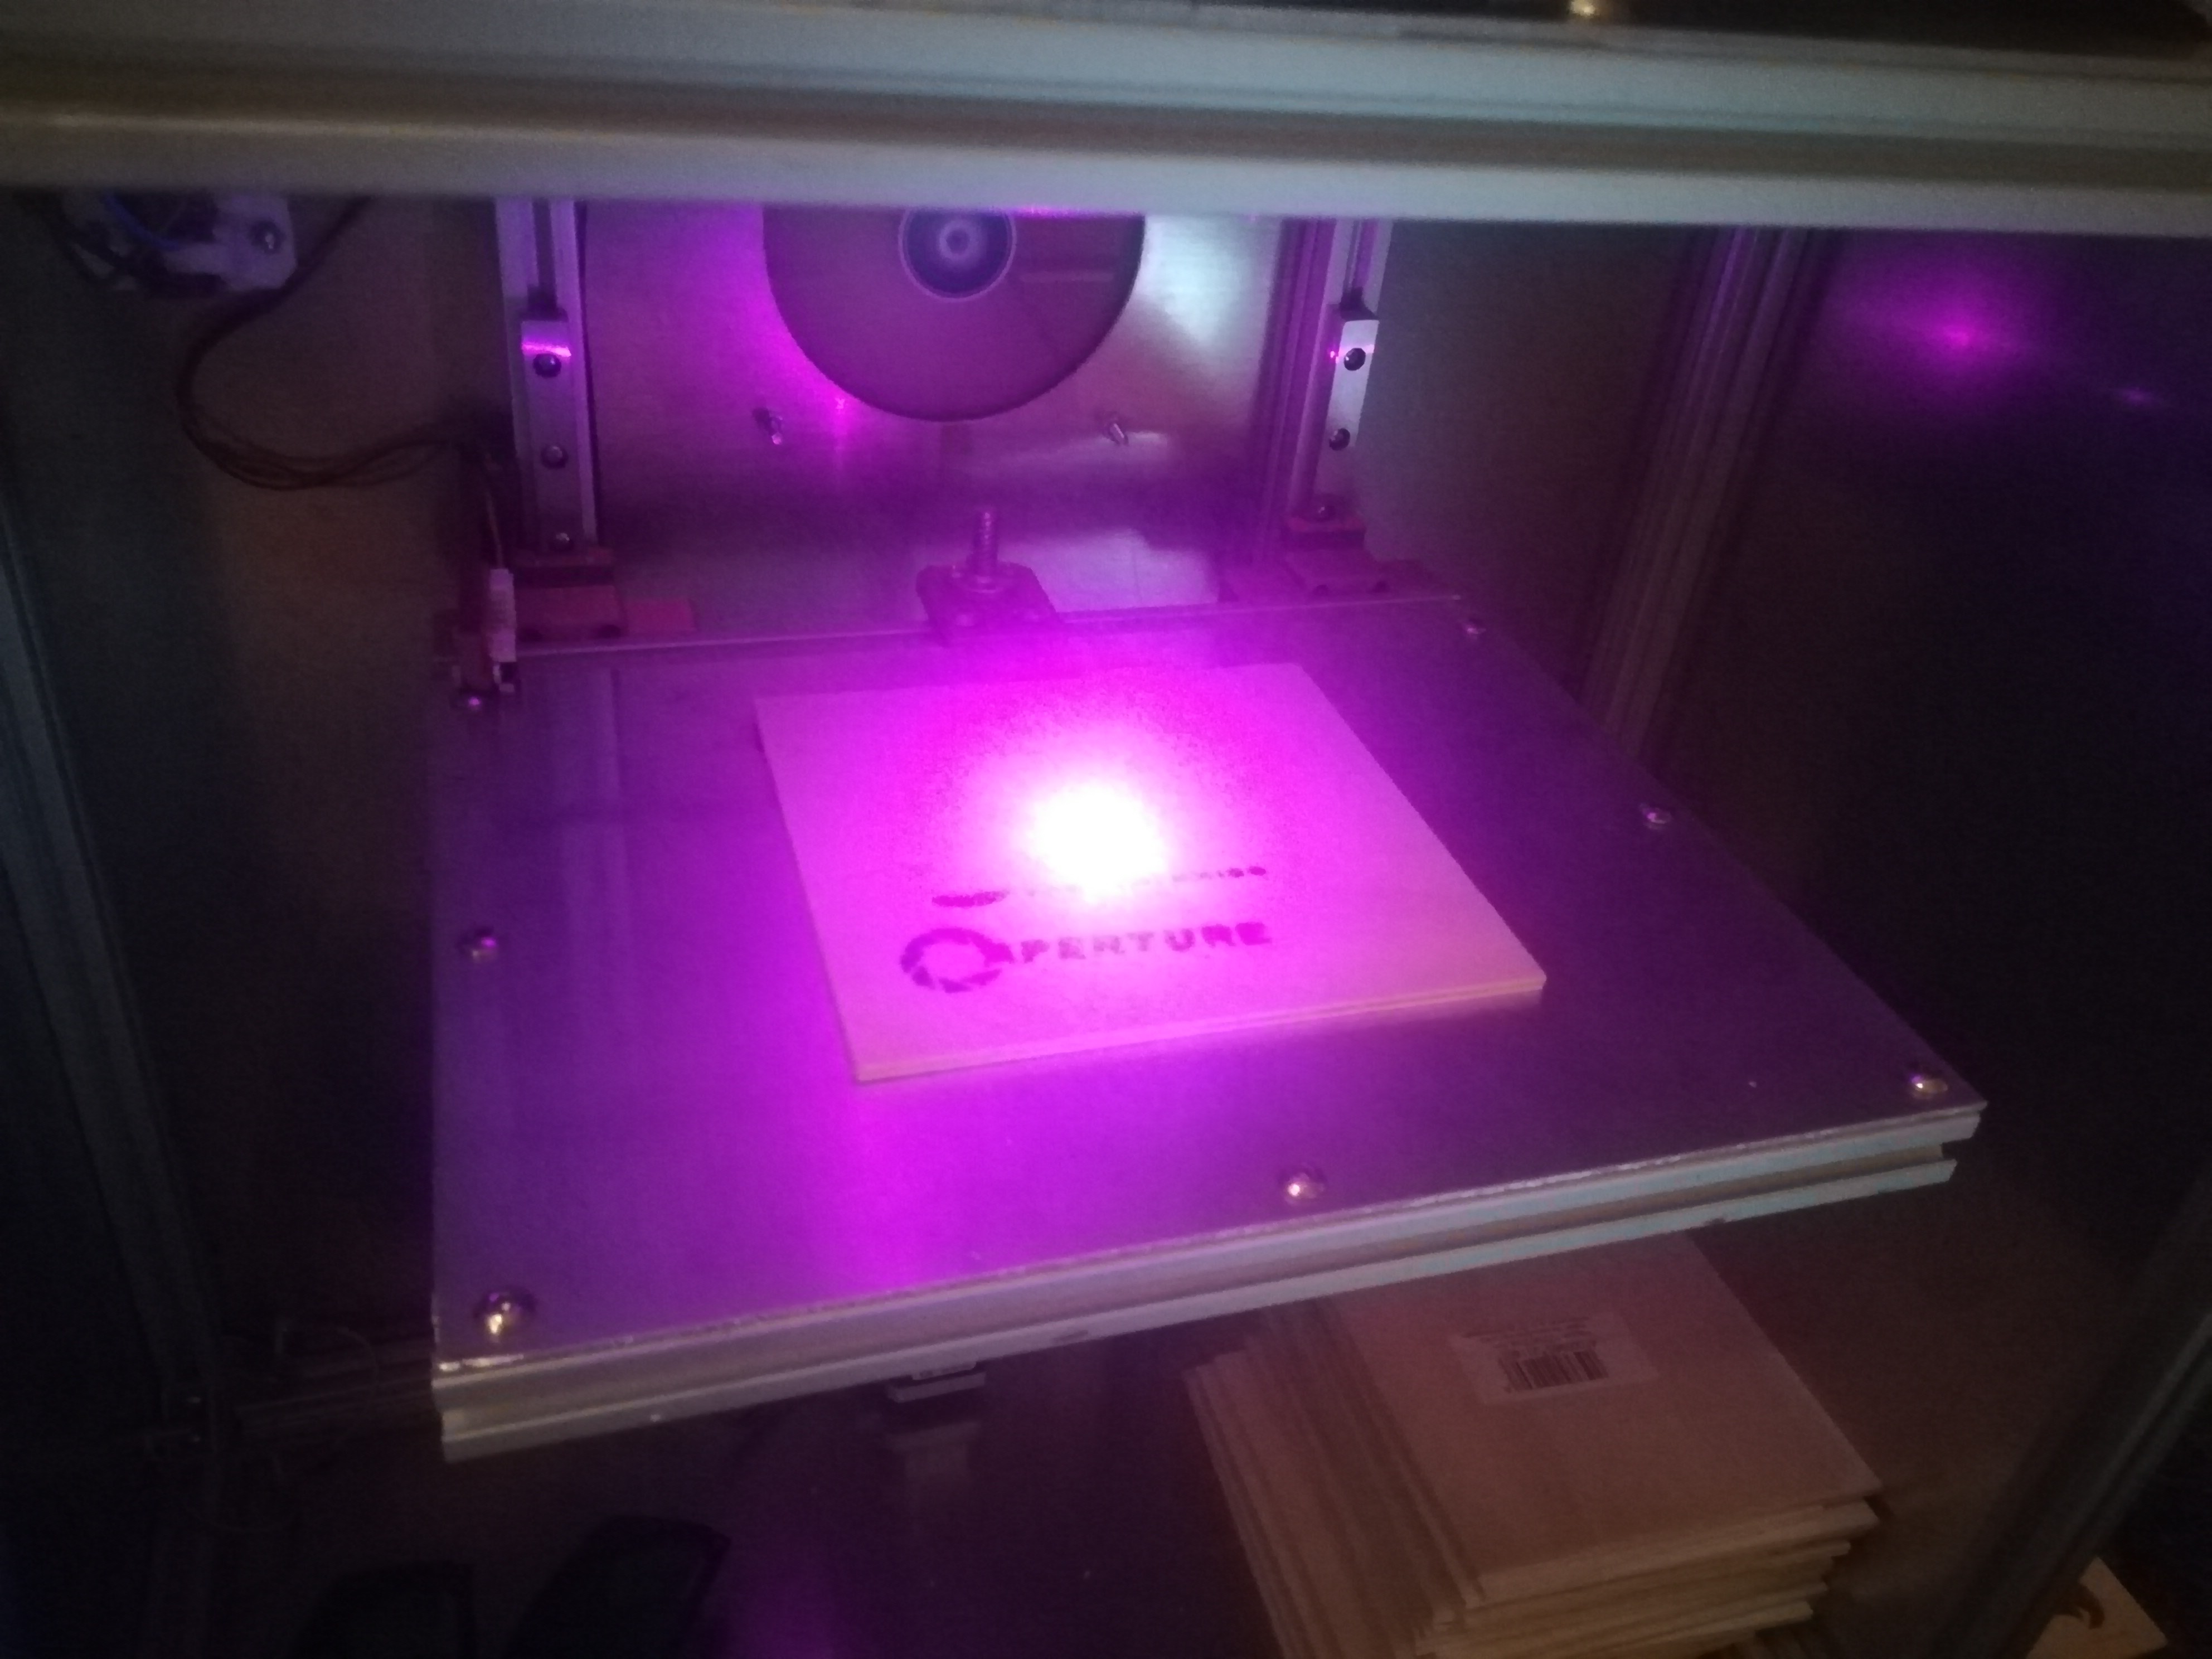
I also added a switch to turn the blue laser power on and off to prevent the laser from shooting at max power while powering up the controller. This behavior leaded to a small damage on one of the mirrors as the laser hit the mirror on the edge while powering the controller on, so it will be the best to prevent it from happening again.
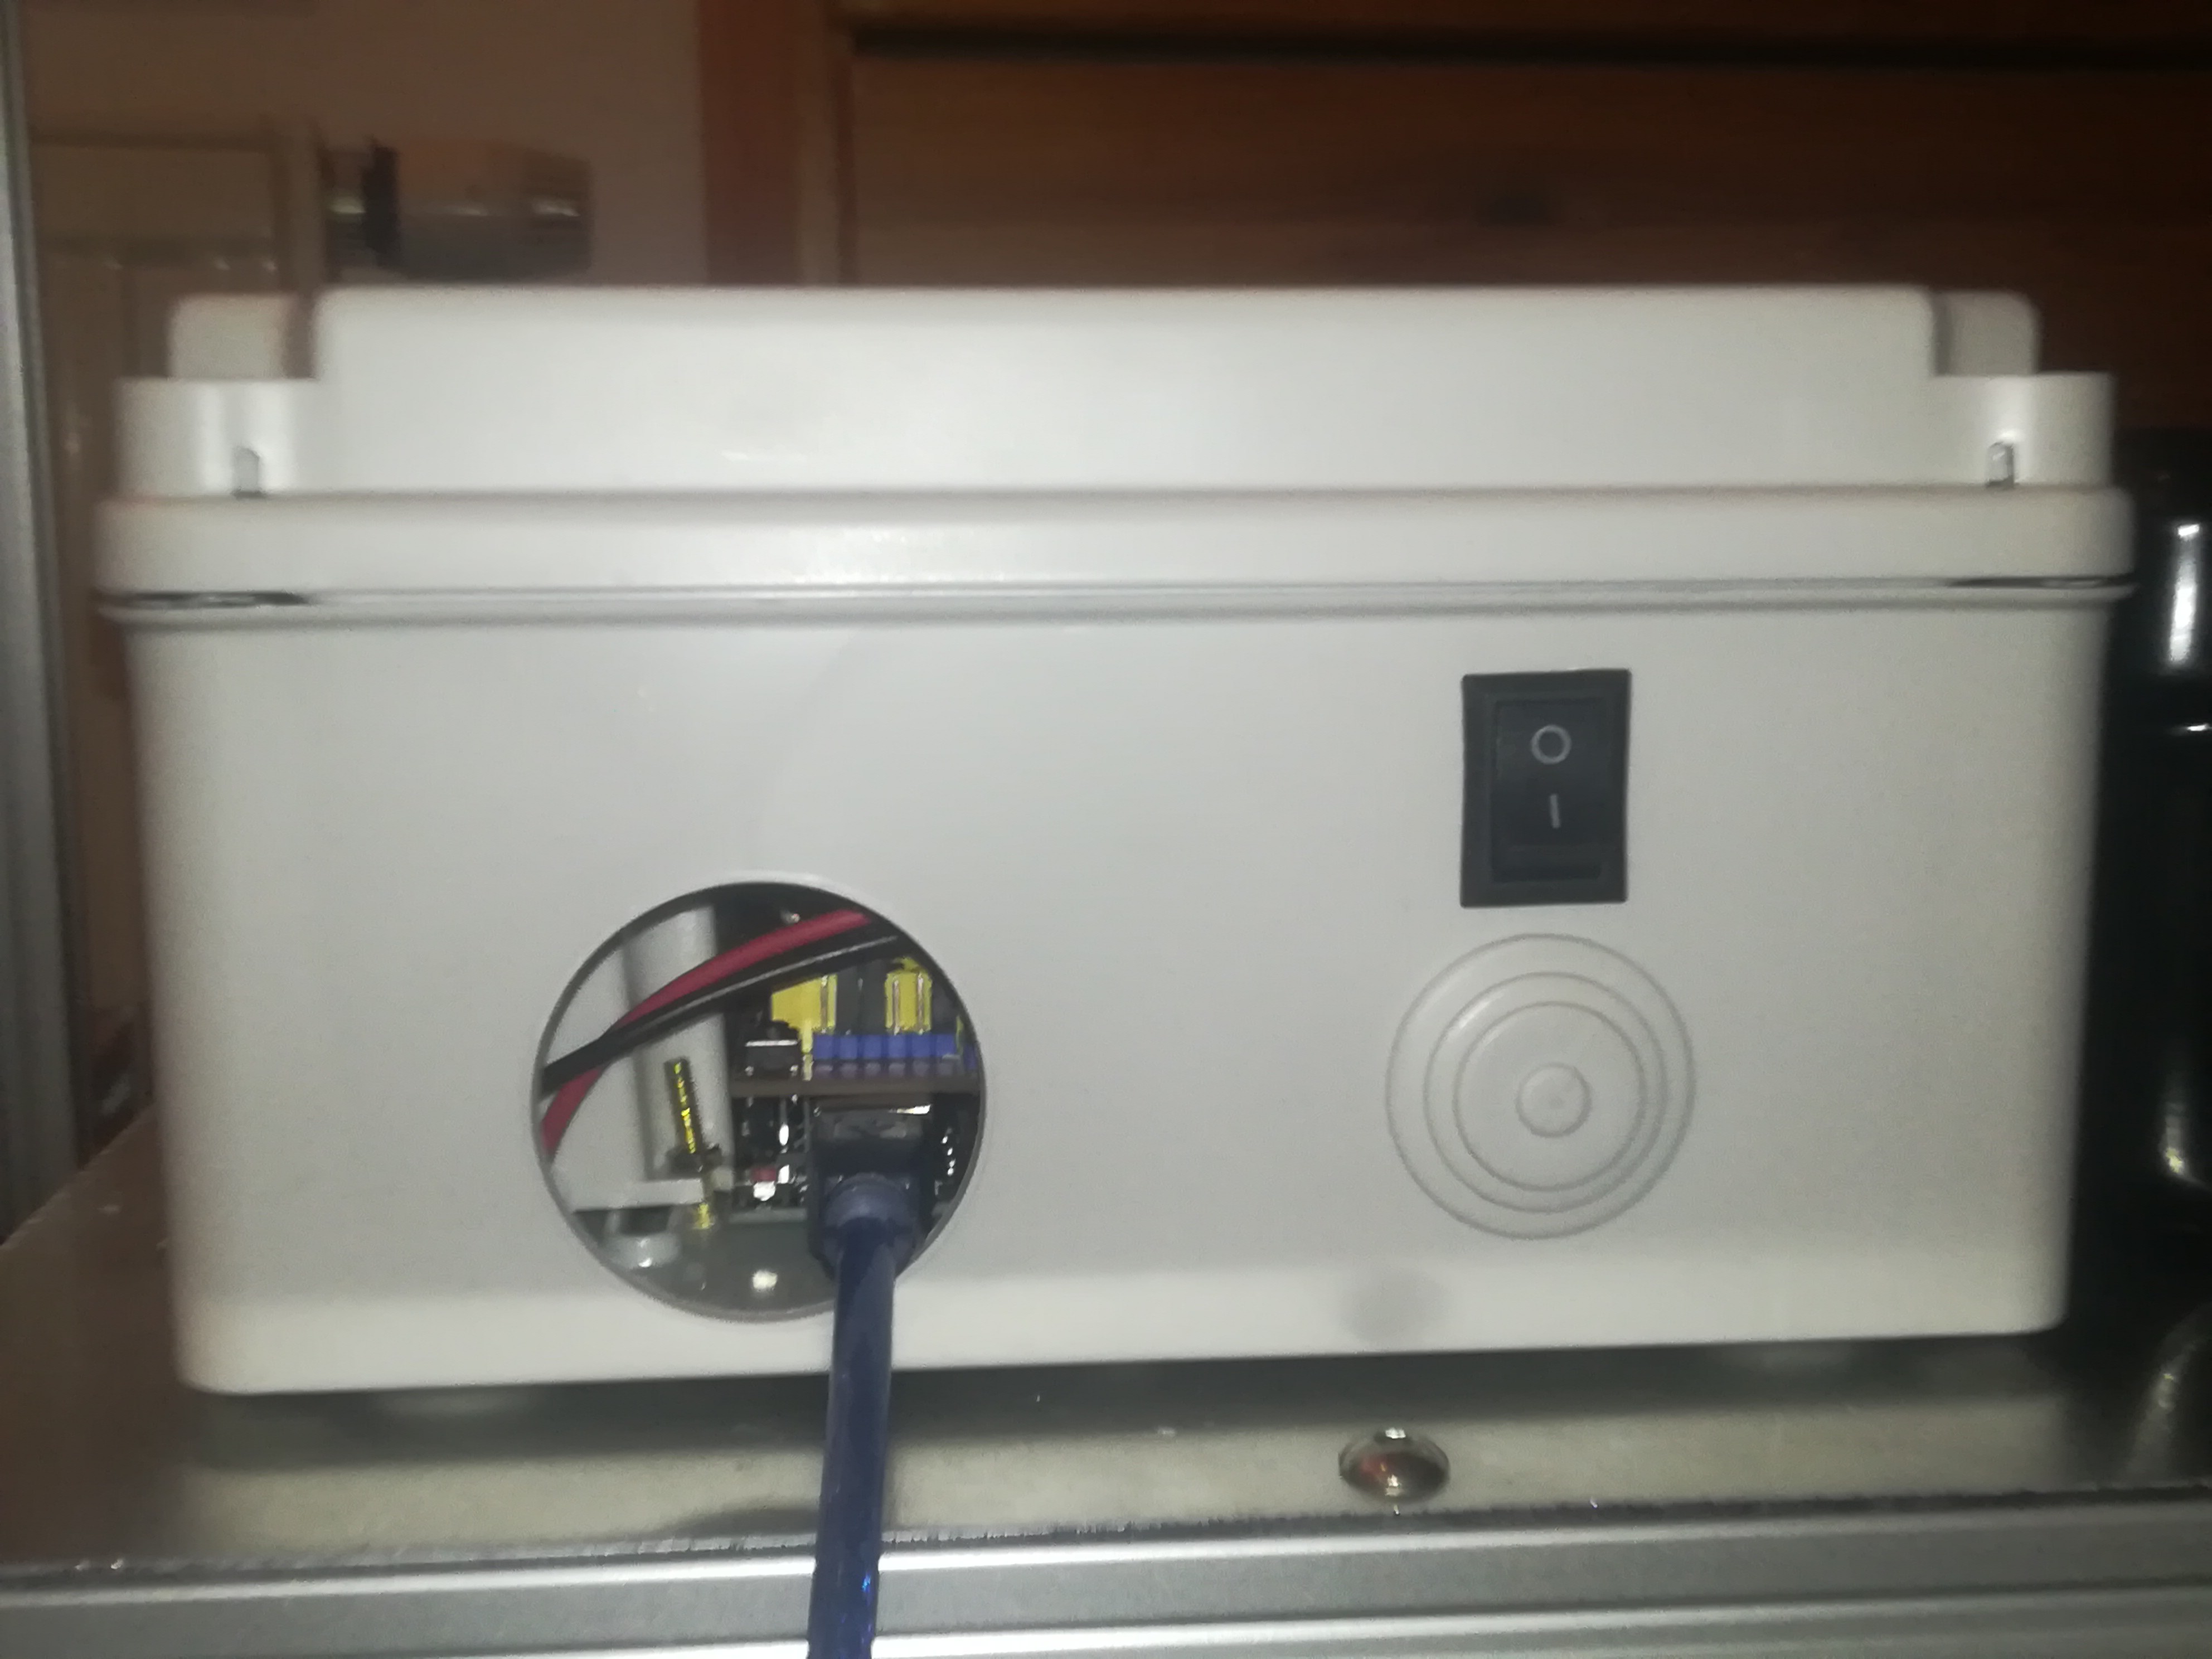
This switch could also be replaced with a key switch to add a safety feature.
With the red dot laser working and the machine working reliable I can write the complete instructions for building one.
In fact this is my first project until now which I could call completed, because everything I had in mind for it worked out :)
I spent the whole week designing, building and testing an autofocus unit.
This one has a MG966R servo motor which turned out to have a far too inaccurate positioning ability for an autofocus.
I also designed one for a NEMA 17 stepper motor, which I was about to build...
But I couldn't use my 3D printers at the time (because of noise and sleeping family members) and so I did some other testing.
I tested the prism cube with the 7W laser and was actually able to burn some wood with it. But through the cube almost the whole power of the laser gets wasted, so that the engraving speed has to be very low to work with it.
The second thing I've tested was how the distance from the workpiece to the galvo affects engraving.
I tested engraving at the farthest position and focused the laser as good as possible, but couldn't get any good results. The results were terrible and to get at least some burned lines the speed had to be very slow.
Next I tested a position closer to the galvos at which a max working area of 150*150mm was possible and the results were great even at 750mm/min.

That it just works by reducing the distance means not only that I wasted a whole week for building an autofocus, but it also means that the machine can be kept simple while working just fine at low distances.
I also added pins for RX and TX to the galvo converters, which should be for sending the autofocus their current position, but now they can be used for another task which would need a serial connection.
I will look further for a dichroic mirror to give the laser a red dot, but that will be the only upgrade (for now).
I thought about what can be improved on the machine to make it more reliable and to give it more features. So I'm currently testing some optical modifications.
One thing could be adding a red dot laser to show the laser position and the work area on a dry run like on other galvo laser machines.
I used to do it with the blue laser on lowest power, but through the safety glasses that I use the laser dot is barely visable at lowest power and using higher power would burn the material. So I think a red dot would be better.
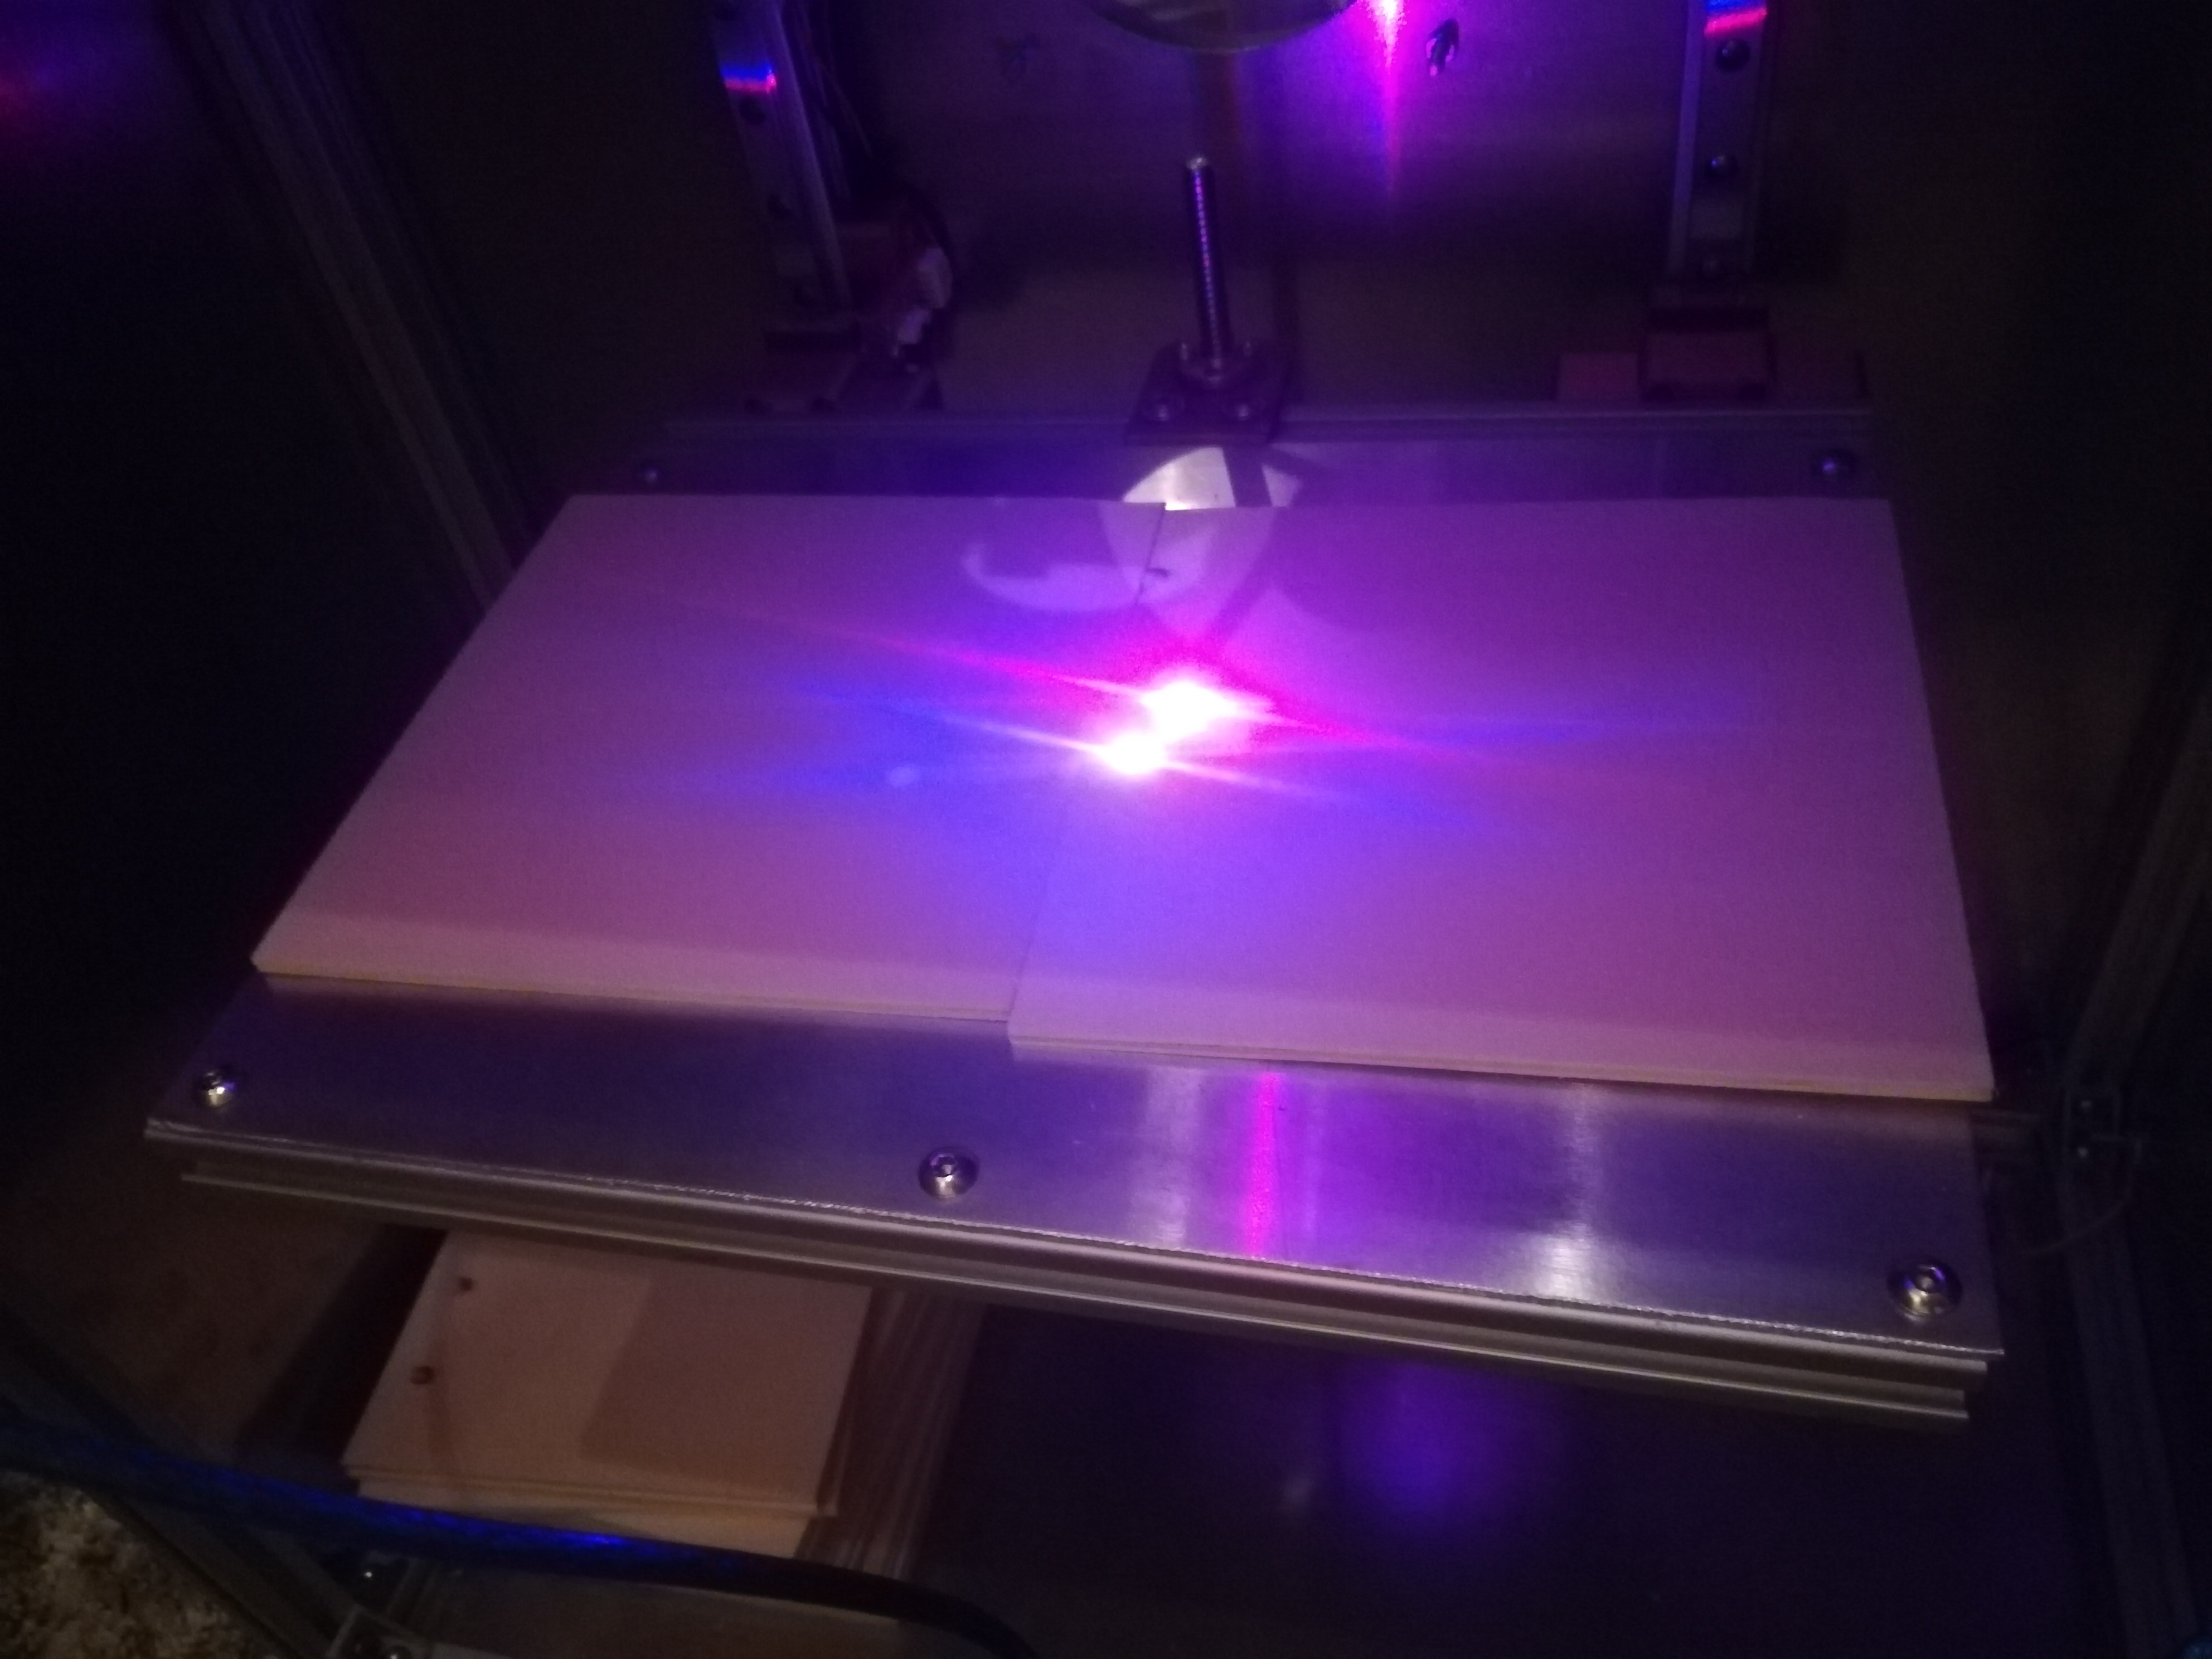
I did some testing with one of this projector prism cubes from Amazon and it worked to direct both laser beams to the galvo mirrors and to the work area.
The downside of the cube is that the lasers not only got reflected 90° to one side, but got also weaker reflected to the other 3 sides. So I think using a dichroic mirror (If I can find a cheap one) would be better.
What would be better than a Red Dot for the Galvo Laser? I think a Red Dot + Beam Distance Measurement can top it.
I tested out the cheapest laser distance meter I could find and got ... some results.
The meter I used couldn't give useful readings of the beam length over the prism the two galvo mirrors down to the workpeace, but its reading reacted to changes in the beam path like increasing or decreasing the distance between the workpiece and the galvo mirror.
So I think in general the hardware could give the right readings, but the software is not supposed to do so - what makes sense because the distance meter should show the distance to the next object it hits with the laser.
I will try to find a way to use the bare hardware and add something like a min distance after which the first measurement starts. I've seen something like this for the vl53l0x distance sensor (to use it behind a glass) and I think it could maybe be possible to add it to the distance meter software.
Update:
After reading some articles about it and testing some stuff I think it will likely make things worse to measure the beam distance, because of false readings and too low resolution.
So instead of that it want to try sending the DAC Value of each Converter board to another board which controls a fast lightweight focus axis which should be able to keep up with the galvo speed and I also want to add the red dot laser + dichroic mirror.
Just realized that the printer is already able to automatically set the right Z height.
Just place the workpiece under the endstop before homing and you get the right Z height for every workpiece thickness.
What's left is the red dot and the galvo focus correction.
I think I will leave the project as it is now.
Laser engraving and cutting works just as with a normal laser machine with the same power.
The only problem with this setup is, with the laser dot moving away from the center it gets out of focus. This is because the setup is missing a F-theta lens. I didn't use one because they are really expensive and I couldn't find one for 450nm wavelength.
̶m̶̶a̶̶y̶̶b̶̶e̶̶ ̶̶i̶̶t̶̶ ̶̶c̶̶o̶̶u̶̶l̶̶d̶̶ ̶̶b̶̶e̶̶ ̶̶p̶̶o̶̶s̶̶s̶̶i̶̶b̶̶l̶̶e̶̶ ̶̶t̶̶o̶̶ ̶̶c̶̶o̶̶m̶̶p̶̶e̶̶n̶̶s̶̶a̶̶t̶̶e̶̶ ̶̶f̶̶o̶̶r̶̶ ̶̶t̶̶h̶̶e̶̶ ̶̶f̶̶o̶̶c̶̶u̶̶s̶̶ ̶̶s̶̶h̶̶i̶̶f̶̶t̶̶ ̶̶b̶̶y̶̶ ̶̶c̶̶r̶̶e̶̶a̶̶t̶̶i̶̶n̶̶g̶̶ ̶̶g̶̶c̶̶o̶̶d̶̶e̶̶ ̶̶w̶̶i̶̶t̶̶h̶̶ ̶̶a̶̶ ̶̶l̶̶a̶̶s̶̶e̶̶r̶̶ ̶̶s̶̶o̶̶f̶̶t̶̶w̶̶a̶̶r̶̶e̶̶ ̶̶w̶̶h̶̶i̶̶c̶̶h̶̶ ̶̶c̶̶a̶̶n̶̶ ̶̶m̶̶o̶̶v̶̶e̶̶ ̶̶t̶̶h̶̶e̶̶ ̶̶z̶̶ ̶̶a̶̶x̶̶i̶̶s̶̶ ̶̶a̶̶c̶̶c̶̶o̶̶r̶̶d̶̶i̶̶n̶̶g̶̶ ̶̶t̶̶o̶̶ ̶̶p̶̶o̶̶s̶̶i̶̶t̶̶i̶̶o̶̶n̶̶.̶̶ ̶̶b̶̶u̶̶t̶̶ ̶̶a̶̶t̶̶ ̶̶t̶̶h̶̶e̶̶ ̶̶m̶̶o̶̶m̶̶e̶̶n̶̶t̶̶ ̶̶i̶̶ ̶̶h̶̶a̶̶v̶̶e̶̶ ̶̶n̶̶o̶̶t̶̶ ̶̶t̶̶h̶̶e̶̶ ̶̶c̶̶o̶̶d̶̶i̶̶n̶̶g̶̶ ̶̶s̶̶k̶̶i̶̶l̶̶l̶̶s̶̶ ̶̶t̶̶o̶̶ ̶̶w̶̶r̶̶i̶̶t̶̶e̶̶ ̶̶o̶̶n̶̶e̶̶,̶̶ ̶̶s̶̶o̶̶ ̶̶i̶̶ ̶̶w̶̶i̶̶l̶̶l̶̶ ̶̶l̶̶e̶̶a̶̶v̶̶e̶̶ ̶̶i̶̶t̶̶ ̶̶a̶̶s̶̶ ̶̶i̶̶t̶̶ ̶̶i̶̶s̶̶ ̶̶f̶̶o̶̶r̶̶ ̶̶n̶̶o̶̶w̶̶.̶
Update:
Just had an better idea:
Maybe a focus lens on a motorized carriage could keep the focus right while the beam lenght (lenght between galvo mirror and workpiece) changes.
With an autofocus a Z axis would no longer be necessary for different workpiece thicknesses.
I think I will add that on the next galvo laser project.
I added the .stl files and the .ino file for the converter board and will add the components list soon.
If someone is interested in building one and needs additional infos let me know :)
(If there will be more interest in it I could also write building instructions for it.)
I replaced the 2500mW laser with a 7000mW laser for faster engraving/cutting speed.
And I also added aluminum plates to the sides, the bottom and the back and added a fan for the exhaust to the backplate.
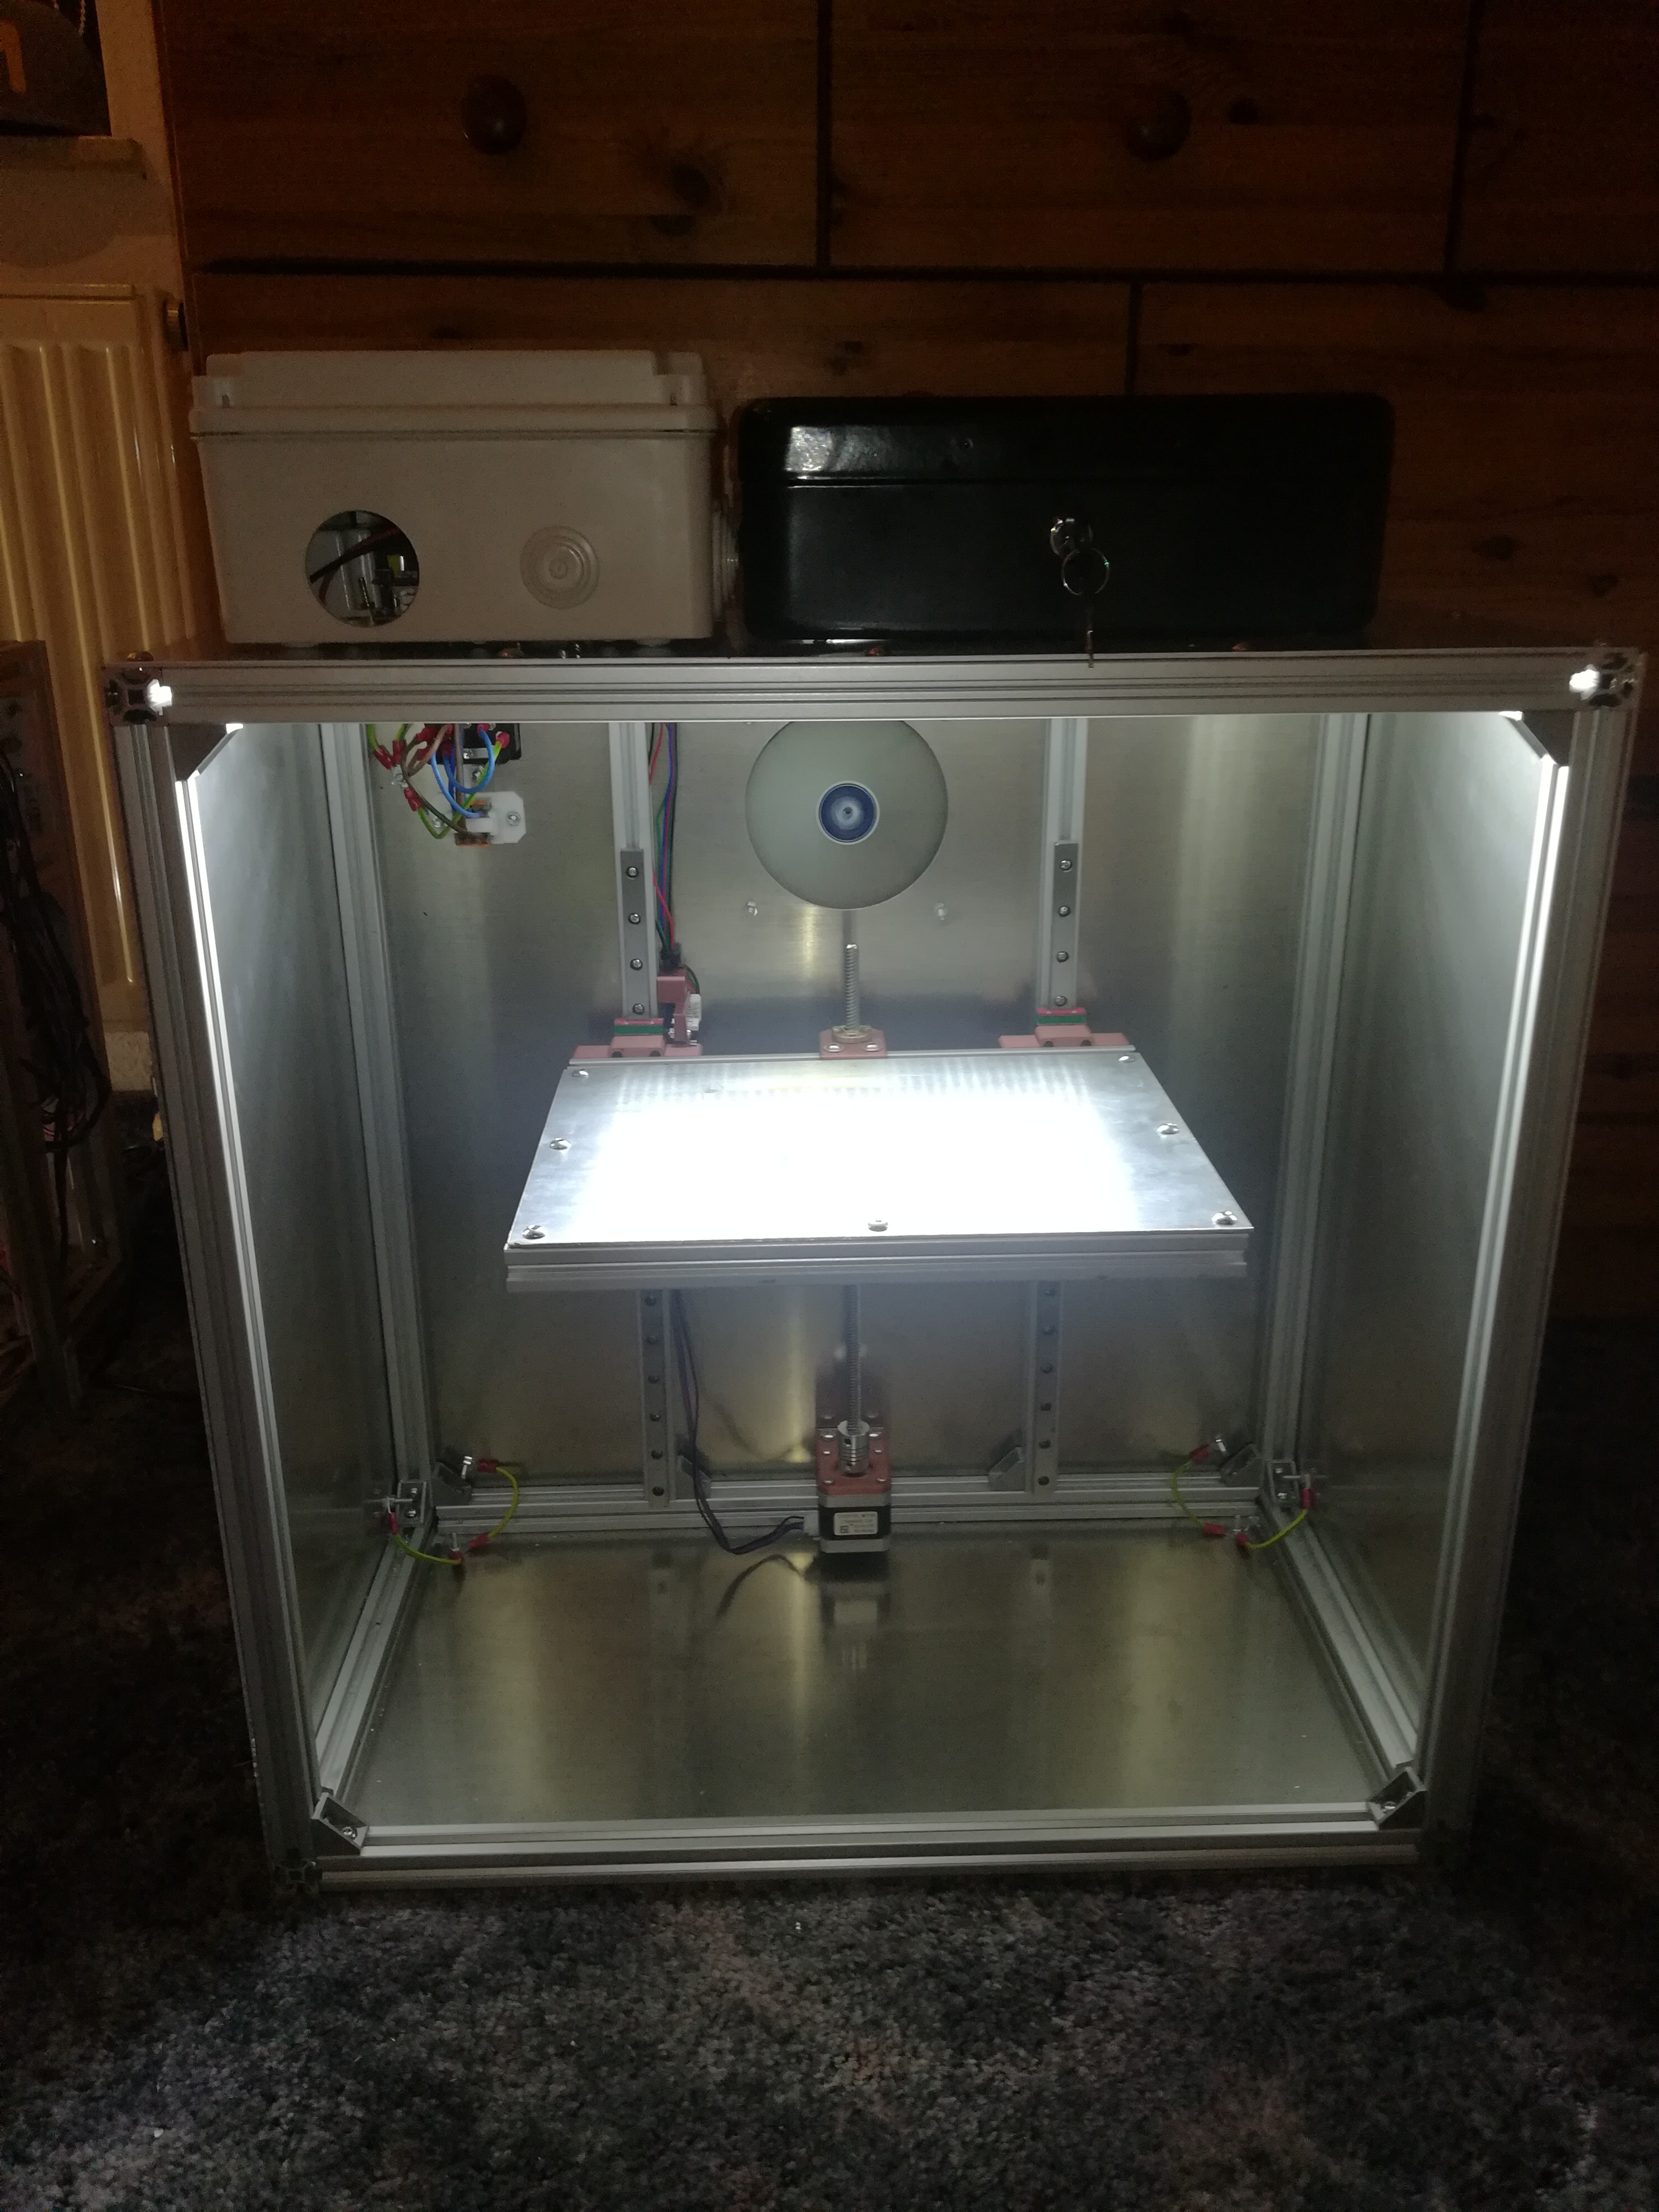
The machine is now ready for engraving (and cutting of thin material).
The galvo assembly could also be used for 3D printing in a SLS or SLA 3D printer.
Maybe I should do this next...
To get the cutted and engraved pattern to match the desired dimensions, the machine needs some alignment.
I started with aligning the galvos in the galvo assembly.
On the Z axis as well as on the both Step/Dir to Galvo Converters there is an endstop for repeatable positioning.
For aligning them I first homed everything and moved the galvos in the center of the axis. Then I aligned the two galvos in the assemby with the laser on lowest power, so that the laser dot hits exactly vertical the center of the machine. Then I tightened the screws of the galvo assembly, to hold them in place.
Next I mounted the Z endstop on a fixed position - the best distance would be the least distance needed to use the whole area and have enough clearance to drive the Z axis down for thicker workpieces. You can test it by moving the galvos with the laser at lowest power via your laser software to see how far they can move.
After that I did test cuts and measured them to see whether the dimensions are right and changed the half_axis_length on both converters until the dimensions were as they should be.
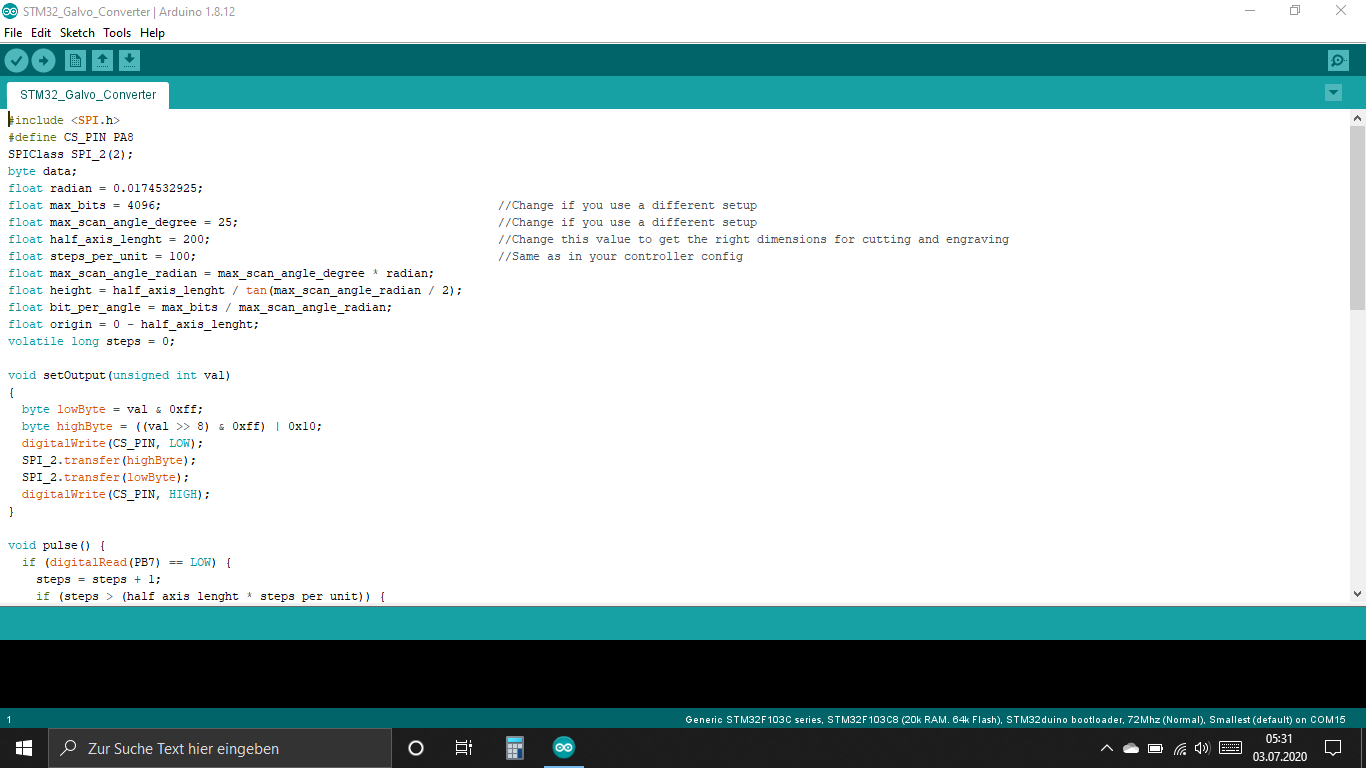
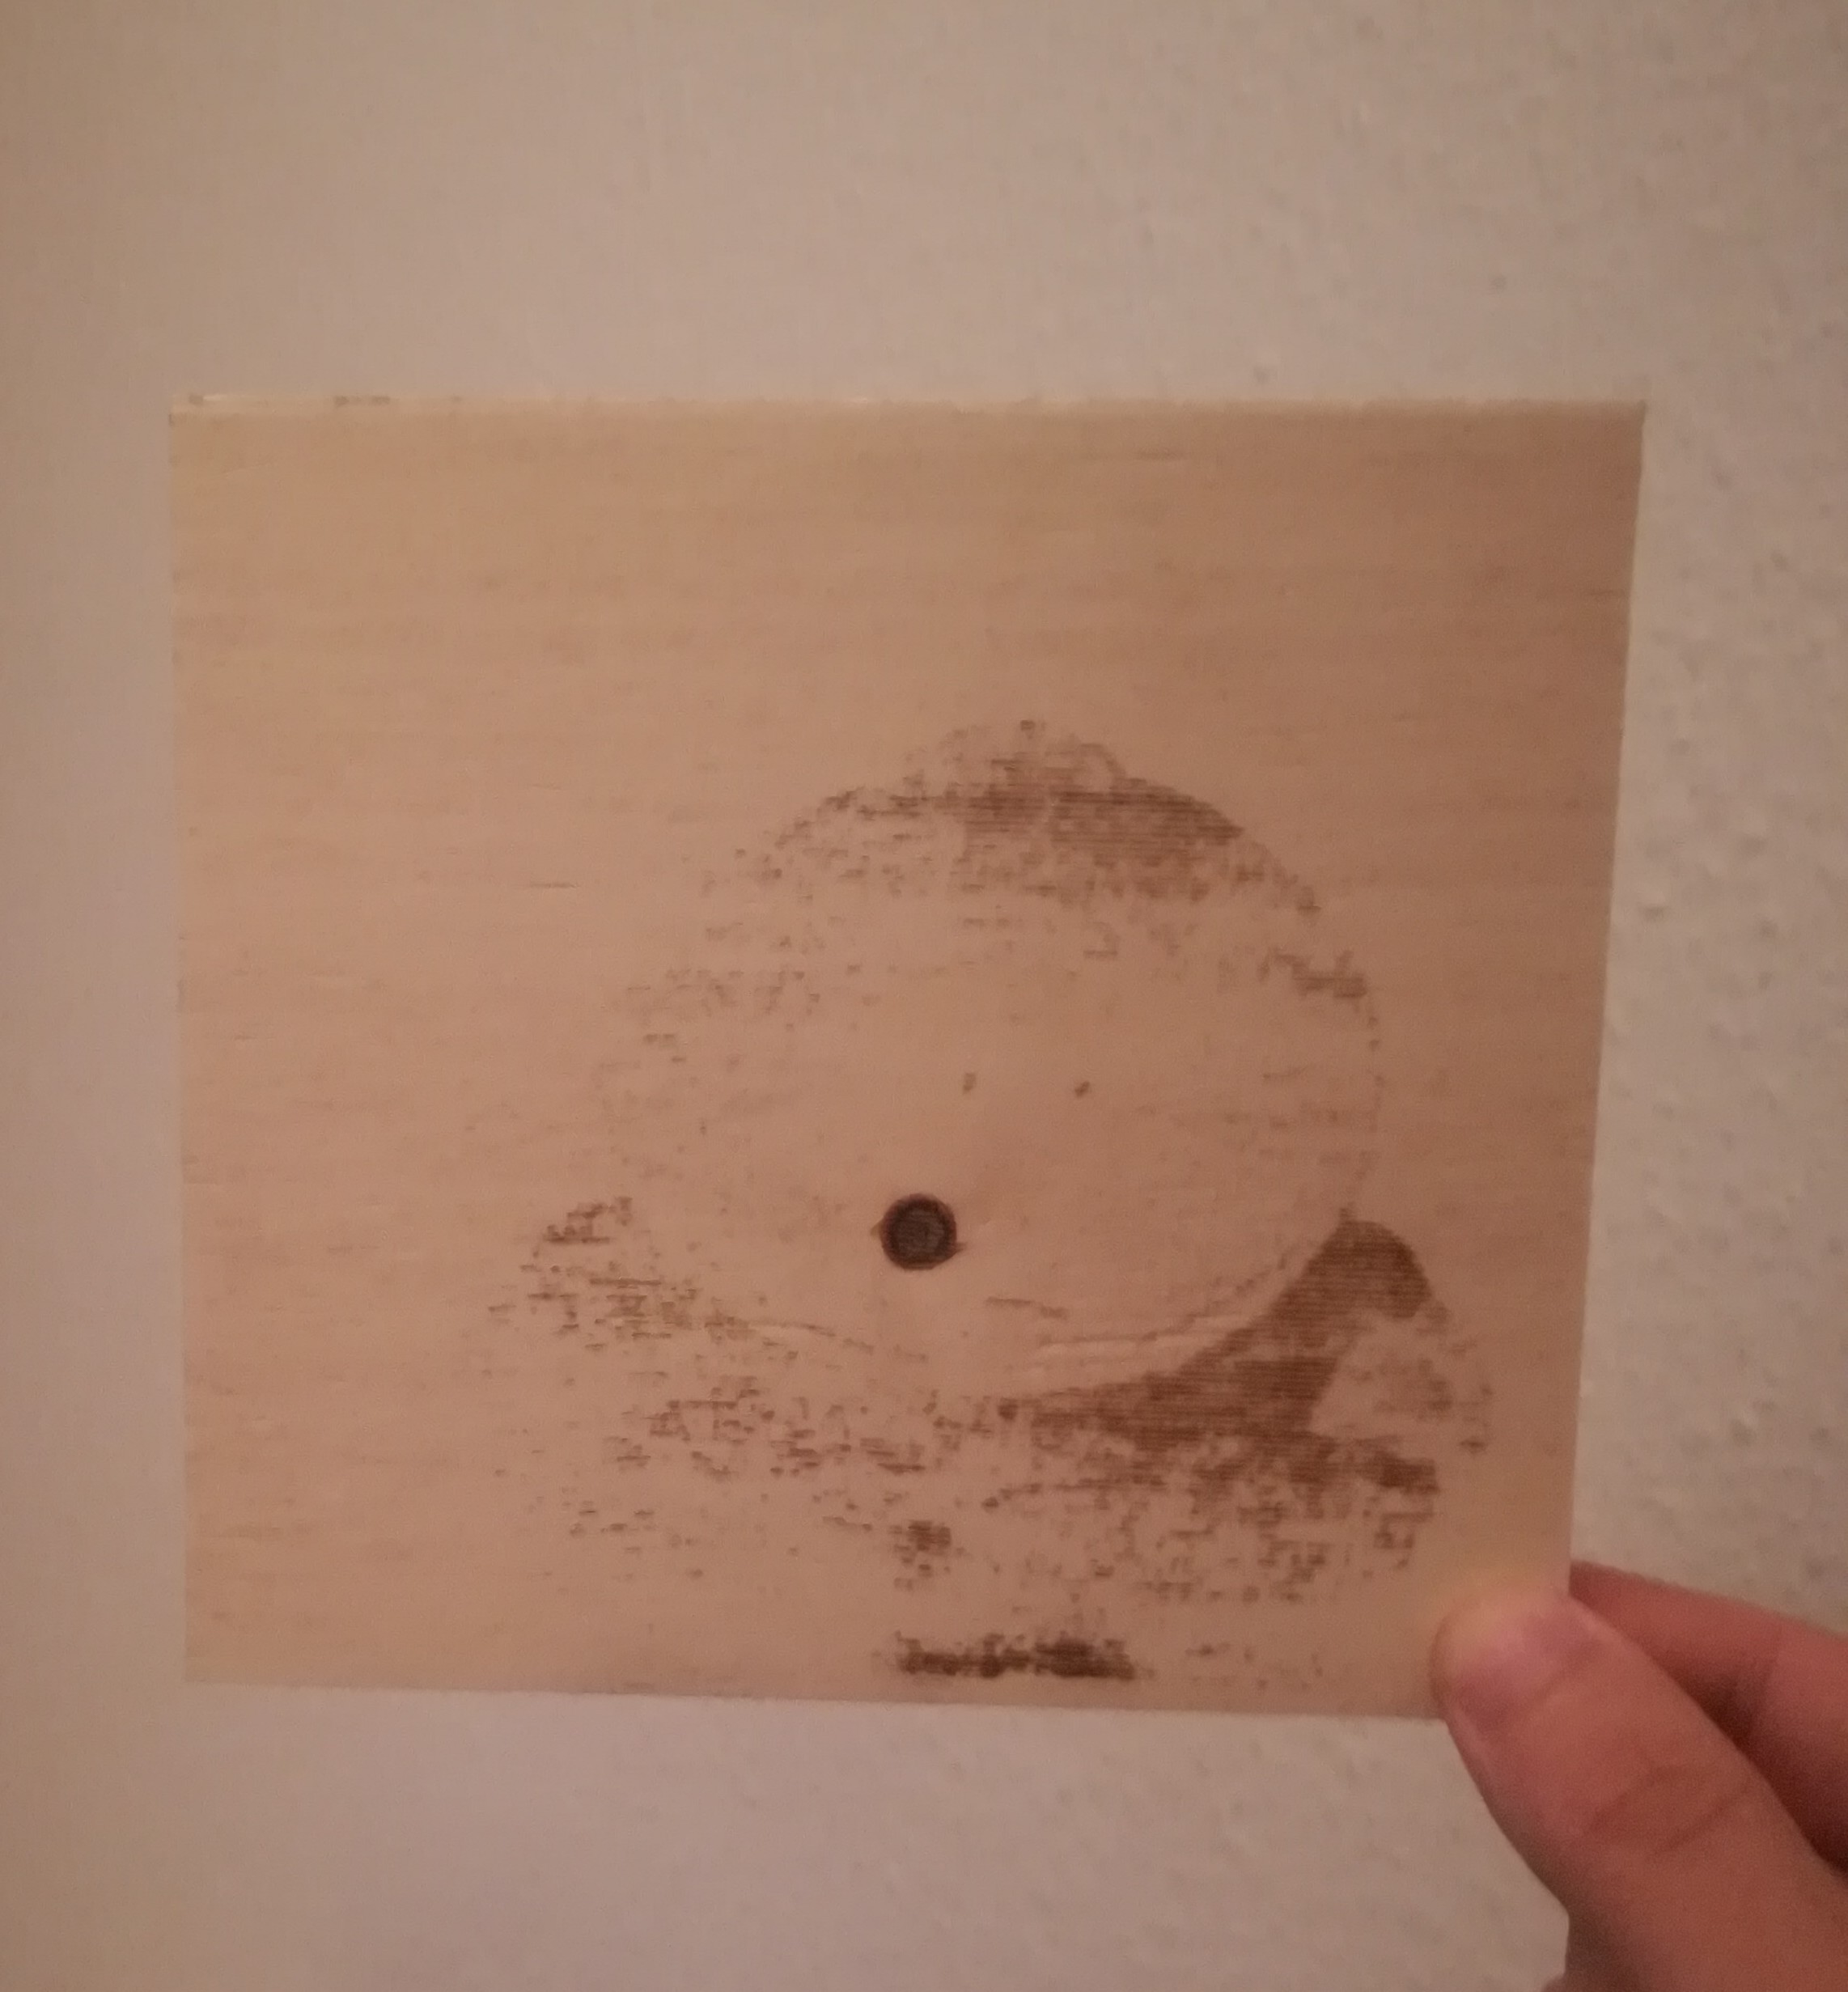

So I would say - The machine works and can be used, but 2500mW are too less for benefiting from the galvo speed (because the laser needs too long to burn the material). There is also the downside that without using an expensive F-Theta lins the focus changes from position to position which leads to different dot sizes and burn intensity. But if that's no problem the laser machine could be a good point to start if you build another galvo laser cutter/engraver or SLS 3D printer.
I think the next thing will be testing a more powerful laser and mounting side walls to the machine frame.
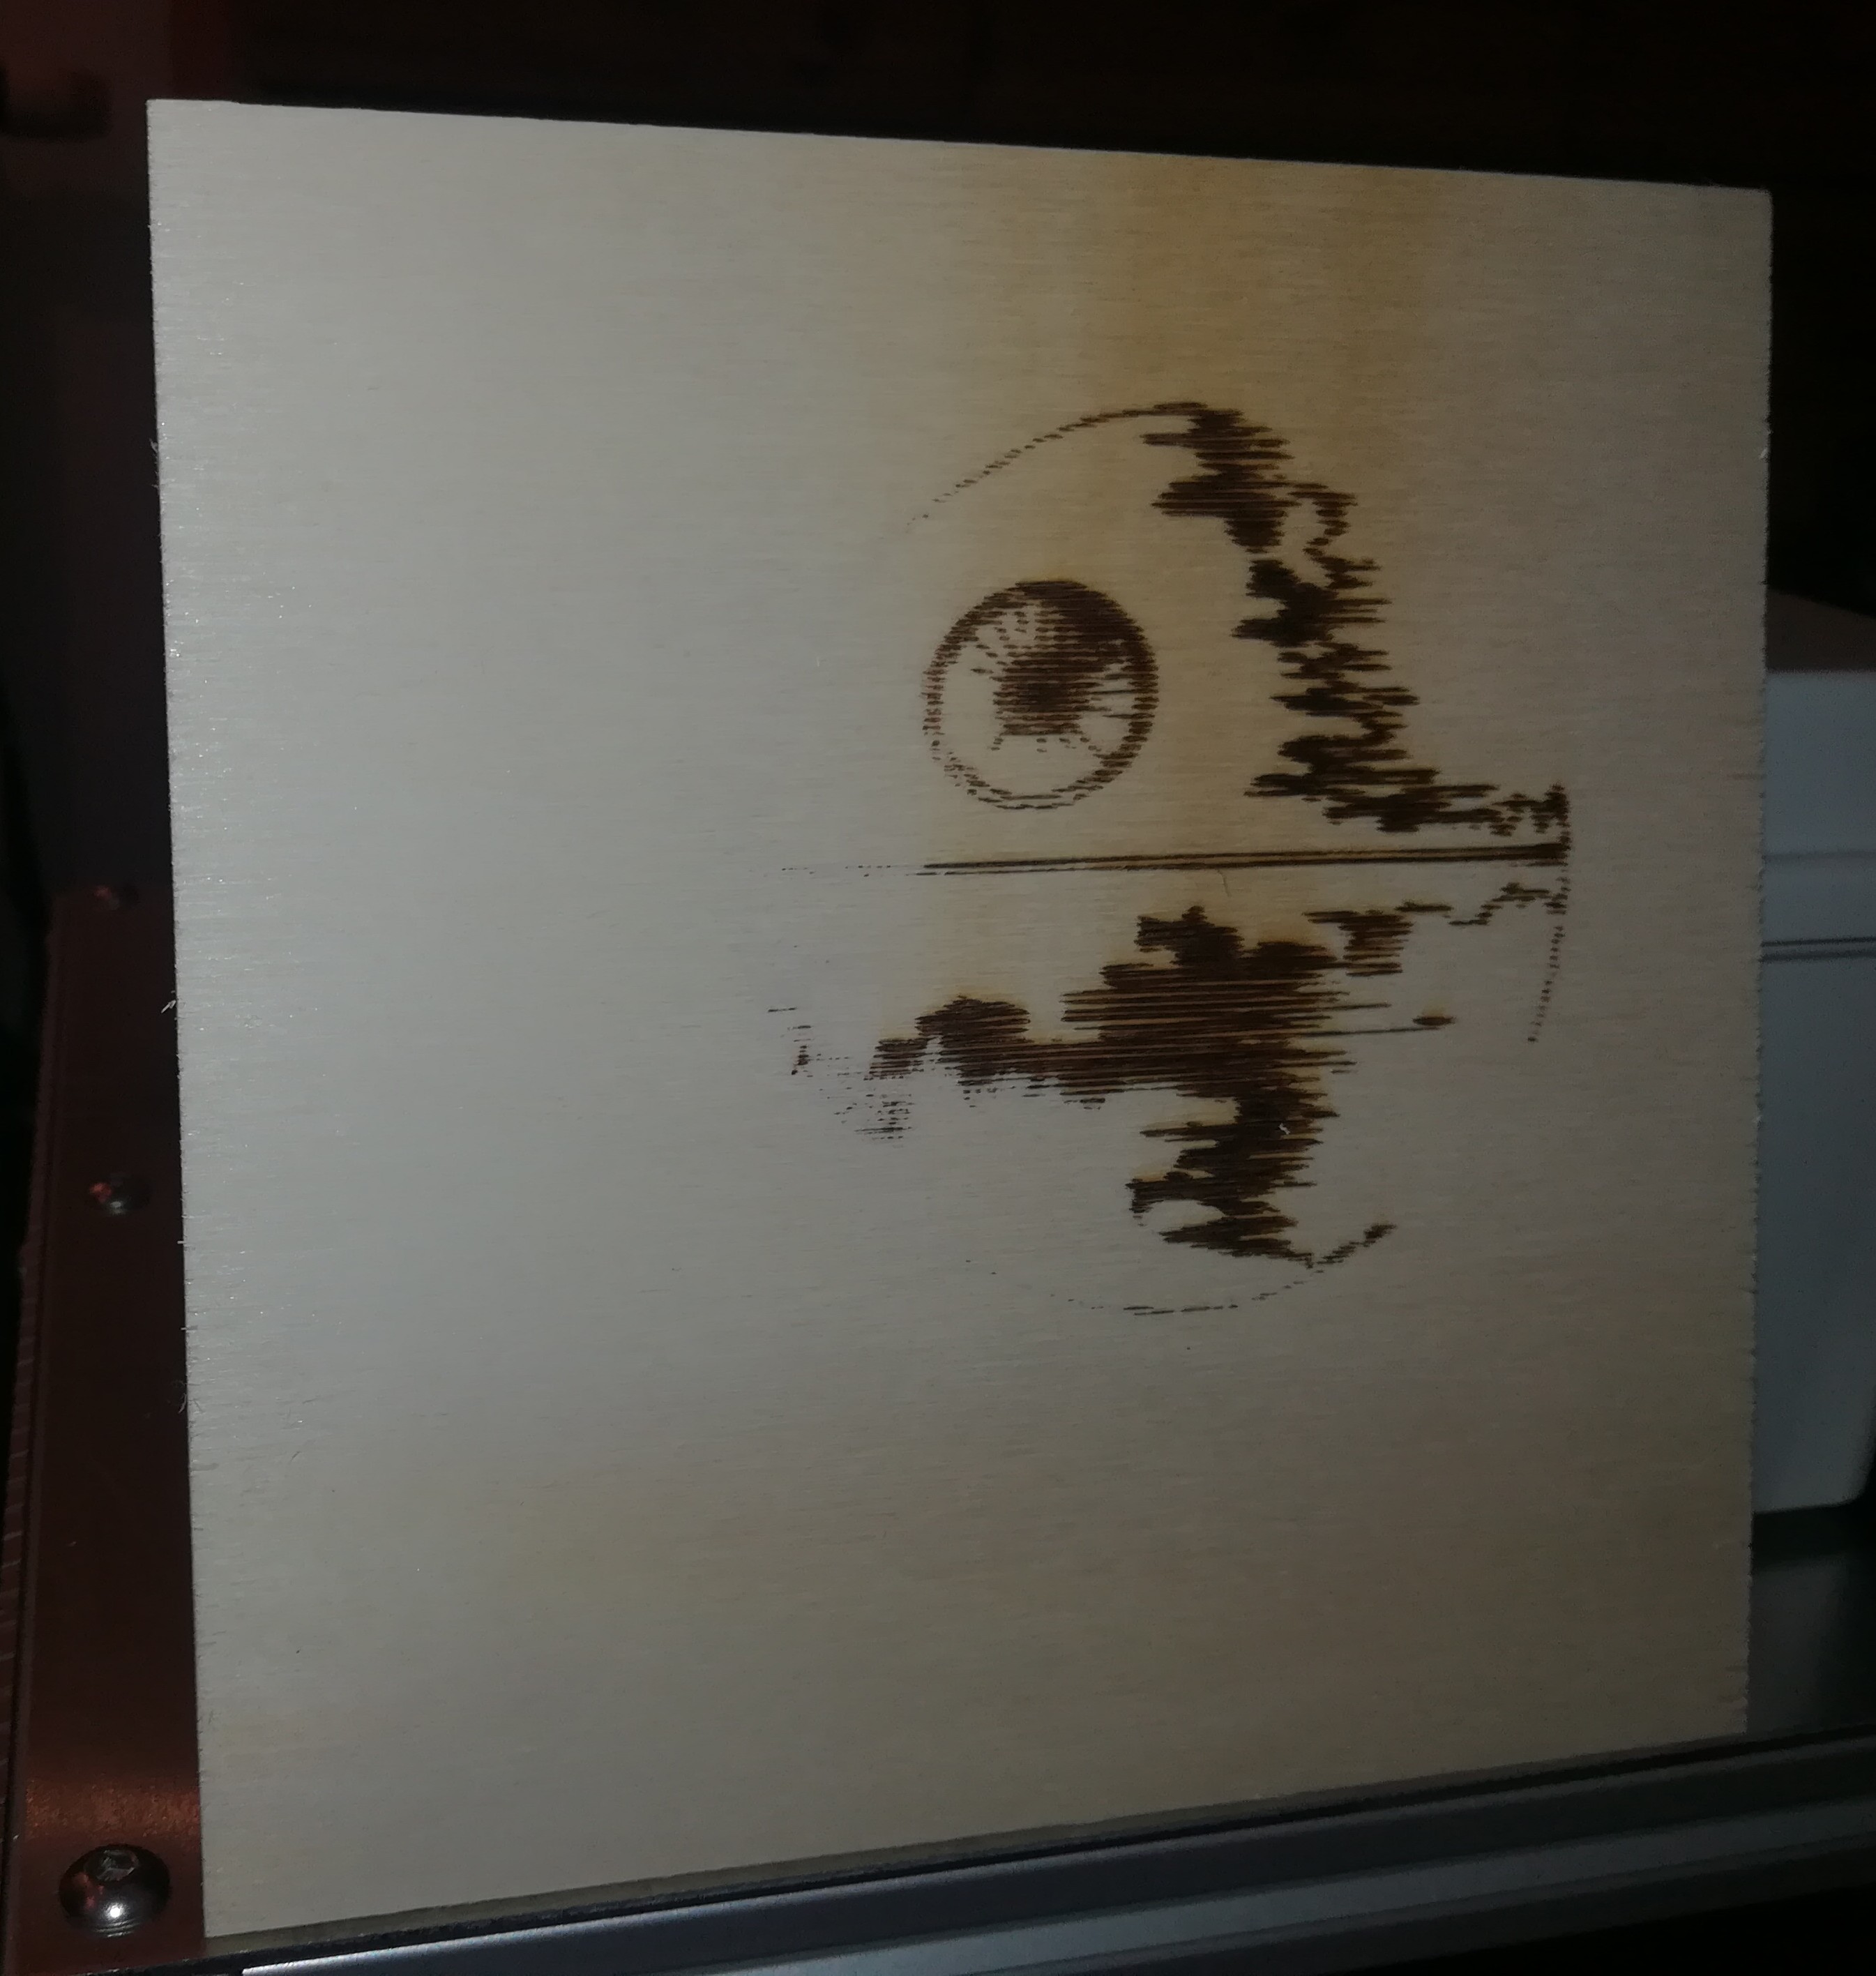
Two test runs of the new laser engraver with the 2500mW laser. It seems like the laser is a bit to weak for fast engraving and maybe a more powerful laser would be better. I think I will try a 5500mW laser next.
The downside of a more powerful laser could possibly be, that it could damage the mirrors or heat them up to much. They are just normal chinese galvo mirrors glued onto the galvo shaft - not specialized cutting/engraving laser mirrors.
I also couldn't find special 450nm galvo mirrors anywhere.
The next thing will be aligning everything, to get the dimensions right.
(All axis have endstops so it should be possible by aligning the galvos and mounting the Z endstop on the right position.)
At the moment I'm building a machine frame for testing and also to get a working machine if everything works as planned.
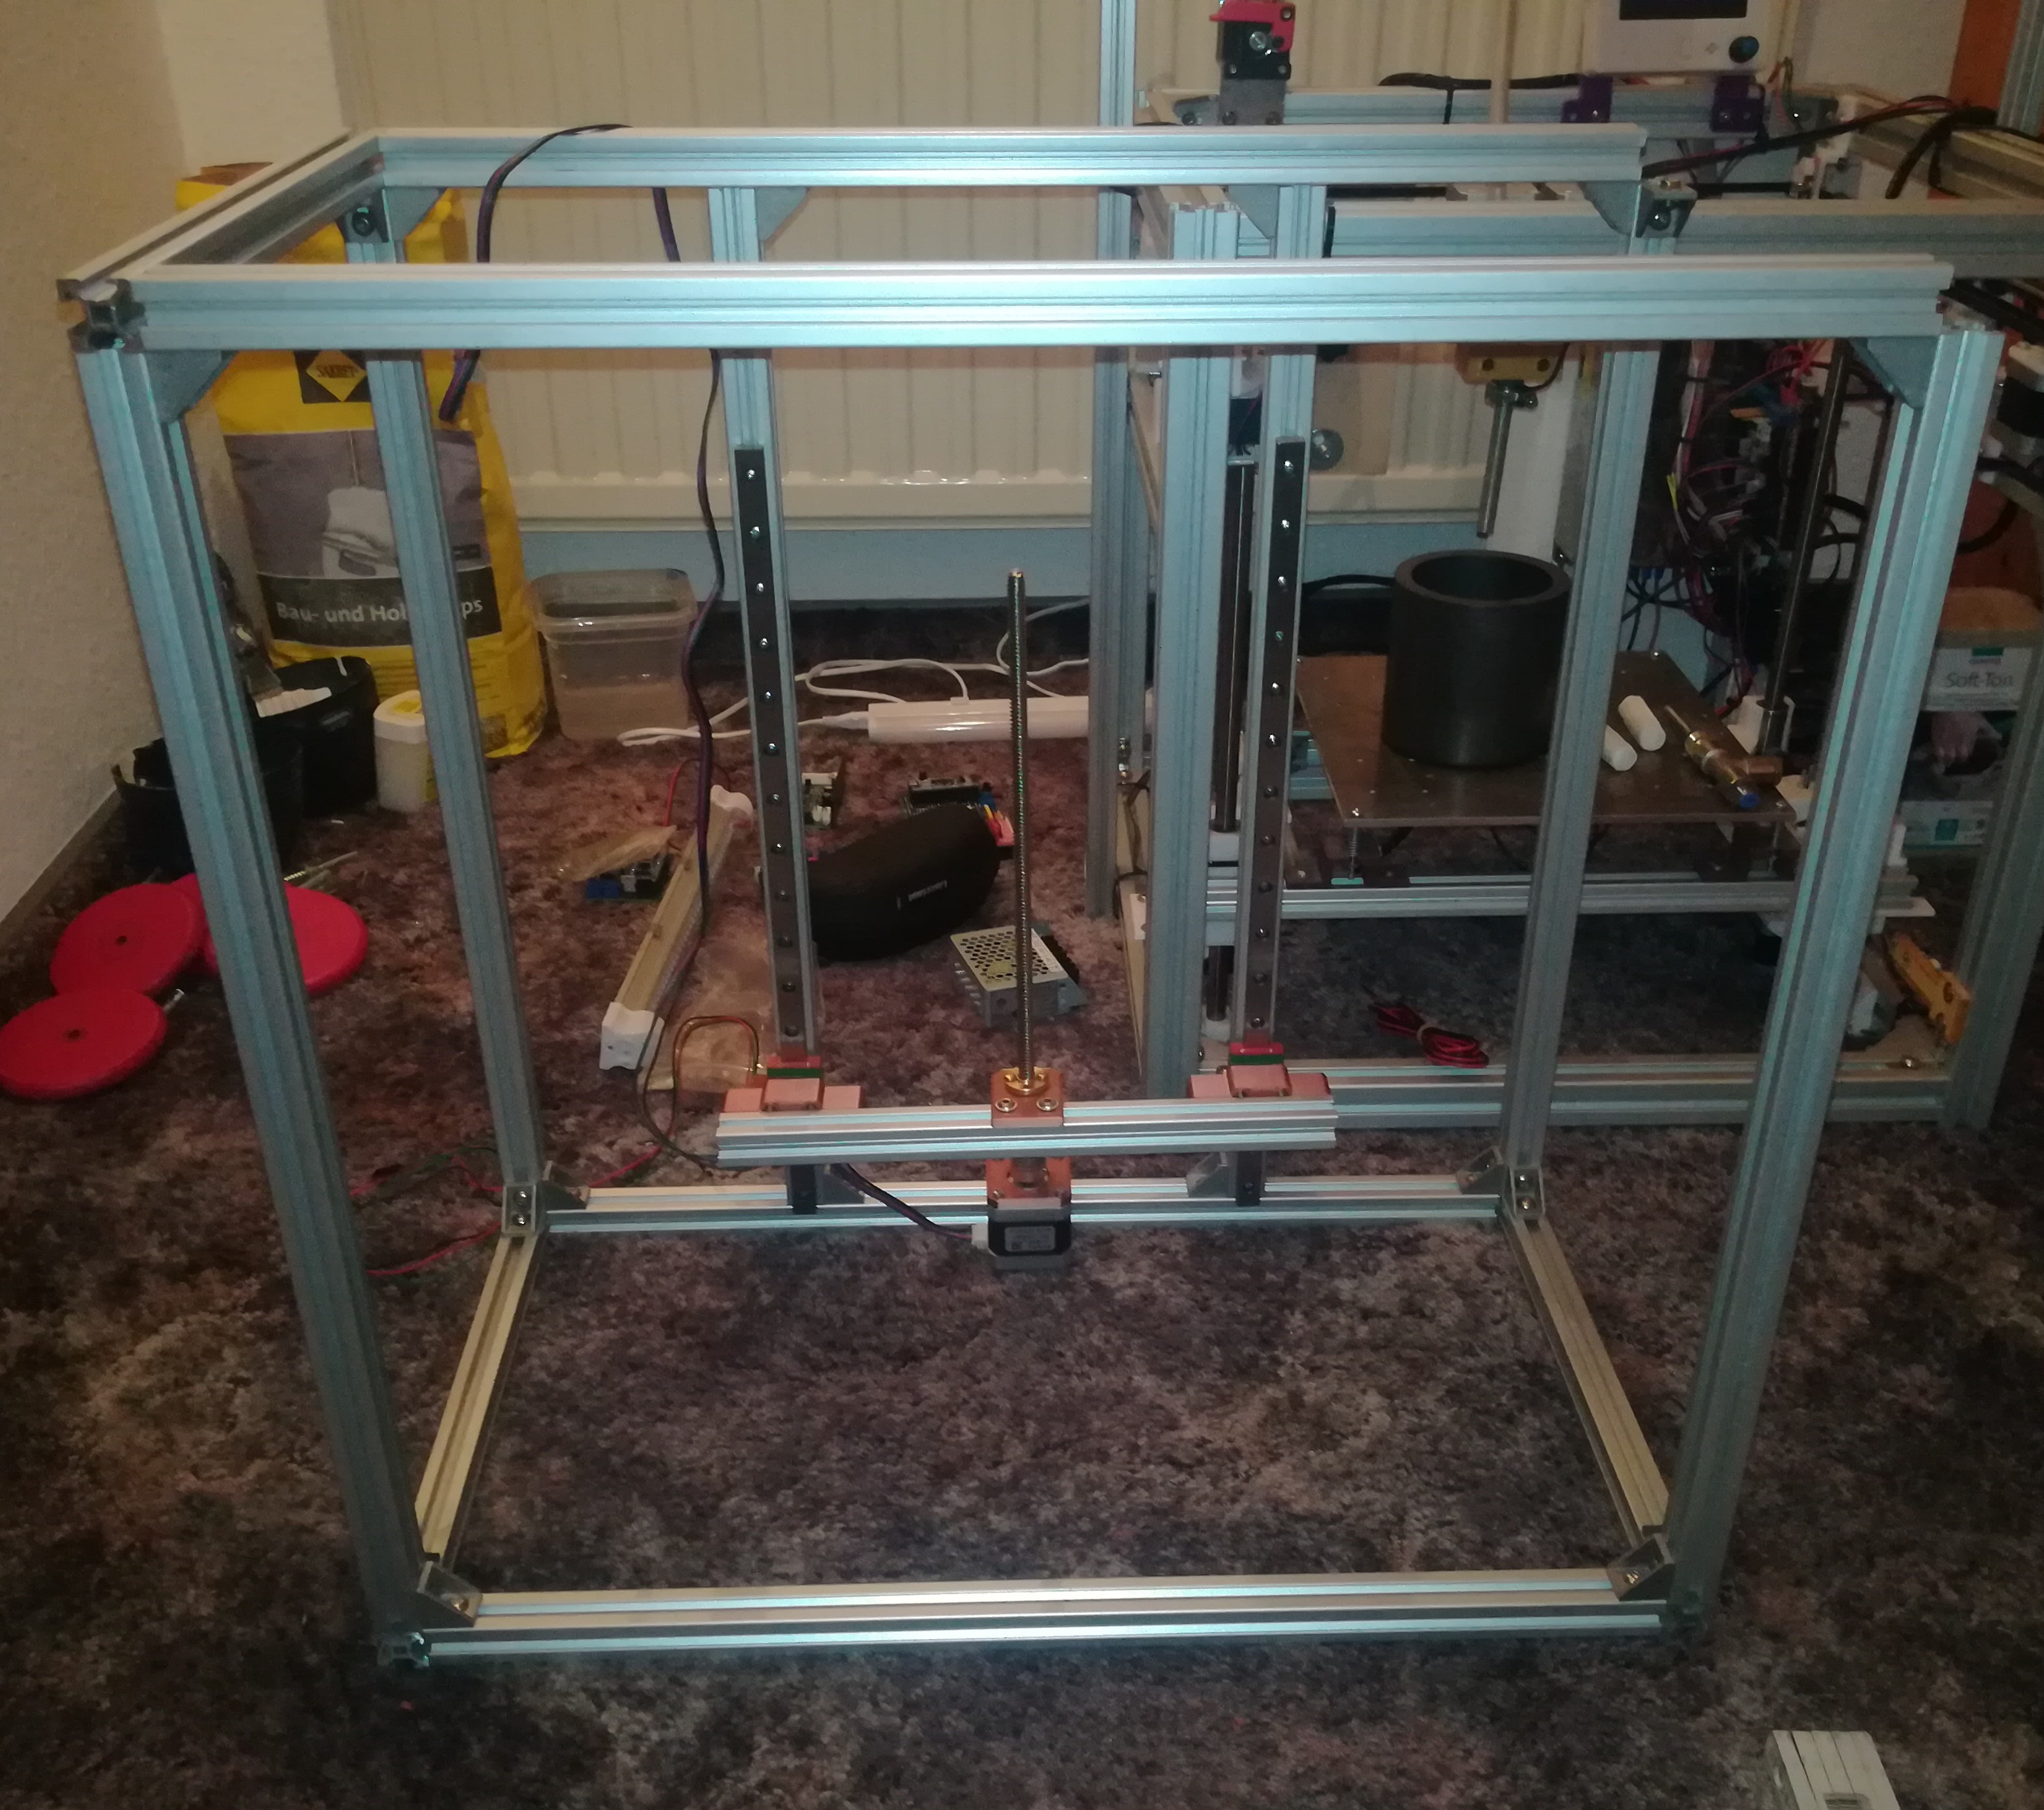
I had two MGN12H linear rails laying around so I used them for the Z axis. They are far too long - 200mm or even shorter would have been enough for planned max workpiece thickness of 50mm.
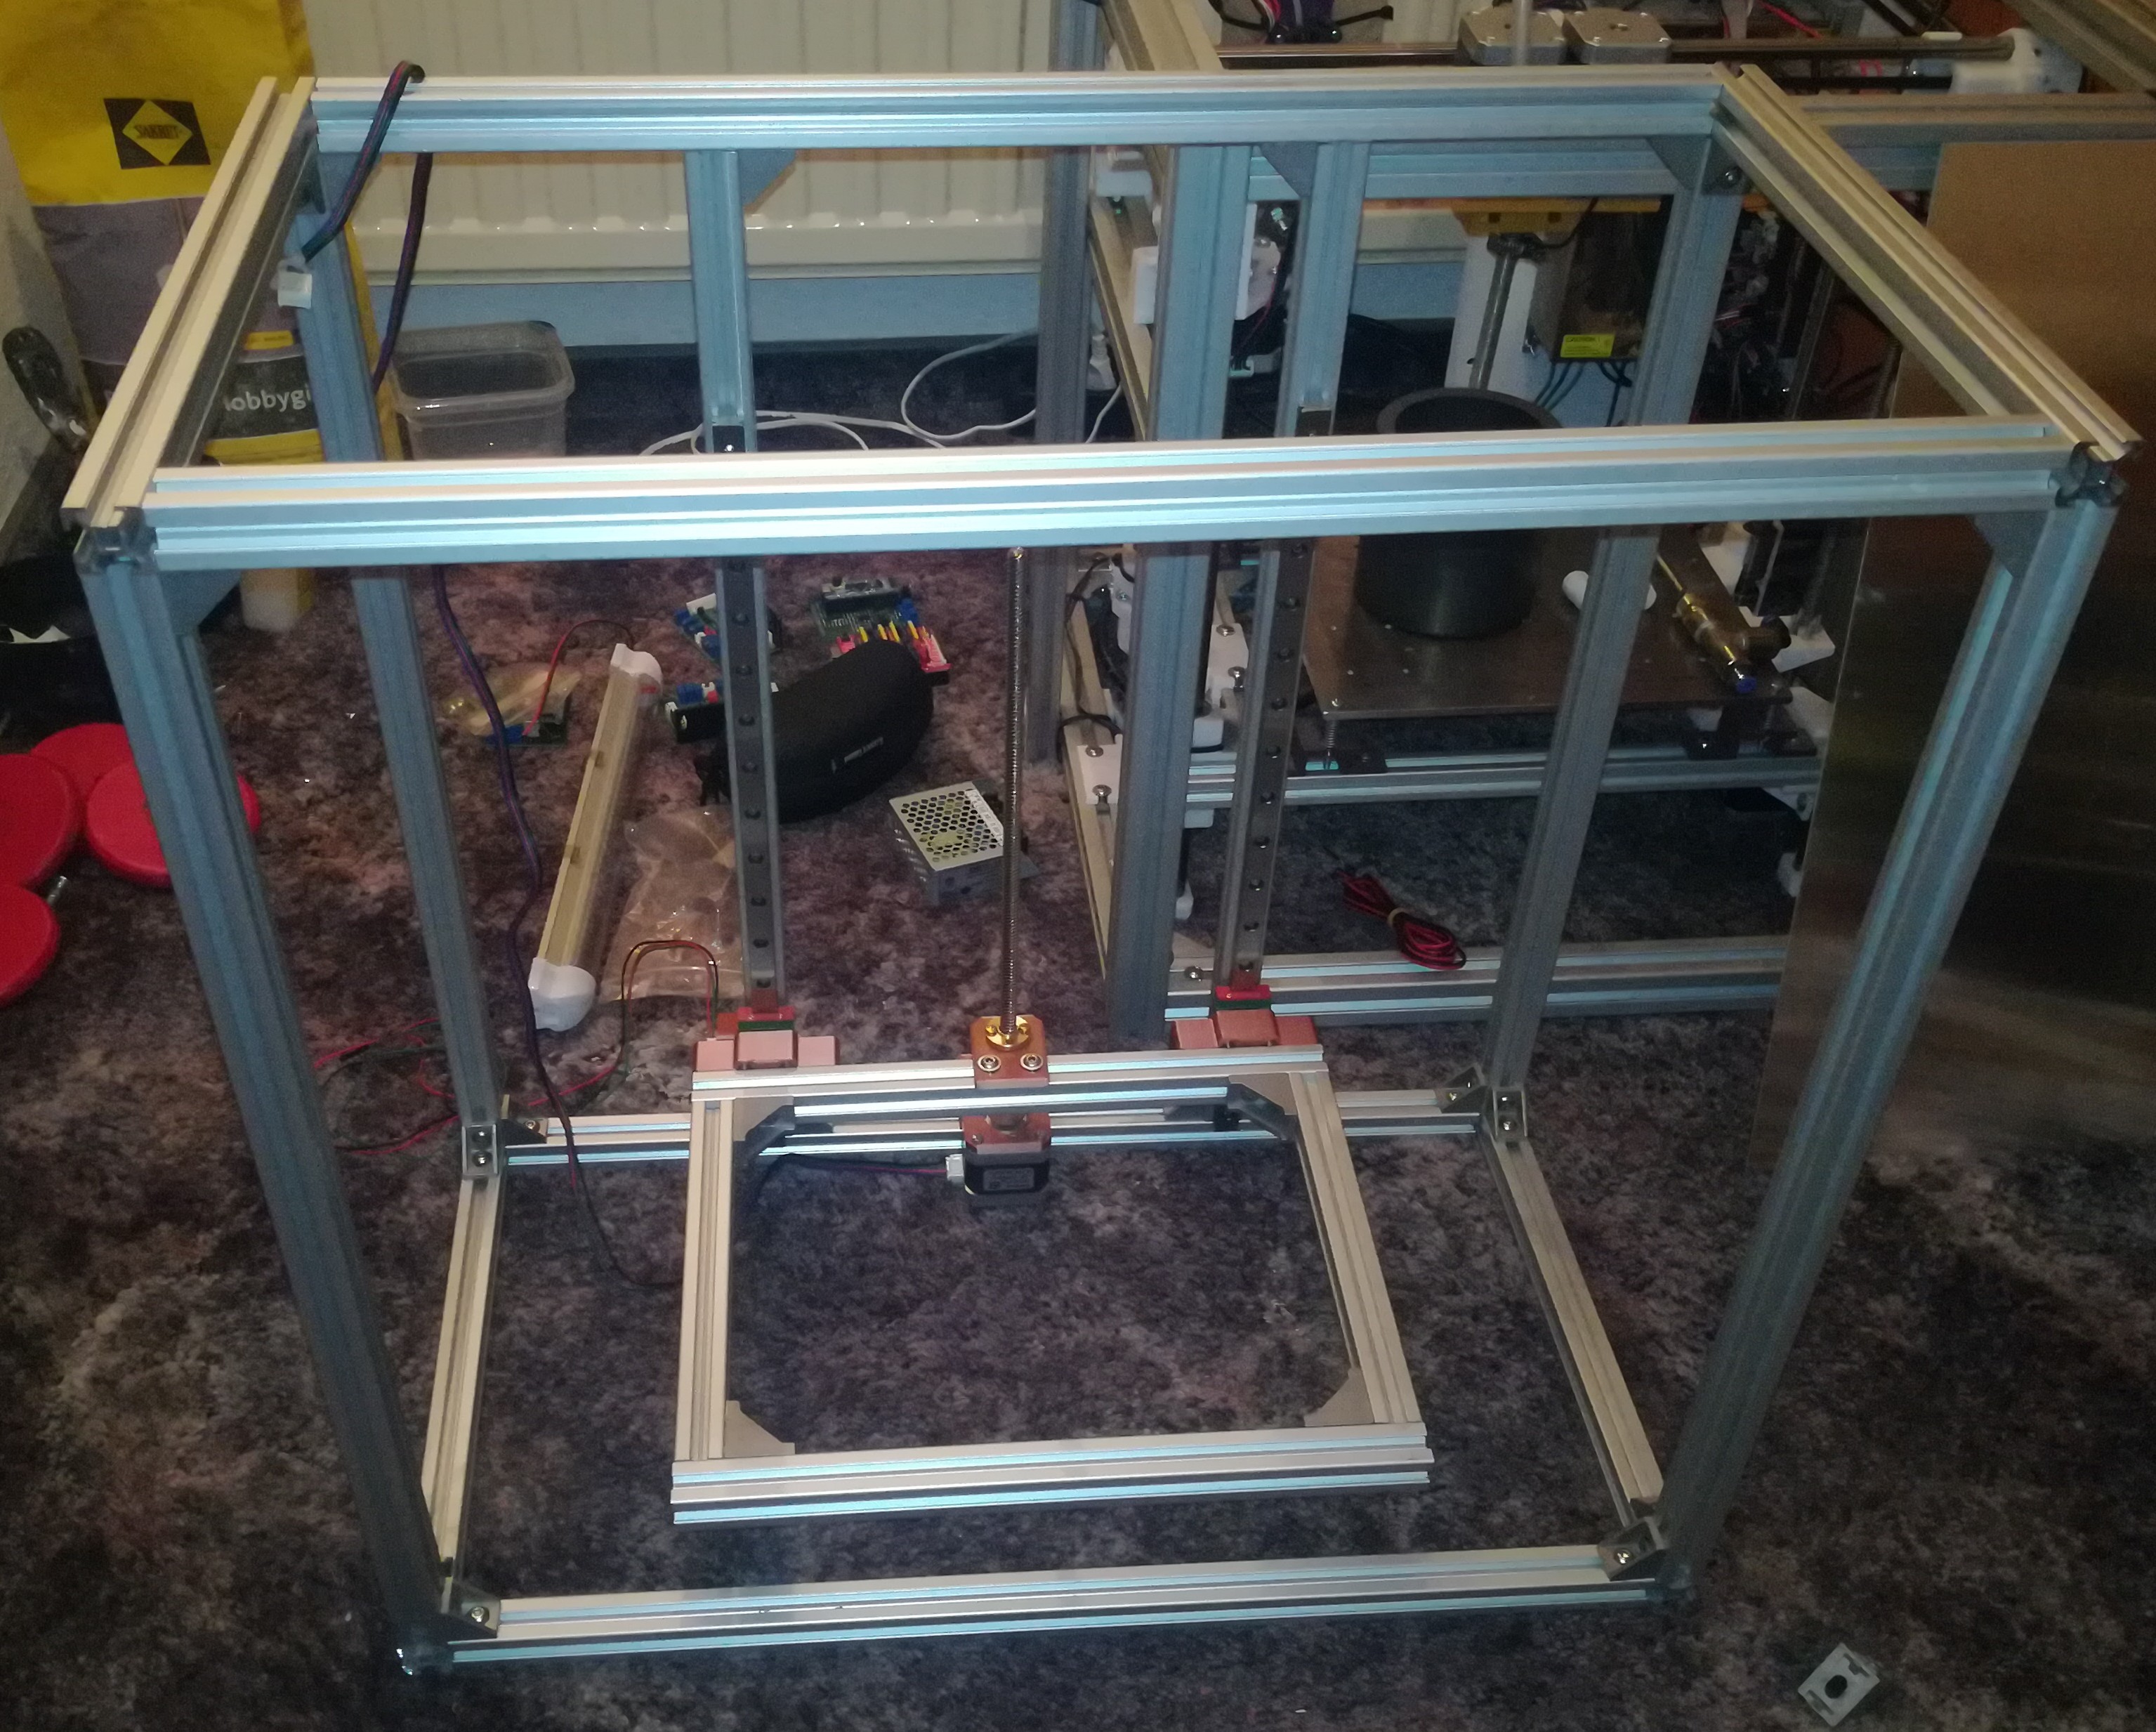
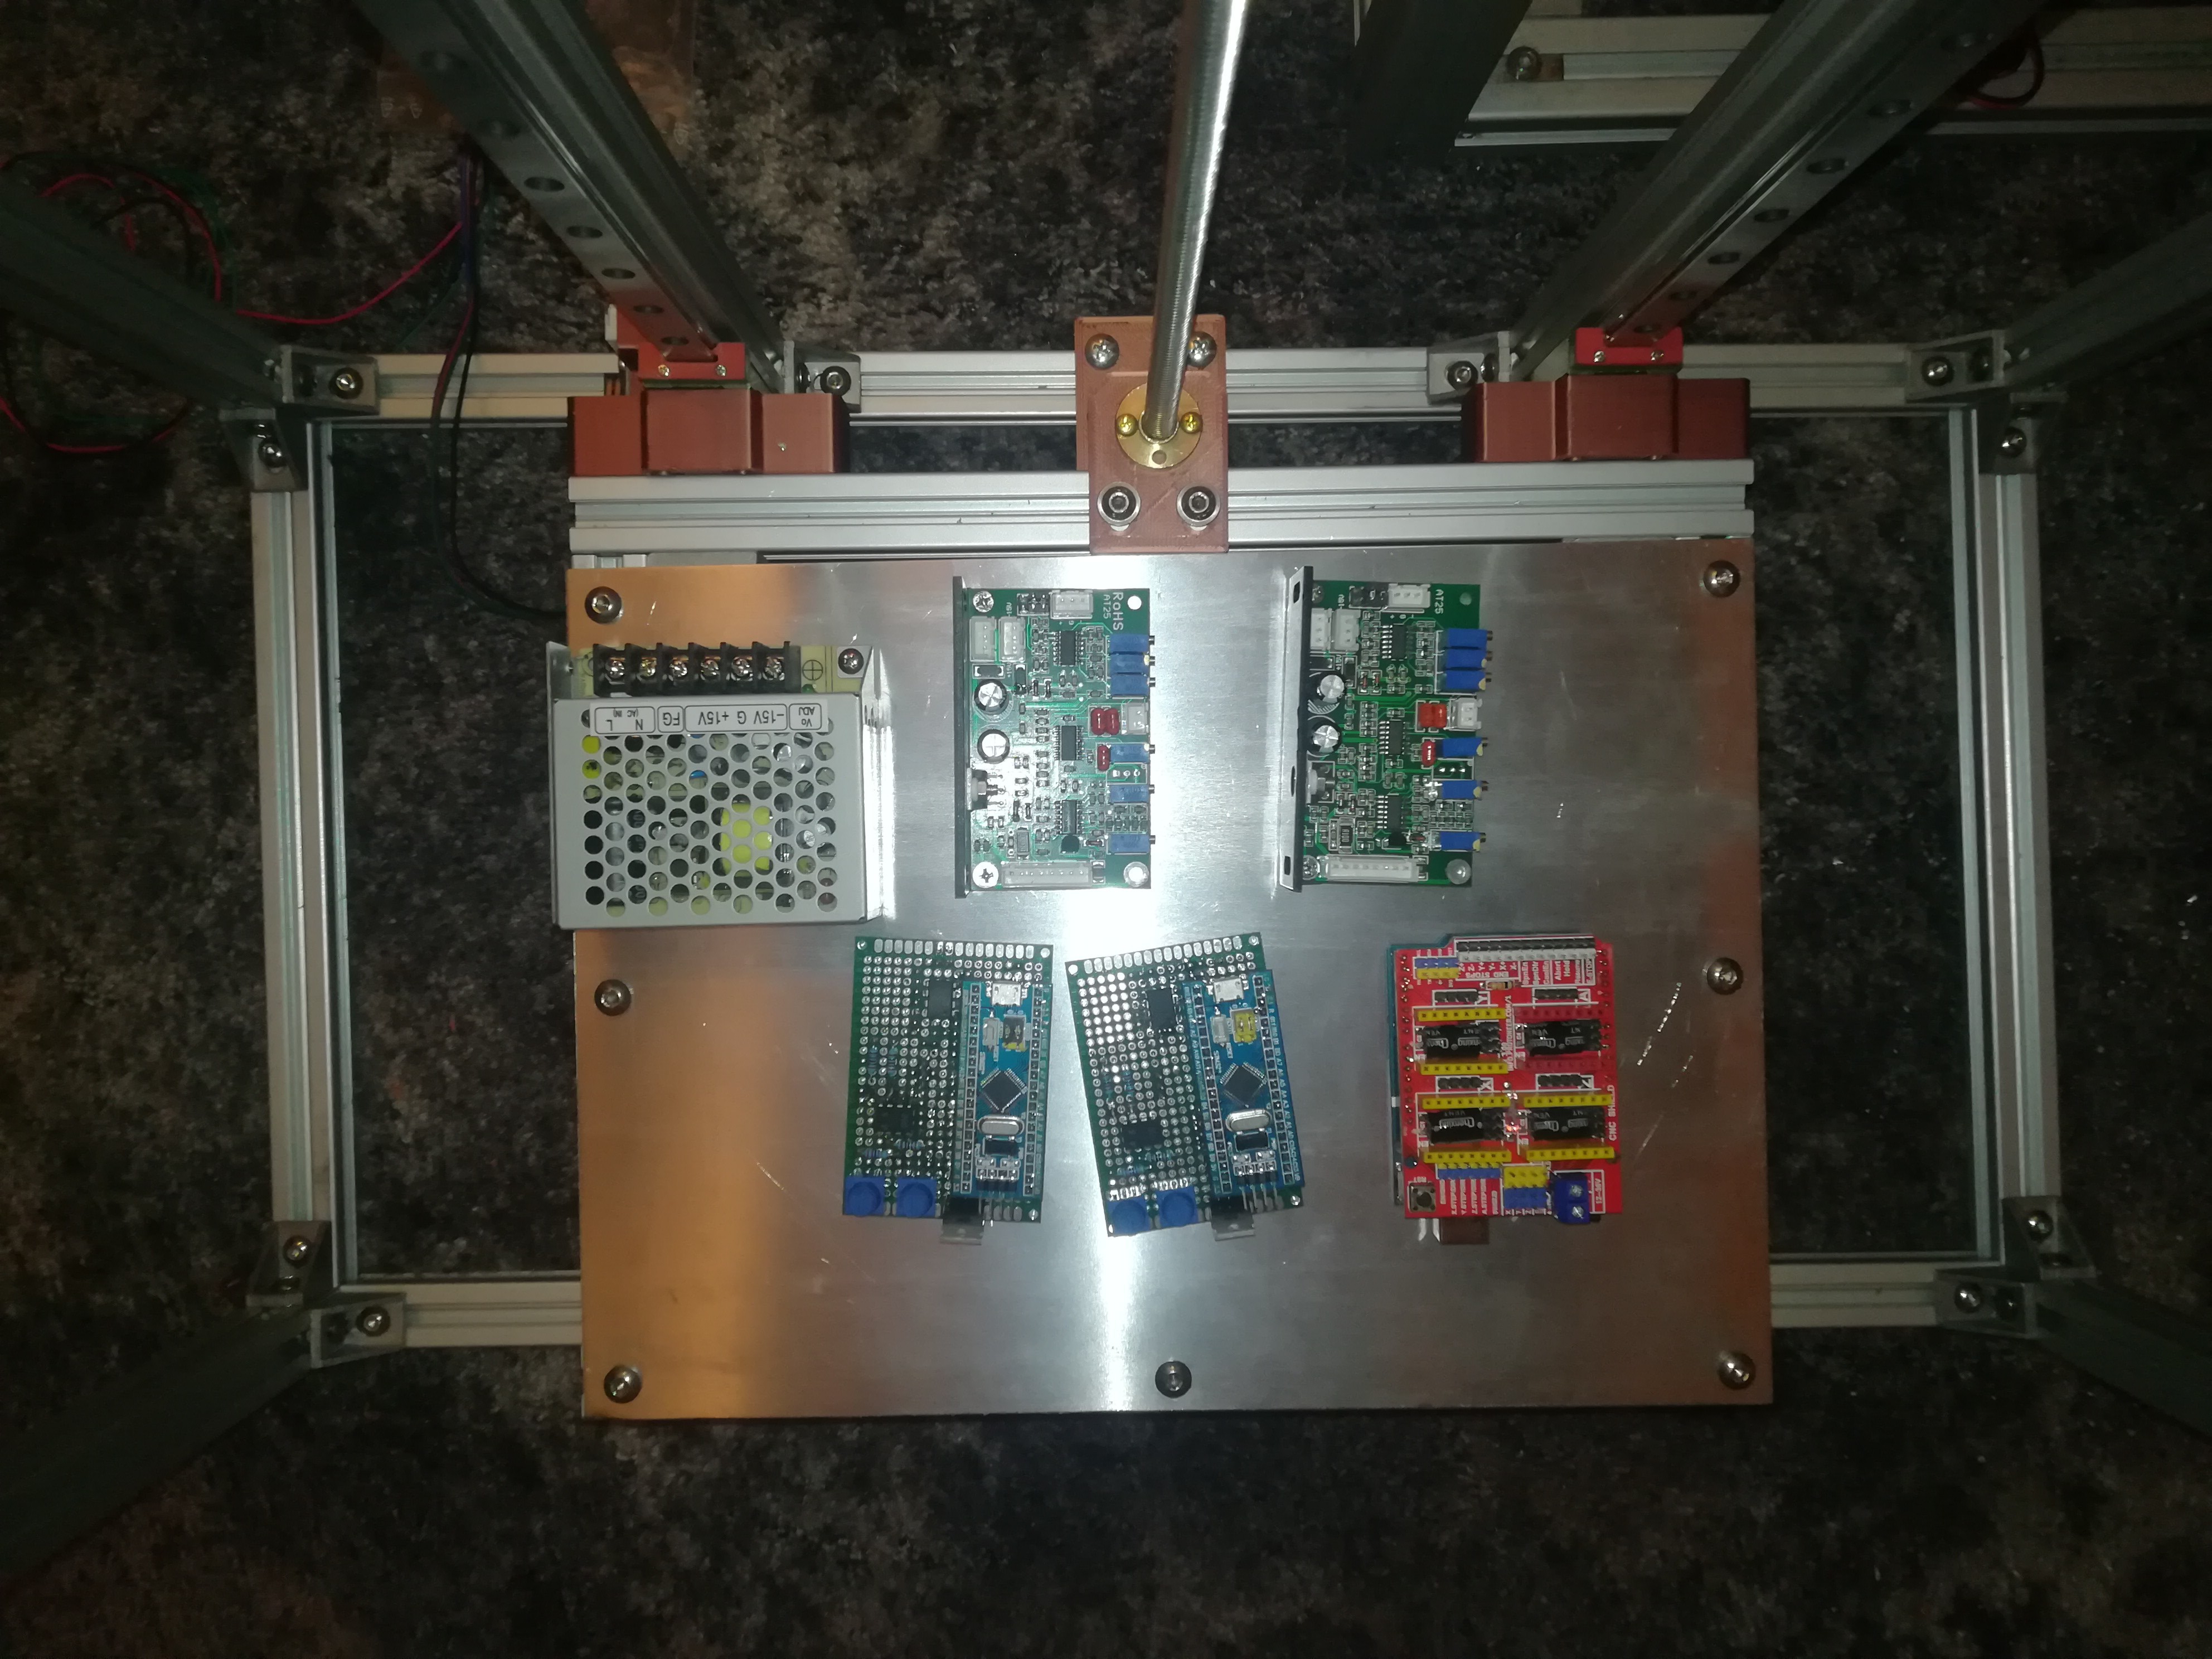
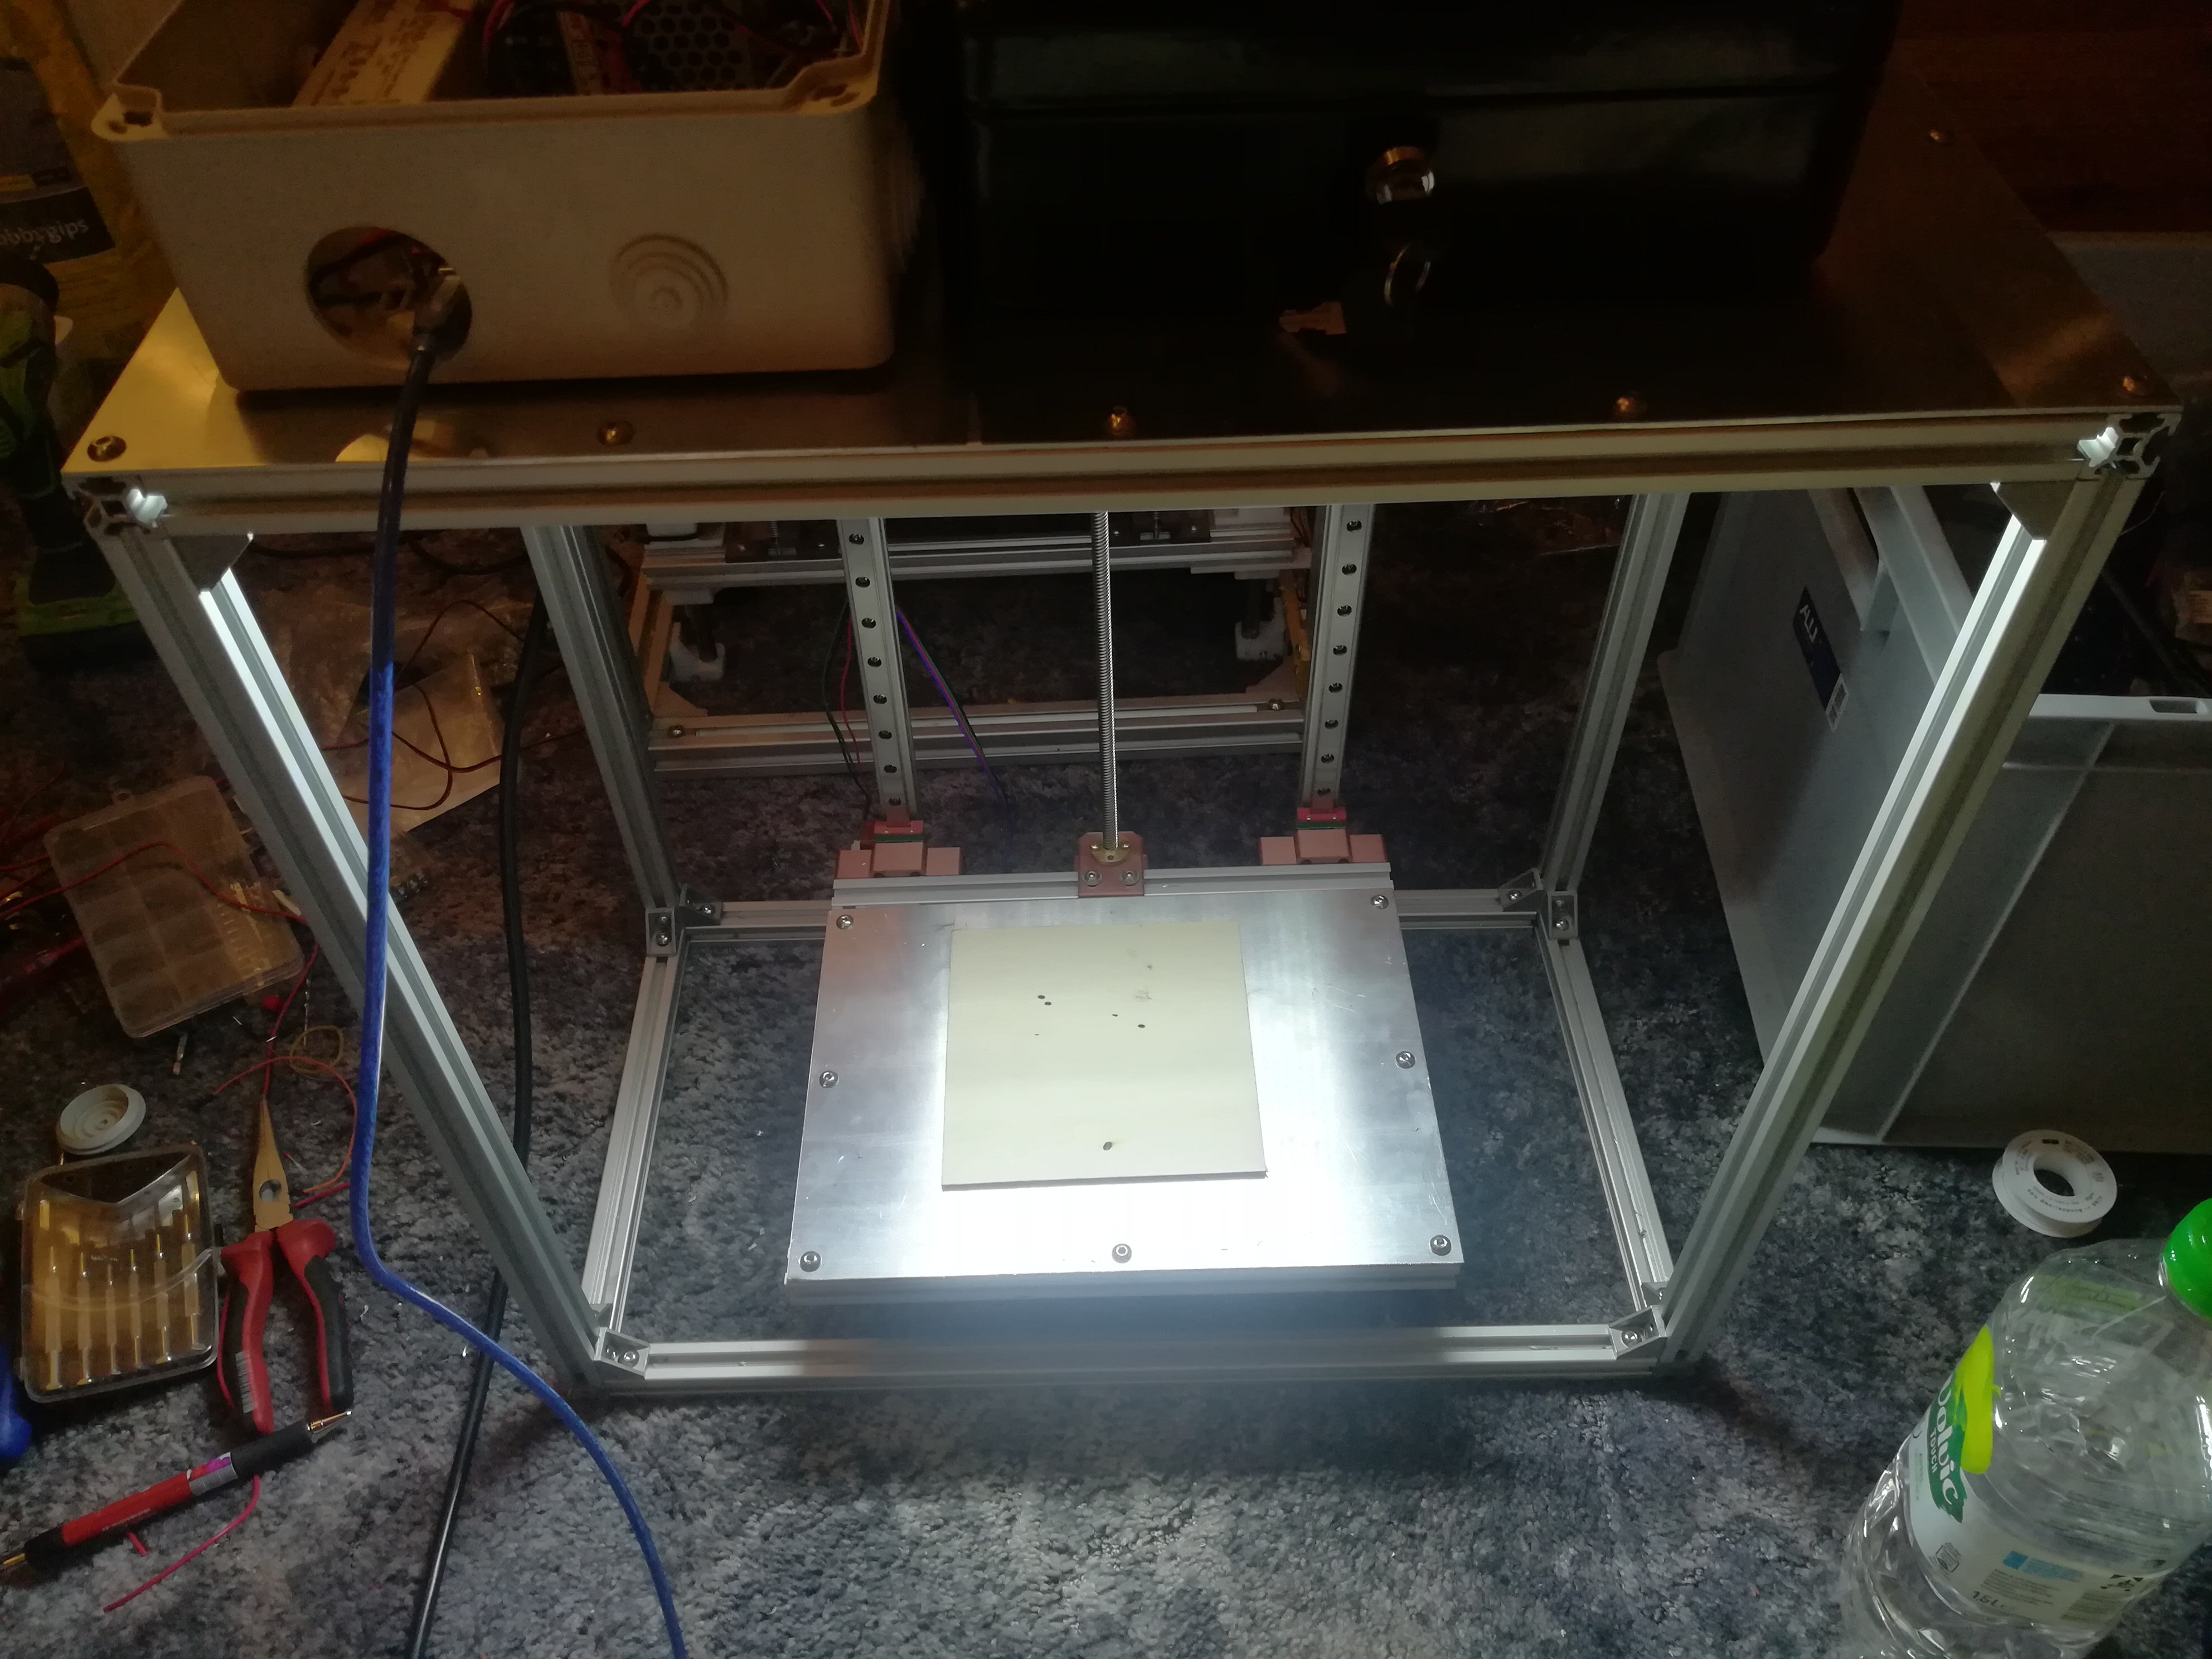
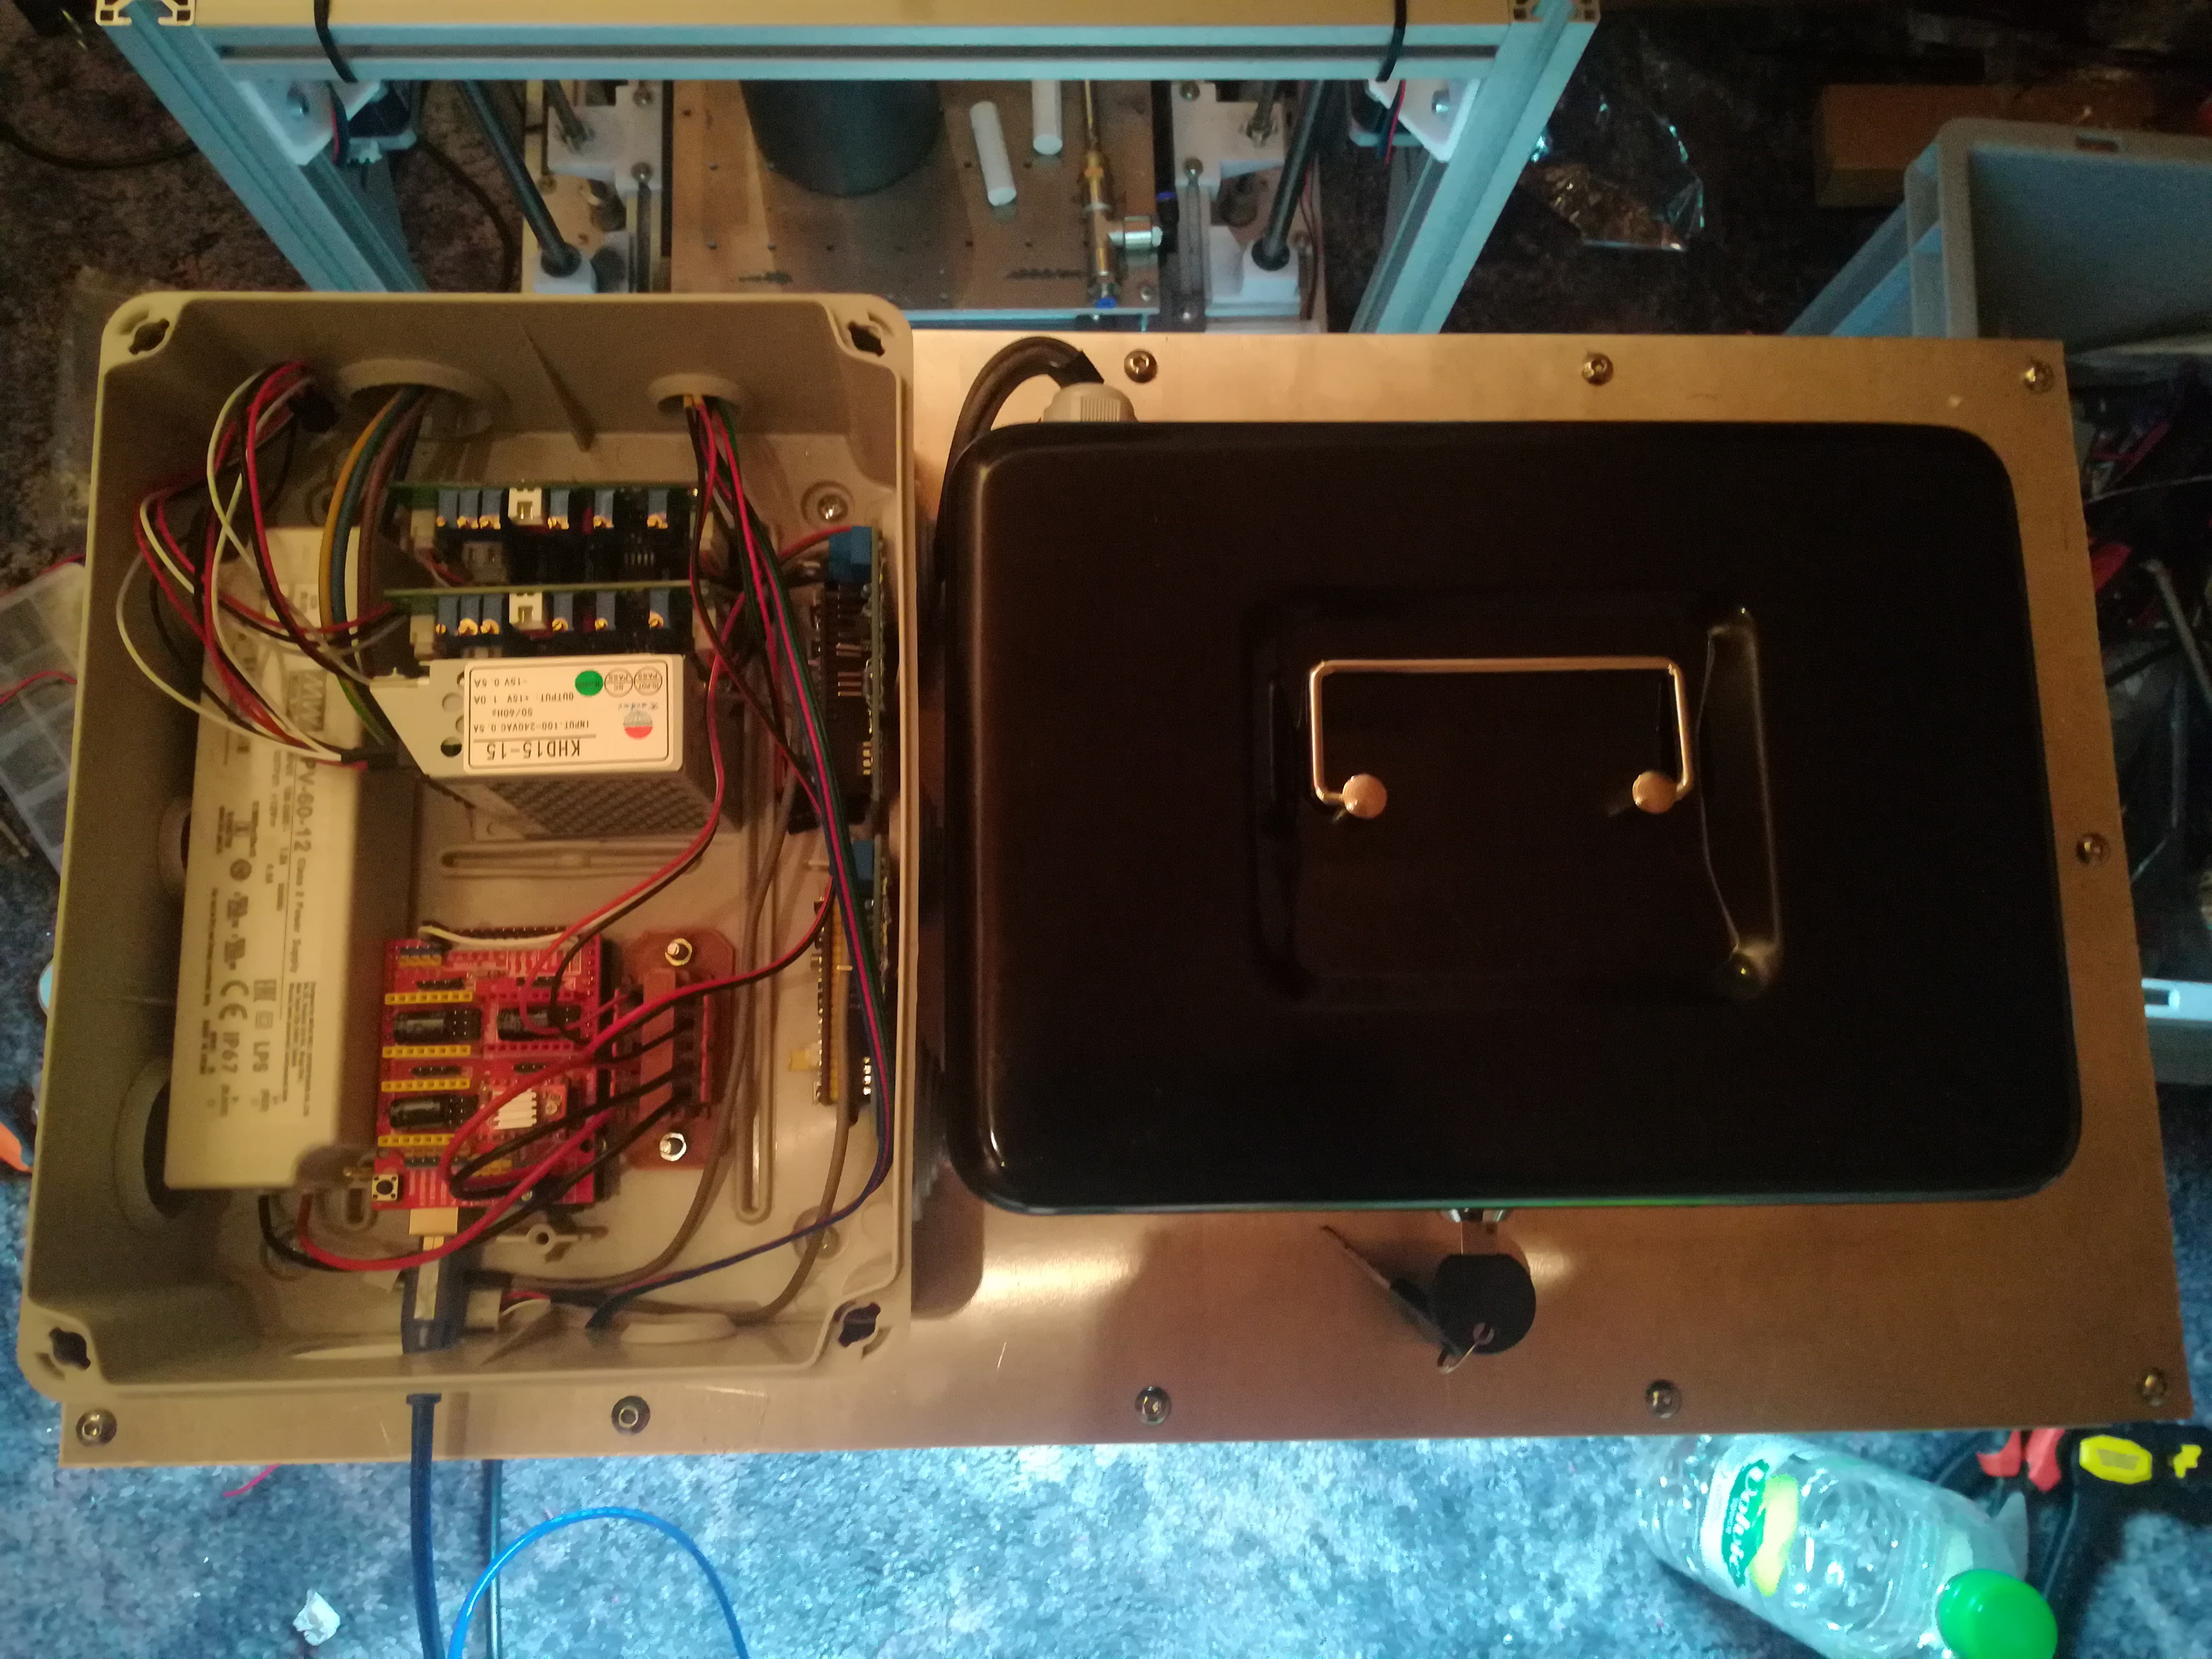
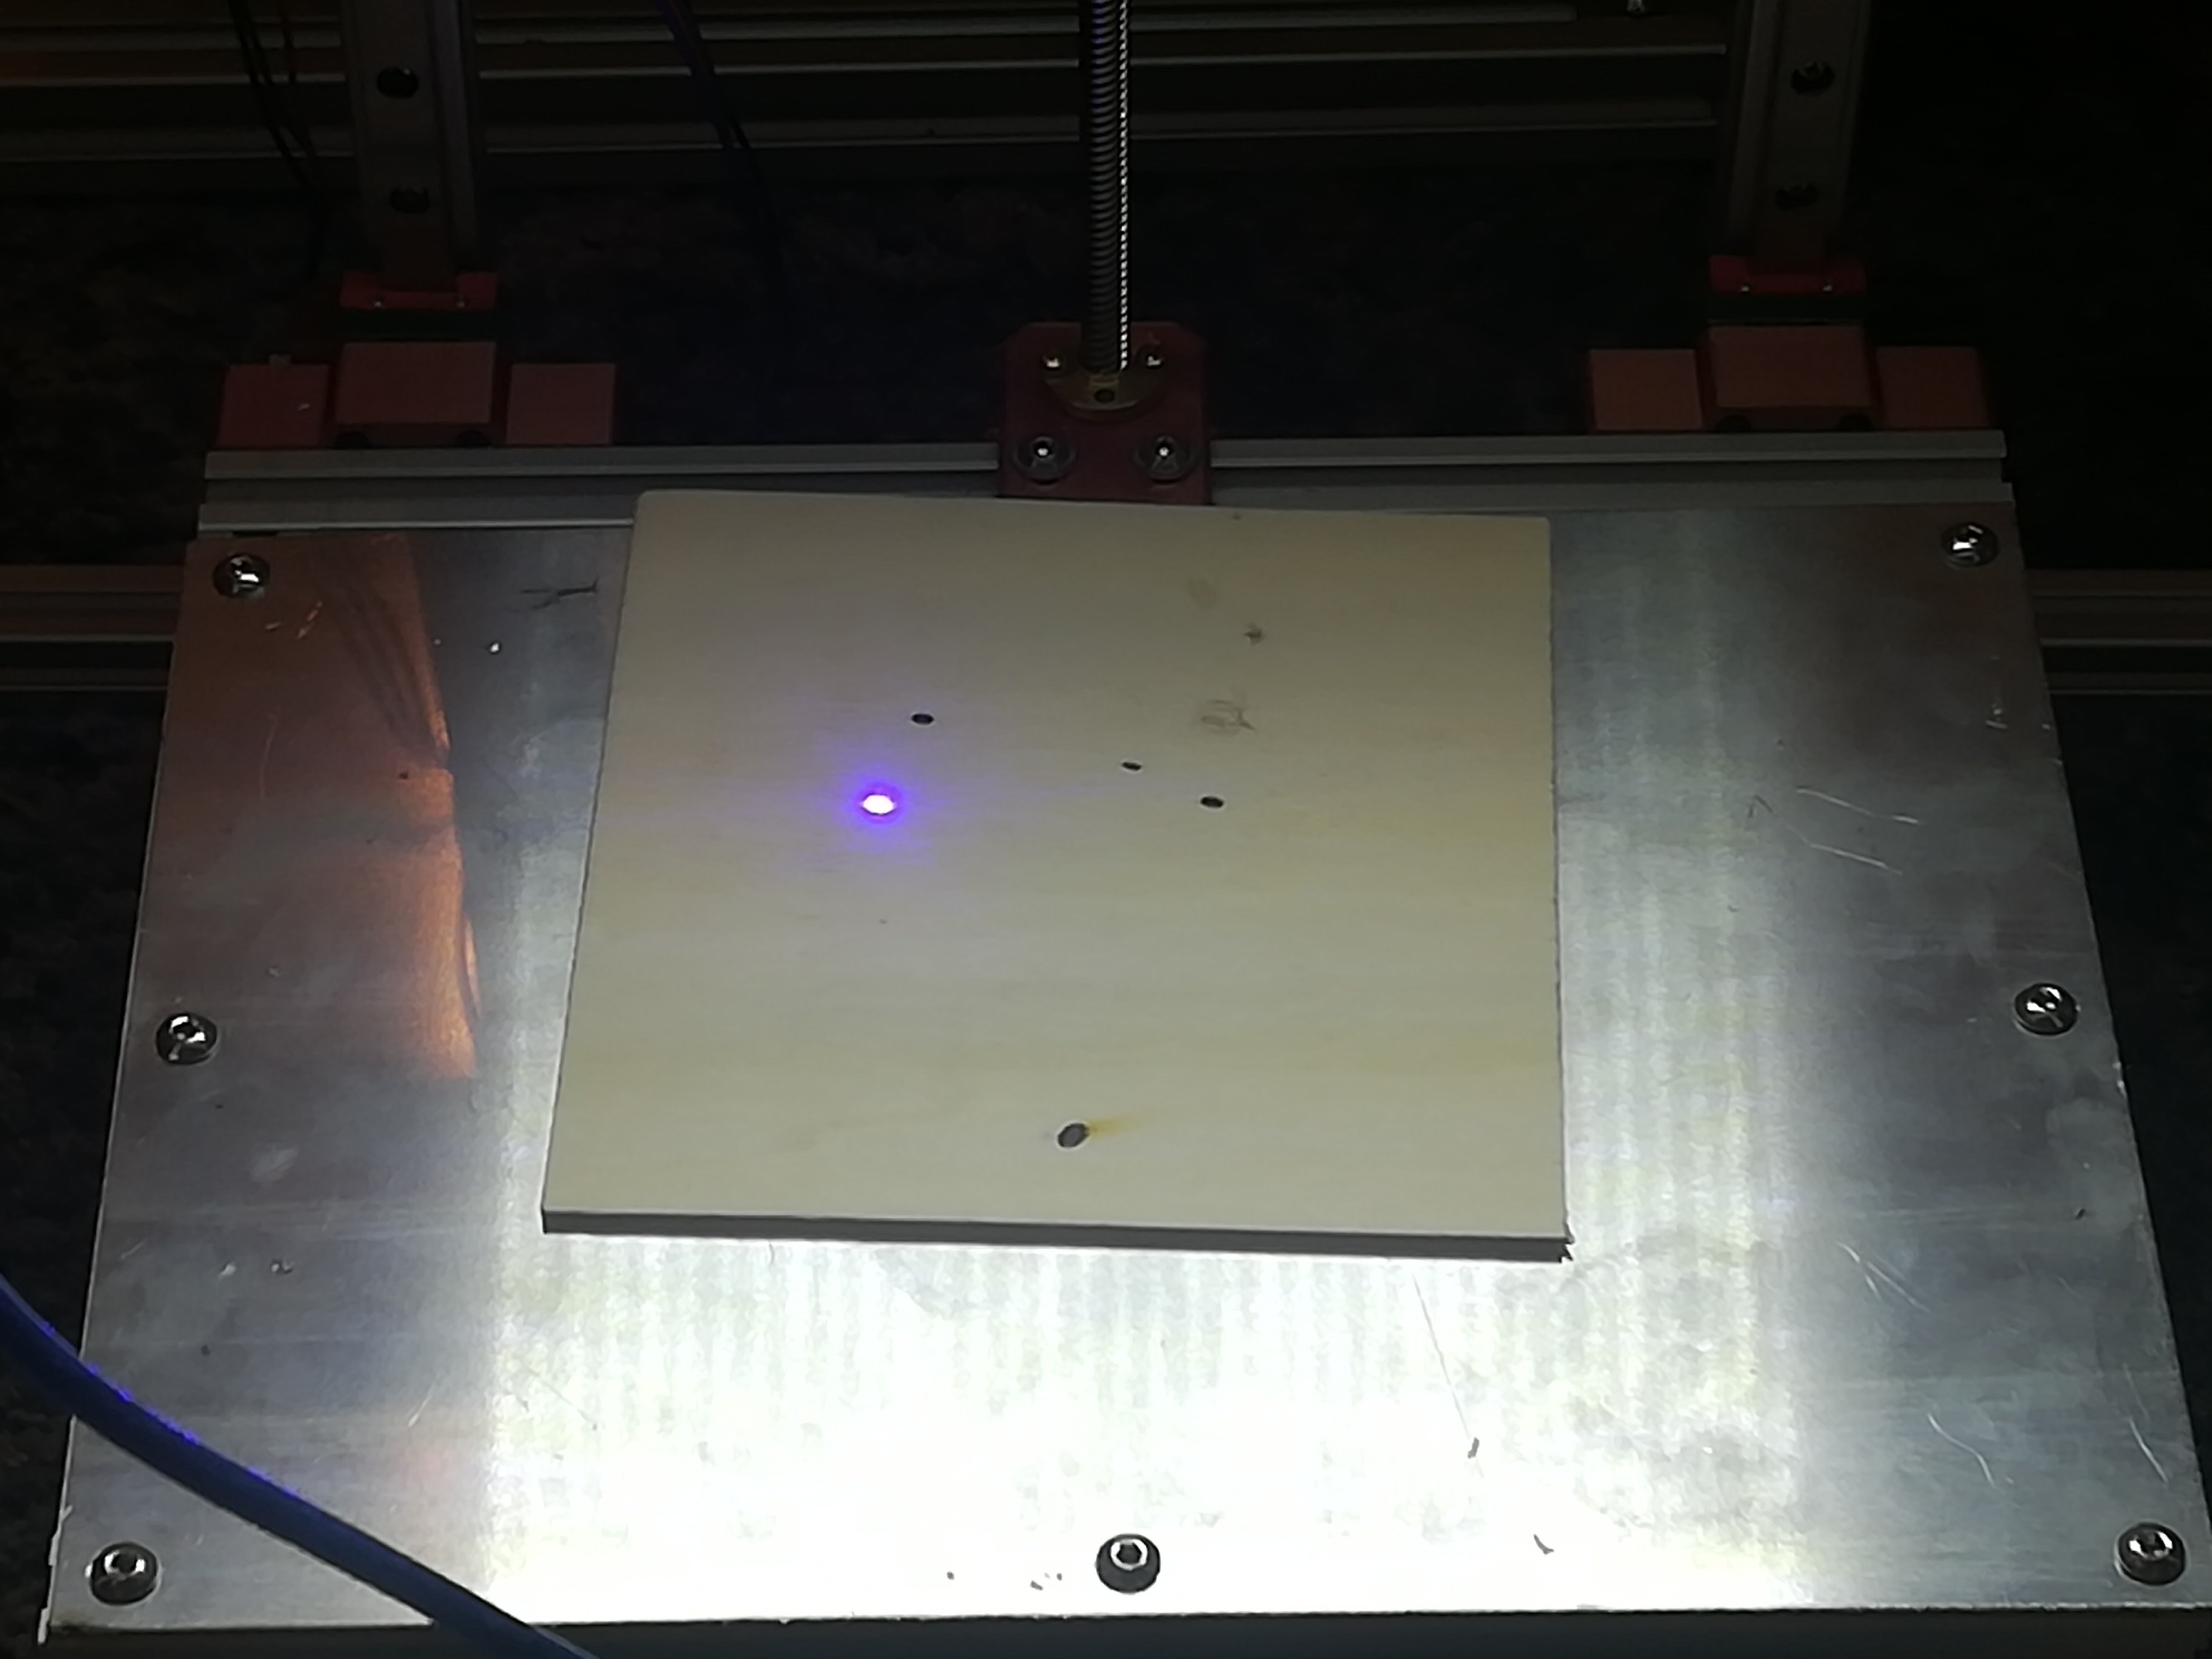
I placed the laser in the cash case for testing whether it can be focused and burn wood at a distance of about 450mm.
The laser was able to burn the wood, but the shape of the laser dot was rather a small line - instead of a dot.
Maybe this can be improved by better alignment of the laser or the mirrors.
Normally this type of laser machine needs a F-Theta lens to keep the beam focused, so it could be, that there is no way to get the right dot shape without one, but I will see....
I read in the laser module product ratings that other customer had the problem with the line instead of a dot, too - so it's not caused by the setup and will likely be solved with a better laser module.
The machine frame is now ready for testing.
If everything works out, I will also add side, bottom and back covers to it.
At the moment I'm building a teststand to figure out whether things behave like they should or whether I have to change something.
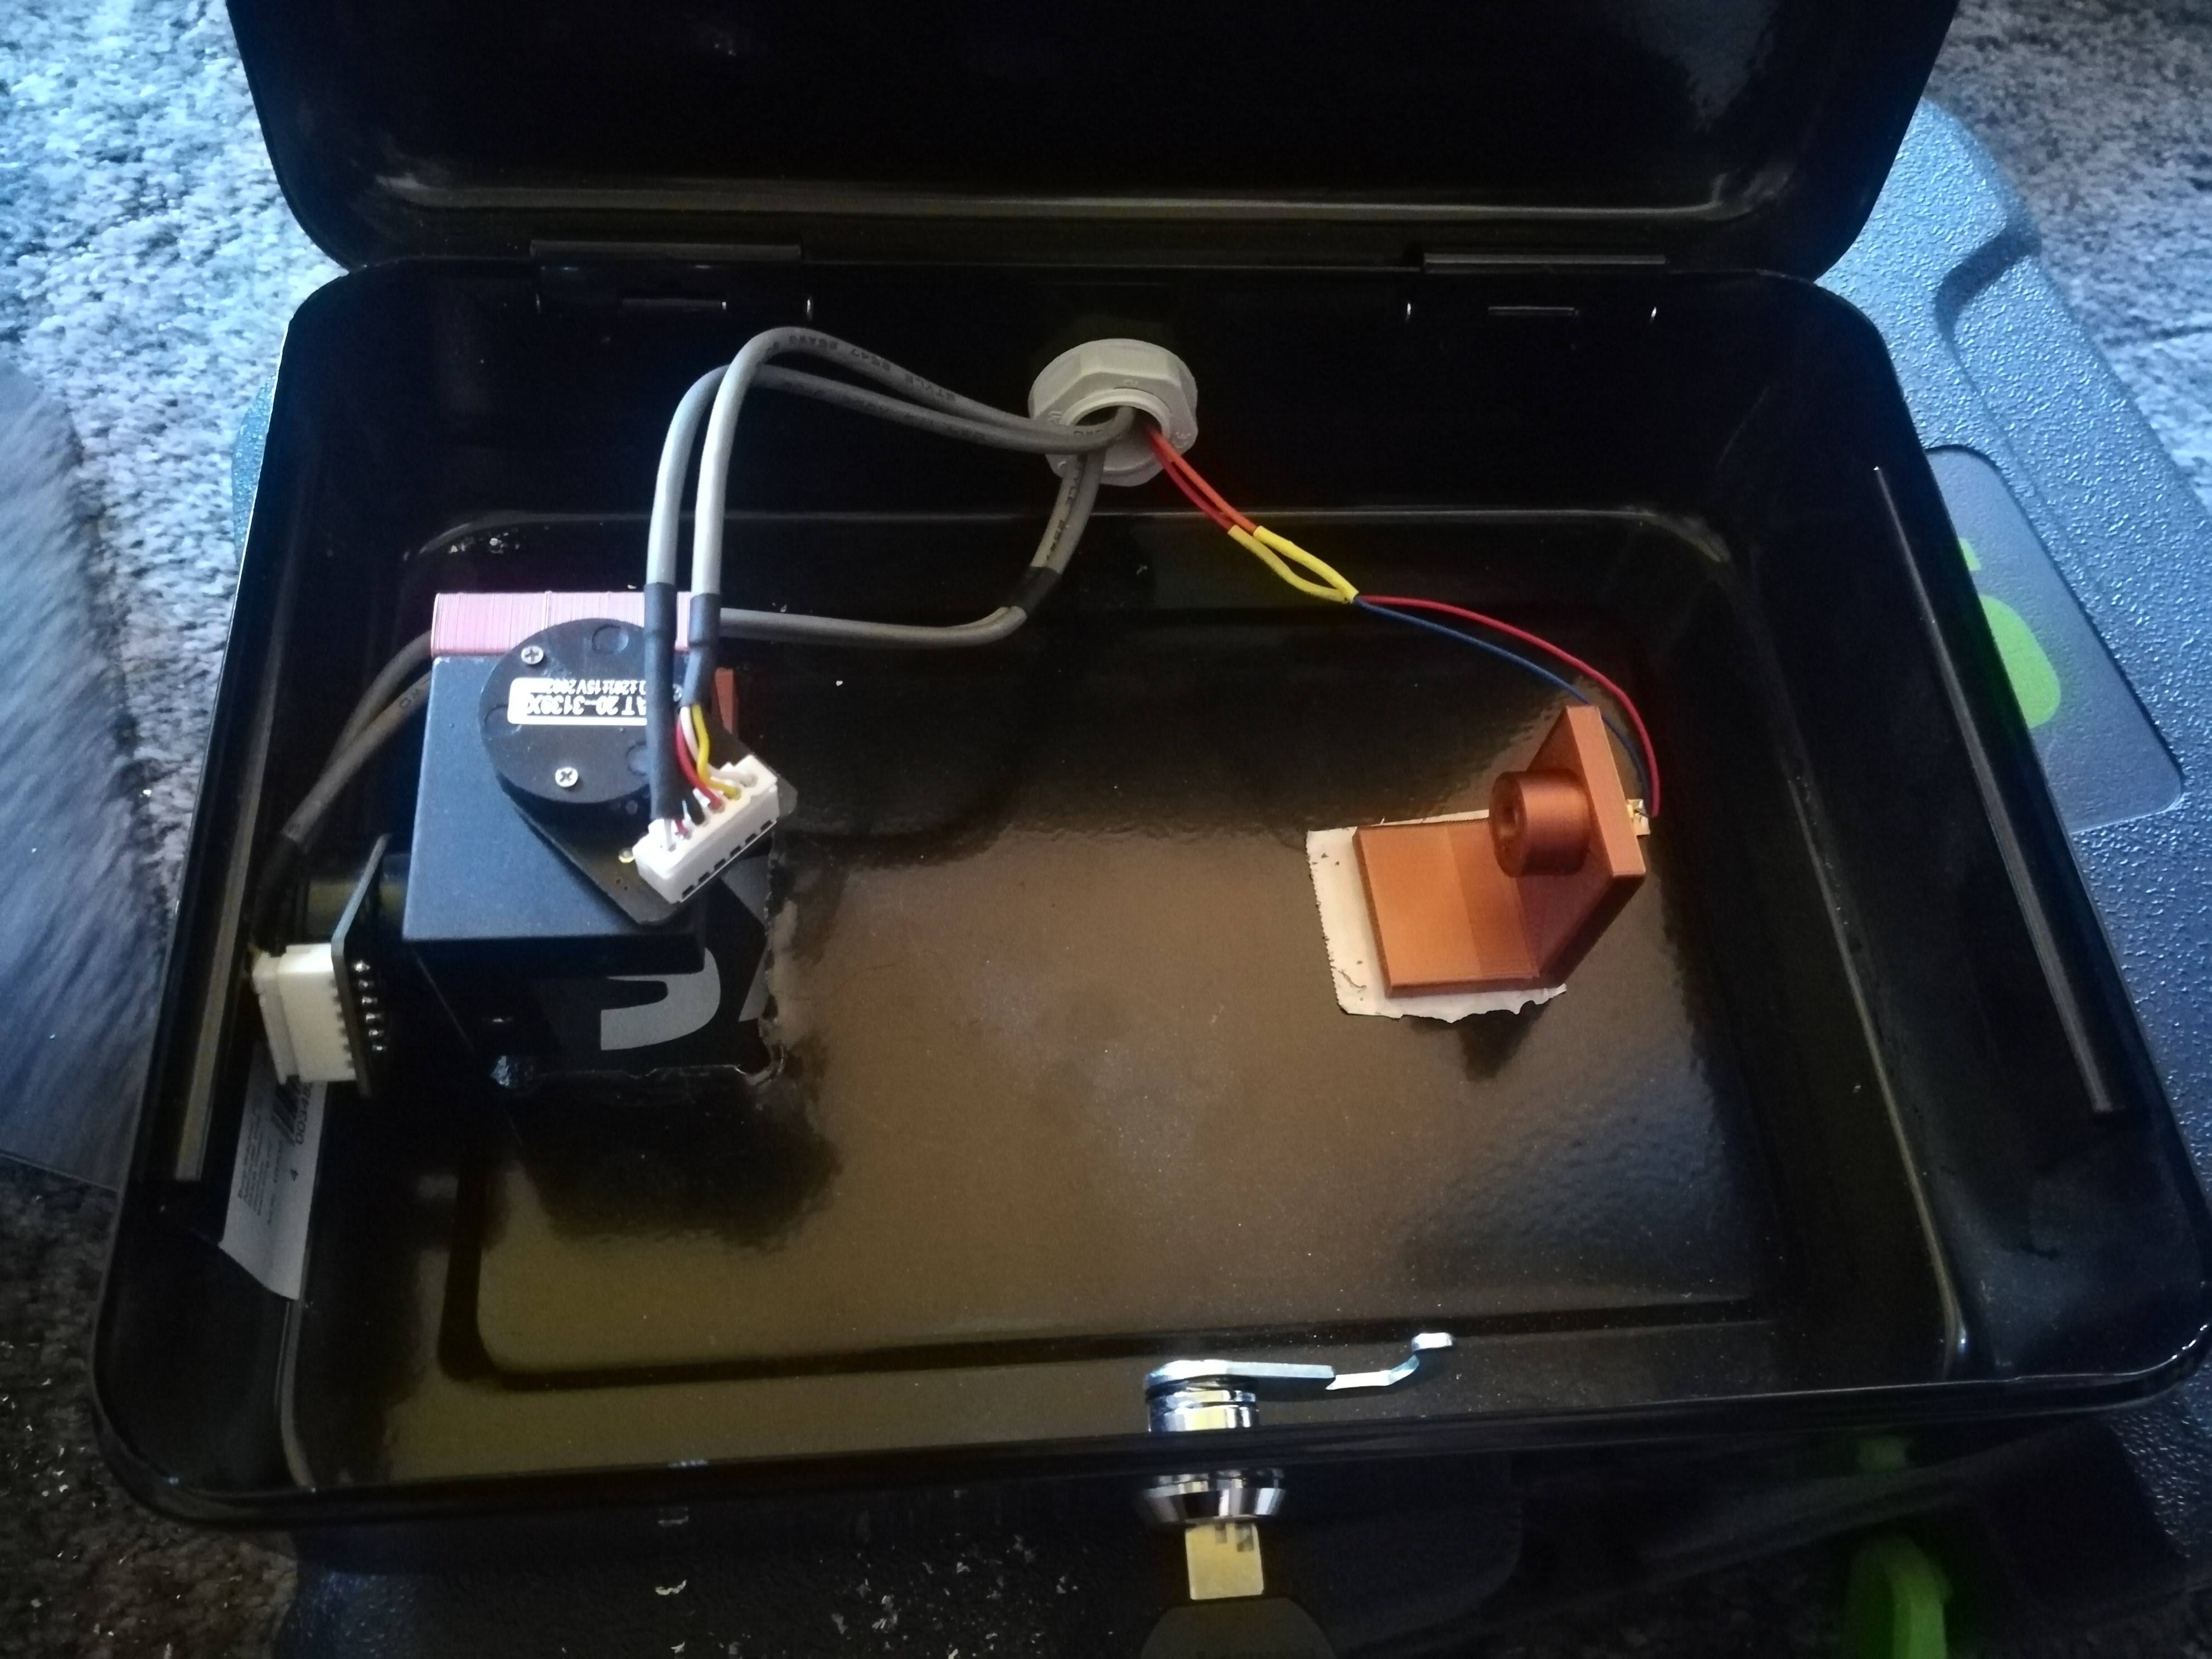
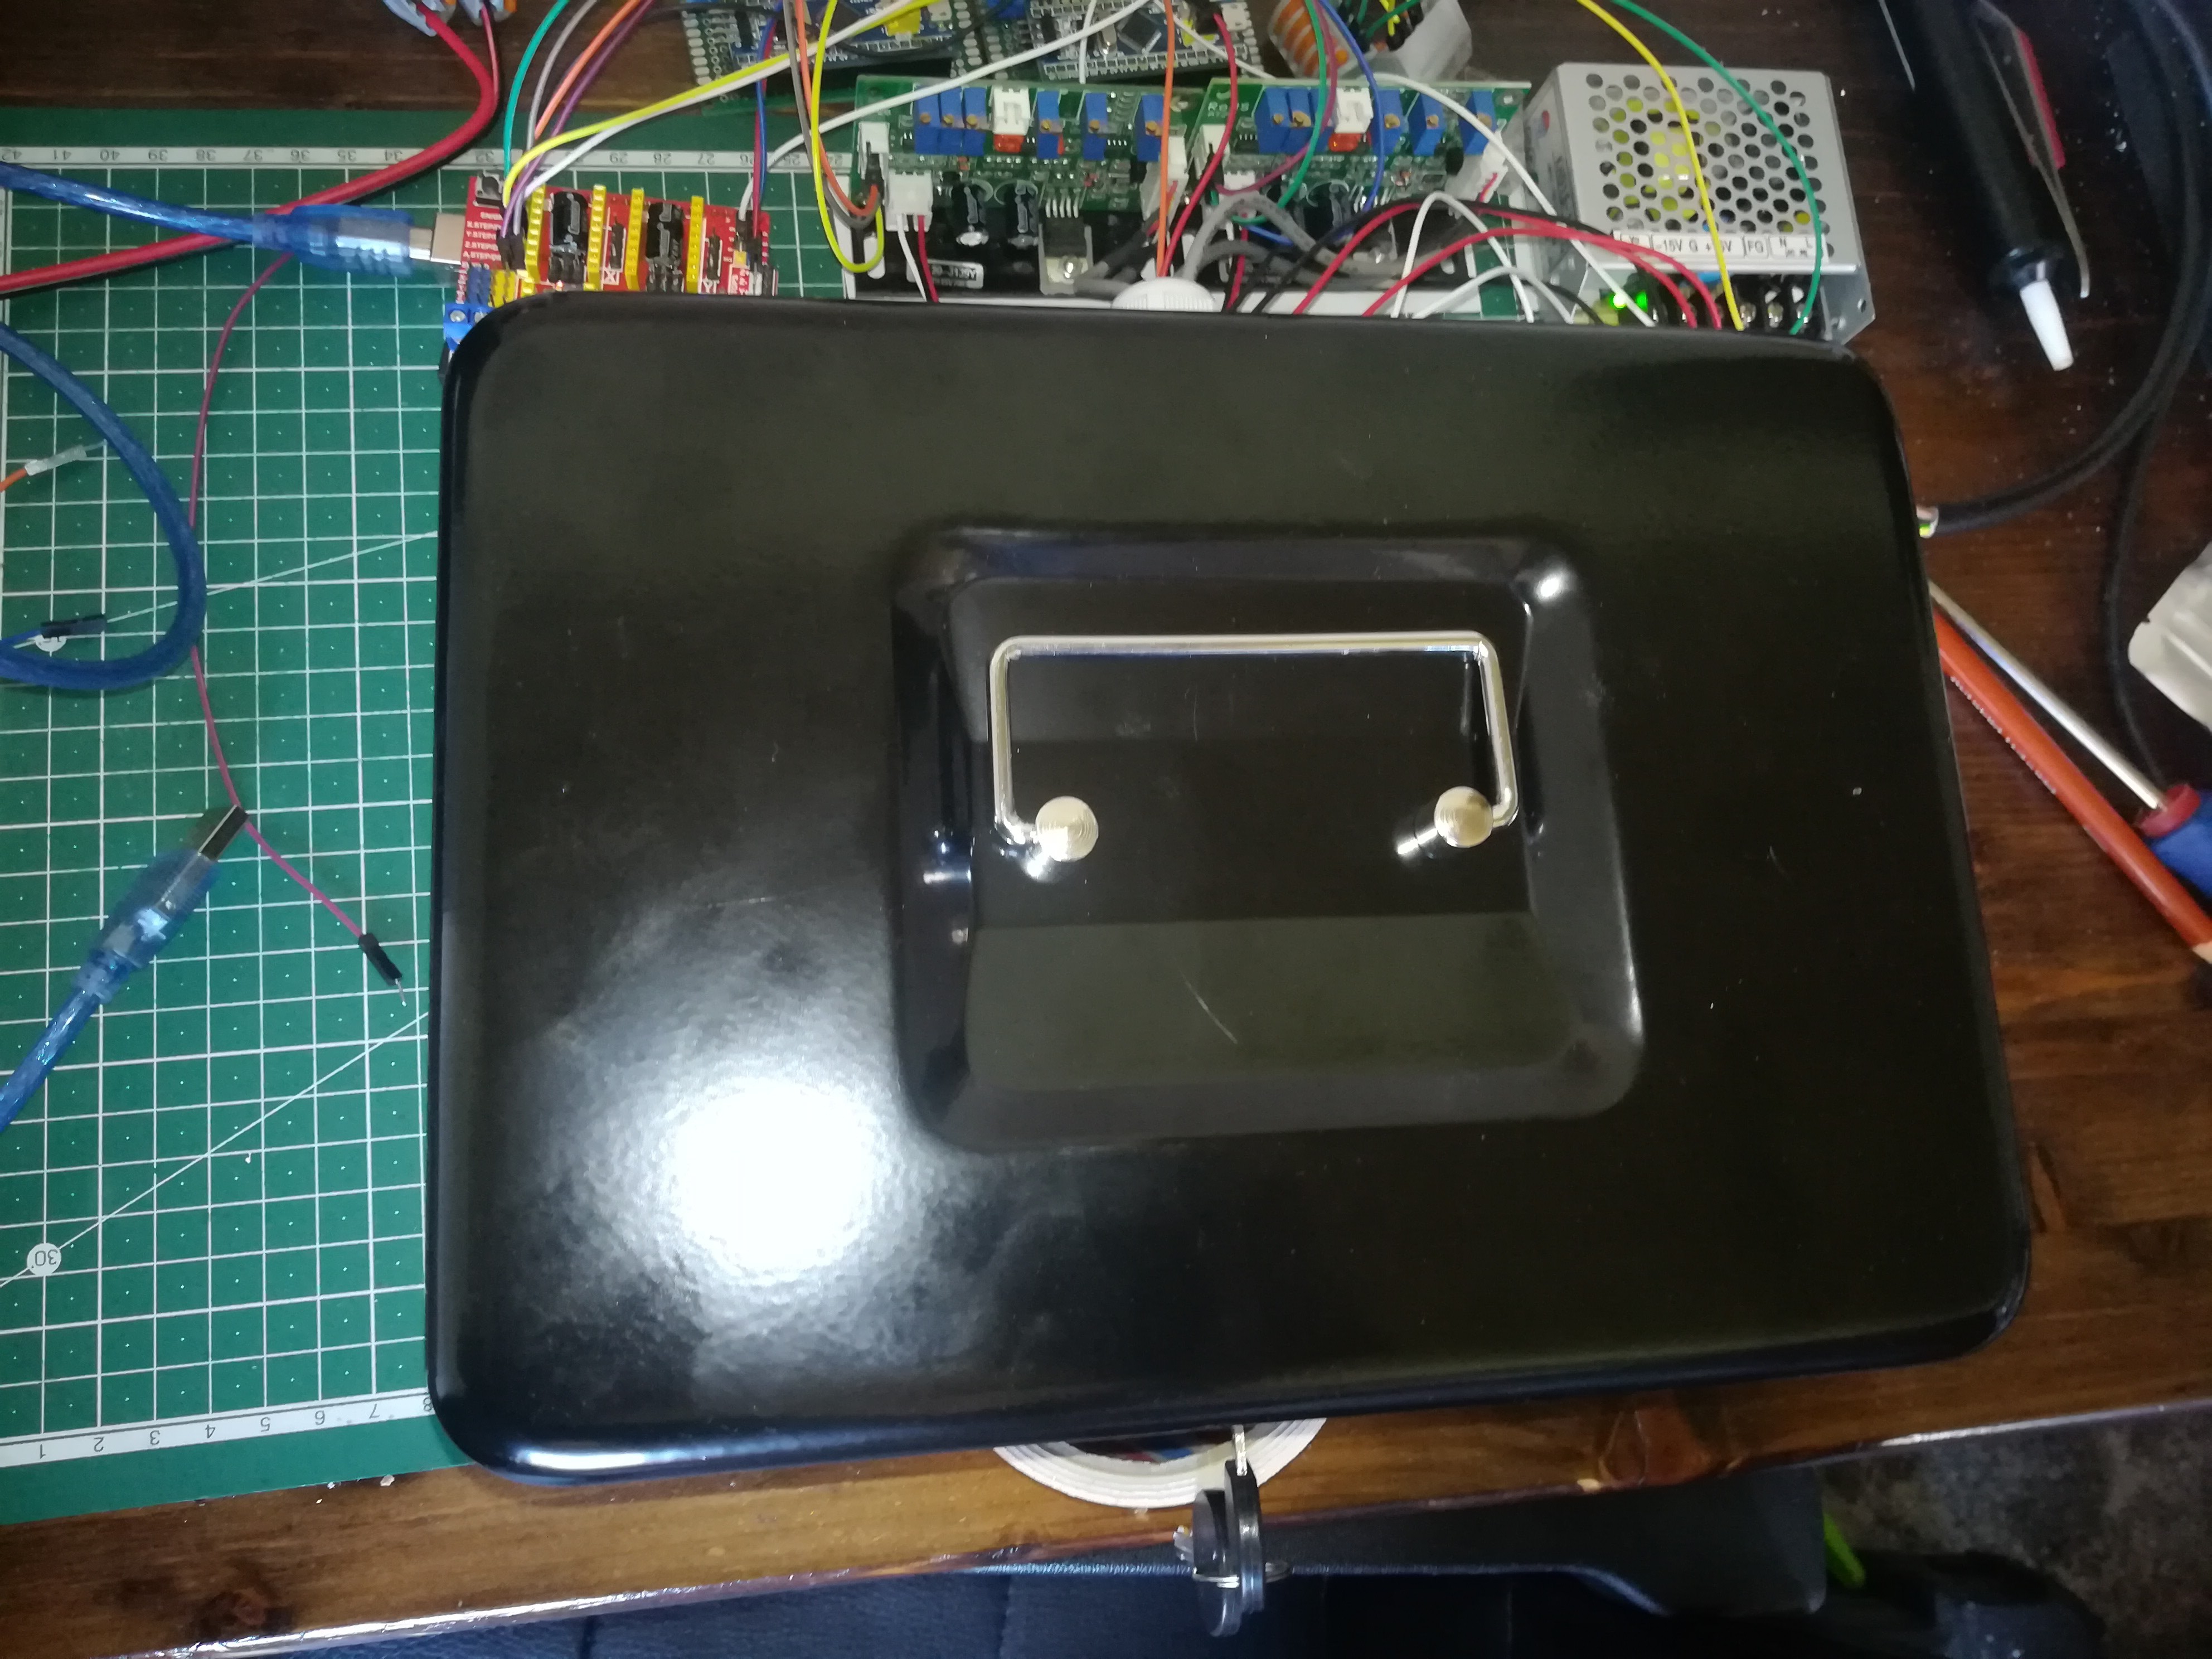
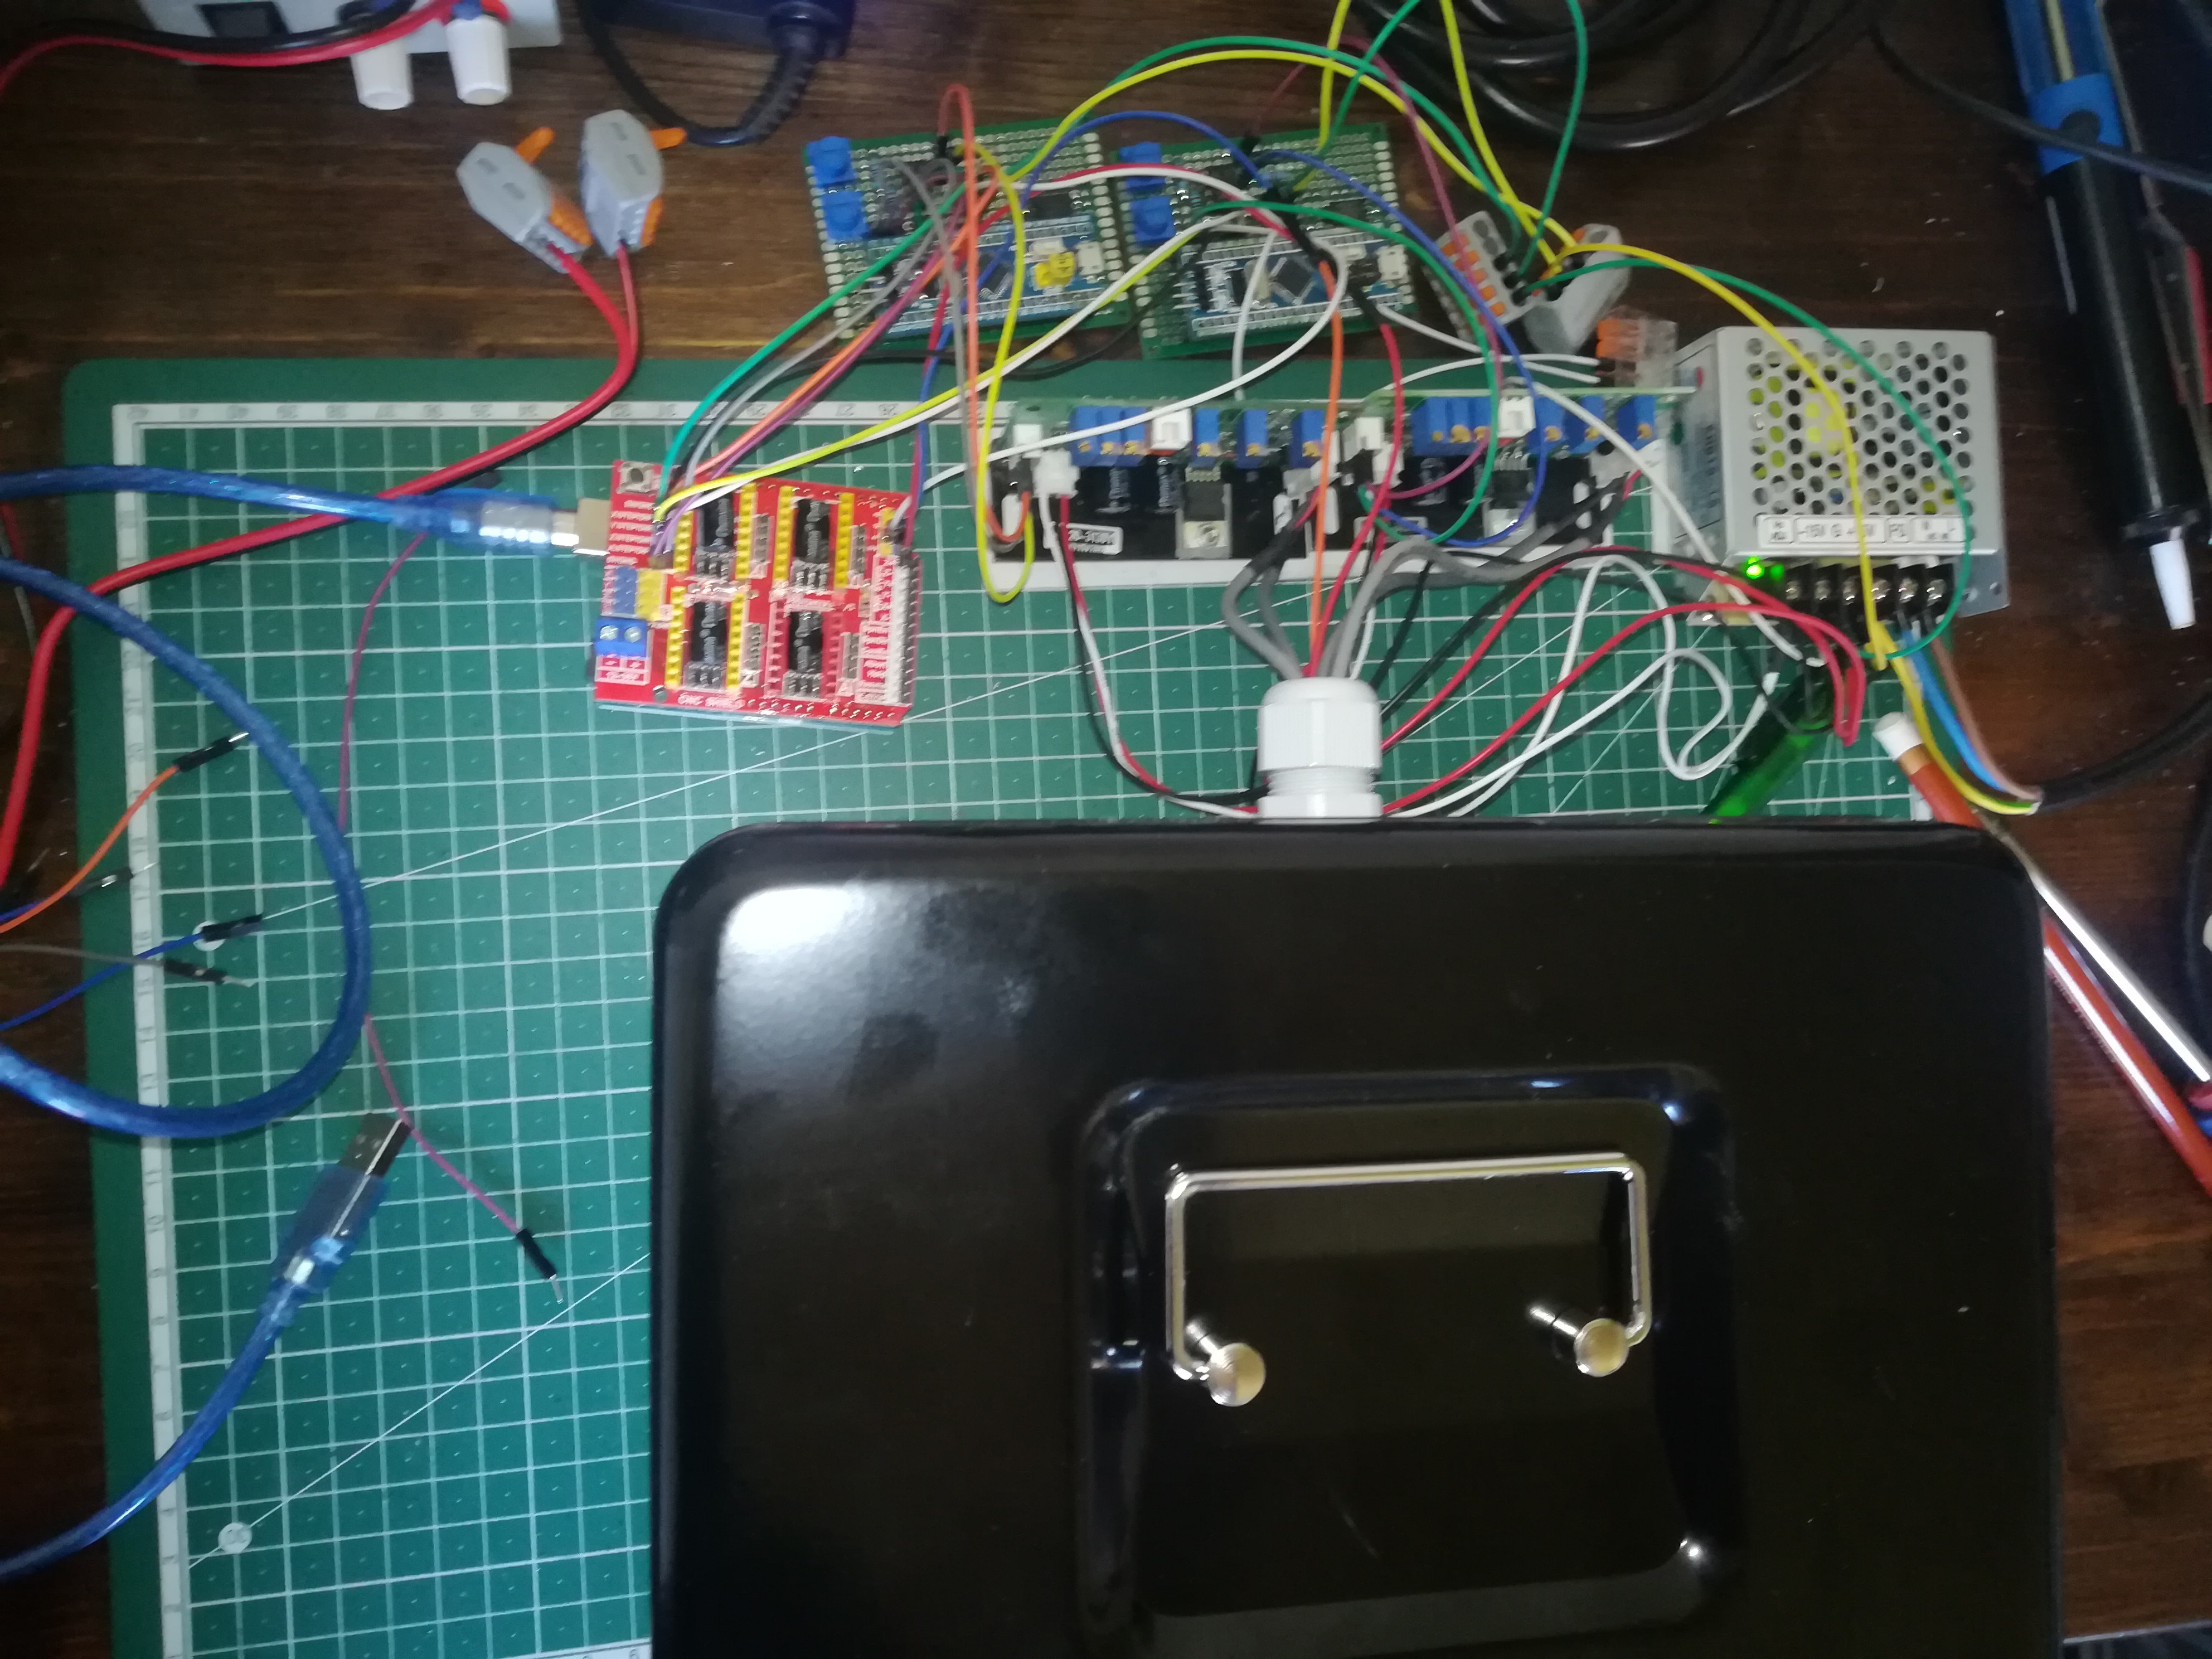
I placed the galvo assembly and the laser in a cash case to prevent directing uncontrolled laser beam reflections into the room. The mounting parts are currently made of PLA, but I think I will replace them with metal parts later, to prevent them from catching fire when using more powerful lasers.
A test run with a 2.5W 450nm laser. It seems to work like it should and I will clean up the code and build a machine frame next.
I added a MOSFET as switch to simulate an endstop trigger event when the galvo reaches the end of the axis to keep the machine controller and Step/Dir Converter in sync.
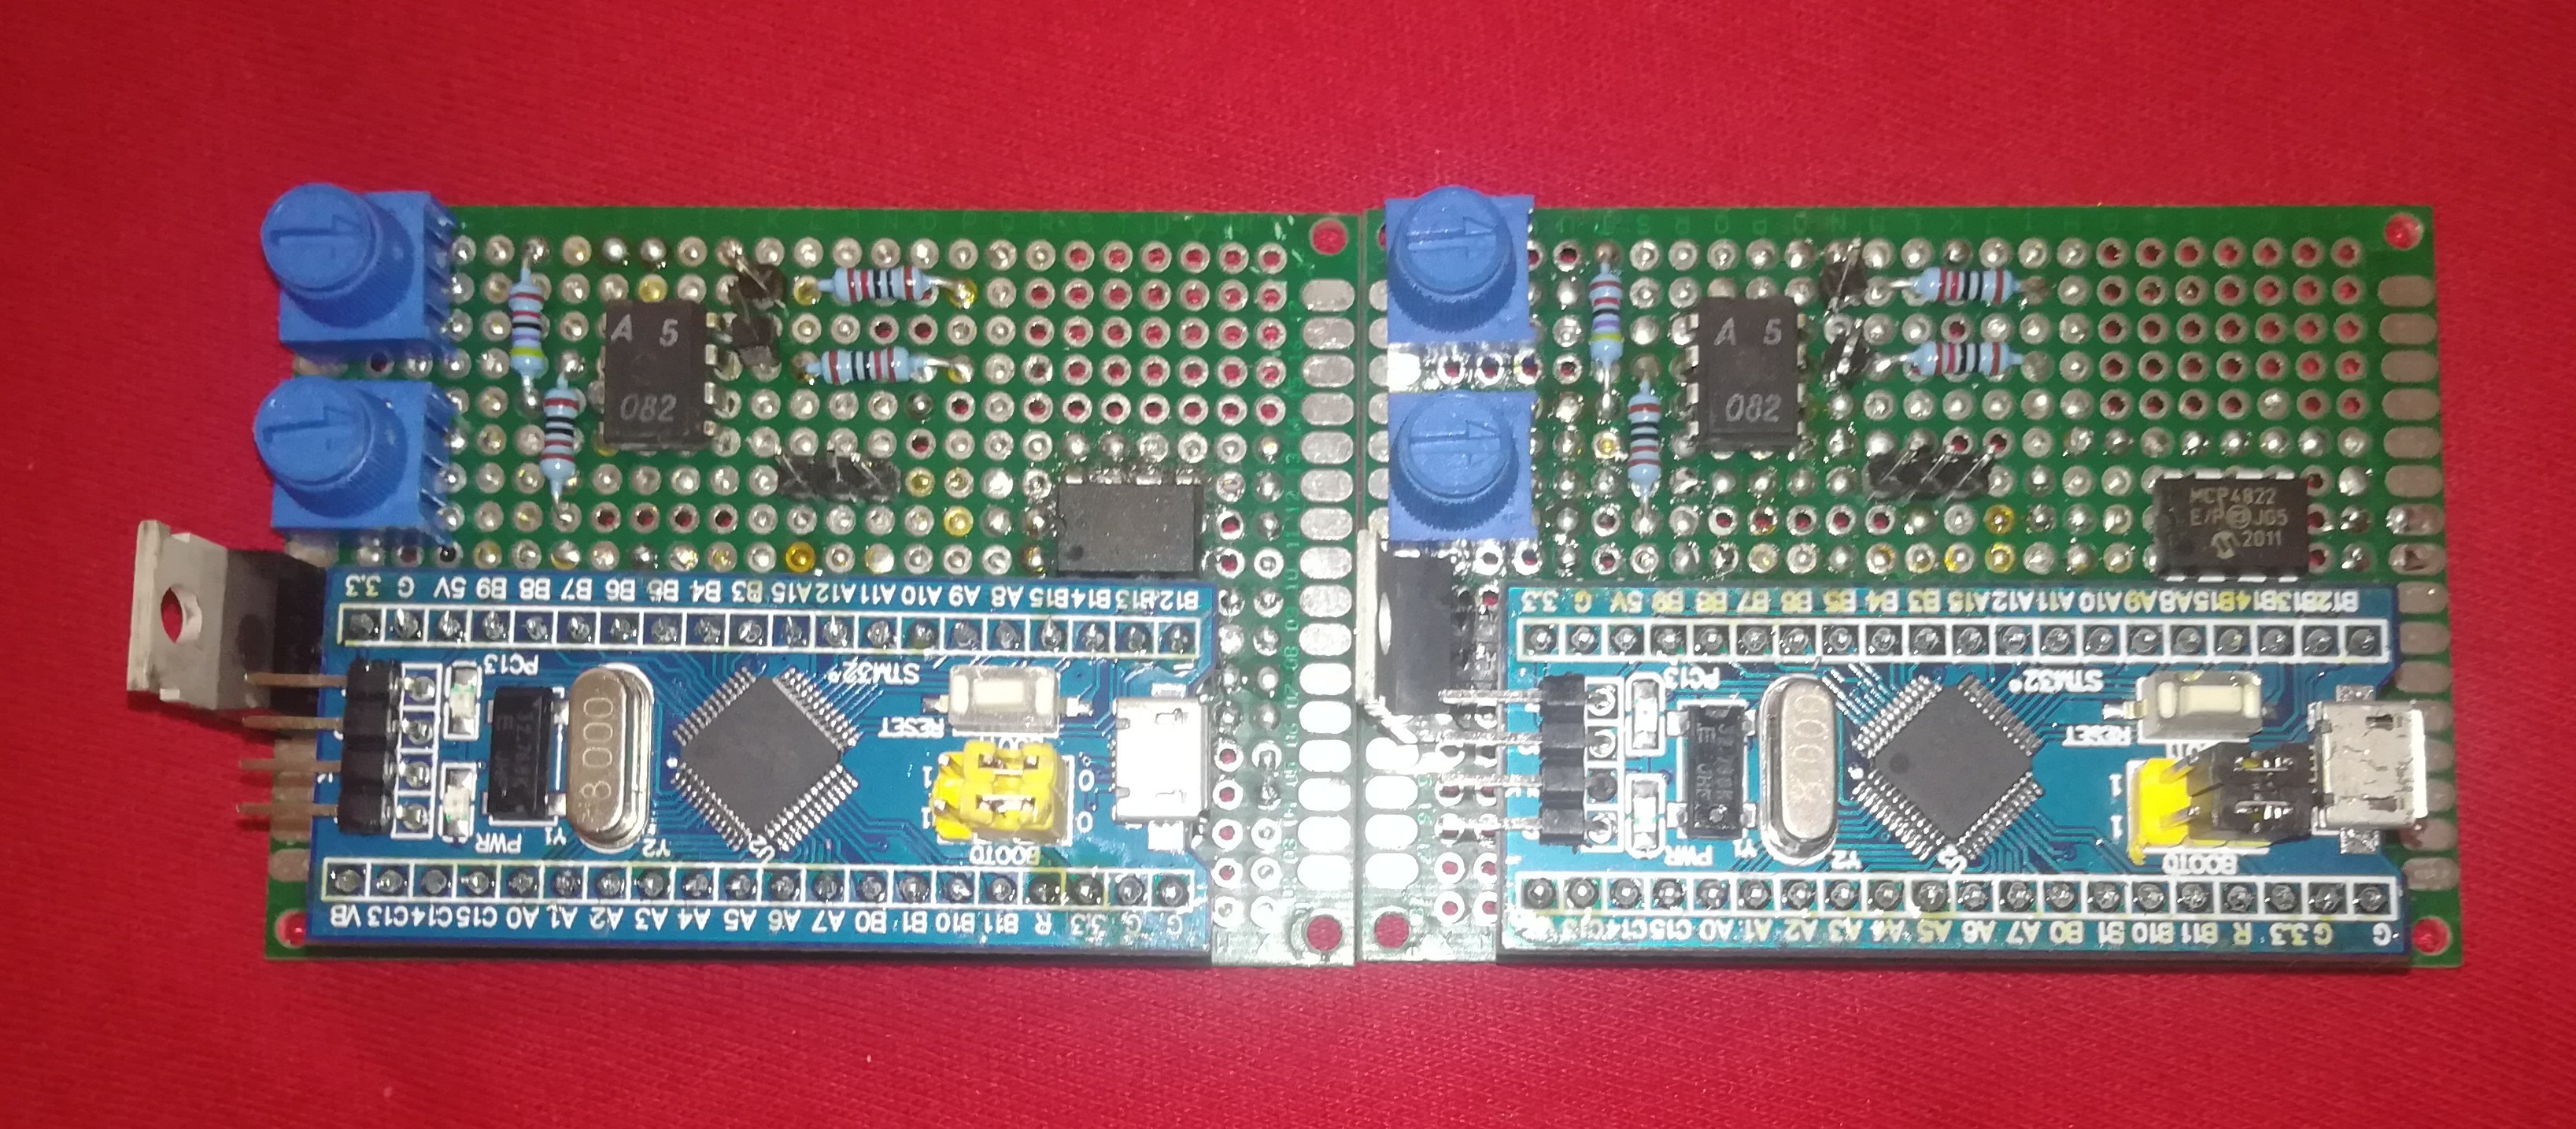
I built a second Step/Dir to Galvo Converter and a setup with an Arduino + CNCShield for testing with LaserGRBL.
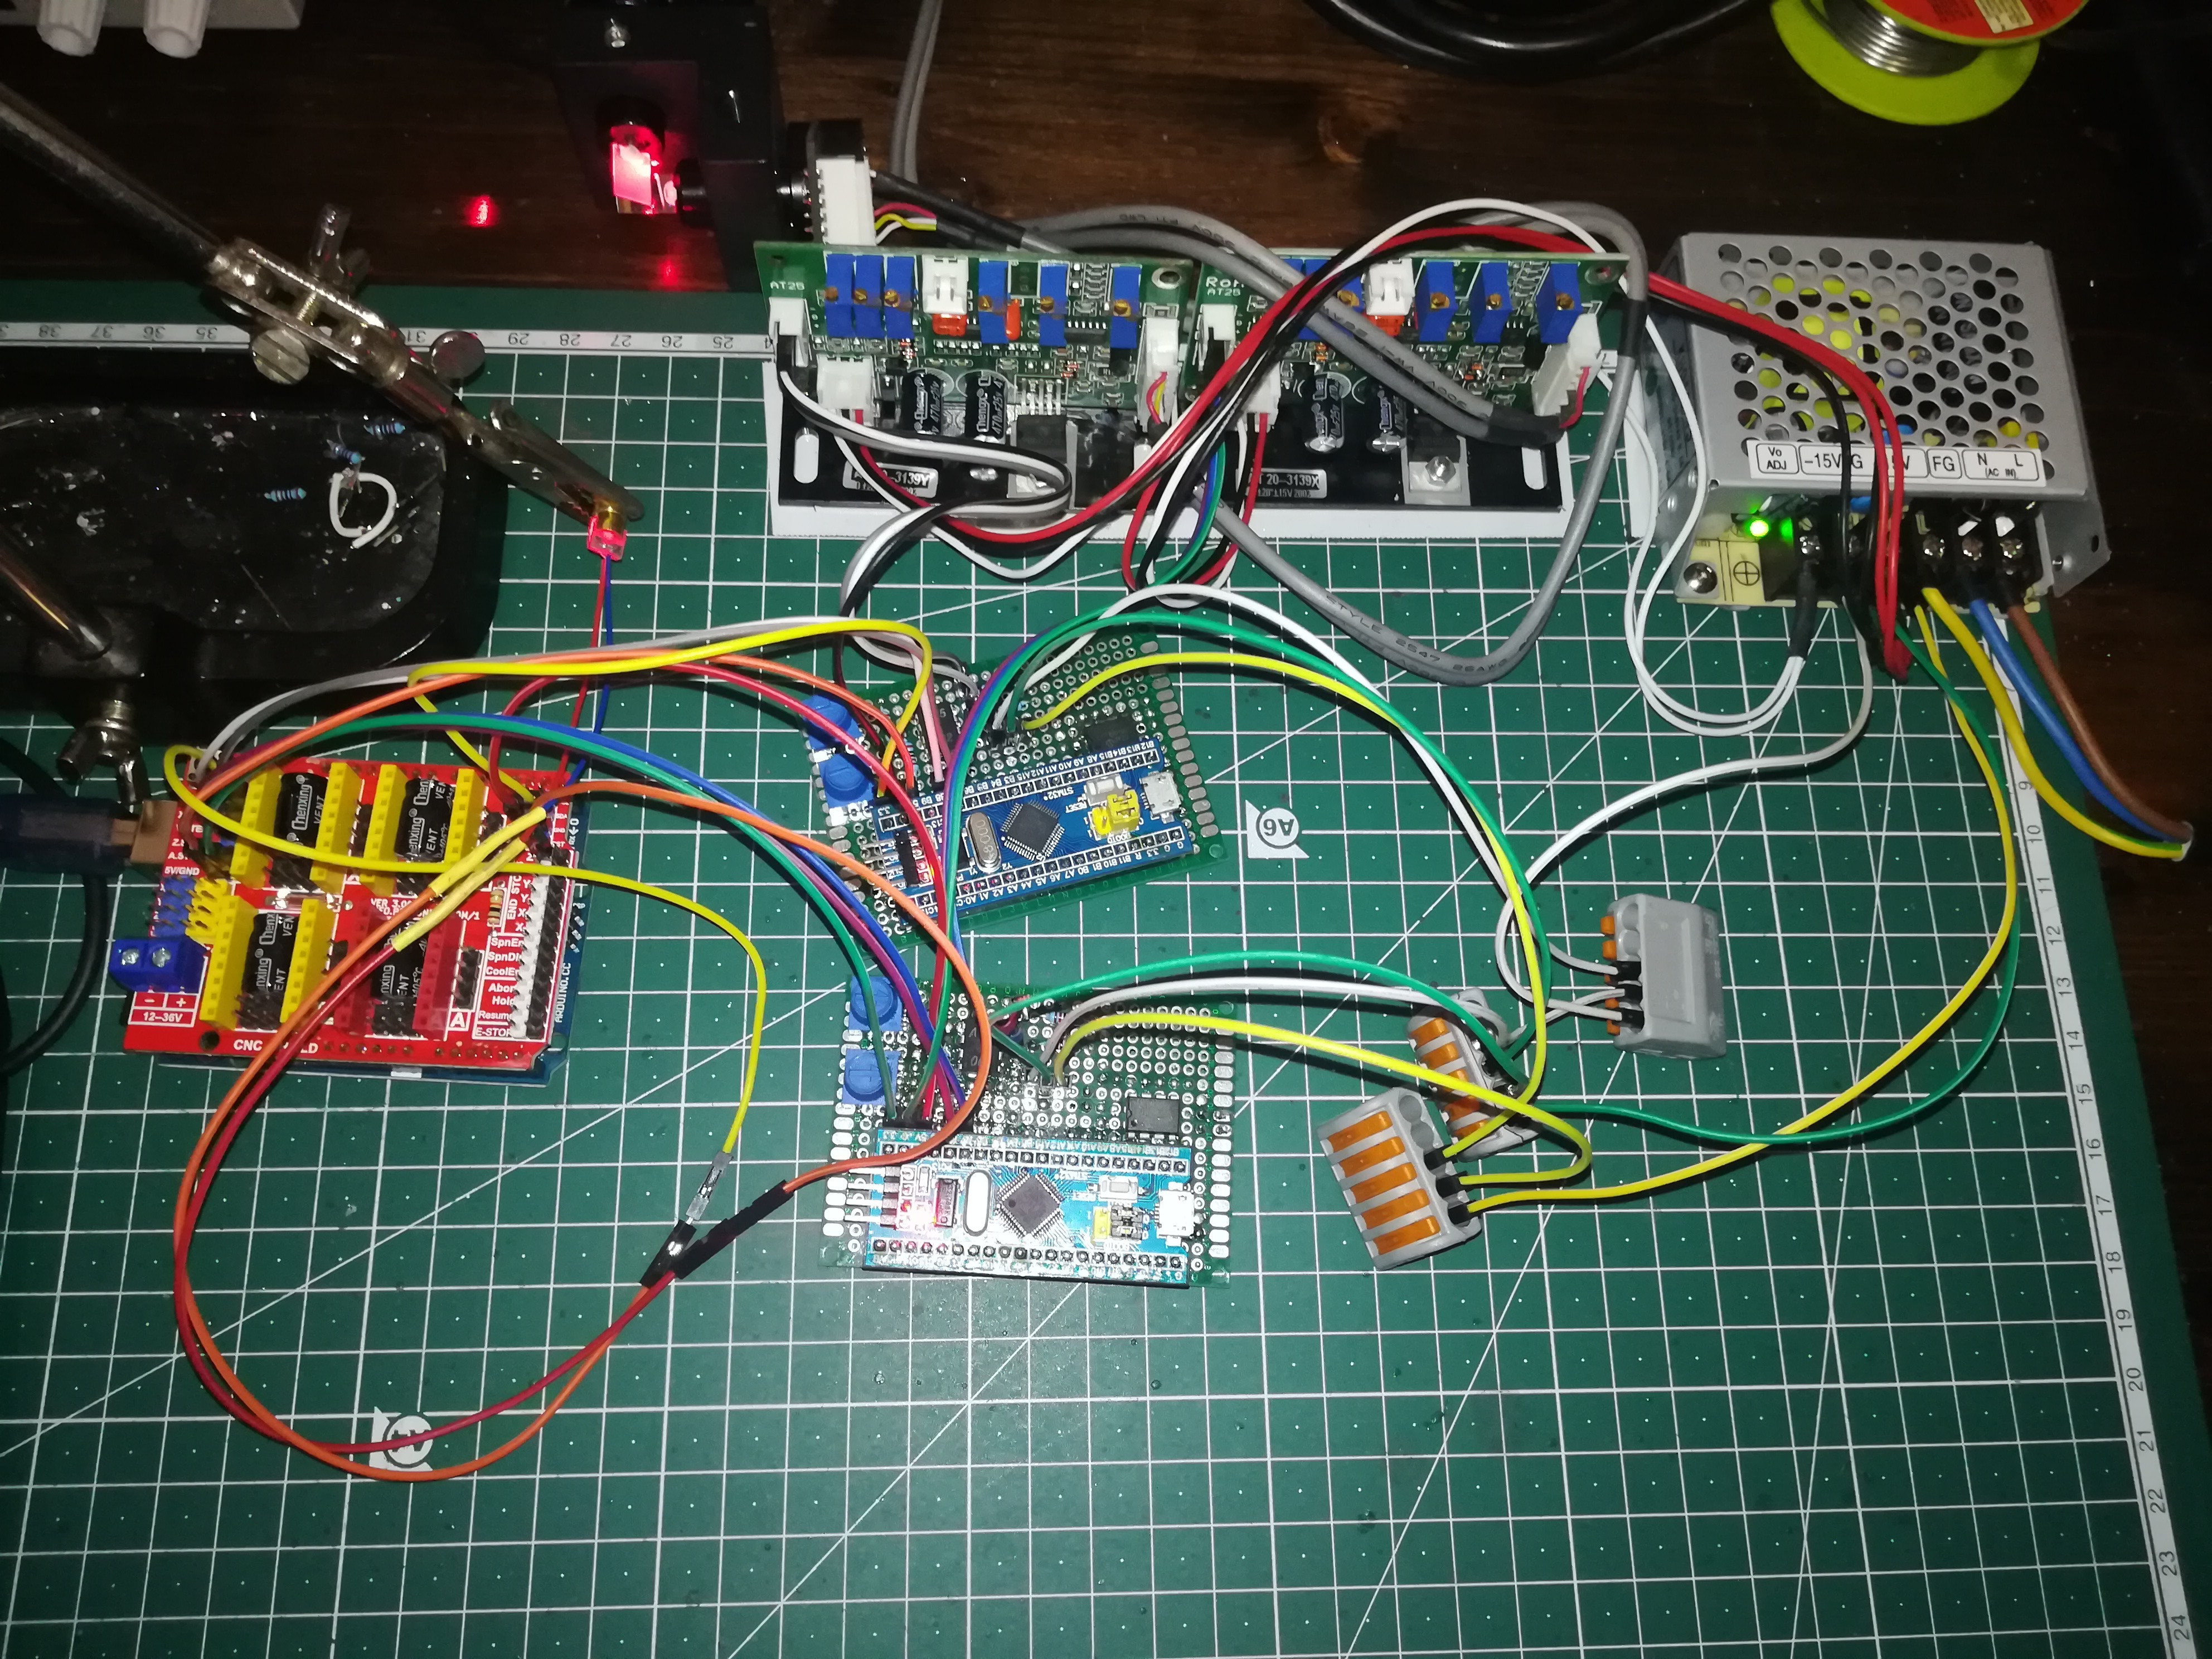
I tried to use the fastest mm/min and acceleration setting grbl can output, which is far less than the maximal galvo speed - it worked up to 100000mm/min and 1000 acceleration value, higher value leaded to a freeze or reset of the arduino.
You can start by building the frame.
It is made of 10 pieces 500mm 2020 profiles and 4 pieces 300mm 2020 profiles.
To attach them to each other I used 2020 brackets, T-Slot nuts and M5*8 screws.
For the Z axis I used two sets MGN12H linear rails which I mounted to two of the 2020 profiles. For mounding them you need either the right slide blocks or you can 3D print the slide blocks, to mount them with M3 screws and nuts to the profiles.
For building the work area you need two 300mm and two 200mm 2020 profiles which you can attach to each other with corner brackets, M5*8 screws and T-Slot nuts like the frame.
Next you can mount the Nema 17 stepper for the Z axis with the 3D printed part on the middle of the lower profile.
After that you can mount the 3D printed parts for the MGN12Hs on them.
Afterwards you can mount the T8 nut in its 3D printed part and attach them to the back of the work area.
Next you can mount the work area to the MGN12H 3D printed part with M5*10 screws and t-slot nuts.
Insert the T8 threaded rod into the motor coupler and mount both to the stepper motor. Place the work area with the T8 nut on top of the rod and you are almost done with the Z axis.
The last thing is the endstop.
Mount it on its 3D printed part and both to the left profile with the MGN12H.
Add the 540*300*2mm plates to the top, bottem, left and right.
Drill holes in them to mount them with M5*8 screws.
The one at the top needs a cutout for the laser in the middle and holes for cables to reach through.
Add the 300*220*2mm plate to the work area.
Last you can add the 540*540*2mm backplate which needs a cutout for the IEC socket and the 120mm fan. I cut them out with a plasma cutter cnc, but if you have none to hand you can cut them out by drilling holes along the outcut's outline and working them out with pliers and a file.
Create an account to leave a comment. Already have an account? Log In.
Very nice work. I have been interested in doing something like this. May have been inspired to give it a try. I will be following your progress.
Do you think it would work better with a Makerbase MKS DLC V2.0?
If you want you could use this board with marlin instead of grbl.
In theory all cnc and 3d printer boards which can give out 3 axis Step/Dir + pwm should work with it.
Great work! Do you have any information on the galvo controlling board?
Thank you :)
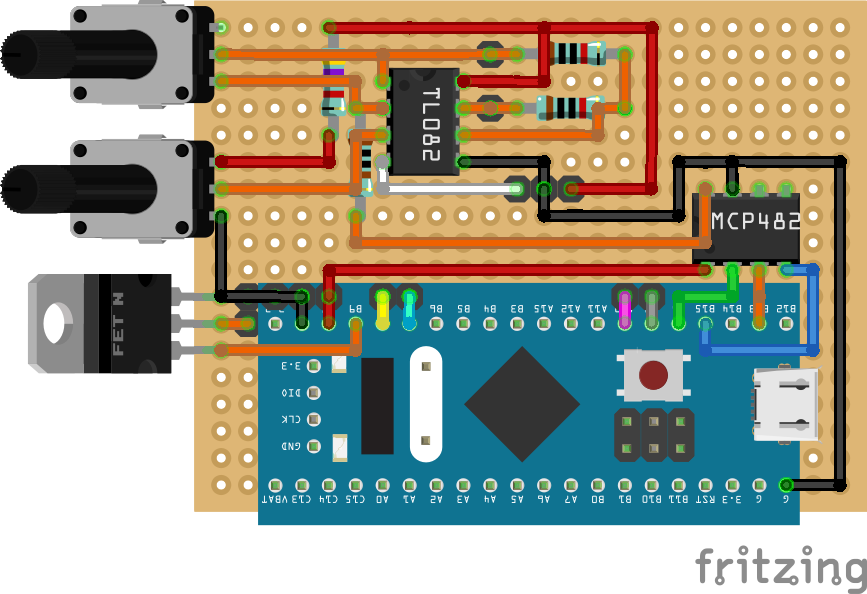
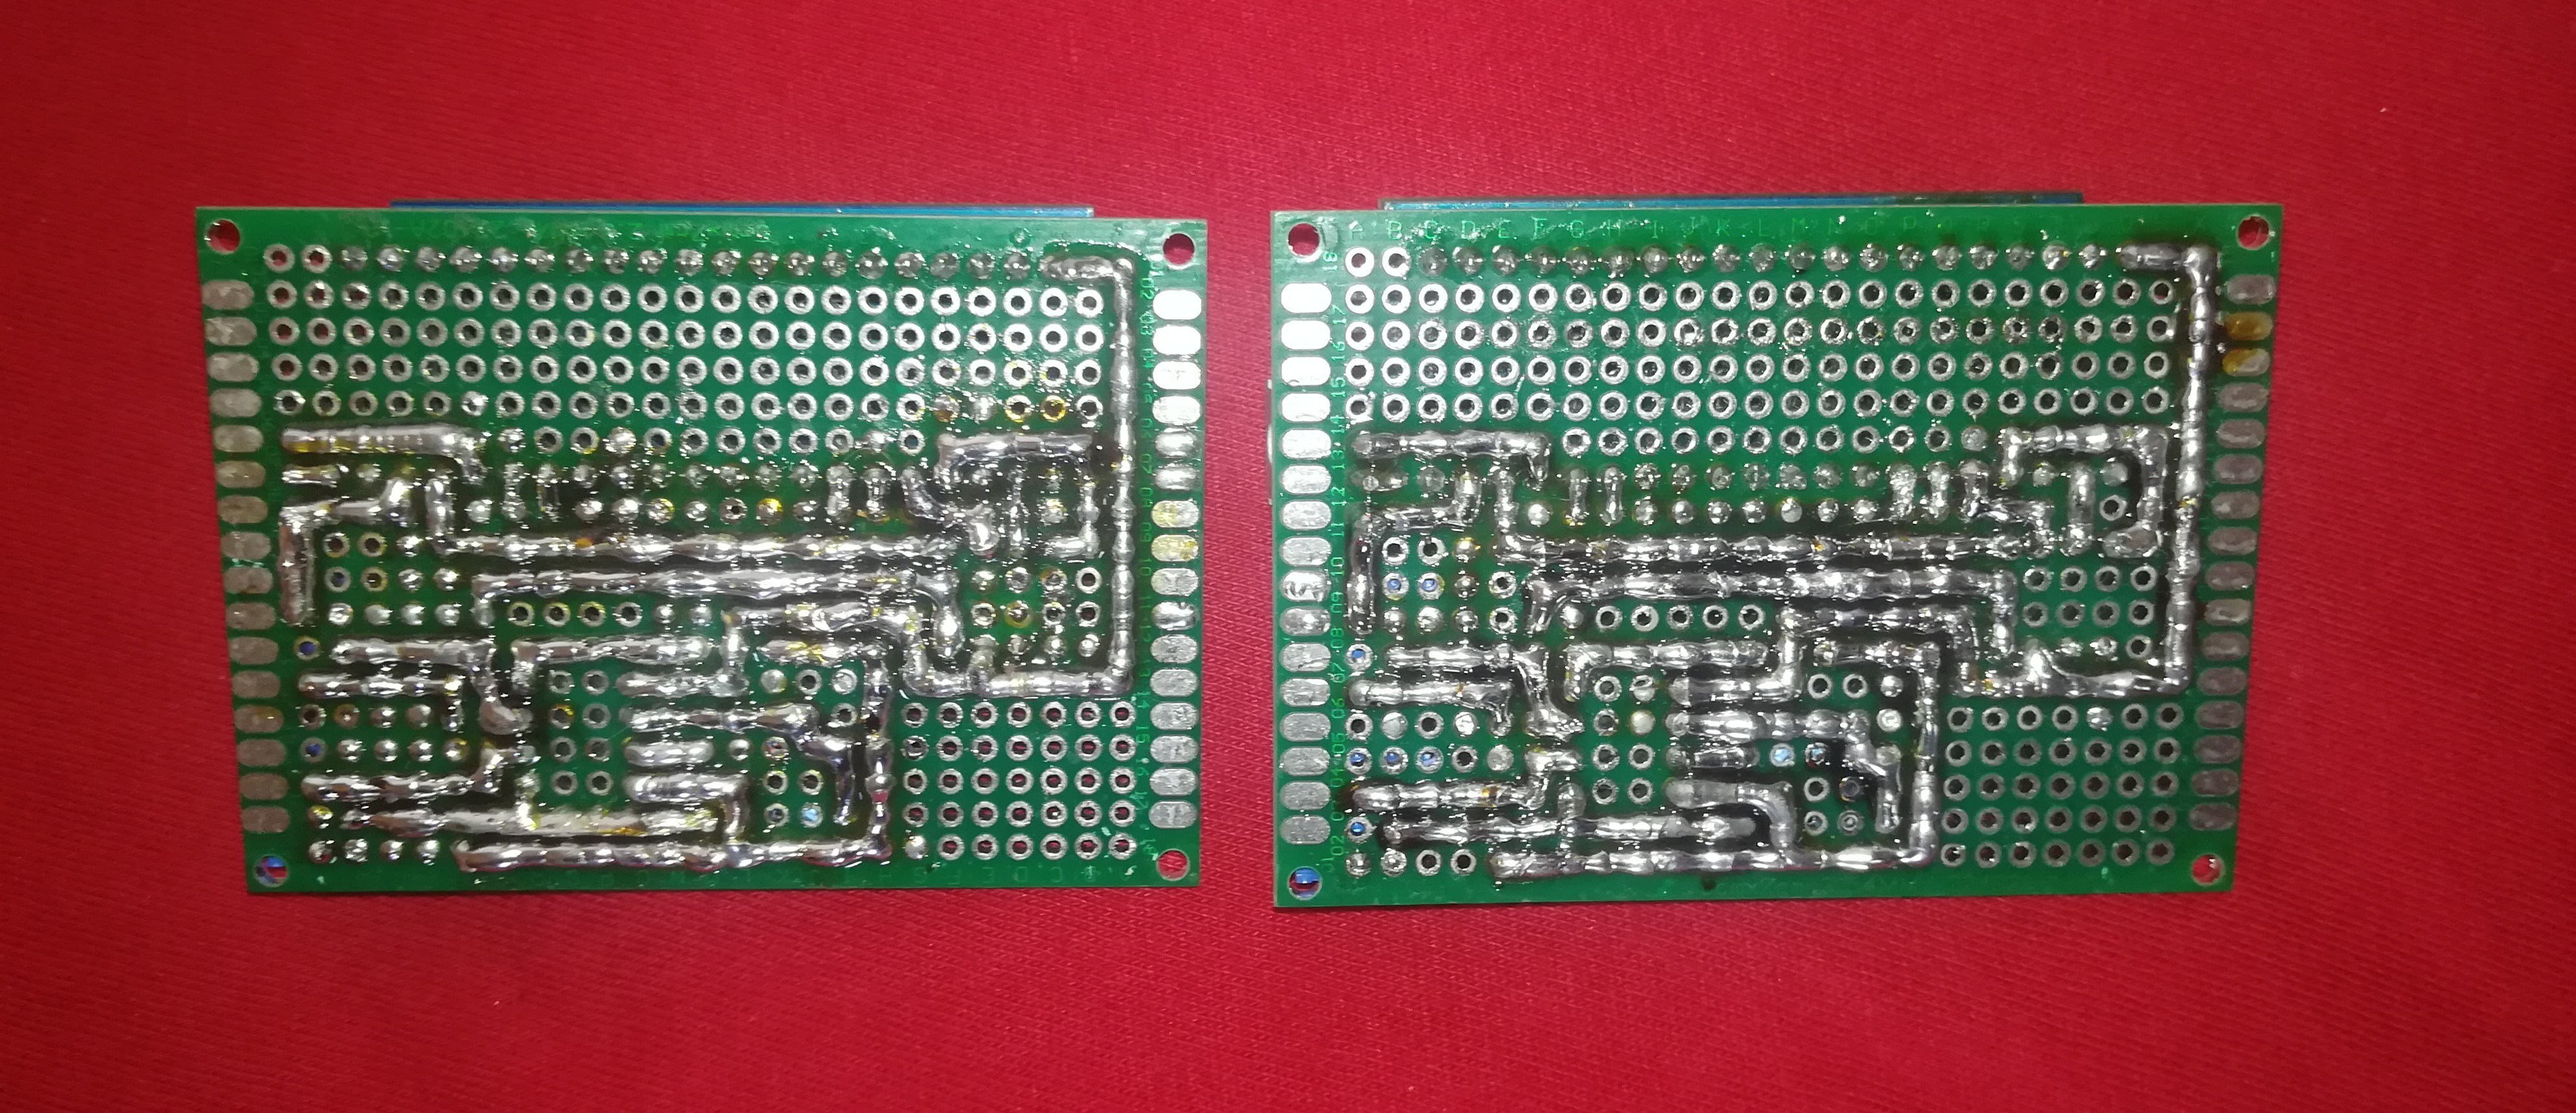
Added a picture of the wiring to the details. I'm currently working on adding some functions and maybe add a new version with everything on a single pcb.
Seems like the 2 boards can stay as they are for the new function. I will just add 2 more pins for serial connection on them and add another board to the machine.
Become a member to follow this project and never miss any updates
 Steve Schuler
 Florian Festi
 Jason Cho
Hello
thank you allot for the tutorial ,its awesome .
I'm sorry for the stupid question .
what is the advantage of using to asperated circuit instead of combine circuit with 1 blue pill
thank you