0%
0%
Loud ESP
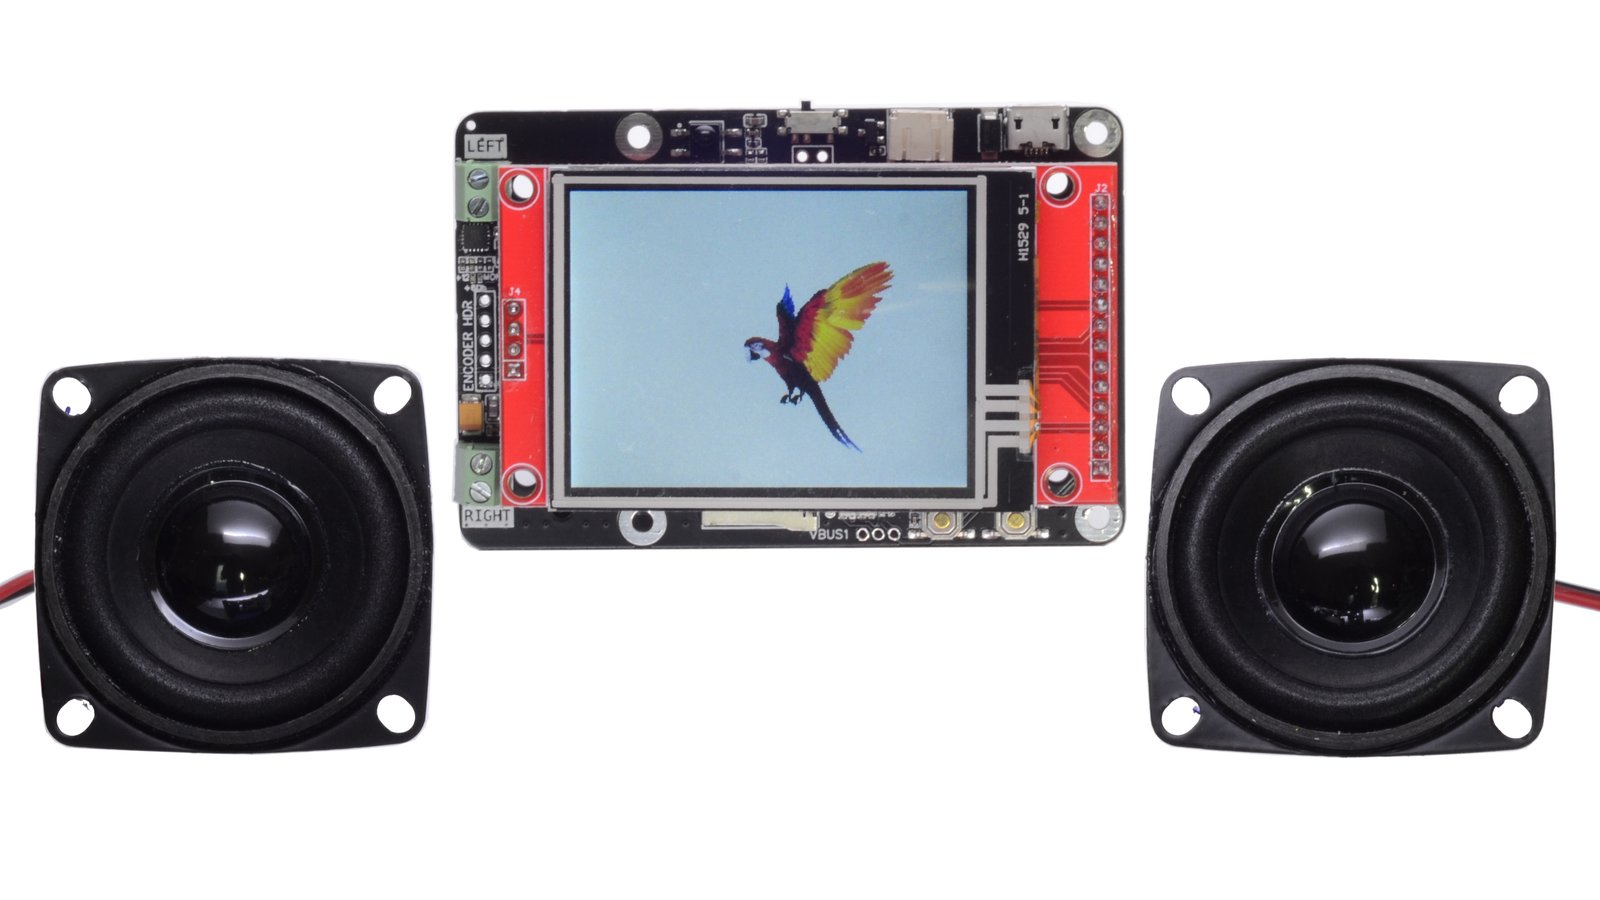
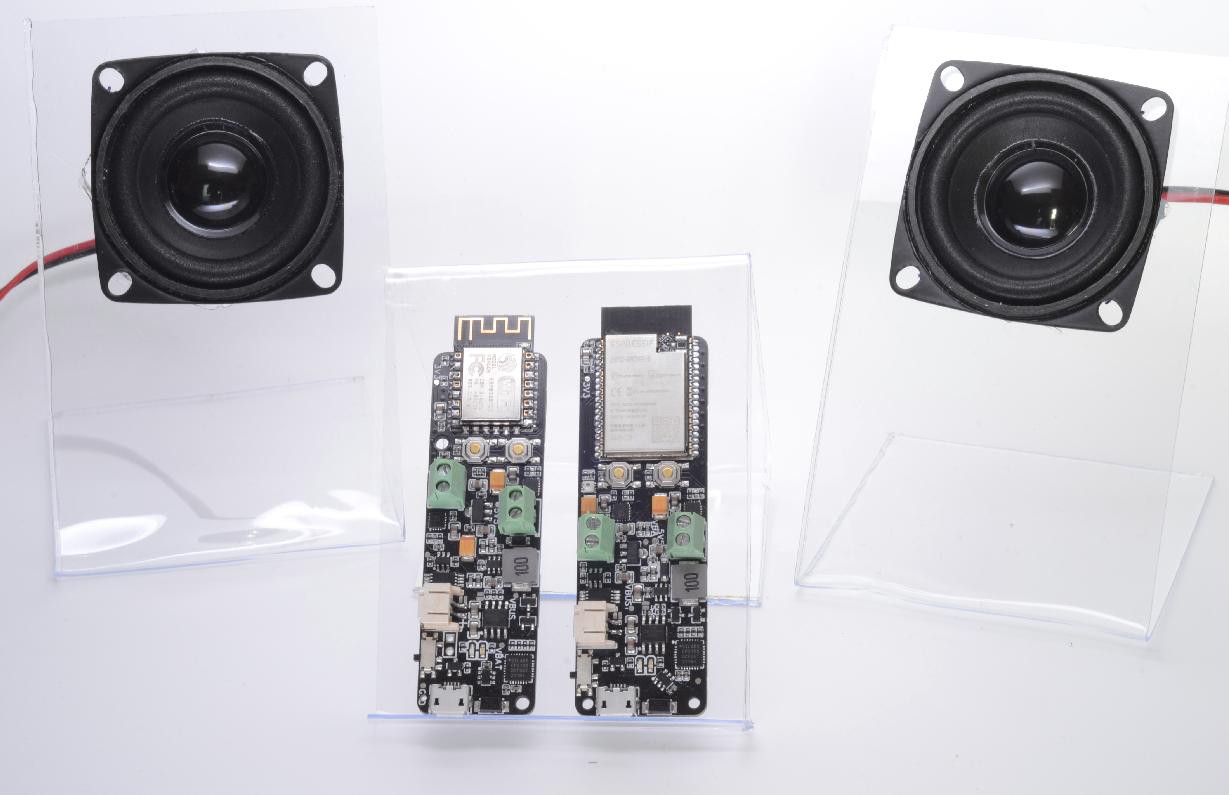
I'm looking for perfect audio DAC for ESP8266/ESP32
 andriy.malyshenko
Become a Hackaday.io member
Already have an account? Log in.
Just one more thing
To make the experience fit your profile, pick a username and tell us what interests you.
Pick an awesome username
hackaday.io/
Your profile's URL: hackaday.io/username. Max 25 alphanumeric characters.
Pick a few interests
Projects that share your interests
People that share your interests

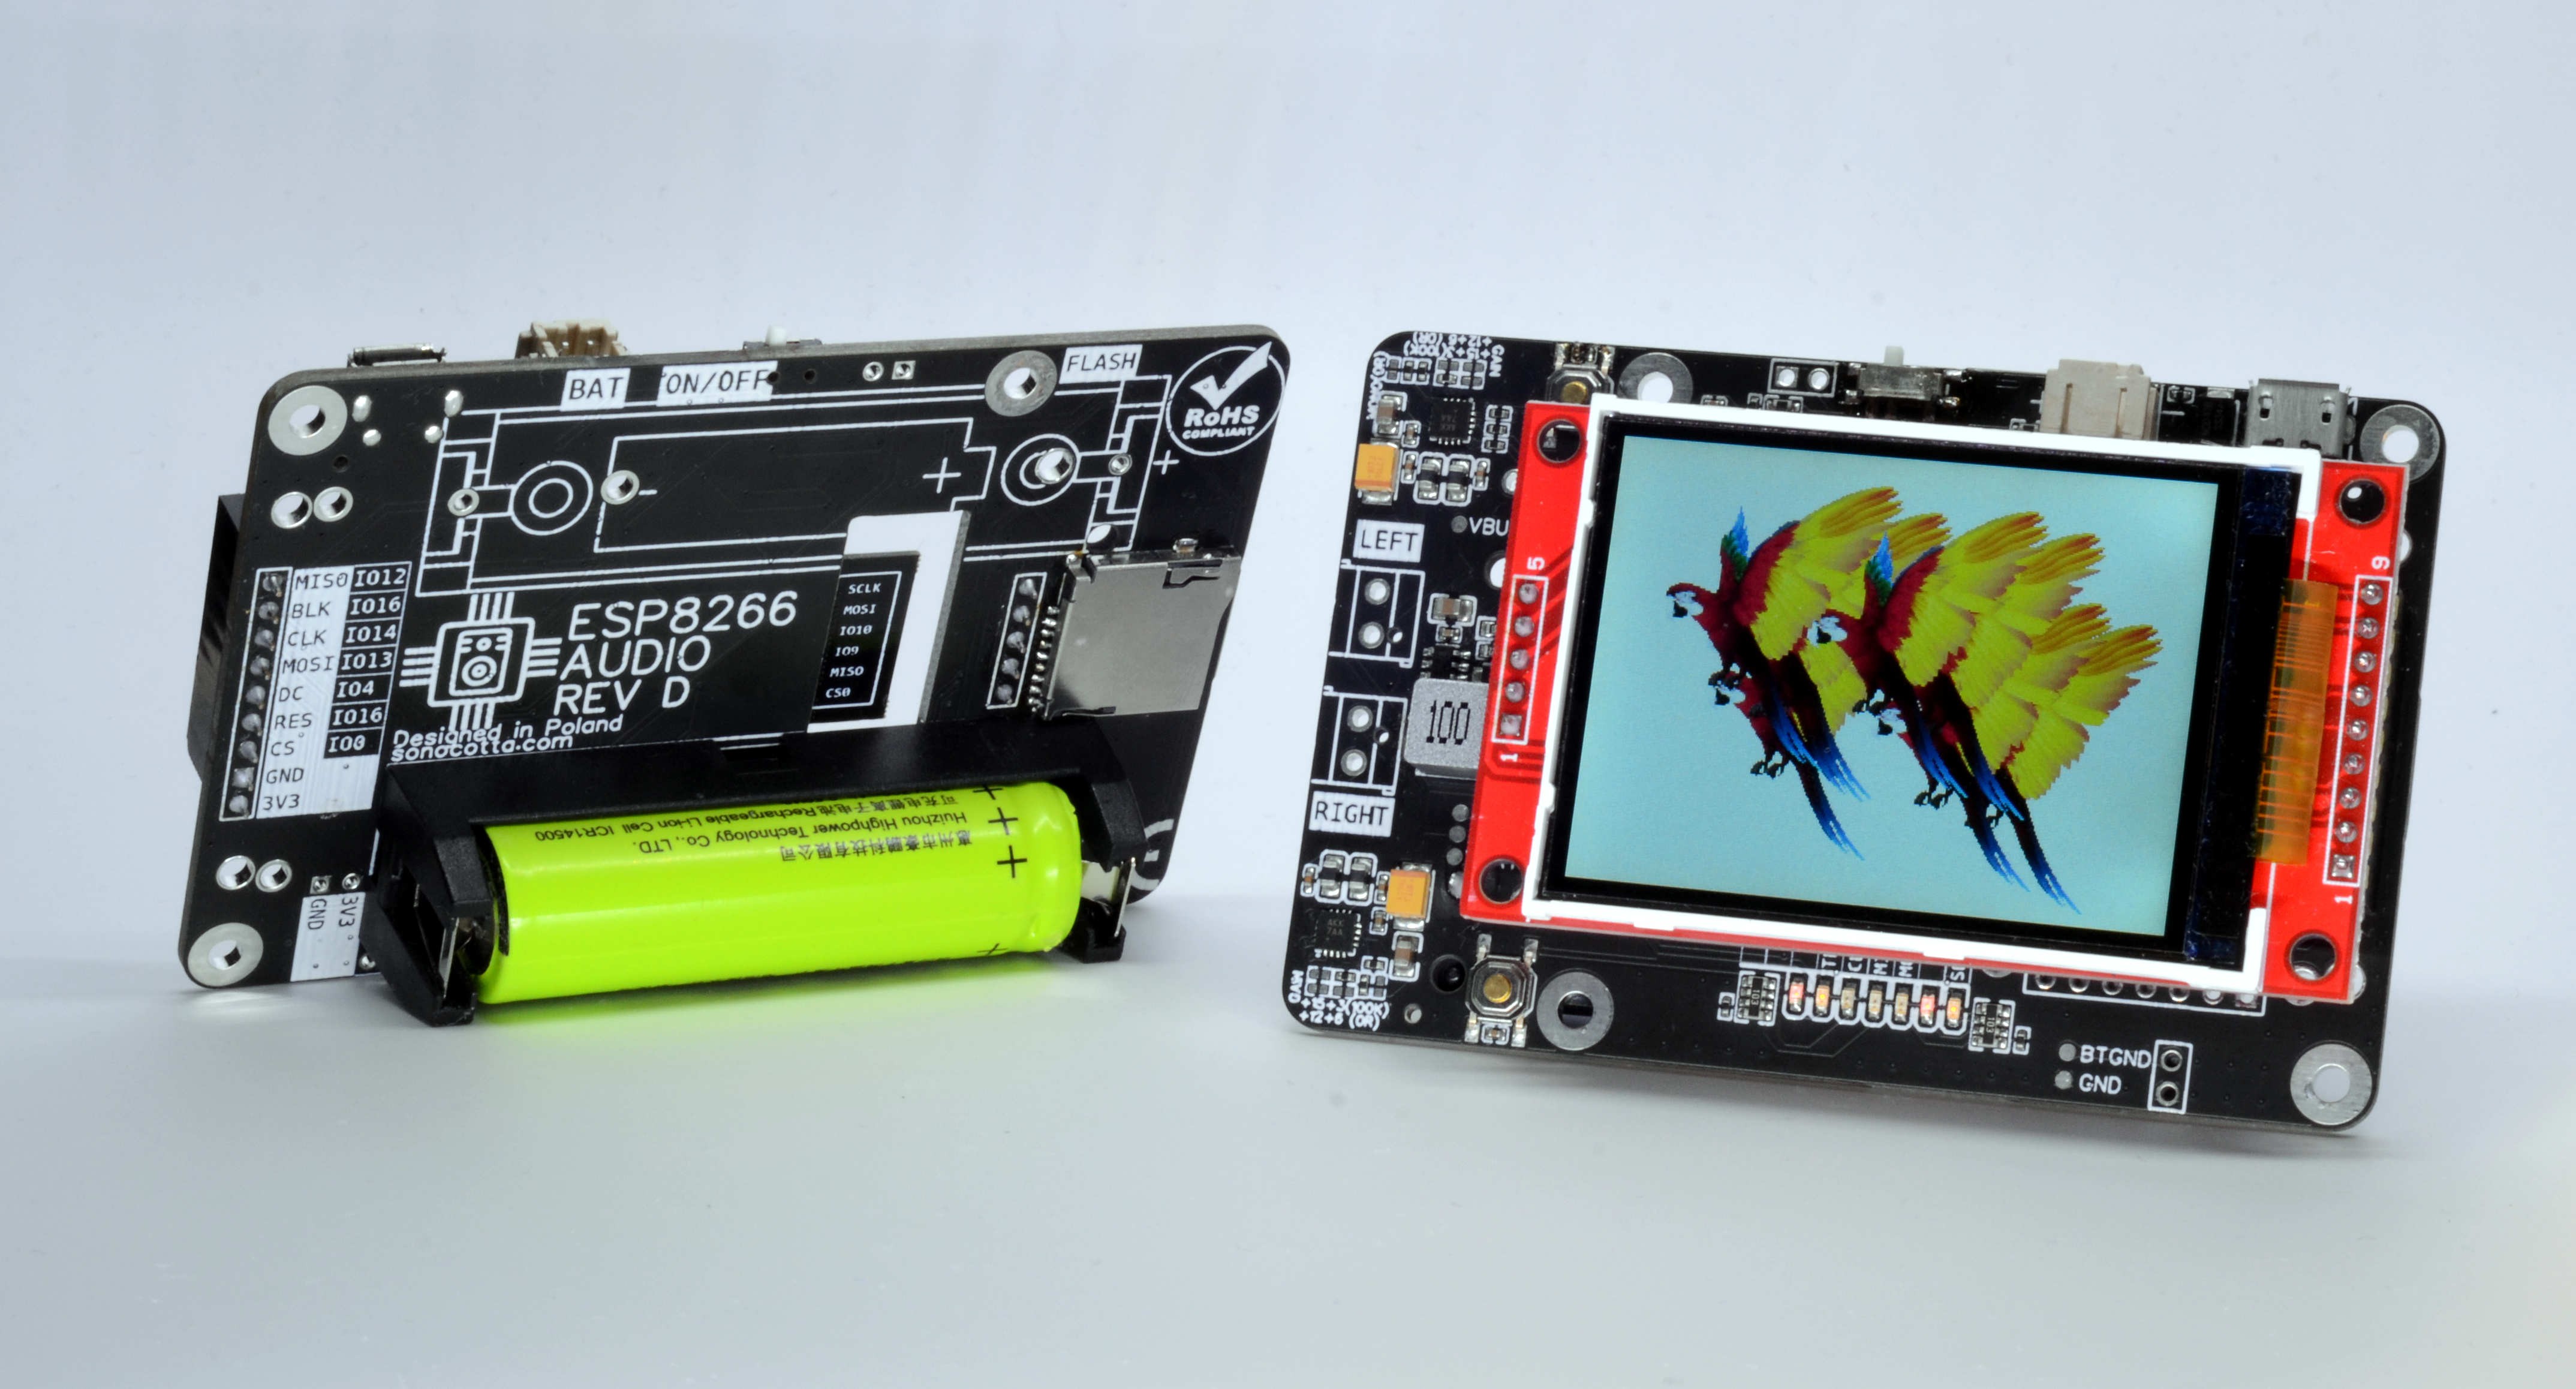
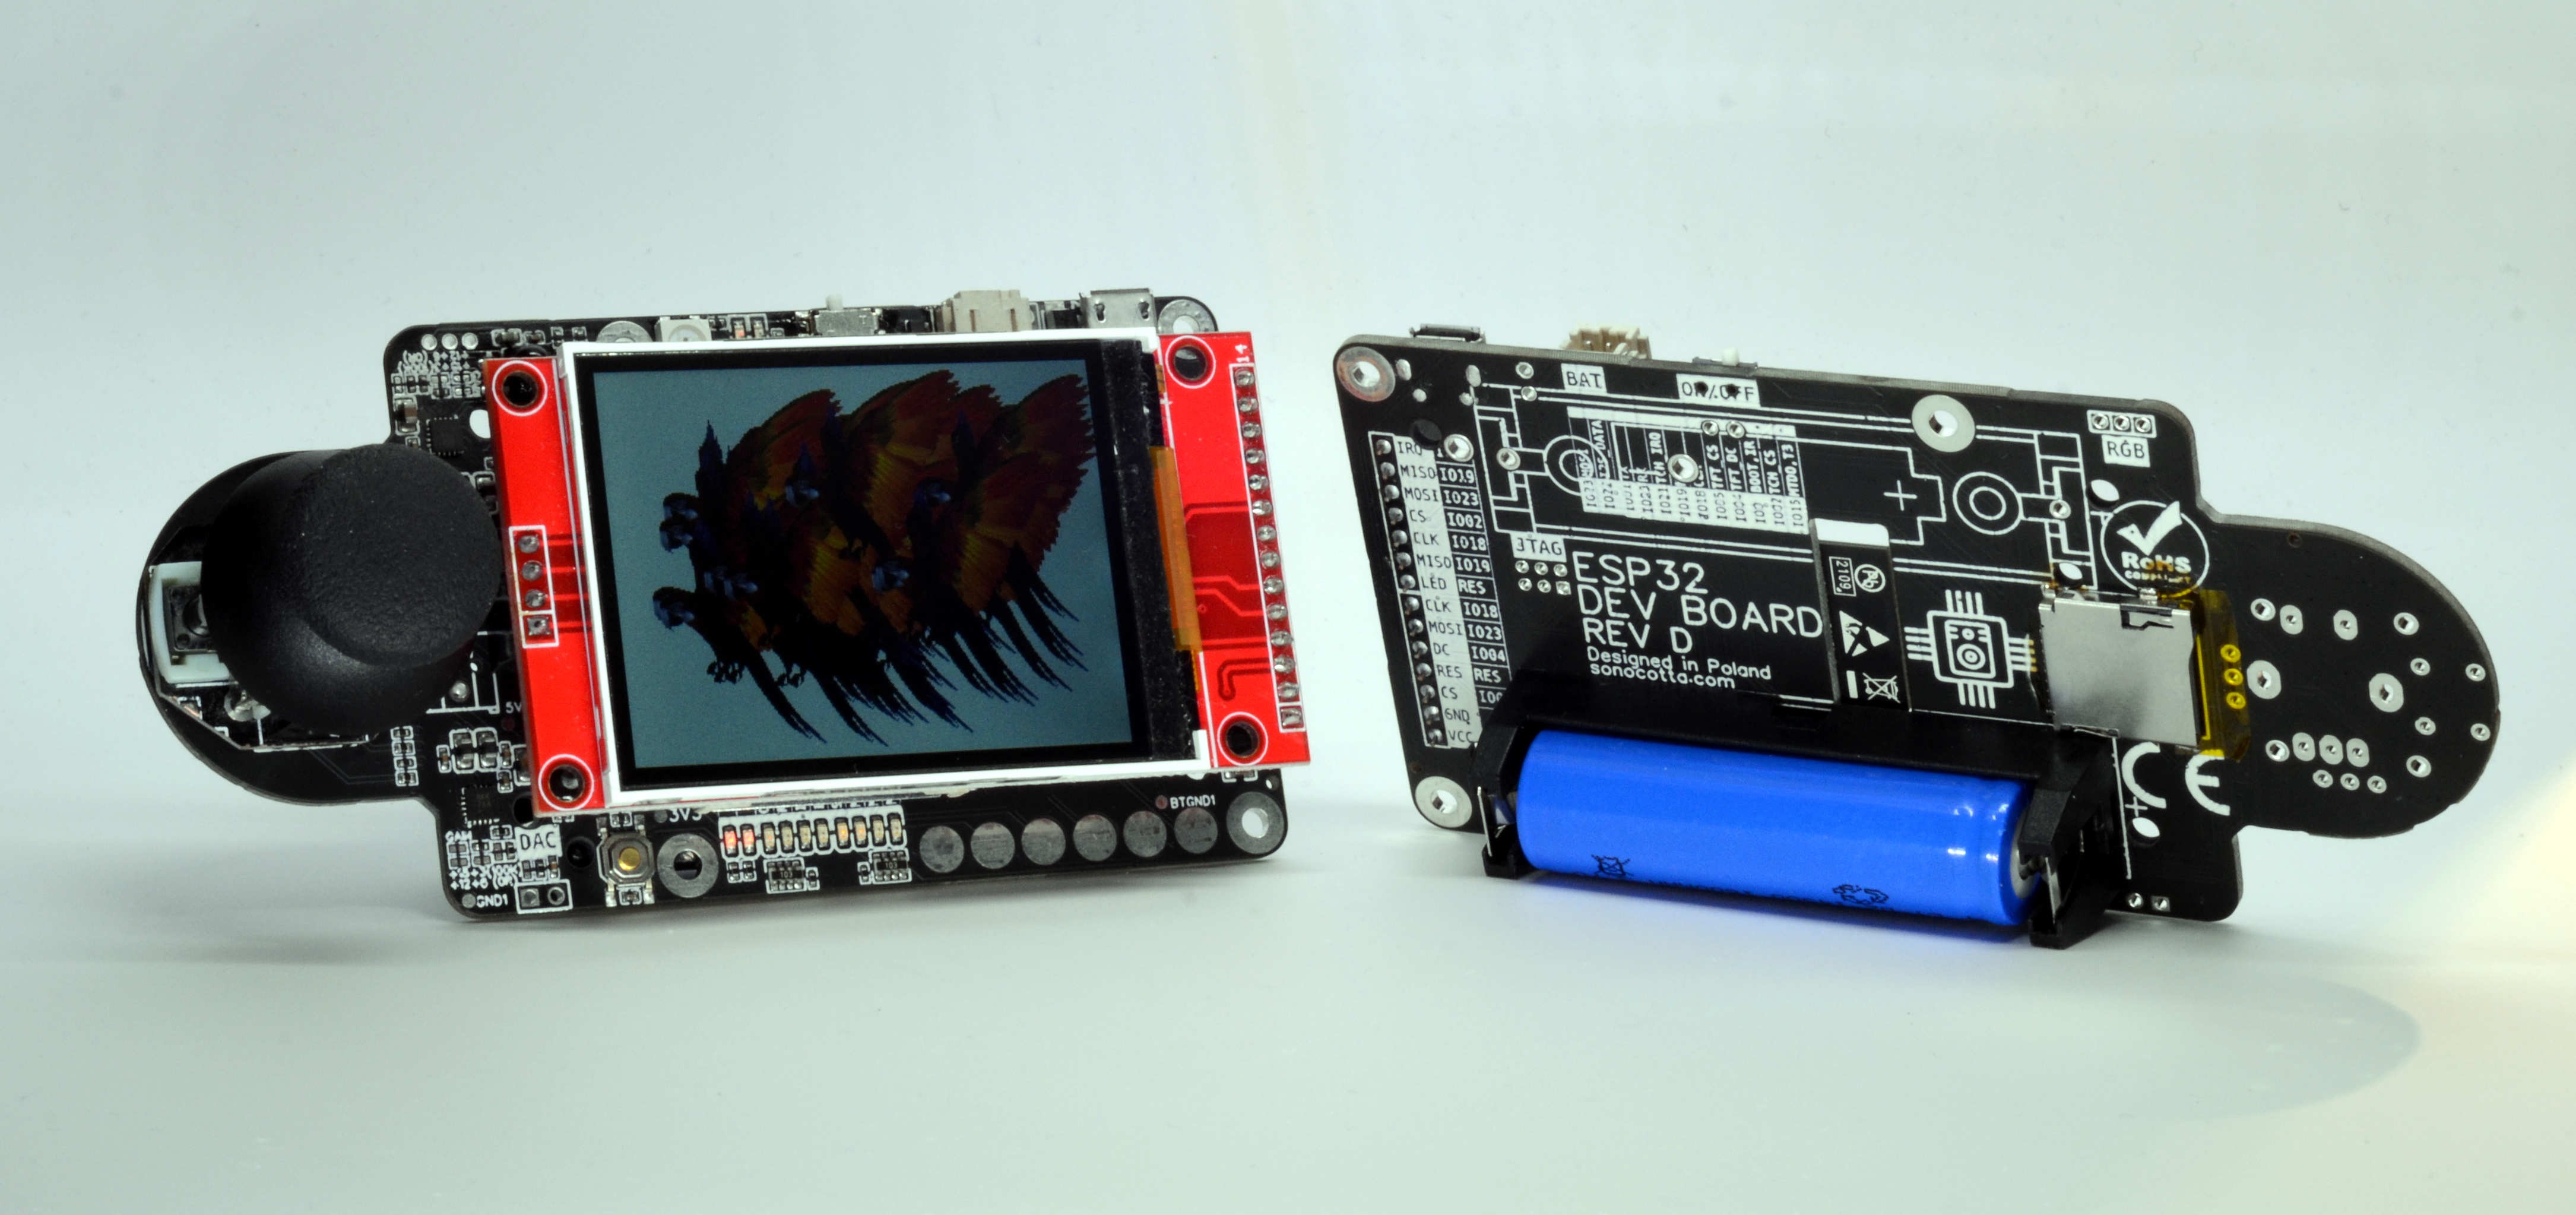
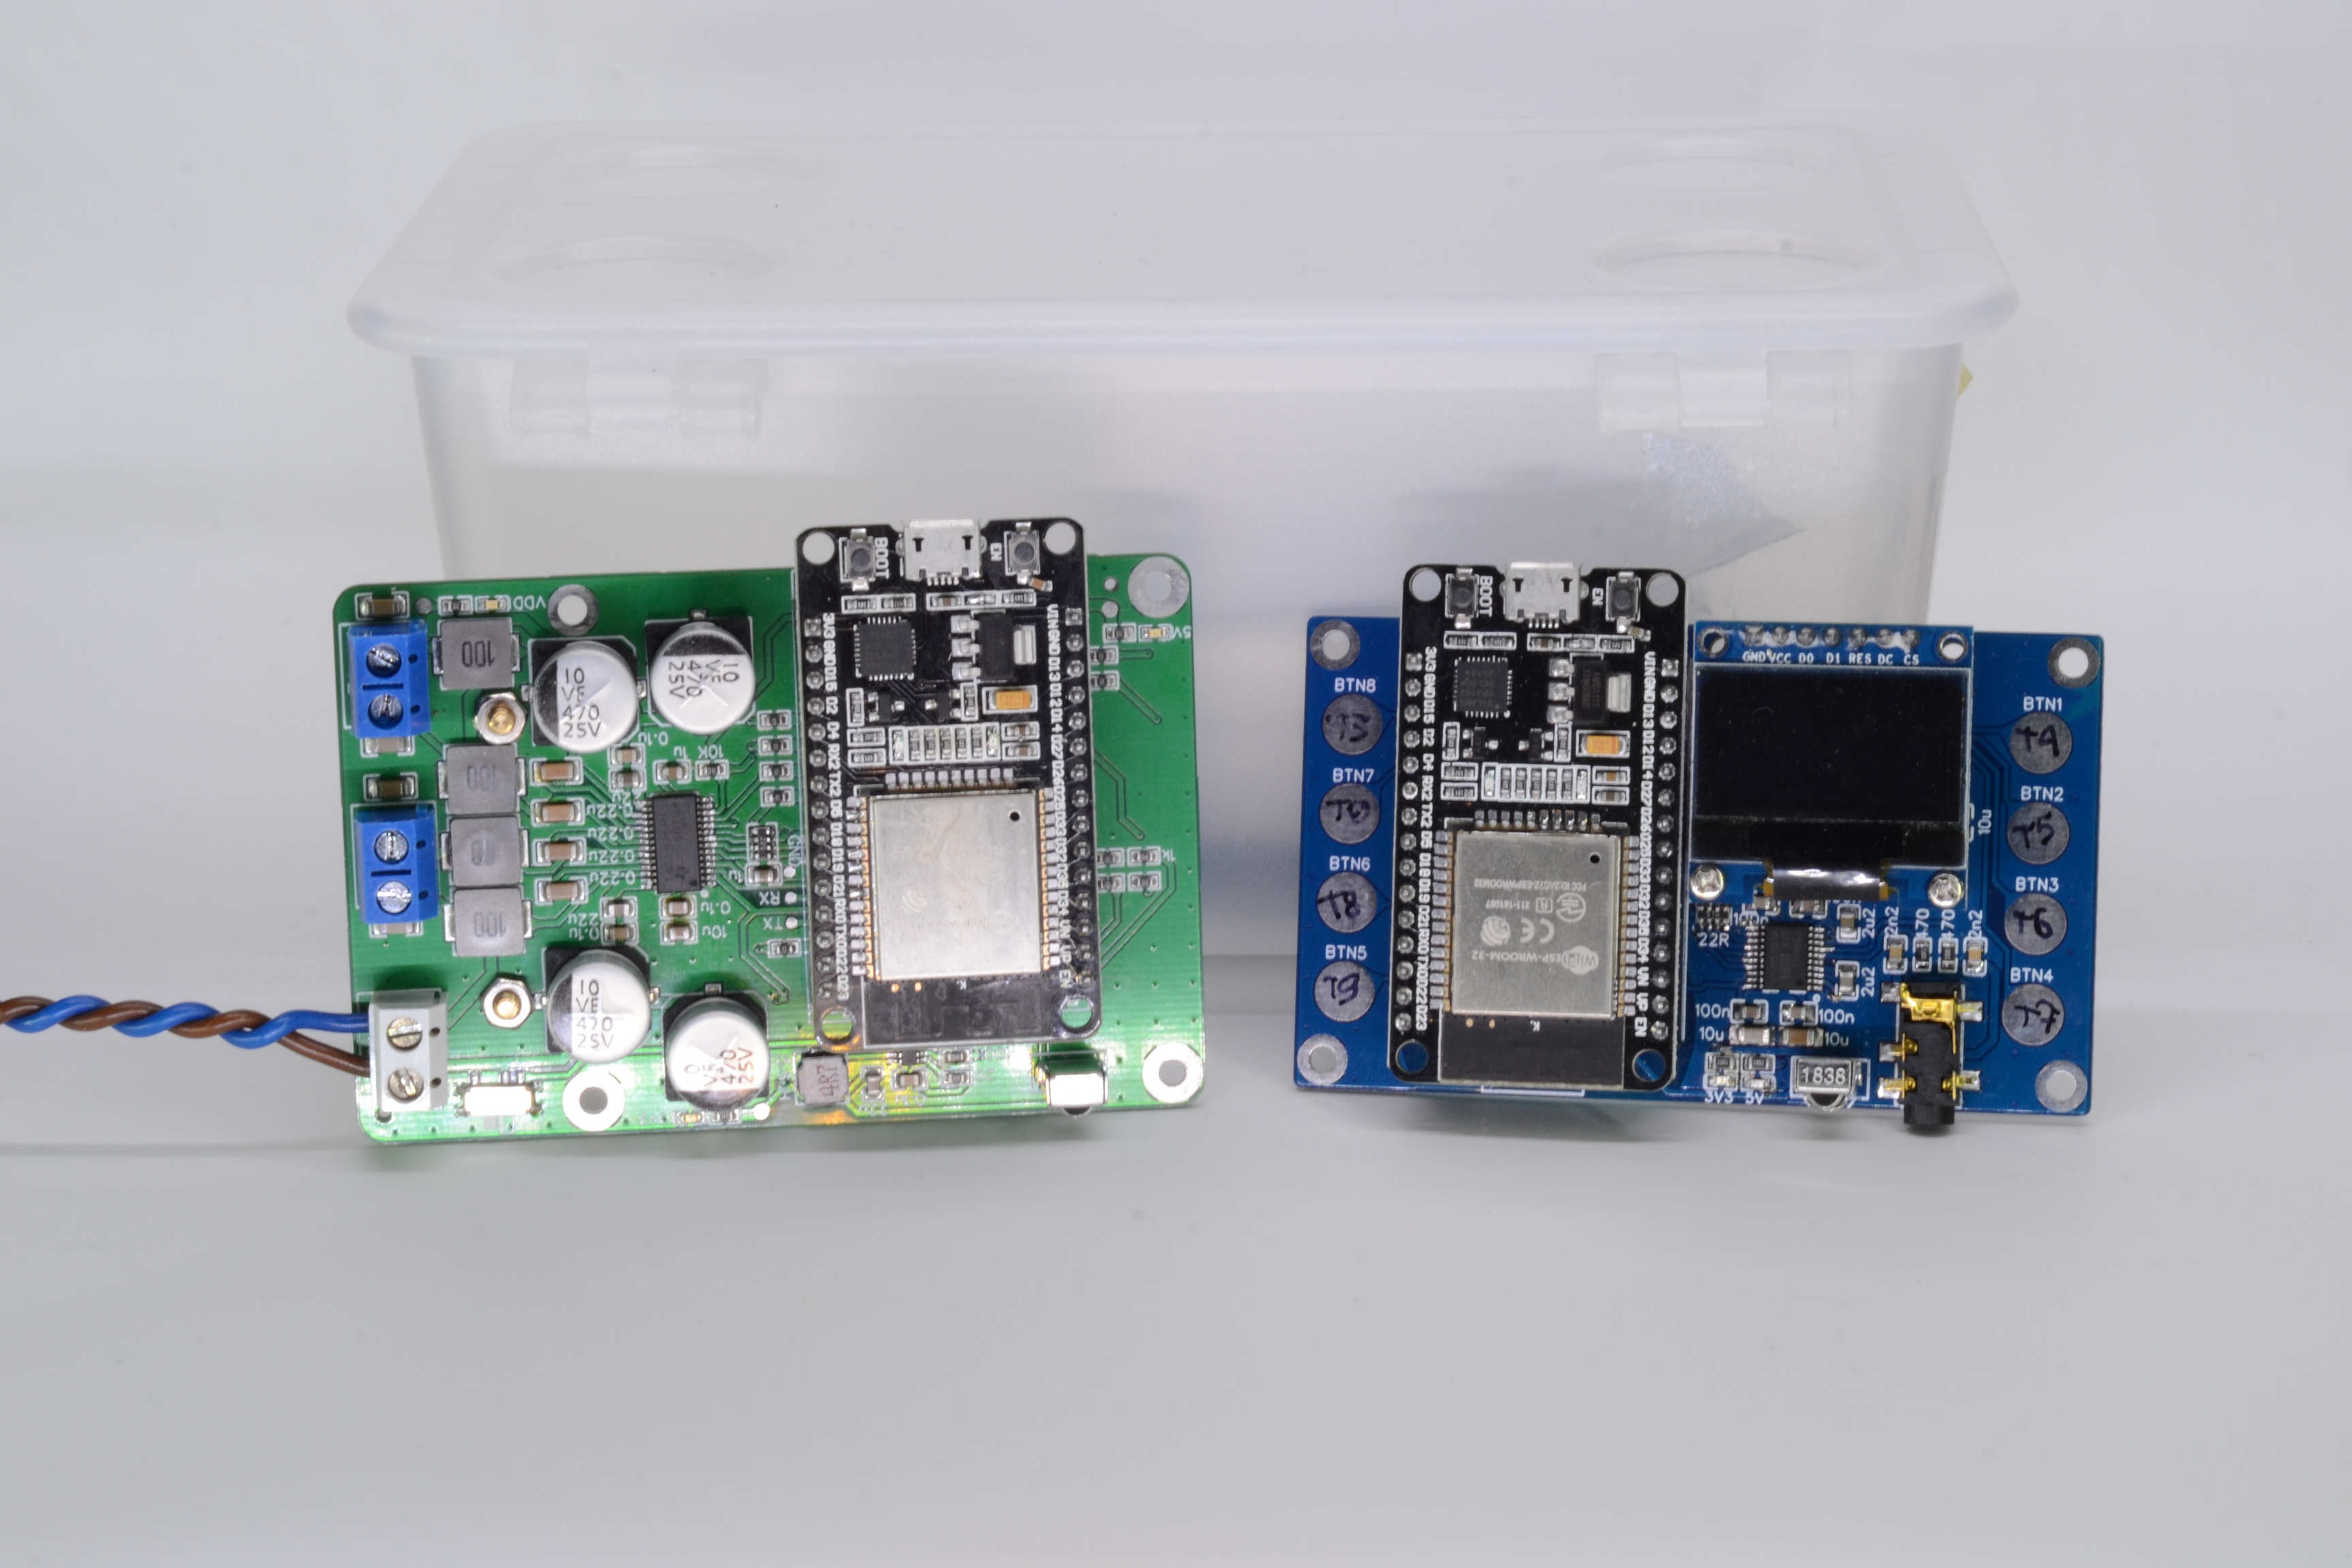
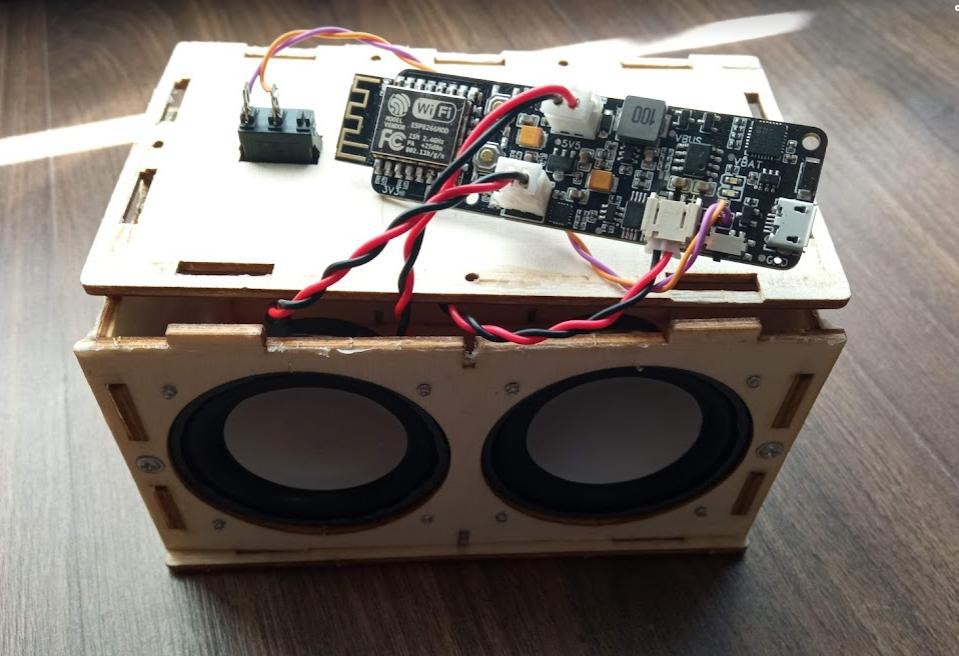 Power comes from 18650 battery placed on the back side and secured using couple of screws
 Then it is secured inside using standoffs the way that USB port is accessible from the side to allow charging and flashing (although I'm using OTA updates for simple changes)
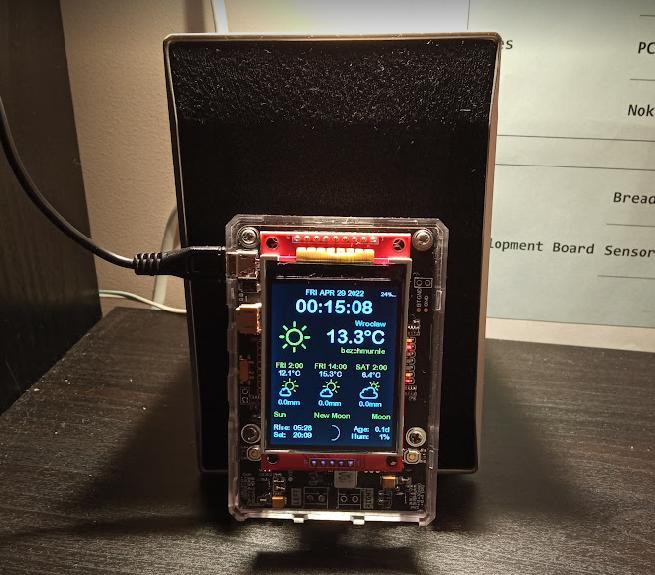
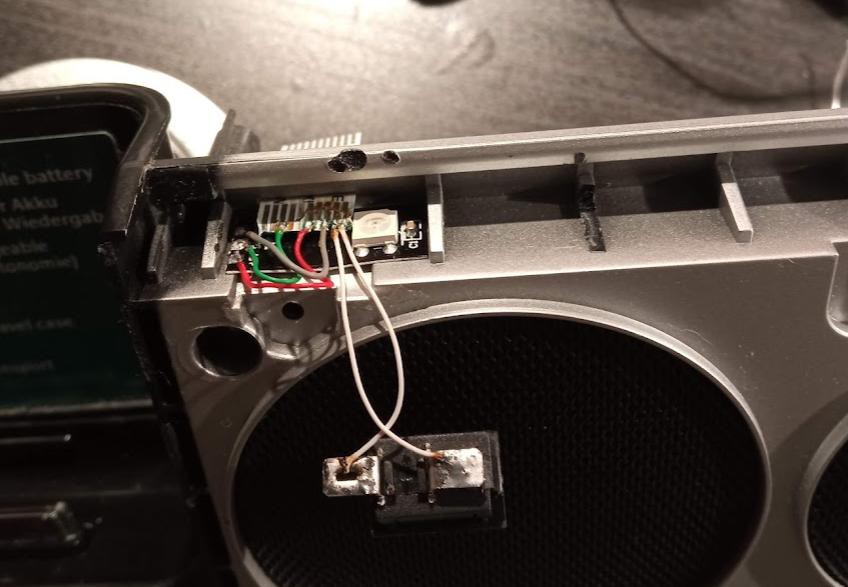
 I've secured a window on the top to allow indication using built-in addressable LED, and here is the end result
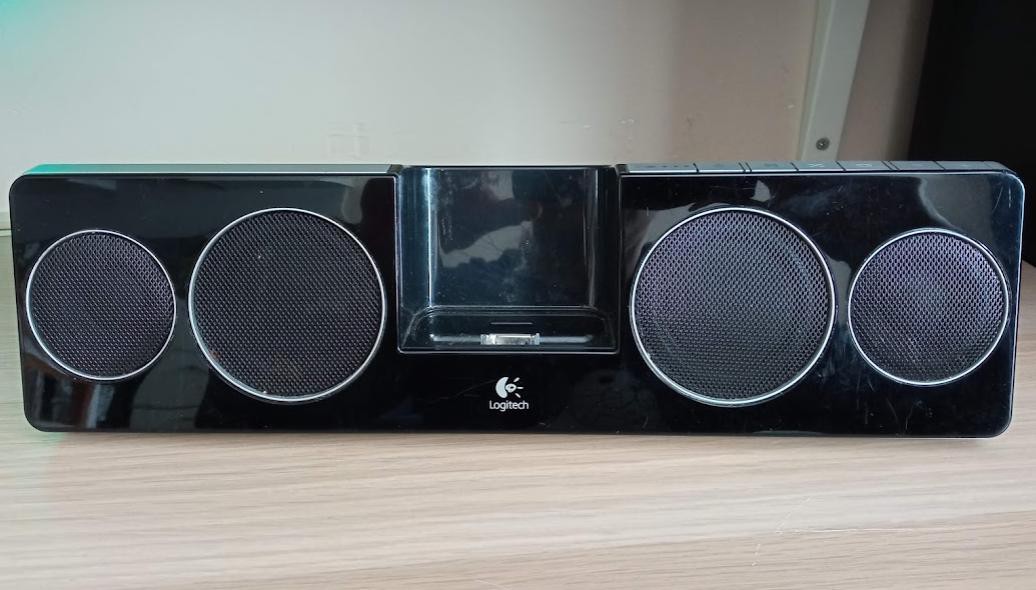
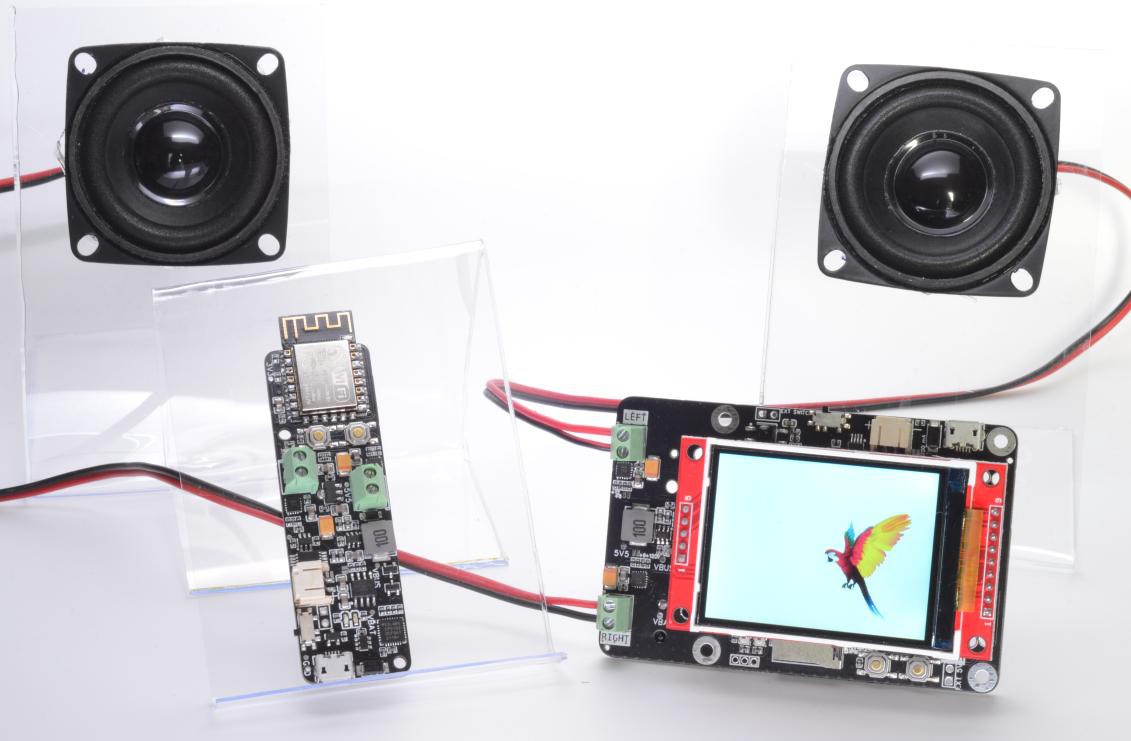
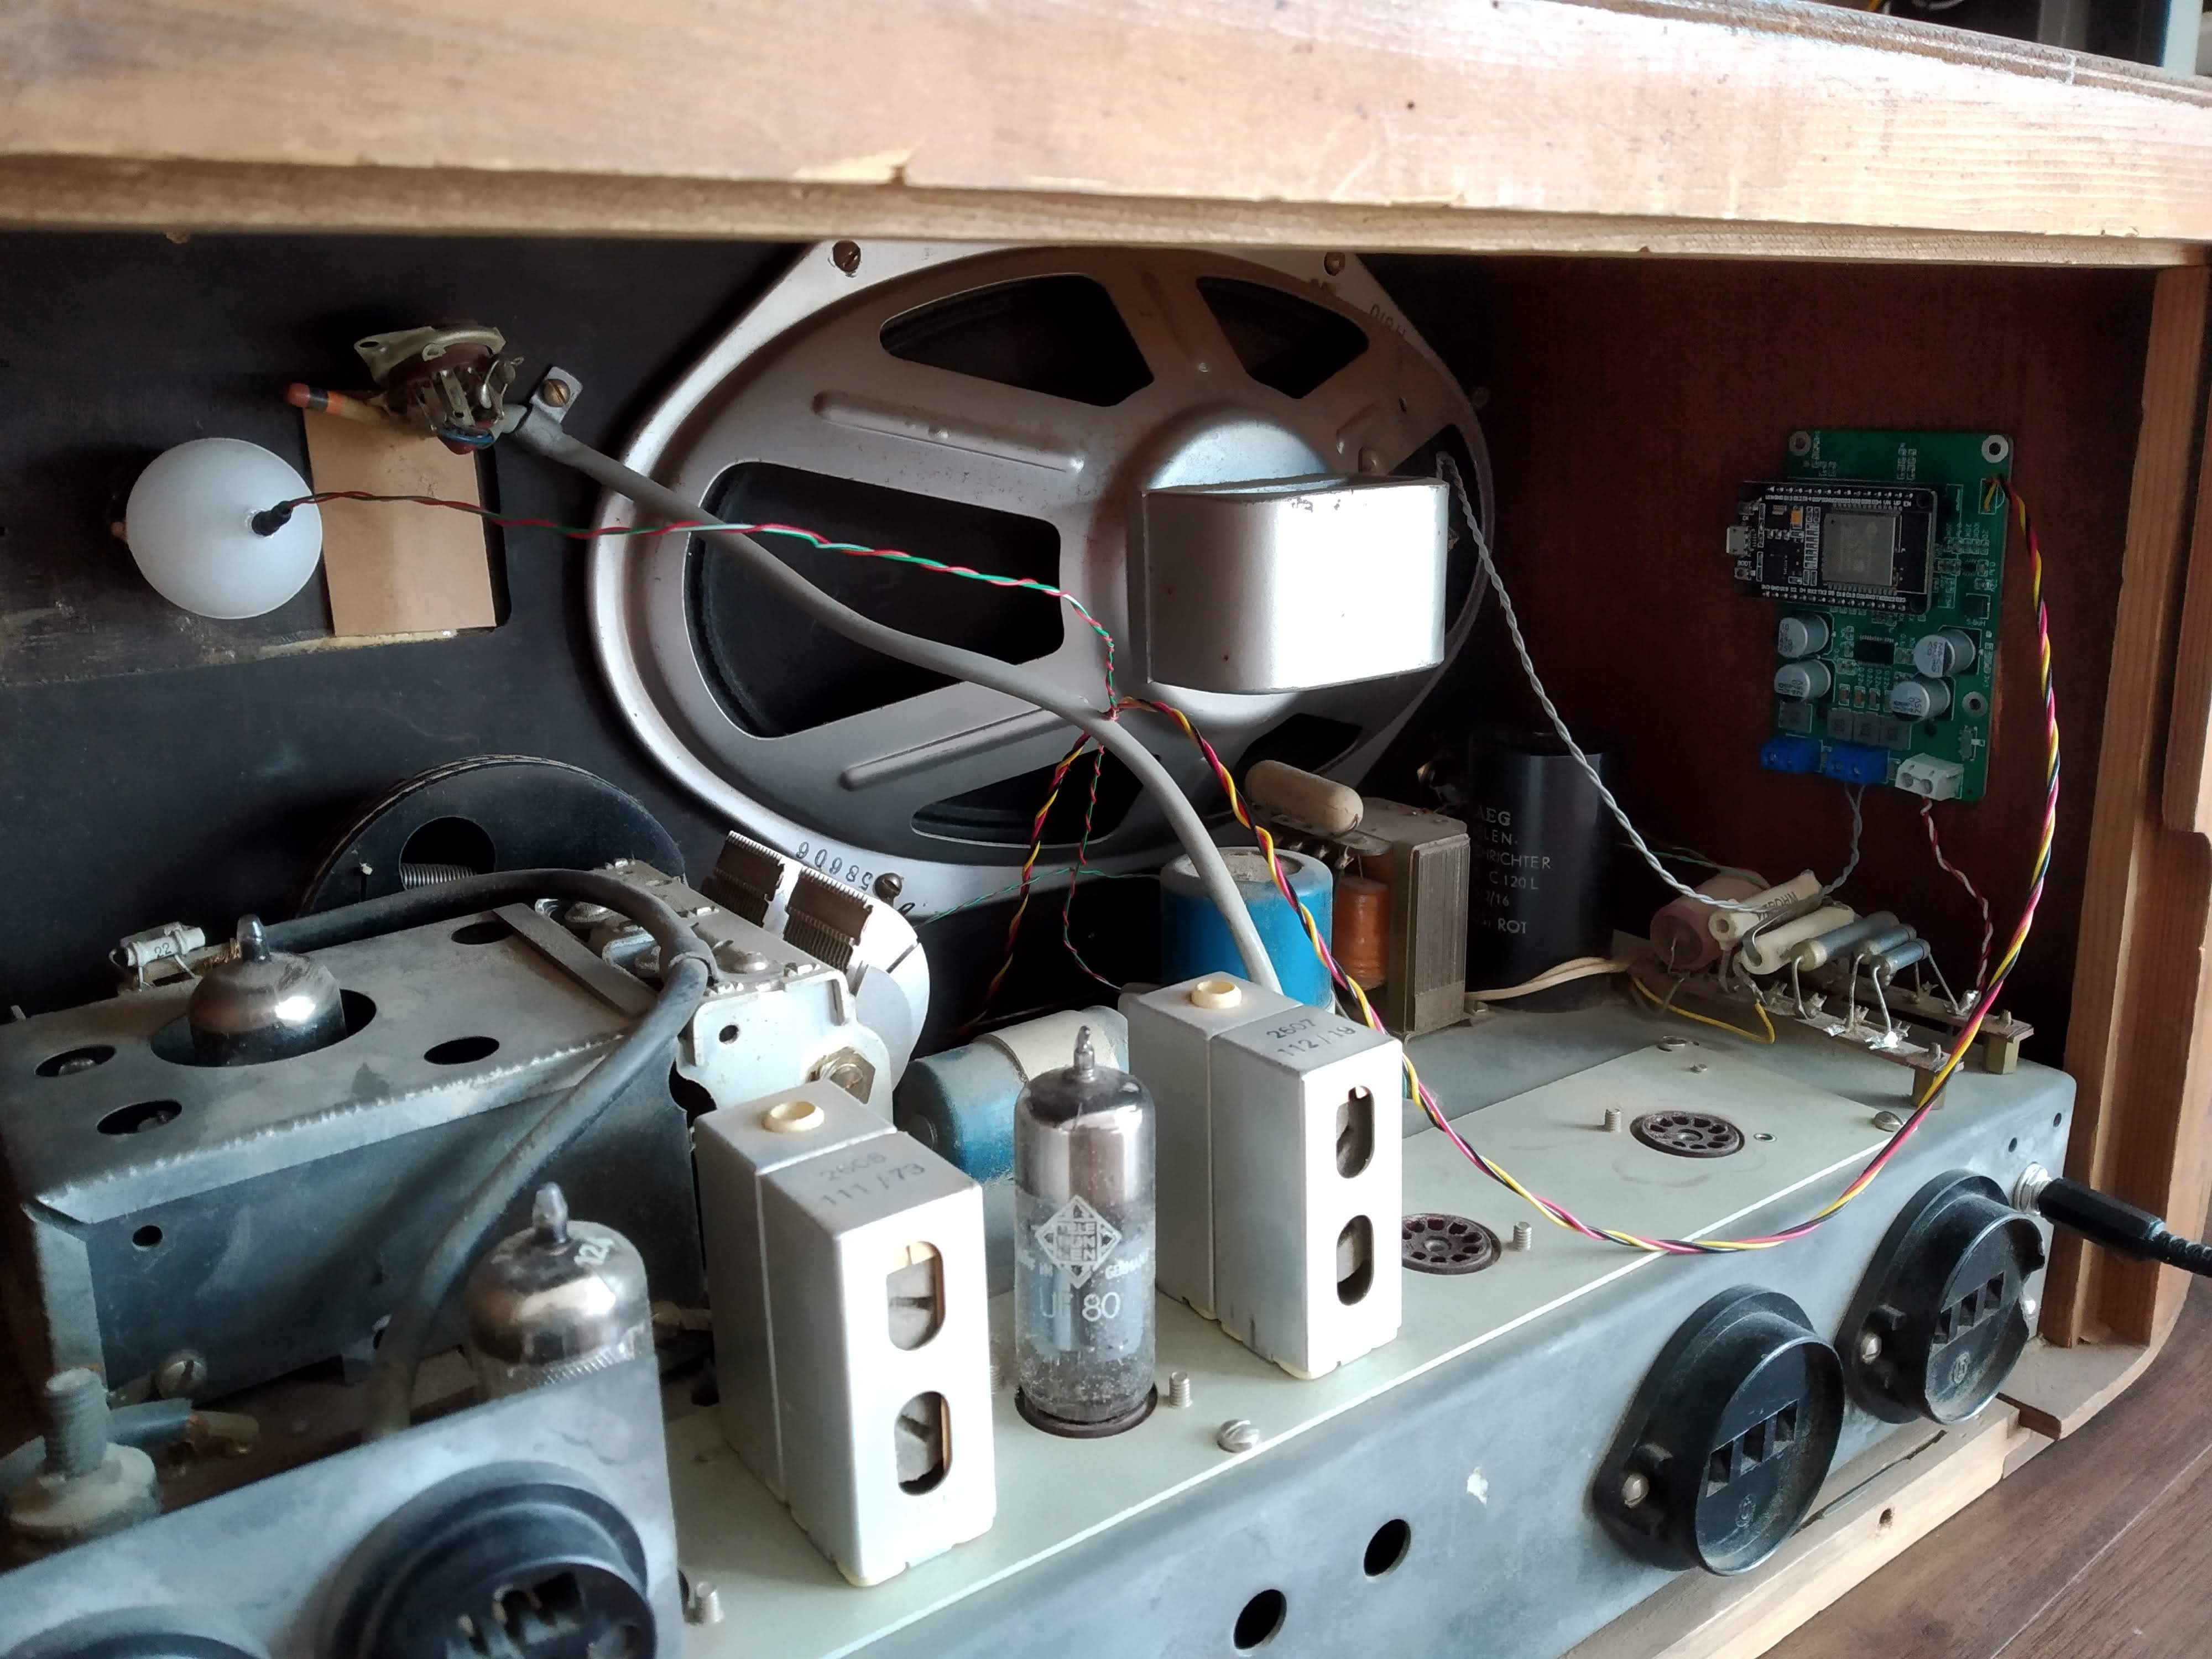
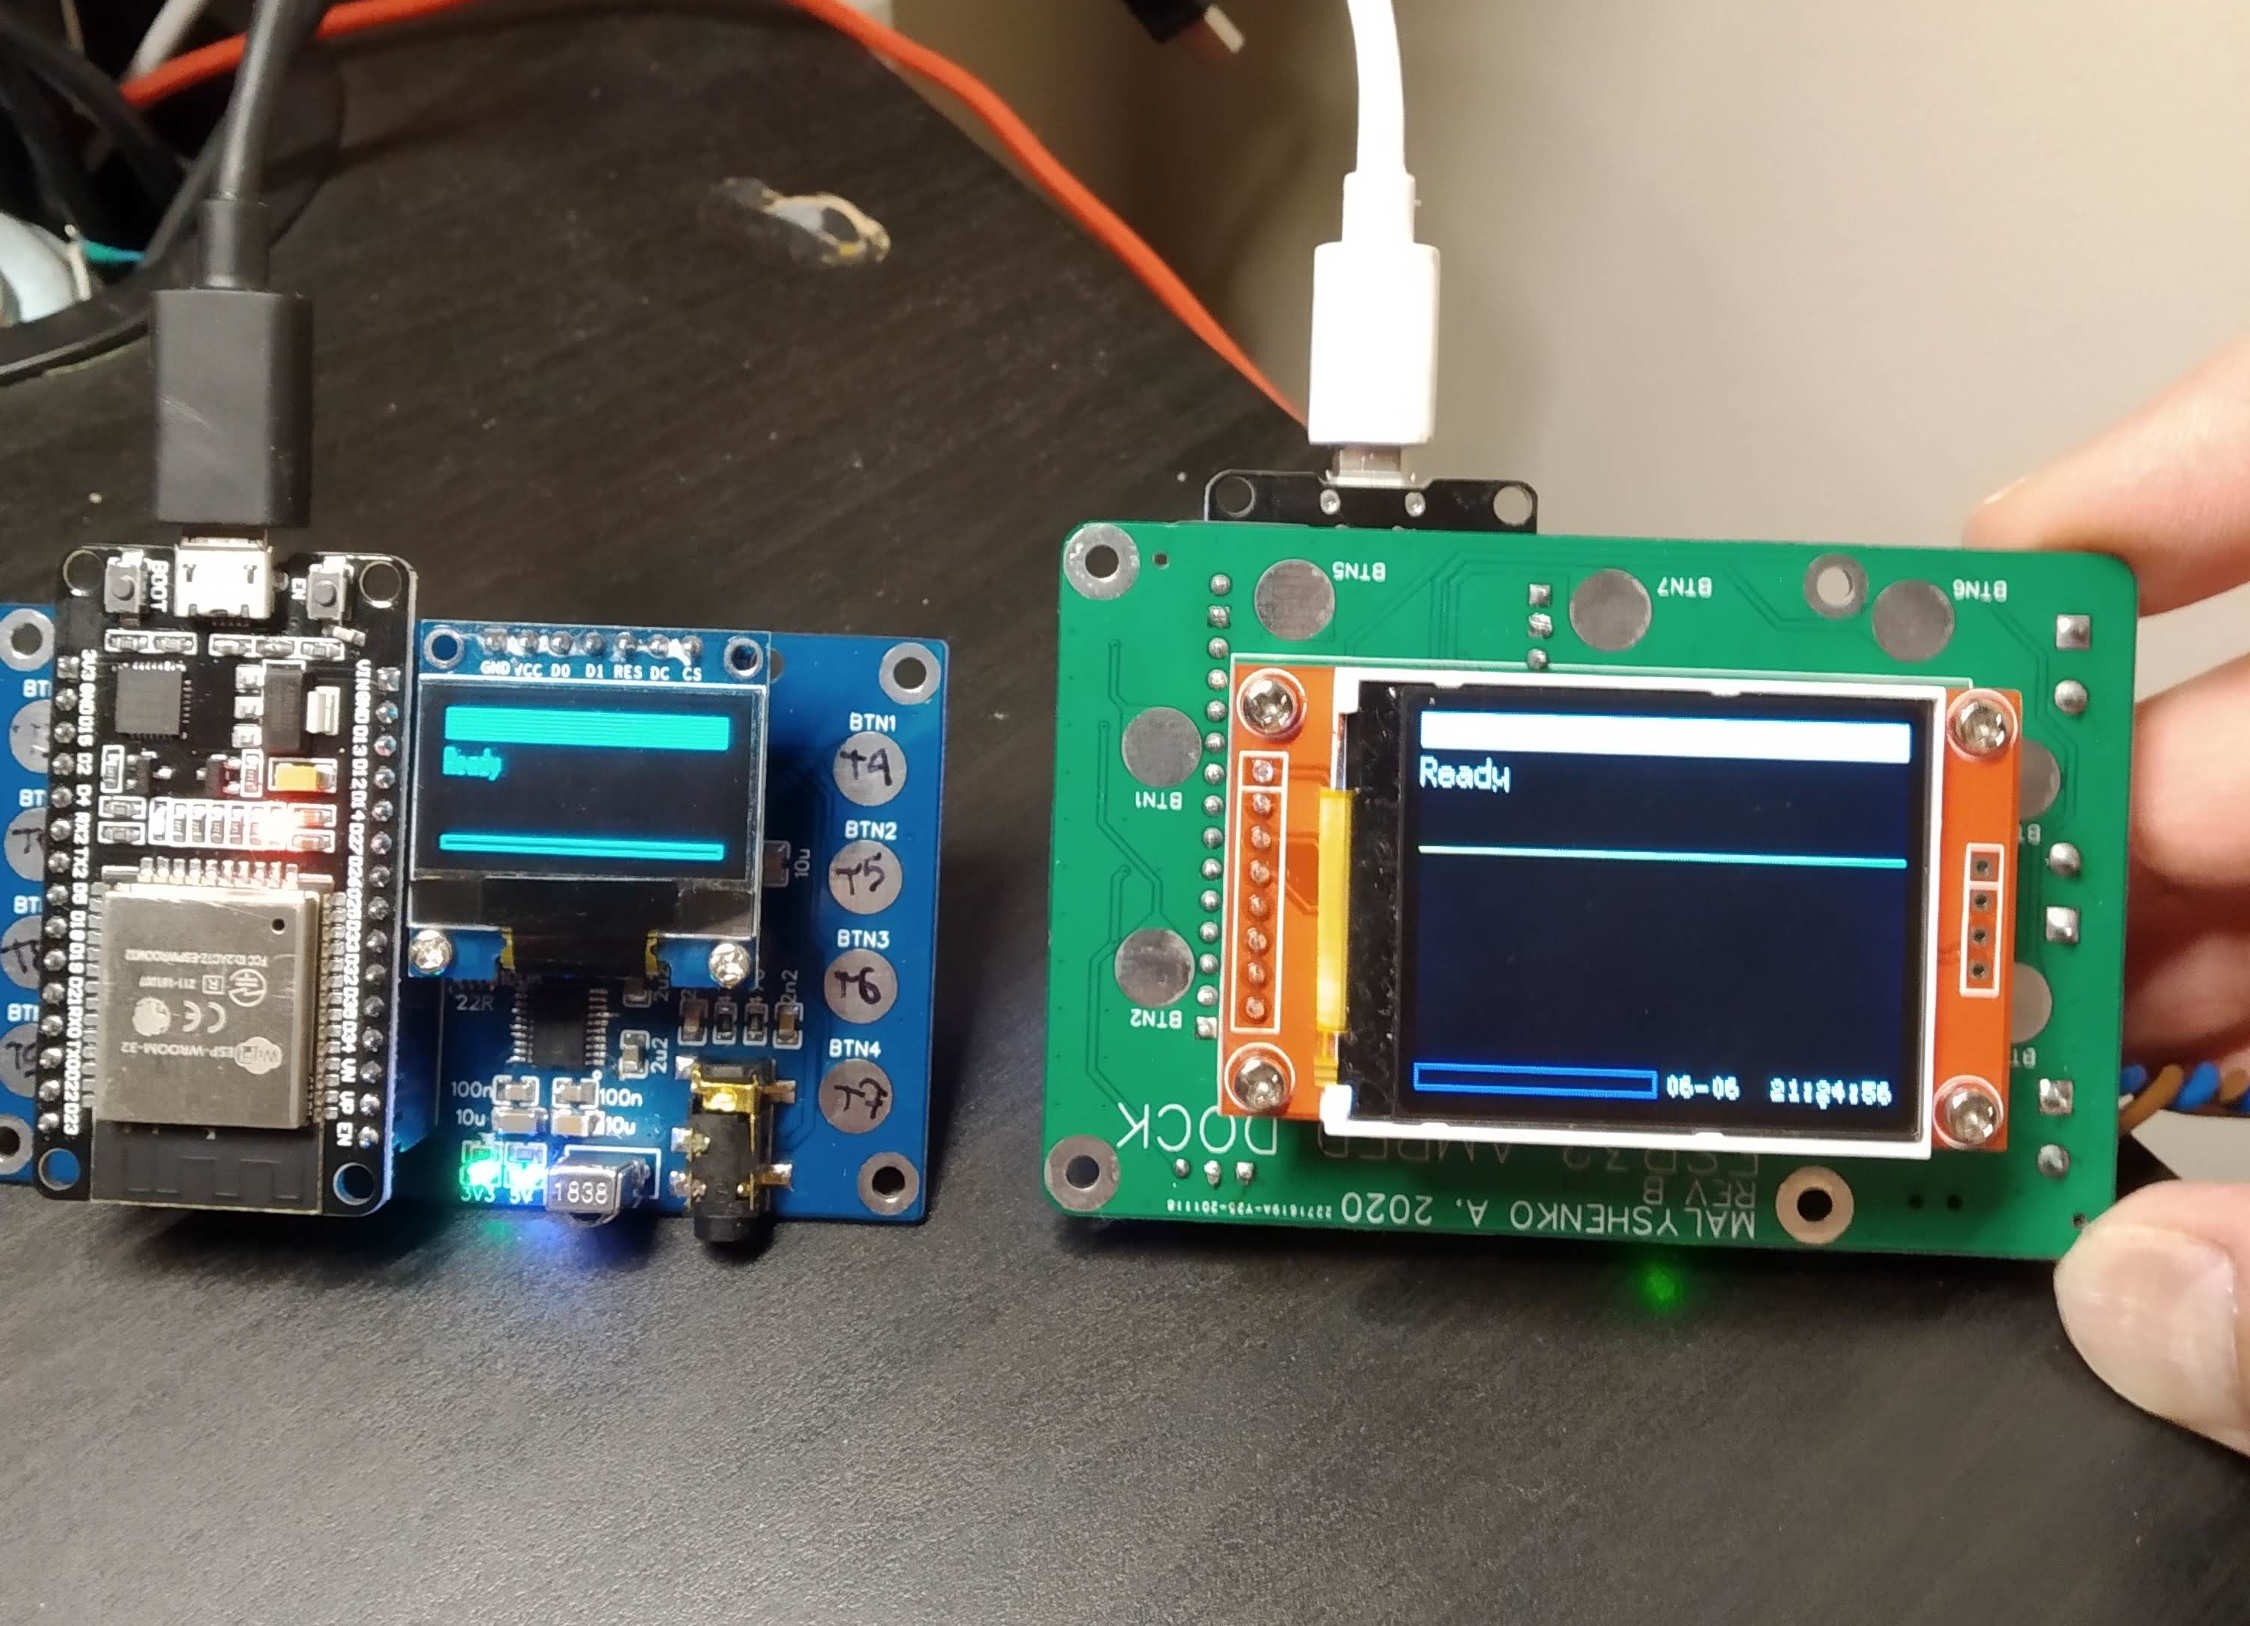
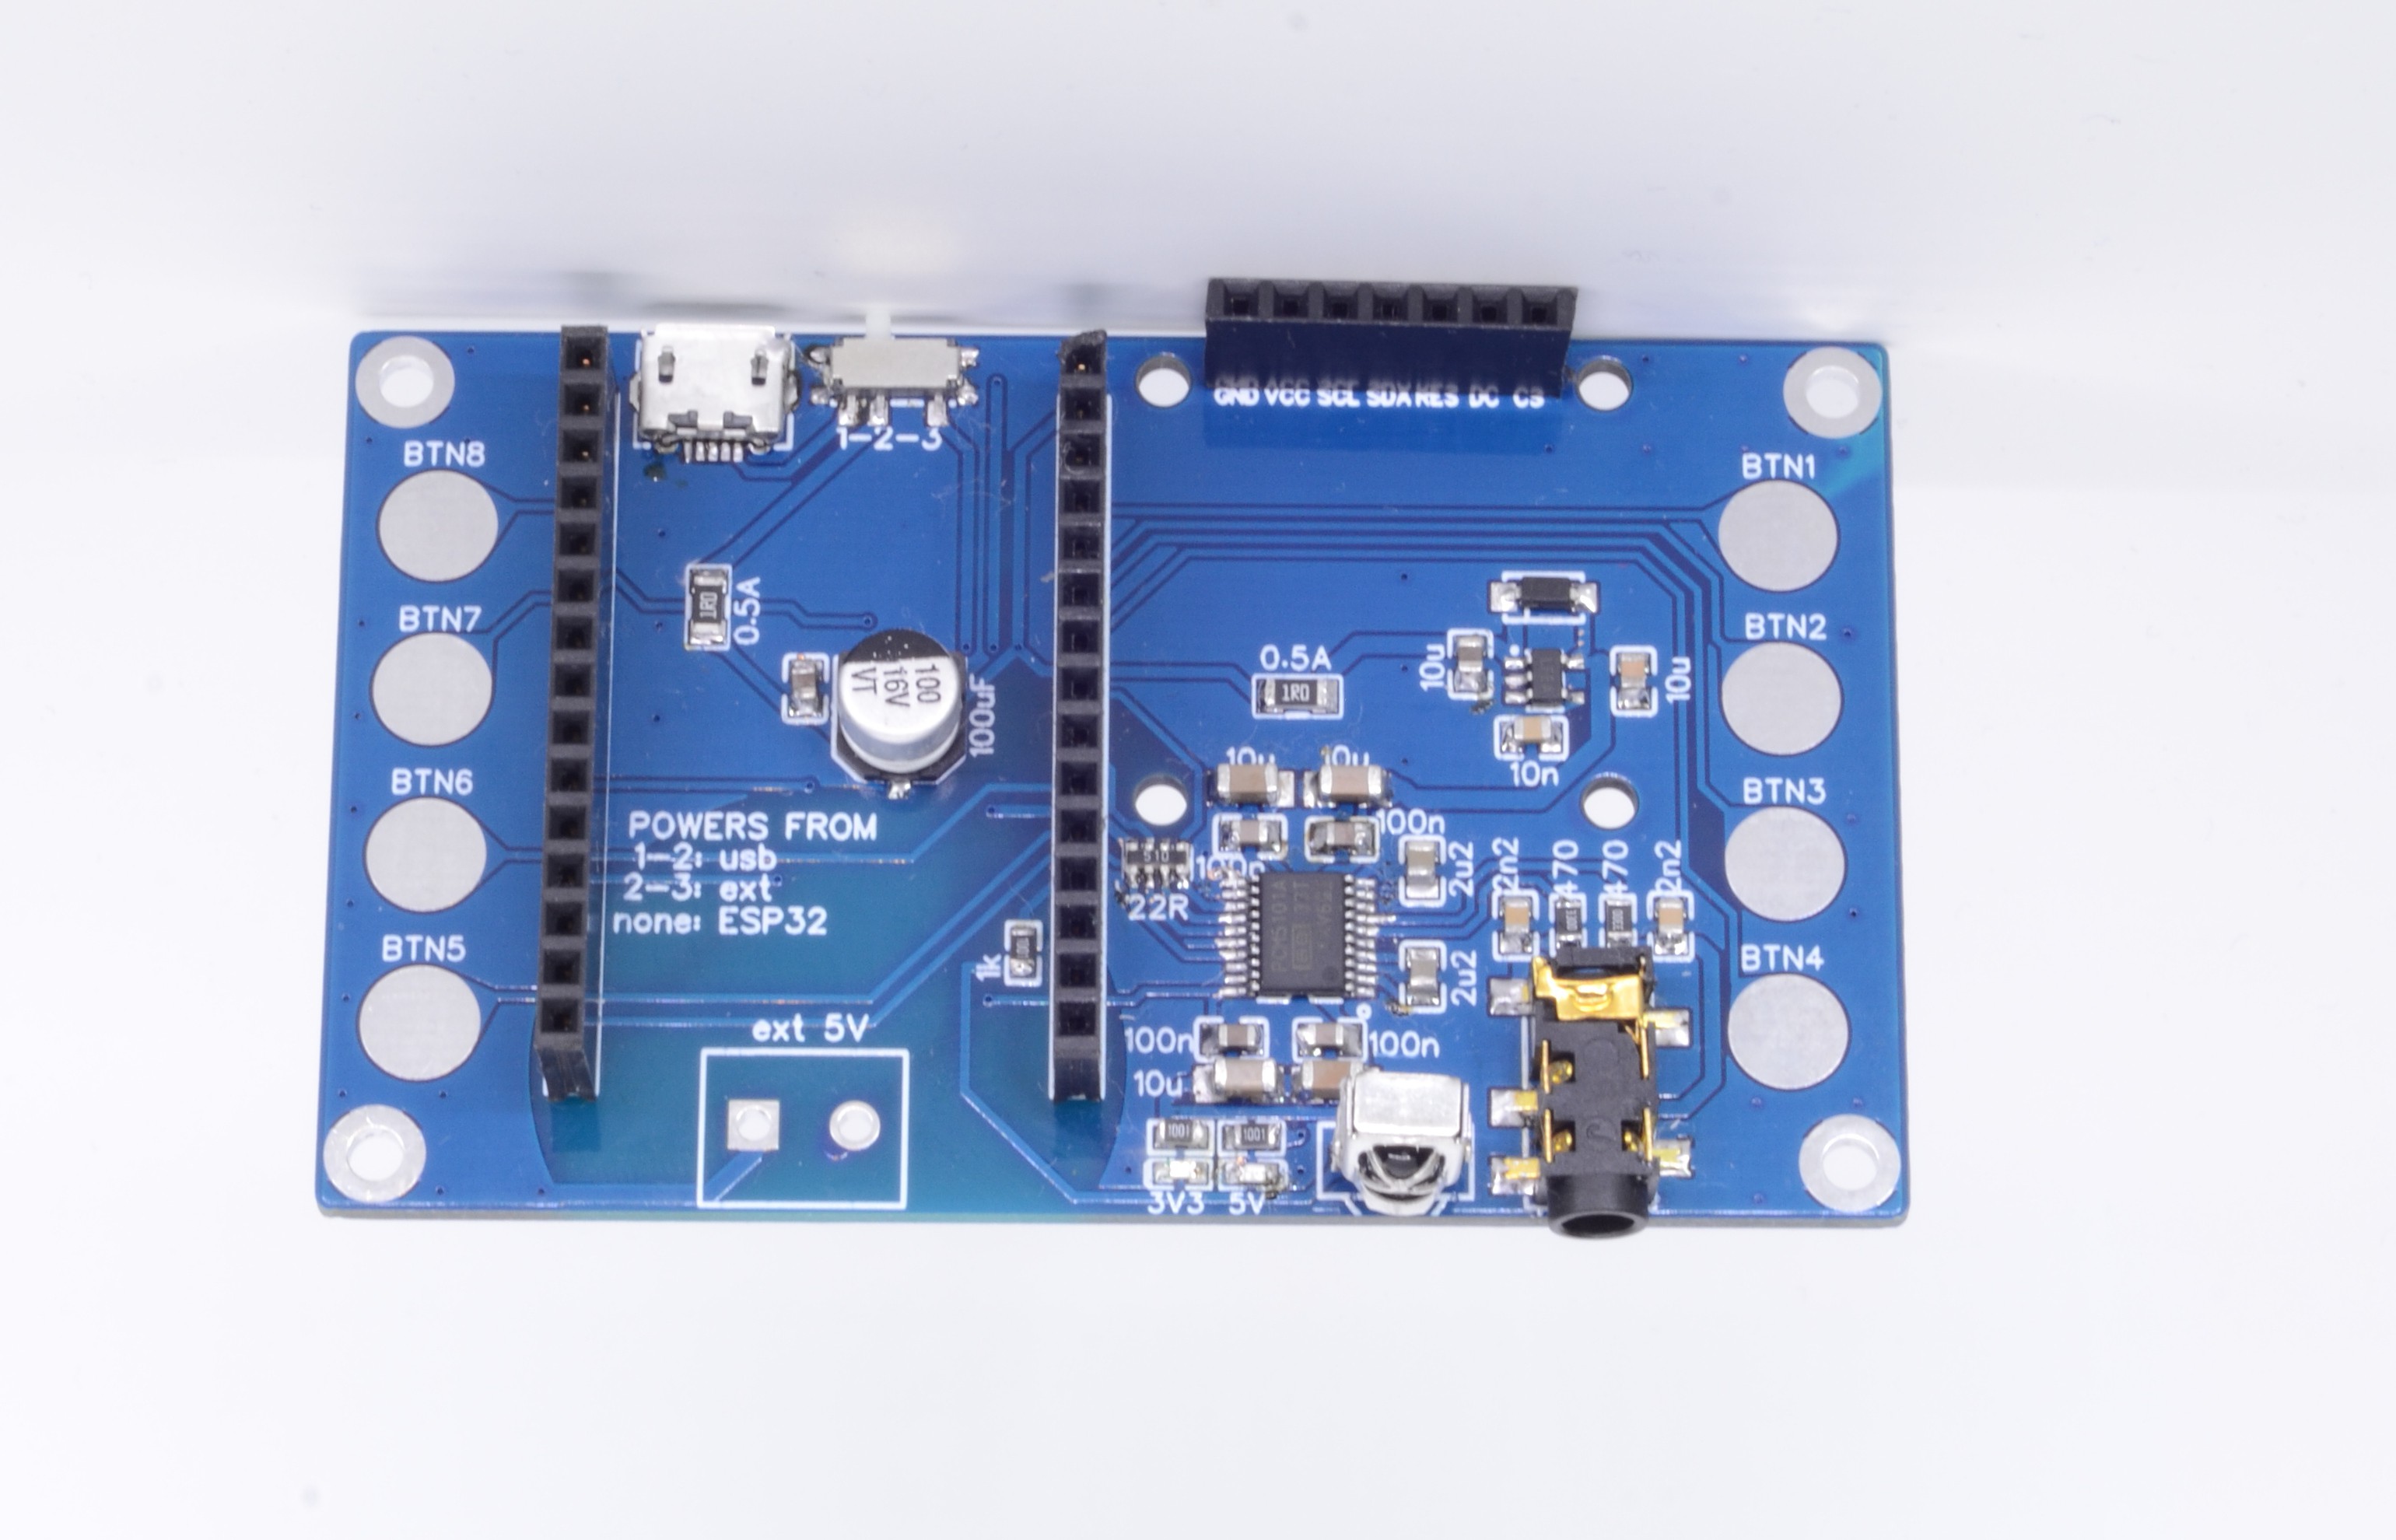
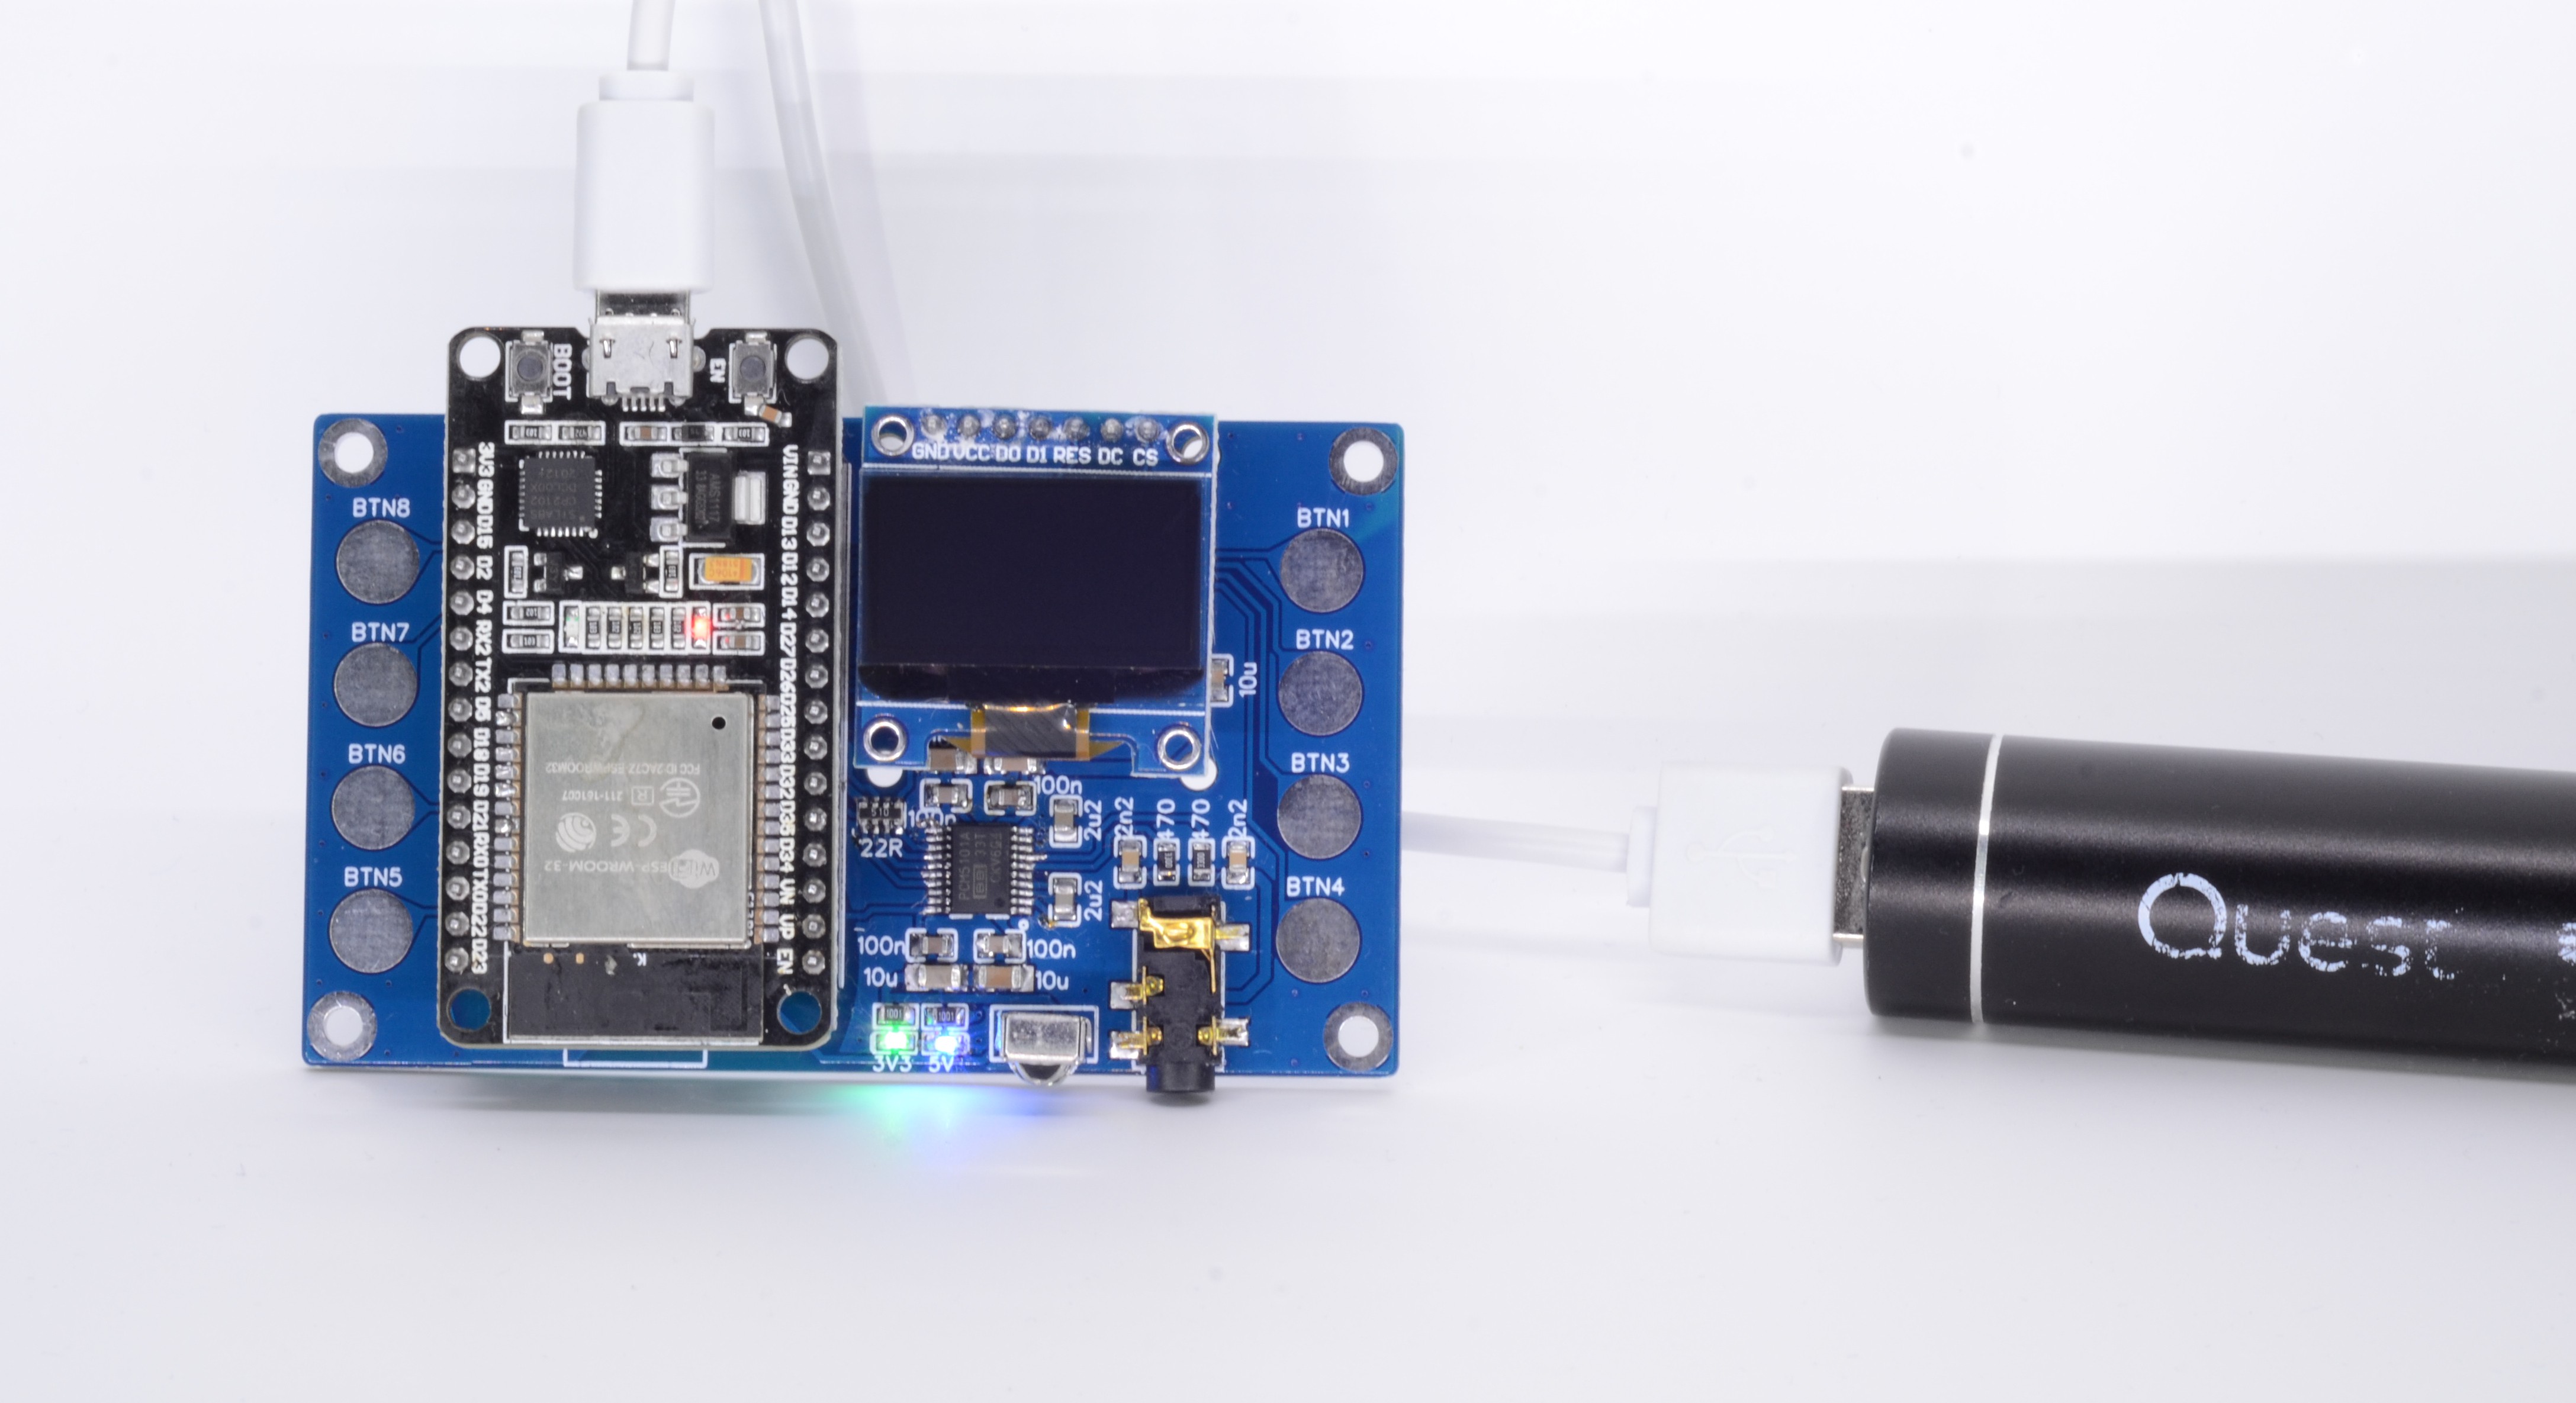
 Connections that I've made are following
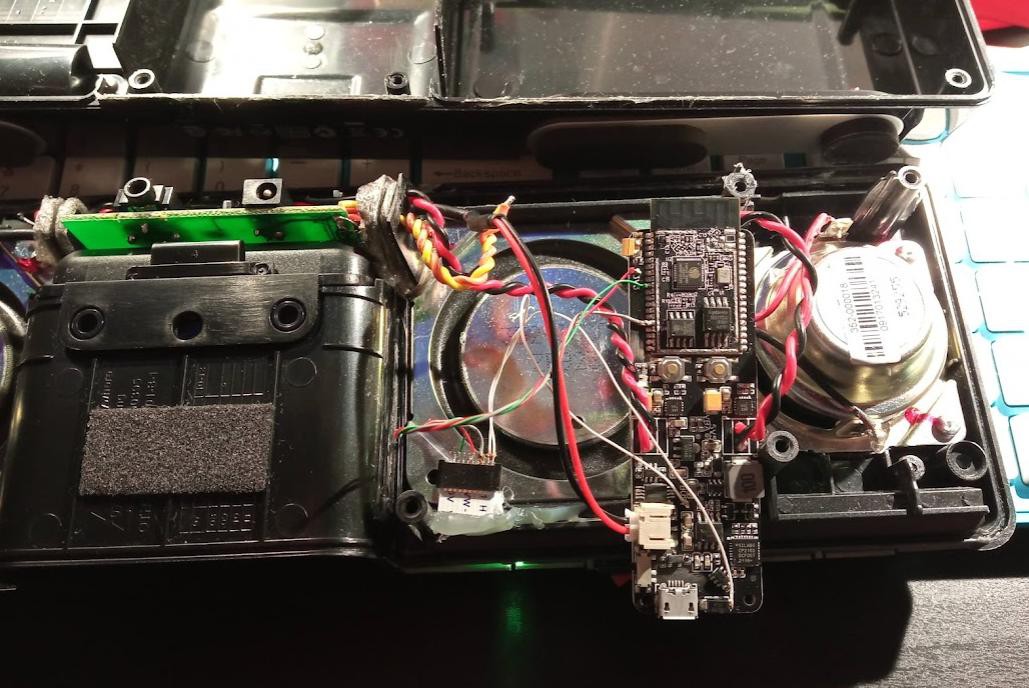
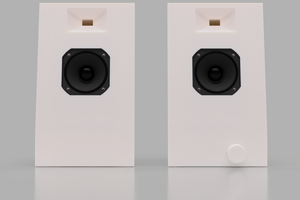
 Last touch - place power switch and status led on the buttons panel, it was broken before, so my connector trying to replace missing piece
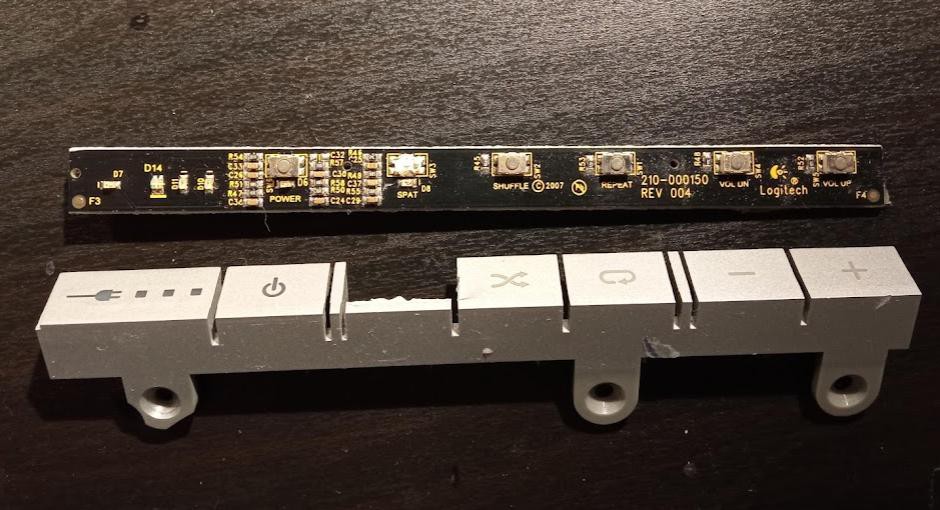
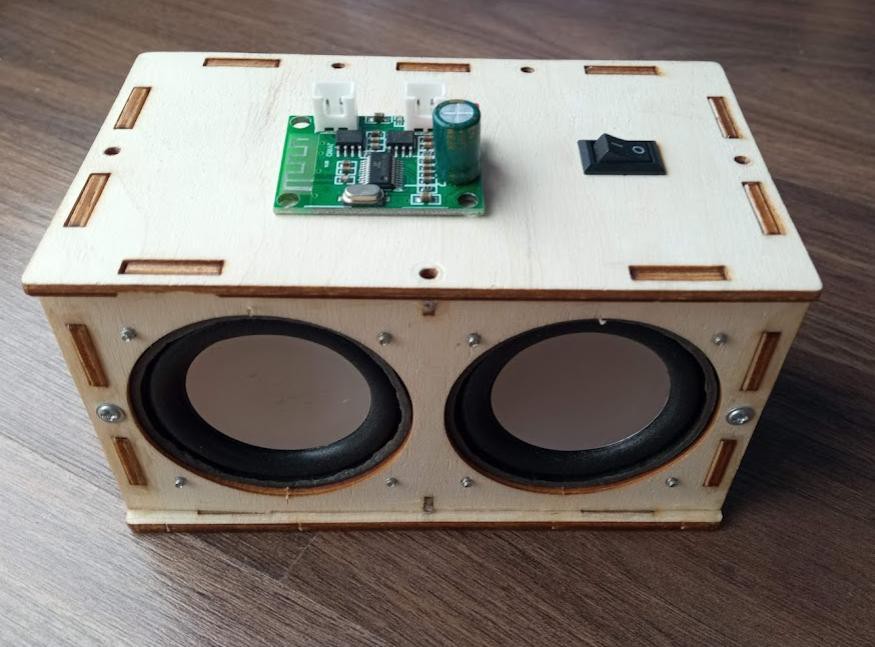
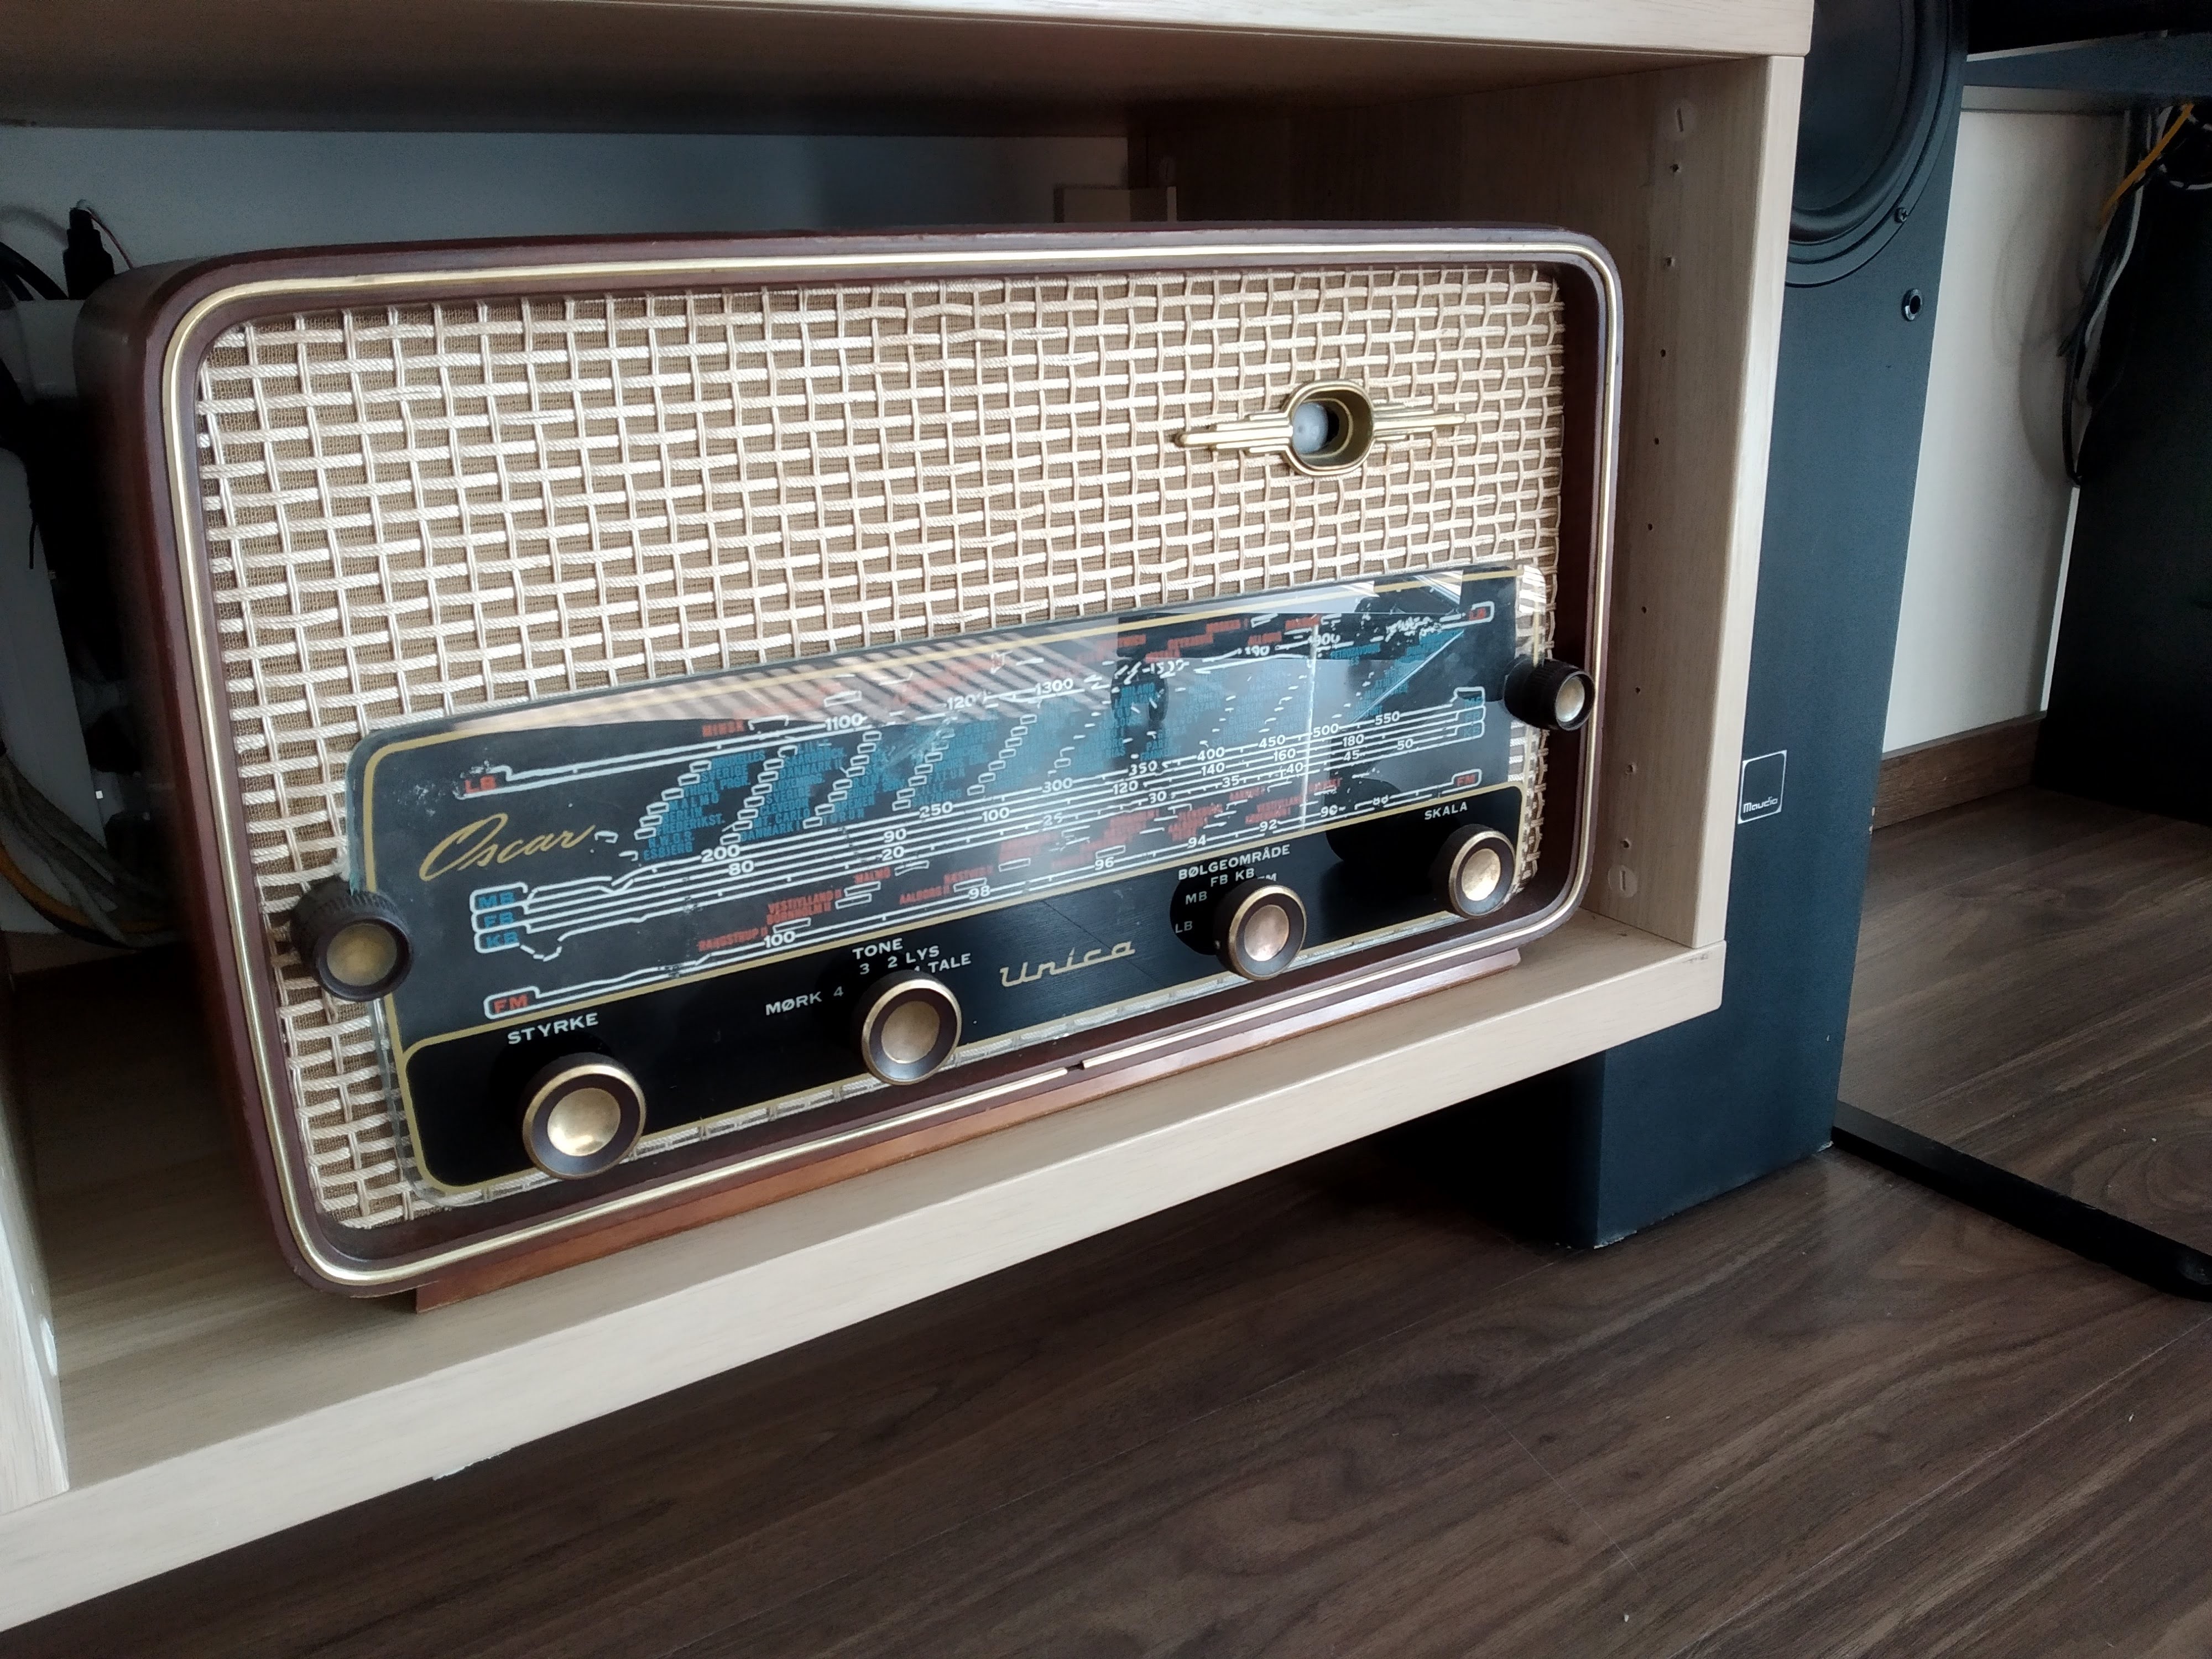
 End result doesn't look much different from the original speaker, but now has Spotify capability
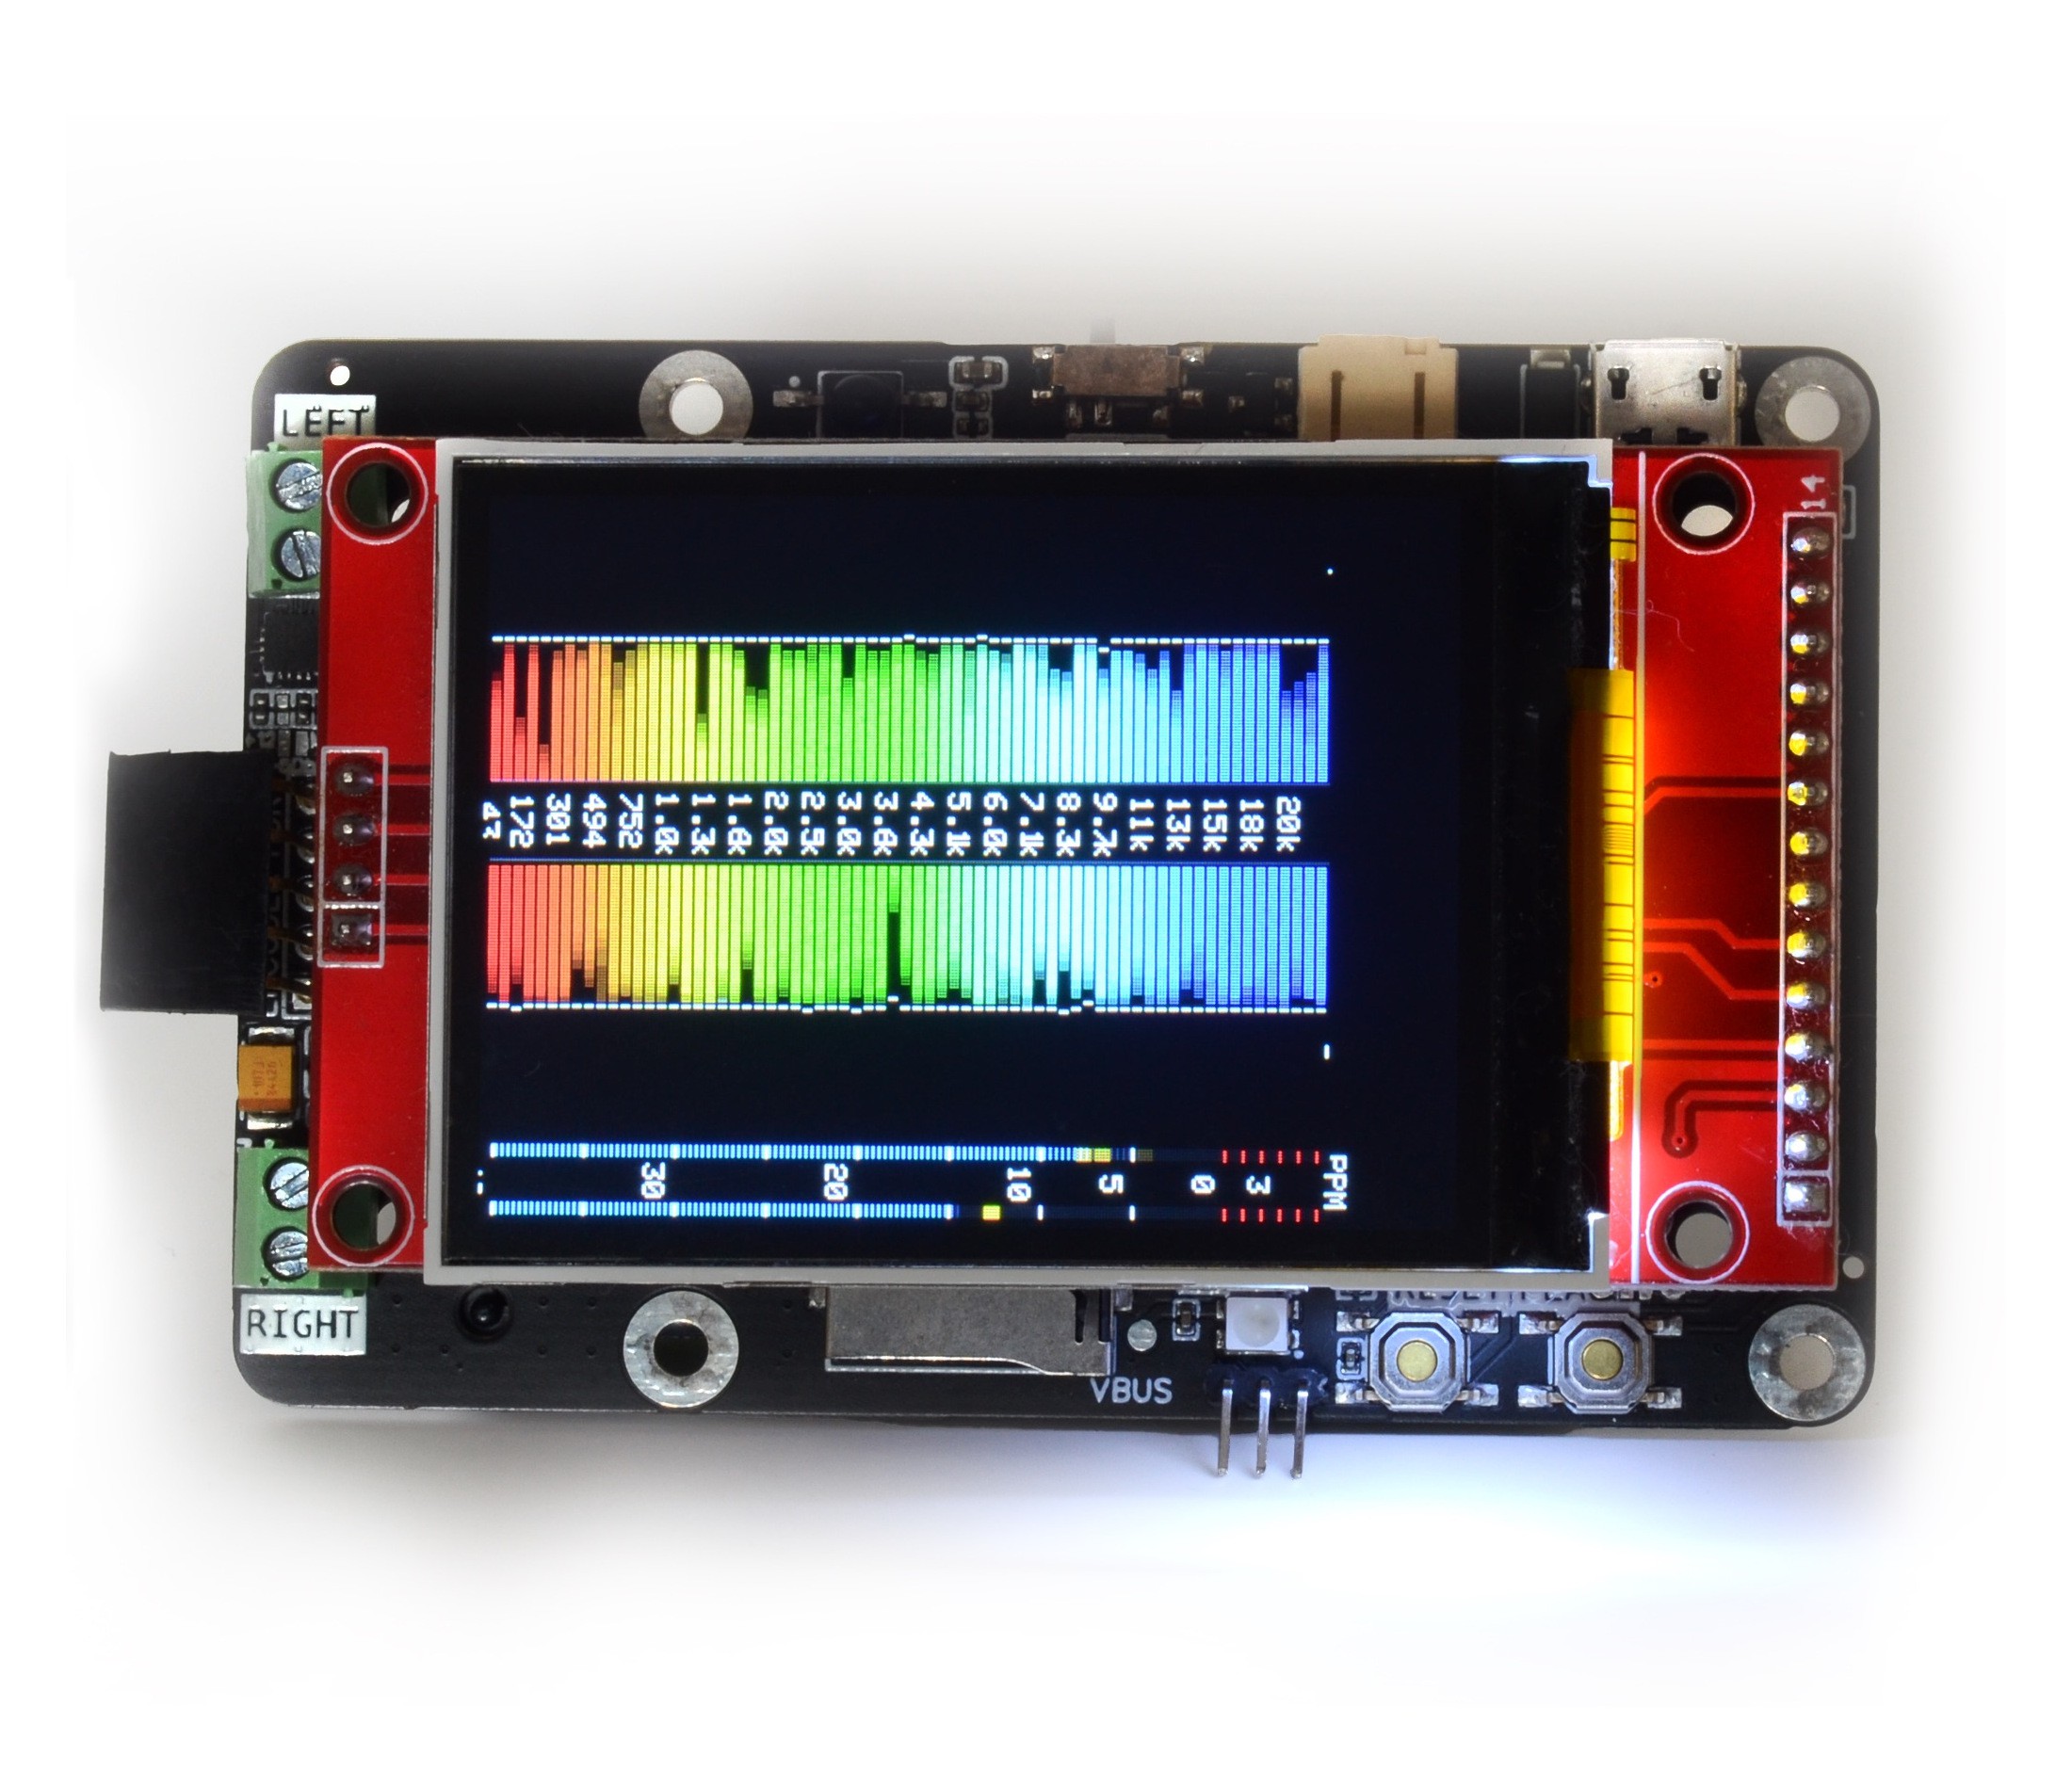
 2KHz
2KHz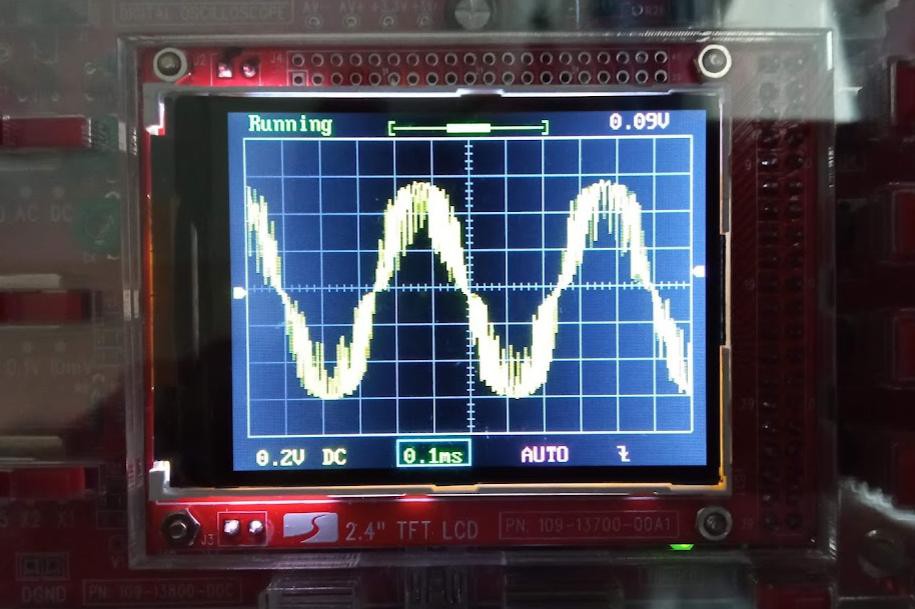 10 KHz
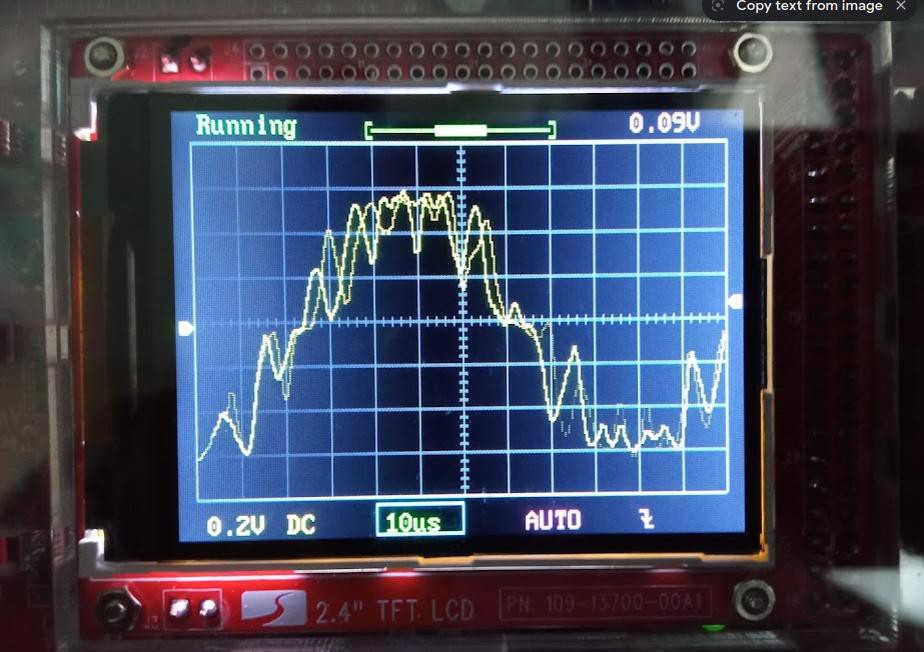 20 Khz
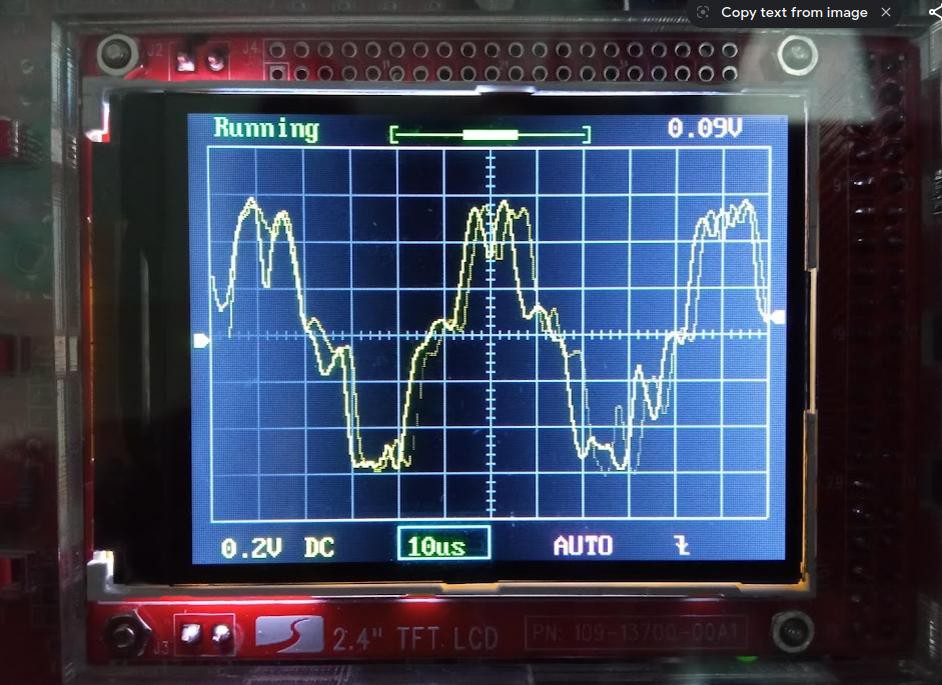 It doesn't look very promising just yet, but at least it works up to 20KHz with no issues. Much better than before.
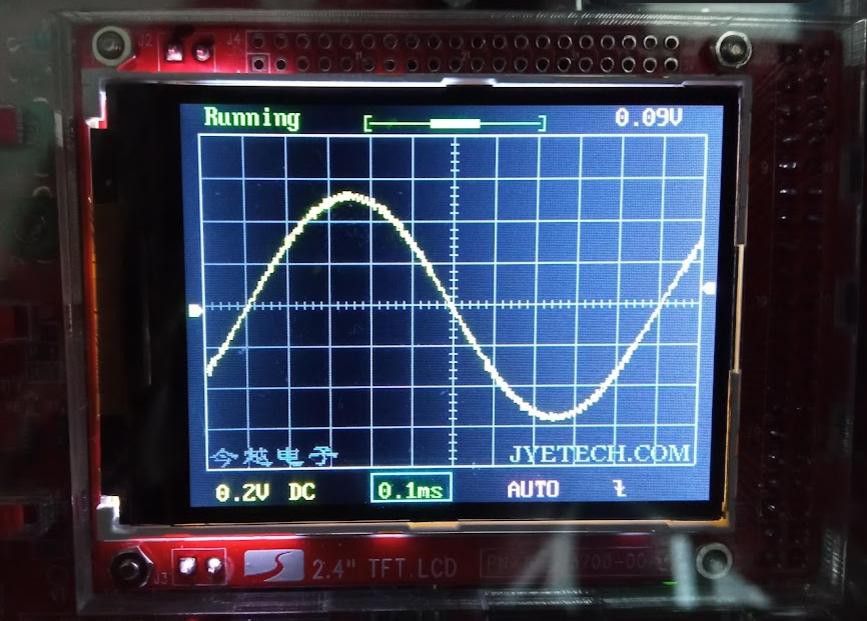
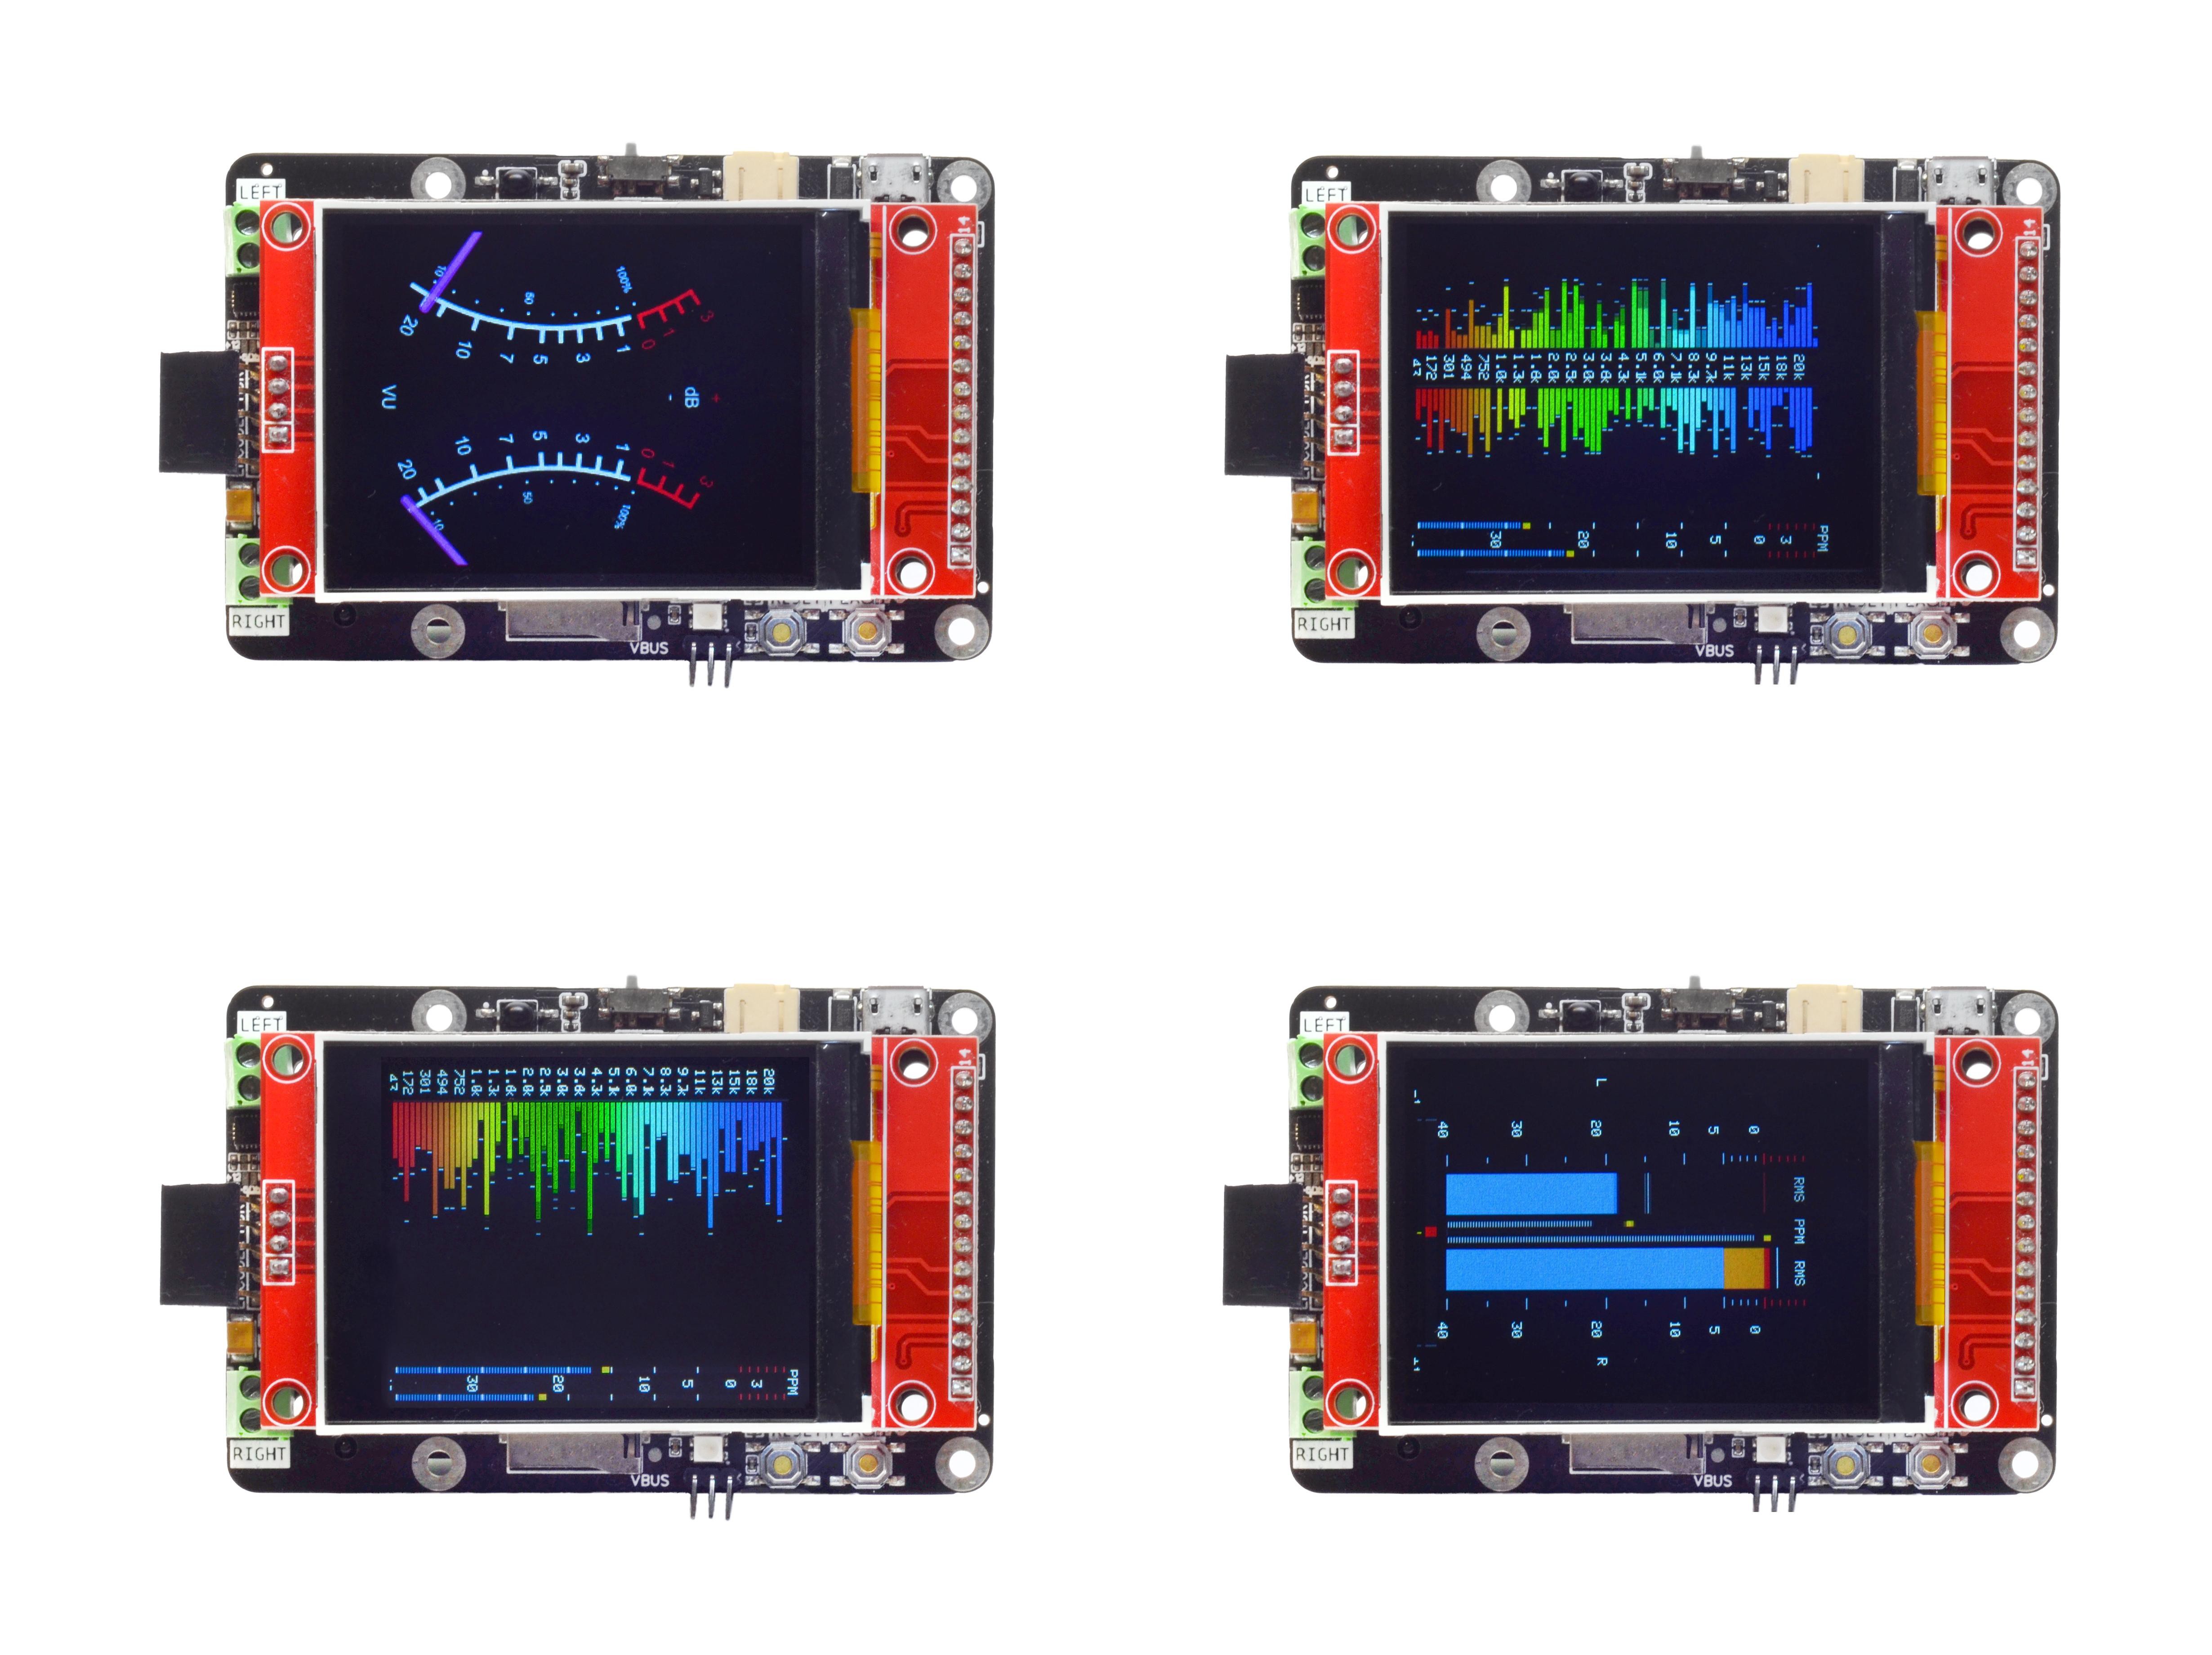
 10 KHz
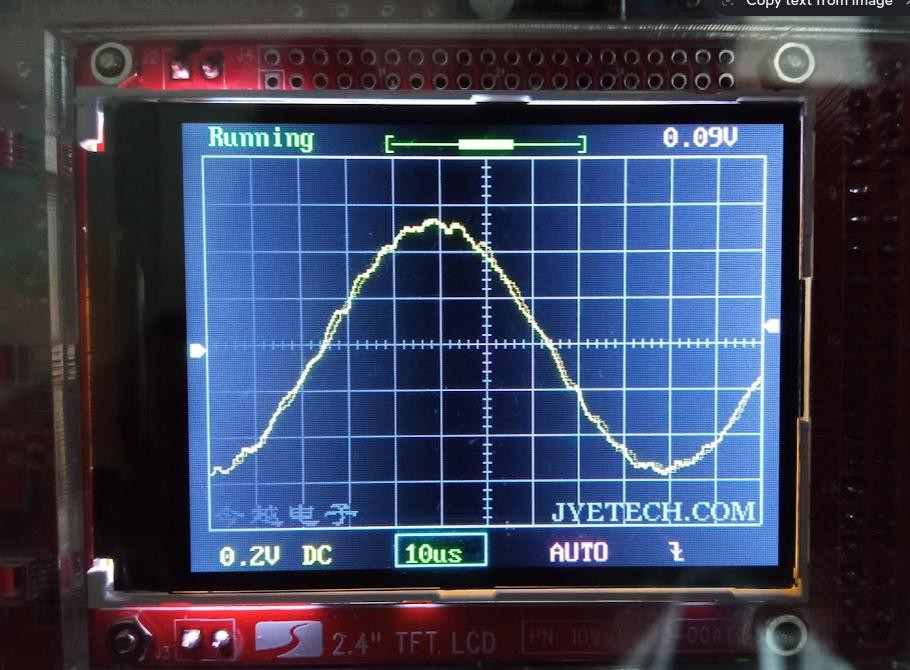 20 KHz
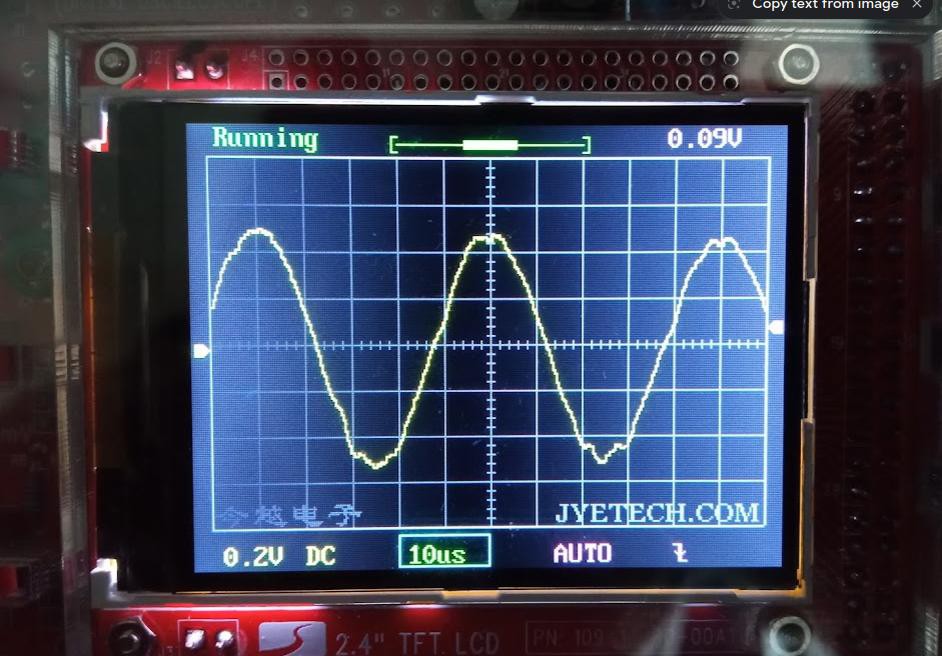 Now it looks much better and I claim this result as acceptable.


 Davide Ercolano
 Michele Perla
I just saw your pre-announcement on Crowd Supply. This is a great looking project. Congratulations! For the programming side, I was wondering if you have considered the option to use MicroPython on these new boards? Since July 2021, MicroPython supports I2S on the ESP32. If you would like to investigate this option, please take a look at a Github repo that I maintain -- it has fully worked and tested code examples, showing how to use I2S on MicroPython with various hardware platforms, including the ESP32. The MAX98357A device is one of the devices that are used. Perhaps this is something to look at? Good luck with your launch! Mike
https://github.com/miketeachman/micropython-i2s-examples