Close
0%
0%

Vending Machine for Birds

Simple, inexpensive bird feeder that dispenses peanuts in exchange for dropping stuff in a hole. A vending machine for clever birds.

Public Chat
Similar projects worth following
An inexpensive, simple bird feeder that dispenses a nut for dropping stuff in a hole and can be built from analog components and discarded or scrap objects. Rodent proof, runs on 5-6V, one moving part (vibration motor). No 3D printing or laser cutting required, just some basic hand tools. Lots of improvement and customization possibilities. Lots of possibilities for the enclosure.

MAIN FEATURES

- portable
- saves power until a warm body is present
- battery or mains powered
- one moving part
- accessible components and materials
- rodents can't break in and get the food
- cheap to build
- customizable

A vending machine for birds that rewards them with food when they drop something in a hole. Electronics and enclosure materials cost <100 USD/EUR. I've designed a PCB and PVC pipe enclosure and dispenser (described below). The circuit is not complex, but I think a custom PCB makes it easier for people who are not electronics hobbyists to build this. I've made a few different enclosures out of scrap for this, but will share the PVC pipe enclosure details since it's sturdy, waterproof, and the materials can all be found at the hardware store.

There were two main inspirations for me to start and  document this project

  • Hans Forsberg - designed his own machine and was the first person I learned of that had birds (magpies) bringing items to deposit on thier own
  • Josh Klein - makes his Crowbox designs freely available and supports people who want to build it

I would like to thank PCBWay for helping me get the PCB made.

MAIN FEATURES

  • portable
  • saves power until a warm body is present
  • battery or mains powered
  • one moving part
  • accessible components and materials
  • rodents can't break in and get the food
  • cheap to build
  • customizable

ELECTRONICS, SENSORS, AND POWER

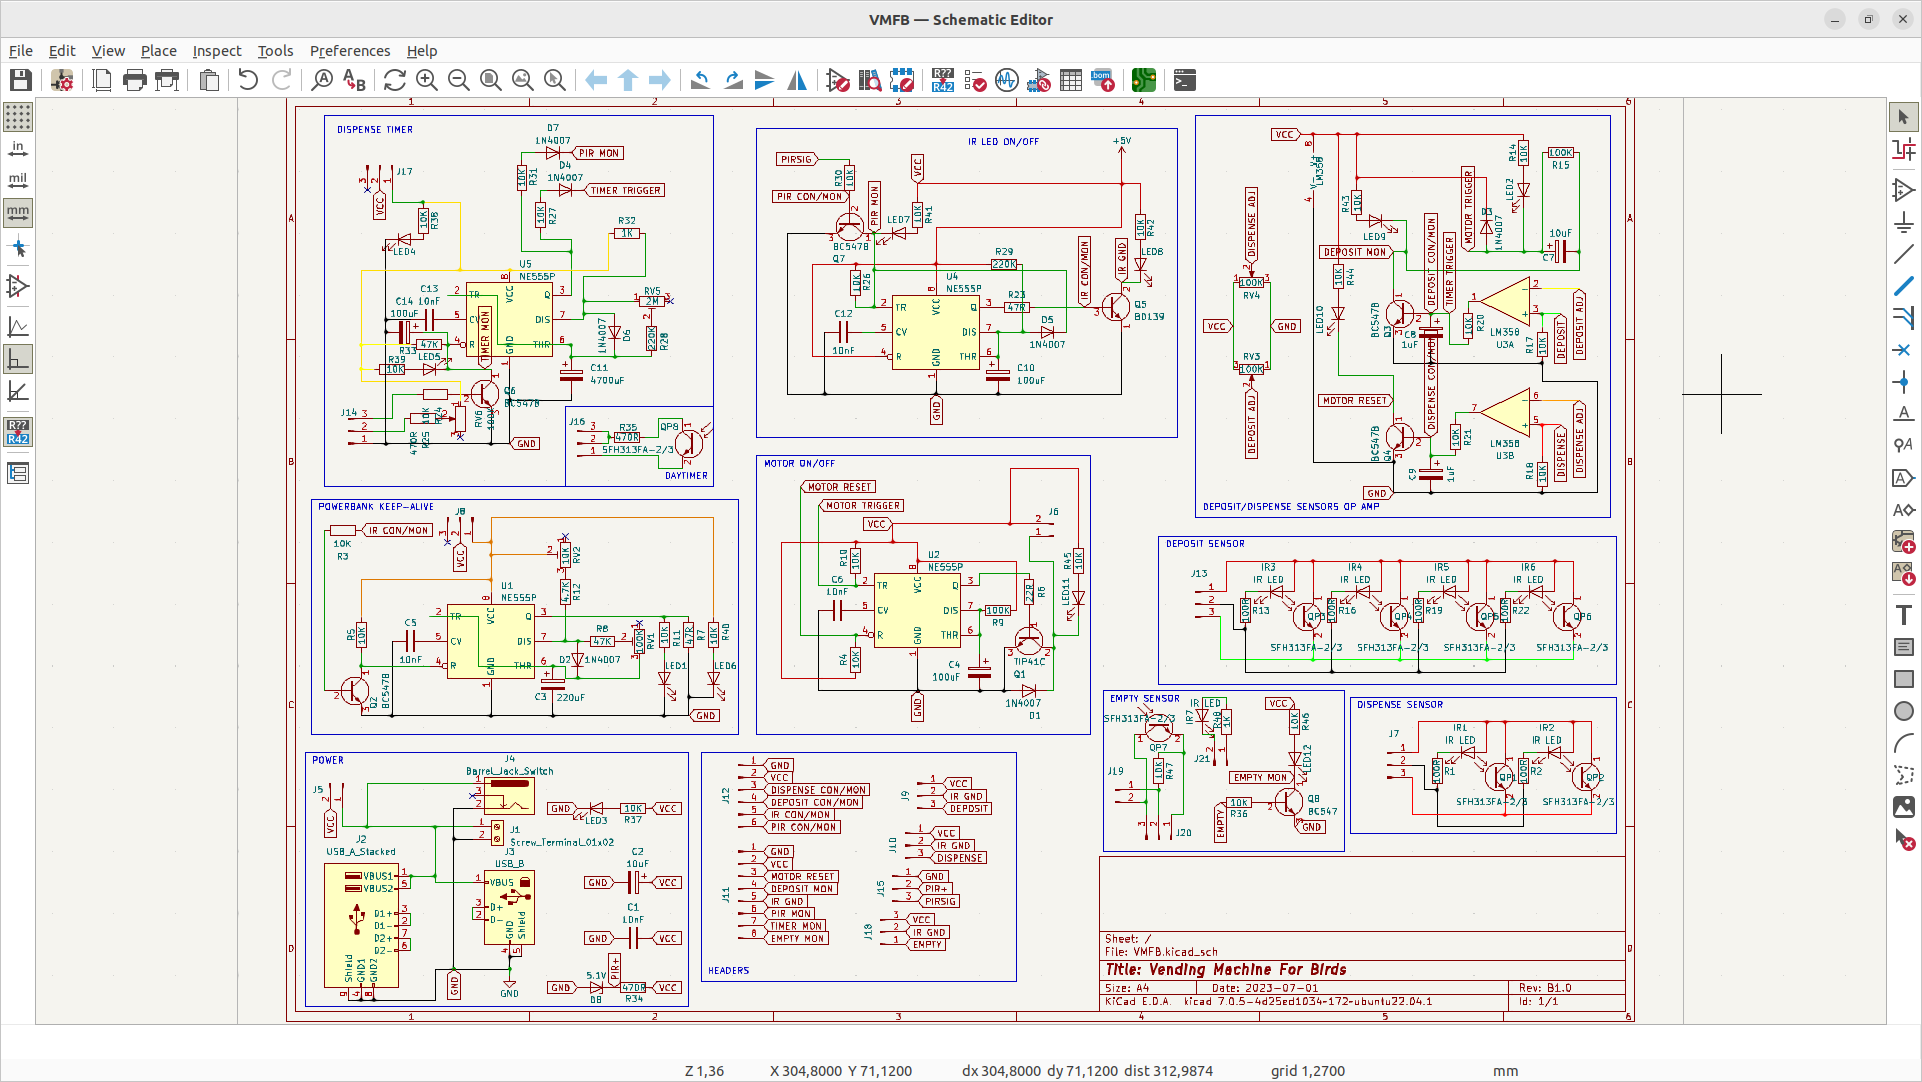
The circuit is all analog, using four NE555 timers and one LM358 dual op amp. The sensors are all made using IR phototransistors and IR LEDs. The PCB has headers broken out so you can monitor and control it with a microcontroller or SBC. It runs on 5-6VDC and uses ~10mA in standby (~20mA if timer and powerbank keep-alive are enabled), ~250mA when IR LEDs are on and ~400mA when the dispenser motor is running. A 10,000 mAh USB powerbank should last about a week.

  • Powerbank Keep-Alive: 555 sinks current every 7-22 seconds for 0.7-2.2 seconds to keep USB power banks on while sensors are in standby - the powerbank keep-alive can be disabled.
  • IR LED ON/OFF: 555 keeps the IR LEDs used by the sensors on for 22 seconds after the last PIR trigger
  • Op Amps: LM358 used as comparators to adjust the threshold of the sensors and send signals when they are triggered
  • Motor Controller: 555 turns on the dispenser vibration motor when the deposit sensors are triggered, tuns it off when the dispense sensor is triggered
  • Timed Dispense: 555 dispenses food every 10-100min - timed dispense can be disabled
  • Daytimer: Phototransistor that puts the timer in reset while it's dark outside - brightness threshold can be adjusted or disabled (Rev. B)
  • PIR Sensor: Sends a signal to turn on the sensor IR LEDs
  • Deposit/Dispense Sensors: IR phototransistors and IR LEDs used as proximity sensors to monitor the deposit and dispense chutes
  • Hopper Level Sensor: IR phototransistor and IR LED to detect when the food level gets low (Rev. B)
  • Monitoring/Control: lines for monitoring and triggering events with an external controller (Rev. B)

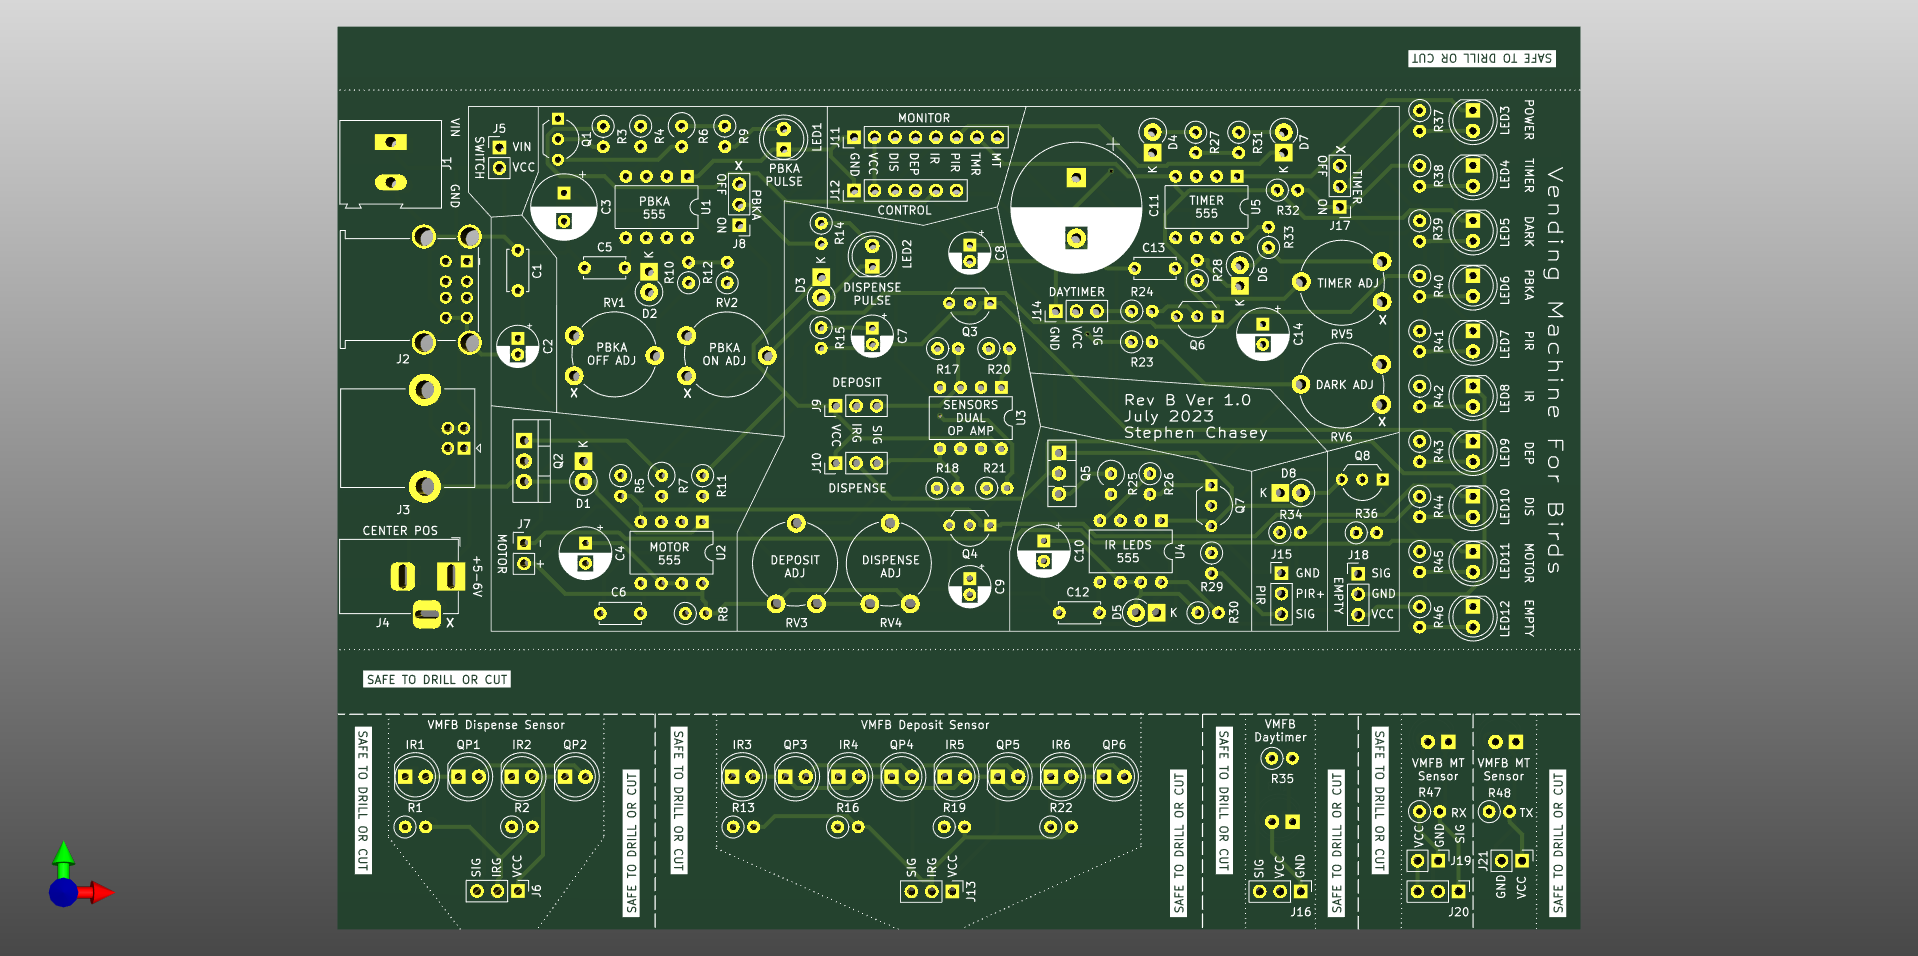
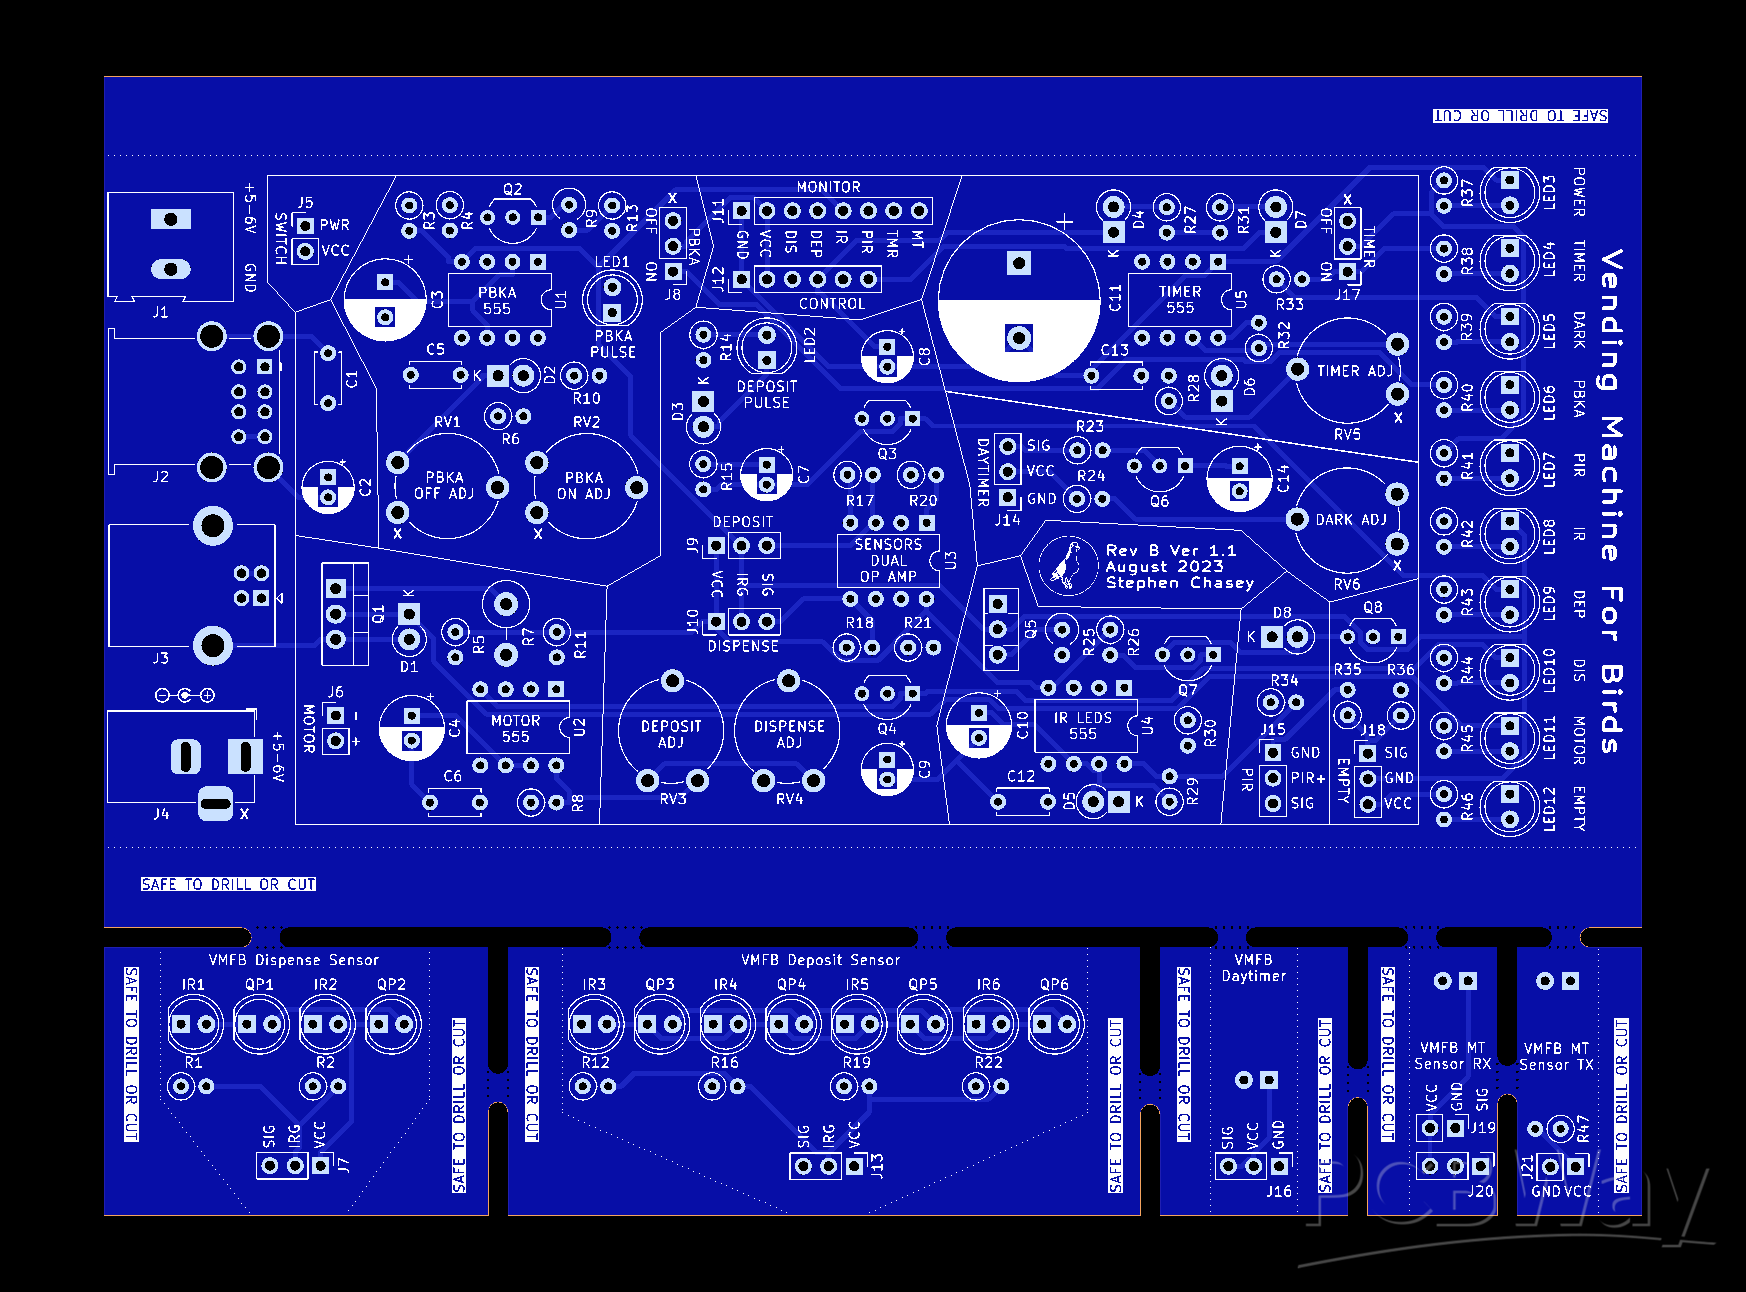
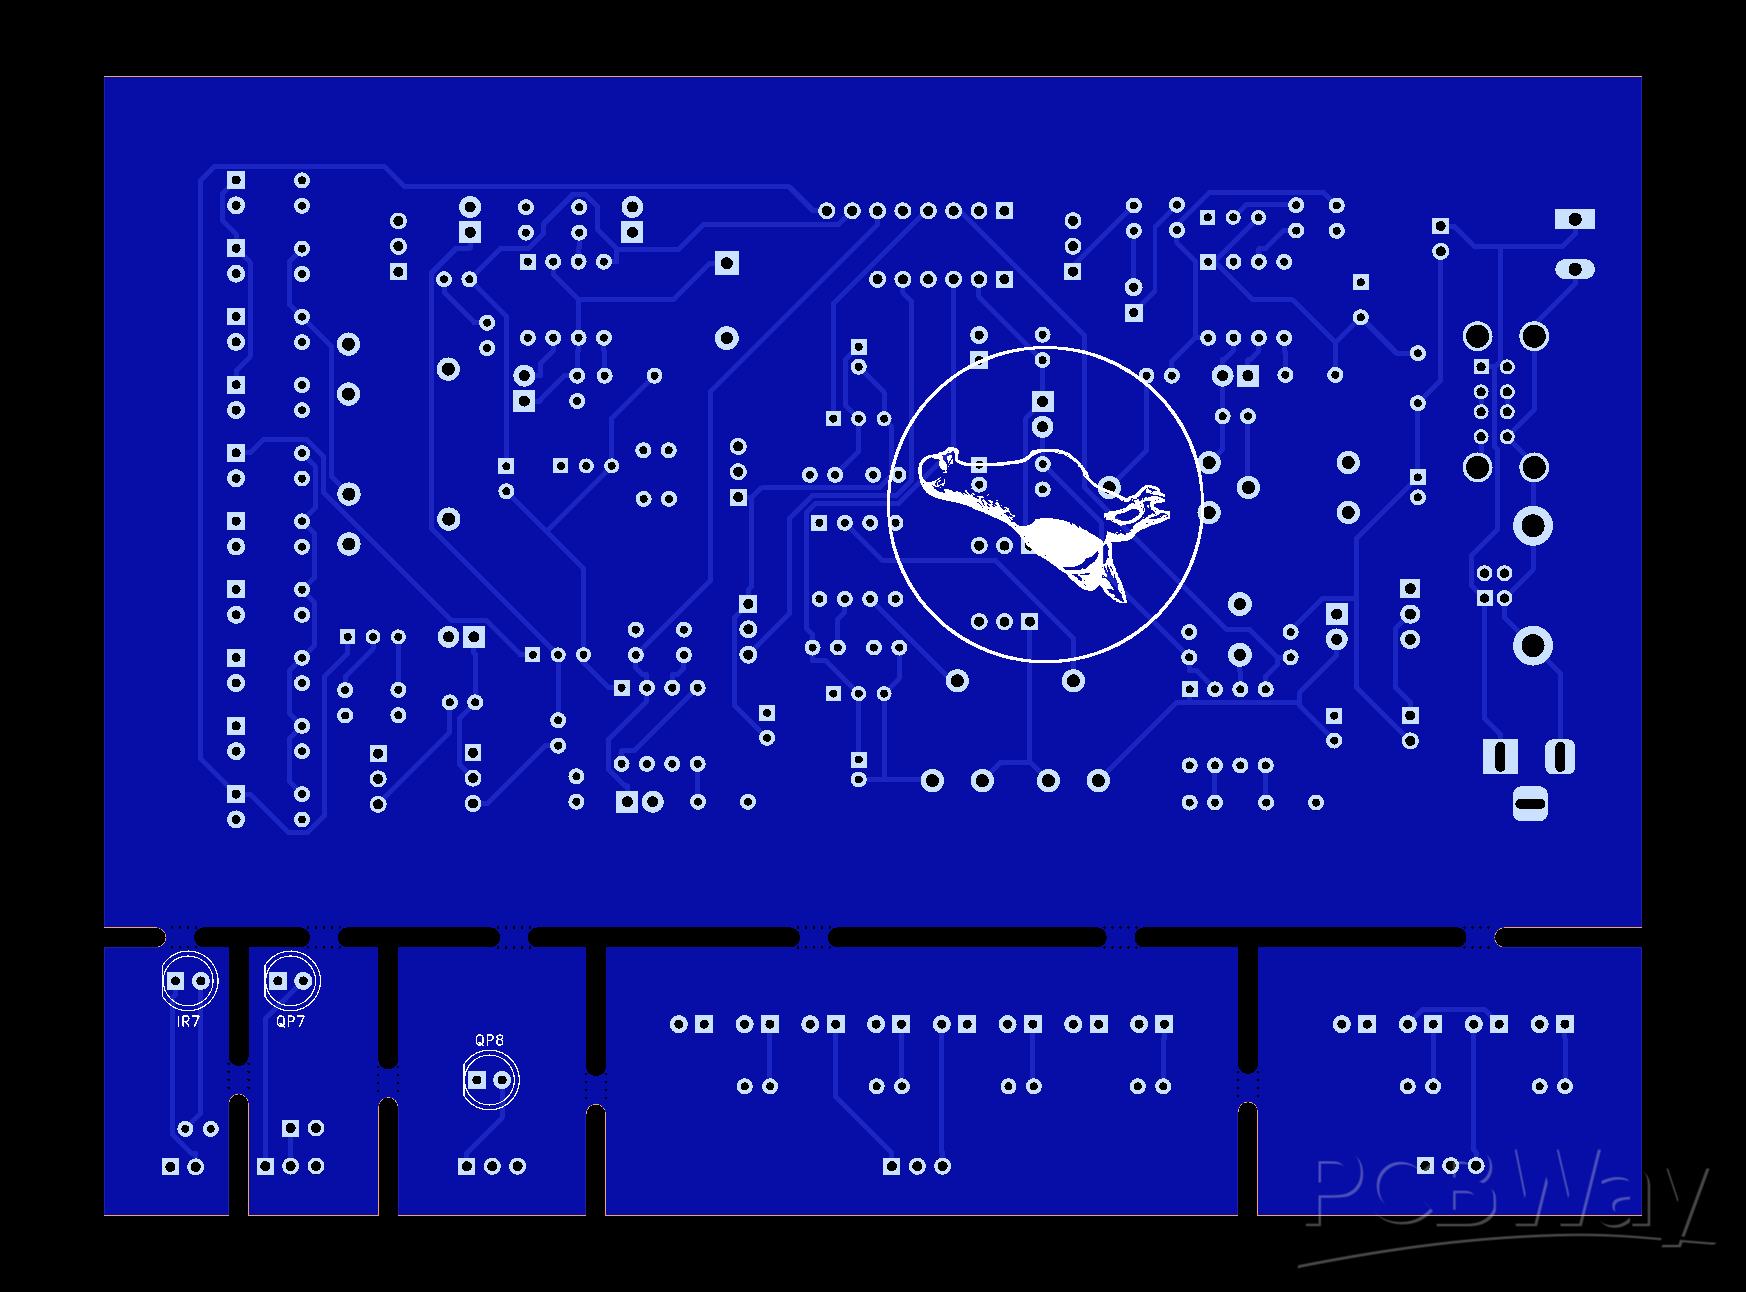
PCB, BOM AND GERBERS

Kicad Files (Github): https://github.com/src1138/VMFB
Gerbers and PCB (PCBWay): https://www.pcbway.com/project/shareproject/Vending_Machine_for_Birds_eda585b3.html

Current Version is Rev. B Ver. 1.1.

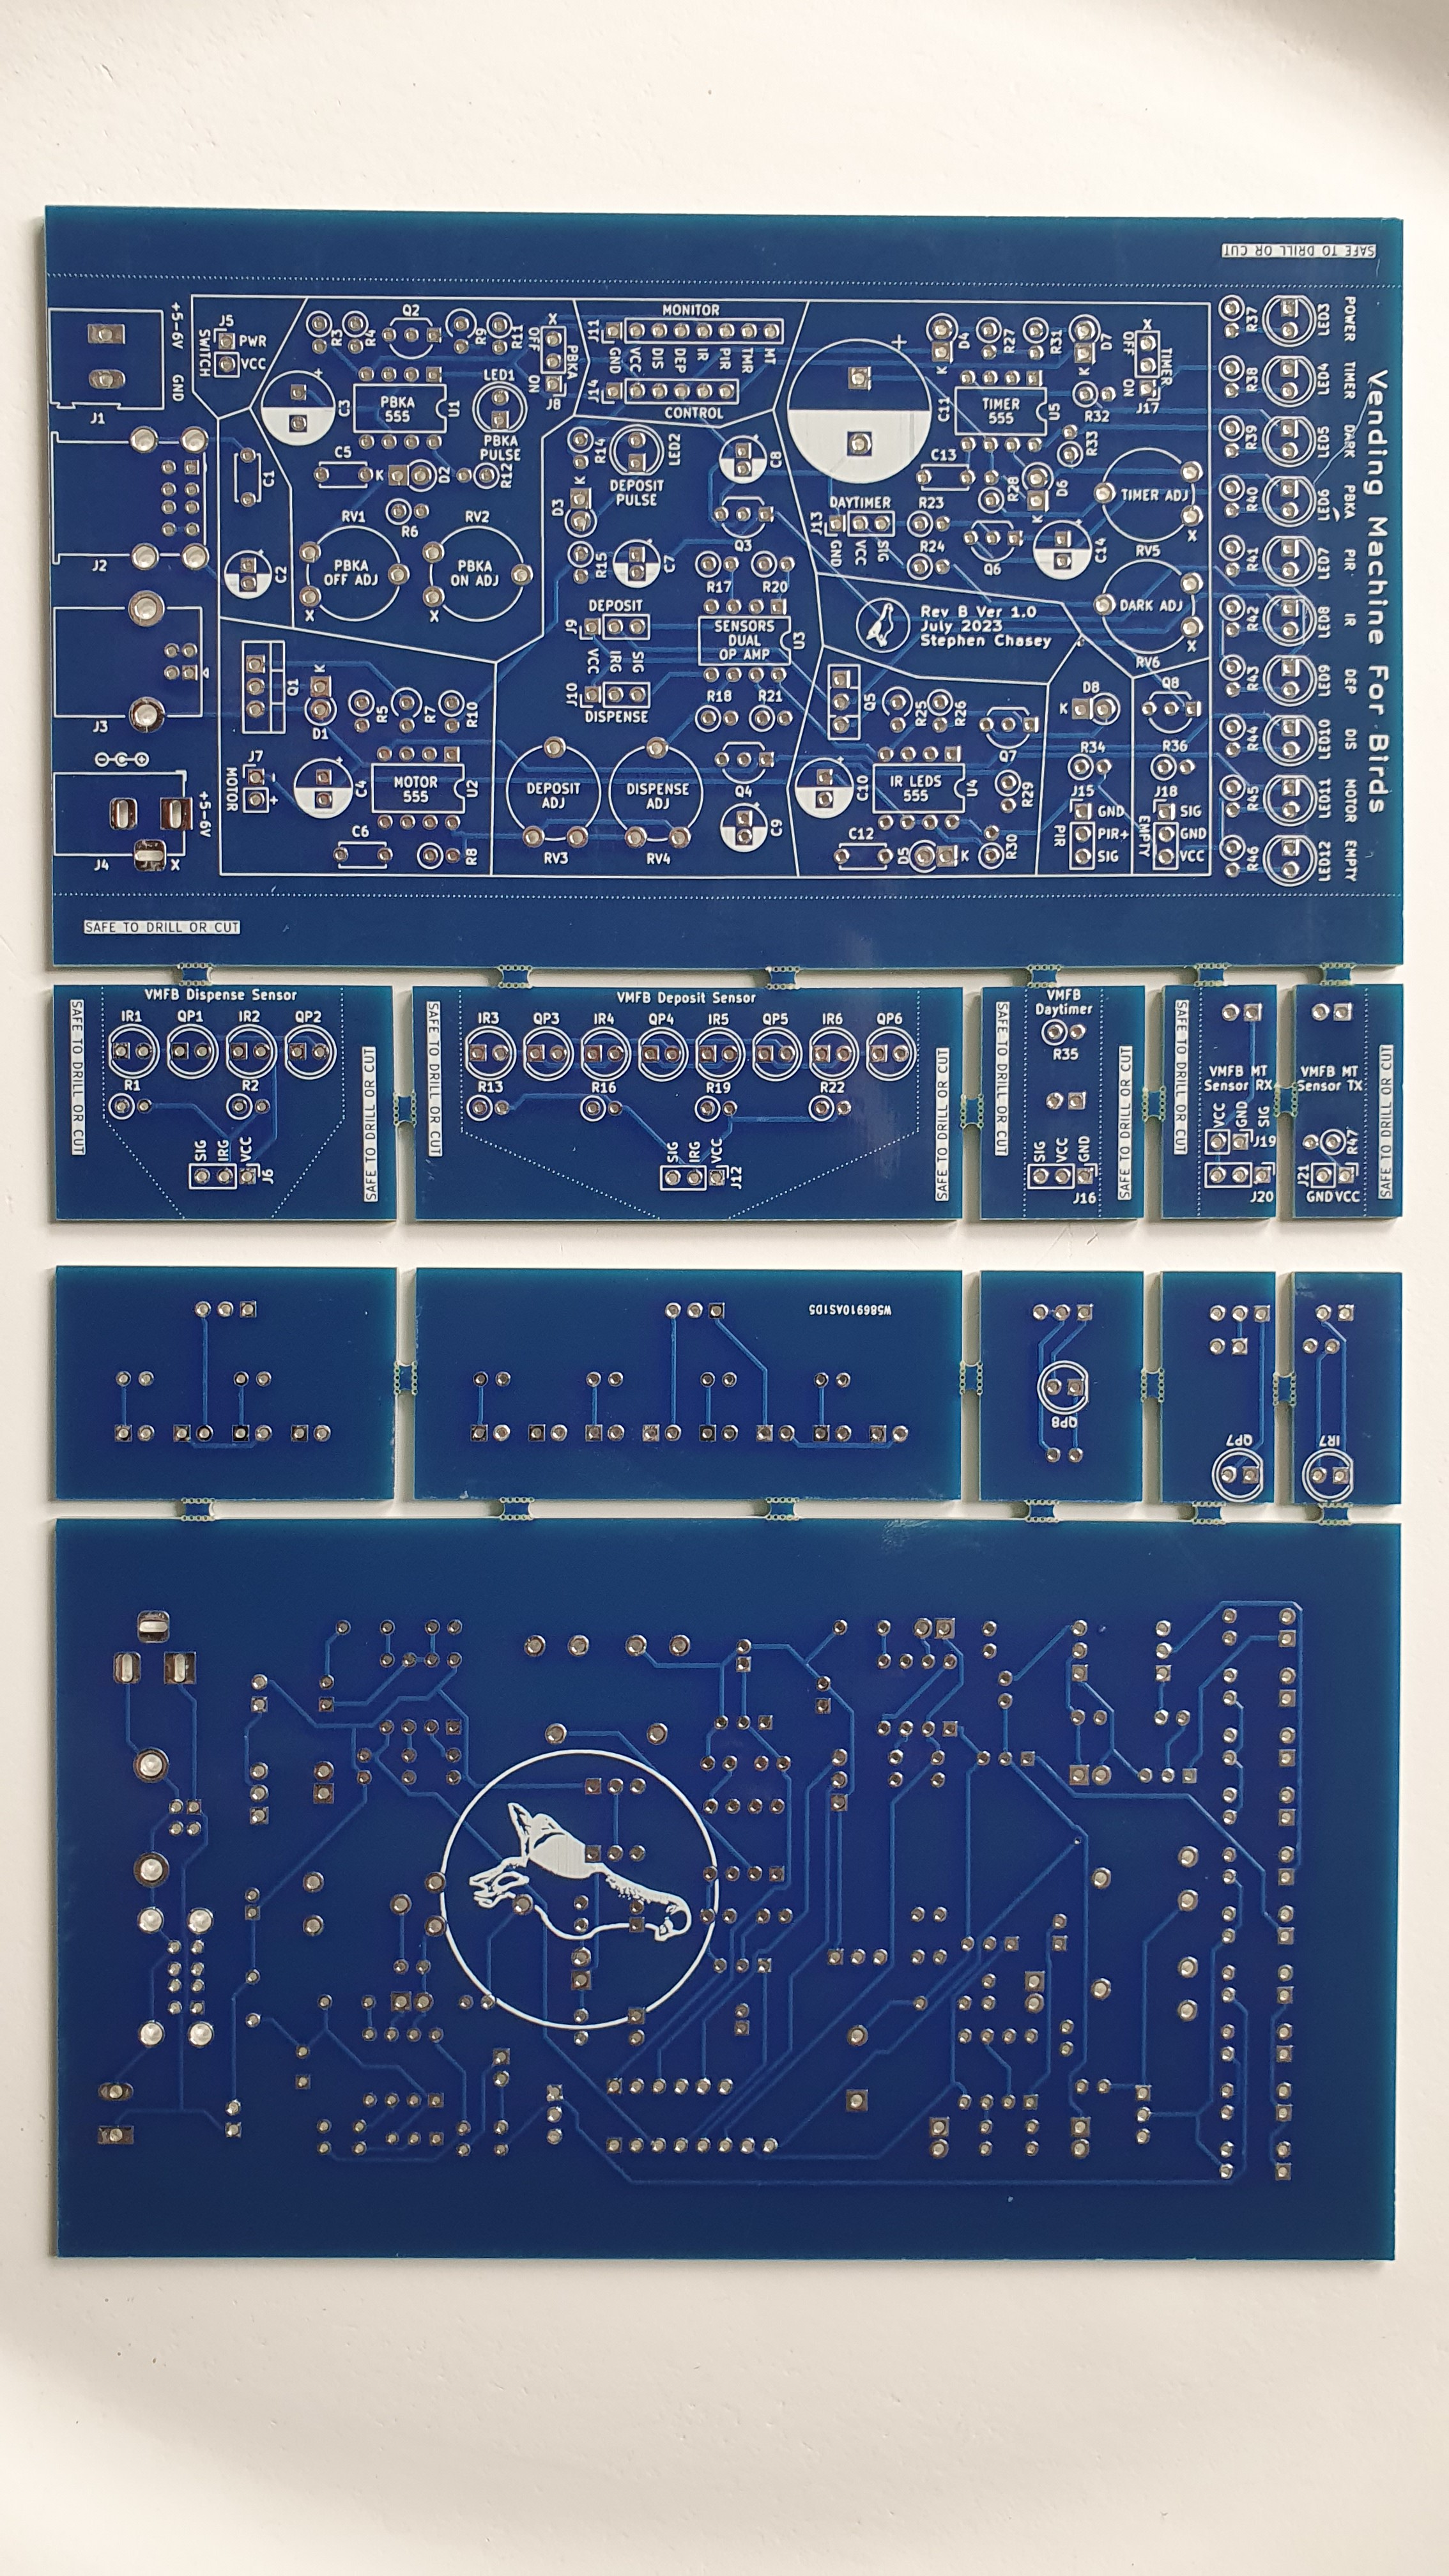
PCB Front
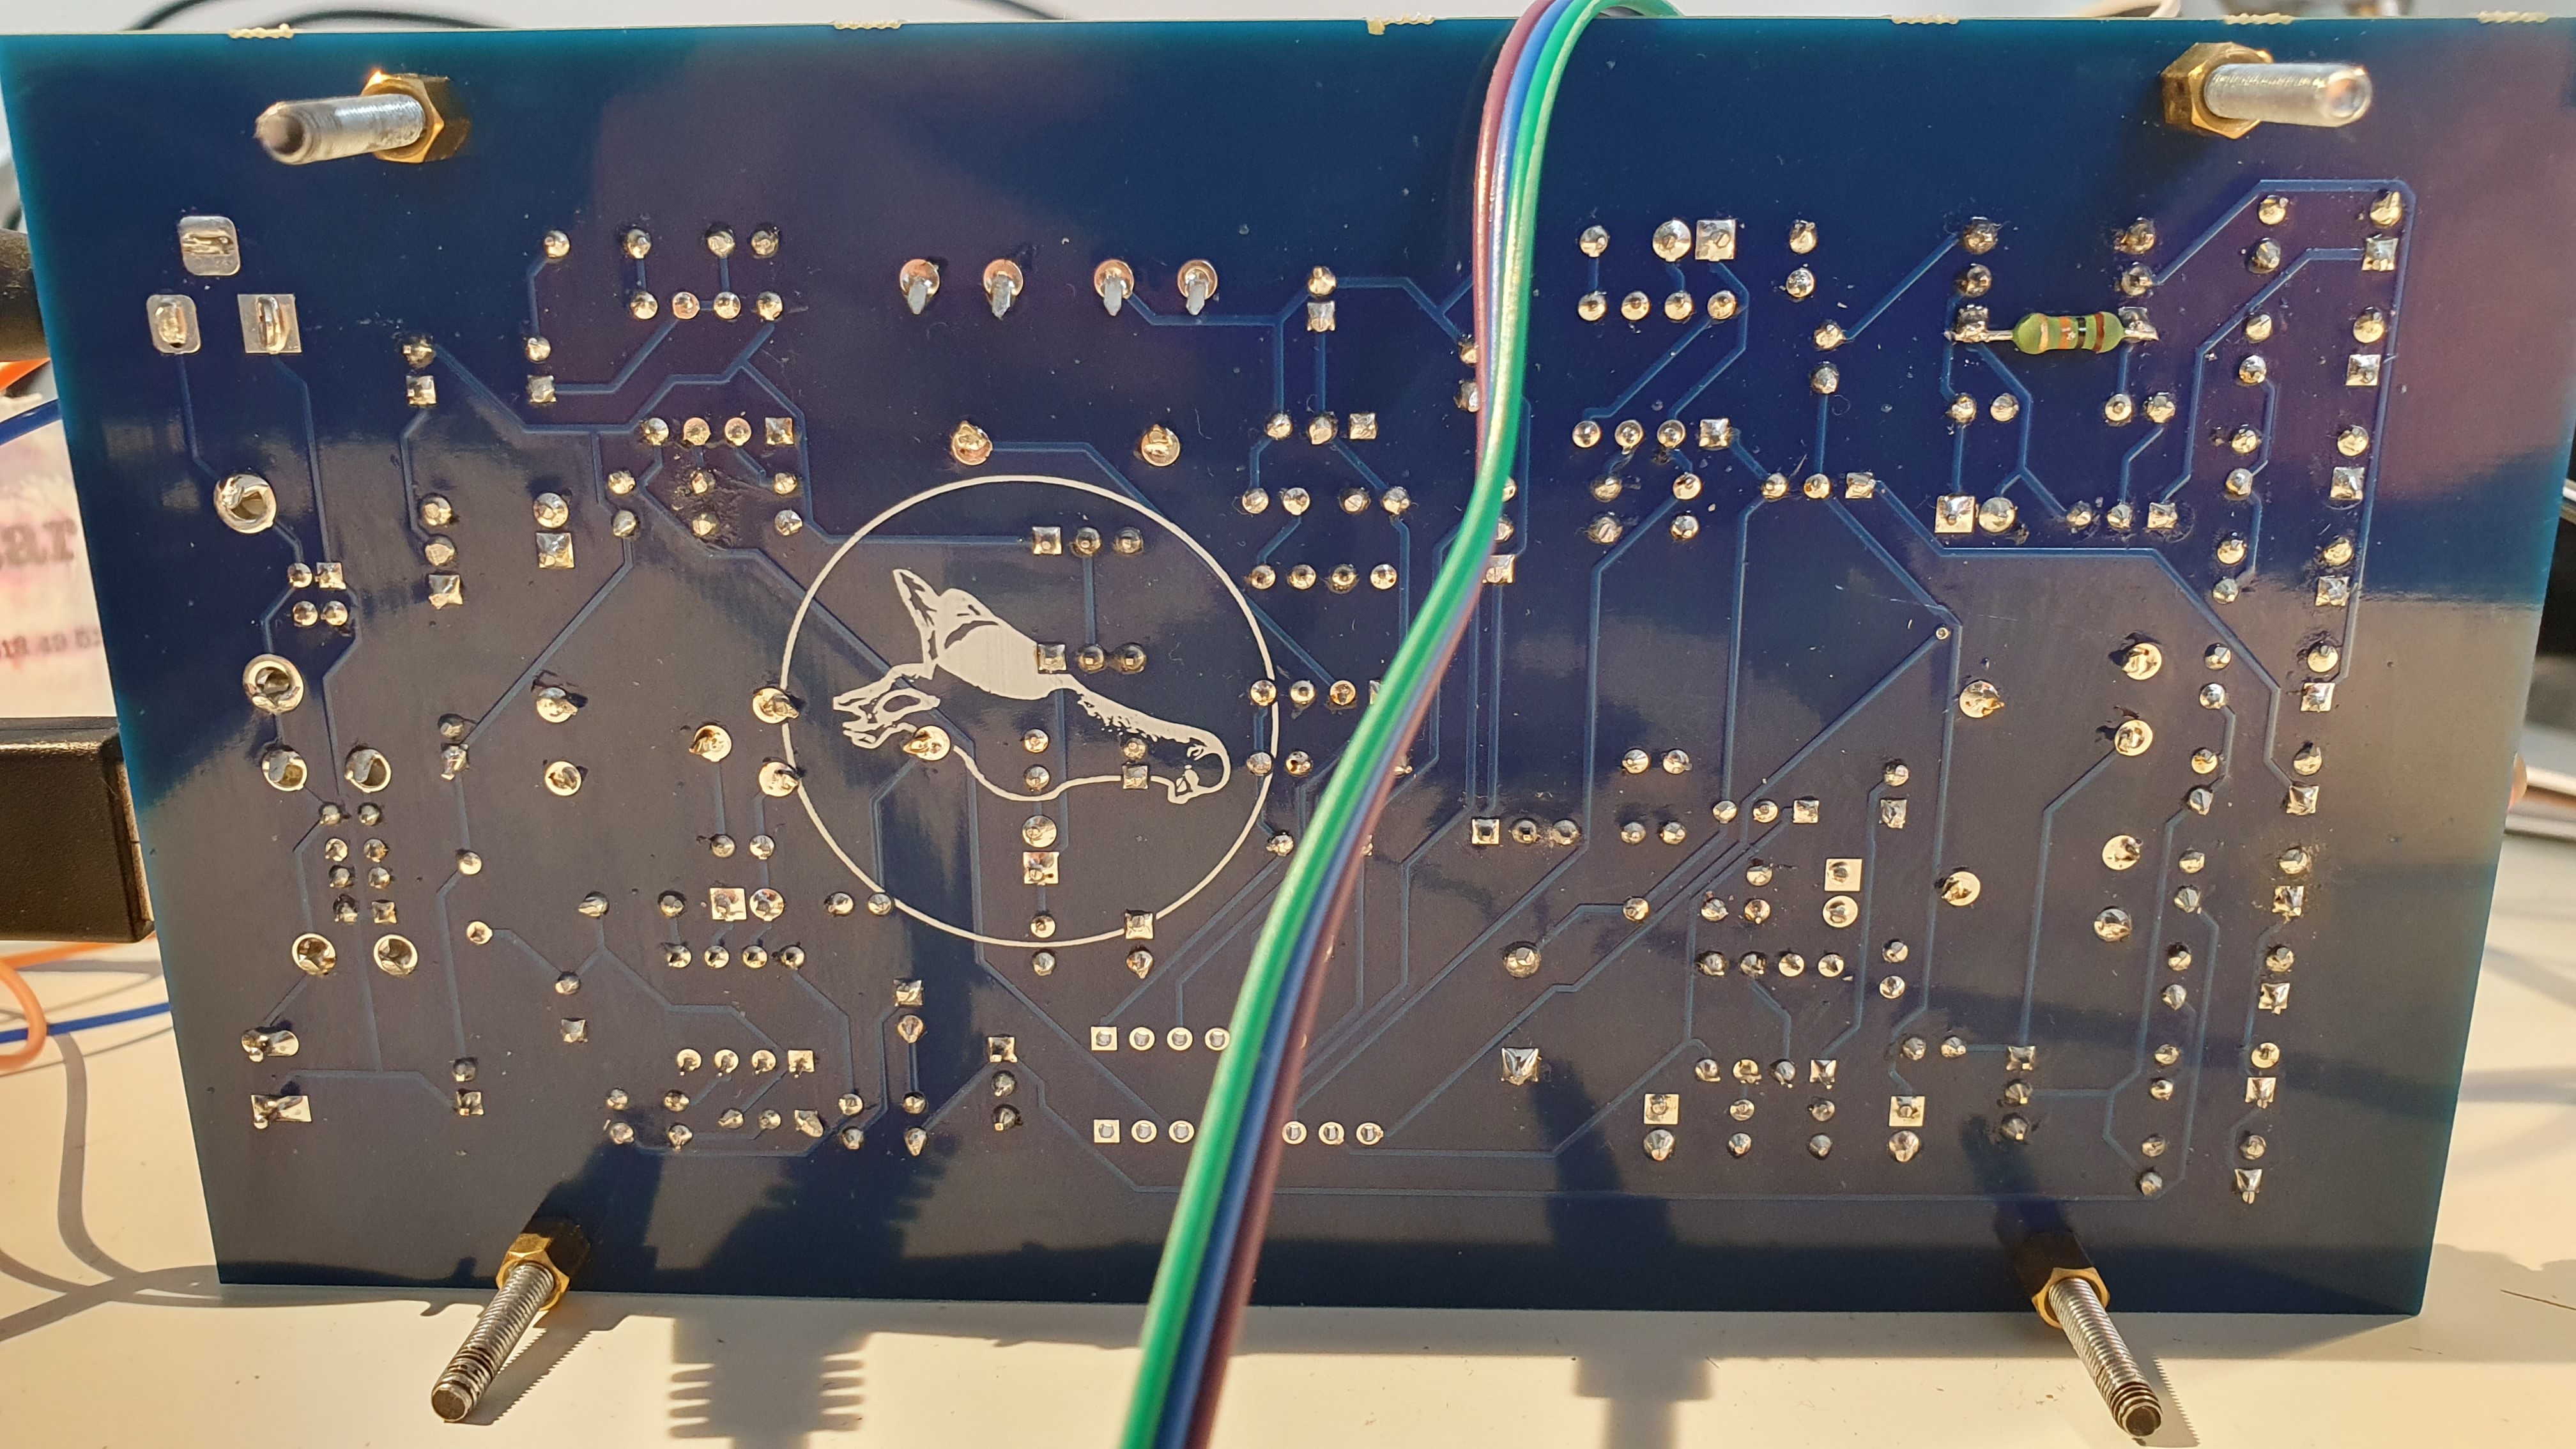
PCB Back

I priced the BOM for an earlier version of the board, including the PIR and motor for the vibration dispenser at Mouser and it came to 33.82 EUR. Mouser is not the cheapest source, but they have a pretty good selection of parts. 

https://cdn.hackaday.io/files/1847547904515136/Winkelwagentje_jul28_0317.xls

 If you shop around just a bit you could get the BOM for ~25 EUR. If you are an electronics hobbyist you probably have most if not all the parts on-hand.

CRITICAL COMPONENTS

This project uses commodity components, and you can confidently use alternatives with similar specs. There are a few points to keep in mind.

  • For the phototransistors, they should have a photocurrent of around 10mA. If they have a lower photocurrent, you should replace the 10K resistors on the non-inverting op amp imputs with a higher value. For  instance, if your phototransistors have a photocurrent of ~1mA, use a 100K resistor intead.
  • I use NE555Ps...
Read more »

20230601_233103~2.mp4

Brief functional demo with the new board from PCBWay

MPEG-4 Video - 27.06 MB - 06/04/2023 at 12:53

Download

Vending Machine For Birds_16-29-47.mp4

Jackdaws are starting to use the bottlecap magazine.

MPEG-4 Video - 922.07 kB - 05/25/2023 at 14:31

Download

vlc-record-2023-05-02-16h26m38s-Vending Machine For Birds_16-20-56.mp4-.mp4

Showing the improved dispenser performance since changing the baffles and eccentric load on the motor.

MPEG-4 Video - 1.50 MB - 05/02/2023 at 14:29

Download

11-21-10.mp4

Another pigeon using the bottlecap magazine.

MPEG-4 Video - 19.70 MB - 02/23/2023 at 01:30

Download

16-11-57.mp4

Clip from seconds day after reinstalling the feeder. Dispenser needs tweaking.

MPEG-4 Video - 37.10 MB - 02/23/2023 at 01:02

Download

View all 20 files

  • Camera and monitoring complete - for now

    Stephen Chasey4 days ago 0 comments

    I managed to enable/disable the camera based on a schedule, so I think I can wrap this part up. Power consumption while the sensors are idle and the camera is disabled is ~110mA. With the camera enabled it draws ~185mA. Streaming adds another ~35mA (~220mA with camera enabled and streaming).

    To recap what's there so far:

    Monitors

    • PIR - state and # of times it was triggered today
    • Sensor IR - state (on or off)
    • Timer - state (on or off)
    • Feed - state (ok or low)
    • Deposit - state (ok or jammed) and # of times it was triggered today
    • Dispense - state (ok or jammed) and # of times it was triggered today

    Controls

    • manual start and stop of recording
    • manual dispensing of feed
    • manual snapshot of still images

    I removed the manual turning on of the sensors, as this is not super useful by itself, at least with my use case. I also removed the buttons to manually enable and disable the camera, as there is already a place in the UI to do this.

    Logs

    • All monitored events are logged with datetime stamps
    • Vending machine logs are rotated daily

    Recording

    • records while the sensors are on (meaning a bird is triggering the PIR)

    Power Saving

    • camera is enabled at 6:00am and disabled at 6:00pm (on/off times are configurable) to save power overnight

    Updated scripts are on GitHub. I also added a VMFB_timer.sh script you could use instead of the 555-based timer on the PCB. 

    So now I will add some documentation to GitHub on how to use these scripts with motioneye/motioneyeos and the PVC enclosure build.

    I am feeling like I've hit the "feature-complete" milestone on this project - it's doing everything I want it to. 

    • Works as a vending machine for birds
    • Runs sustainably off solar power
    • Optional remote monitoring and control 

    Now I just need to get it back outside somewhere.

  • I ♥ Motioneye

    Stephen Chasey09/13/2023 at 14:15 0 comments

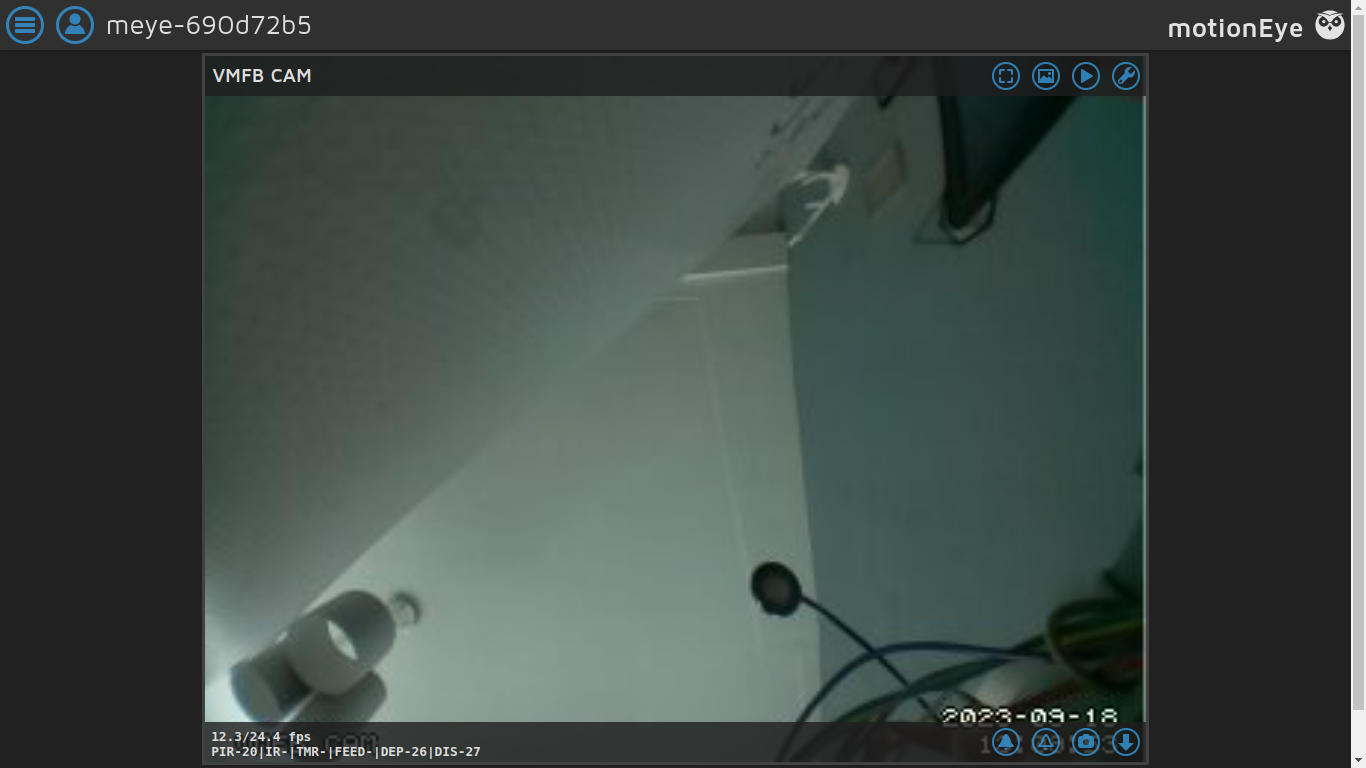
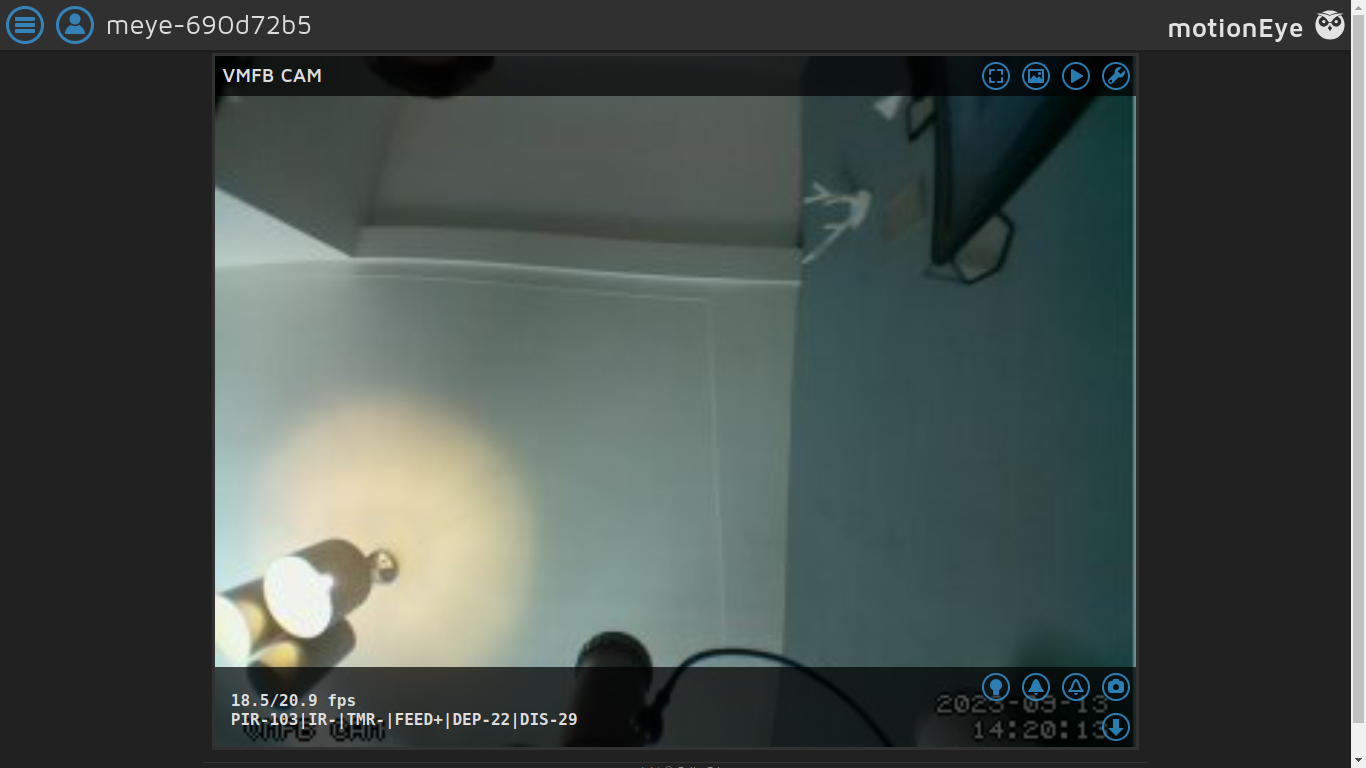
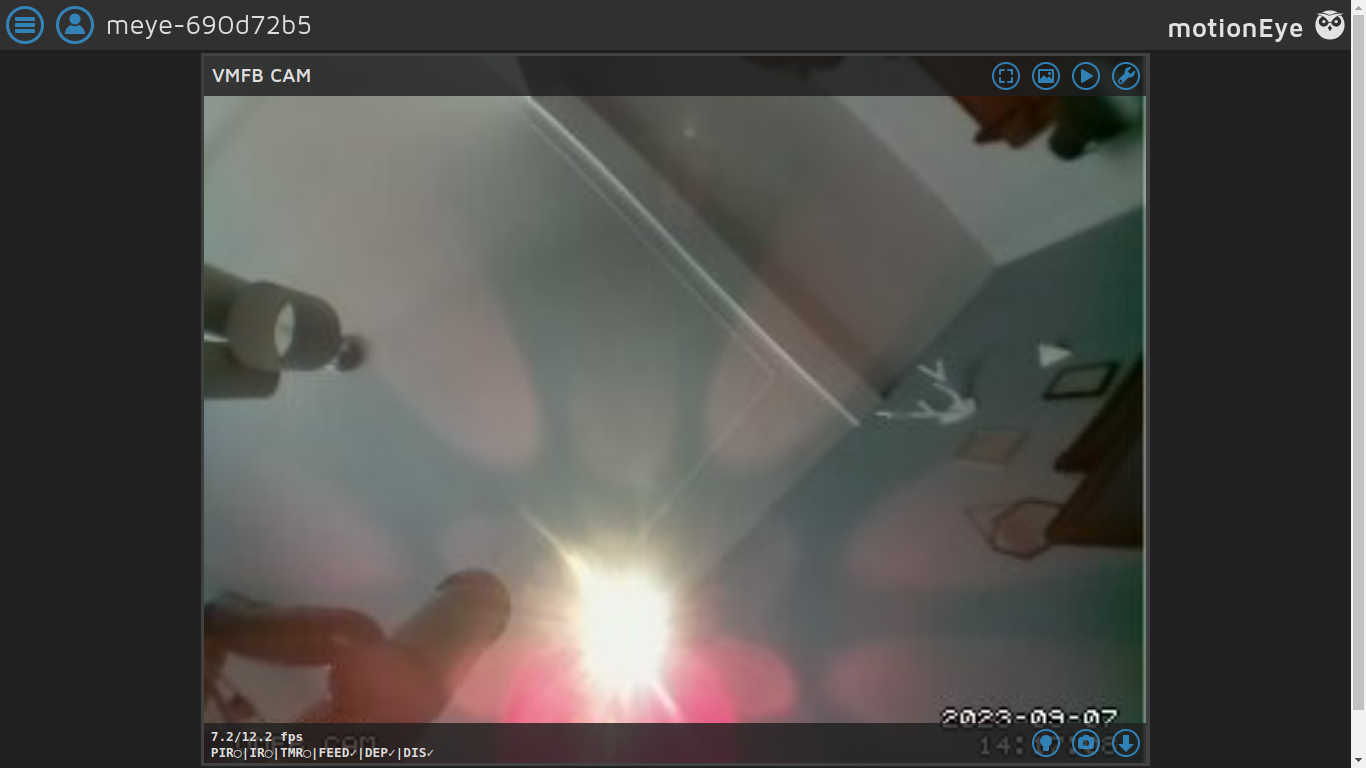
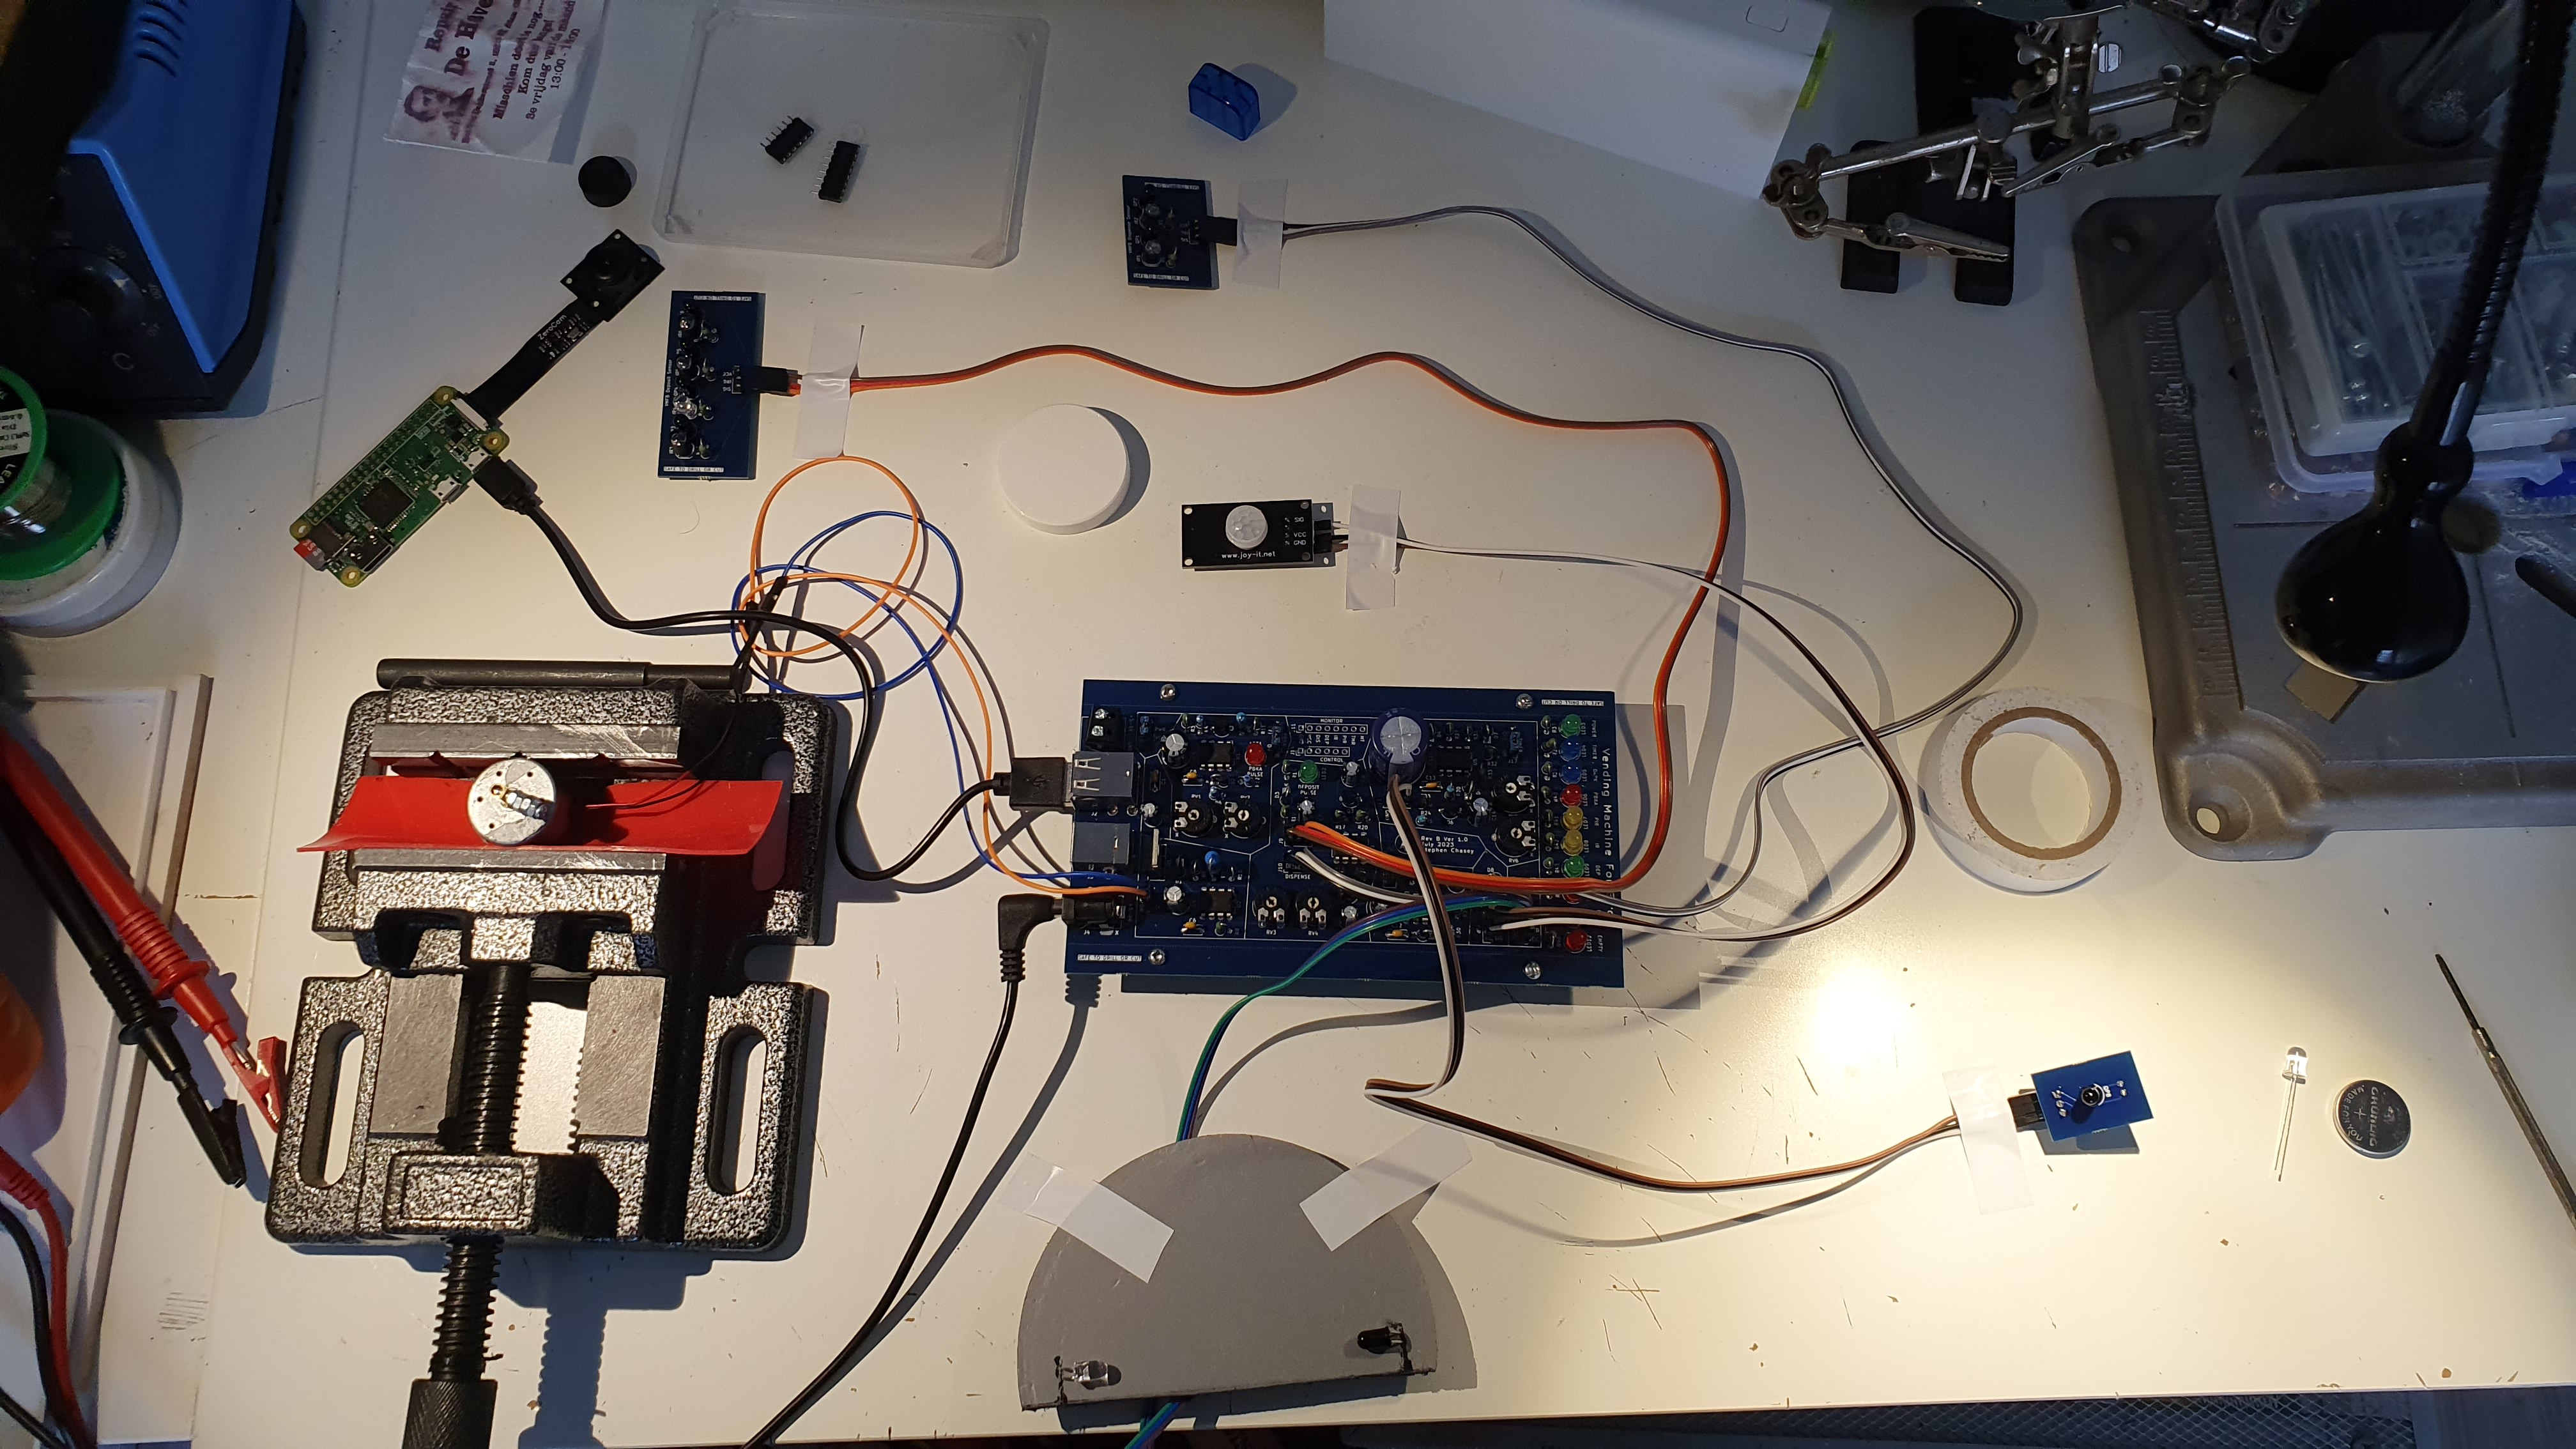
    So I'm nearly done with setting up monitoring and logging with motioneyeos. I have it running on an RPi Zero W (~15 EUR) with a 160° wide-angle camera module (also ~15 EUR). I have plenty of GPIO to do stuff with.

    On the video overlay I am showing:

    • PIR state and number of times it has been triggered today
    • Sensor IR state (on or off)
    • Timer state (on or off)
    • Feed level (ok or low)
    • Deposit sensor state (jammed or ok) and number of times it was triggered today
    • Dispense sensor state (jammed or ok) and number of times it was triggered today 

    You can also control the following with buttons on the overlay

    • Turn on sensor IR (light bulb icon)
    • Dispense a peanut (down arrow icon)
    • Start recording (alarm on icon)
    • Stop recording (alarm off icon)

    The camera records while the IR sesors are on (they are turned on by the PIR). Everything is logged, logs are rotated daily.

    The python and bash scripts for this are on GitHub.

    I would like to disable  the camera at night to save ~100mA, which would result in a ~1000mAh power savings per day. Have experimented a bit but not found a reliable way to do this yet.

  • Solar Power

    Stephen Chasey09/06/2023 at 13:15 0 comments

    I finally bit the bullet and spent some money on a 27000 mAh powerbank with pass-though charging up to 40W and a 17W 18V solar panel so this can be placed without needing mains power or someone to change the battery.

    The vending machine and camera together draw about 1W when idle and about 4W when dispensing a peanut. I estimate about 1.5W on average. I should be able to keep this charged via solar - it can run for about 2 days on the powerbank alone so it can tolerate a couple dark days and stay running.

    I should be receiving the goods this week to start testing this out. I would like this to be someting you can place anywhere and only have to refil the hopper occasionally. For now it will still need a wifi access point in range for remote access.


    Update

    It works great. The 17W 18V solar panel charges the powerbank significantly faster than the vending machine and camera drain it.

  • Remote Monitoring

    Stephen Chasey09/05/2023 at 15:36 0 comments

    I've been playing with motioneyeos to do some simple status monitoring on the vending machine so you can know what is happening remotely. 

    You can modify the monitor_<CAM_ID> file to show details based on GPIO status. So, making use of the monitoring header on the PCB I can tell if the PIR has been triggered, if the sensors are on, if the timer is active and if the feed level is low. I still need to log events to a log file, and would like to also log short events like deposit and dispense, which can be missed by the motioneyeos monitor since they are very short duration - I'm working on this.

    You can also add "action buttons" that show up on the web interface. I have added a couple to allow manual triggering to turn on the sensors and dispense a peanut.

    In the end I will monitor the PIR, sensors, hopper level, deposit and dispense events, and if the timer is enabled. Also will allow manual triggering to turn on the sensors or dispense a peanut. You will be able to download and analyze the log file to determine things like how often the PIR triggers, time between deposit and dispense, how many successful interactions and when they occur, etc.

    I've added these file to the GitHub repo 

    • monitor_1 - shows monitoring information on the video feed
    • light_on_1 and down_1 - action button scripts to allow manual triggering of sensors and dispensing peanuts

    I think this logging and monitoring will make this more useful as an actual tool for animal behavior researchers.

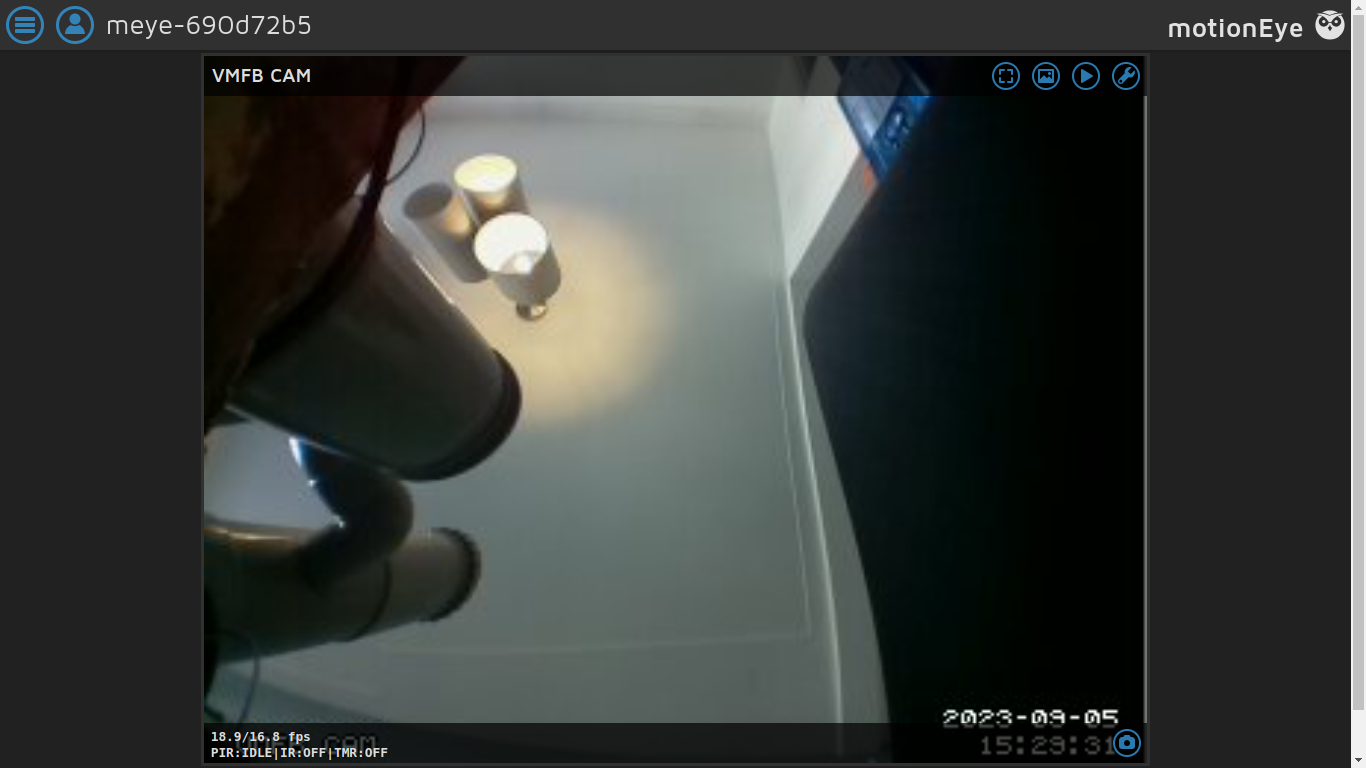
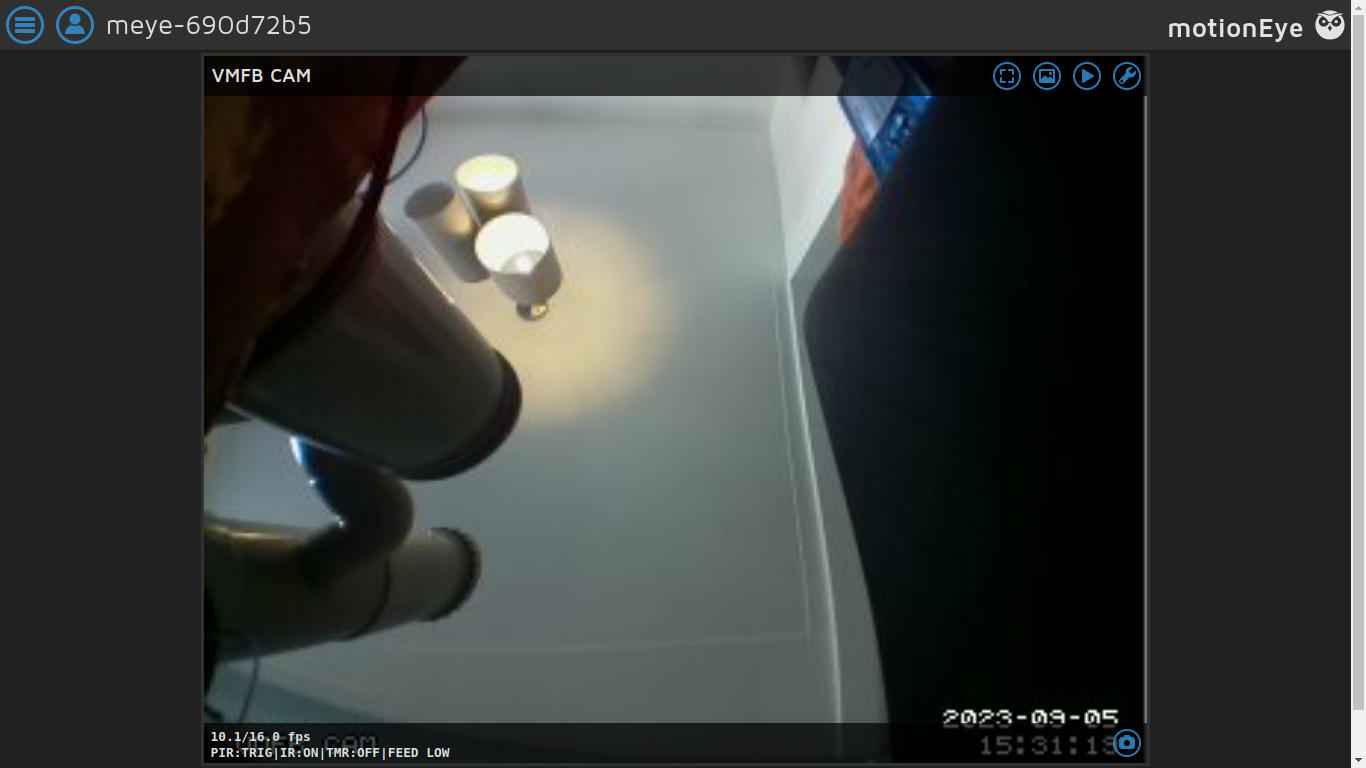
    You can see the monitoring info here (lower left corner)

    Sensors Off

    Sensors On


    Update

    Deposit and dispense events are too fast to catch with a script, so I will try out gpio interrupts for this.

    I was able to set up everything else. It now displays status for:

    • PIR
    • Sensors
    • Timer
    • Feed level
    • Deposit sensor jams
    • Dispense sensor jams

    I also added a couple action buttons to let you remotely trigger

    • Dispensing a peanut (down arrow)
    • Enabling the sensors (light bulb)

    You can see the monitoring in the lower left and buttons in the lower right of this image.

    The files related to this are on GitHub. Once I find a way to monitor very short GPIO events on the RPi I think this bit will be finished.

  • Some Updates

    Stephen Chasey08/25/2023 at 15:17 0 comments

    I've been up to a few things since my last post.

    • I've put the RevB V1.0 board into the feeder and have tested it indoors. Works as expected.
    • I also added the missing resistor to a new version of the board RevB V1.1 that I have ordered from PCBWay. GitHub is also updated with the latest changes. I'll test this as soon as I receive them.
    • I've been asking children's zoos in the area if I can put my vending machine on their grounds for a few months - one has responded and is interested. More on that in September.
    • Since I may have a location soon, I've been looking into solar power and have bought a couple 10W 5V panels and cabels. I will need to get a powerbank with passthough charging for this to work. I'd really like to not rely on mains power for reliable operation.

    Hope to have some more exicting updates next month.

    Once the RevB V1.1 boards get here I will populate one and test again. If it is bug-free, I will give the rest away to anyone that wants to build this. 

  • Testing Rev B V 1.0 PCB

    Stephen Chasey08/03/2023 at 13:12 0 comments

    I've populated one of the new boards and have been testing it for a day or so. I gotta say, rolling my own PCBs in Kicad and getting them made by PCBWay has forced me to up my design testing game - I've made many mistakes on the way but have learned a lot and come pretty far in the last few months.

    Everything works as planned, including the *new features

    • Deposit Sensor
    • Dispense Sensor
    • Timed Dispense
    • Powerbank Keep-Alive
    • *Empty Sensor
    • *Dark Sensor

    Power Consumption

    I increased the current going to the IR LEDs and motor. Current power consumption is as follows.

    Without RPi

    • Idle with Powerbank Keep-Alive and TImer enabled: 18mA
      • Timer uses 8mA
      • Powerbank Keep-Alive uses 4mA
      • ^With both of these disabed it uses 6 mA
    • IR LEDs on: 320mA
    • IR LEDs and motor on: 510mA

    With RPi Zero W and wide-angle camera module

    • Idle with Powerbank Keep-Alive and TImer enabled: 220mA
    • IR LEDs on: 520mA
    • IR LEDs and motor on: 820mA

    So with the camera I could get about 2 days out of a 20,000 mAh power bank. Not great, but not terrible.

    Testing, Testing

    Still futzing around with it a bit before I make a functional test video.

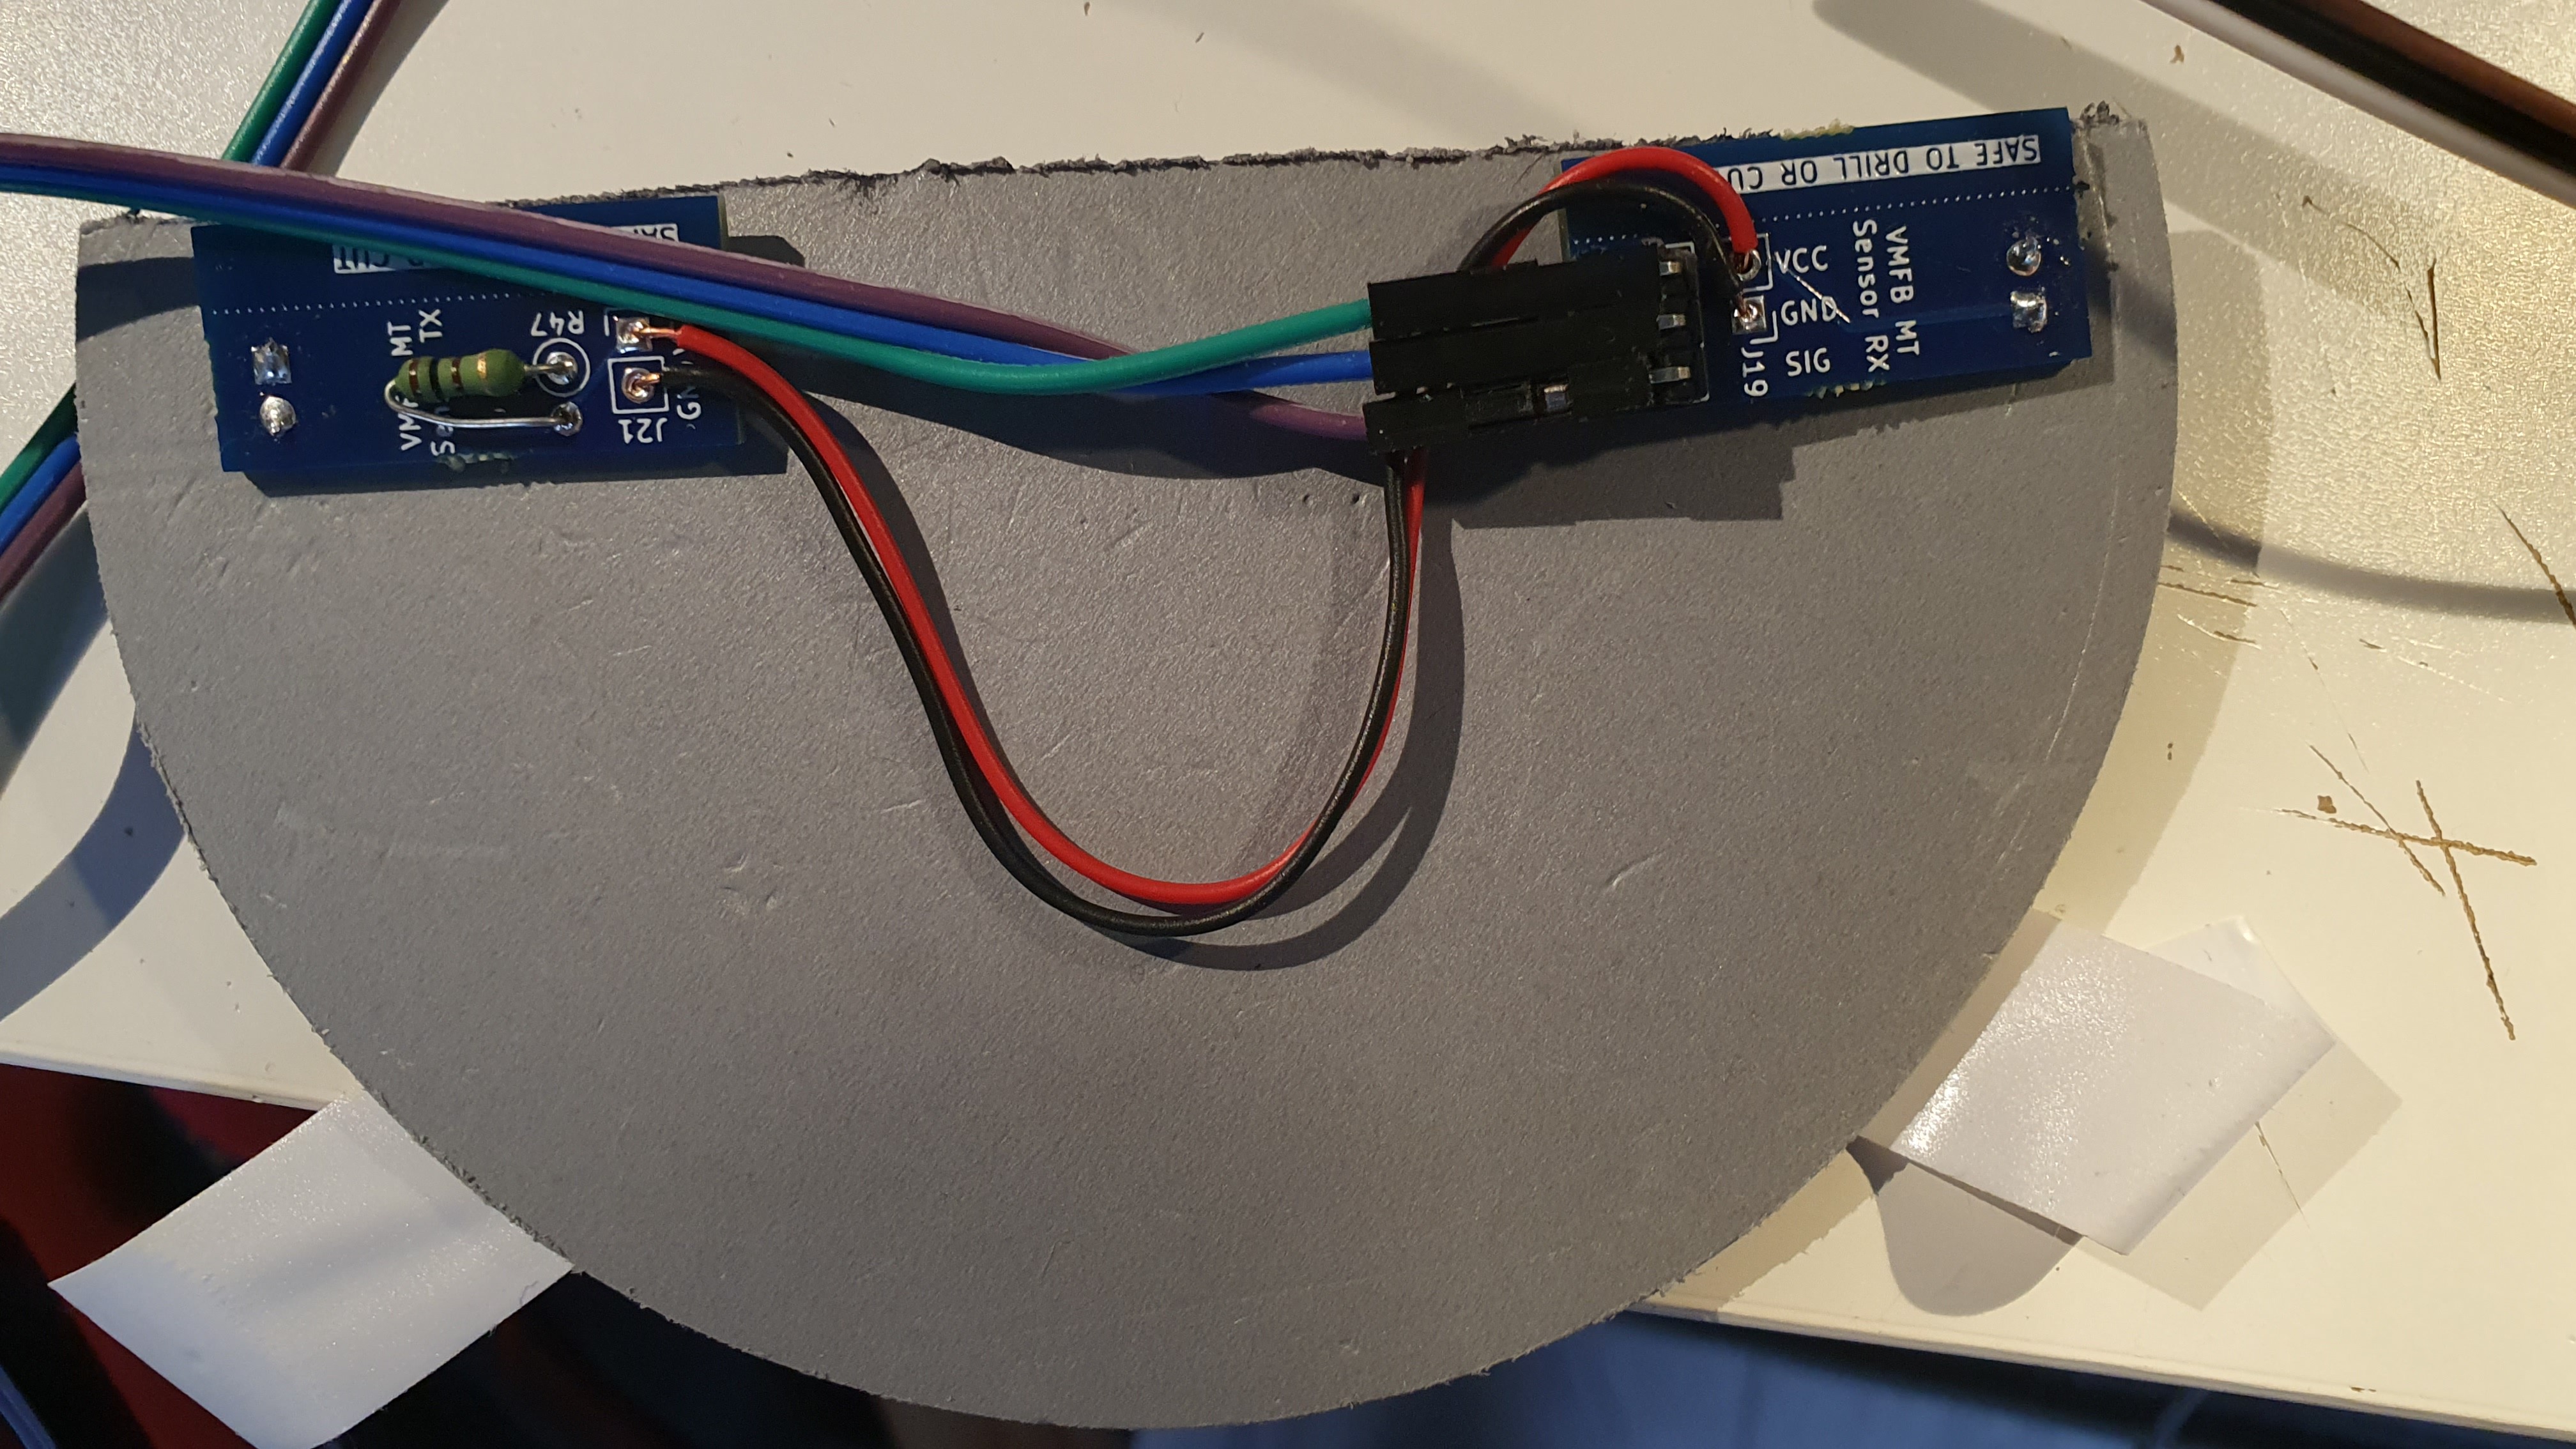
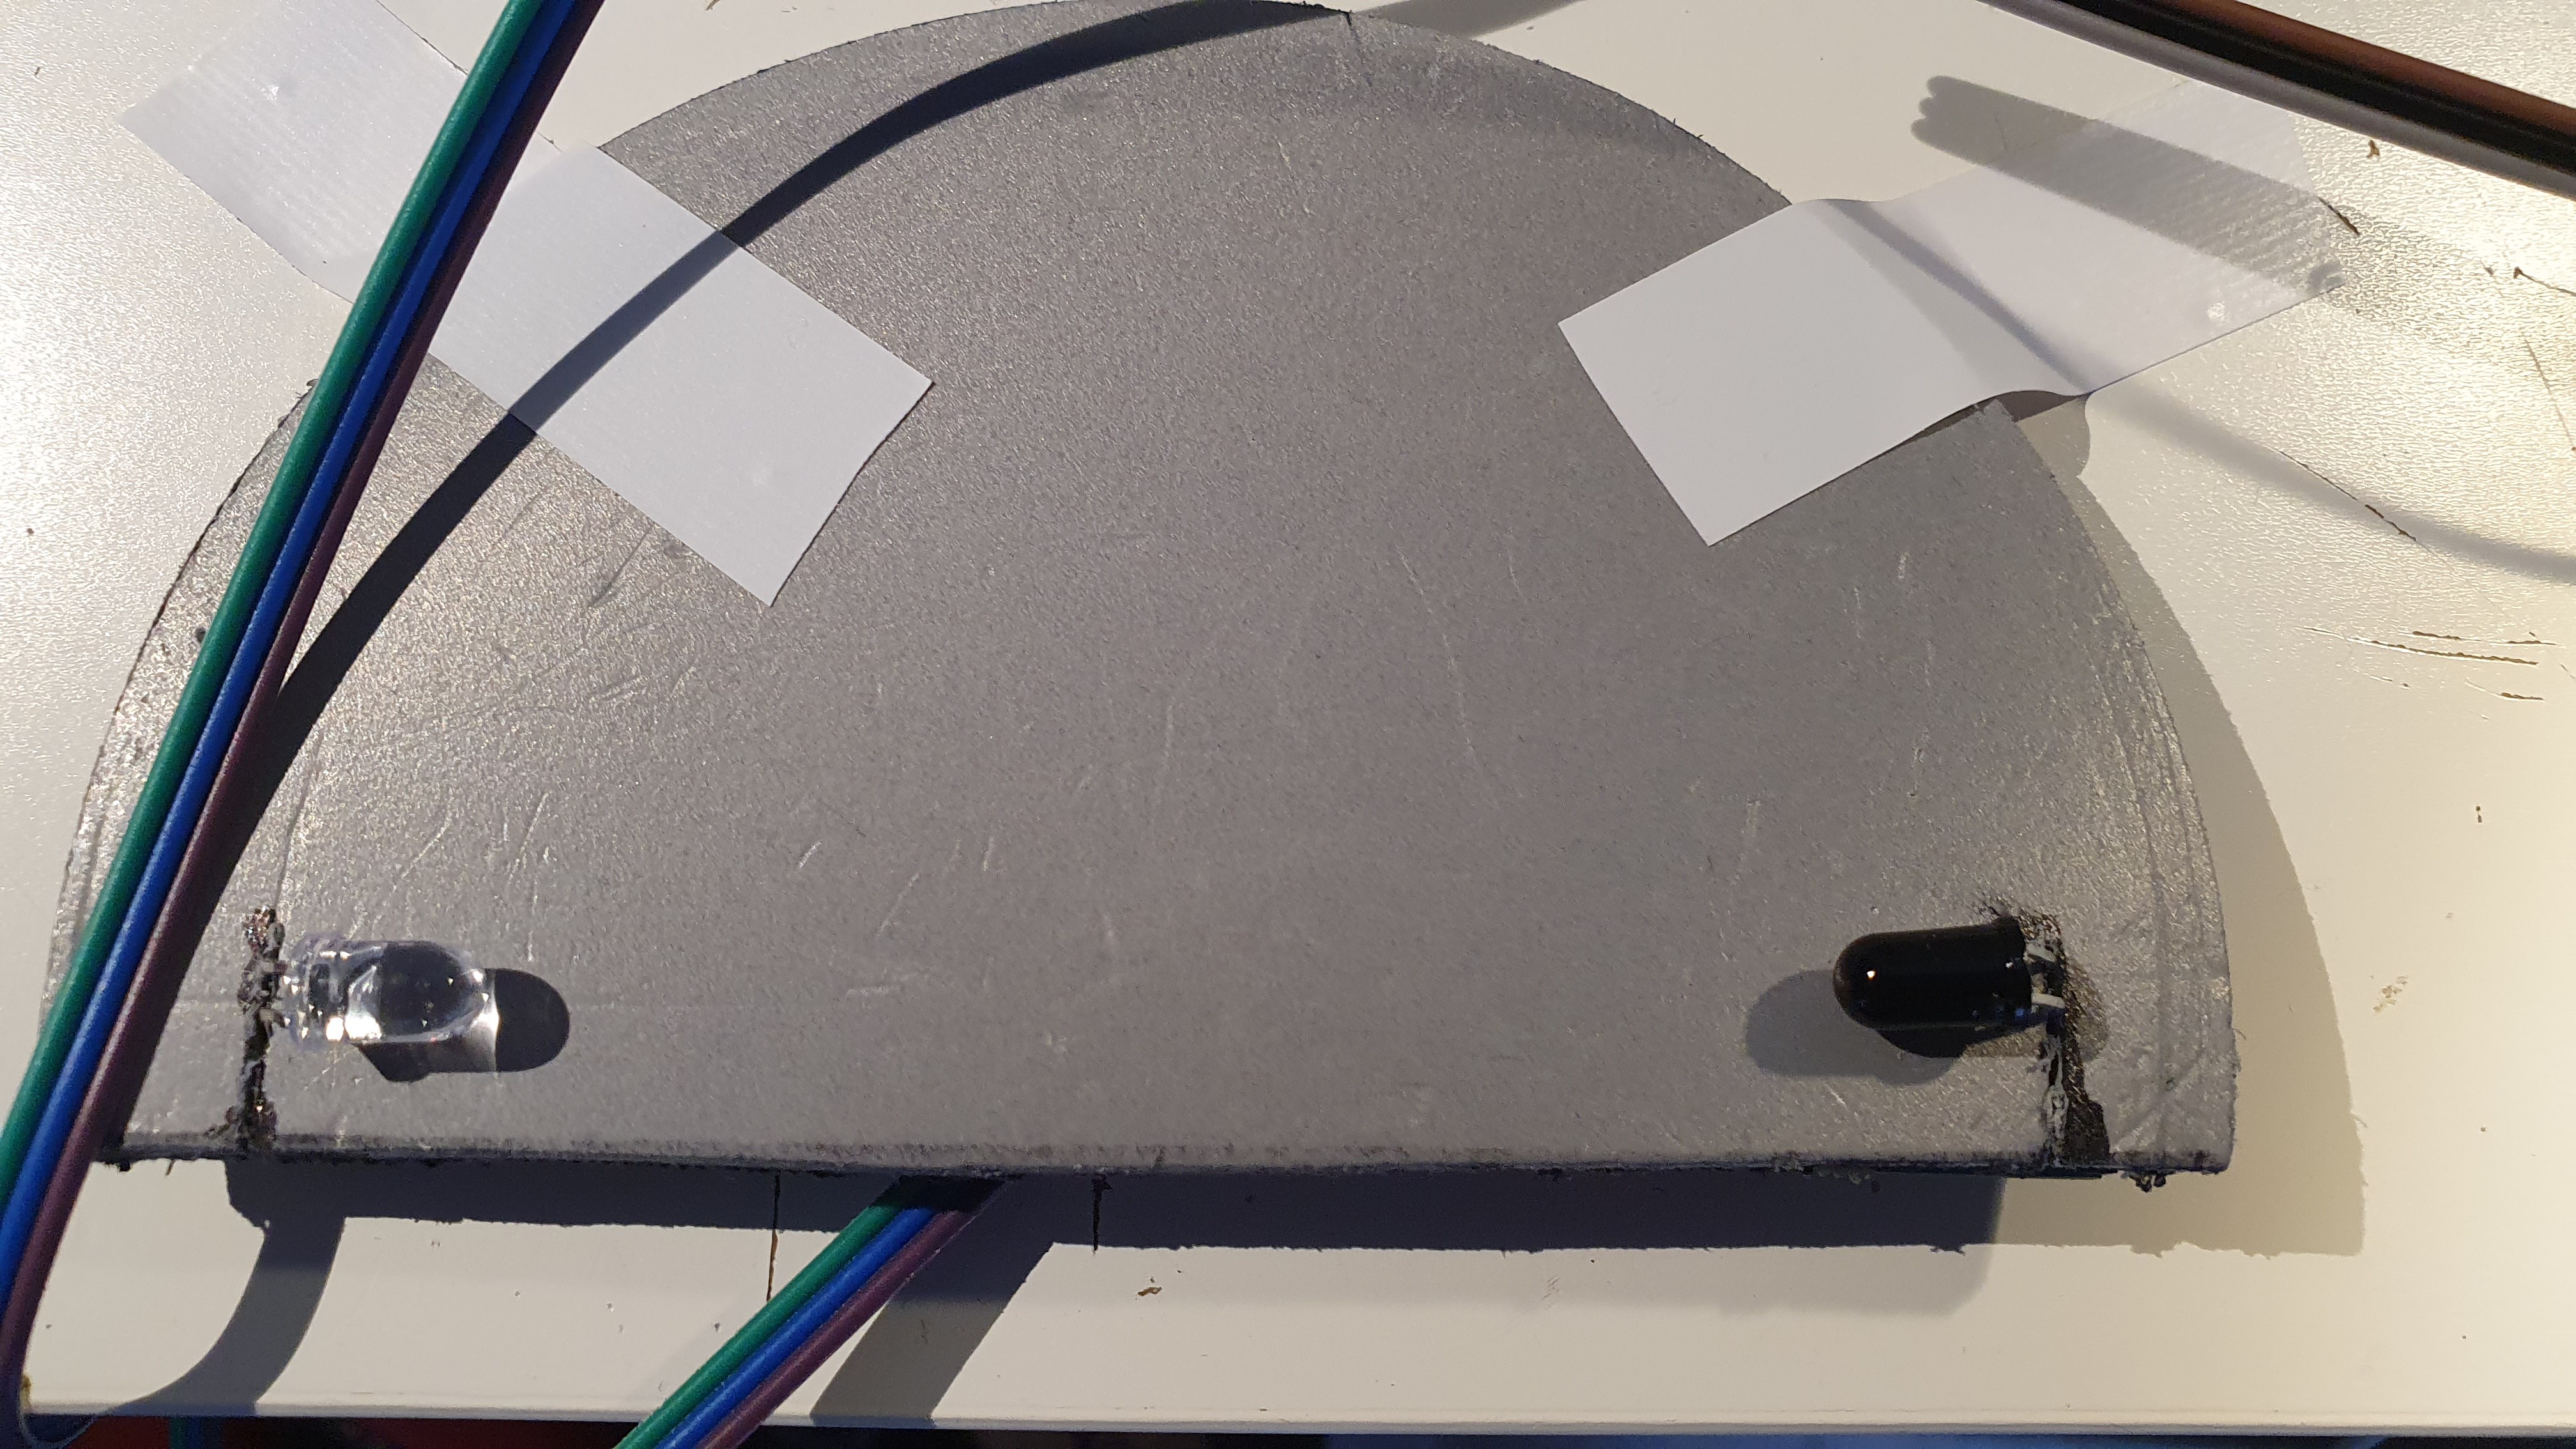
    Here's some better shots of the empty sensor on the main baffle that goes in the peanut hopper.

    I did make one mistake (aaaaaaargh!) - I left the base of the BC547B NPN on the empty sensor floating and had to bodge a 10K resistor to ground to fix it. I've already corrected this on GitHub and  once I've finished testing I'll make yet another run of boards, hoping that it will be bug free. If anyone else takes the time to build one of these I want it to just work without bodging.

    You can see it here (upper right).

    So will continue to test. If no issues I will put this board (bodge and all) in the feeder and continue to look for a good location. Here is a  pic of the current enclosure on the stand I built from a wooden pallet I found in the trash pile.

  • Rev. B Ver. 1.0 Boards Arrived

    Stephen Chasey07/25/2023 at 15:17 0 comments

    I just received the hopefully-final-for-a-while Rev. B Ver. 1.0 PCB from PCBWay today. I hope to have one populated and tested over the weekend. Then I can start mounting the board and sensors inside the vending machine.

    After this, just need to set up the Motioneyeos camera to read GPIO and find a good location to deploy it. One Dutch guy who made a similar, though much larger, machine was able to get it placed in a zoo. Once I have everything together I might see if Artis would be willing to do this with mine.

  • Portable Mounting Using a Pallet

    Stephen Chasey07/19/2023 at 20:31 0 comments

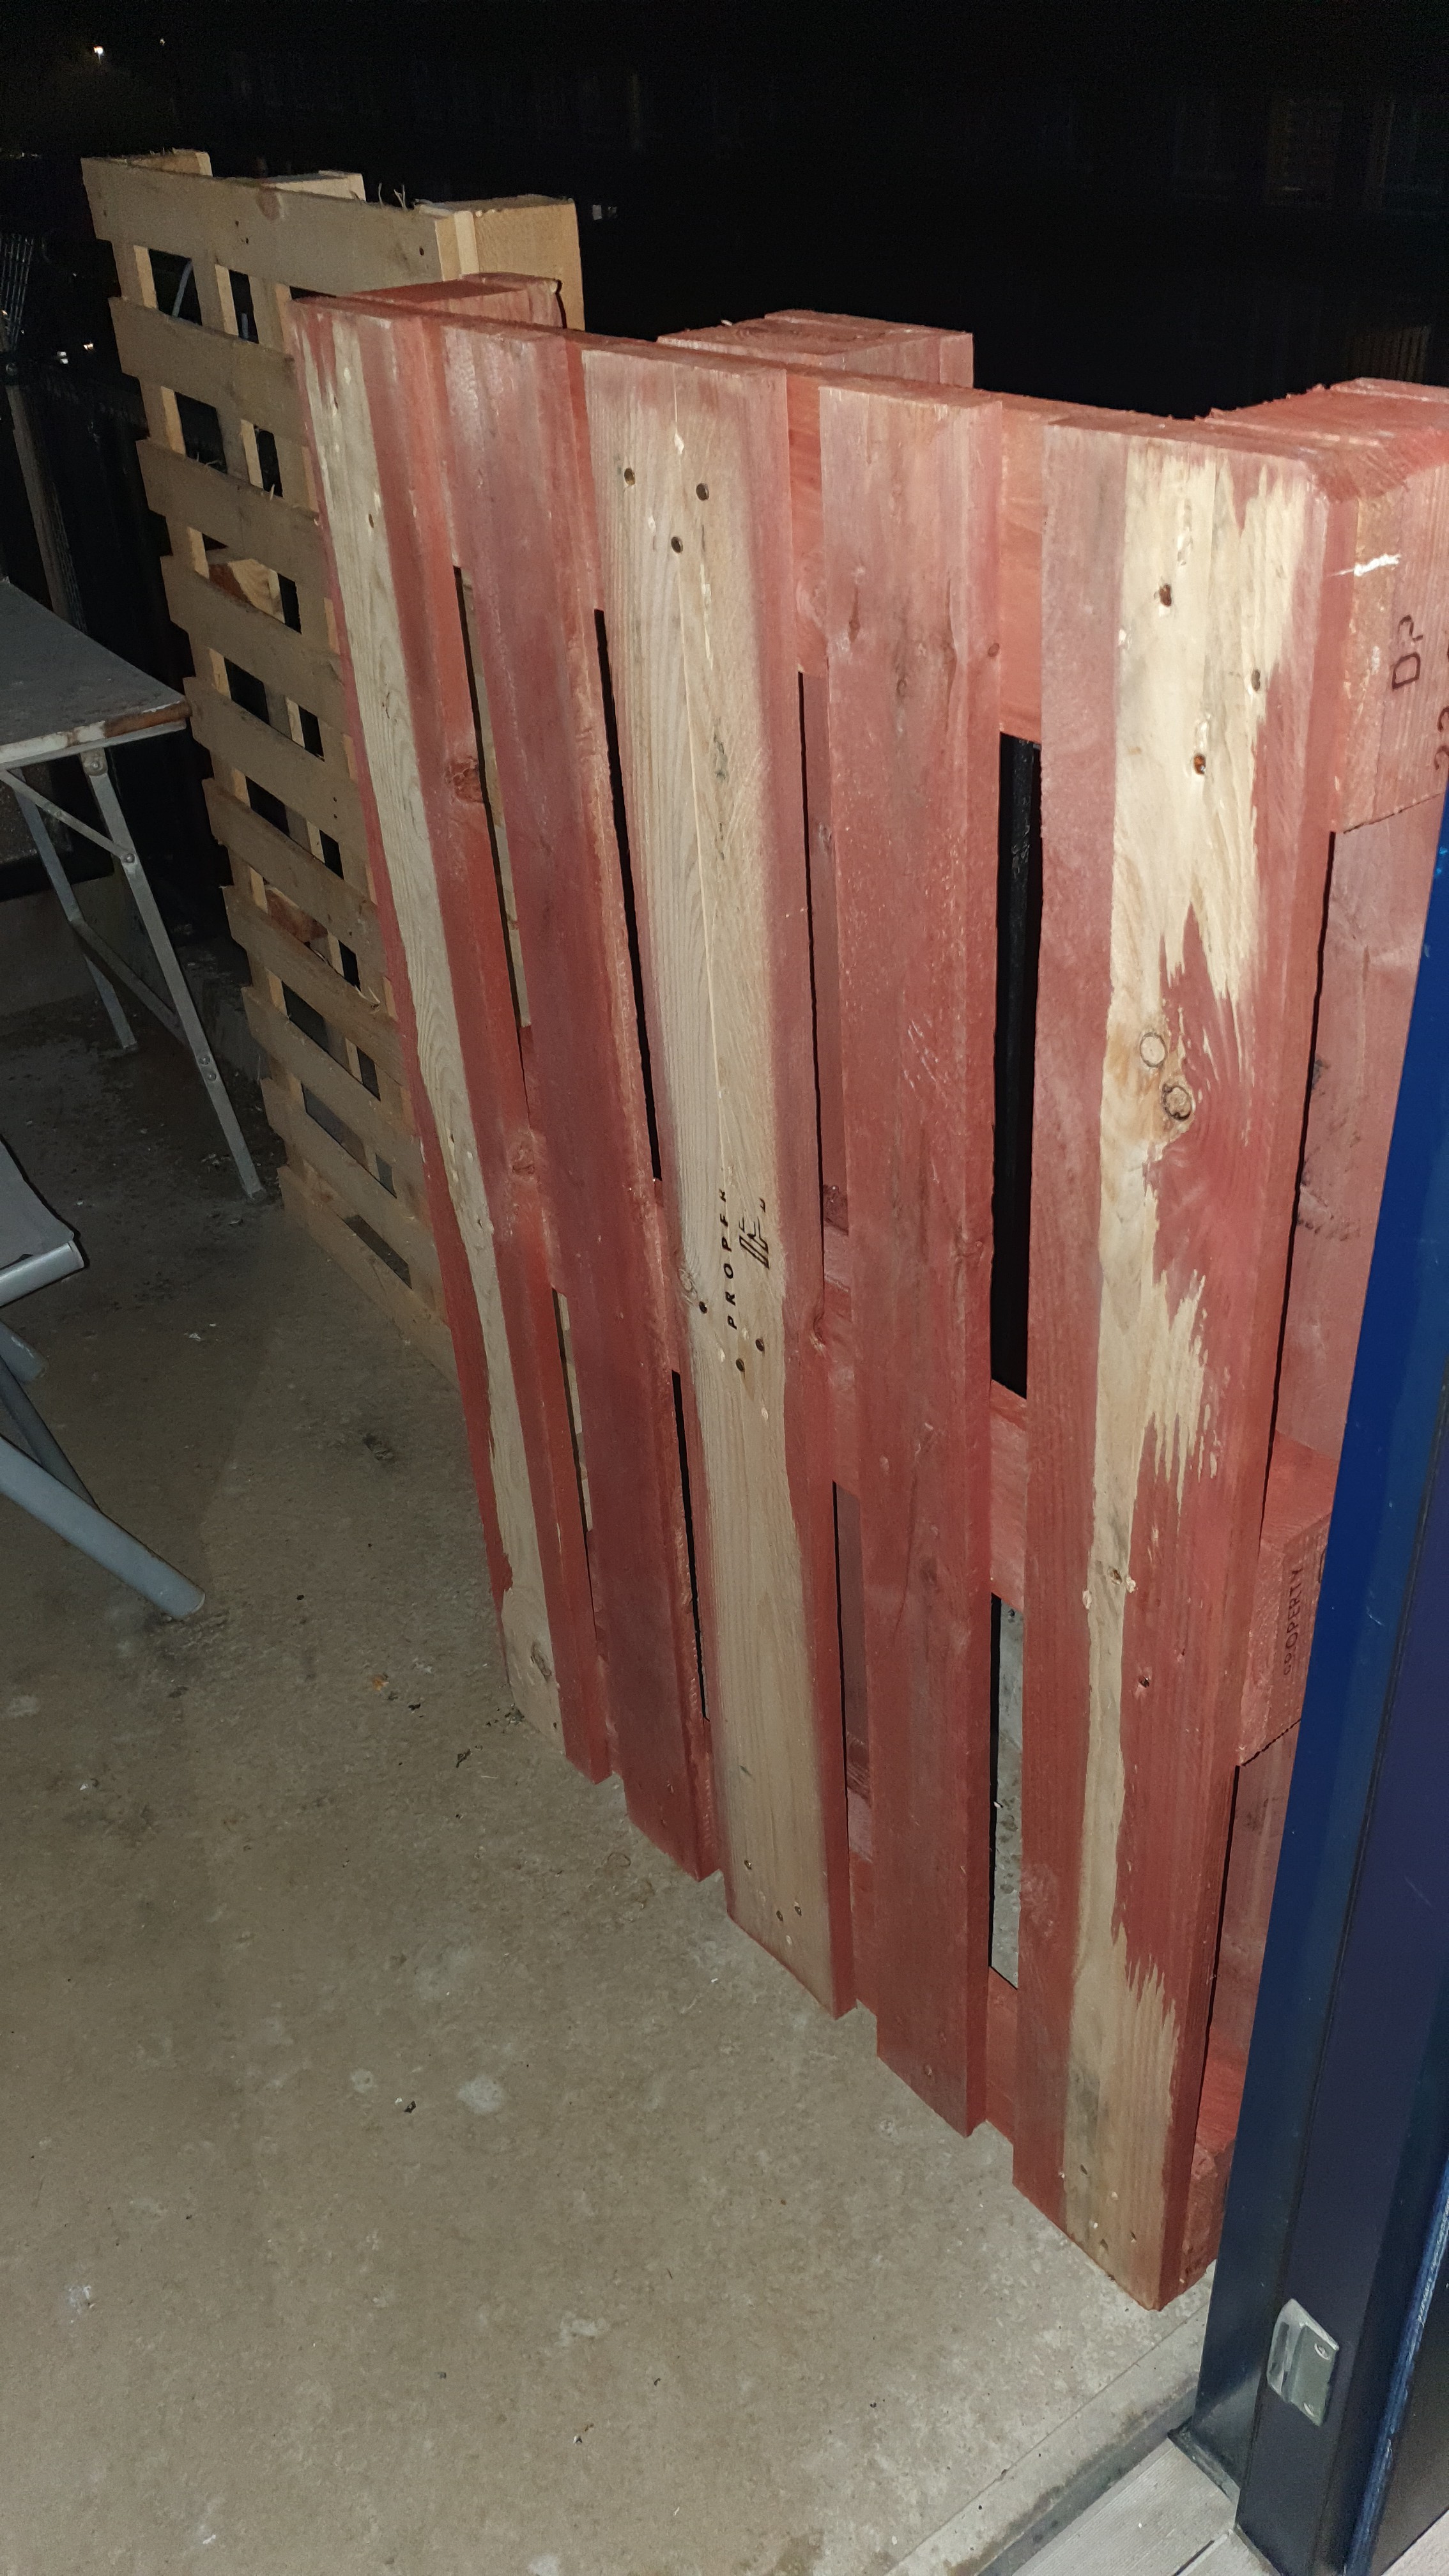
    I found two wooden pallets on the street (tomorrow is bulky trash day). I think I can make a stable-yet-movable mounting stand for the vending machine with these.

    UPDATE

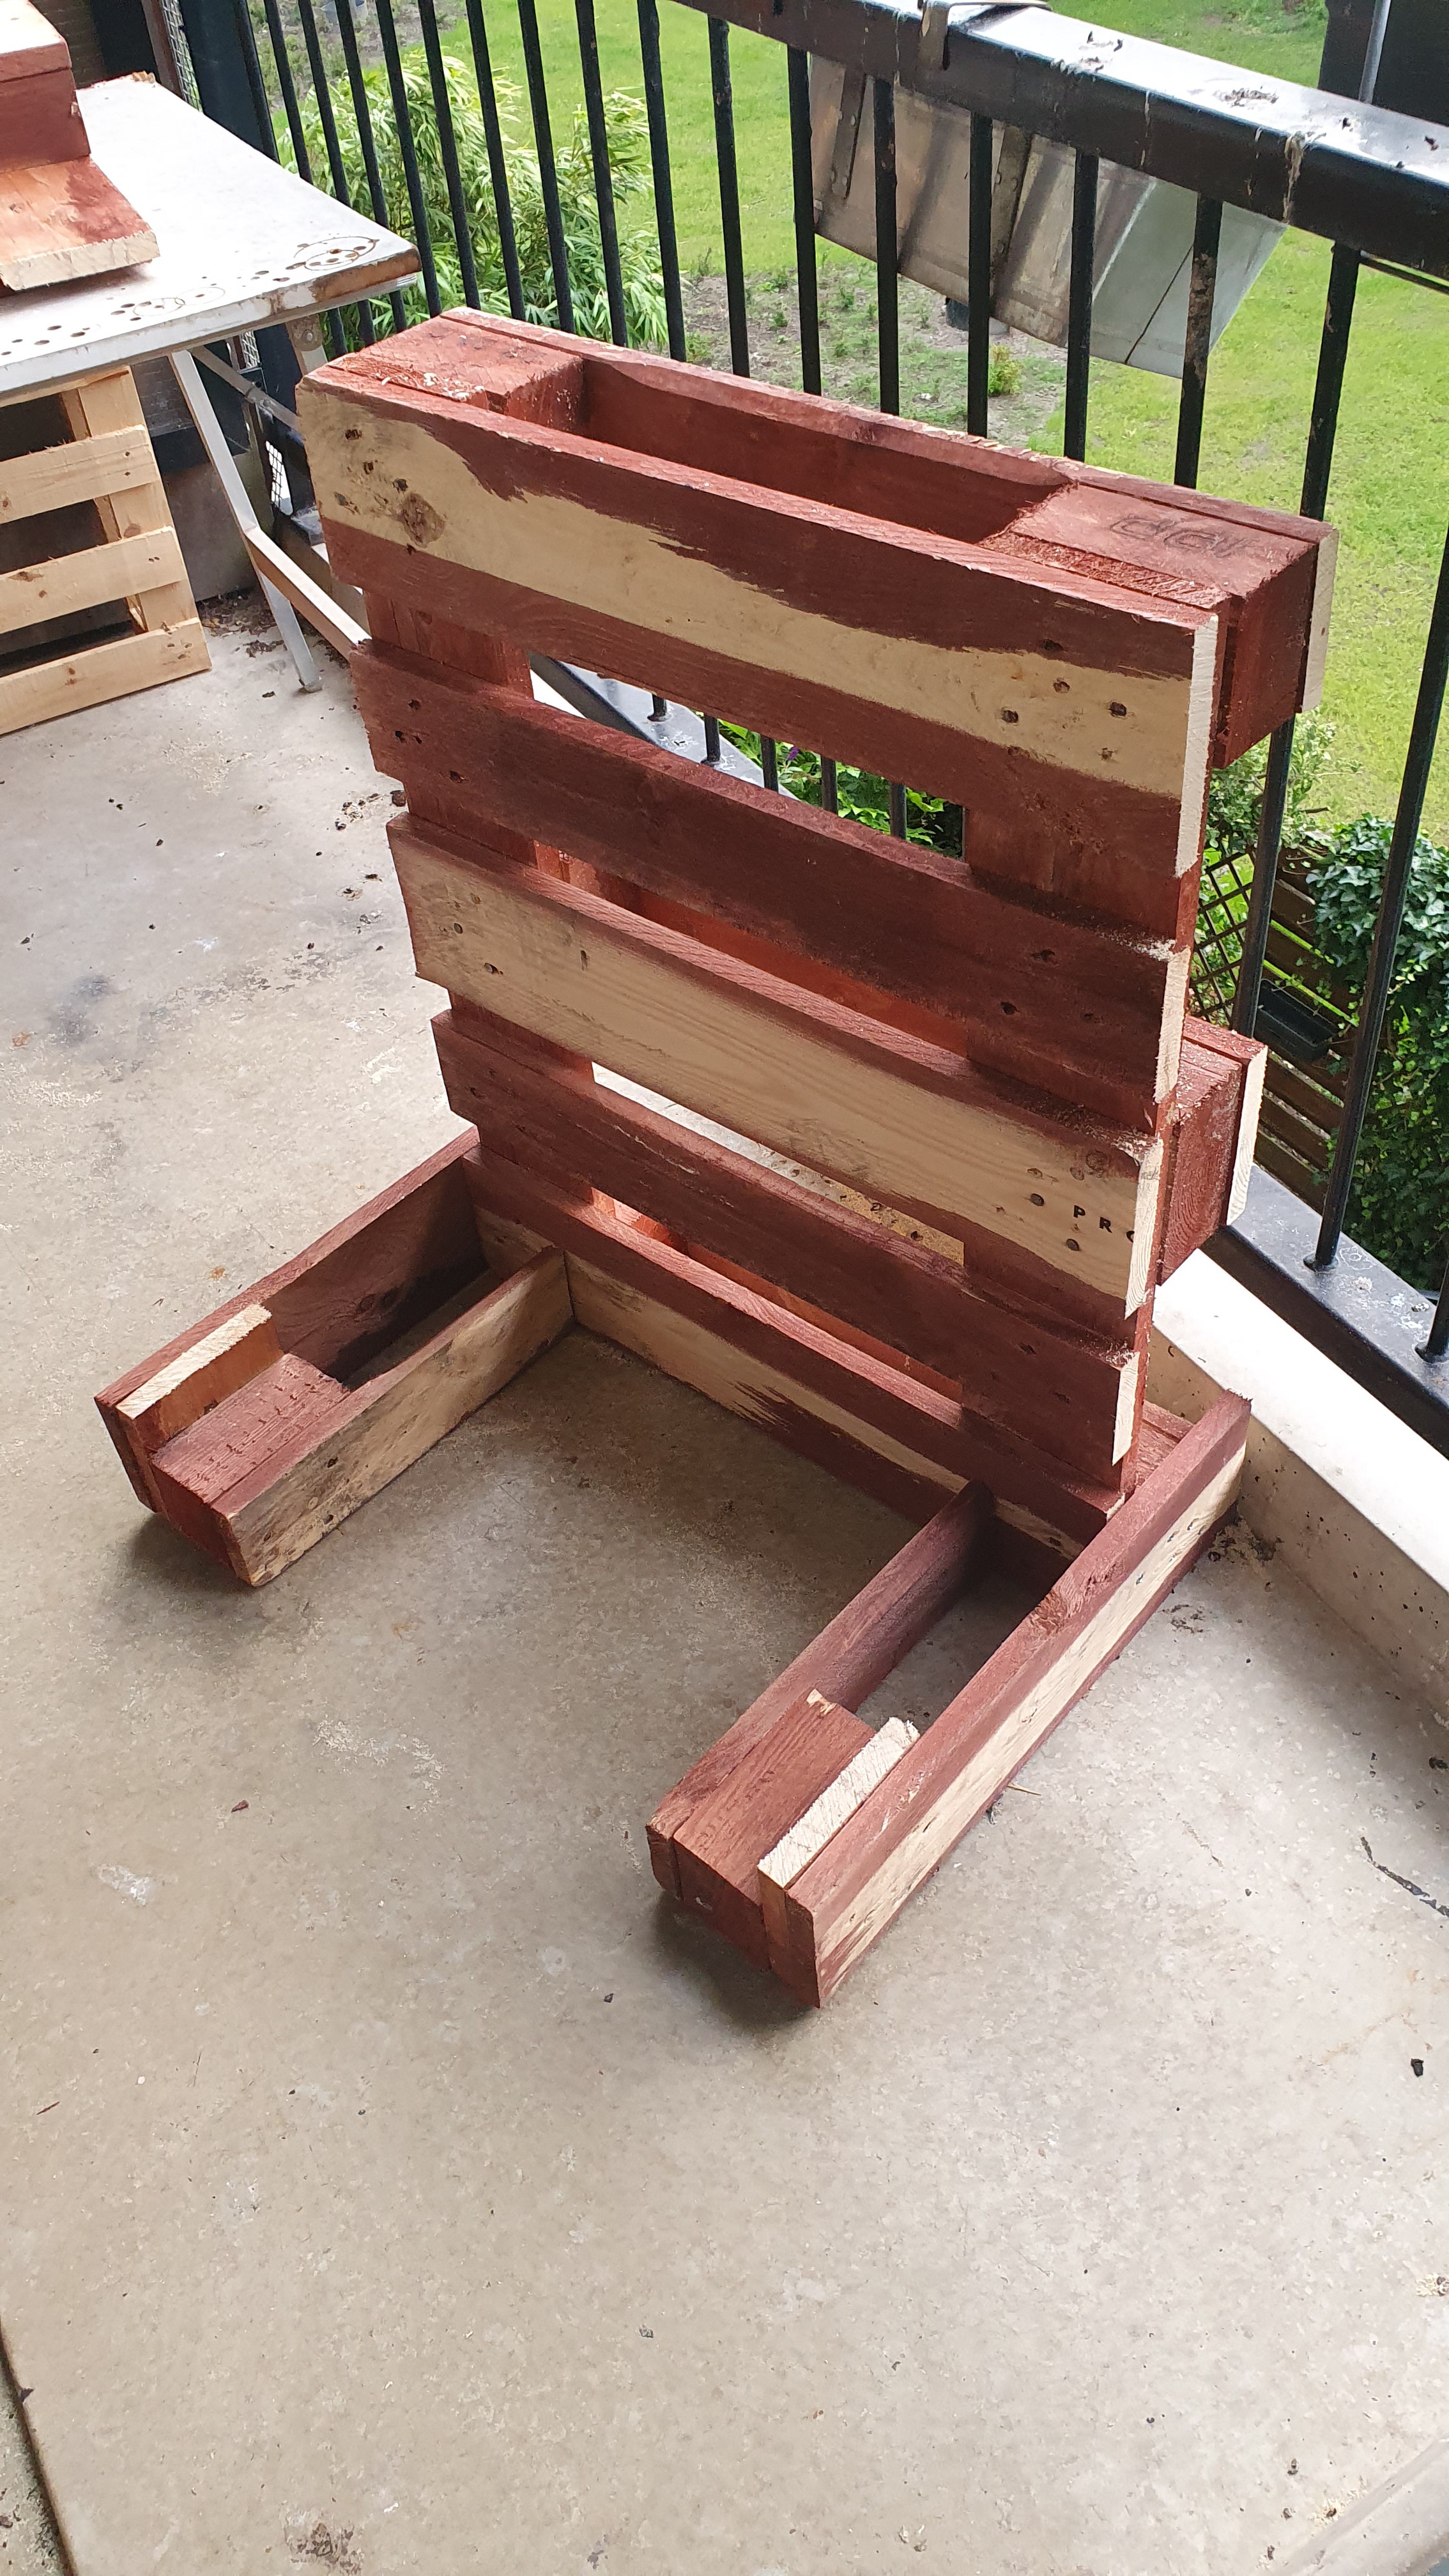
    Pallet mount looks pretty good. Also holds the vending machine off the ground enough that I don't need the lower 45° T-joint.

  • Camera Options

    Stephen Chasey07/18/2023 at 21:01 0 comments

    While waiting for the Rev. B PCB (should be in next week) I've been looking into setting up the ESP32-CAM module to monitor and log system events and record videos when the PIR is triggered. However, I've bumped into some limitations.

    • There are only 2 GPIO available unless I free up a couple more by using slower protocols for the SD-card, making saving video to it less reliable. SPI I/O port expander might work.
    • The module can't readily stream to YouTube as it only supports MJPEG - apparently I need to stream using an mp4 codec for that to work. I don't want it to require you to have an always-on desktop or SBC to receive the video. Ideally it could save and stream at the same time all by itself. 

    I will eventually find solutions to these issues, but for now I will go back to using a Raspberry Pi Zero W. It is significantly less powerful than a Pi Zero 2 W, but can still do the job. Plus they are much easier to find these days and are still somewhat reasonably priced (~17 EUR, wide angle OV5647 is another ~15 EUR). 

    Pi Zeros can't be put to sleep, but there are a few ways to trim power consumption to ~120mA (disabling HDMI and LEDs, relying on the PIR/GPIO instead of motion detection so you don't have to overclock it). This should let it last ~3 days on a 10,000 mAh power bank. Not great, but acceptable for now. 

    I would have plenty of GPIO to monitor and log all vending machine events, though it still needs a 3.3V level shifter (not 5V tolerant). It can also stream directly to YouTube and save video files to a larger SD-card than the ESP32-CAM.

    If I find another solution that is a good combination of affordable/accessible I will give it a try. In the meantime I will try to get the RPi Zero W to work like I want it to.


    Update 19-JUL

    The RPi Zero W uses about 120mA, and the power LED is still lit (another 5mA to be saved there). When the 160° wide-angle camera is in use it uses ~250mA (camera uses more current than the RPi!). I'll probably have to keep the camera off when it's not recording. You would still be able  to enable it manually to stream when not recording.

    Update 24-JUL

    Motioneyeos has some limitations as well - I don't have a way to disable the camera programatically, so it looks like I need to budget for ~250mA being used by the camera at all times. This brings run time for 10,000 mAh to about a day-and-a-half. 

    The good is that I can start and stop recording with GPIO. Also can add GPIO monitoring and even trigger events right from the Motioneyeos UI.

    I might try out the standard camera module to see how it looks since I think it uses a bit less current than the 160° wide-angle.

    Update 27-JUL

    Motioneyeos also has some limitations for this project, you can't disable the camera via api and the only way to start and stop recording requires motion detection to be on. Again, these are things that can be done with some work, but after looking into it I think implementing the changes in the ESP32-CAM or Motioneye software would qualify as a separate project. For now I will continue with using the RPi Zweo W and Motioneyeos as I was before. I still want to monitor activity, but will likely just use a 14-pin PIC16 for this and send to the RPi via I2C or something for logging and remote access to the log.

  • RevB V1.0 PCB

    Stephen Chasey06/25/2023 at 23:30 0 comments

    I'm almost ready with Rev B - I've changed enough things now that I consider it another revision of the PCB. There have been some component value tweaks as well, but below are the additional functionalities I've added.

    New Stuff

    • Separate monitoring and control headers
      • Monitor pins are normally high and go low when the related item is triggered
      • Control pins can supply current to relevant transistors to trigger related items
    • Daytimer 
      • Adjustable phototransistor-based sensor that disables timed dispense when it gets dark
      • Reduces chance of attracting vermin at night
    • Empty Hopper Sensor
      • IR LED and phototransistor detects when the peanut level gets low
      • only operates when the PIR is triggered to save power
    • Removed DPDT switch screw header, replaced with a pin header/jumper combination for an optional power switch
      • Moved timer power to a separate jumper closer to the timer block 
    • Added a standard type A USB for power, and the footprint also accomodates a stacked jack so you could power another USB device (SBC, uC, etc.) even if your battery only has one power output.
      • You only need to add the power jack(s) that you will use - no need to populate all of them

    I also cleaned up the schematic:

    And drew lines around the modules on the main PCB.

    I am still doing a little tweaking and determining the best way to mount everything in the new enclosure, but I hope place an order for this in a week or so.

    The latest changes are on Github - link on the main project page.

View all 92 project logs

Enjoy this project?

Share

Discussions

l.ennyburkdoll wrote 05/15/2023 at 06:11 point

That project is best for birds.

https://www.pfmlogin.org/

  Are you sure? yes | no

Stephen Chasey wrote 04/22/2023 at 10:24 point

A shortcut to useful logs:

Dispenser Detail: https://hackaday.io/project/184754-vending-machine-for-birds/log/216908-dispenser-new-vs-old

Some things I learned during this project so far: https://hackaday.io/project/184754-vending-machine-for-birds/log/213051-some-things-ive-learned-so-far

PVC Enclosure Detail: https://hackaday.io/project/184754-vending-machine-for-birds/log/210037-pvc-enclosure-complete-and-mounted

Pics of my first two enclosures: https://hackaday.io/project/184754-vending-machine-for-birds/log/209466-new-enclosure-all-pvc

Similar projects: https://hackaday.io/project/184754-vending-machine-for-birds/log/207933-other-bird-litter-for-food-projects

  Are you sure? yes | no

John Opsahl wrote 09/23/2022 at 04:35 point

This project is way cool. Do you have a video of a bird dispensing an item and receiving a peanut? 

  Are you sure? yes | no

Stephen Chasey wrote 10/19/2022 at 14:52 point

Yes, there are a couple of videos in the files section.

  Are you sure? yes | no

Stephen Chasey wrote 08/07/2022 at 06:58 point

It could be adapted to dispense a peanut for each commit :)

  Are you sure? yes | no

fdufnews wrote 08/05/2022 at 14:22 point

Nerdfeeder

When I read the title, I first thought of a system to feed a pool of programmers

  Are you sure? yes | no

Similar Projects

Does this project spark your interest?

Become a member to follow this project and never miss any updates