Module Kit
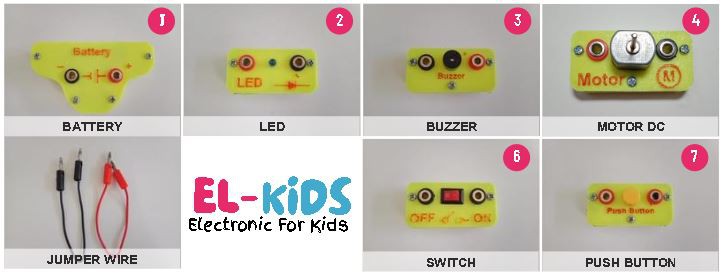
EL-KiDS have 10 main module and jumper wire
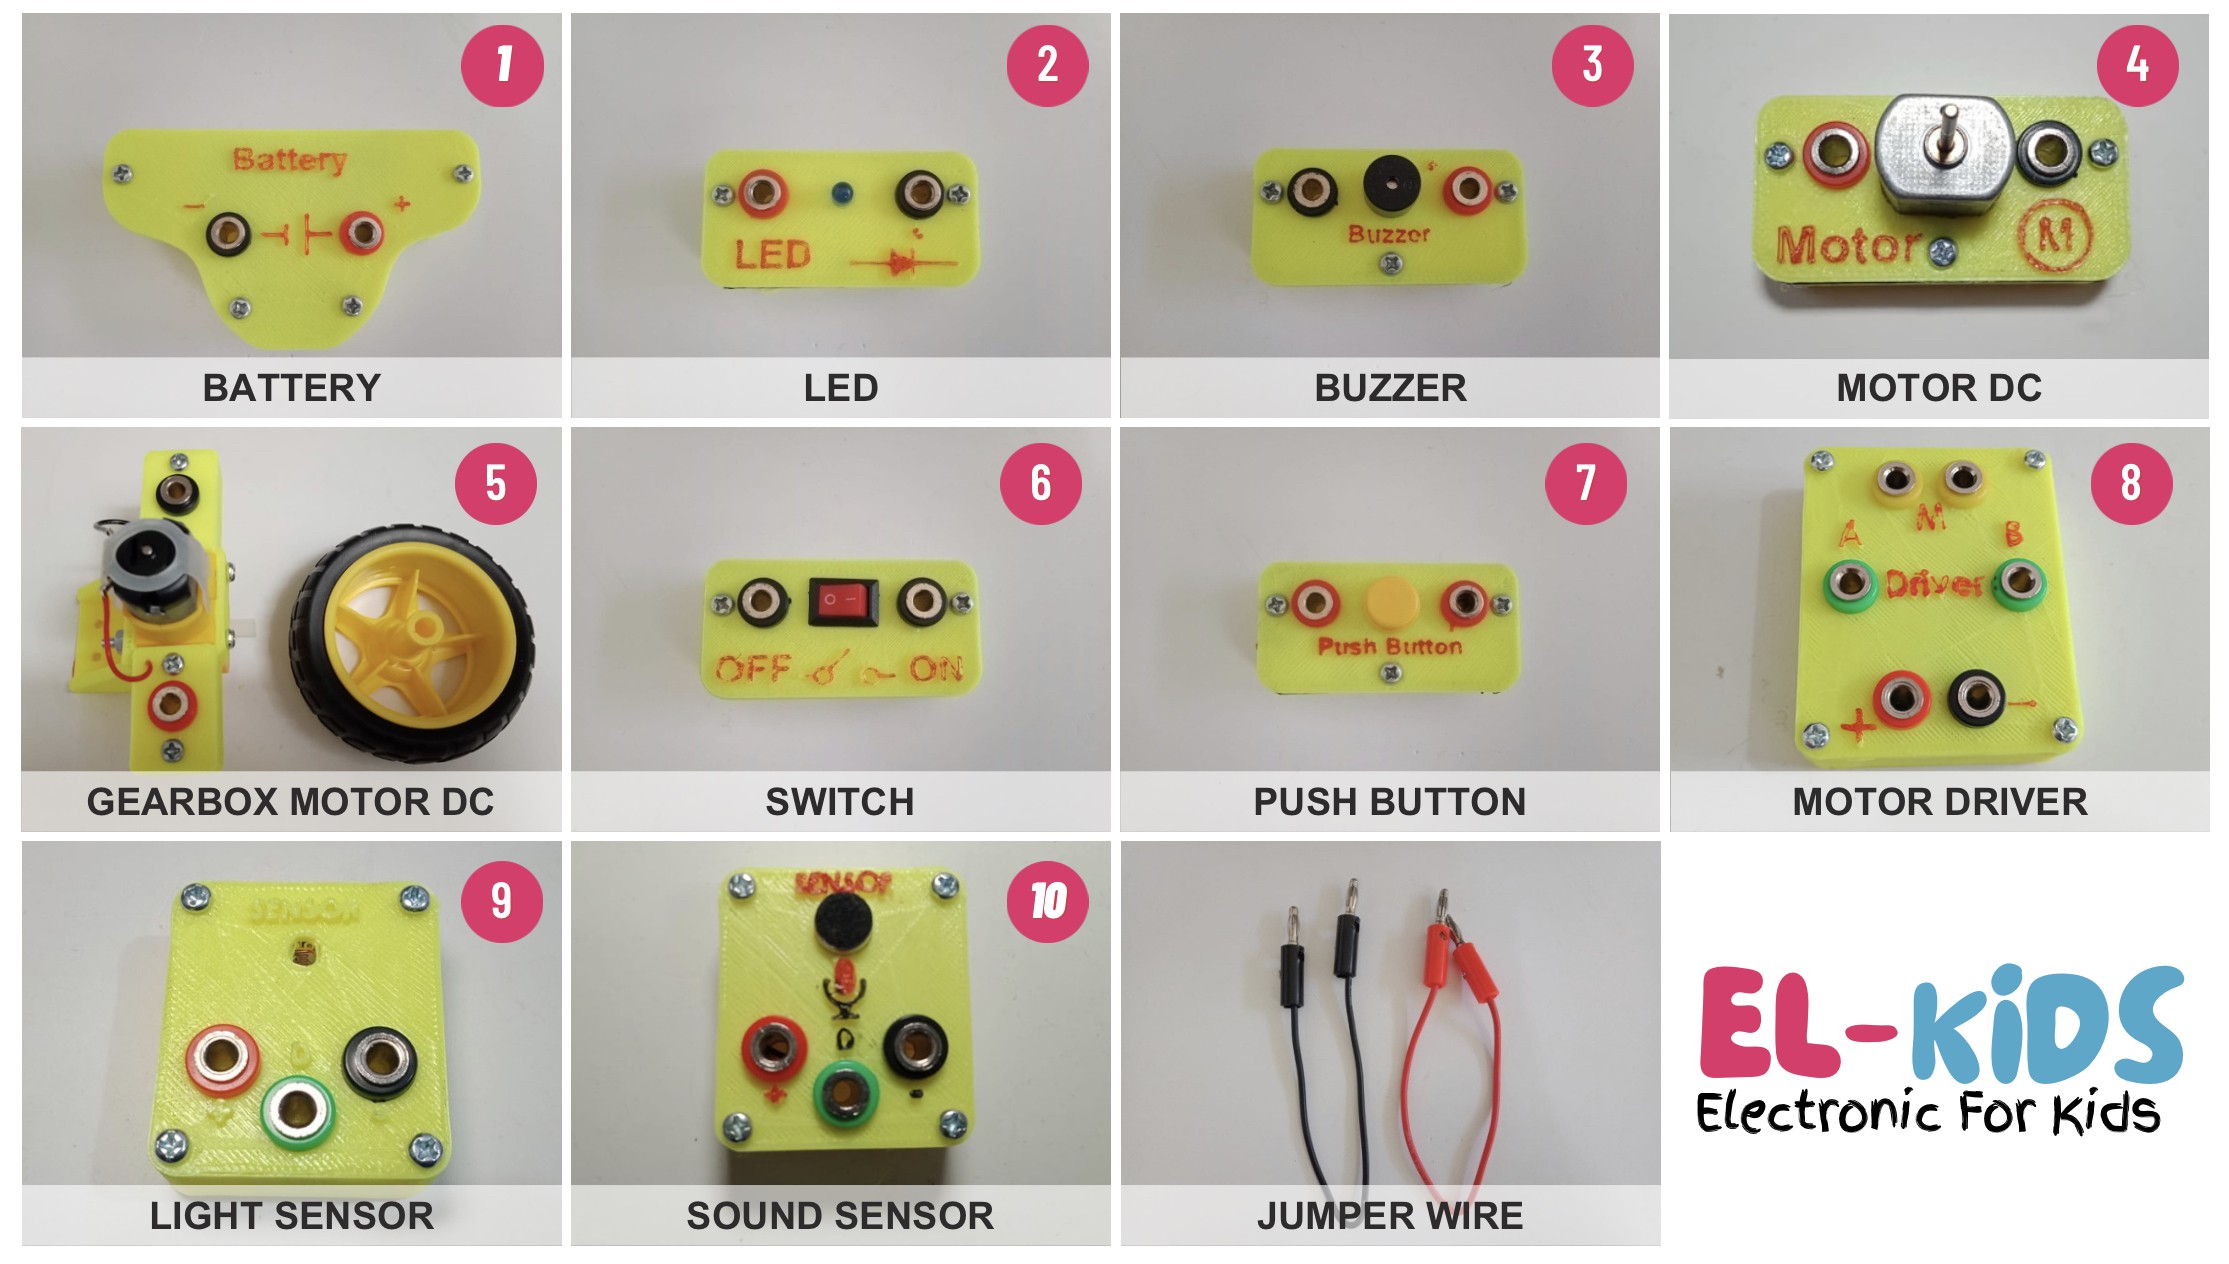
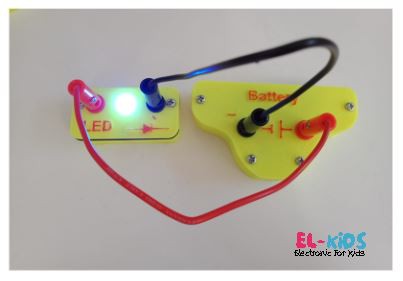
1. Battery
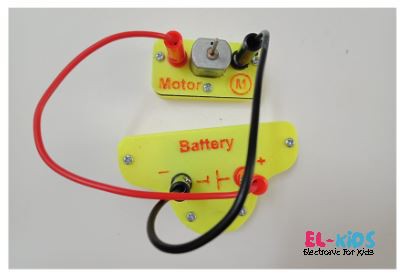
EL-KiDS use rechargable battery 3,7V (1 cell), easy output with sign colour banana connector. Red connector is mean positive (+) and black connector is mean negative (-).
2. Led
LED is a light emitting diode. It only allows 1 direction of current, and it lights in that direction. For safety EL-KiDS led have internal resistor, so it can direct from battery.
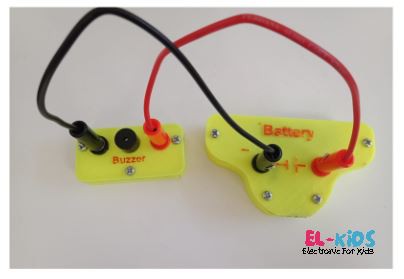
3. Buzzer
Buzzer have a high-pitch beep that is sure to capture everyone’s attention!. Buzzer same with Led its only allow 1 direction of current, match the wire colors to the wires from the battery.
4. Motor DC
Motor DC is any of a class of rotary electrical motor that converts direct current (DC) electrical energy into kinetic energy (motion).
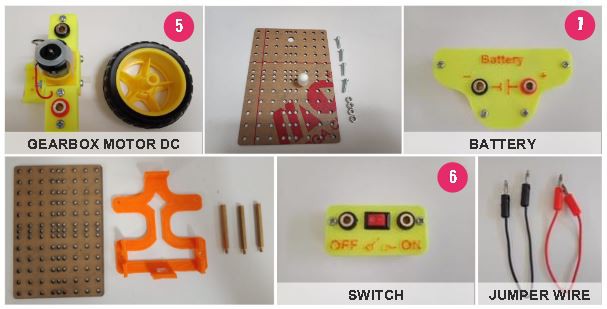
5. Motor DC Gearbox
Gearbox is useful for changing the torque or speed of the motor through the addition of mechanical gears. In general, these additions are to increase torque and reduce speed.
6. Switch on/off
The switch is basically a connecting or disconnecting device. In simple terms, a switch is a mechanical device consisting of two or more terminals connected internally to metal blades or contacts that can be opened and closed by the user. A mechanical switch that allows current to flow only when it is in the closed (on).
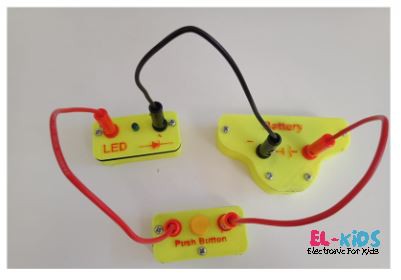
7. Push Button
Push Button like a switch on/off but allows current to flow only when the button is pressed.
8. Motor Driver
Motor drivers acts as an interface between the motors and the control circuits. Motor require high amount of current whereas the controller circuit works on low current signals. So the function of motor drivers is to take a low-current control signal and then turn it into a higher-current signal that can drive a motor.
9. Light Sensor
The light sensor is a component that functions to convert light energy into electrical energy. This sensor can detect the presence of light and will later be processed into an electrical signal to be used in circuits that are driven using light.
10. Sound Sensor
Sound sensor is a componrnt that function to convert sound into electrical energy. This sensor can detect loud sound like a clap or other high sound.
Jumper Wire
A jumper wire is an electric wire that connects electric circuits used for EL-KiDS module. By attaching a jumper wire on the circuit, it can be short-circuited and short-cut (jump) to the electric circuit.
Projects with EL-KiDS
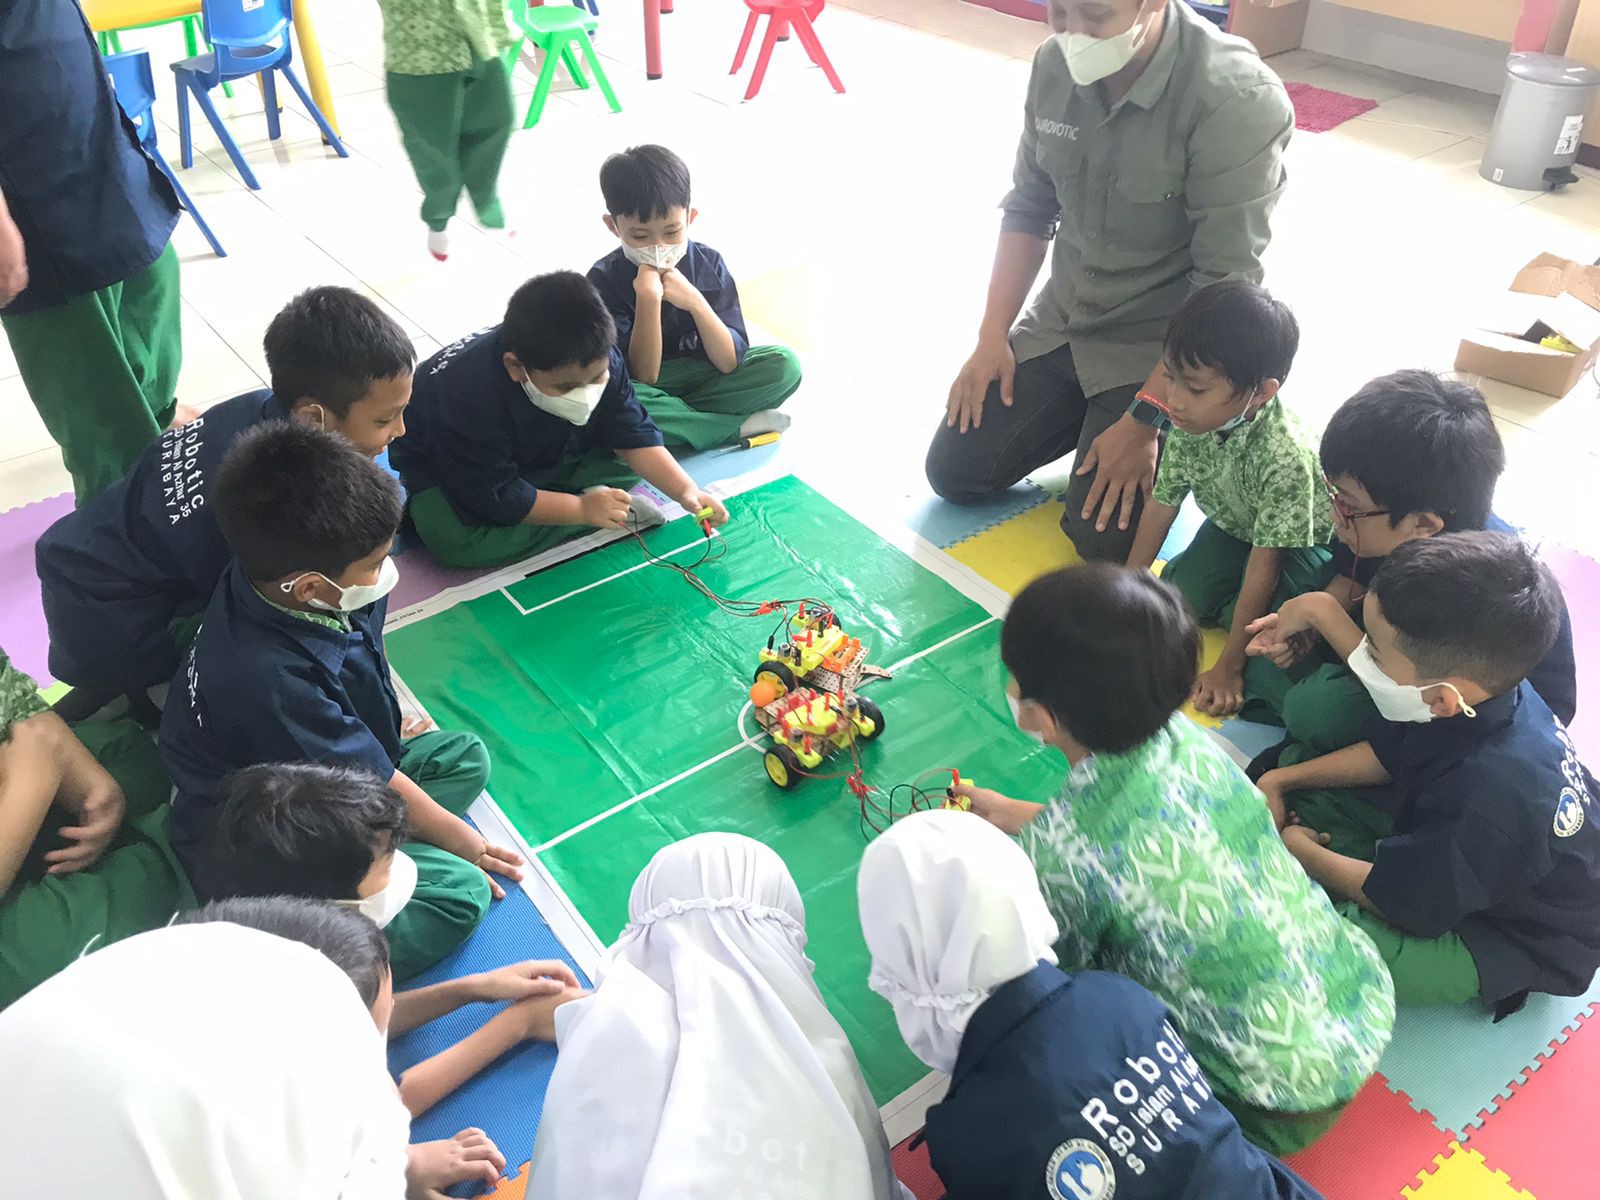
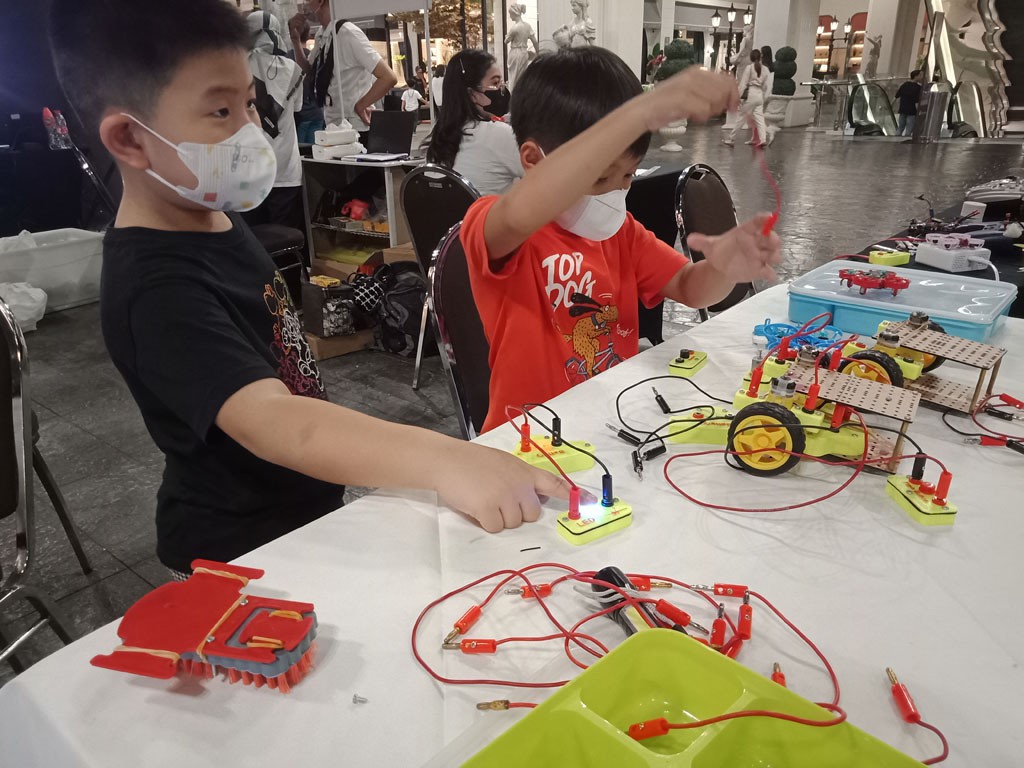
- Basic projects input output
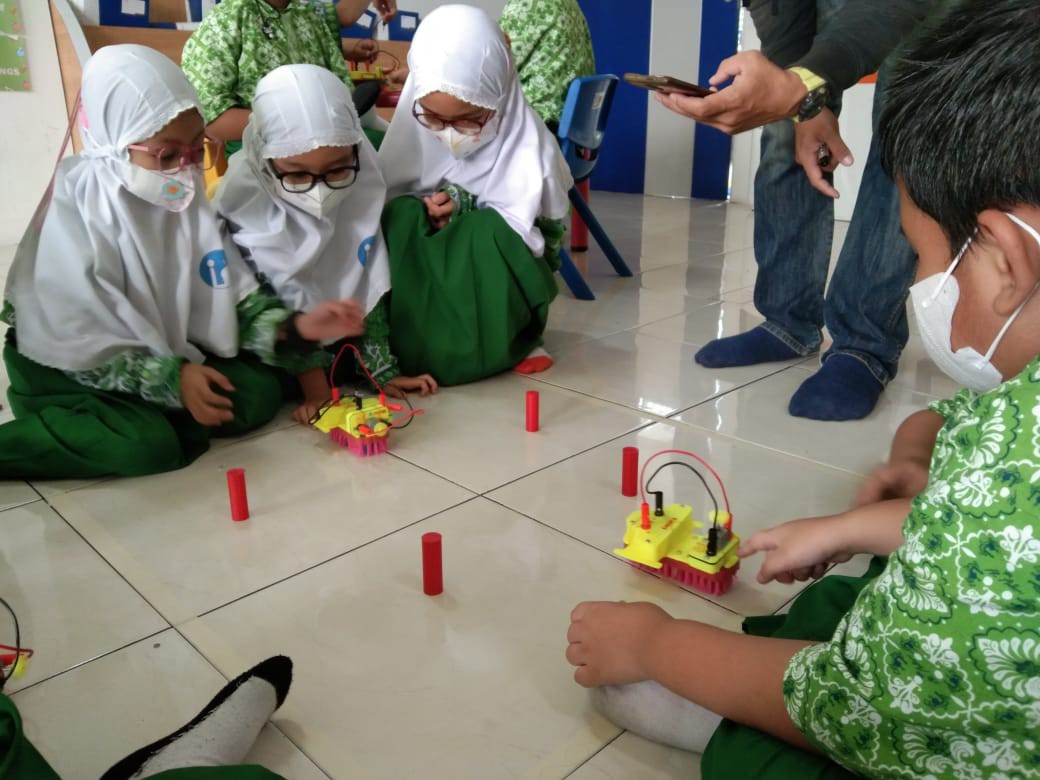
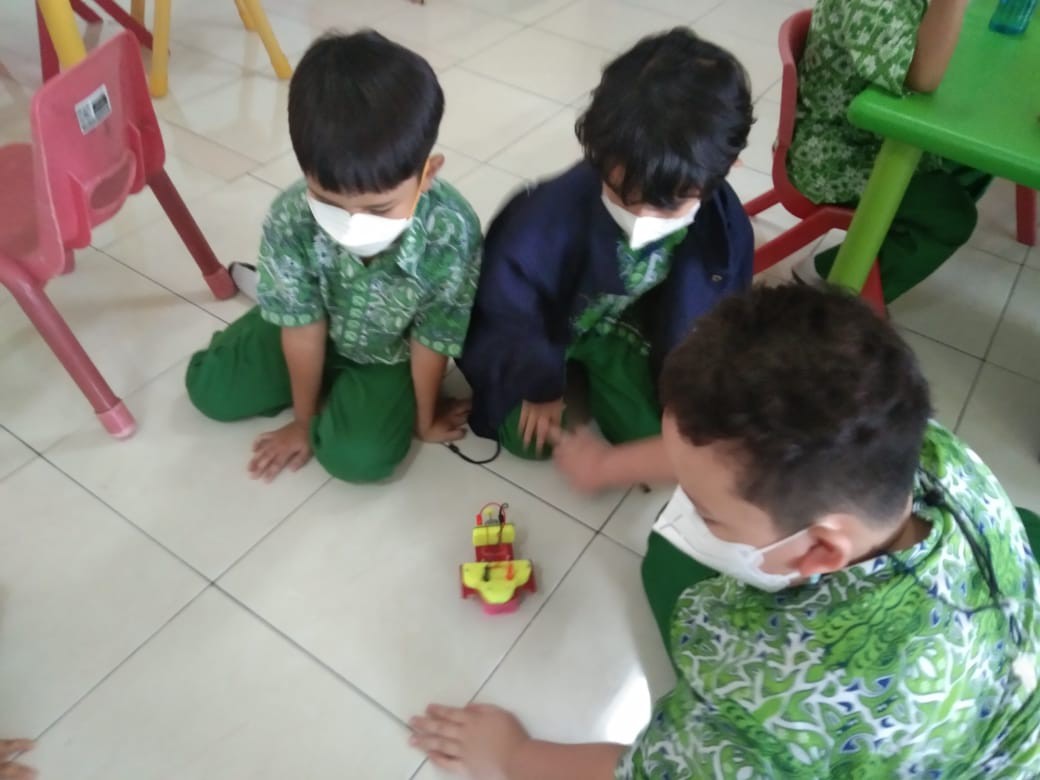
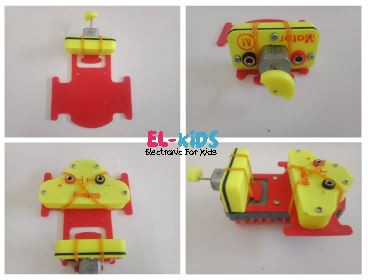
- Simple Brushed Robot
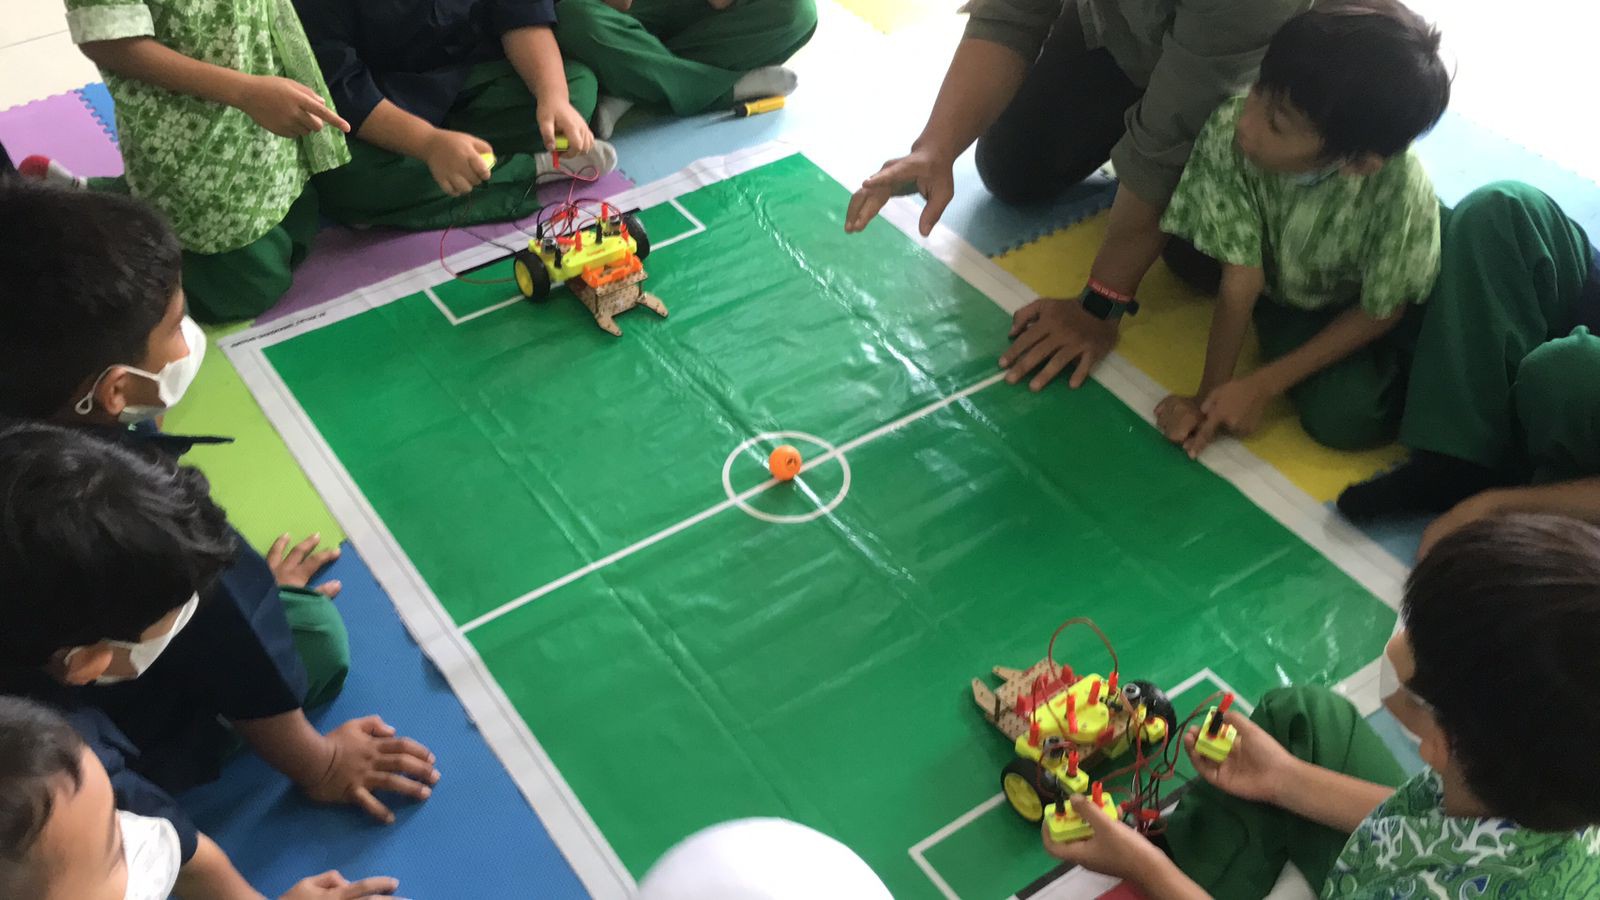
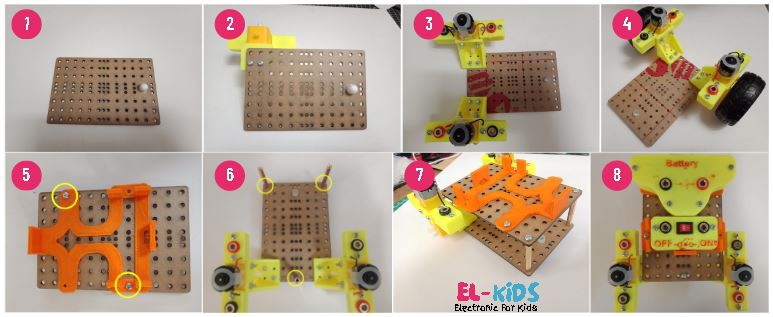
- Simple Mobile Robot
- Light Follower Brushed Robot
- Clap mobile Robot
 Sekolah Robot Indonesia



 Lucy Fauth
 GreenPAK™
 Peter Walsh
 ridonkulus