Close
0%
0%

Handheld Linux Terminal [HaLiTerm]

A compact serial terminal with a built-in NanoPi Neo Air running DietPi.

Similar projects worth following
This is a serial terminal with a built-in single board computer running a Linux distribution. A NanoPi Neo Air running DietPi is connected via UART to a Raspberry Pi Pico. The Pico is connected via SPI to an Adafruit RA8875 board driving an 800x480 TFT display. The remaining pins of the Pico are used to scan a 71 key matrix keyboard. A DS3231 RTC module is connected via i2c with the NanoPi. The device is powered by a 10000mAh LiPo battery providing up to 15 hours of up-time. It can be charged through a micro-USB connector. The terminal supports ASCII, Latin-1 supplement, box-drawing, block, braille and some geometric-shape characters, as well as 256 colors.

// Introduction

I wanted to build a compact handheld computer to play around with the Linux command line. It should be small enough to be held comfortably. While it doesn't need to be rugged, it shouldn't fall apart. It should require minimal configuration to work, so I don't have to be afraid of bricking the Linux setup and having to start from scratch.
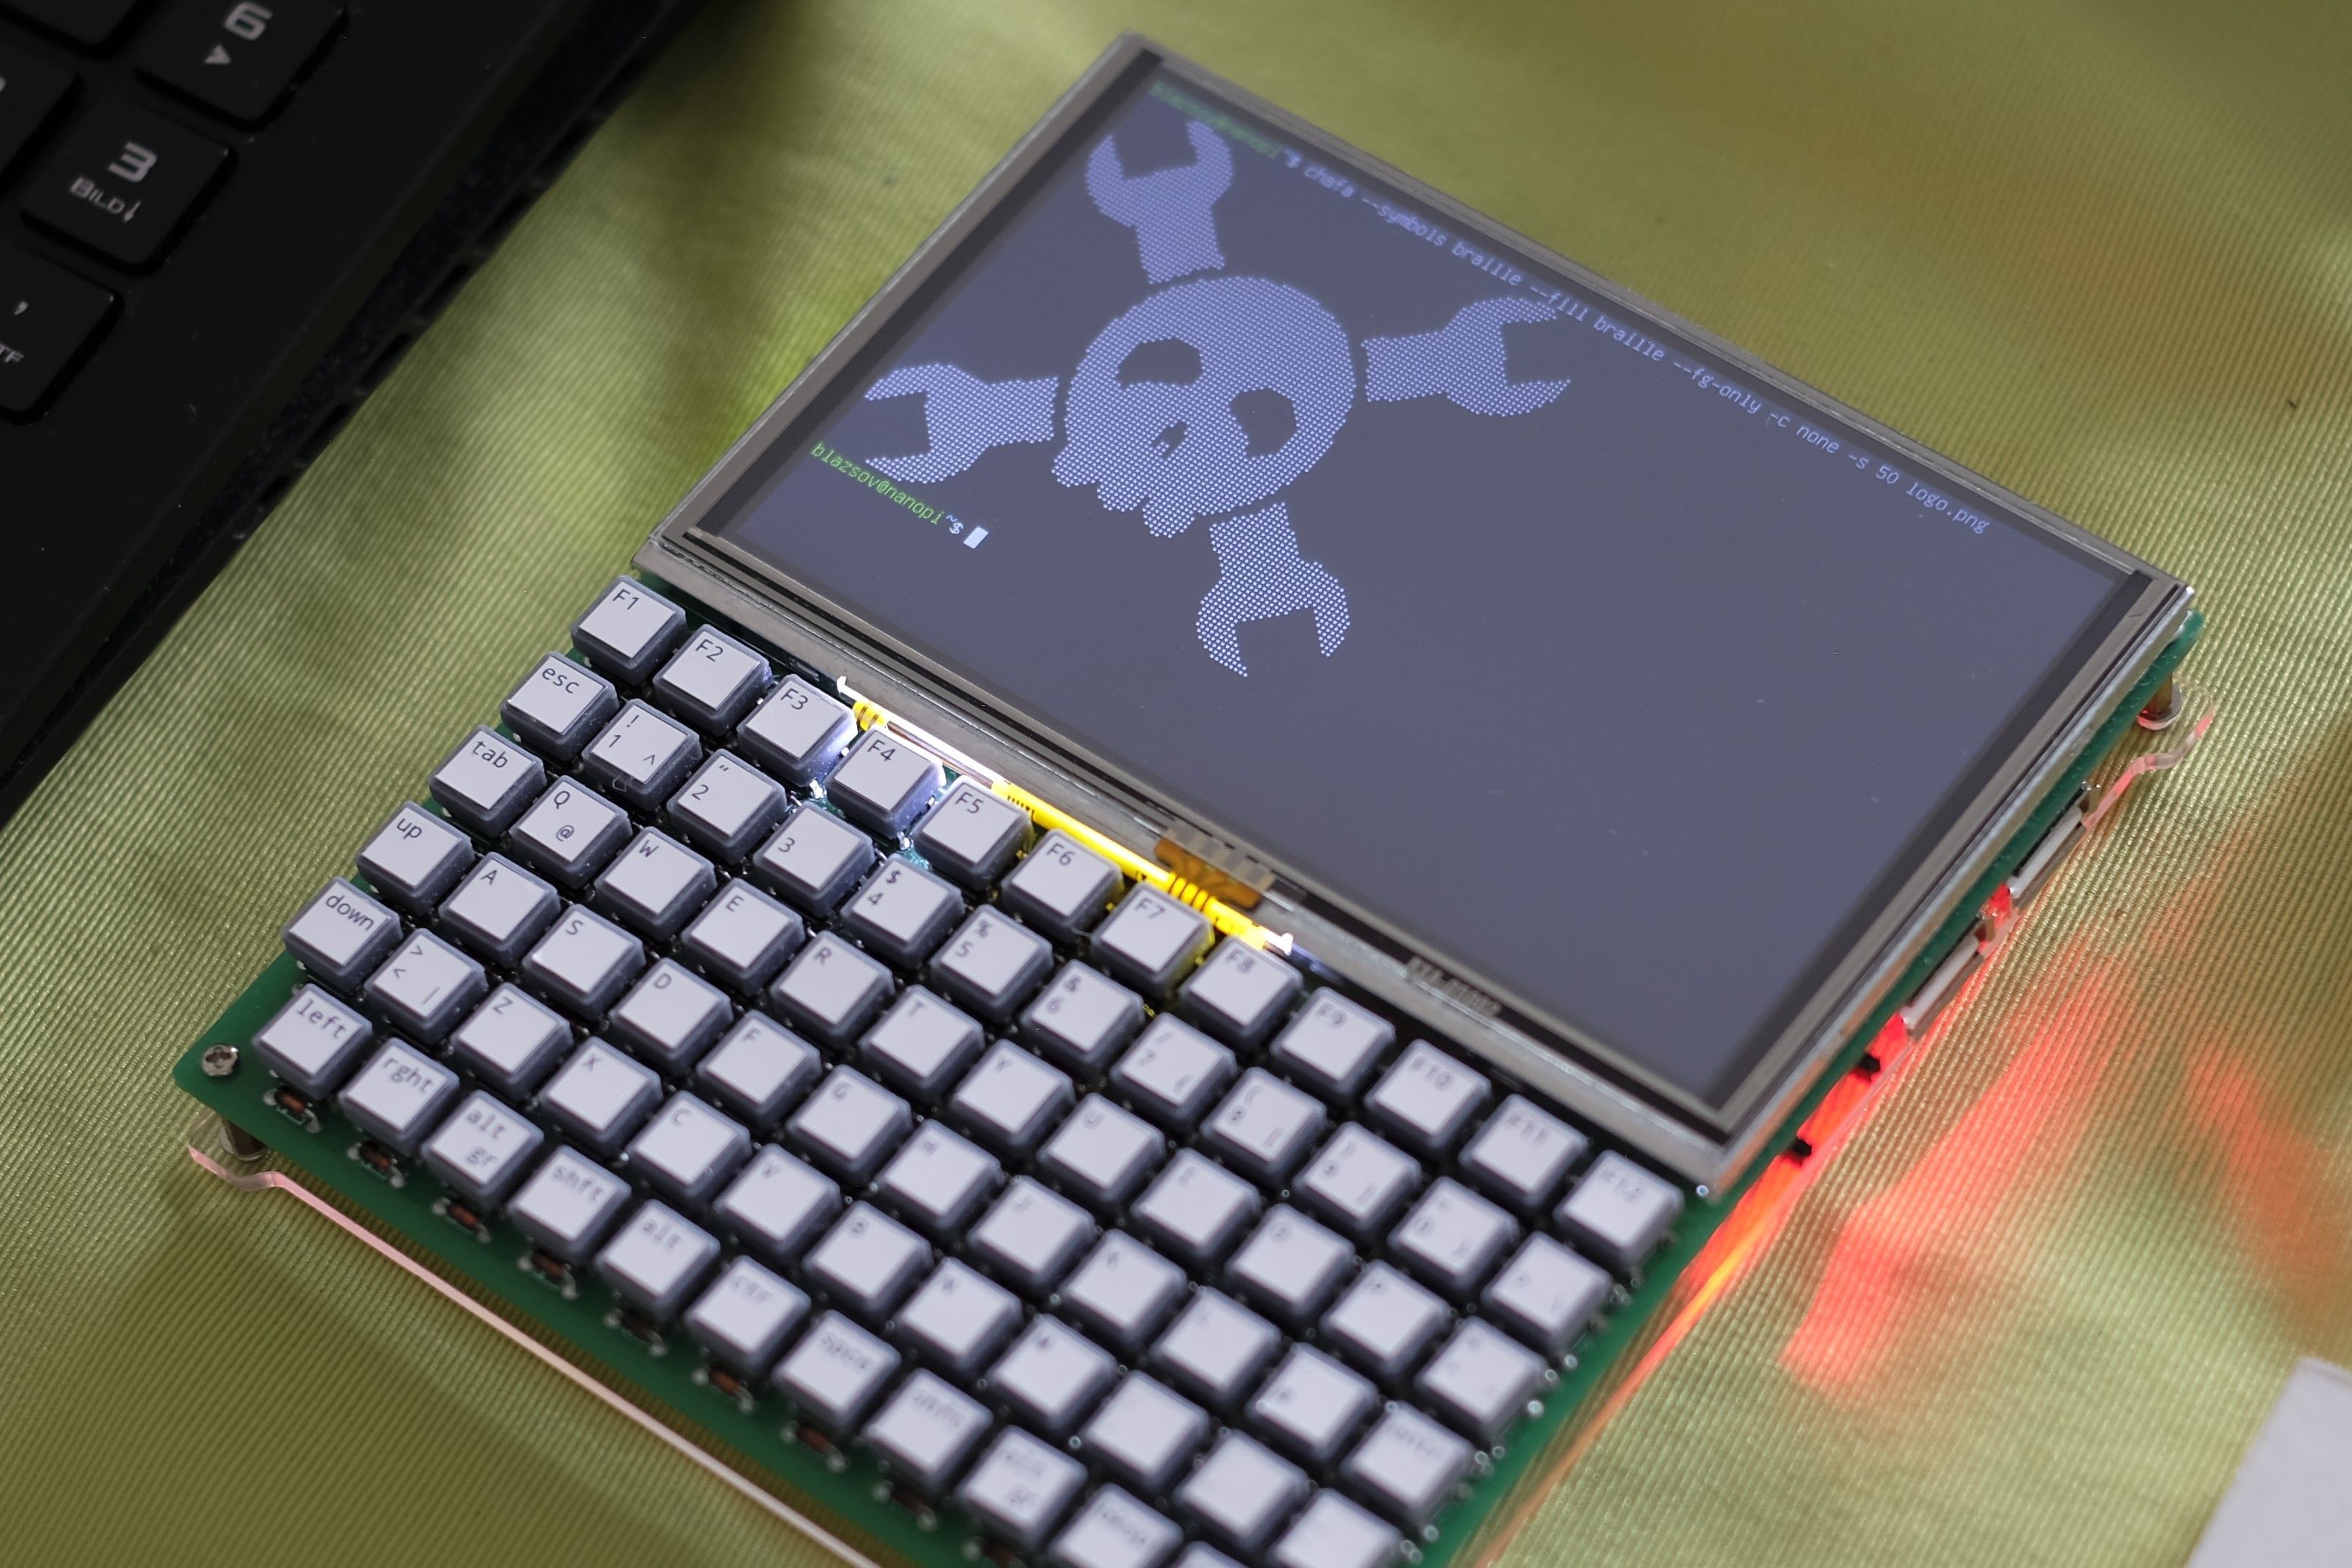
// Features

  • Works as a handheld Linux computer or as a UART terminal
  • The NanoPi Neo Air and the terminal can be switched on and off independently
  • The NanoPi Neo Air is removable
  • 800x480 TFT display, 100 columns and 30 rows
  • WiFi connectivity
  • 71 key keyboard (caps lock is toggled by pressing the two shift keys simultaneously)
  • Usable without any configuration
  • 10000mAh LiPo Battery, 15 hours of battery life
  • Charging over Micro-USB
  • Built-in RTC
  • ASCII and limited Unicode support, 256 colors
  • 2 USB 2.0 ports
  • 16 GPIO of the NanoPi Neo Air as well as SWD and UART of the Pi Pico are accessible
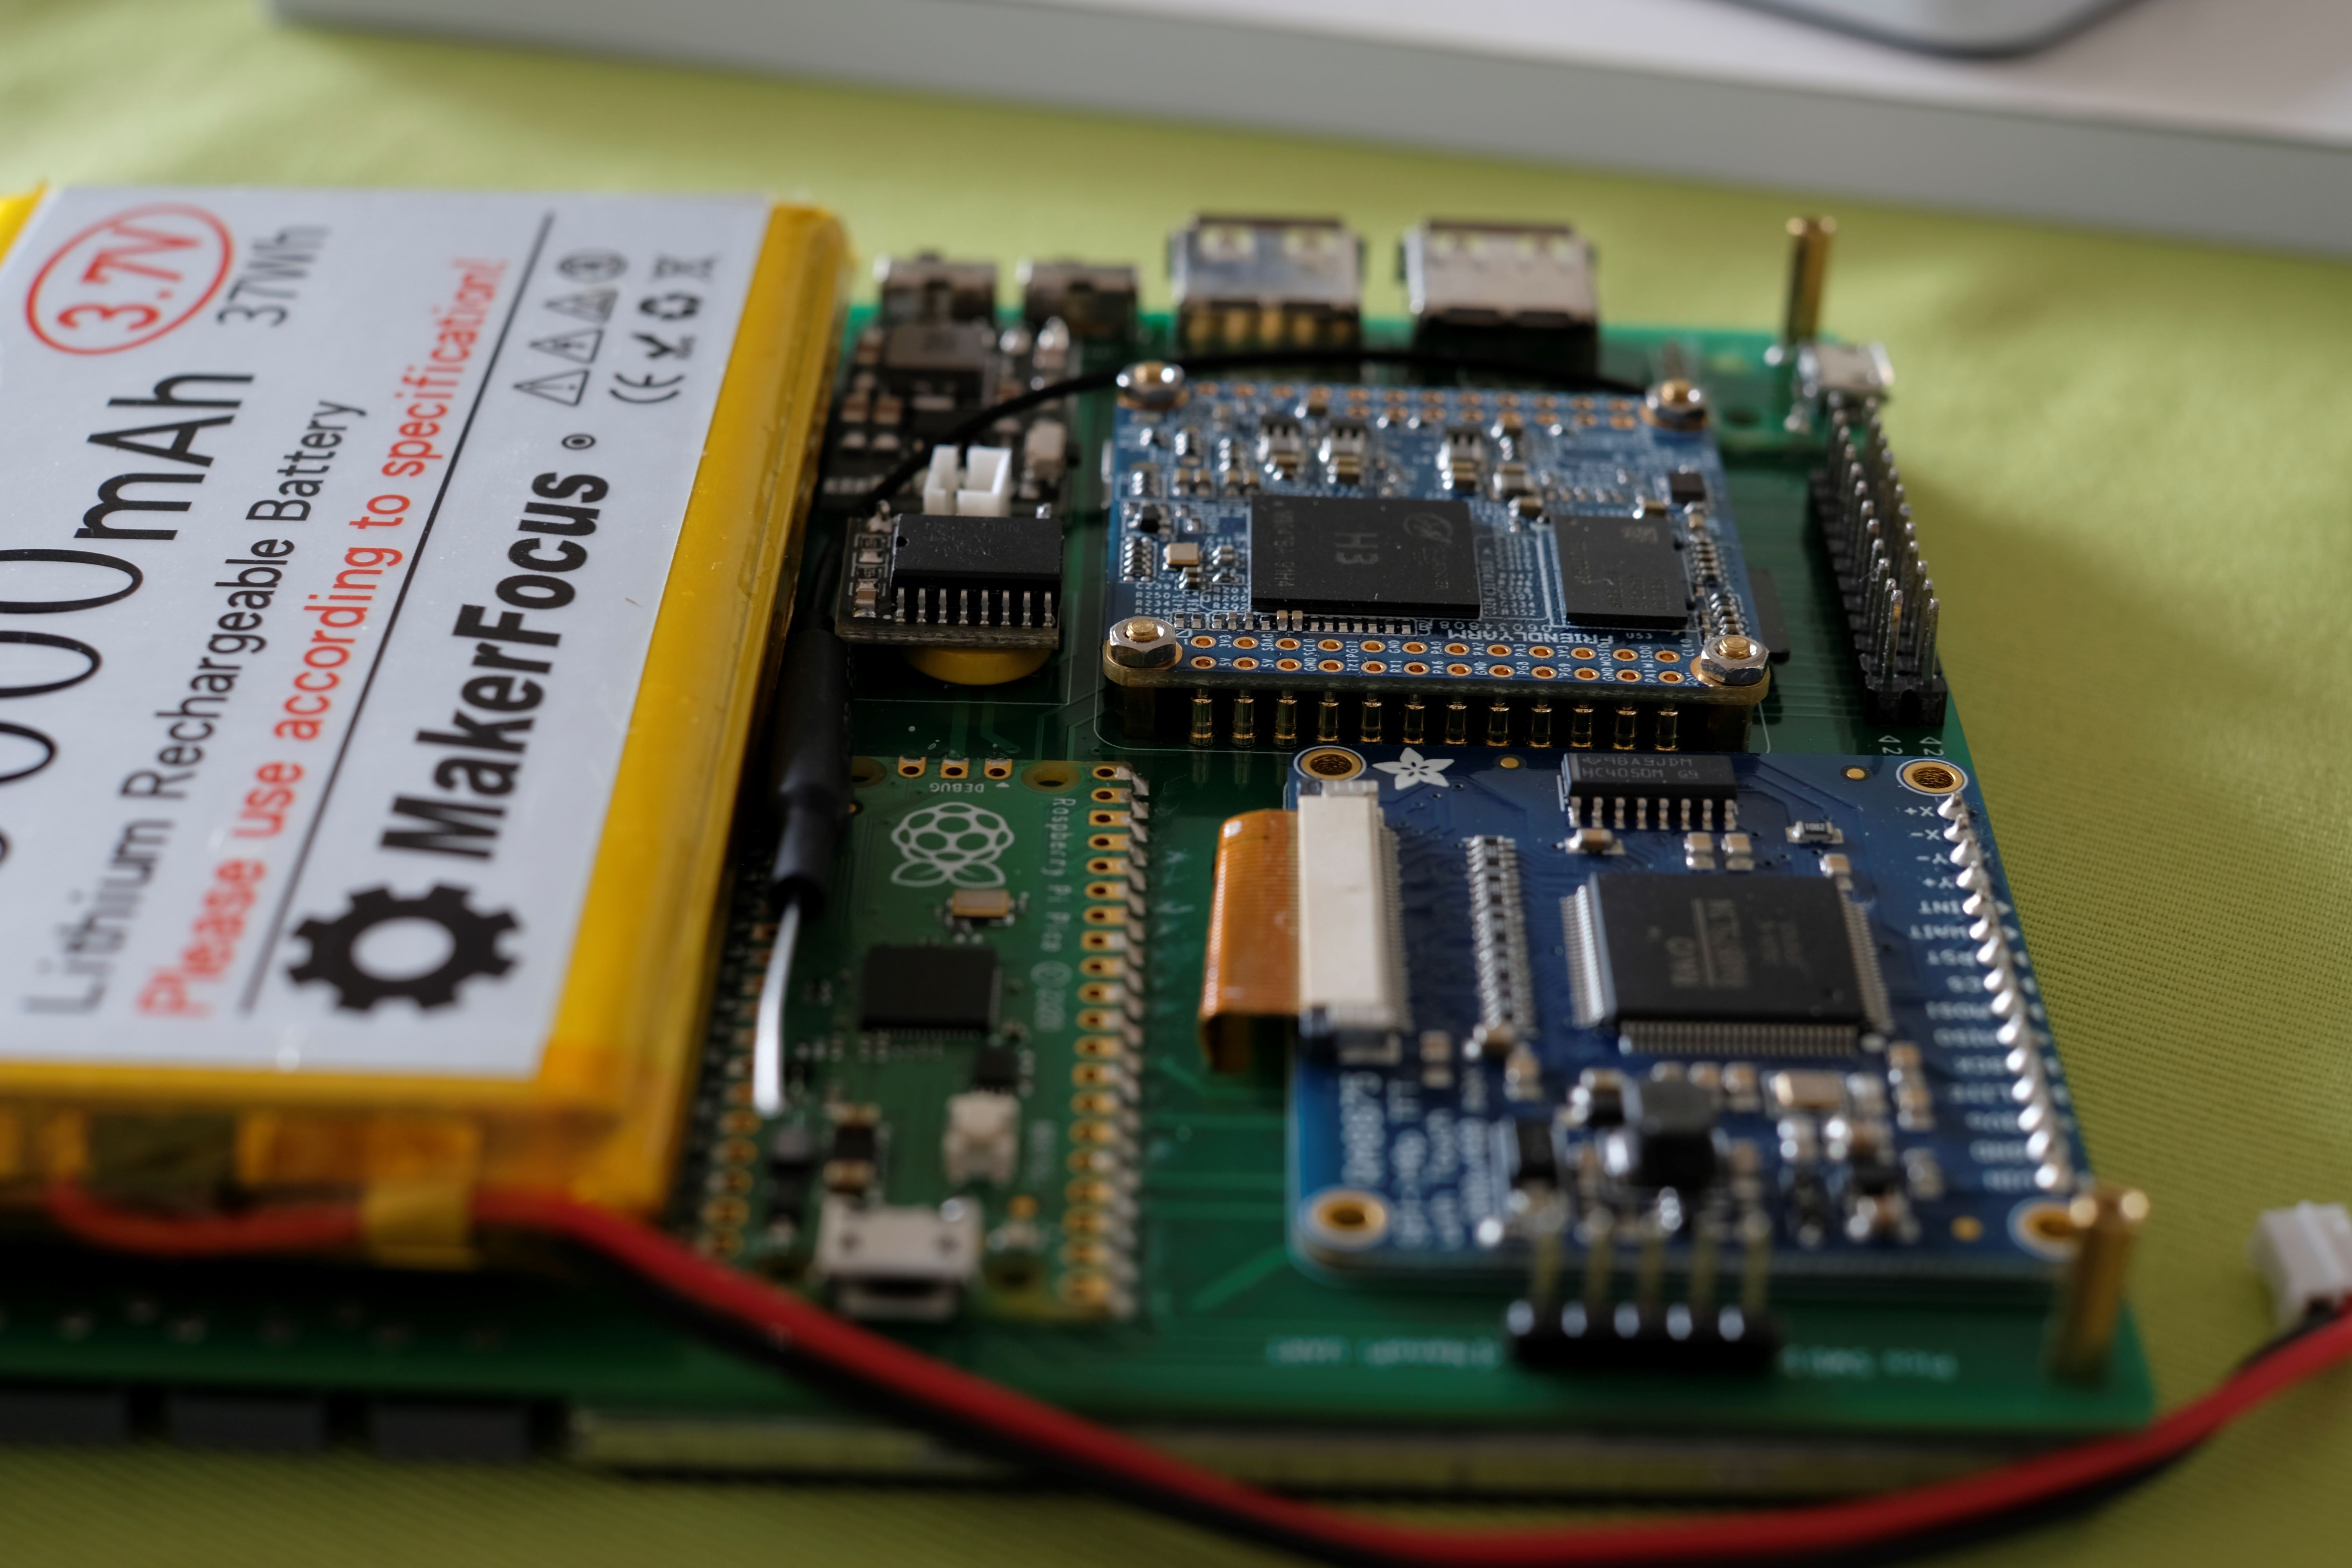
// Known issues

  • The Micro-USB on the Pico is not accessible. This is intentional, because back-powering is not addressed. The Pico could be soldered using header pins to keep the USB accessible. In this case, the power switch of the Pico must be turned off, if it is directly connected to a USB power source.
  • Connecting or disconnecting a charger interrupts the power output of the battery charging board.
  • The footprint of the NanoPi Neo Air on the PCB is slightly incorrect, but not as much that it couldn't be mounted.
  • The USB-ports are too close to each other, there isn't enough space to use them simultaneously.
  • While the terminal is perfectly usable, it is not particularly fast.

// Video - sorry for the bad lighting, I improvised it from a headlamp and a piece of paper

// The story - feel free to skip if not interested :)

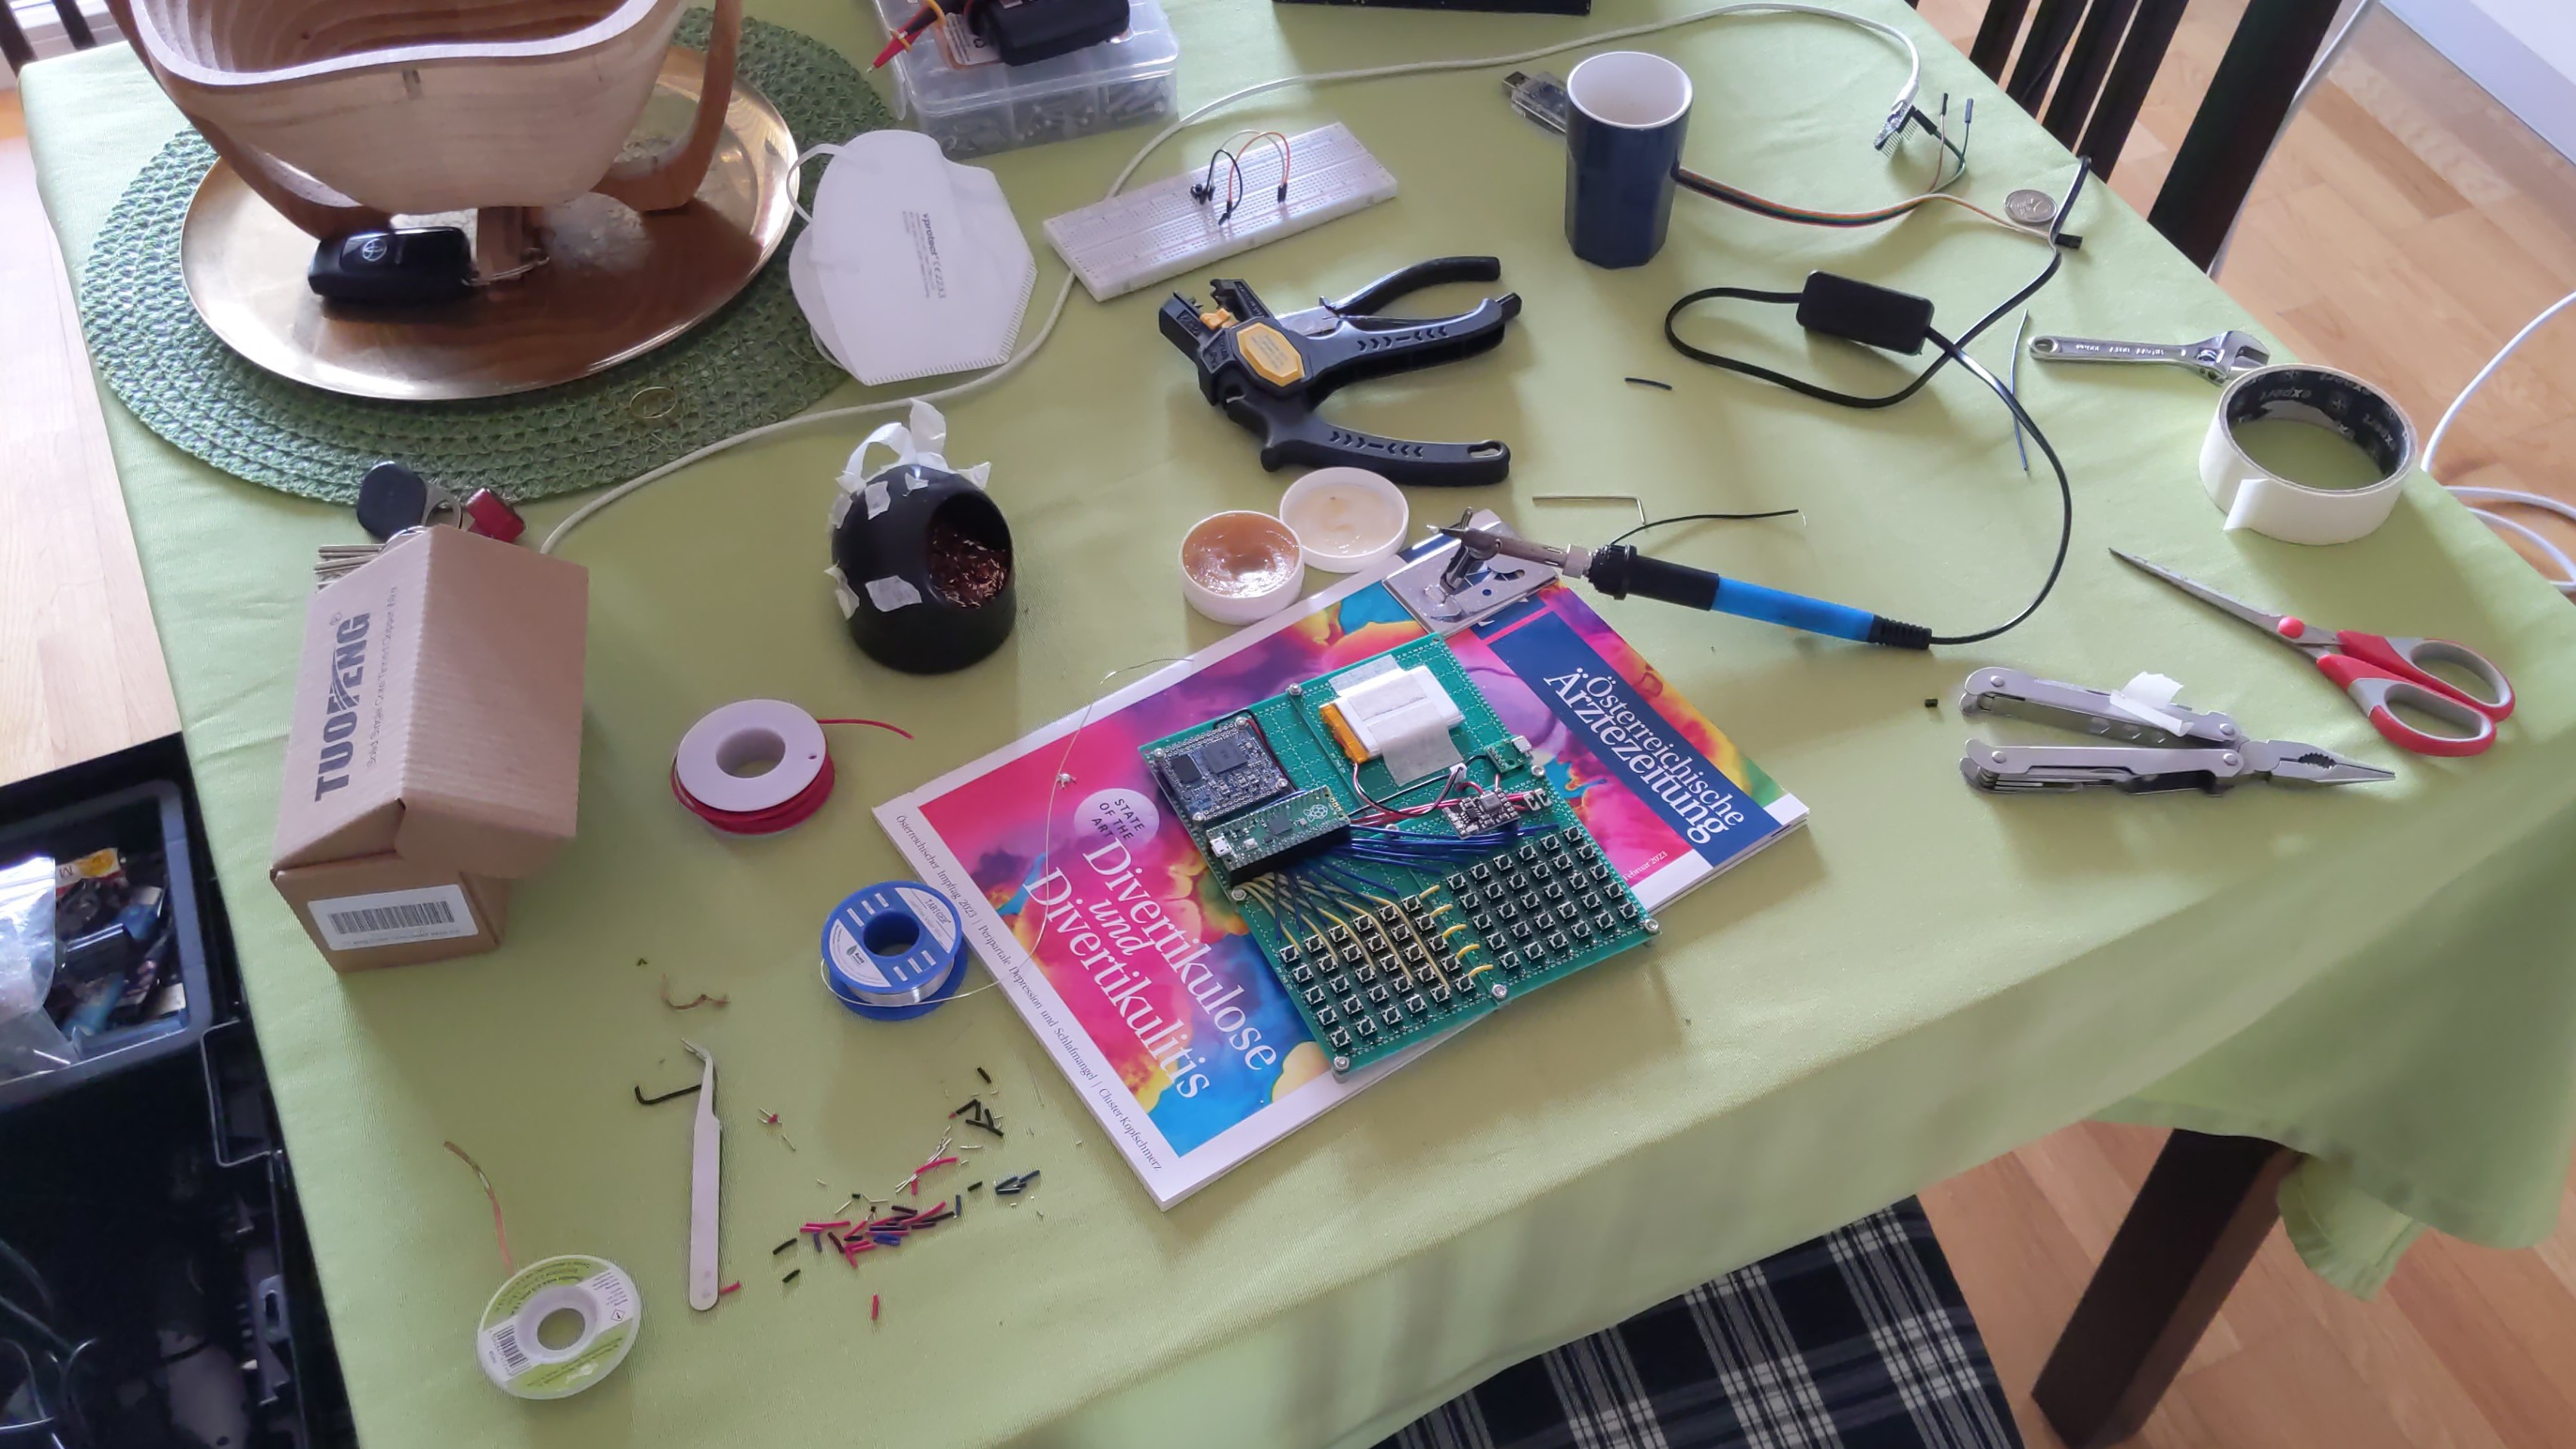
I have started learning electronics and Python with a Raspberry Pi 4 as a hobby last year and daydreamed a lot about turning the Pi 4 into a handled computer. I just couldn't figure it out how to get it compact enough to make it actually comfortable to hold. After some online window-shopping I stumbled upon the NanoPi Neo Air and impulse-bought it without knowing what to do with it. It doesn't have HDMI or DSI connectivity. After consulting the FriendlyArm Wiki I purchased a USB serial adapter as well. The setup using UART was surprisingly easy. At this point I thought I could just wire it together with a Pico and a screen and build an actual compact cyberdeck.

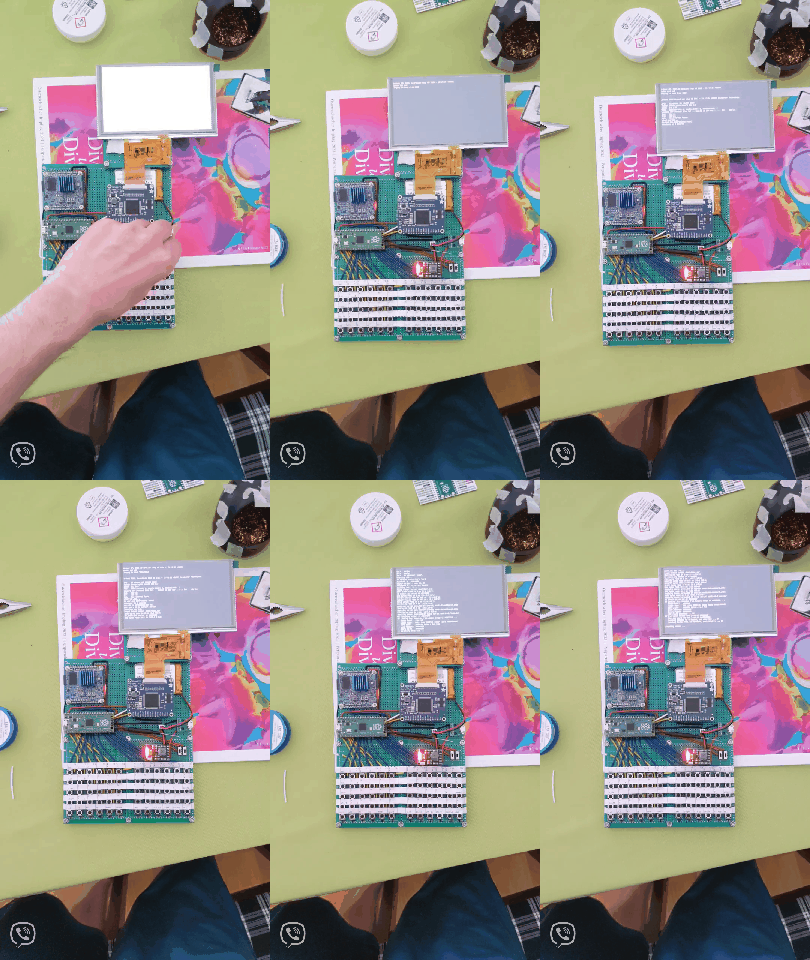
This happened in march 2023 and it took me 5 months to actually finish this project. The most time consuming part was the programming, as I had to learn everything from the beginning. I started off with one of those small 320x240 SPI TFT screens and programming in Python. It was slow, small, no scrolling or line-wrapping, but I got so far, that I could actually log in. Later I found the Adafruit RA8875 board, which communicates over SPI, can be used up to a resolution of 800x480, has a built-in ASCII font, cursor, line wrapping and scrolling. It can even draw characters a lot faster than UART sends them. Jackpot!
I started learning C as well as reviewing ANSI escape sequences and the TERM environment variable. At one point I decided to abandon the whole thing, as I couldn’t figure out how to implement the resizing of the scrolling area (for those who speak ANSI: \x1B[#;#r). On the next day during my commute it occurred to me, that I have read something in the RA8875 documentation about copying parts of the screen to other parts of the screen. It's called block transfer engine, and it saved the project. After arriving home I started looking up registers and it actually worked, alas a little too slow. I had to start looking into buffering and threading. Both proved to be surprisingly approachable with the Pico C SDK.
It was time to turn it from a conglomerate of protoboards into an actual custom PCB, so I started learning KiCad. I dropped in an RTC, because the NanoPi doesn’t have any. I avoided...

Read more »
handheld-linux-terminal-src.zip

Source code for the Pico.

Zip Archive - 24.99 kB - 09/02/2023 at 07:13

Download

terminal.uf2

Compiled Program for copying over USB to the Pico.

uf2 - 79.00 kB - 09/02/2023 at 07:12

Download

handheld-linux-terminal-gerber.zip

The gerber files used to order the PCB.

x-zip-compressed - 105.18 kB - 08/16/2023 at 15:58

Download

handheld-linux-terminal-backplate.zip

The design files of the back panel.

x-zip-compressed - 15.90 kB - 08/16/2023 at 15:58

Download

handheld-linux-terminal-kicad.zip

KiCad design files of the PCB.

x-zip-compressed - 467.37 kB - 08/10/2023 at 13:13

Download

View all 7 files

  • 1 × NanoPi Neo Air
  • 1 × Raspberry Pi Pico
  • 1 × Adafruit RA8875 board ADA1590
  • 1 × Adafruit 800x480 TFT display ADA1596
  • 1 × DS3231 board for Raspberry Pi It doesn’t have a part number. It's the small black one with 5 connectors: +/D/C/NC/-

View all 24 components

  • Setting TERM in .bashrc and using tmux

    Balazs08/26/2023 at 12:01 0 comments

    Setting the TERM variable or the terminal size in .bashrc leads to some issues in tmux. By default, TERM is "vt220" in DietPi while using UART. This is a possible workaround that can be added to .bashrc:

    if [ $TERM = vt220 ]; then
        TERM=linux
        stty cols 100 rows 30
    fi

    This way TERM doesn't change if it was set by tmux (in my case it is "tmux-color256"). This can also be used to add lines that shouldn't be executed every time you open a new window in tmux.

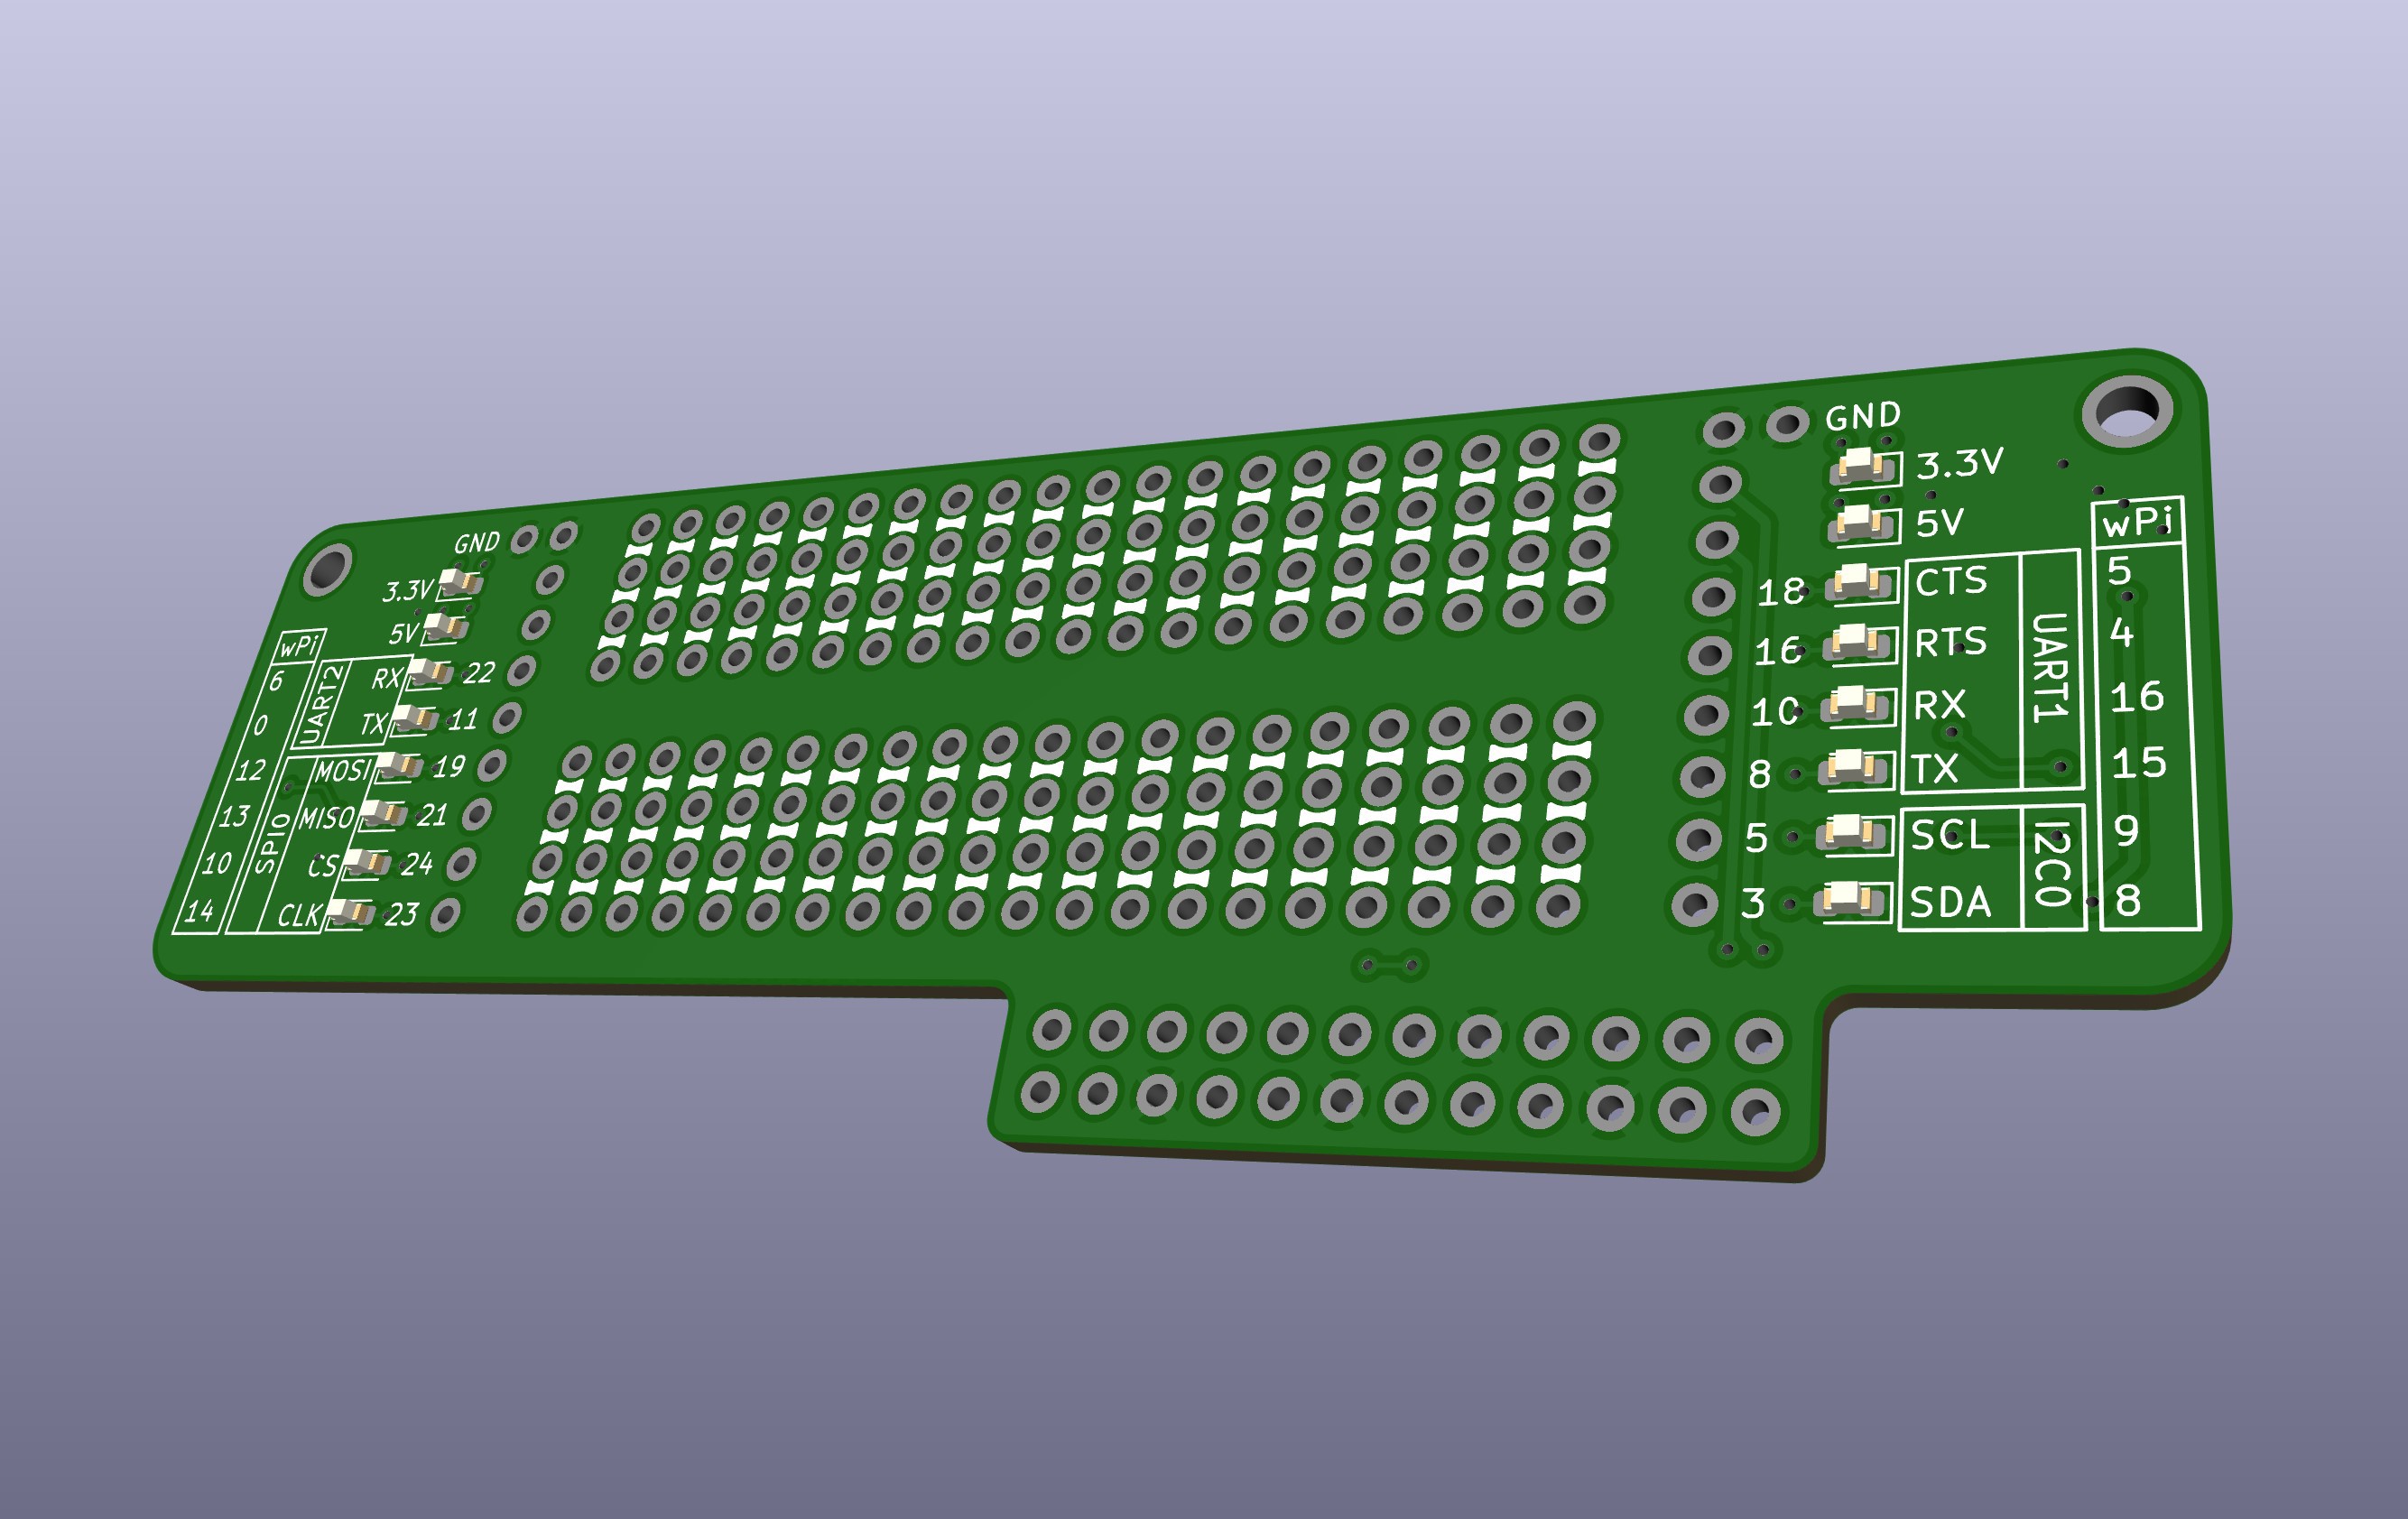
  • Prototyping addon

    Balazs08/10/2023 at 12:56 0 comments

    I am still looking for inspiration for possible extension modules for this project. In the meantime I started to design a prototyping addon.

  • Getting WiringNP to work in DietPi

    Balazs08/02/2023 at 11:16 0 comments

    FreindlyElec has its own WiringPi based library called WiringNP. It compiles with several warning massages. Trying to execute "gpio readall" in DietPi returns an error massage:

    piBoardRev: Unable to determine board revision from /proc/cpuinfo
     -> Is not NanoPi based board.
     -> You may want to check:
     -> http://www.lemaker.org/
    open /sys/class/sunxi_info/sys_info failed

    While /proc/cpuinfo looks good in DietPi, sys/class/sunxi_info/sys_info doesn't exist. According to this workaround, you can redirect WiringNP to /etc/sys_info by editing WiringNP/wiringPi/boardtype_friendlyelec.c before executing ./build.

    Original:

    if (!(f = fopen("/sys/class/sunxi_info/sys_info", "r"))) {
            LOGE("open /sys/class/sunxi_info/sys_info failed.");
            return -1;
        }

    Modified:

    if (!(f = fopen("/sys/class/sunxi_info/sys_info", "r"))) {
        if (!(f = fopen("/etc/sys_info", "r"))) {
            LOGE("open /sys/class/sunxi_info/sys_info failed.");
            return -1;
        }
    }

    In FriendlyCore for the NanoPi NEO Air sys_info looks like this:

    sunxi_platform    : sun8iw7p1
    sunxi_secure      : normal
    sunxi_chipid      : unsupported
    sunxi_chiptype    : unsupported
    sunxi_batchno     : unsupported
    sunxi_board_id    : 2(0)
    board_manufacturer: FriendlyElec
    board_name        : FriendlyElec Nanopi-NEO-Air

    With this workaround "gpio readall" returns the expected output:

     +-----+-----+----------+------+---+-NanoPi-NEO-Air--+------+----------+-----+-----+
     | BCM | wPi |   Name   | Mode | V | Physical | V | Mode | Name     | wPi | BCM |
     +-----+-----+----------+------+---+----++----+---+------+----------+-----+-----+
     |     |     |     3.3V |      |   |  1 || 2  |   |      | 5V       |     |     |
     |  12 |   8 |  GPIOA12 | ALT5 | 0 |  3 || 4  |   |      | 5V       |     |     |
     |  11 |   9 |  GPIOA11 | ALT5 | 0 |  5 || 6  |   |      | 0v       |     |     |
     | 203 |   7 |  GPIOG11 |  OFF | 0 |  7 || 8  | 0 |  OFF | GPIOG6   | 15  | 198 |
     |     |     |       0v |      |   |  9 || 10 | 0 |  OFF | GPIOG7   | 16  | 199 |
     |   0 |   0 |   GPIOA0 |  OFF | 0 | 11 || 12 | 0 |  OFF | GPIOA6   | 1   | 6   |
     |   2 |   2 |   GPIOA2 |  OFF | 0 | 13 || 14 |   |      | 0v       |     |     |
     |   3 |   3 |   GPIOA3 |  OFF | 0 | 15 || 16 | 0 |  OFF | GPIOG8   | 4   | 200 |
     |     |     |     3.3v |      |   | 17 || 18 | 0 |  OFF | GPIOG9   | 5   | 201 |
     |  64 |  12 |   GPIOC0 |  OFF | 0 | 19 || 20 |   |      | 0v       |     |     |
     |  65 |  13 |   GPIOC1 |  OFF | 0 | 21 || 22 | 0 |  OFF | GPIOA1   | 6   | 1   |
     |  66 |  14 |   GPIOC2 |  OFF | 0 | 23 || 24 | 0 |  OFF | GPIOC3   | 10  | 67  |
     +-----+-----+----------+------+---+----++----+---+------+----------+-----+-----+
    ...
    Read more »

View all 3 project logs

  • 1
    Important:
    • The header sockets of the DS3231 must be desoldered and replaced by pins.
    • The back of the display must to be protected with isolating tape to prevent a short circuit.
    • The pins should be carefully cut as short as possible after soldering.
  • 2
    Programming the Pico

    Copy the terminal.uf2 on the Pico over USB or compile it with the Pico SDK and flash it using another Pico over SWD.

    If you want to give the Picoprobe a try, but you are having trouble getting it to work, have a look at “openocd-memo.txt”.

  • 3
    Soldering

    Soldering should be straightforward as most components are through-hole. The Pico can be soldered using either the castellated edges or header pins. The header sockets of the DS3231 must be desoldered and replaced with pins. The pogo pins can be easily soldered, if they are held in place by the NanoPi.

    After soldering I used a decent precision side cutter to carefully cut the pins as short as possible, so the battery doesn’t get damaged.  

View all 6 instructions

Enjoy this project?

Share

Discussions

xeddx wrote 09/01/2023 at 04:40 point

The most badass handheld 

look at this post:

 https://www.reddit.com/r/linux/comments/4biamr/a_list_of_handheldpocket_linux_computers/

  Are you sure? yes | no

nerdu wrote 08/09/2023 at 06:23 point

very fat, look at ello 2 https://hackaday.io/project/9692-ello-2m  or https://hackaday.io/project/187468-ello-lc1

very good keyboard layout ! I need AltGr (right alt) for my language signs

this is better than old C.H.I.P. computer

  Are you sure? yes | no

Balazs wrote 08/09/2023 at 14:39 point

Thank you for bringing ello 2 to my attention. It is a beautiful and inspiring project. I am not nearly skilled enough to build something like it.

  Are you sure? yes | no

powiadam.ci wrote 08/09/2023 at 05:58 point

 10000mAh = 10Ah

 ;-)

Power is important if device are mobility. Why not put stepup-down for 1V-25V for any battery: AA, 18650 3.7V, etc. For example 2 independent socket for AAA and 18650 or any configuration (2x18650) or 2xAA or single AAA and 5V solar panel ;)

I have flashlight, I can replace power from flashlight to computer or from computer to flashlight.

Power similar https://soldiersystems.net/2015/05/06/owltac-a1t-endure-flashlight-kickstarter/ but better, for lipo, 1.5V, 3.7 V, 5V, or 12V from car

(BTW. How long this dev work? You are planing add small solar panel like old calculator?)

  Are you sure? yes | no

Balazs wrote 08/09/2023 at 14:36 point

I seem to have some difficulty with using appropriate SI prefixes :-)

I chose this LiPo cell because of its size. It fits perfectly under the keyboard. I did consider adding a solar panel, but it would have been a feature I never would have used, as I only use it indoors. If the battery is depleted, I can simply connect a USB power bank. It took me 4-5 months to finish the project. Right now I'm working on a breakout board for the GPIO Pins.

  Are you sure? yes | no

nerdu wrote 08/18/2023 at 06:39 point

I thing this dev is using on road or in emergency situation. Therefore power is alvays important.

Solar panel get small power but small power is needed in iddle and for keyboard, and screen

Meybe add switch to turn off screen, keyboard, decrease memory speed, turn off internet etc.

  Are you sure? yes | no

PunchNon wrote 08/09/2023 at 00:04 point

Is there an alternative for the RA8875? Because they went out of stock on Adafruit.

Thank you!

  Are you sure? yes | no

Balazs wrote 08/09/2023 at 14:17 point

Unfortunately I'm not aware of a compatible alternative.

  Are you sure? yes | no

back7.co wrote 08/03/2023 at 14:19 point

Beautiful design!  It's so tiny :)  Thank you for taking the time to document this and share the files so that others can use them too.

  Are you sure? yes | no

Tom Nardi wrote 08/03/2023 at 02:06 point

Fantastic design, and very practical. Love the portability.

  Are you sure? yes | no

nrwest wrote 08/02/2023 at 23:30 point

Nice work! Do you have more information/photos of how you made the 3D printed keycaps and labels?

  Are you sure? yes | no

Balazs wrote 08/03/2023 at 15:05 point

FreeCad and .stl model for the keycaps is in keycaps-and-labels.zip. The labels were printed with a sublimation printer (Canon Selphy CP1300). They are simply glued on the switches with some unspecified "multi glue" from a general store I had laying around.

  Are you sure? yes | no

Adrian Nicusor Aldea wrote 08/02/2023 at 12:45 point

How can I buy it ?

  Are you sure? yes | no

Balazs wrote 08/02/2023 at 17:53 point

 I haven’t considered selling it, but once you sourced the

components it is not difficult to build:)

  Are you sure? yes | no

Smeef wrote 07/30/2023 at 15:55 point

This is beautiful, I love the modular design.

  Are you sure? yes | no

Balazs wrote 07/31/2023 at 16:05 point

Thank you!

  Are you sure? yes | no

Similar Projects

Does this project spark your interest?

Become a member to follow this project and never miss any updates