Besides a couple of low voltages, the CIJ printer also needs high voltages for the charging circuit and deflection plate.
Here, you can see the power supply of an old CIJ printer that I bought for research:
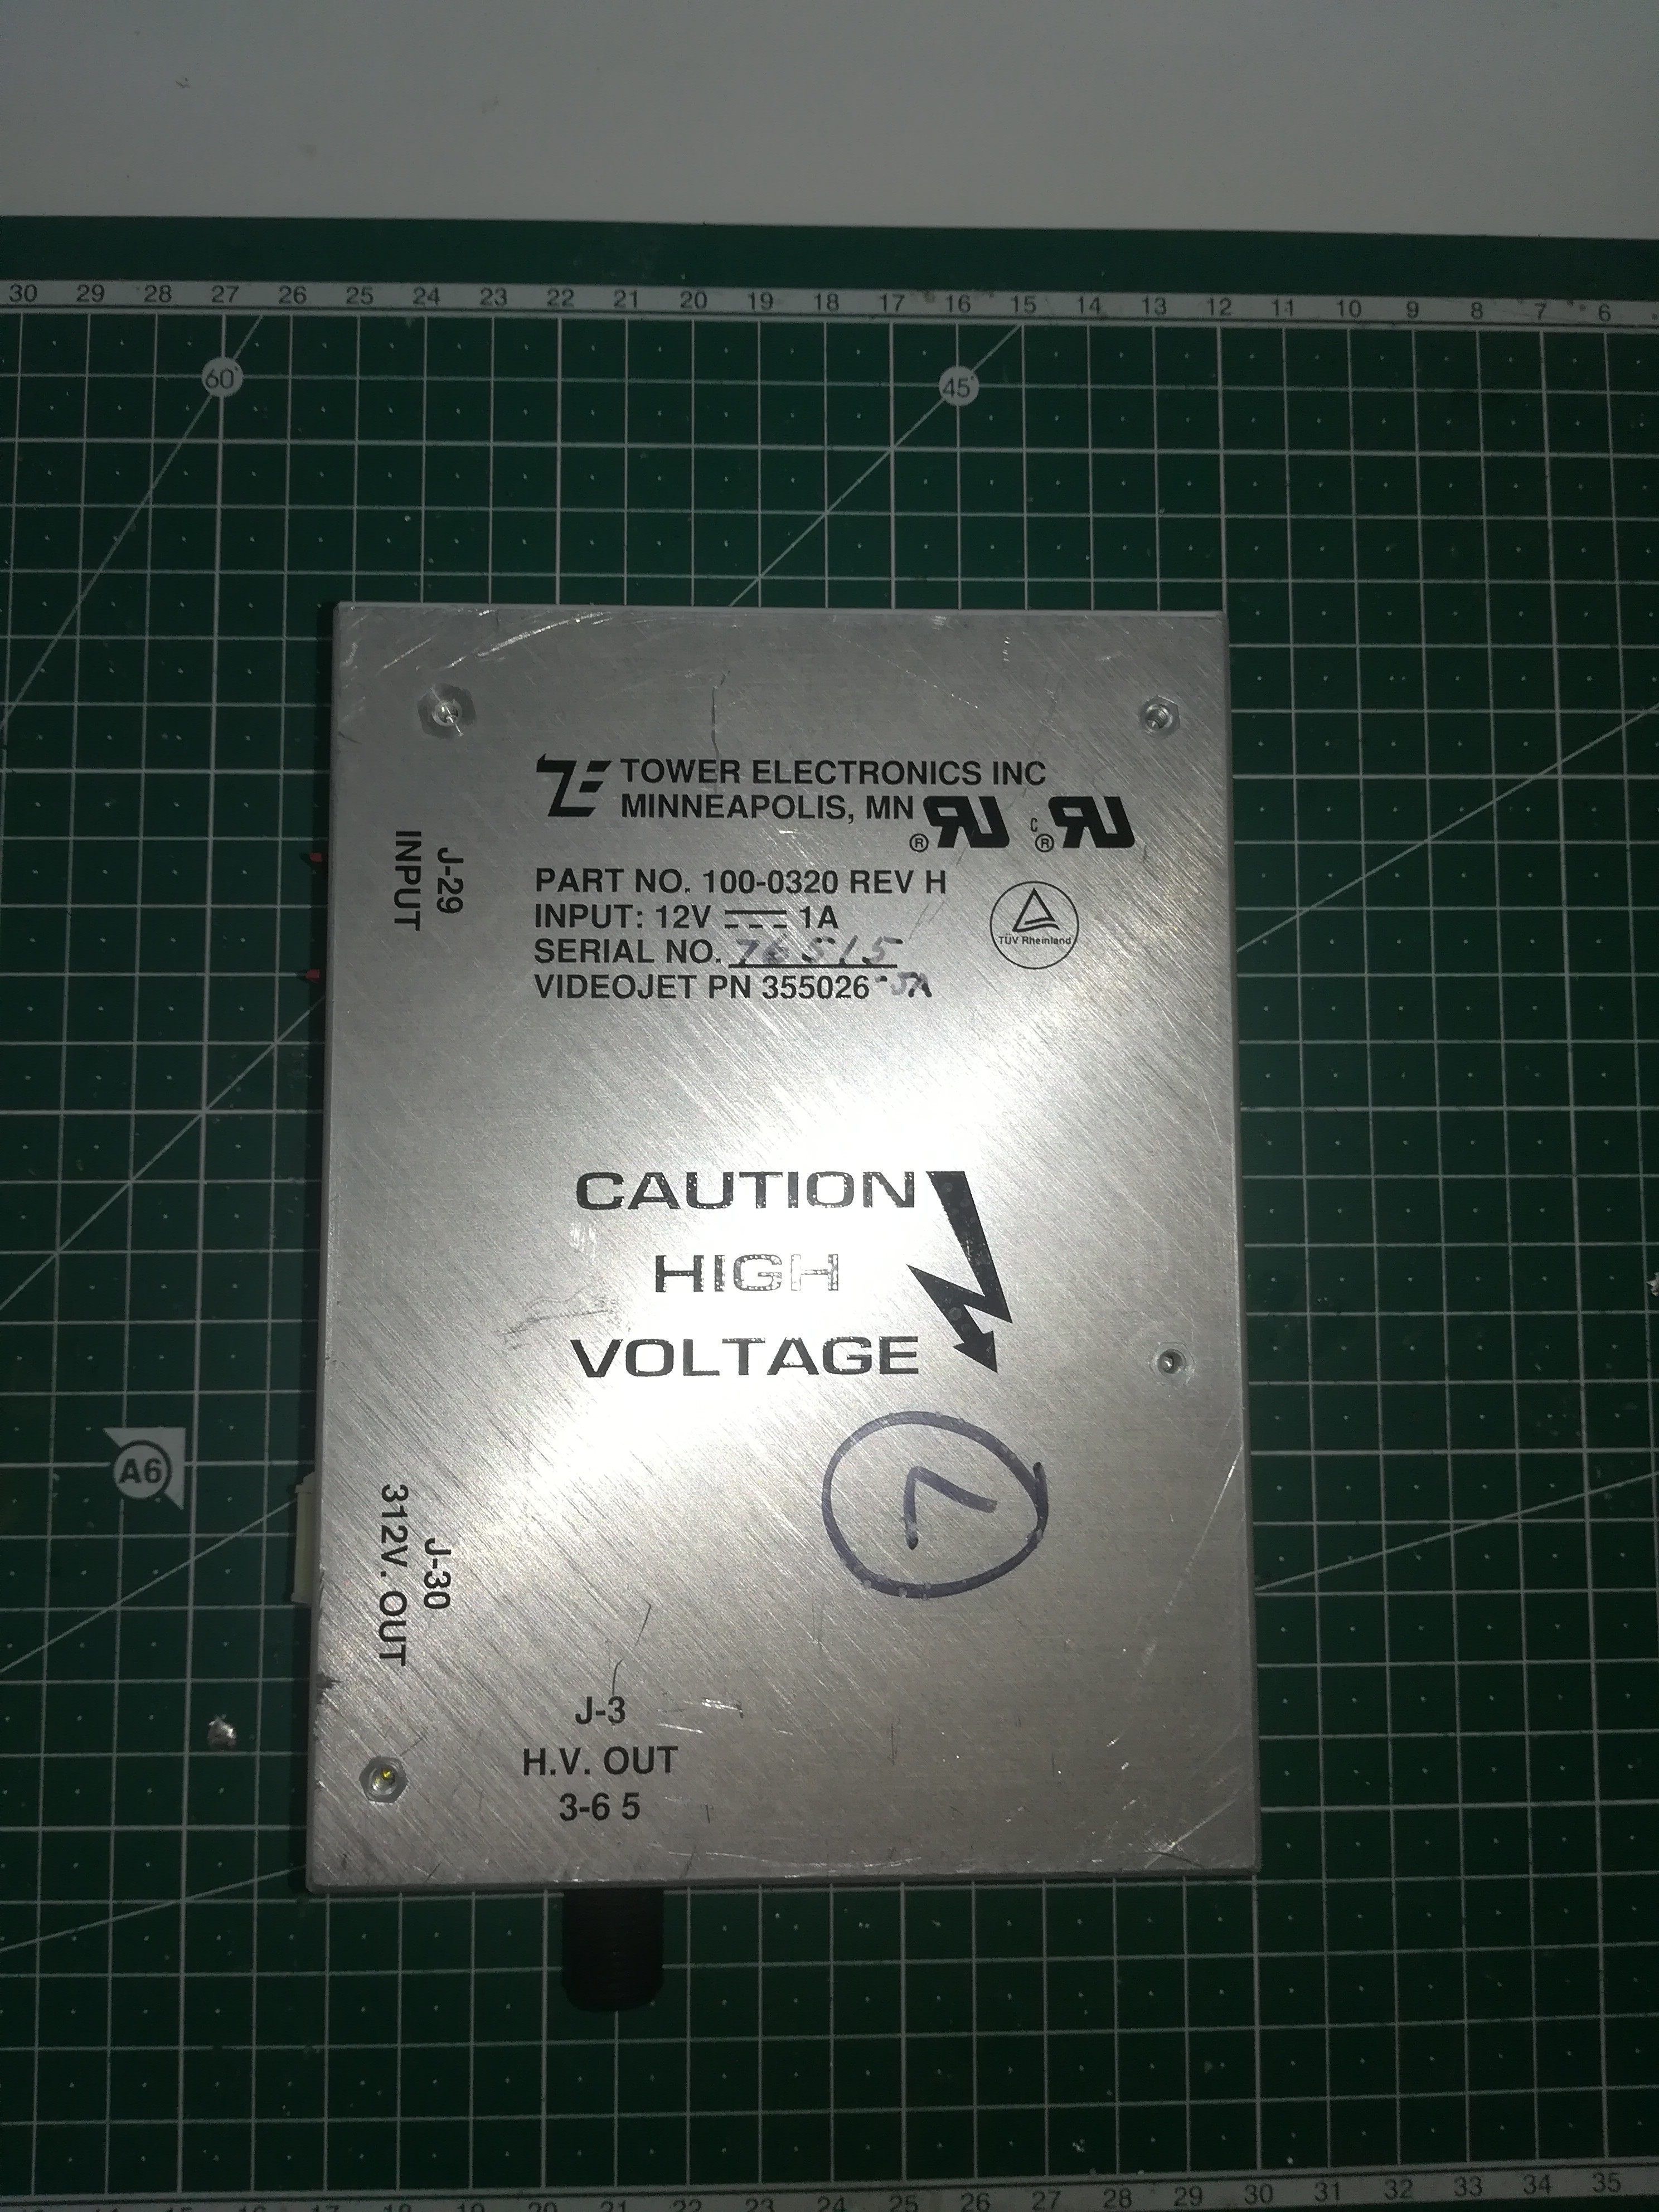
It outputs 312V and 3 to 6 kilovolts. On this printer, the 312V is used for the charging circuit and the piezo driver, and the 3-6kv is used for the deflection plate.
On my printer, I'm currently using a 24V audio amplifier for driving the piezo, because they are available for sale and you don't have to build it by yourself which should make this part of the project easier.
I don't have the charging circuit ready so I can not fully test out if it works, but under the strobe led you can see droplet formation, so it looks promising.
However, if it turns out that the audio amplifier is not enough for driving the piezo I will have to build a proper piezo driver that uses the 312V for it.
Now I started looking for ways to generate 312V and 3-6kV.
312V Power Supply:
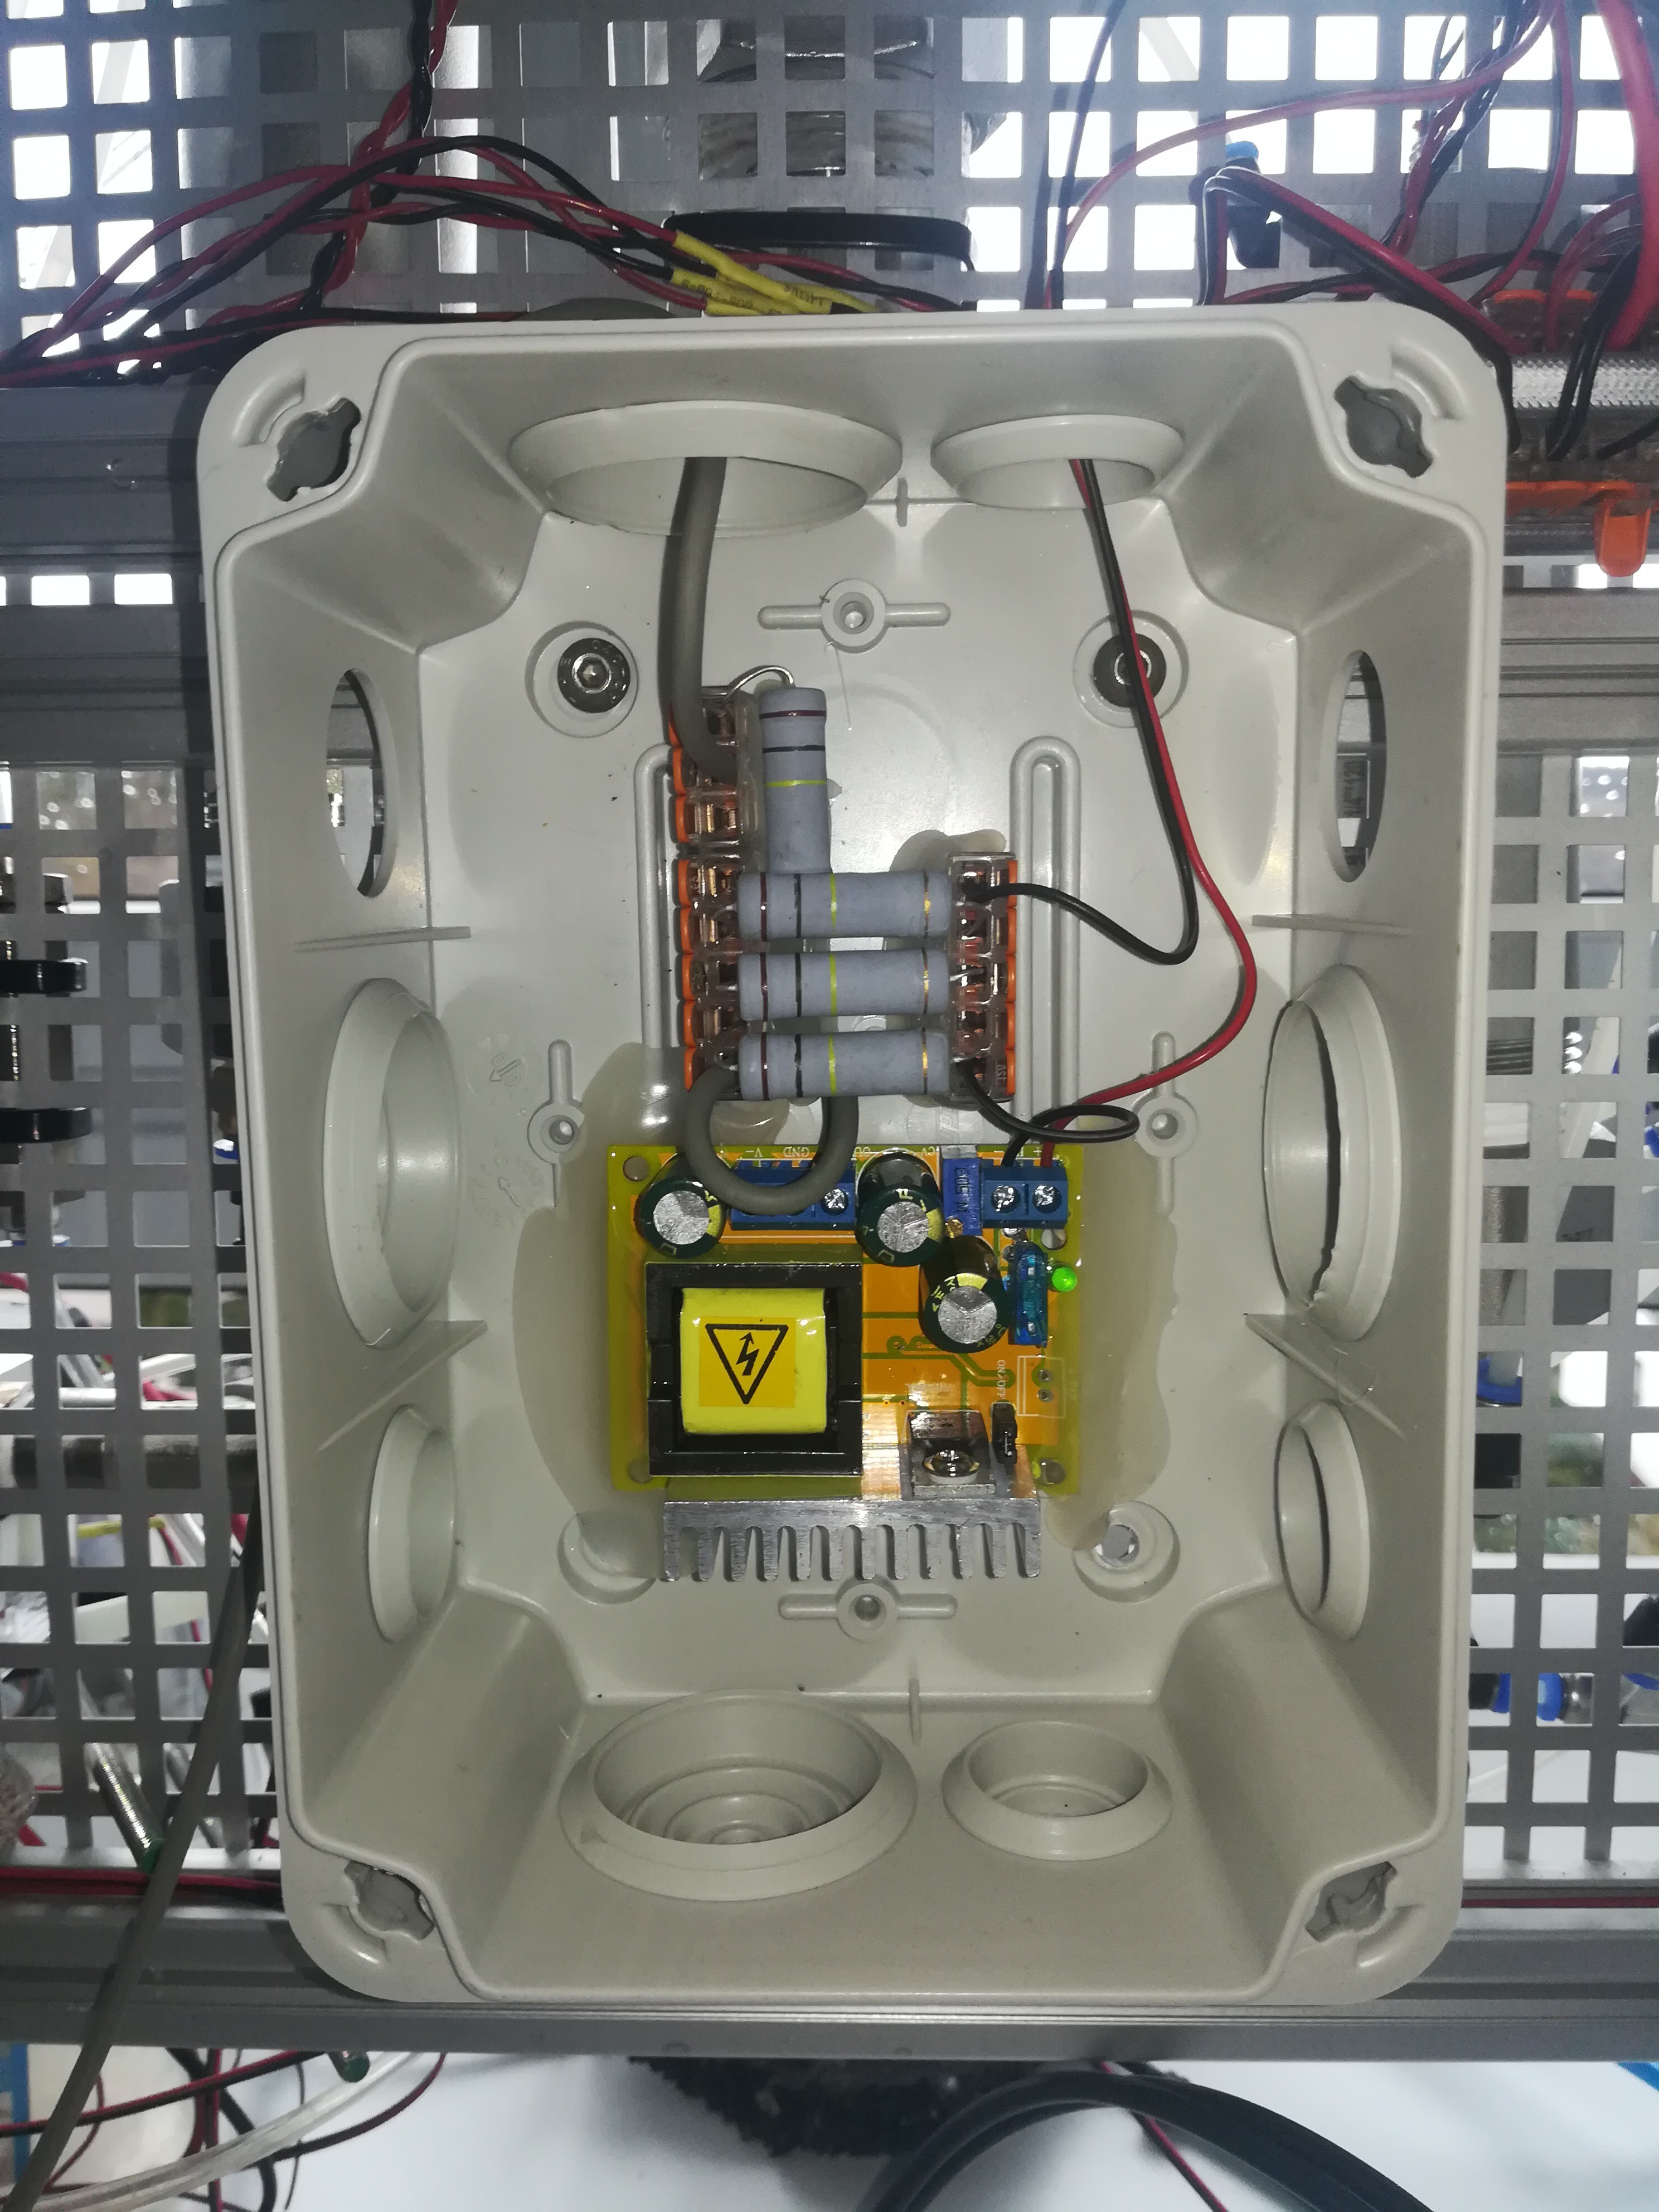
Here you can see my 312V power supply. I used a YH11068A boost converter powered by 12V. It turned out that the YH11068A needs some load to provide a stable output voltage and so I added three 100kOhm 5W resistors in parallel to the output. I also added another 100kOhm resistor in series with the output to limit the current for safety.
The YH11068A is protected by a 1A fuse on the input that will blow in case of an unintended current draw.
Finding out the thing with the needed load was a bit tricky, but because you can just buy the YH11068A, generating your 312V is not that complicated.
Adjustable 3-6kV power supply:
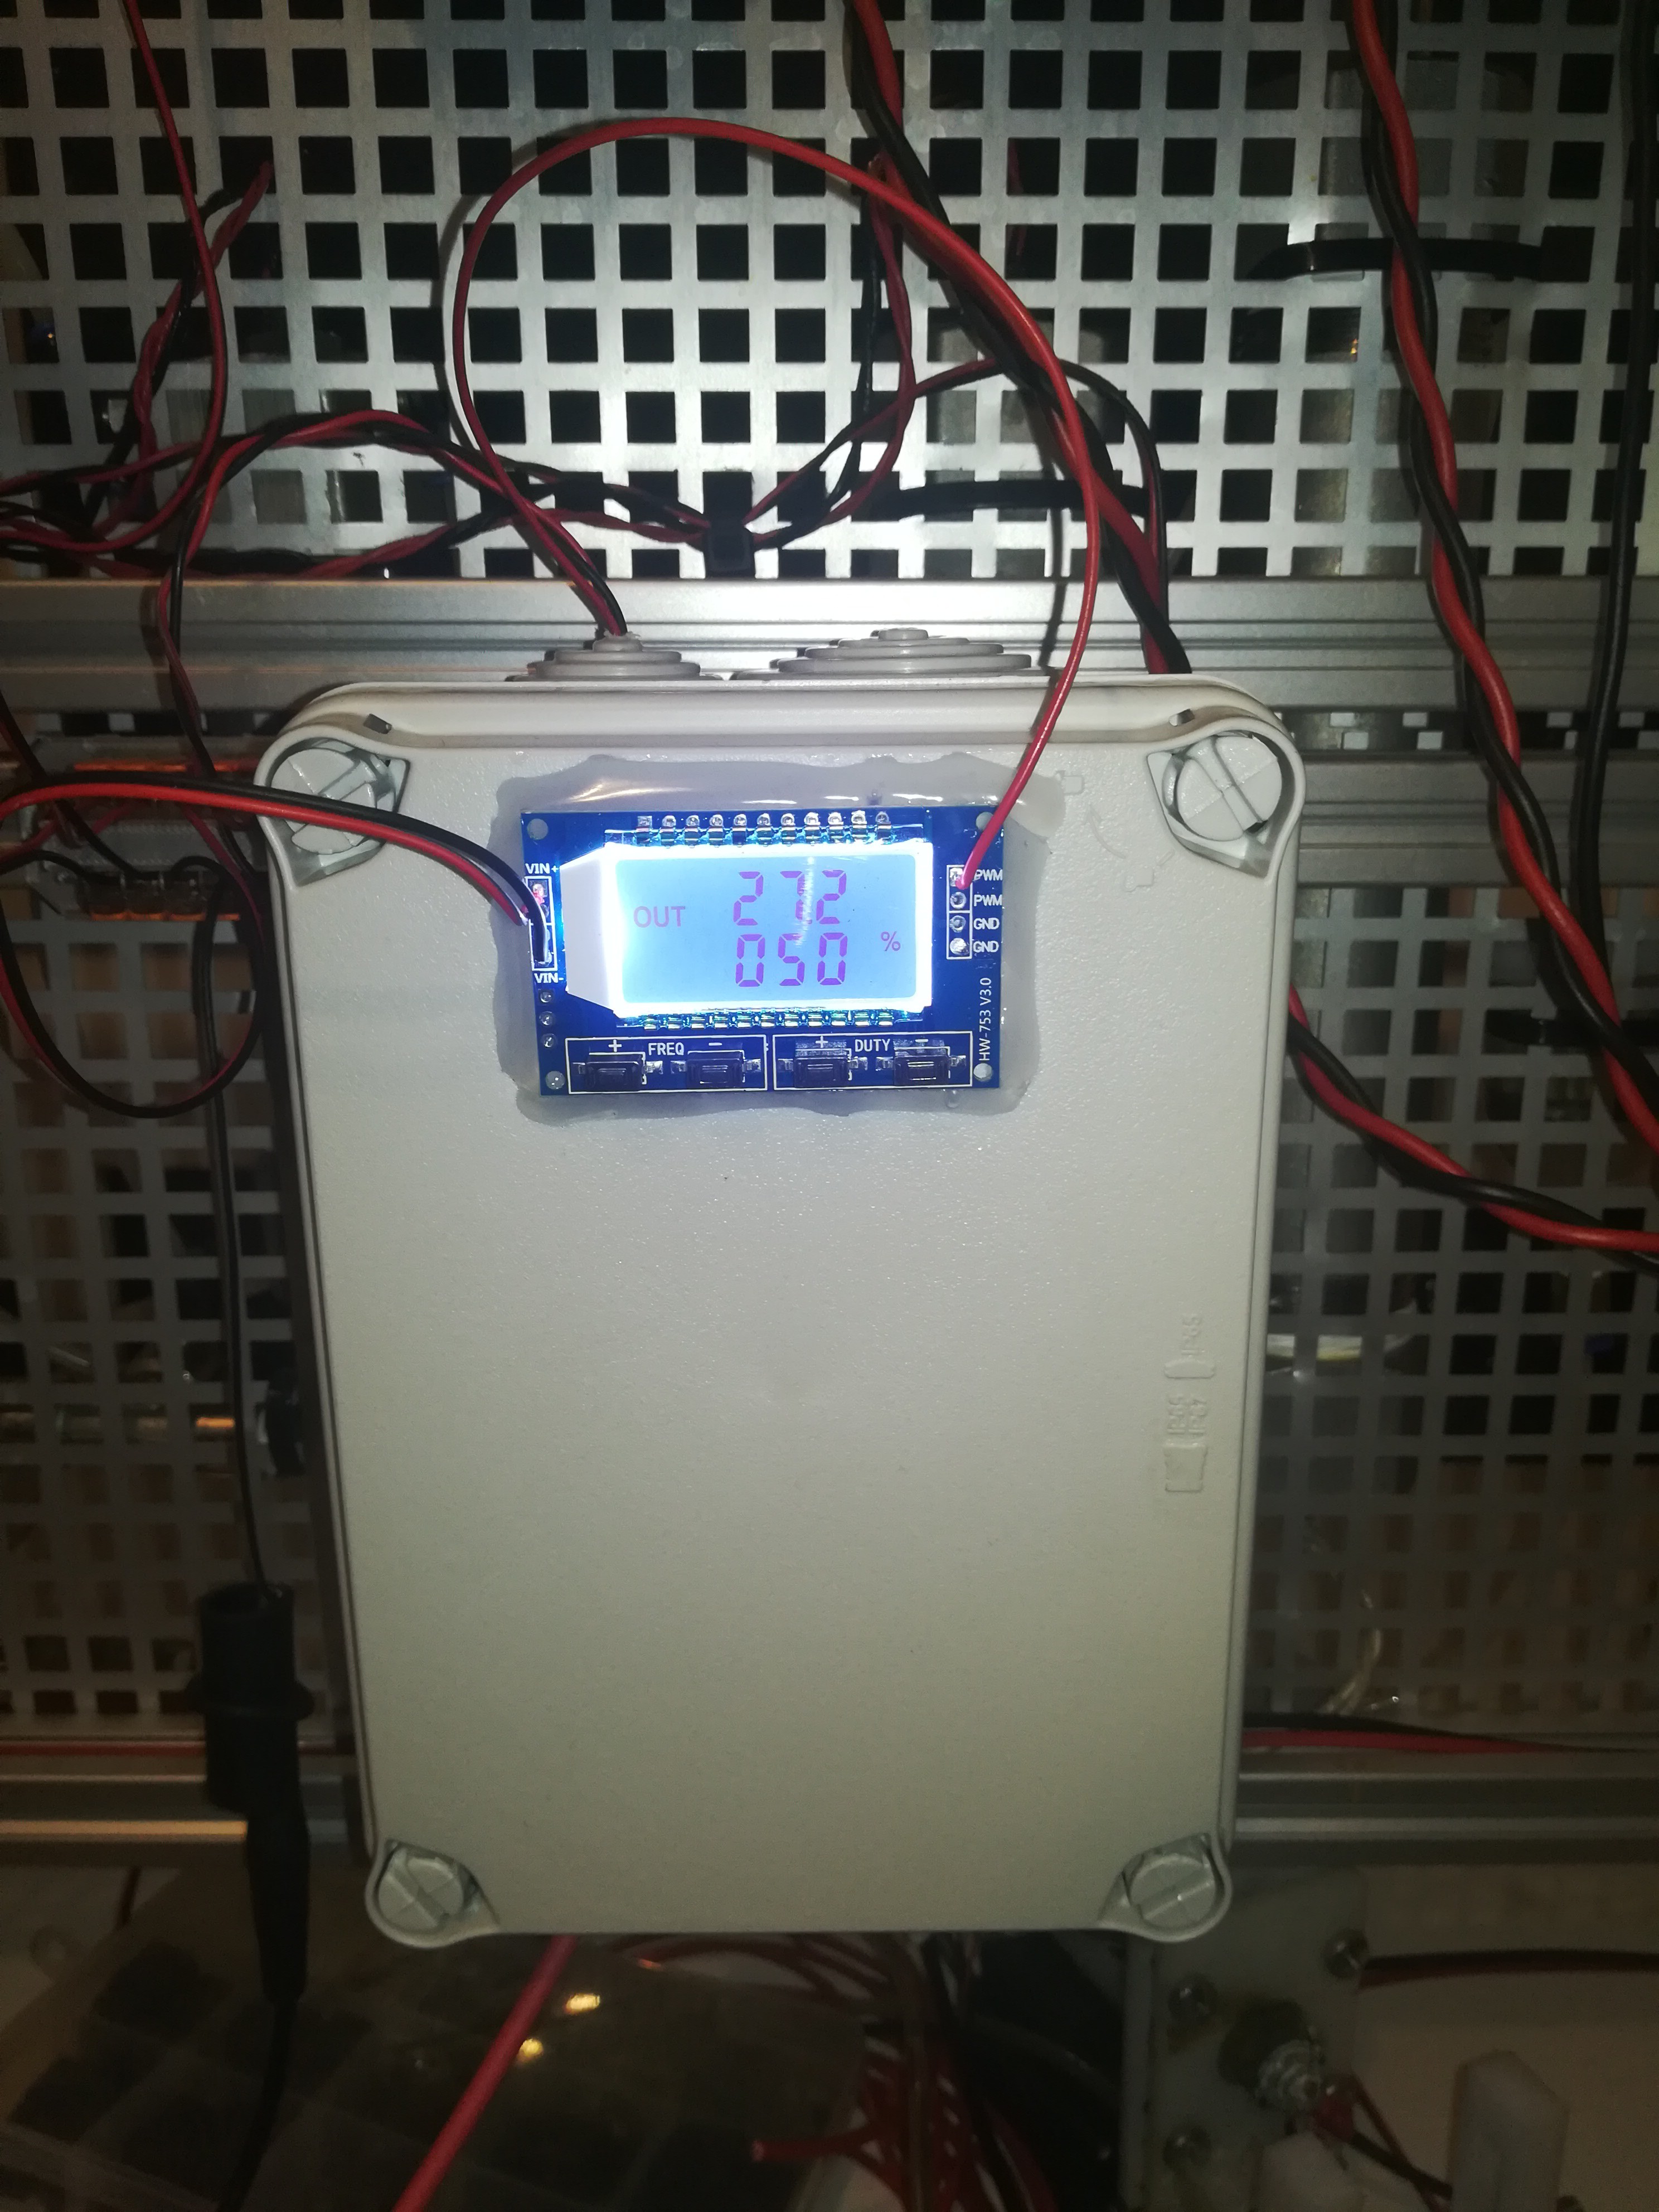
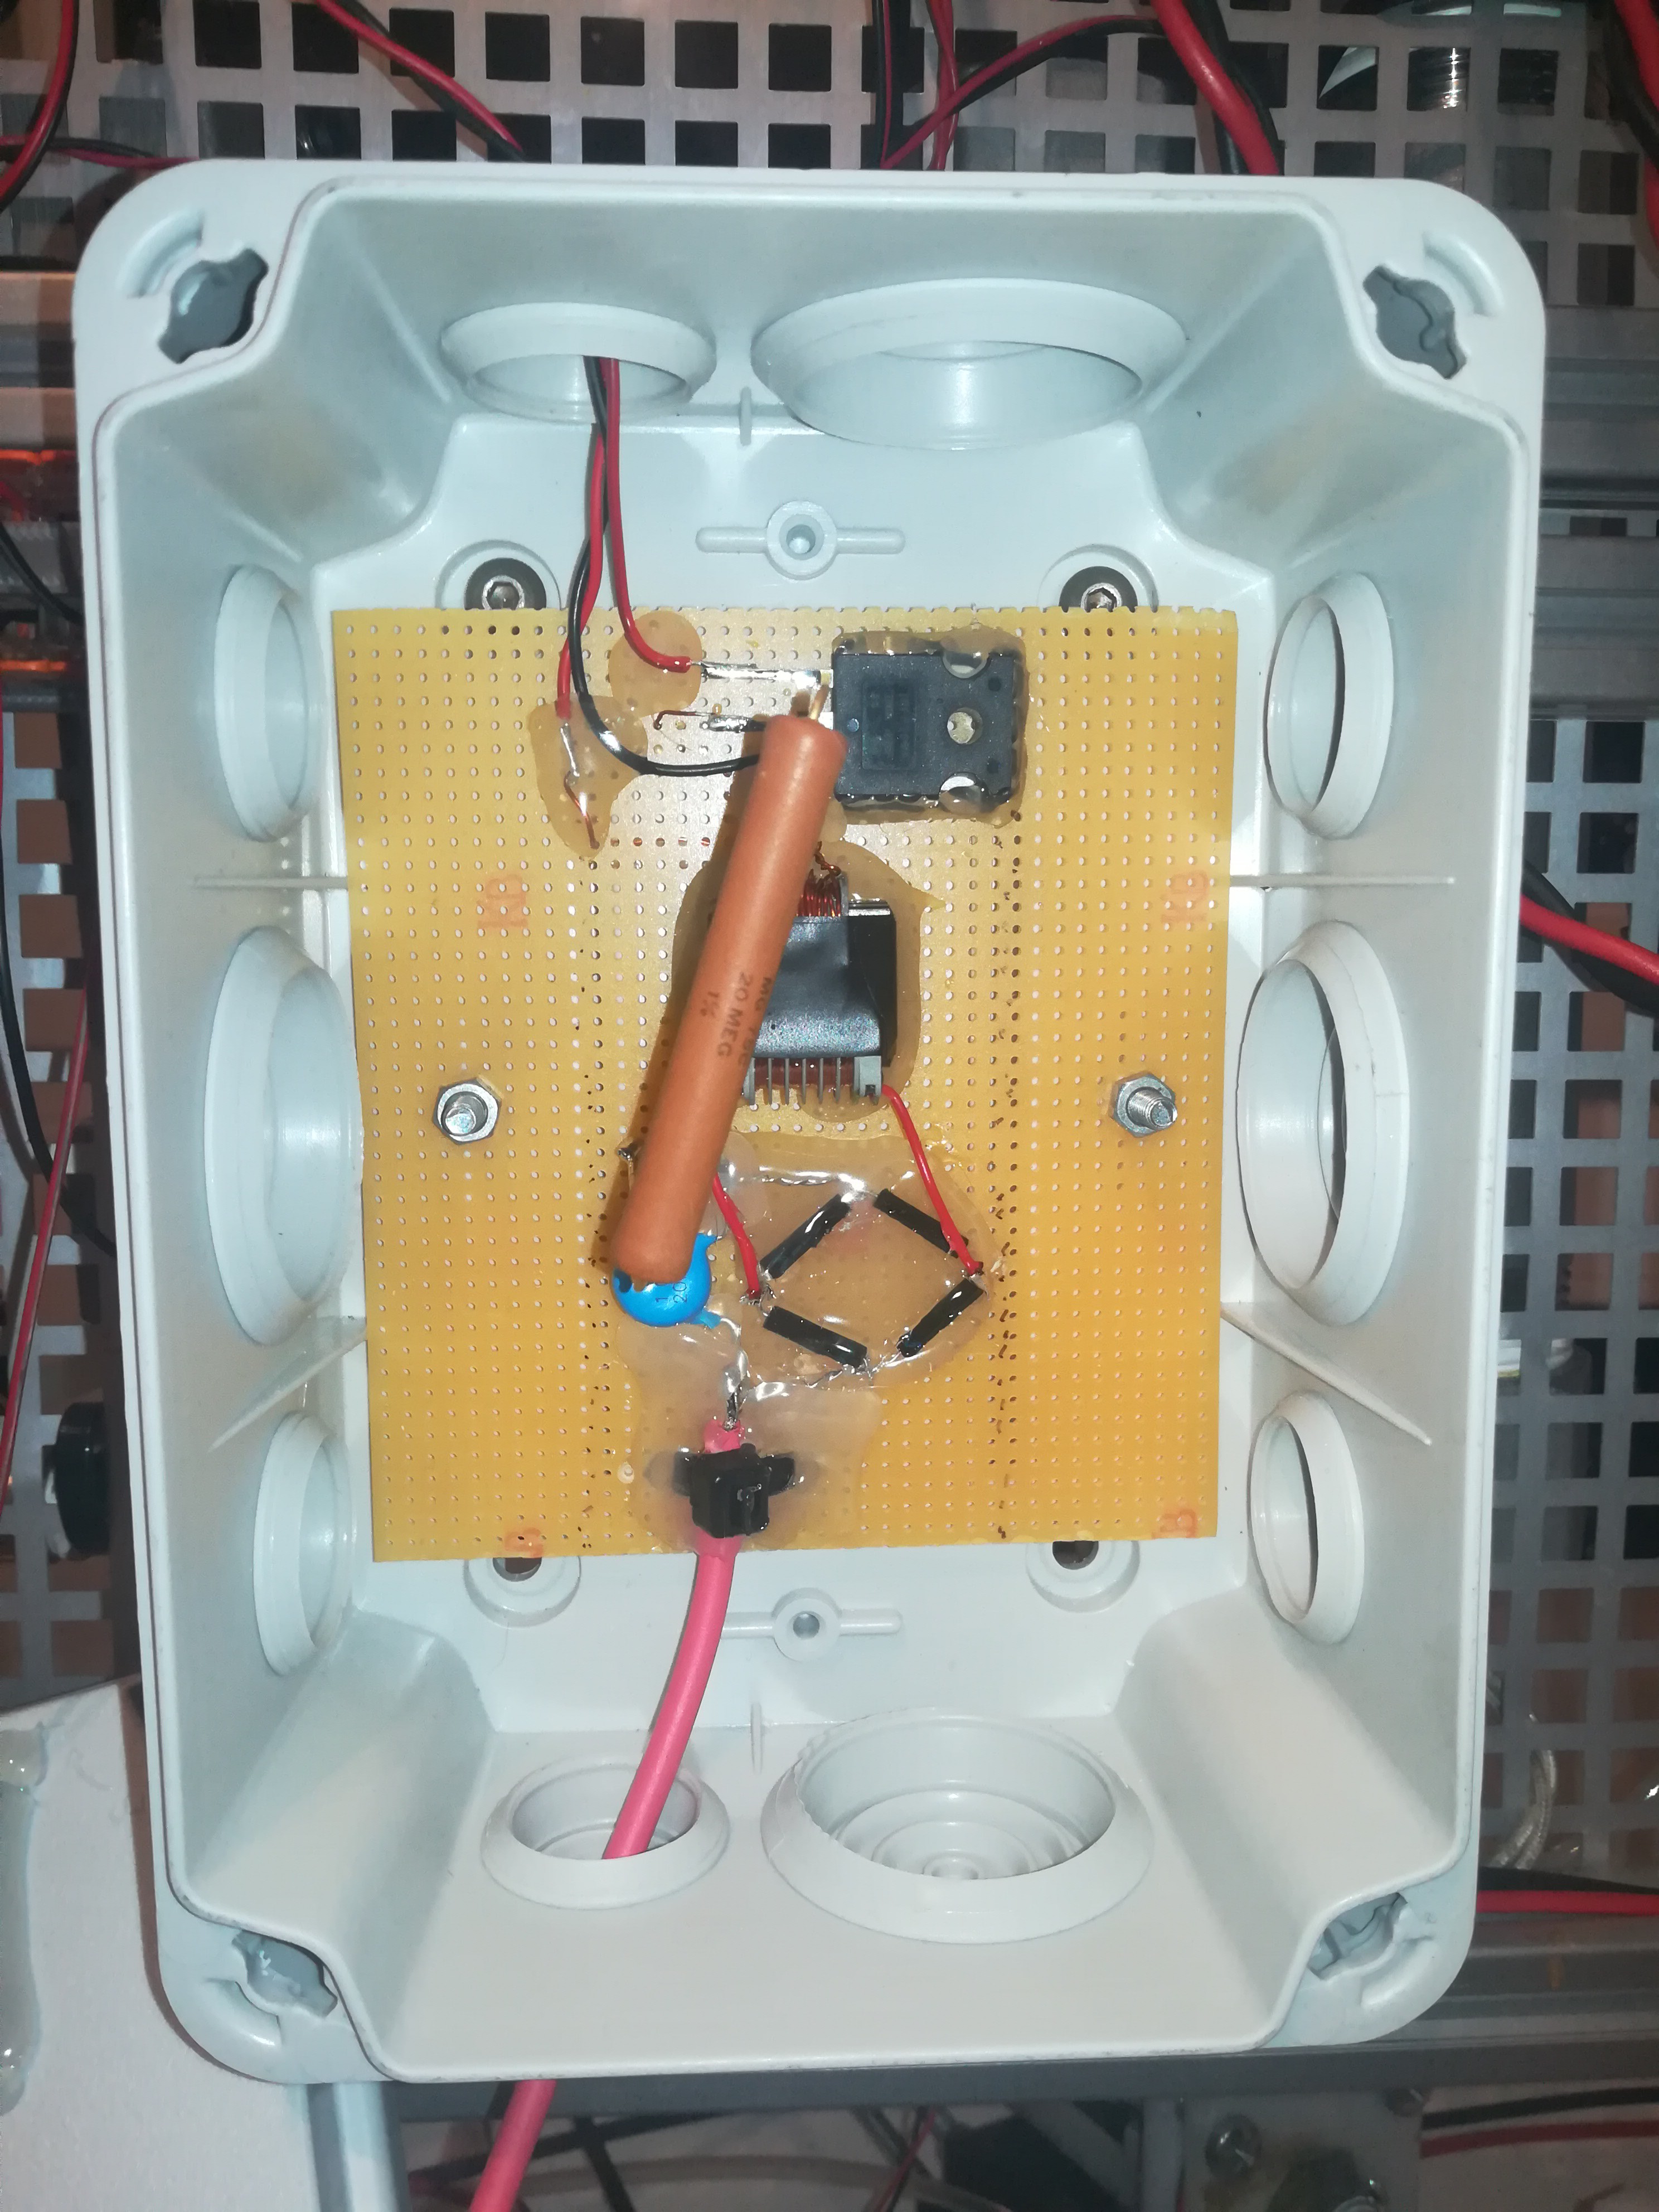 Here you can see my adjustable 3-6kV power supply. The output voltage can be adjusted by changing the switching frequency of the MOSFET.
Higher Frequency = Less Voltage
Lower Frequency = More Voltage
Because there was nothing out of the box available, I had to build it by myself.
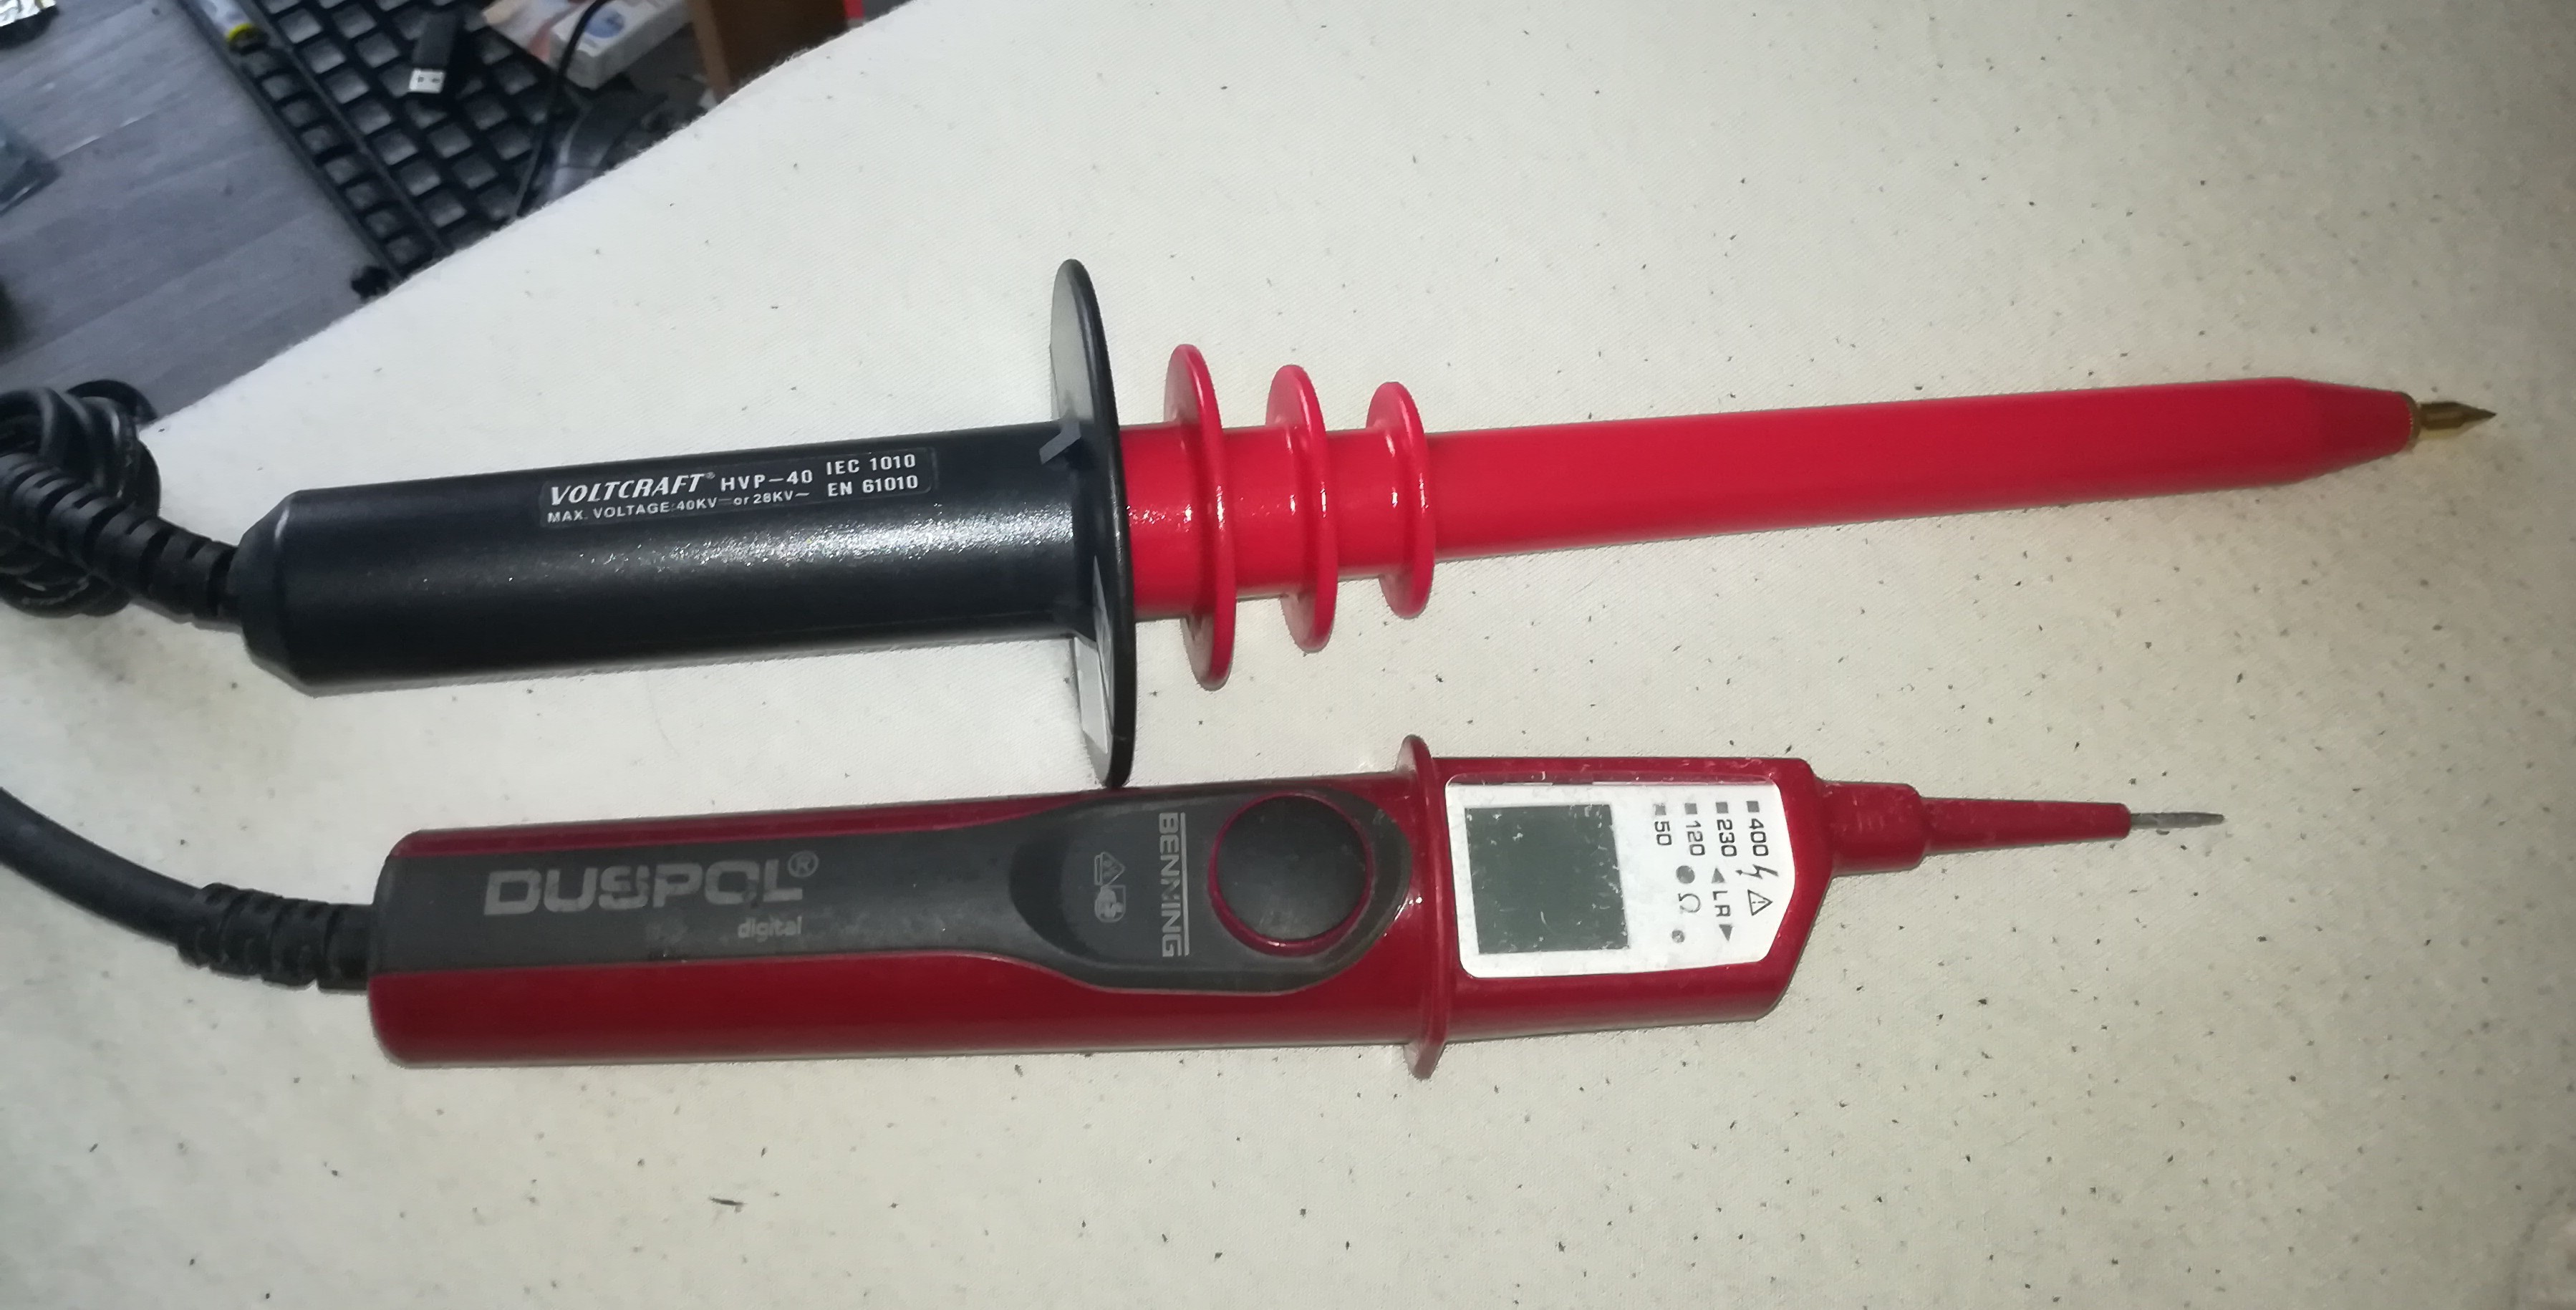
First, I got myself a high-voltage probe, so that I could measure the high-voltage output without destroying my multimeter. The probe divides the voltage 1:1000 so that you can read like 4.20V for 4200V on the multimeter.
After that, I looked for a circuit that can generate adjustable 3-6kV while being easy to build.
I started with one of these 15kV modules that you can find on Amazon, eBay, and Aliexpress.
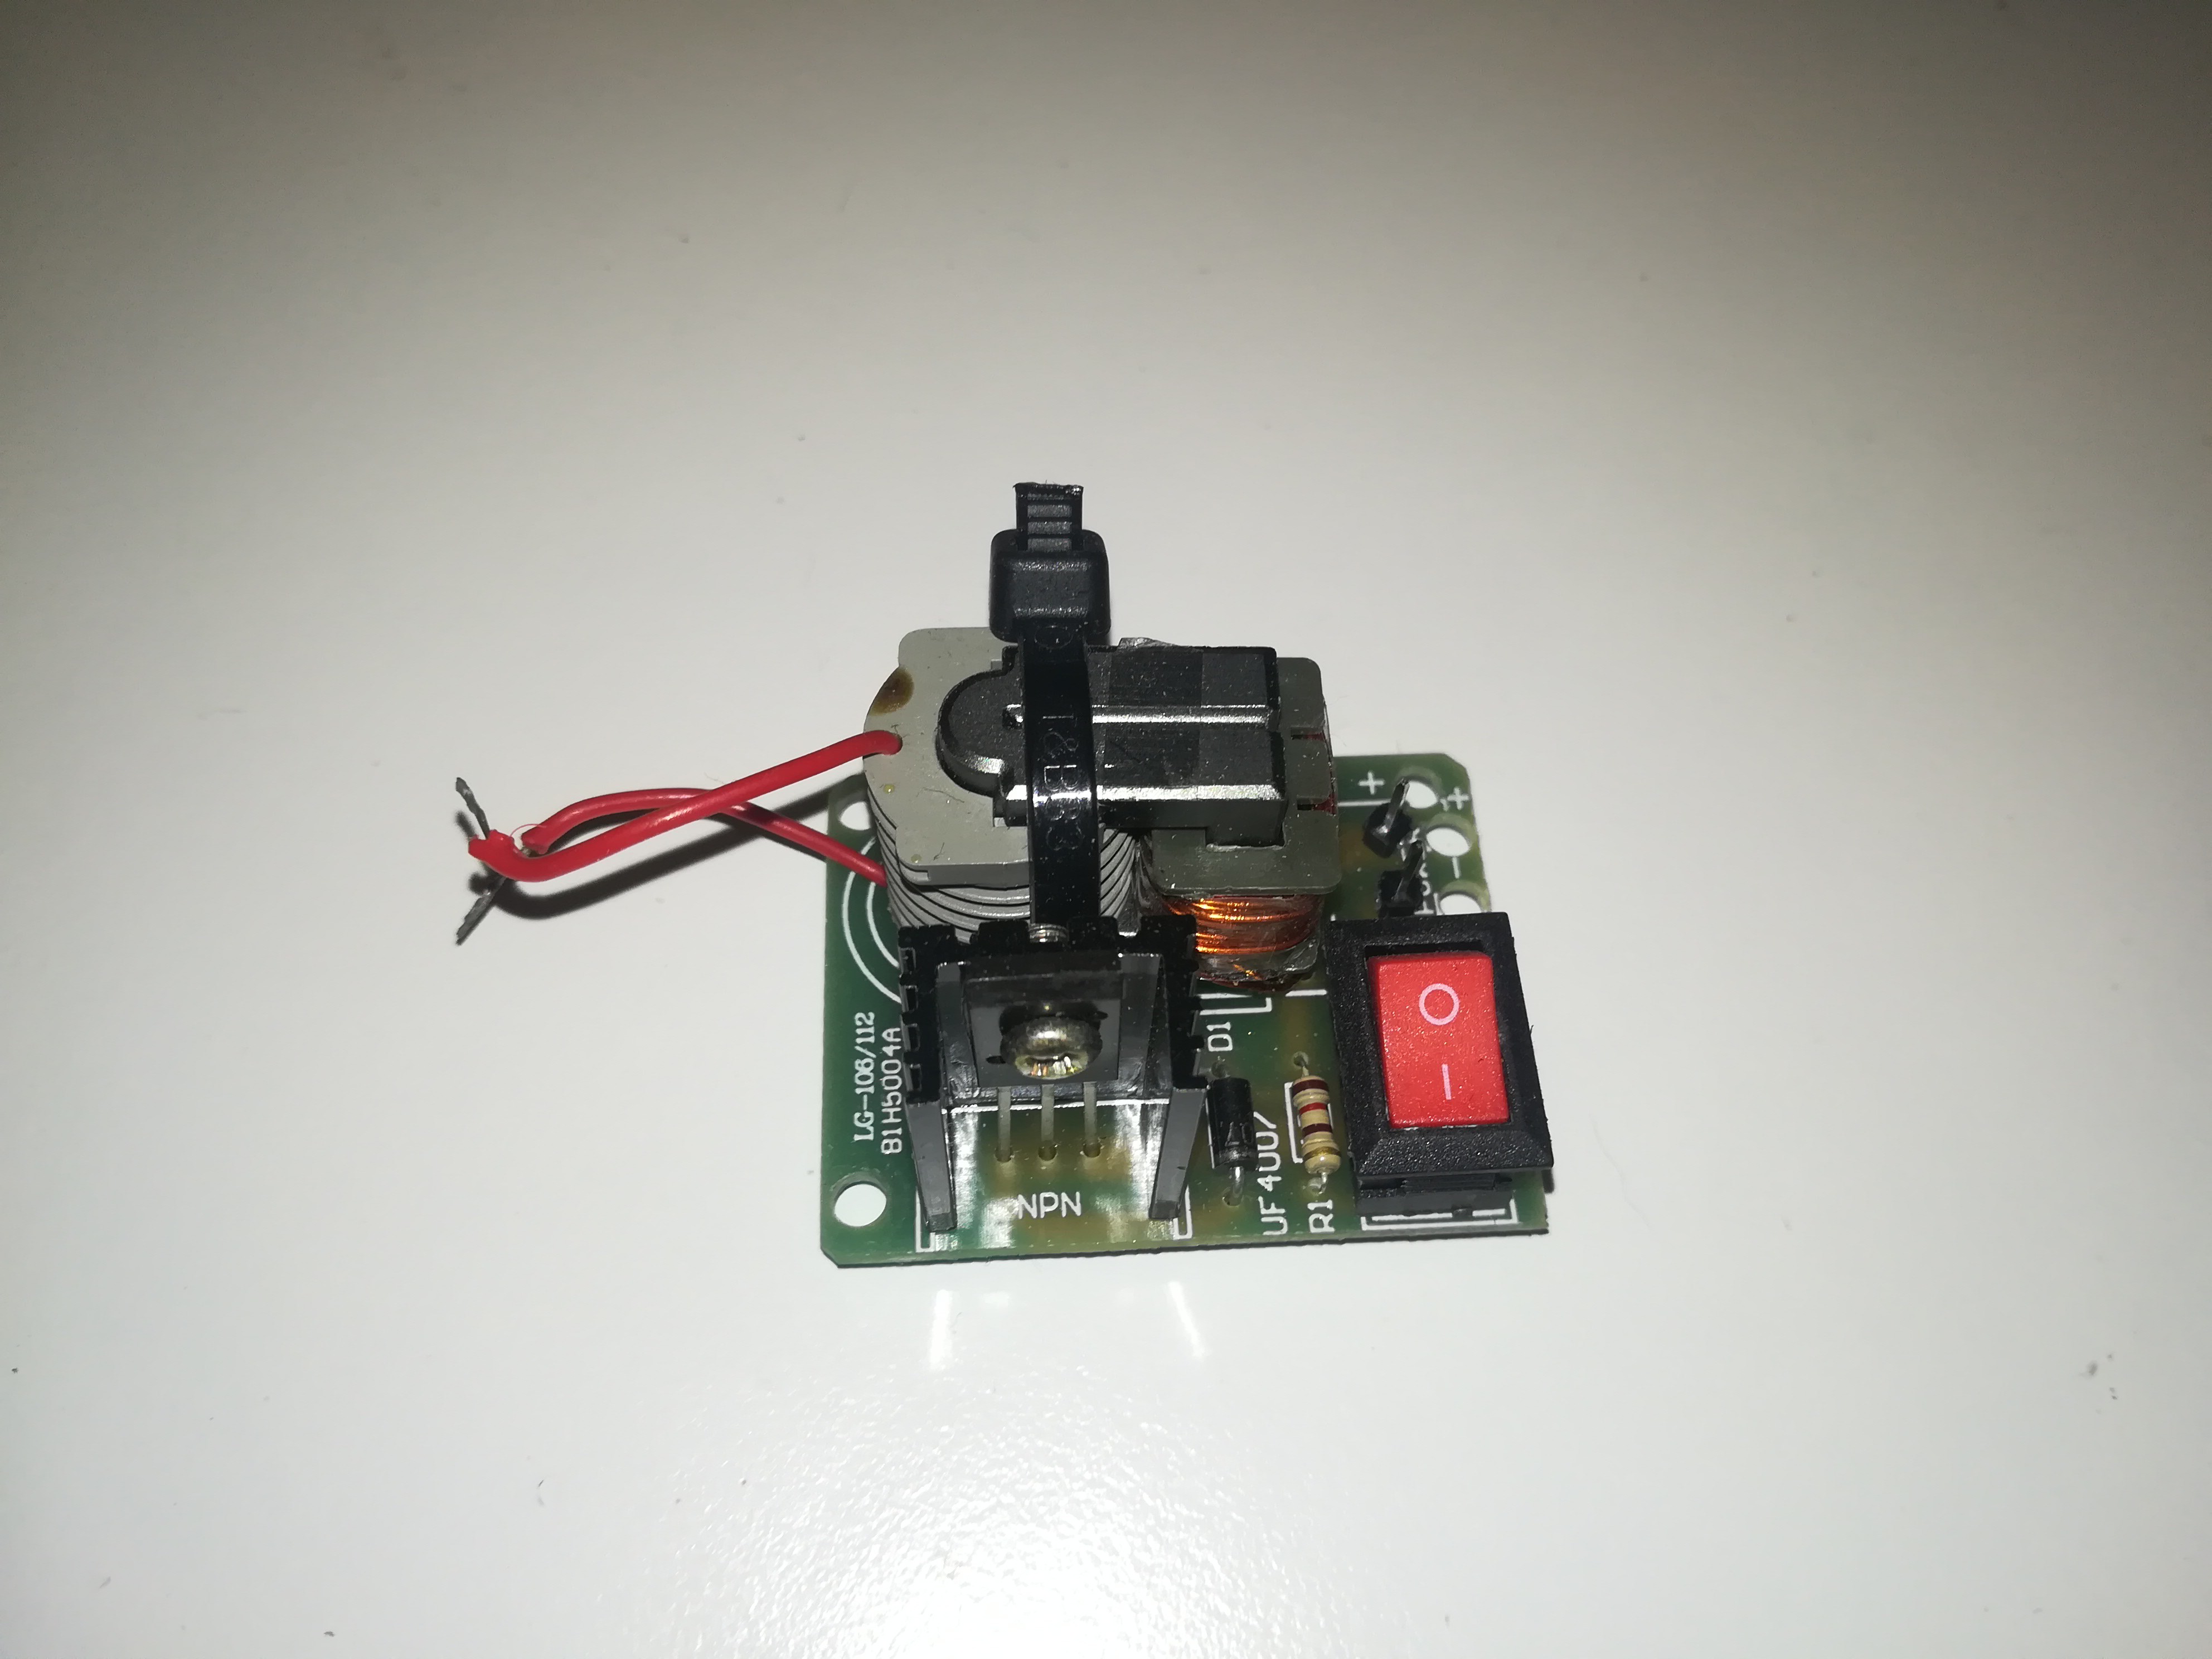
This module uses a transformer that gets switched at high frequency by a transistor for generating high voltage. Besides the transformer's primary winding, it also has a feedback winding for controlling the transistor which makes the circuit self-oscillating, so that it does not need any sort of frequency generator to run.
Unfortunately, in contrast to a TV's flyback transformer, it has no internal rectifier diodes, so its output is AC. It also has no way of controlling the output voltage, so it can not be used for the CIJ printer without modification.
Besides that, the transformer that comes with the module is very nice for generating high voltages and because these modules are available almost anywhere, it should be no problem to build the circuit with the same transformer anywhere else.
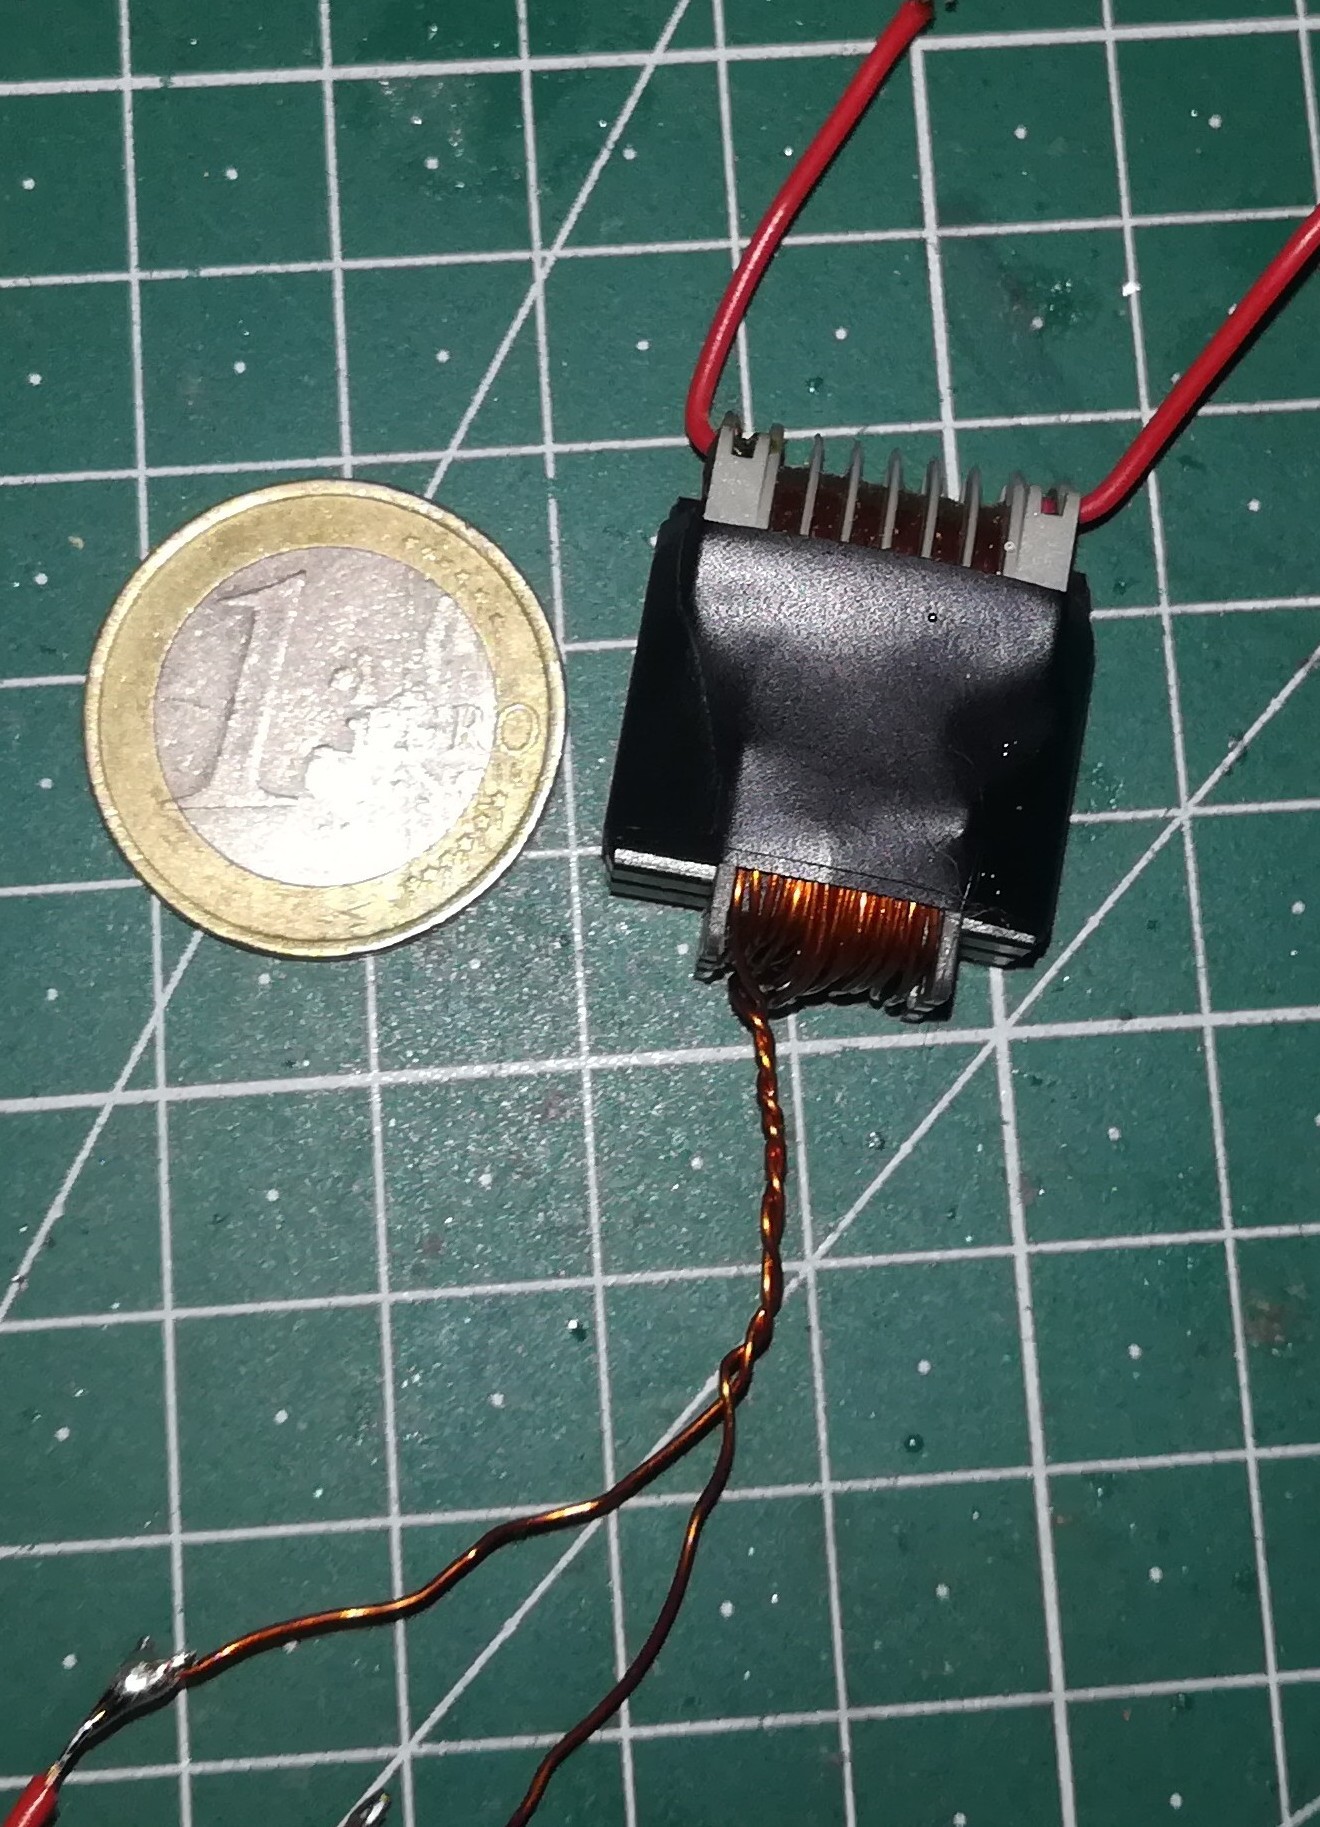
The modules usually come as DIY kits, so there was no need to first desolder the transformer from the PCB.
Instead, it was only needed to remove the feedback winding from the primary side of the transformer to get it ready for further use.
After removing the feedback winding I tried building a new transformer driver circuit, but this time driven by a function generator and an IRFP260 MOSFET. I also added multiple 1000V diodes in series to form a high-voltage diode that converted the output of the transformer to DC.
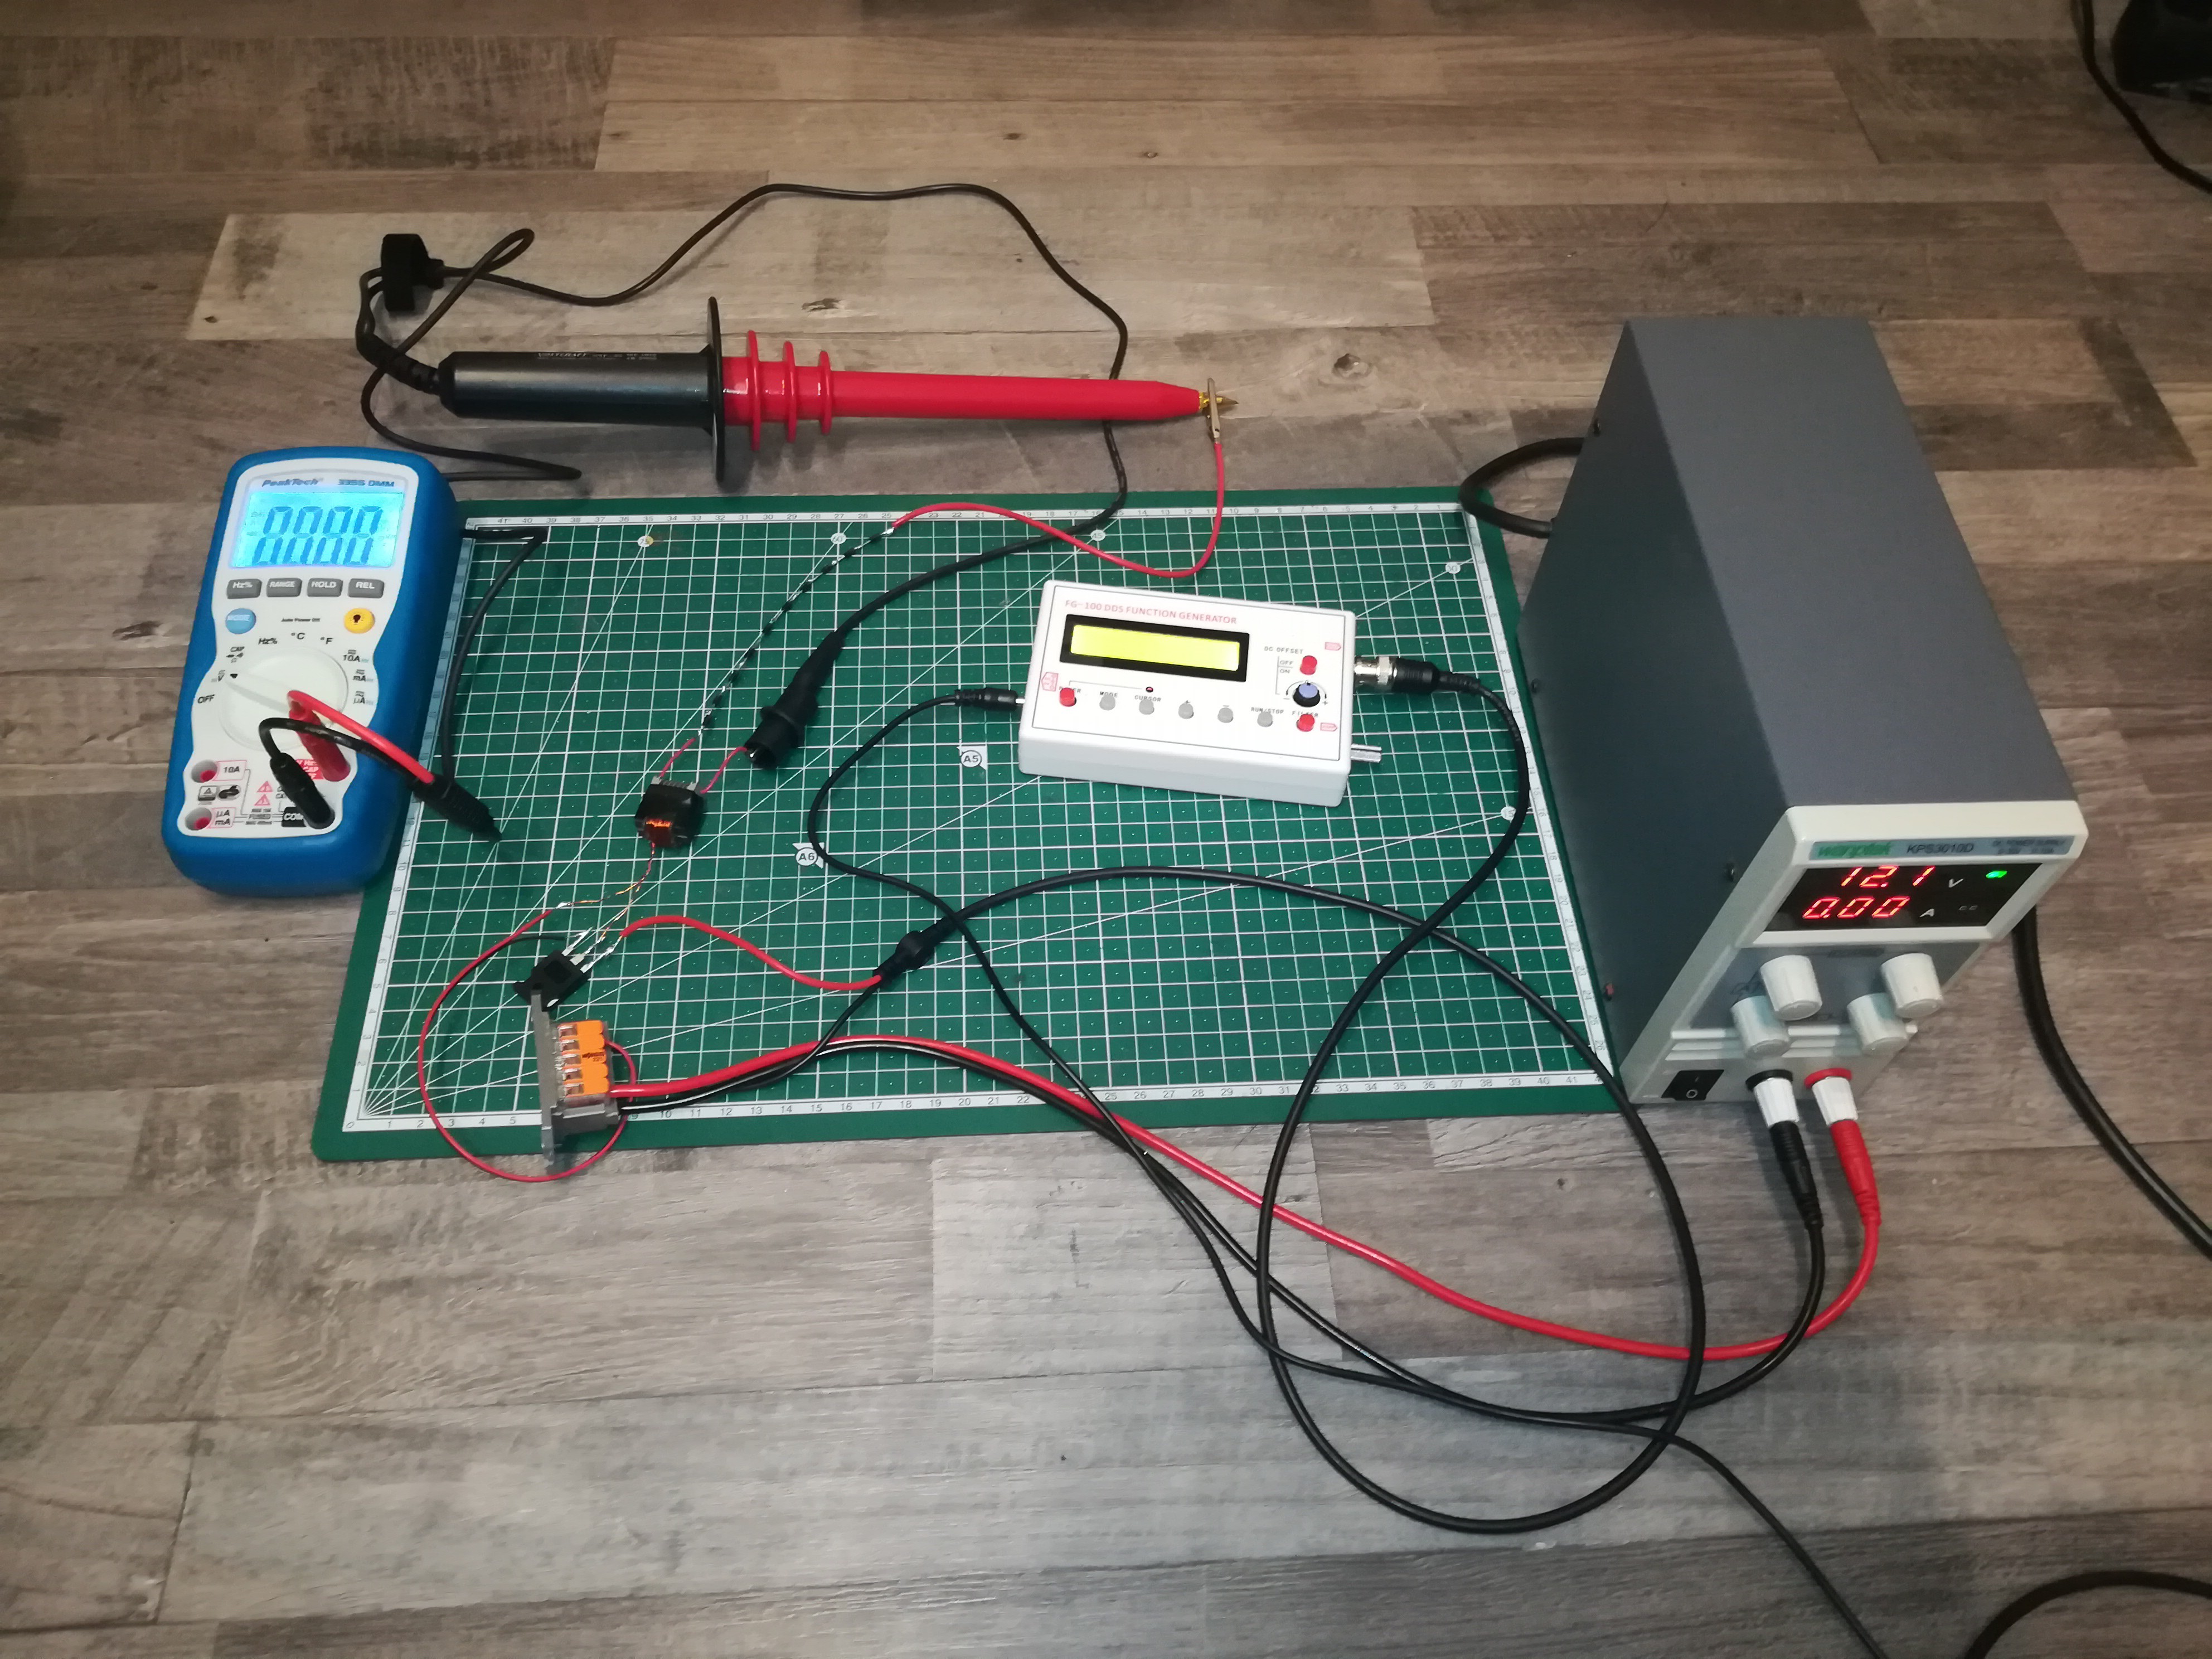
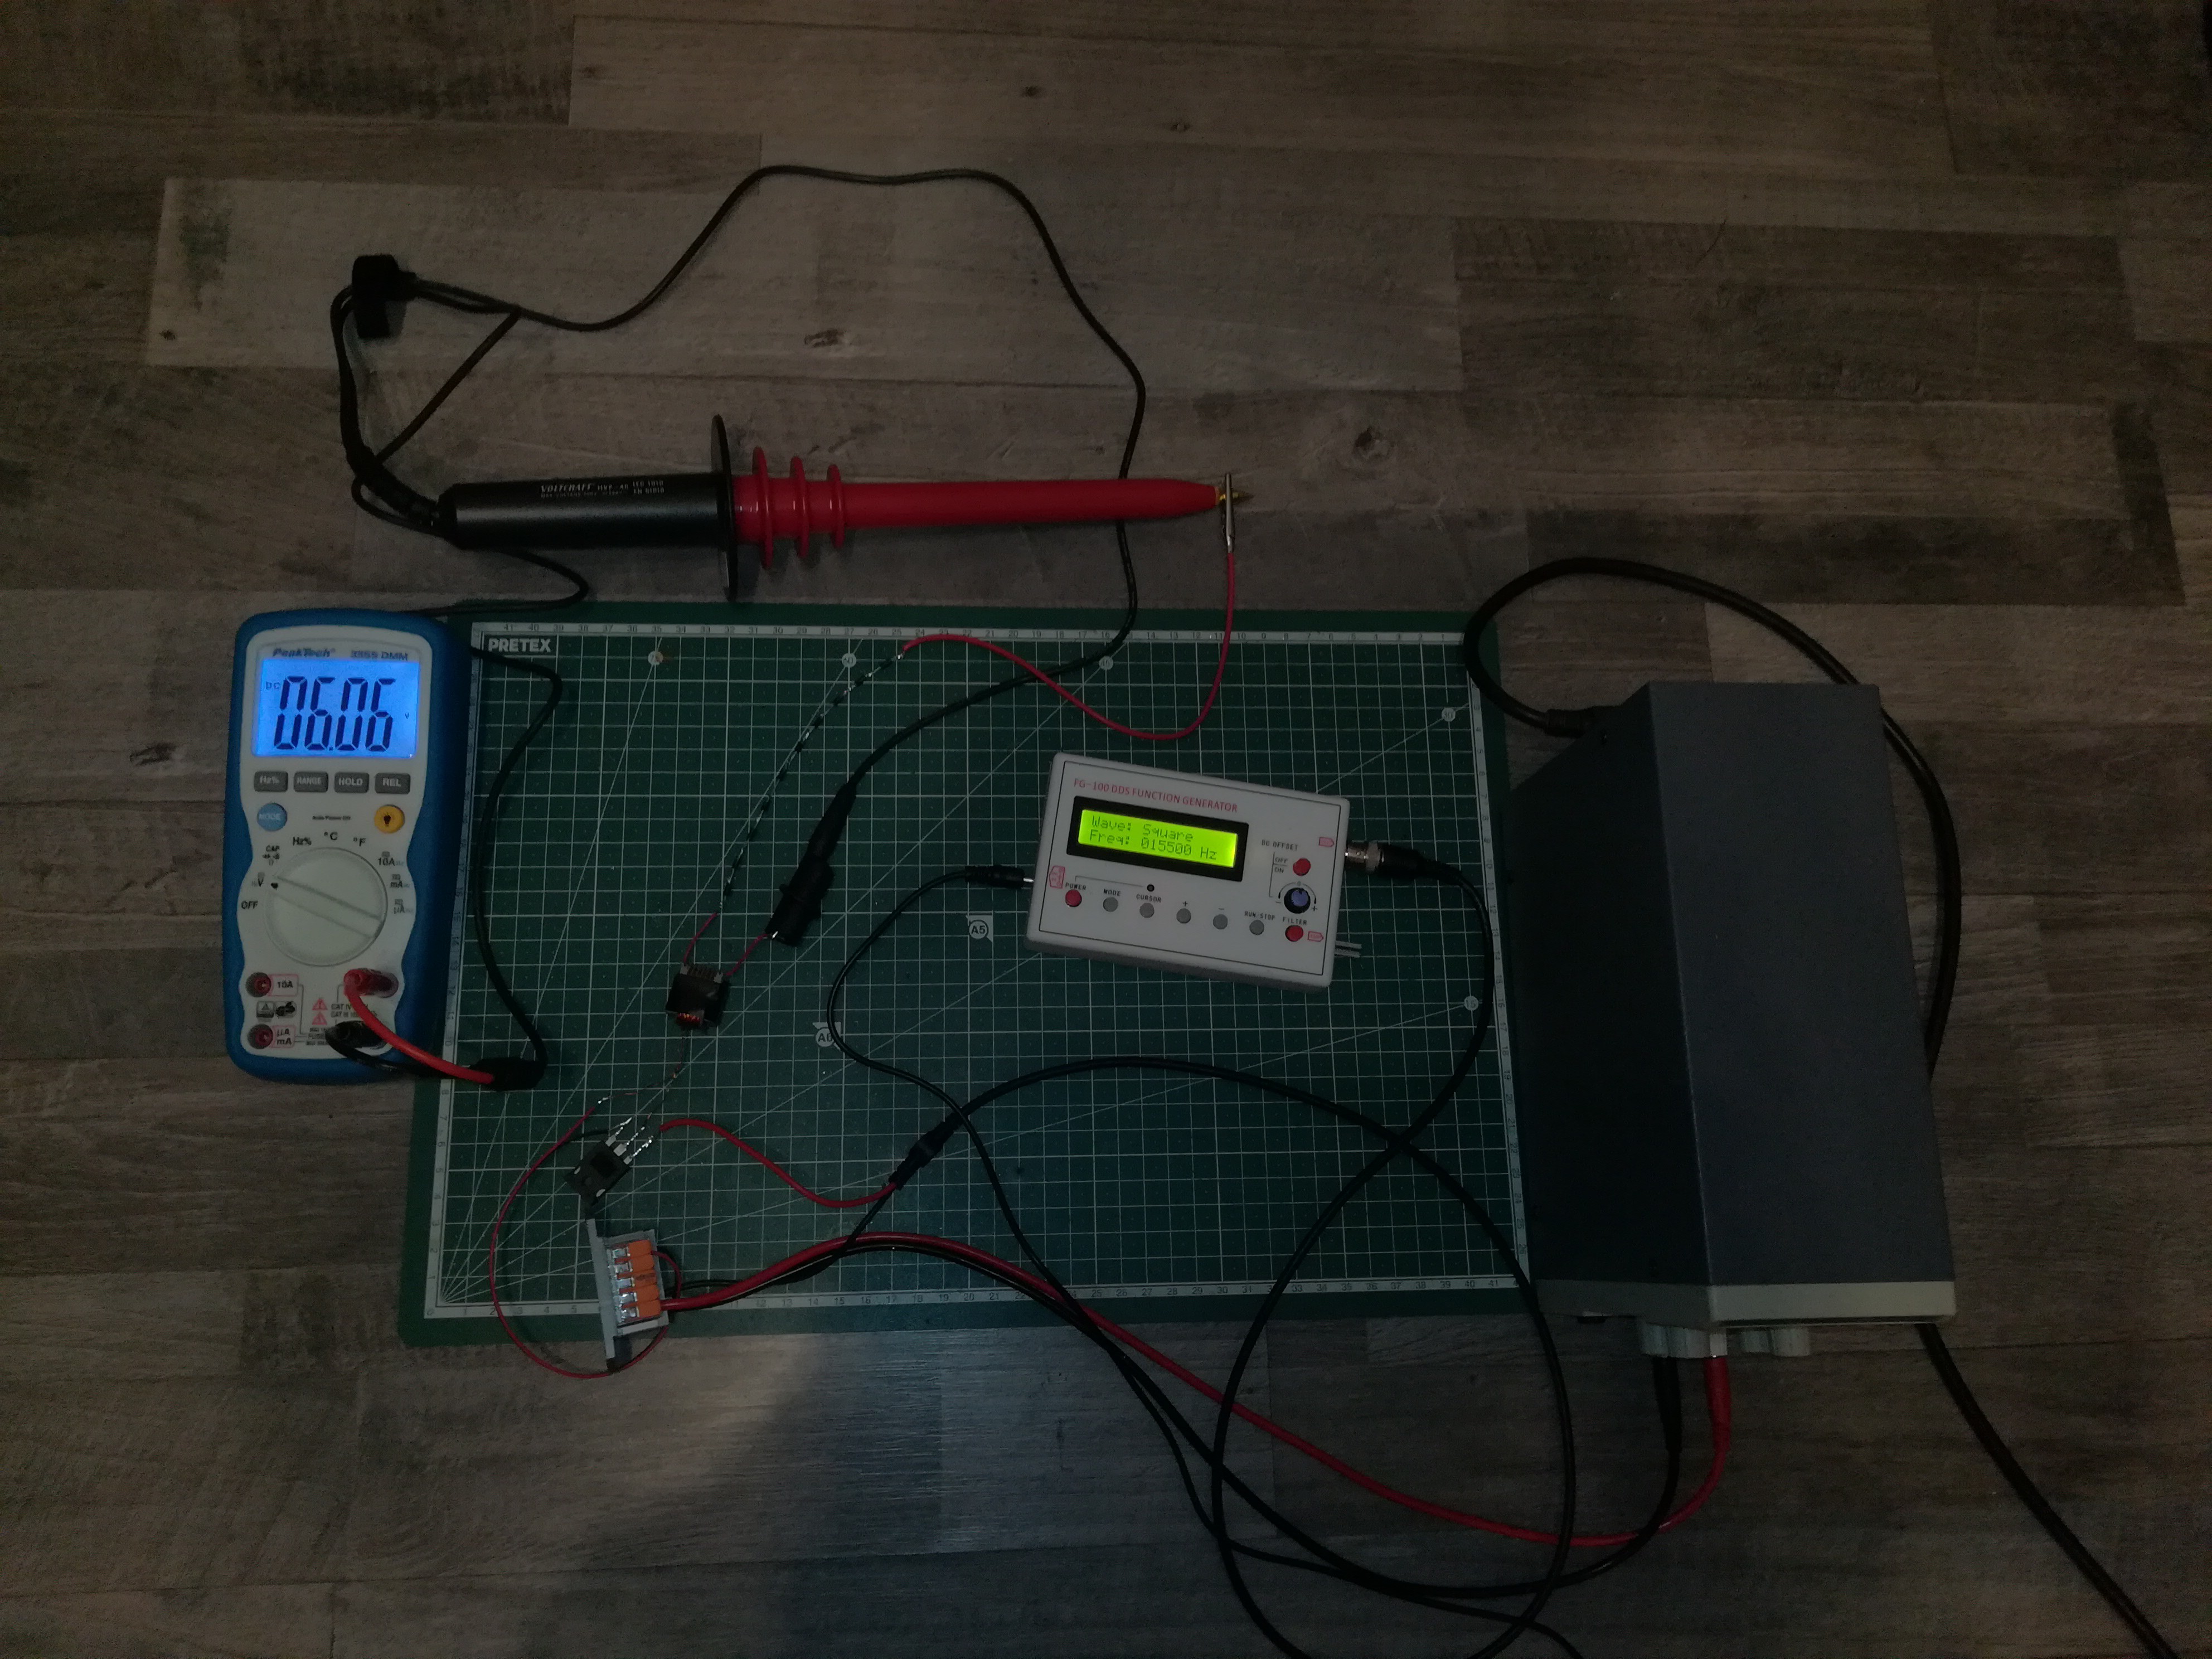
6060V @ 15500Hz
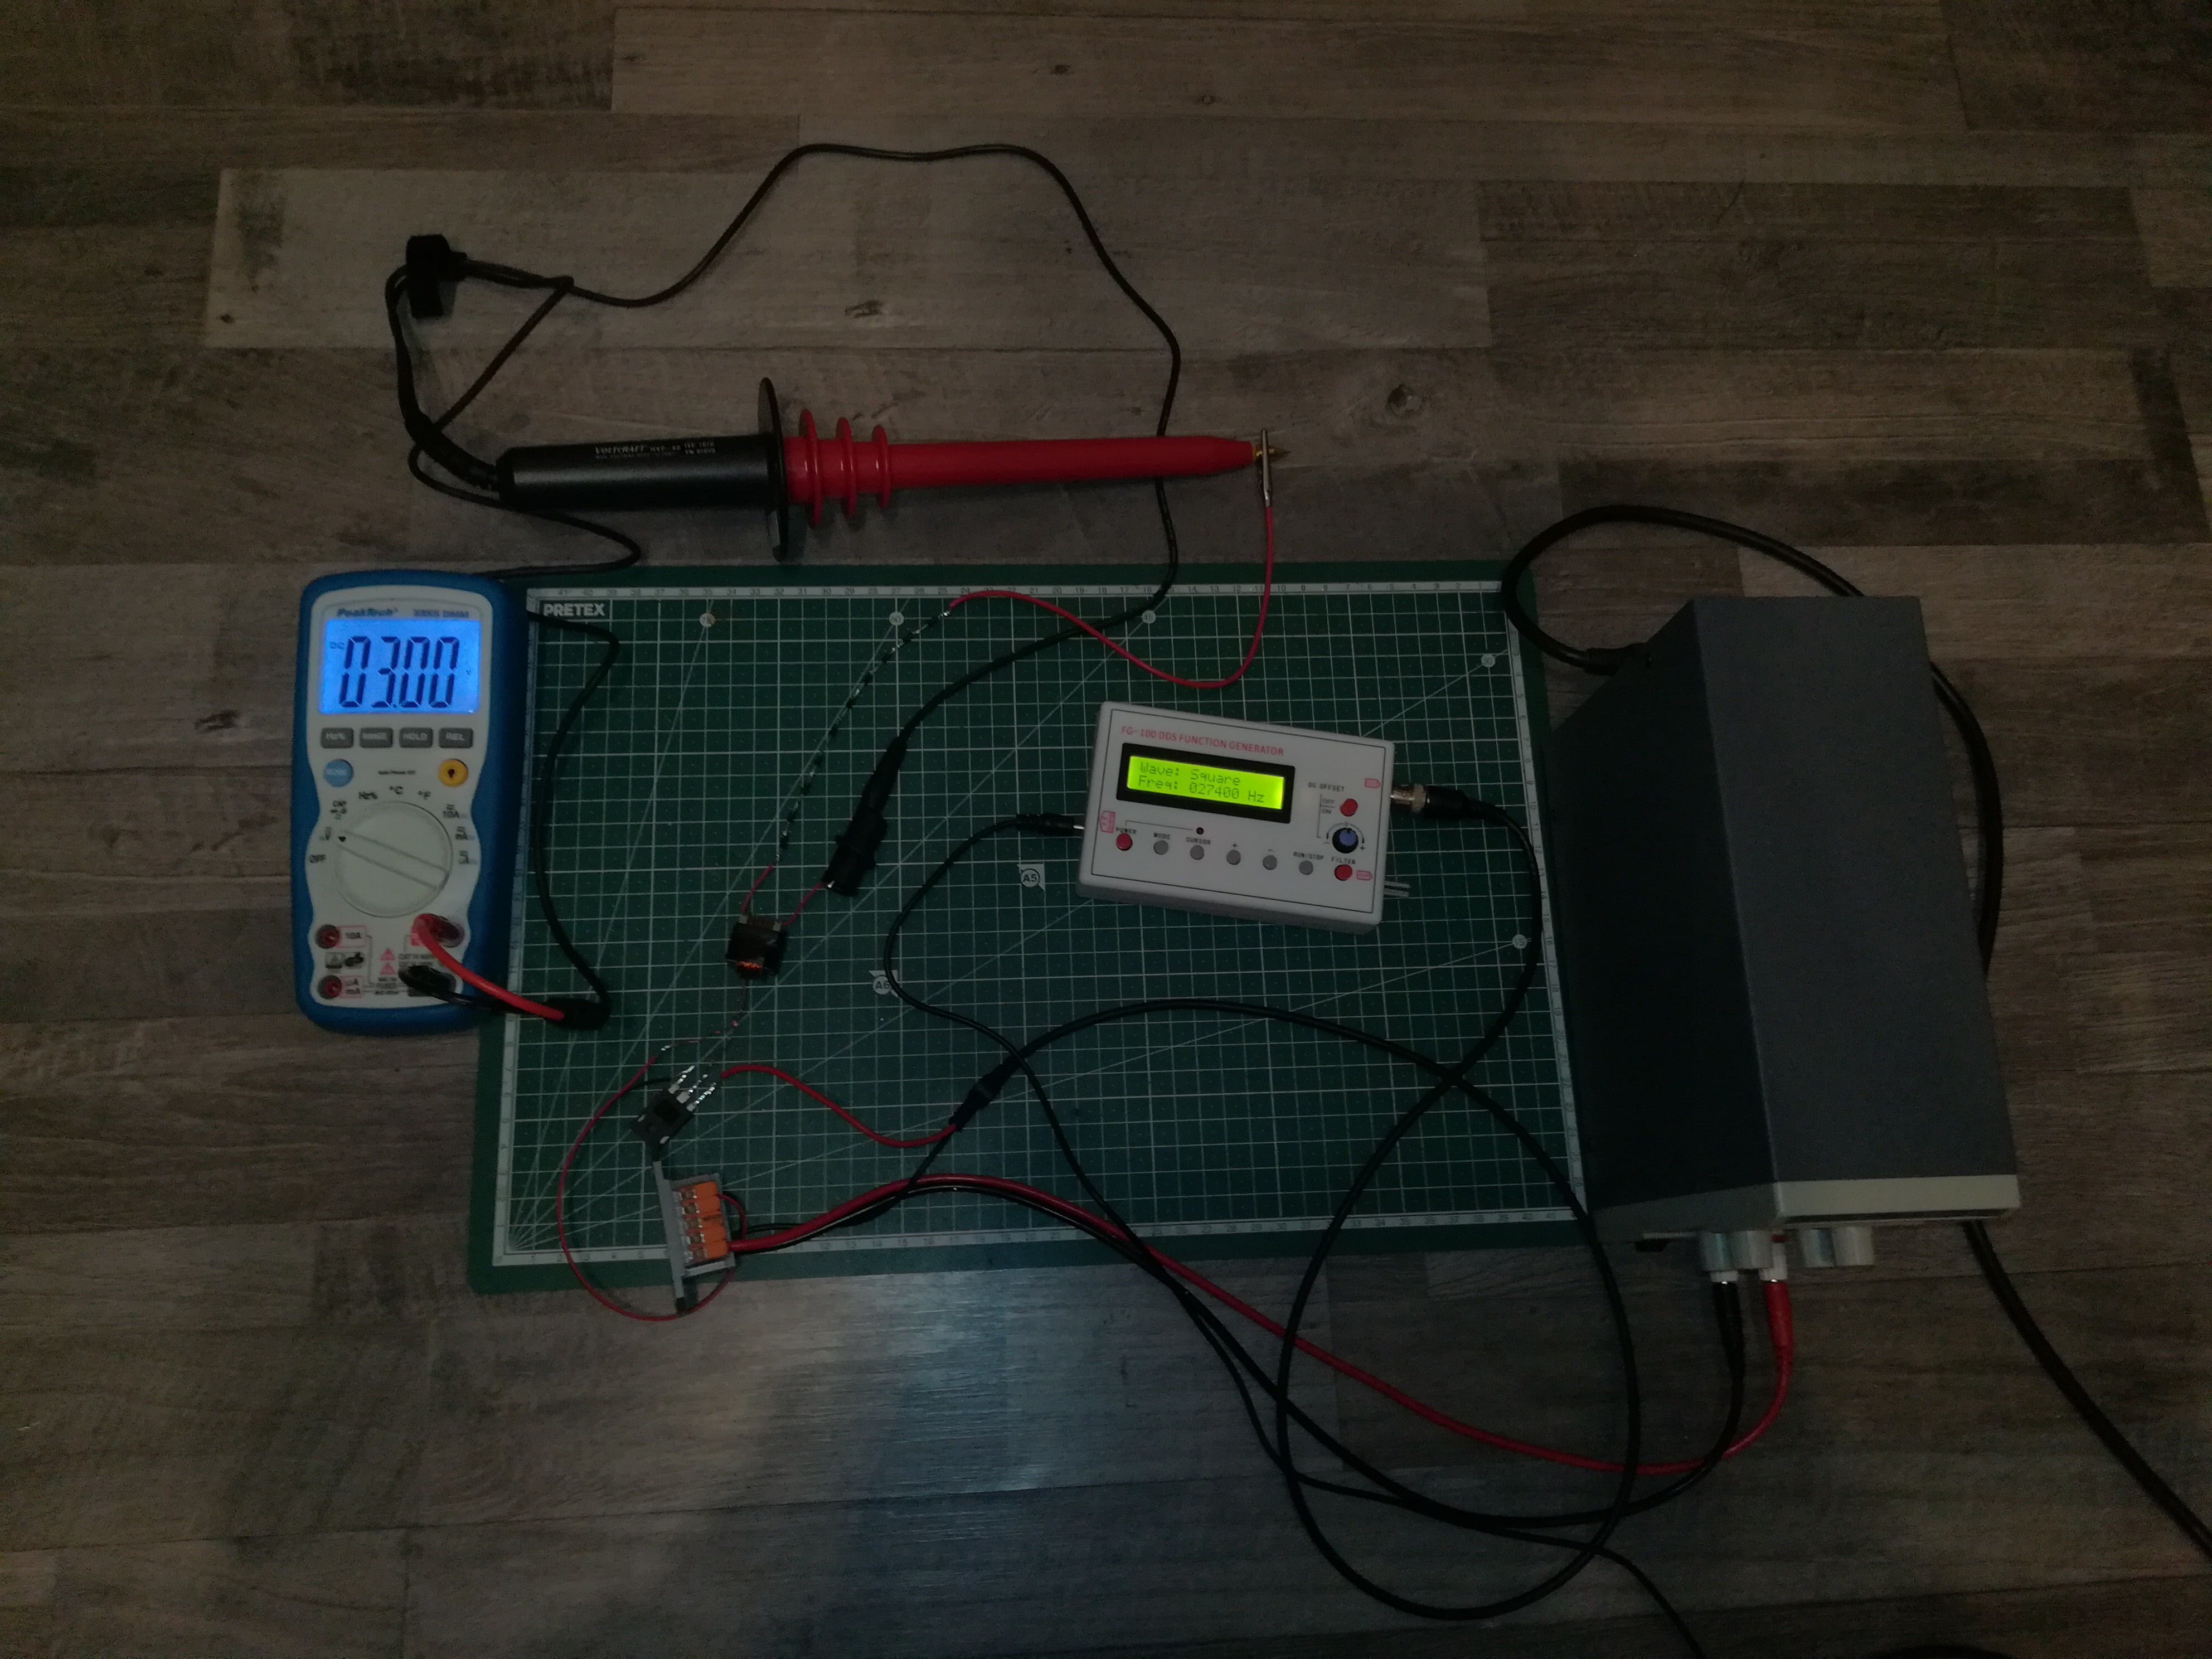
3000V @ 27400Hz
I tested out driving the MOSFET with PWM at different frequencies and noticed that the voltage at the output changed according to frequency as expected so I could continue with the work on the circuit.
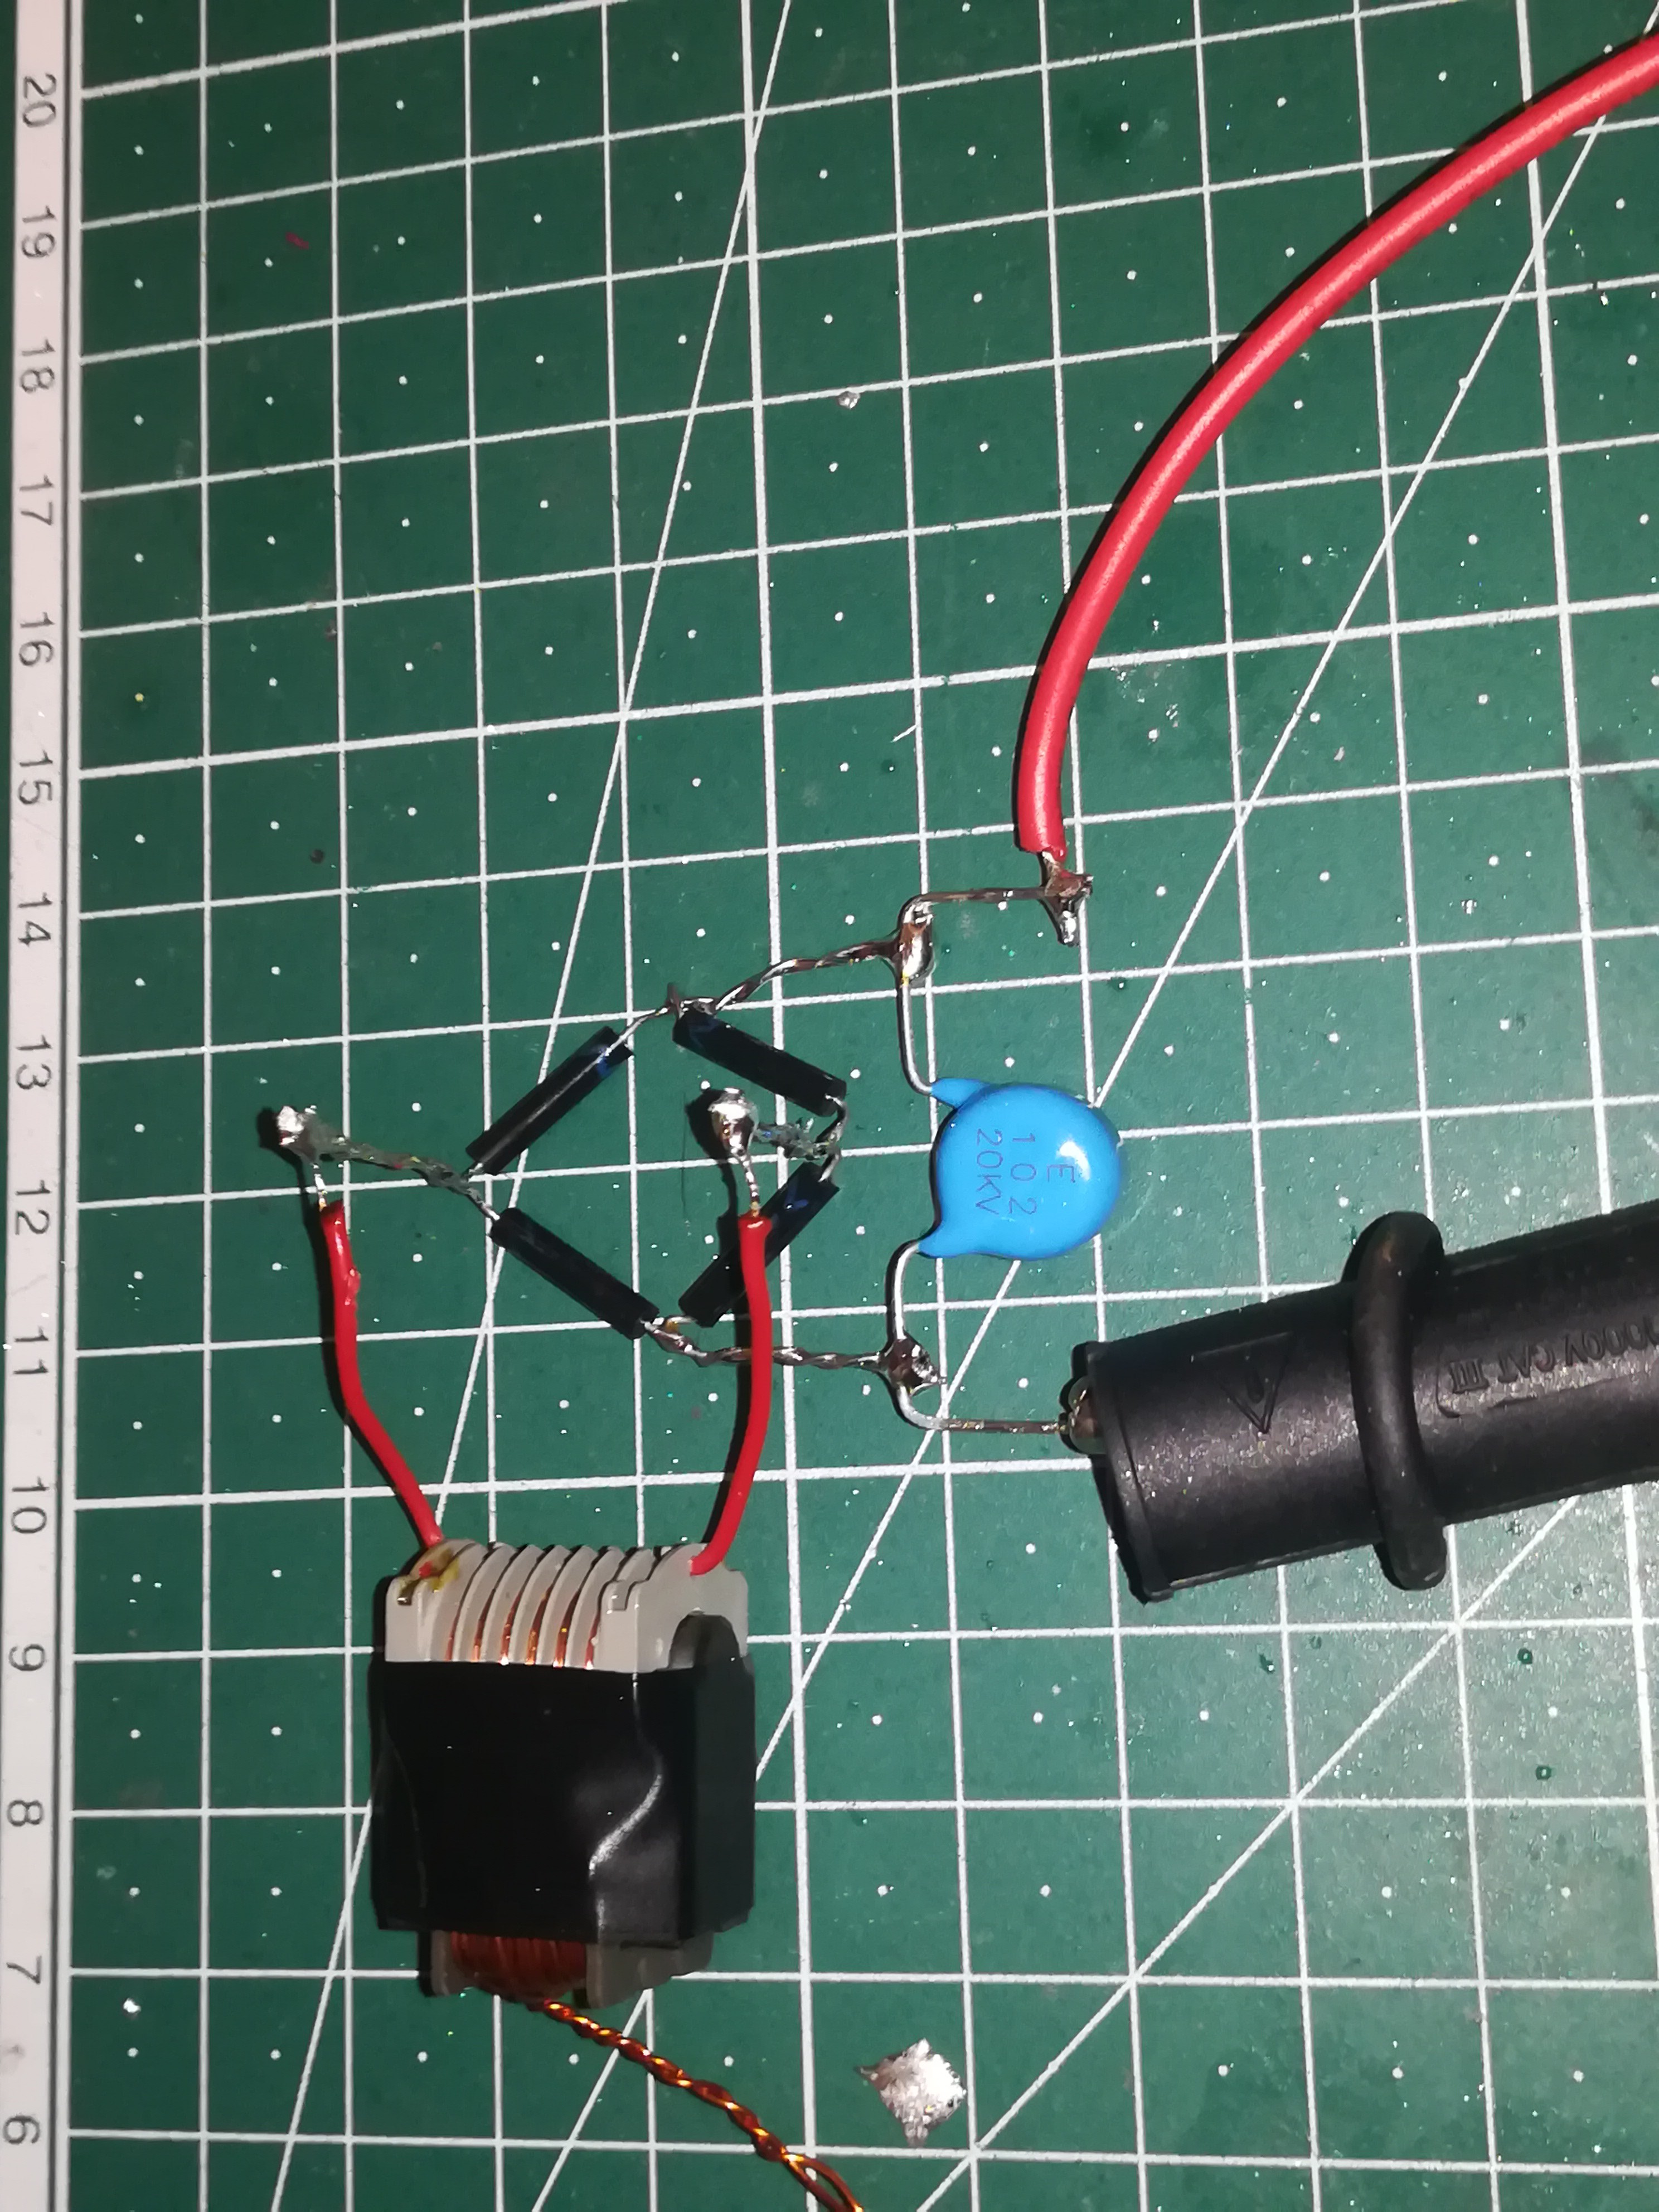
The diodes at the output could not provide real DC, but only the positive AC half wave and so I decided to build a bridge rectifier and add a capacitor to get rectified and smooth DC.
For that, I used four 20kV 5mA diodes to build a bridge rectifier and a 20kV 1nF capacitor for smoothing.
I tested it out and realized that I now could get a higher voltage with the same frequency.
I also tested out drawing some arcs and shorting the circuit, to find out what happens.
Unfortunately, in contrast to the last test circuit, with the capacitor added the circuit could provide enough current to destroy not only the MOSFET but also the function generator :/
Now, I had to find a way to limit the current to a safe level to prevent damage to the electronics in case of a short circuit. It later turned out that short circuits happen from time to time if the high voltage deflection plate gets unintended hit by some droplets.
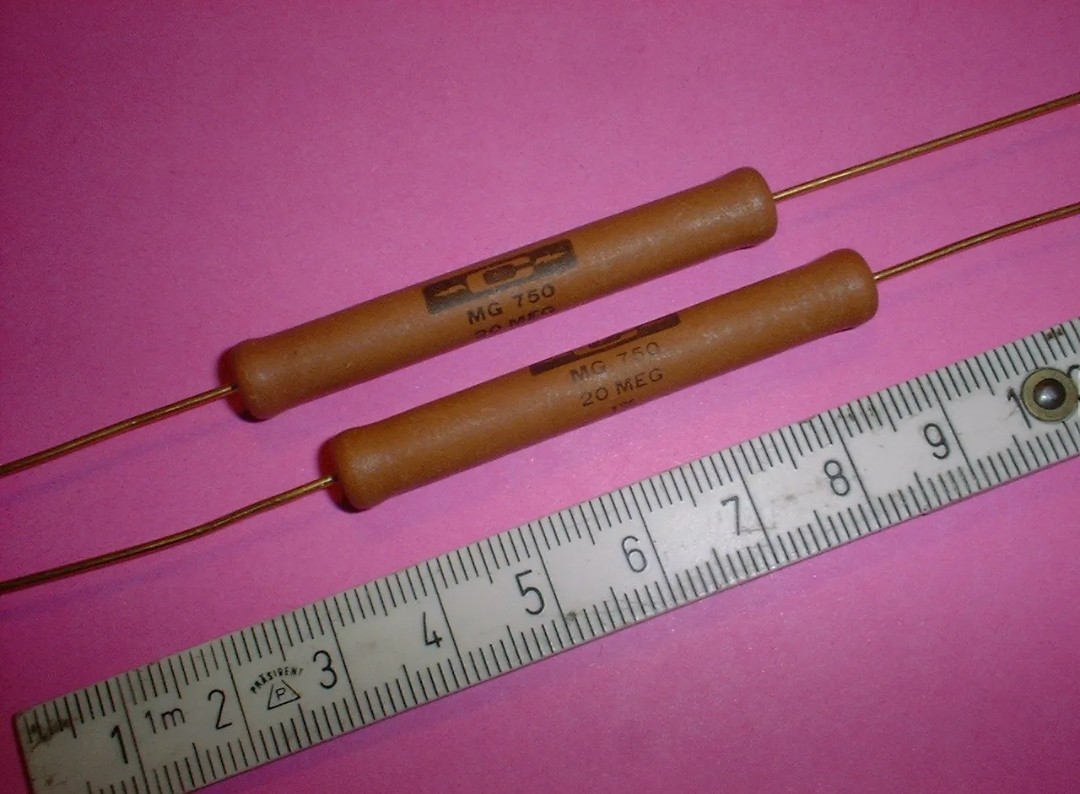
So, I got myself some 20mOhm 5W high voltage resistors to limit the current to a safe level for the electronics and also for the user.
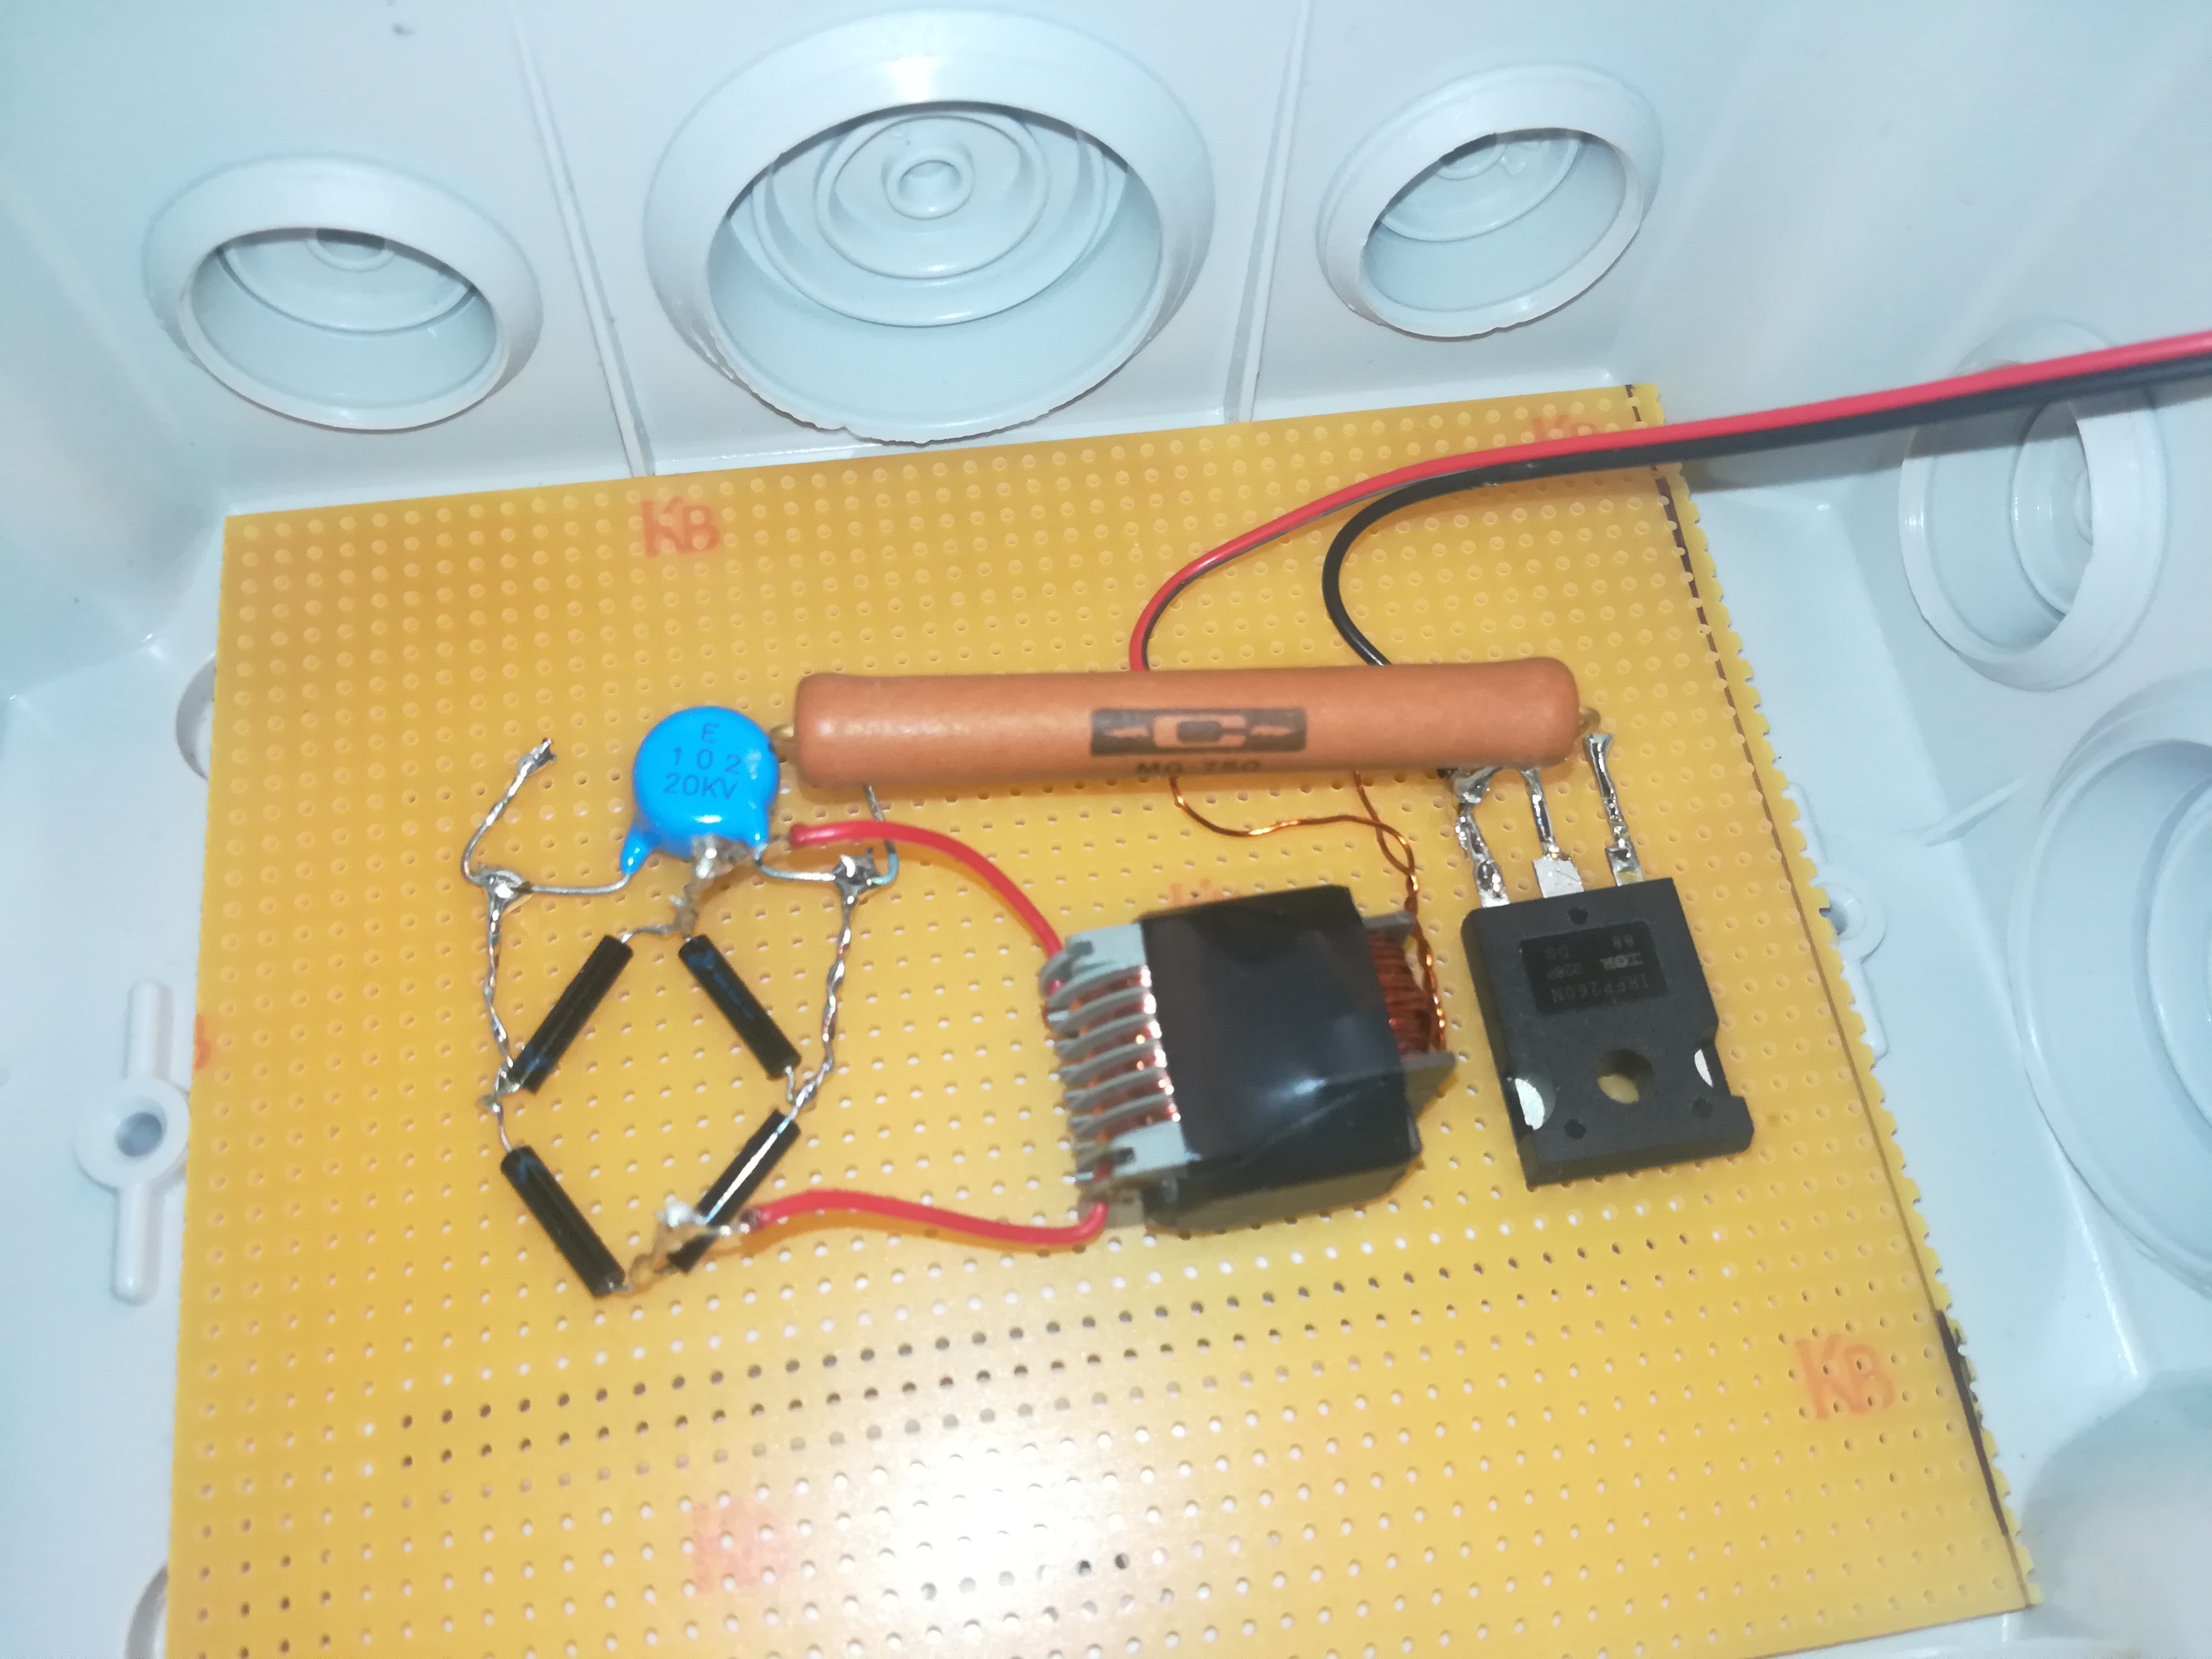
I added the resistor between the negative high voltage output and GND. Now it's possible to short the high voltage to ground without causing damage to the electronics.
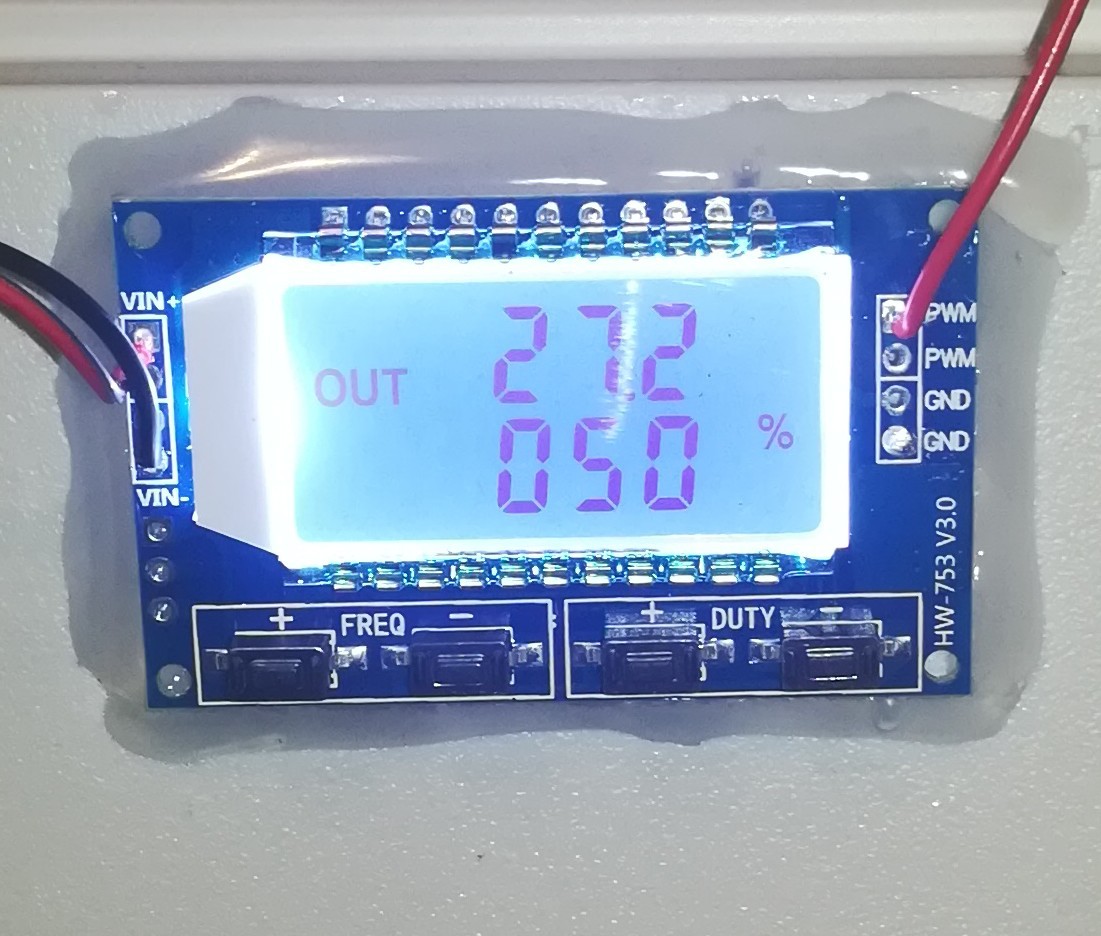
While waiting for a new function generator and a high-voltage cable to arrive, I tested out the nice XY-LPWM generator with integrated LCD, that I wanted to use for adjusting the switching frequency and with that the voltage of the high-voltage deflection plate.
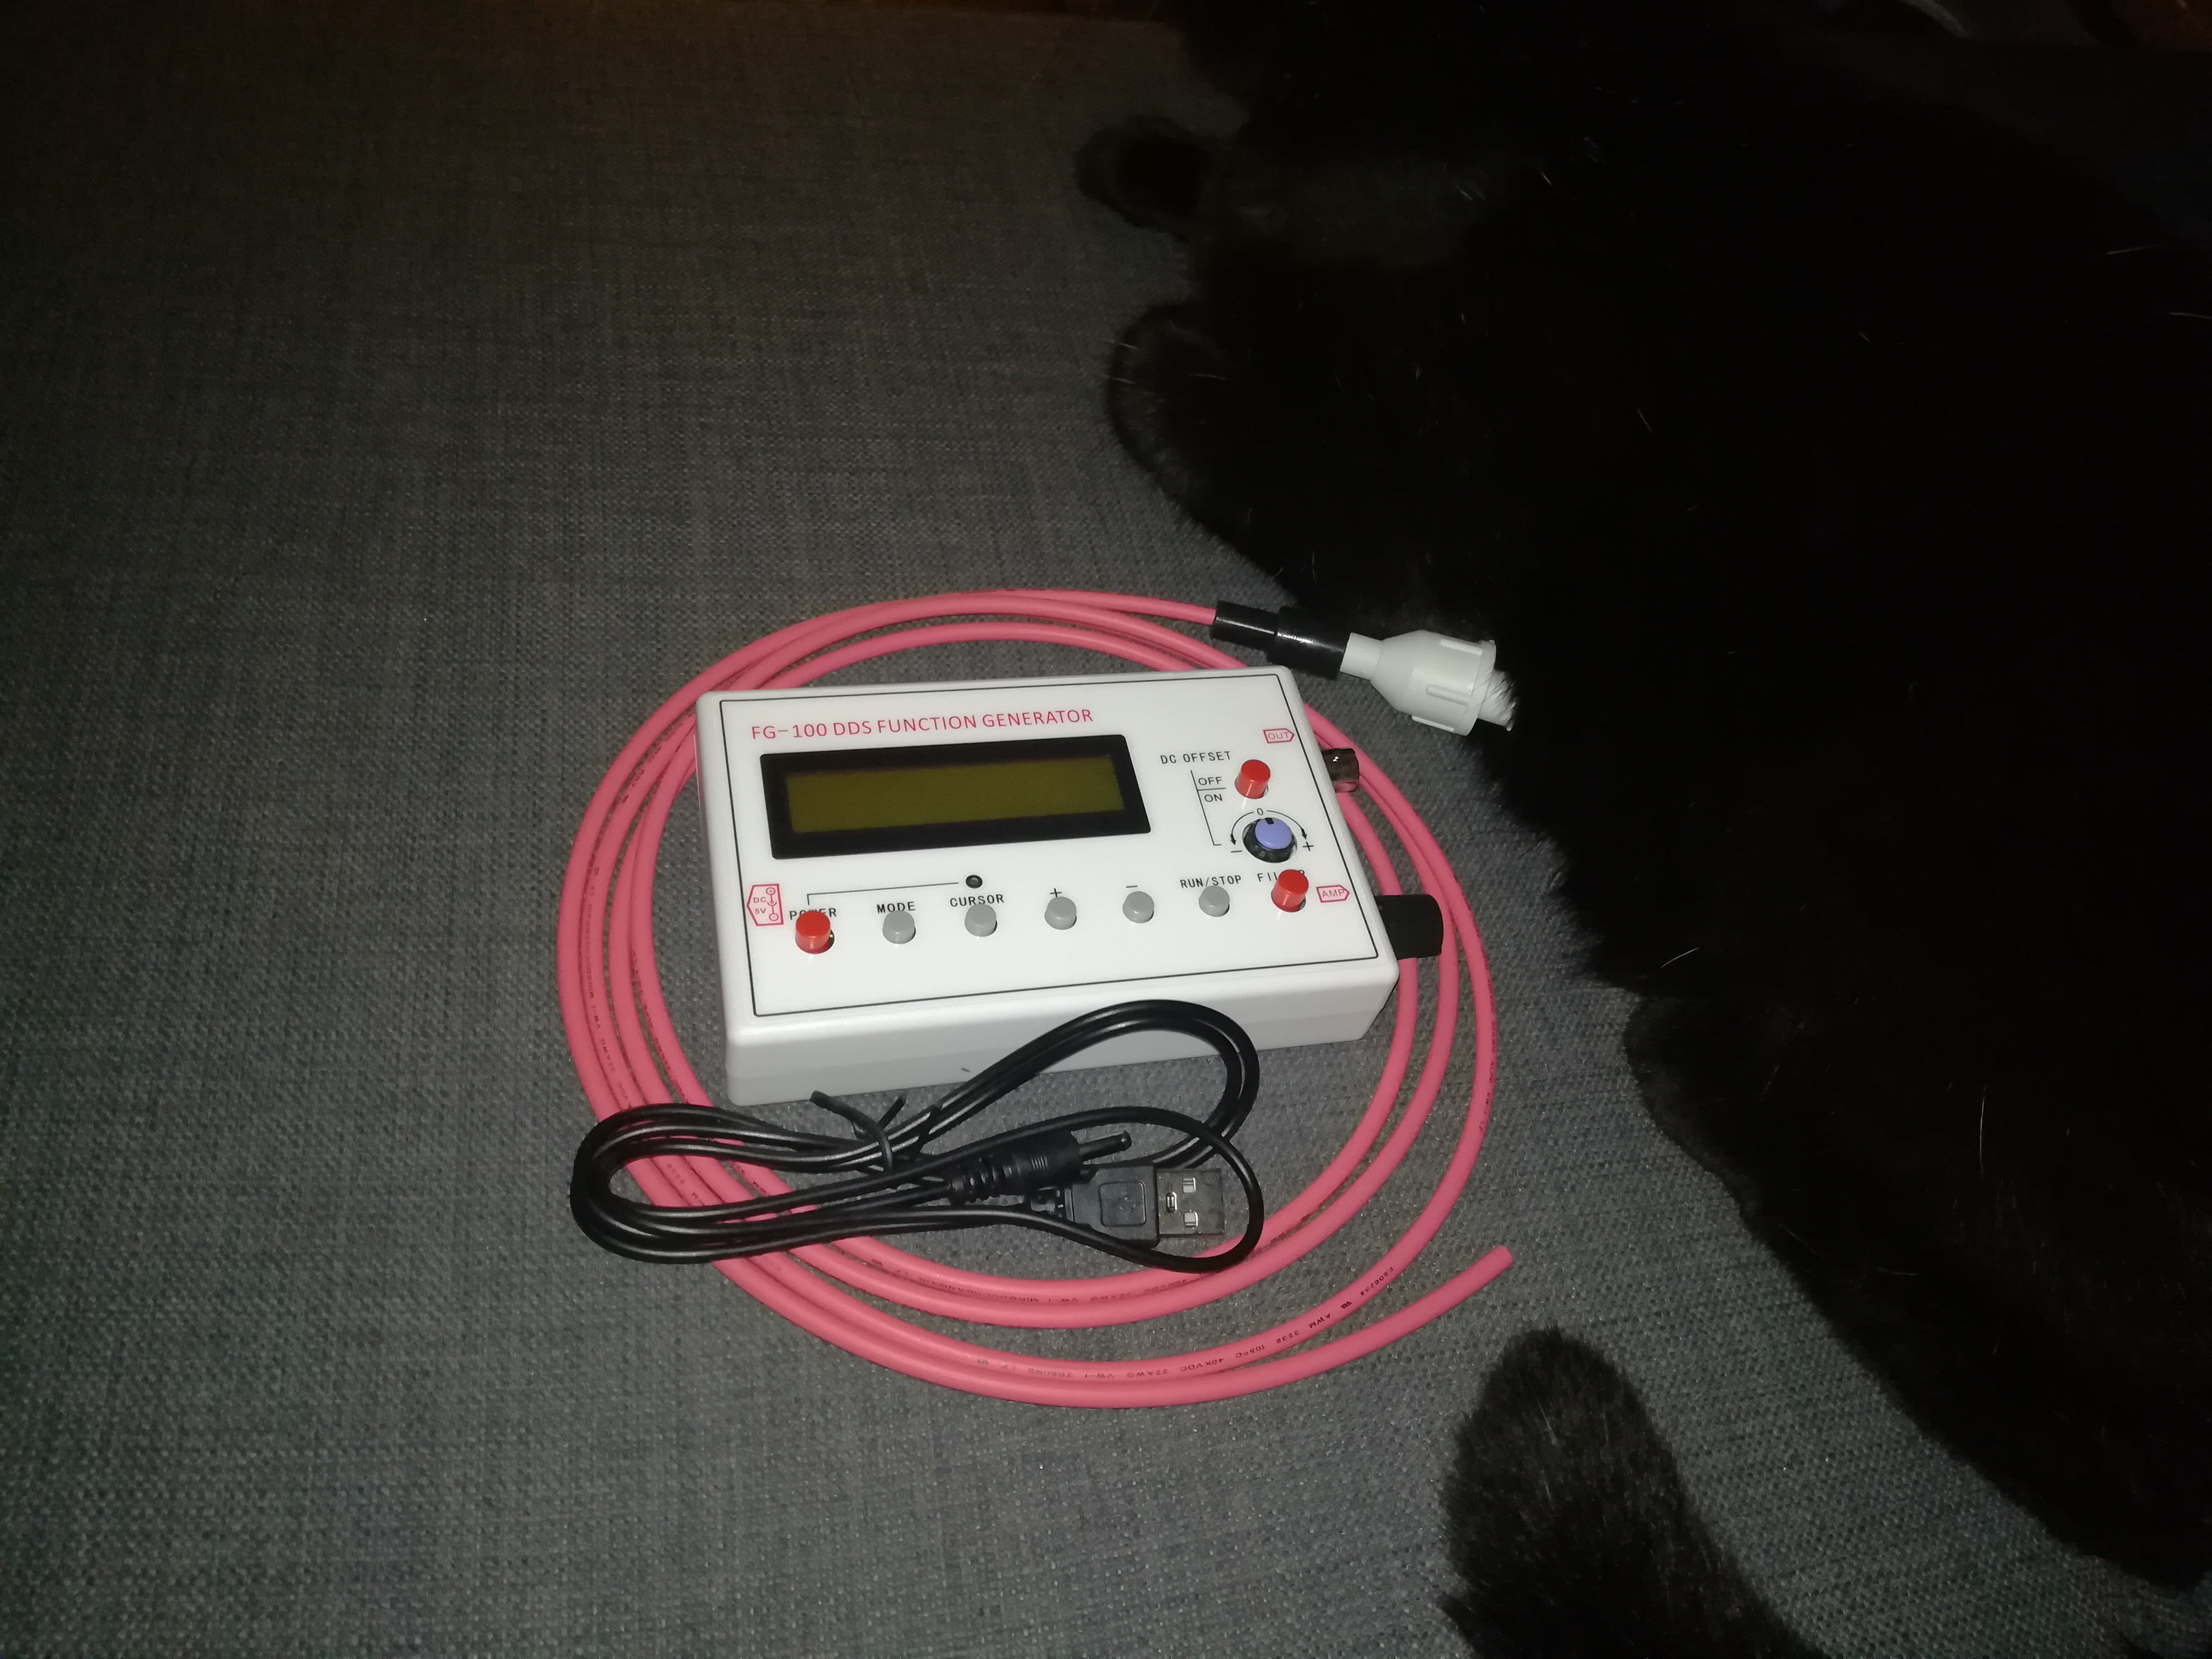
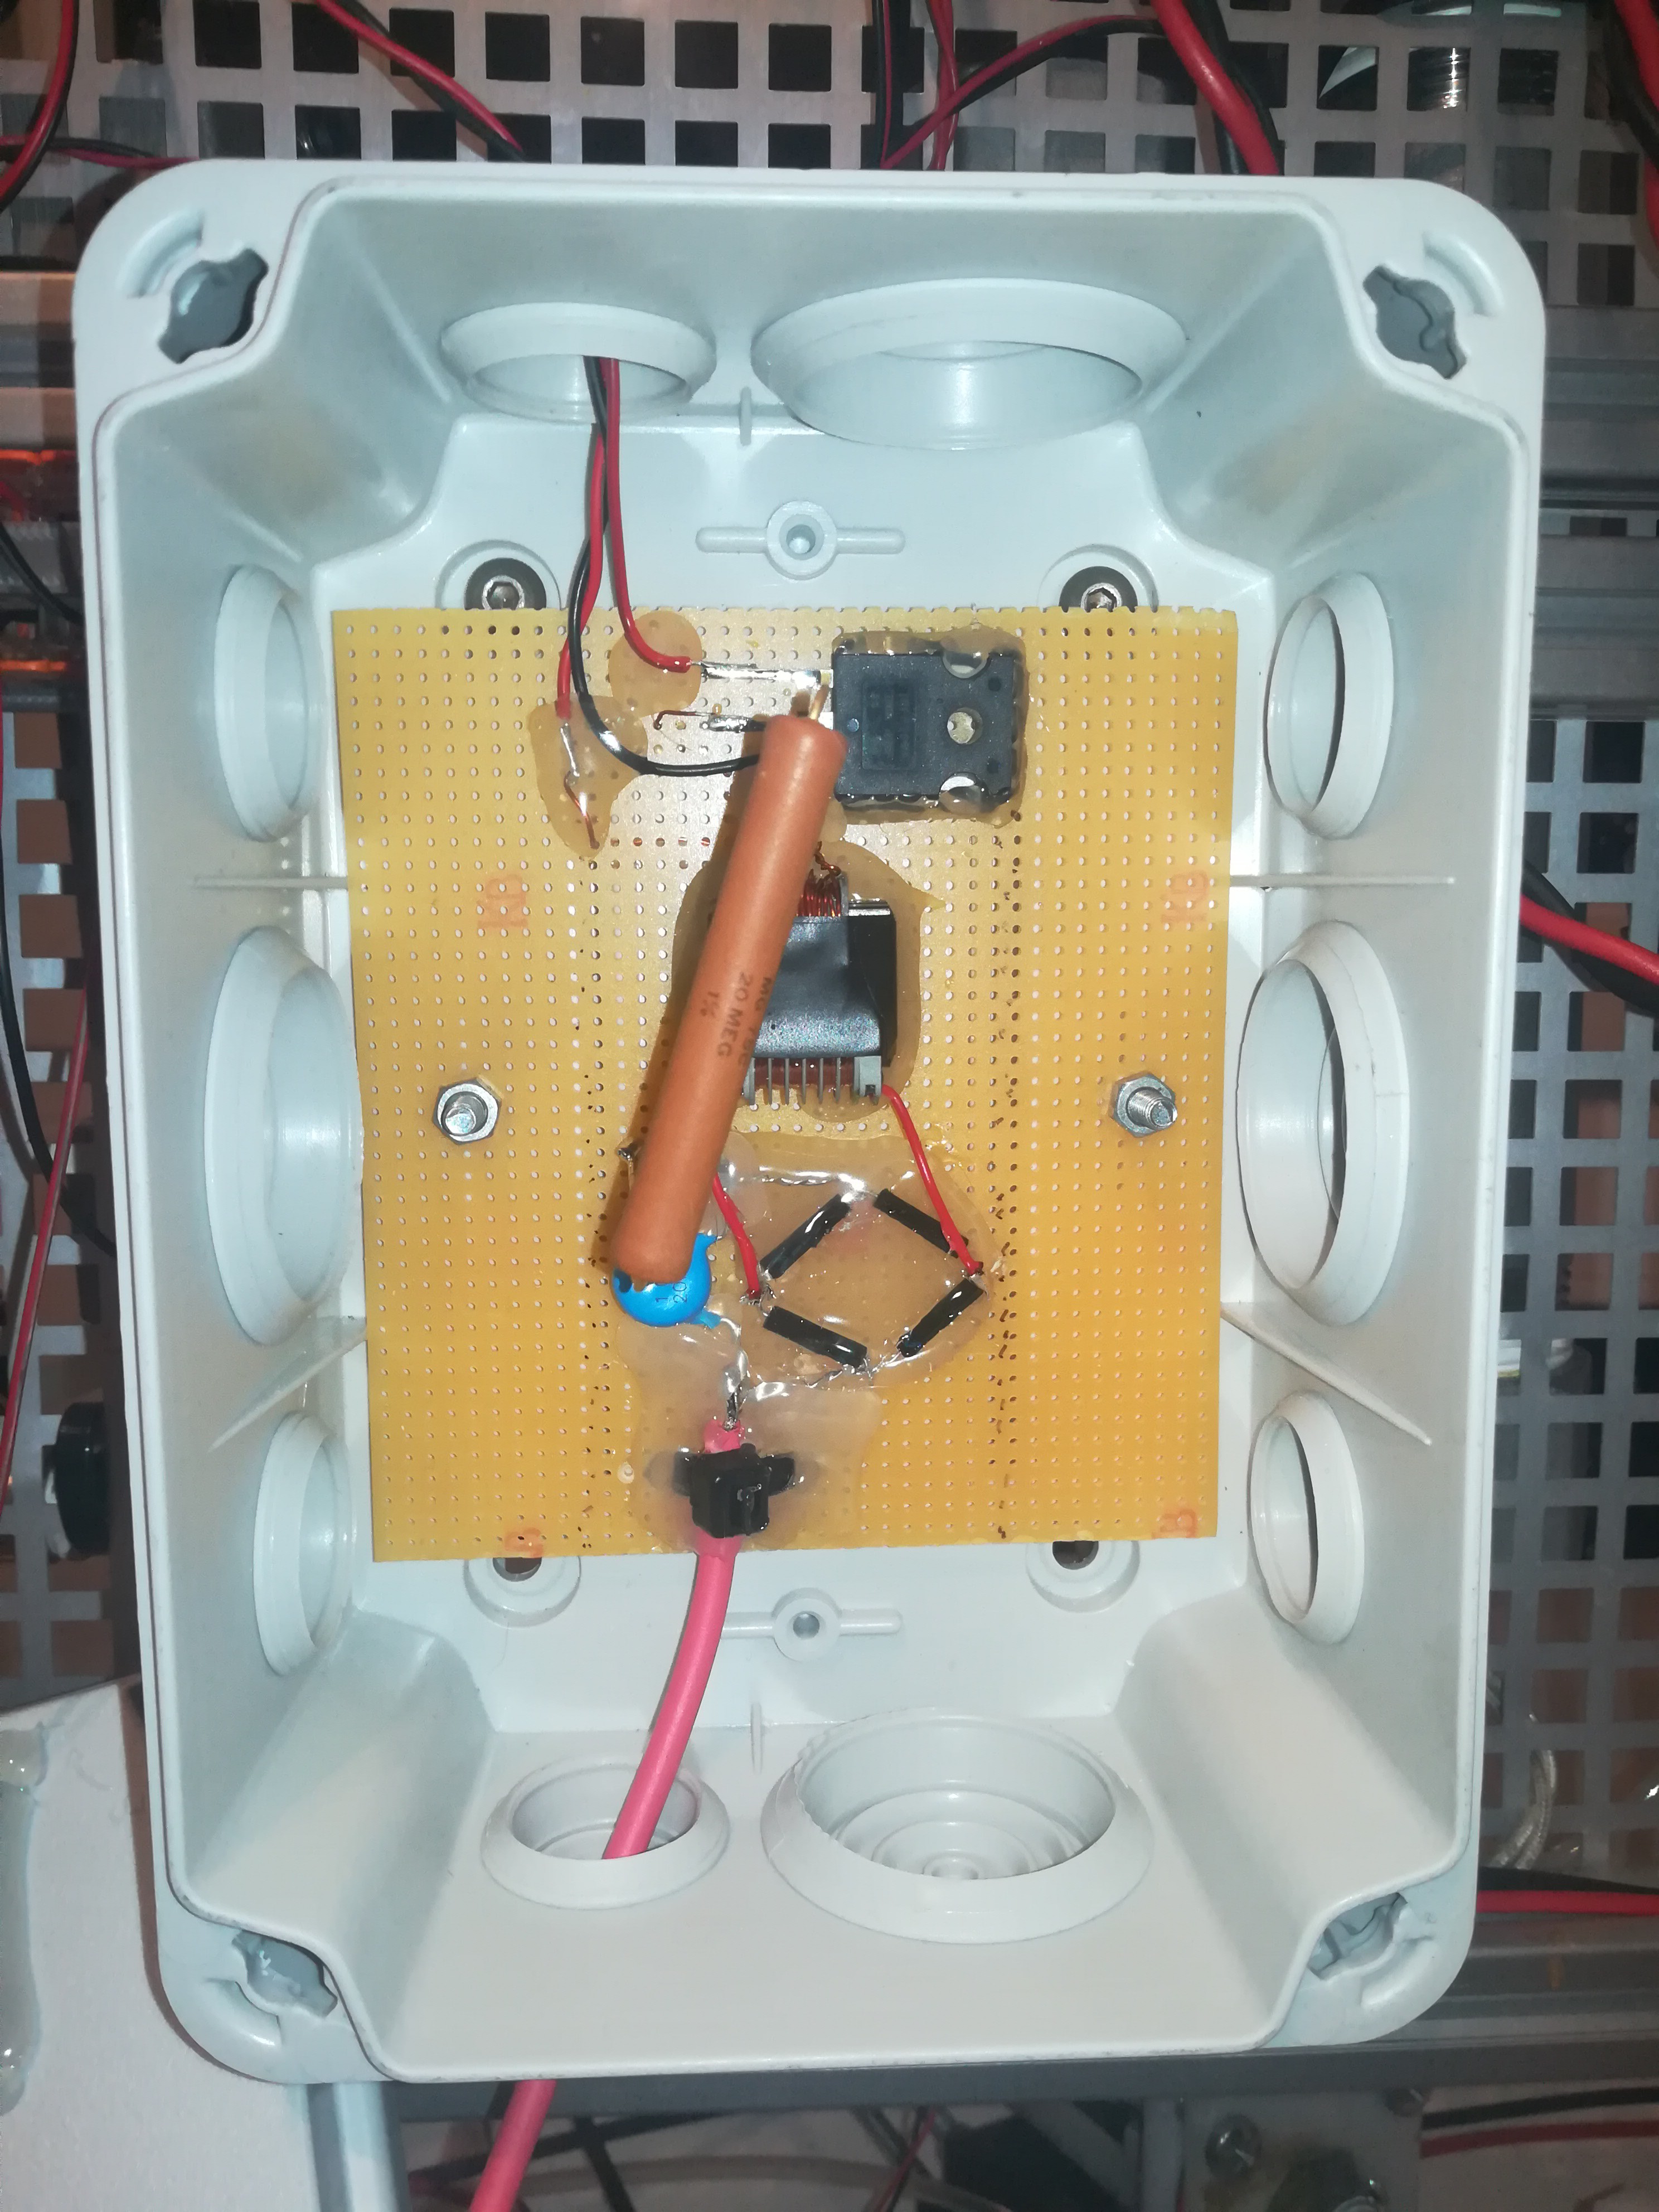
The cable arrived and I could finally fix all parts with hot glue onto a hard paper that I mounted into an electronics box which I mounted on the printer frame.
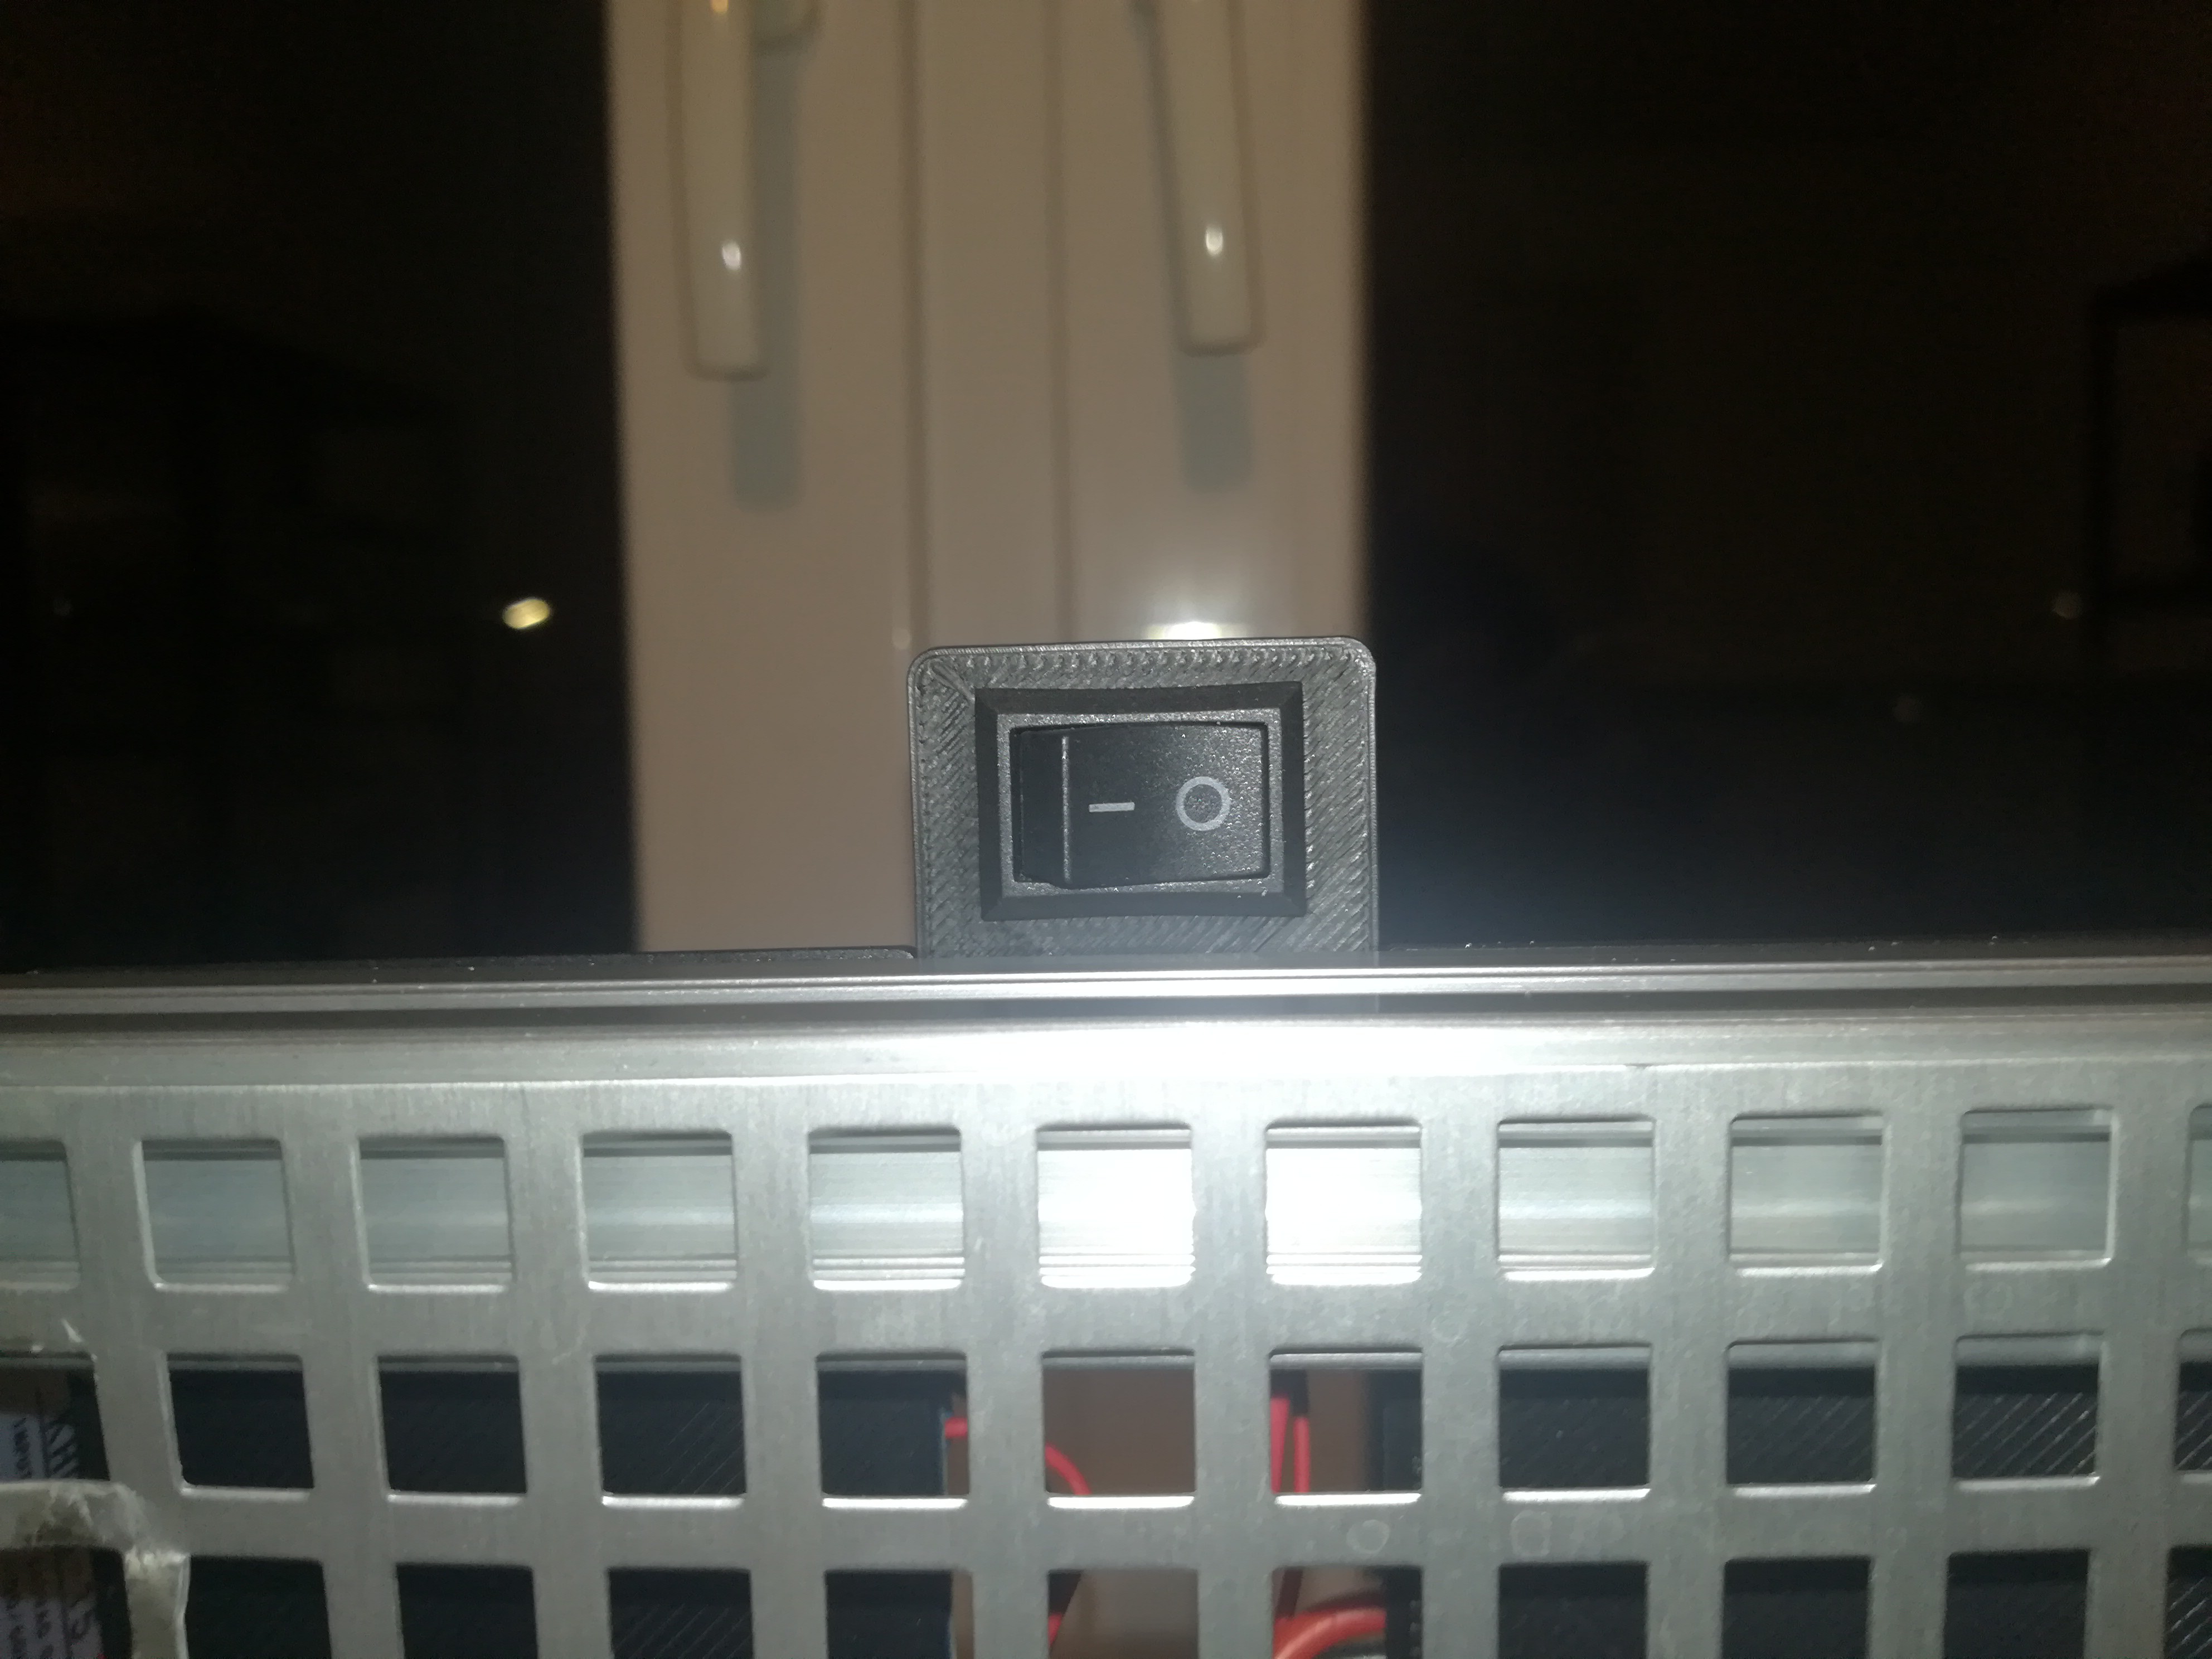
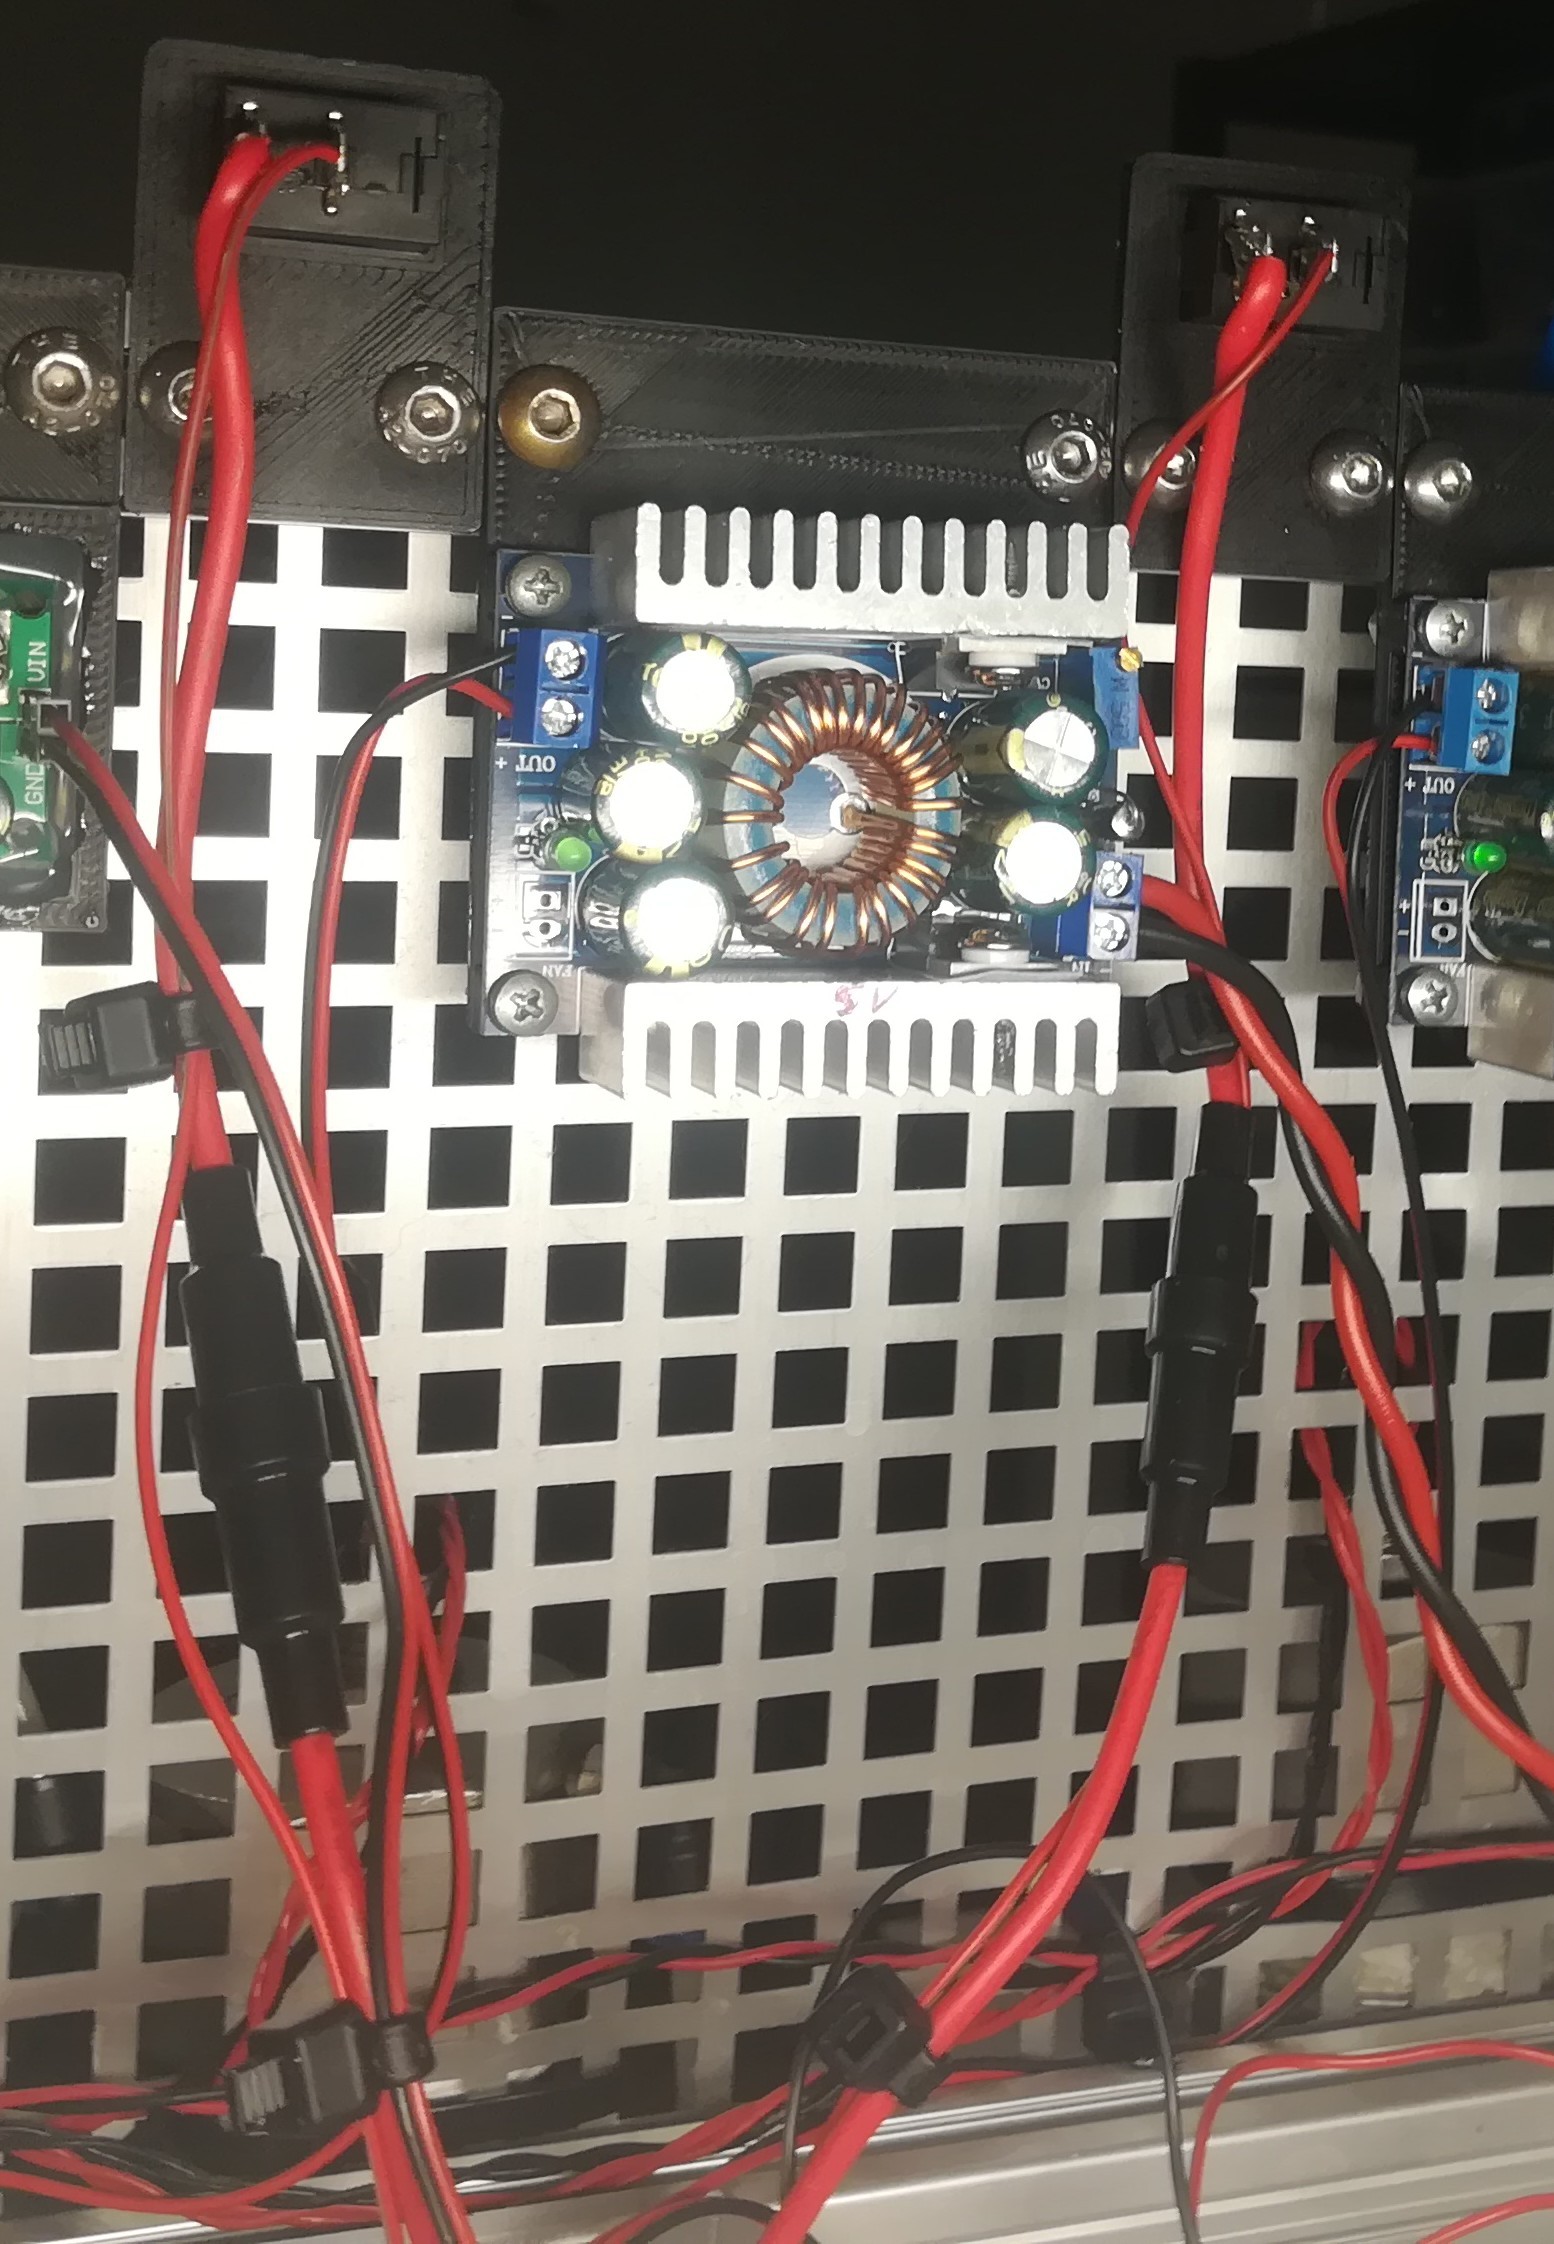
Finally, I added a switch and a 1A fuse to the input of the high-voltage power supply and connected the high-voltage cable to the deflection plate.
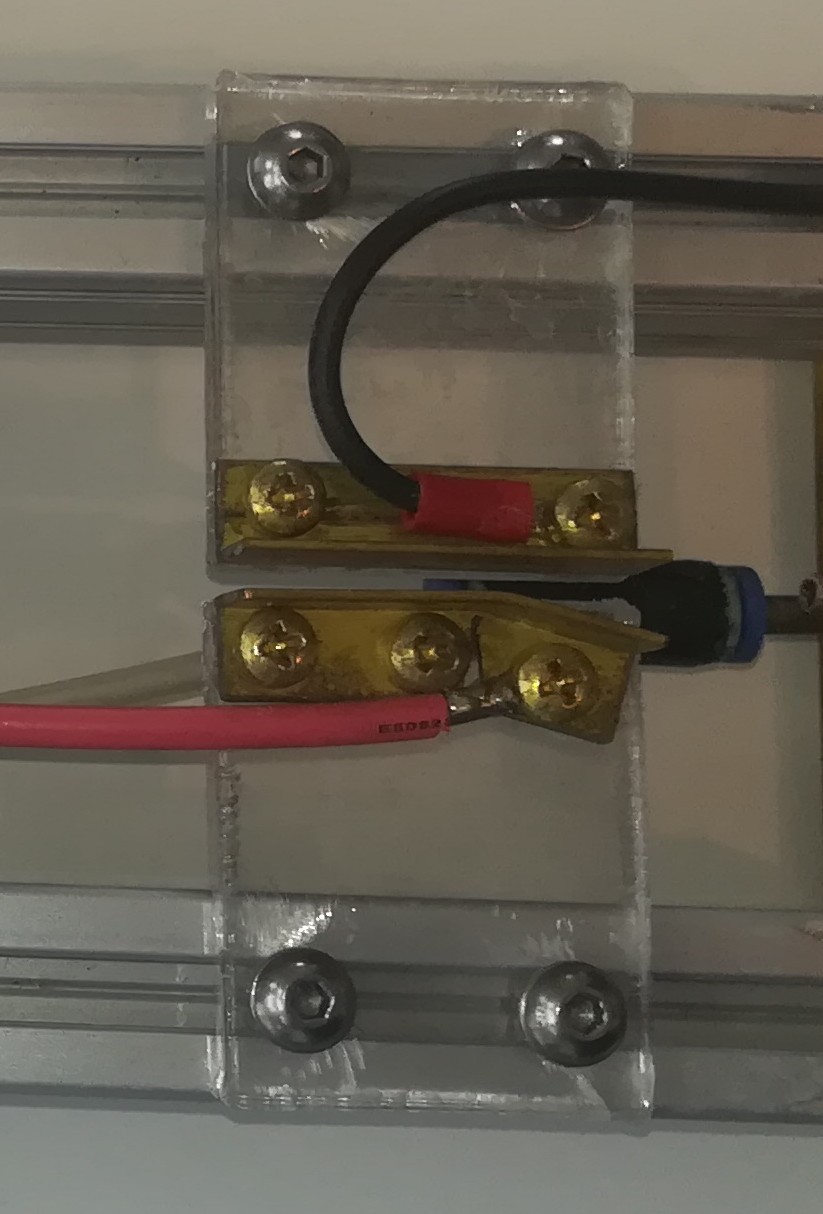
With that, the work on the 3-6kV power supply was done.
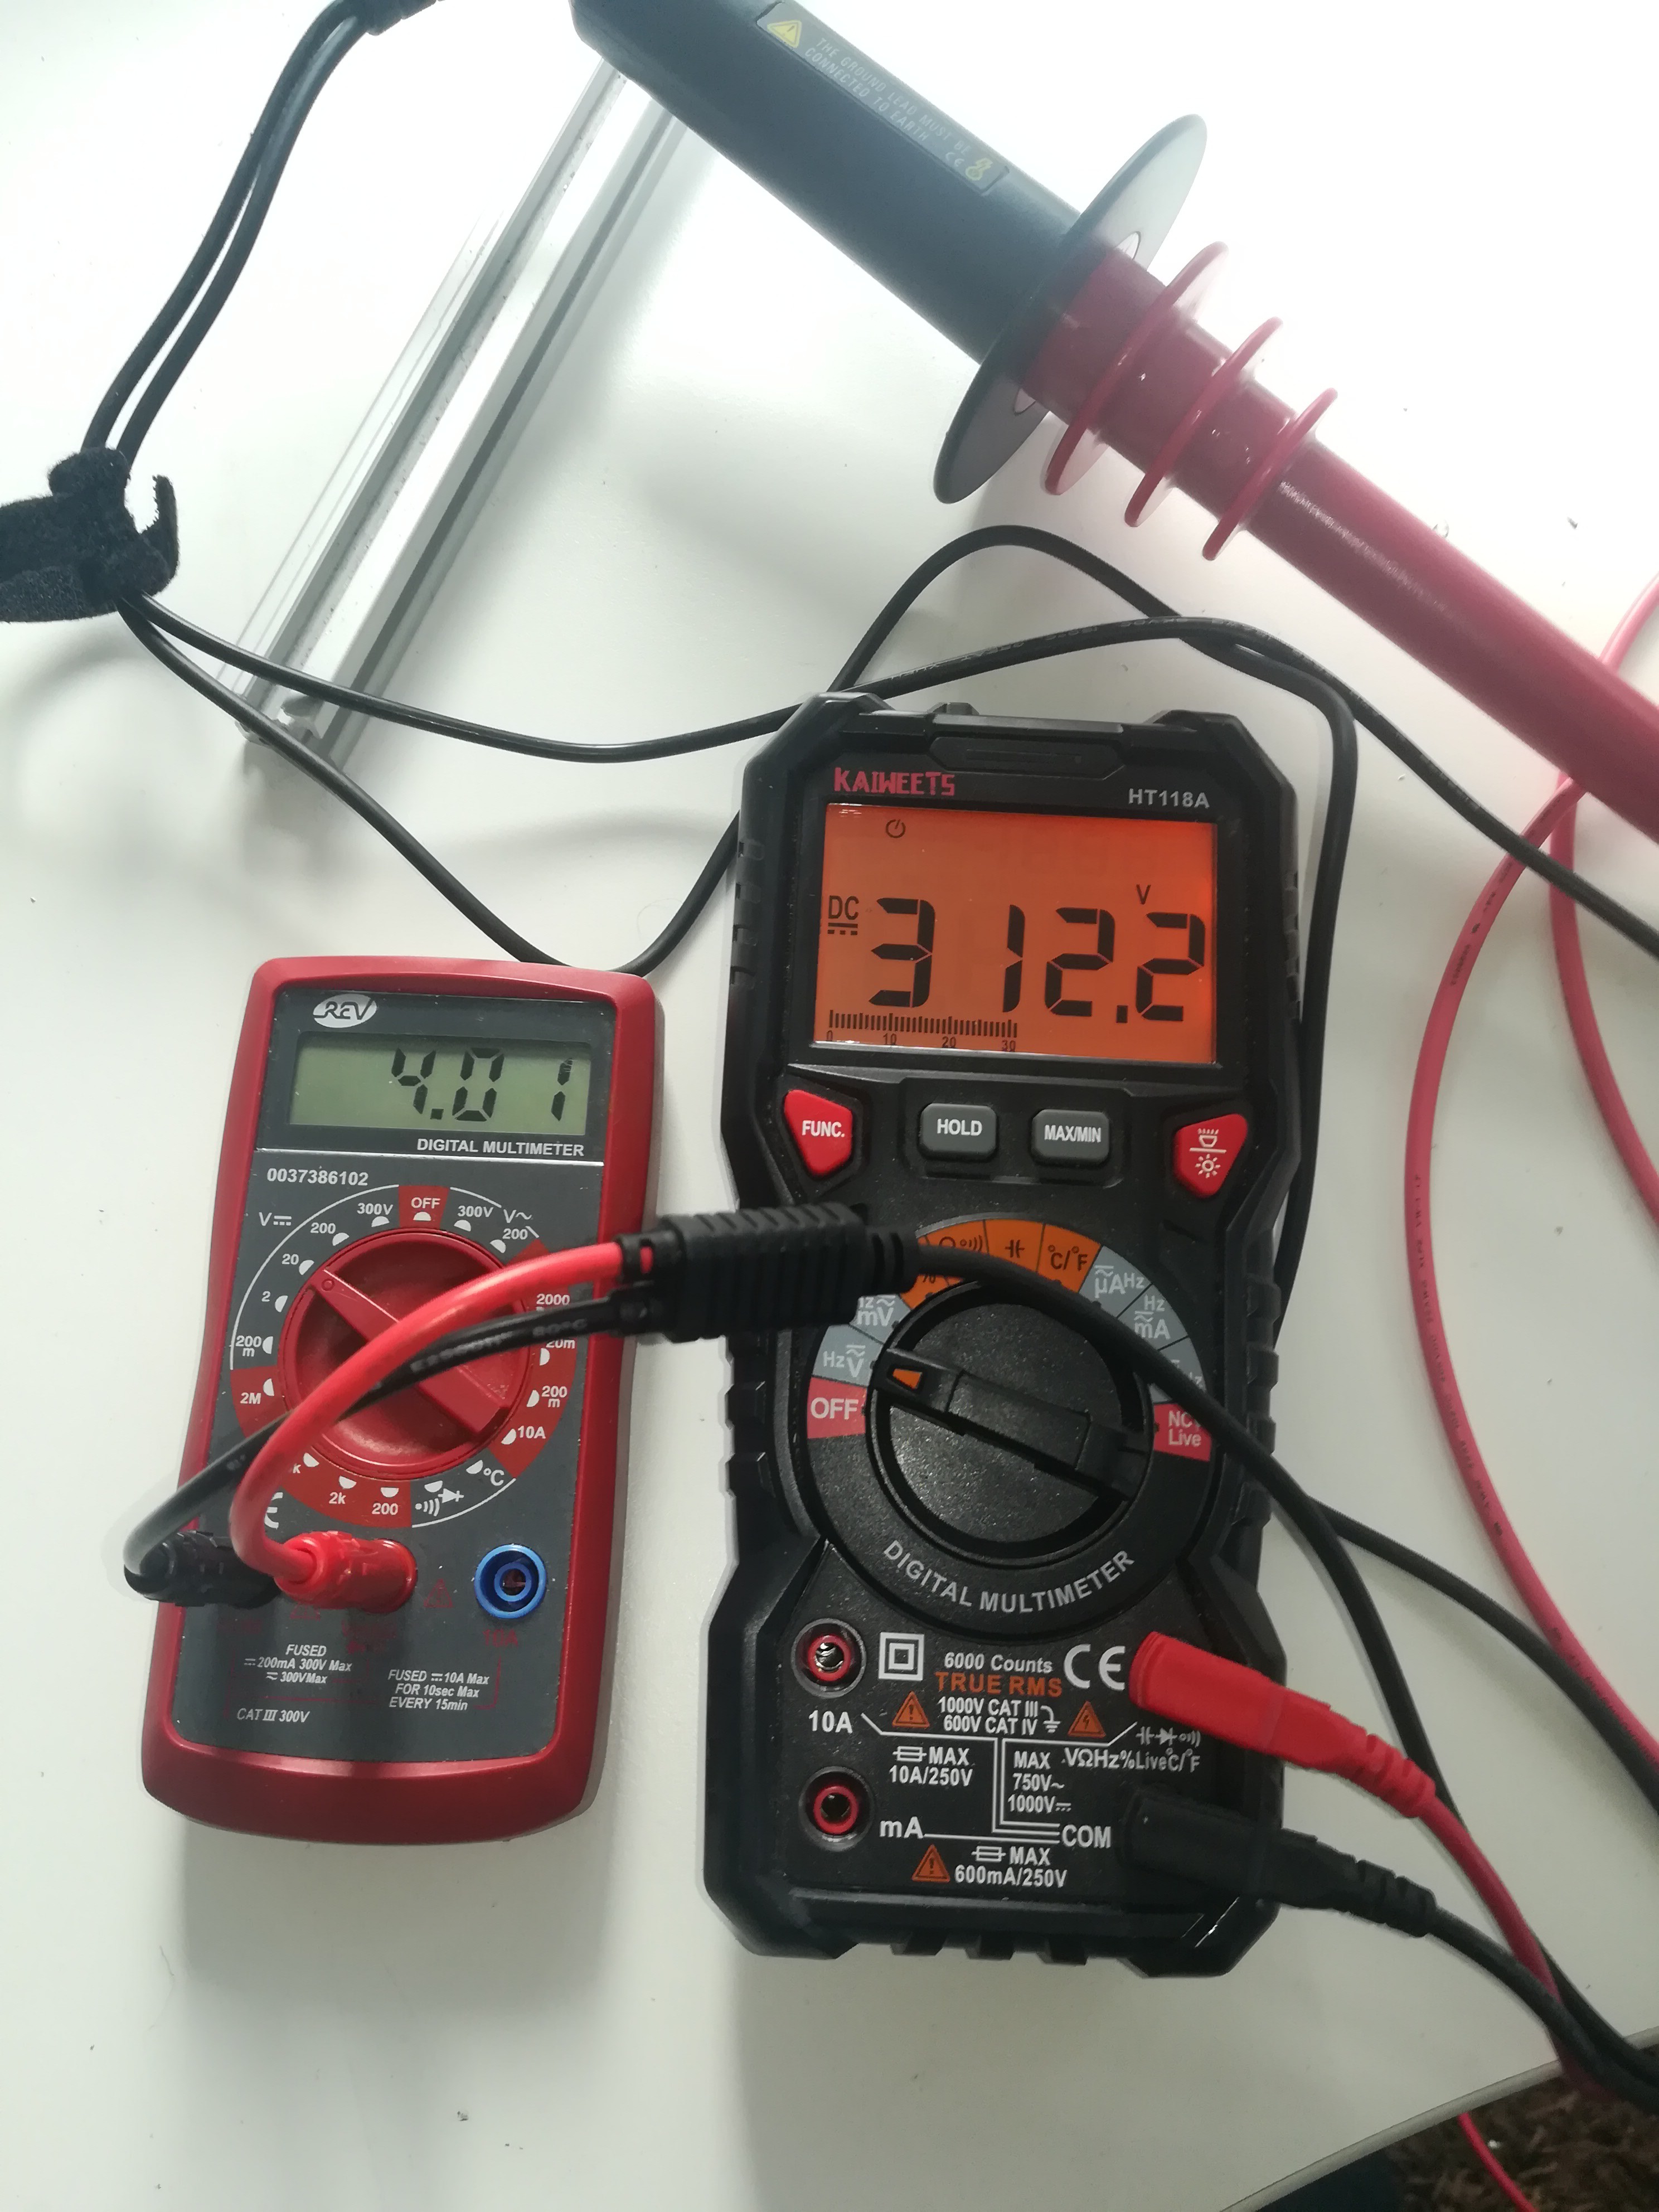
Here you can see both power supplies running
And here you can see a test of the 3-6kV power supply.
With that, I finally have all needed voltages ready to drive my CIJ printer prototype.
Thanks for your interest in my Projects :)
 Dominik Meffert
Discussions
Become a Hackaday.io Member
Create an account to leave a comment. Already have an account? Log In.