Close
0%
0%

Belle: Door bell alert with ESP8266 + IFTTT

Get an IFTTT mobile notification when someone presses your door bell

Similar projects worth following
Get an IFTTT mobile notification when someone presses your door bell

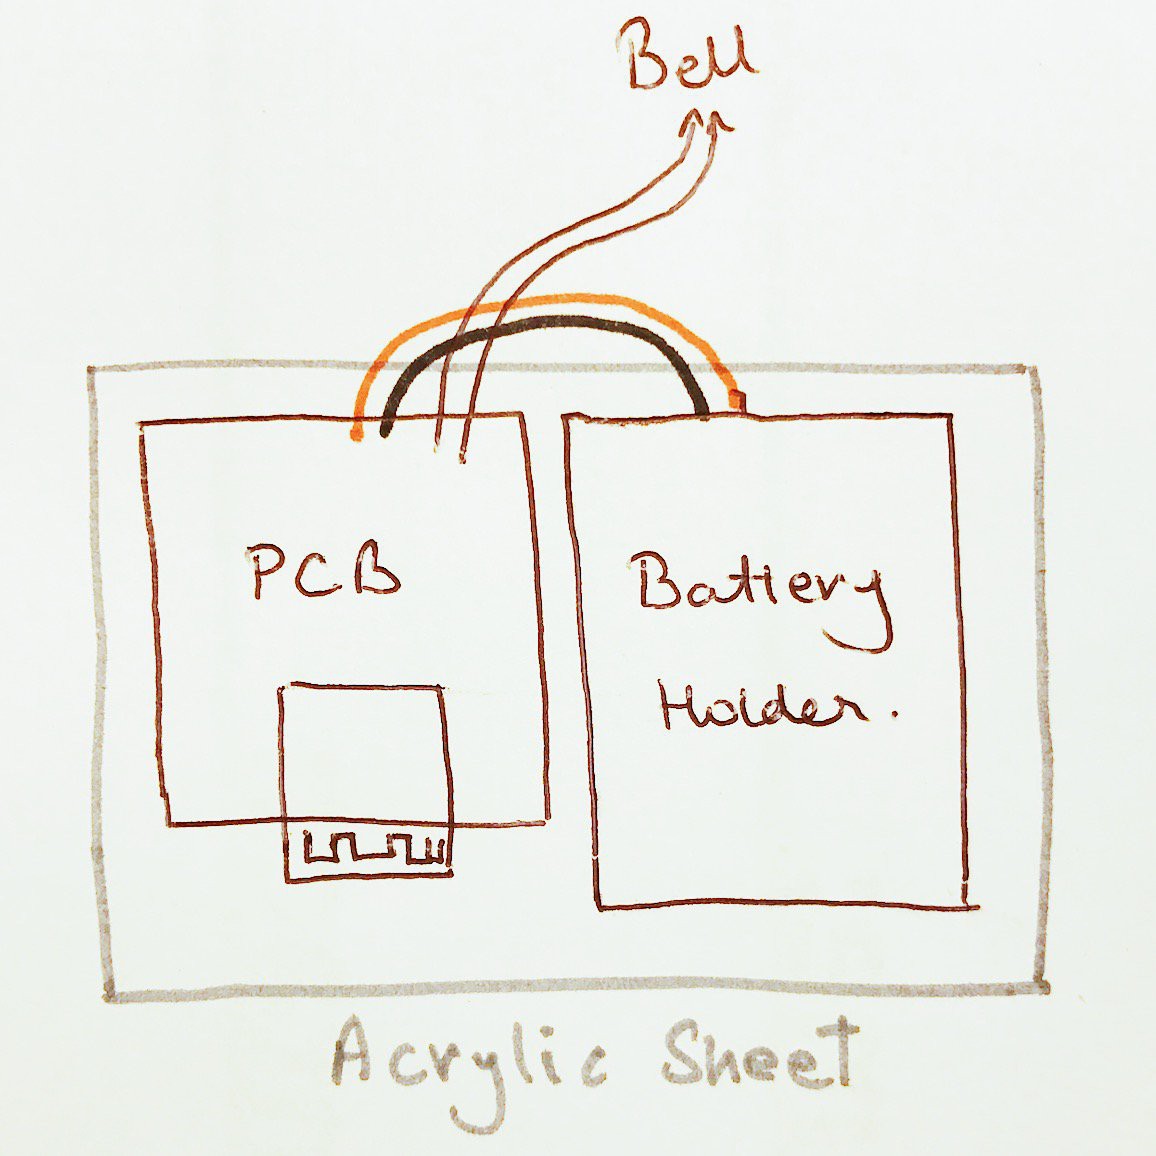
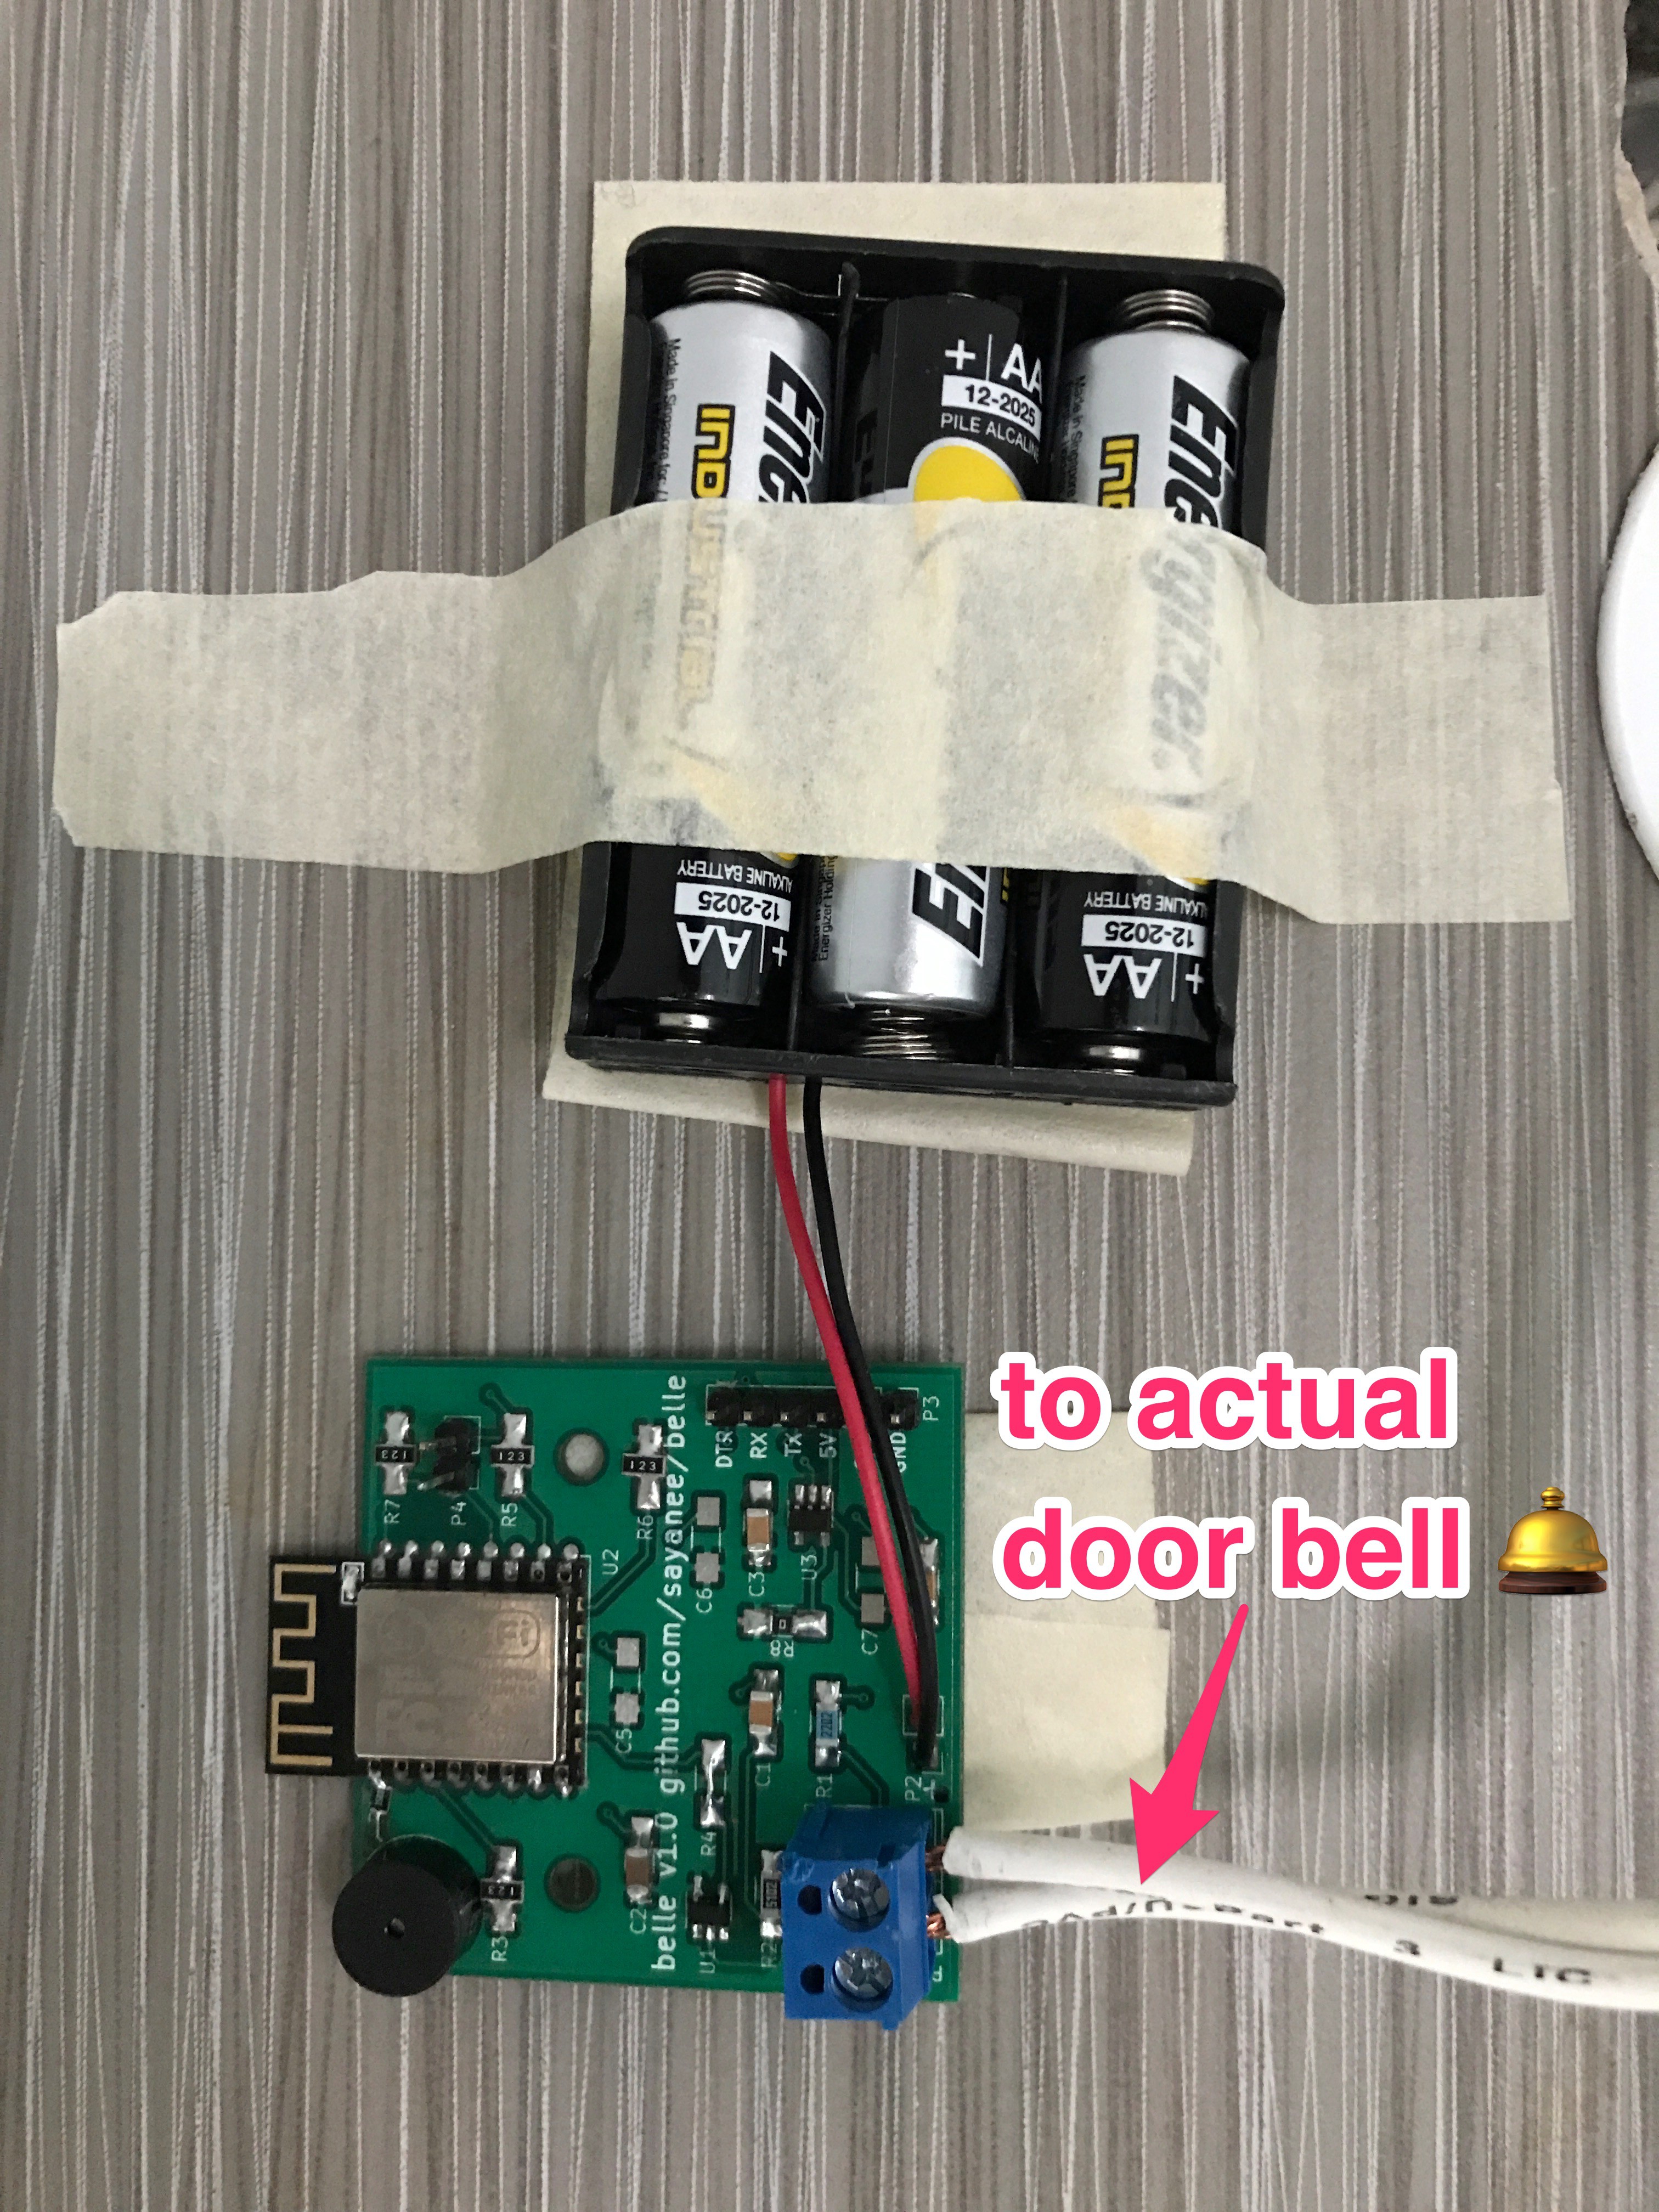
Belle is an add-on to a house door bell. With a tiny custom PCB containing an ESP8266 ESP-12F module, a buzzer and a connector to the actual bell, a mobile notification via IFTTT can be sent when the door bell is pressed.

Features include

  • Initial configuration setup locally for SSID, password and IFTTT key
  • Deep sleep mode for conserving power consumption in the 3 AA batteries
  • Flash firmware easily with an FTDI chip
  • On-board buzzer to hear the bell press

GERBERS.zip

Gerber files generated from KiCad

Zip Archive - 37.62 kB - 08/13/2017 at 10:07

Download

belle.ino

Final firmware that will setup an access point to add the home owner's WiFi SSID, password and IFTTT Key. After the first time configuration, upon bell press, the ESP8266 will wake up from sleep and send an IFTTT notification that will alert the home owner. After that ESP8266 will go back to sleep until the next bell press.

ino - 6.84 kB - 08/13/2017 at 10:04

Download

  • 3 × 1uF capacitor, SMD 1206 C1 C3, C4
  • 1 × 10 uF capacitor, SMD 1206 C2
  • 1 × PCB Wire-to-Board Terminal block, Through-hole P1
  • 1 × Battery connector P2
  • 1 × 3 AA Battery holder Connection to P2

View all 13 components

View all 2 project logs

  • 1
    Build the PCB

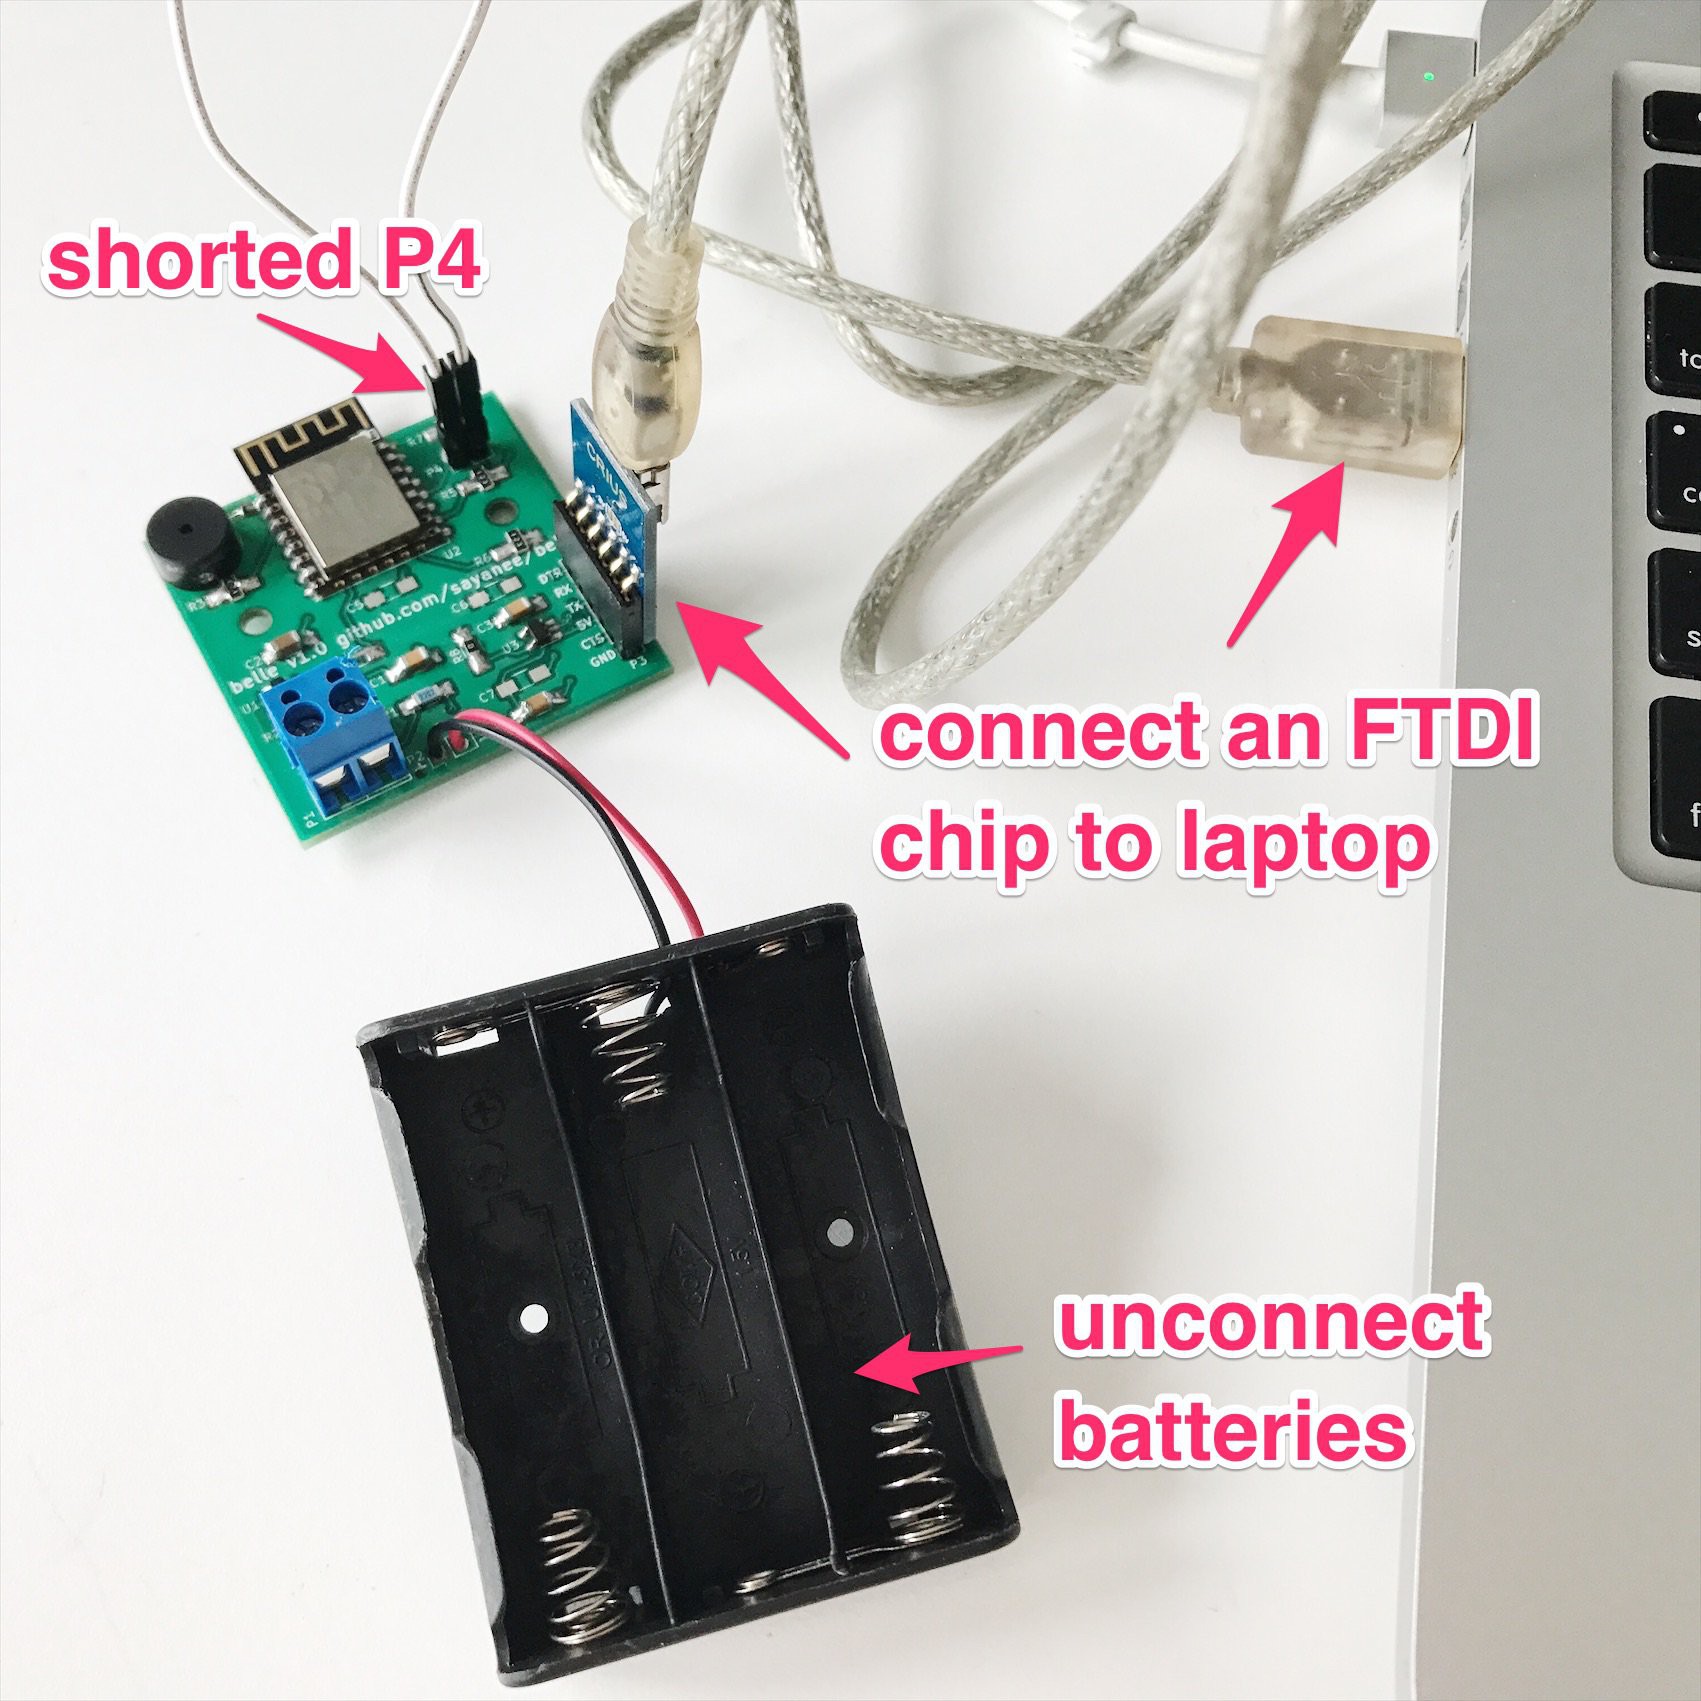
    Note: Do not connect the batteries yet!

    1. Download the KiCad files
    2. Generate the GERBER files or download them
    3. Manufacture the PCB
    4. Order the Bill of Materials
    5. Solder the parts on the PCB
    6. Do a continuity test 
    7. Use the test firmware to ensure everything is working
      1. Short the 2 header pins on P4 for boot mode
      2. Connect an FTDI chip to P3
      3. Connect the other end of the FTDI chip to the laptop via USB
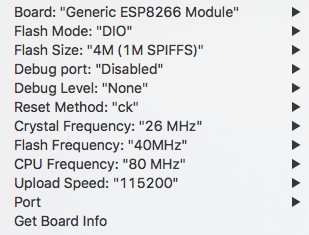
      4. Open Arduino IDE with the following configuration
      5. Upload the test firmware
      6. See the test results on the Serial Monitor
  • 2
    Flash the firmware
    1. Ensure the batteries are not connected yet!
    2. Short the 2 header pins on P4 for boot mode
    3. Connect an FTDI chip to P3
    4. Connect the other end of the FTDI chip to the laptop via USB
    5. Open Arduino IDE with the following configuration

    6. Flash the final firmware to the board. Try out other firmwares too!

    7. Remove the FTDI chip and the remove the shorted header pins of P4

  • 3
    Configure in IFTTT
    1. Configure IFTTT with Webhooks and Notification channels to Receive a web request
    2. Put the event name as bell_pressed
    3. Download the IFTTT app on mobile as well
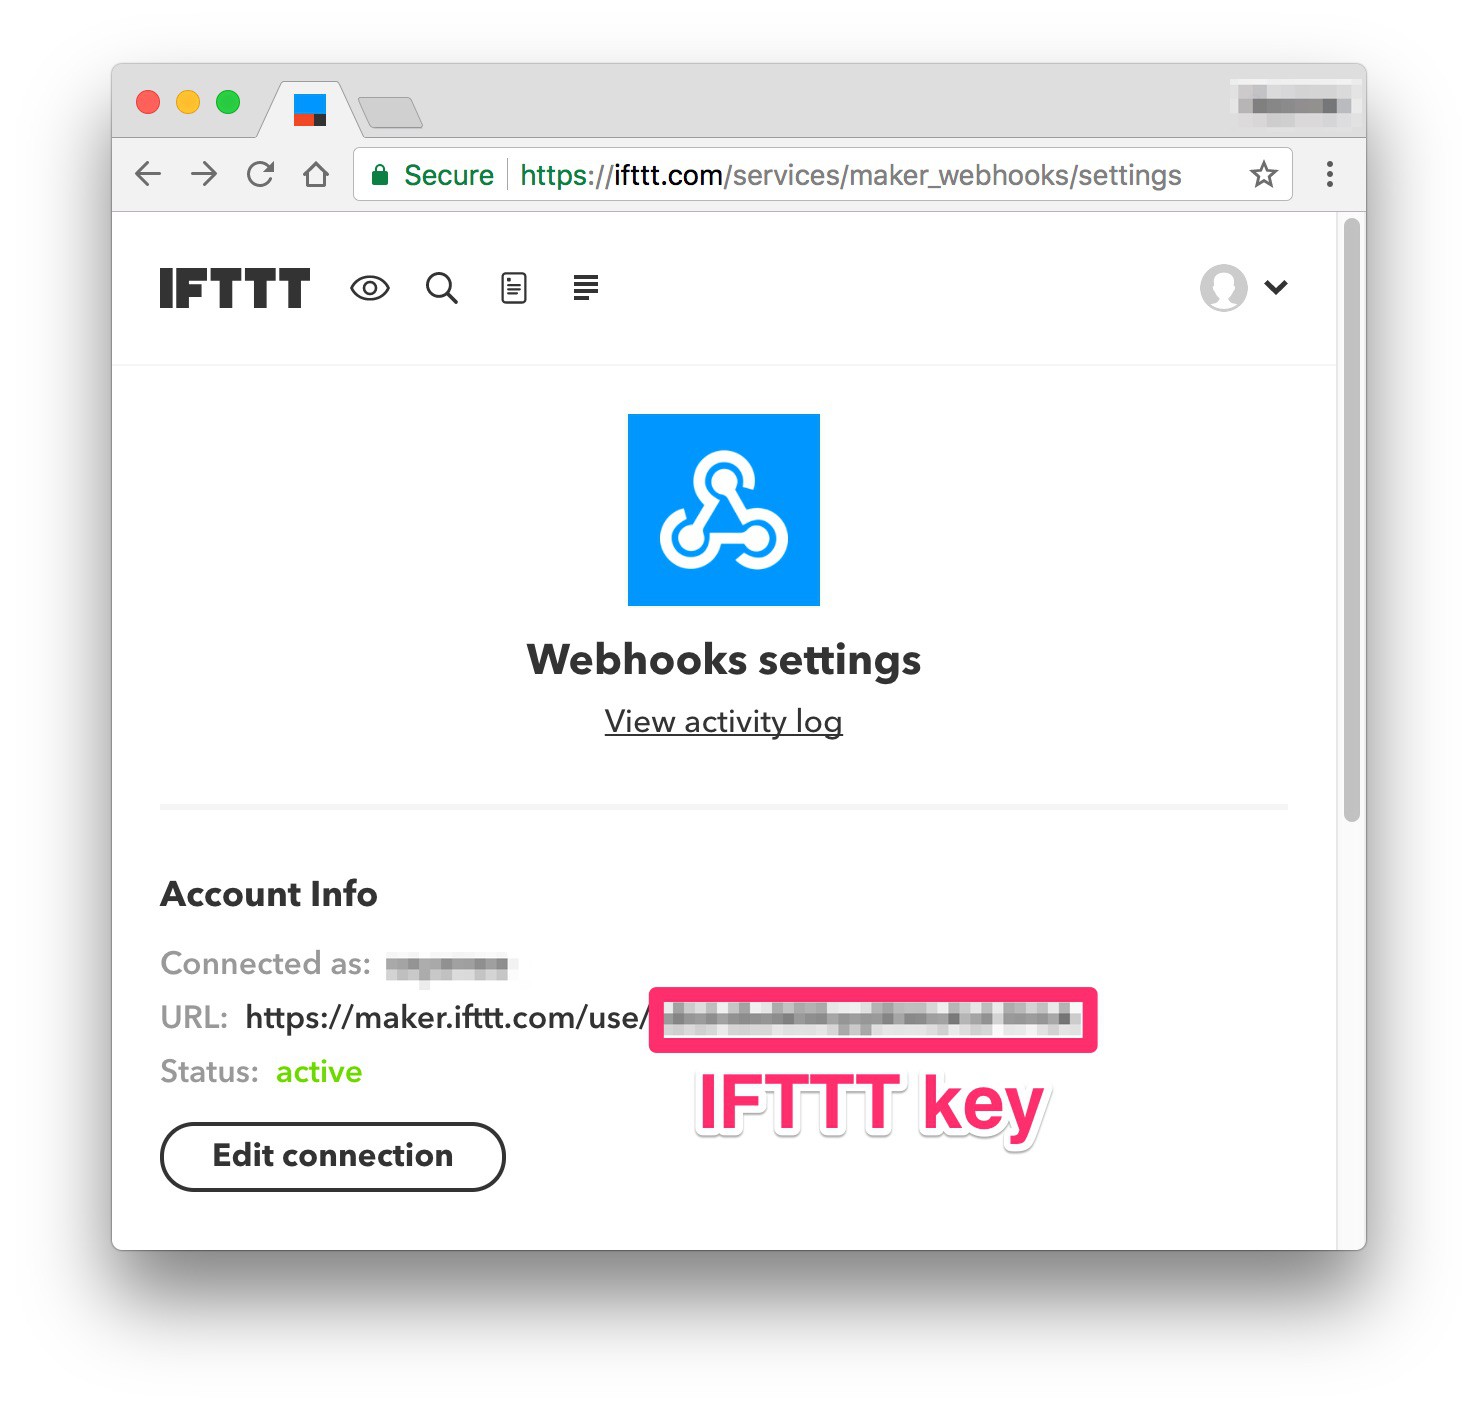
    4. Note the IFTTT key on the maker_webhooks settings page

View all 4 instructions

Enjoy this project?

Share

Discussions

Similar Projects

Does this project spark your interest?

Become a member to follow this project and never miss any updates