SoftEgg PVC + Spandex Trade Show Booth
How can my little company stand out from the crowd? How about a 20' tall spandex covered egg for a trade show booth?
How can my little company stand out from the crowd? How about a 20' tall spandex covered egg for a trade show booth?
To make the experience fit your profile, pick a username and tell us what interests you.
We found and based on your interests.
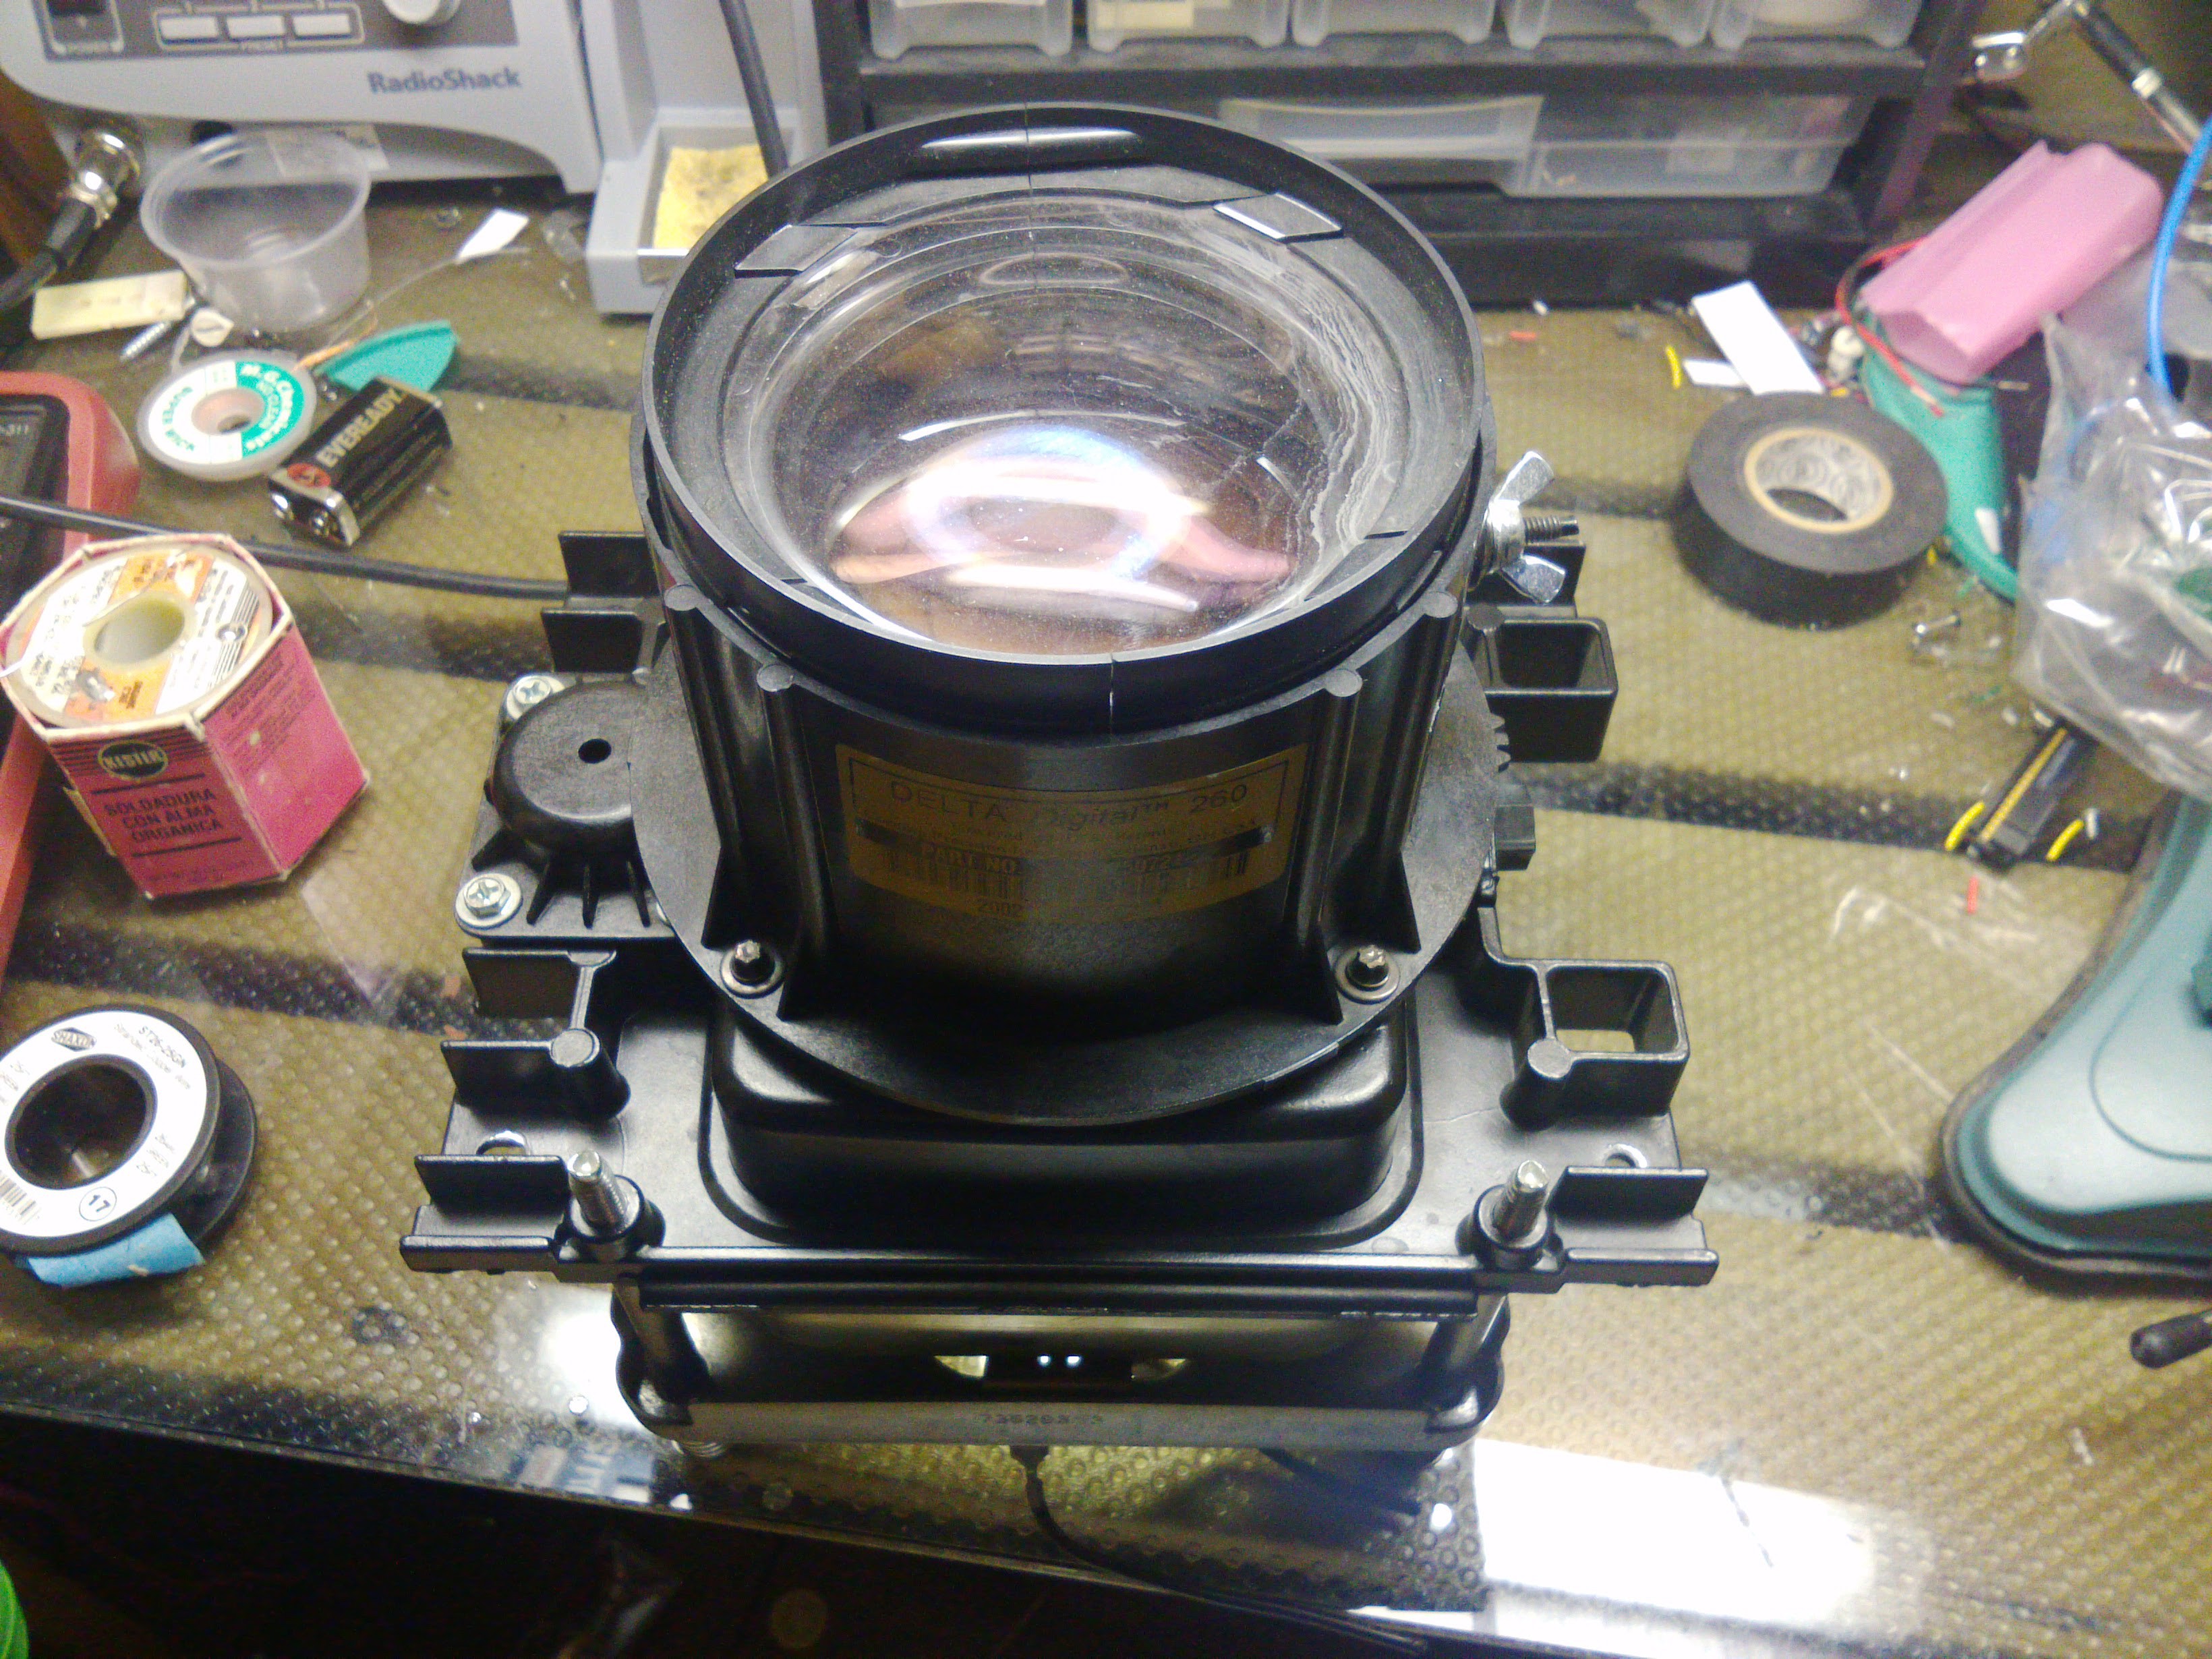
Trying to get a wide throw to light up the whole dome from a standard projector is rather difficult. You just can't get the projector far enough away from the dome surface to make the projection big enough to cover a decent sized area. And since people are supposed to stand inside the dome to see the demo, it isn't really possible to use a lot of mirrors to increase the focal distance. So custom lensing is really the only way to make it work.
But where to get custom lenses? And how to know what to need?
Well, I figured that a standard rear projection TV would probably have the proper lenses to get a wide throw, since their tubes are a lot closer to the screen. Fortunately, people regularly abandon these by the side of the road, and a few minutes looking like a crazy man with a screwdriver can net these fine items for one's own use!
The type of projection TV with tubes in it still has some troubles to iron out, tho. It turns out that the area between the tube and the lenses is filled with oil, and that oil seems to be a part of the lensing system, and it doesn't really work without it!
Having let the magic oil out of two of the three lenses, I managed to save only one tube and lens assembly with oil intact.
The next problem is to break away enough of the tube to project on the inside surface without breaking or removing or even loosening the tube from the rest of the lens assembly.
I approached our kind friend V, a talented glassworker who attends the 23b Shop Hackerspace, and he agreed to grind out the back of the tube with his special glass grinding wheel. Here is the result!
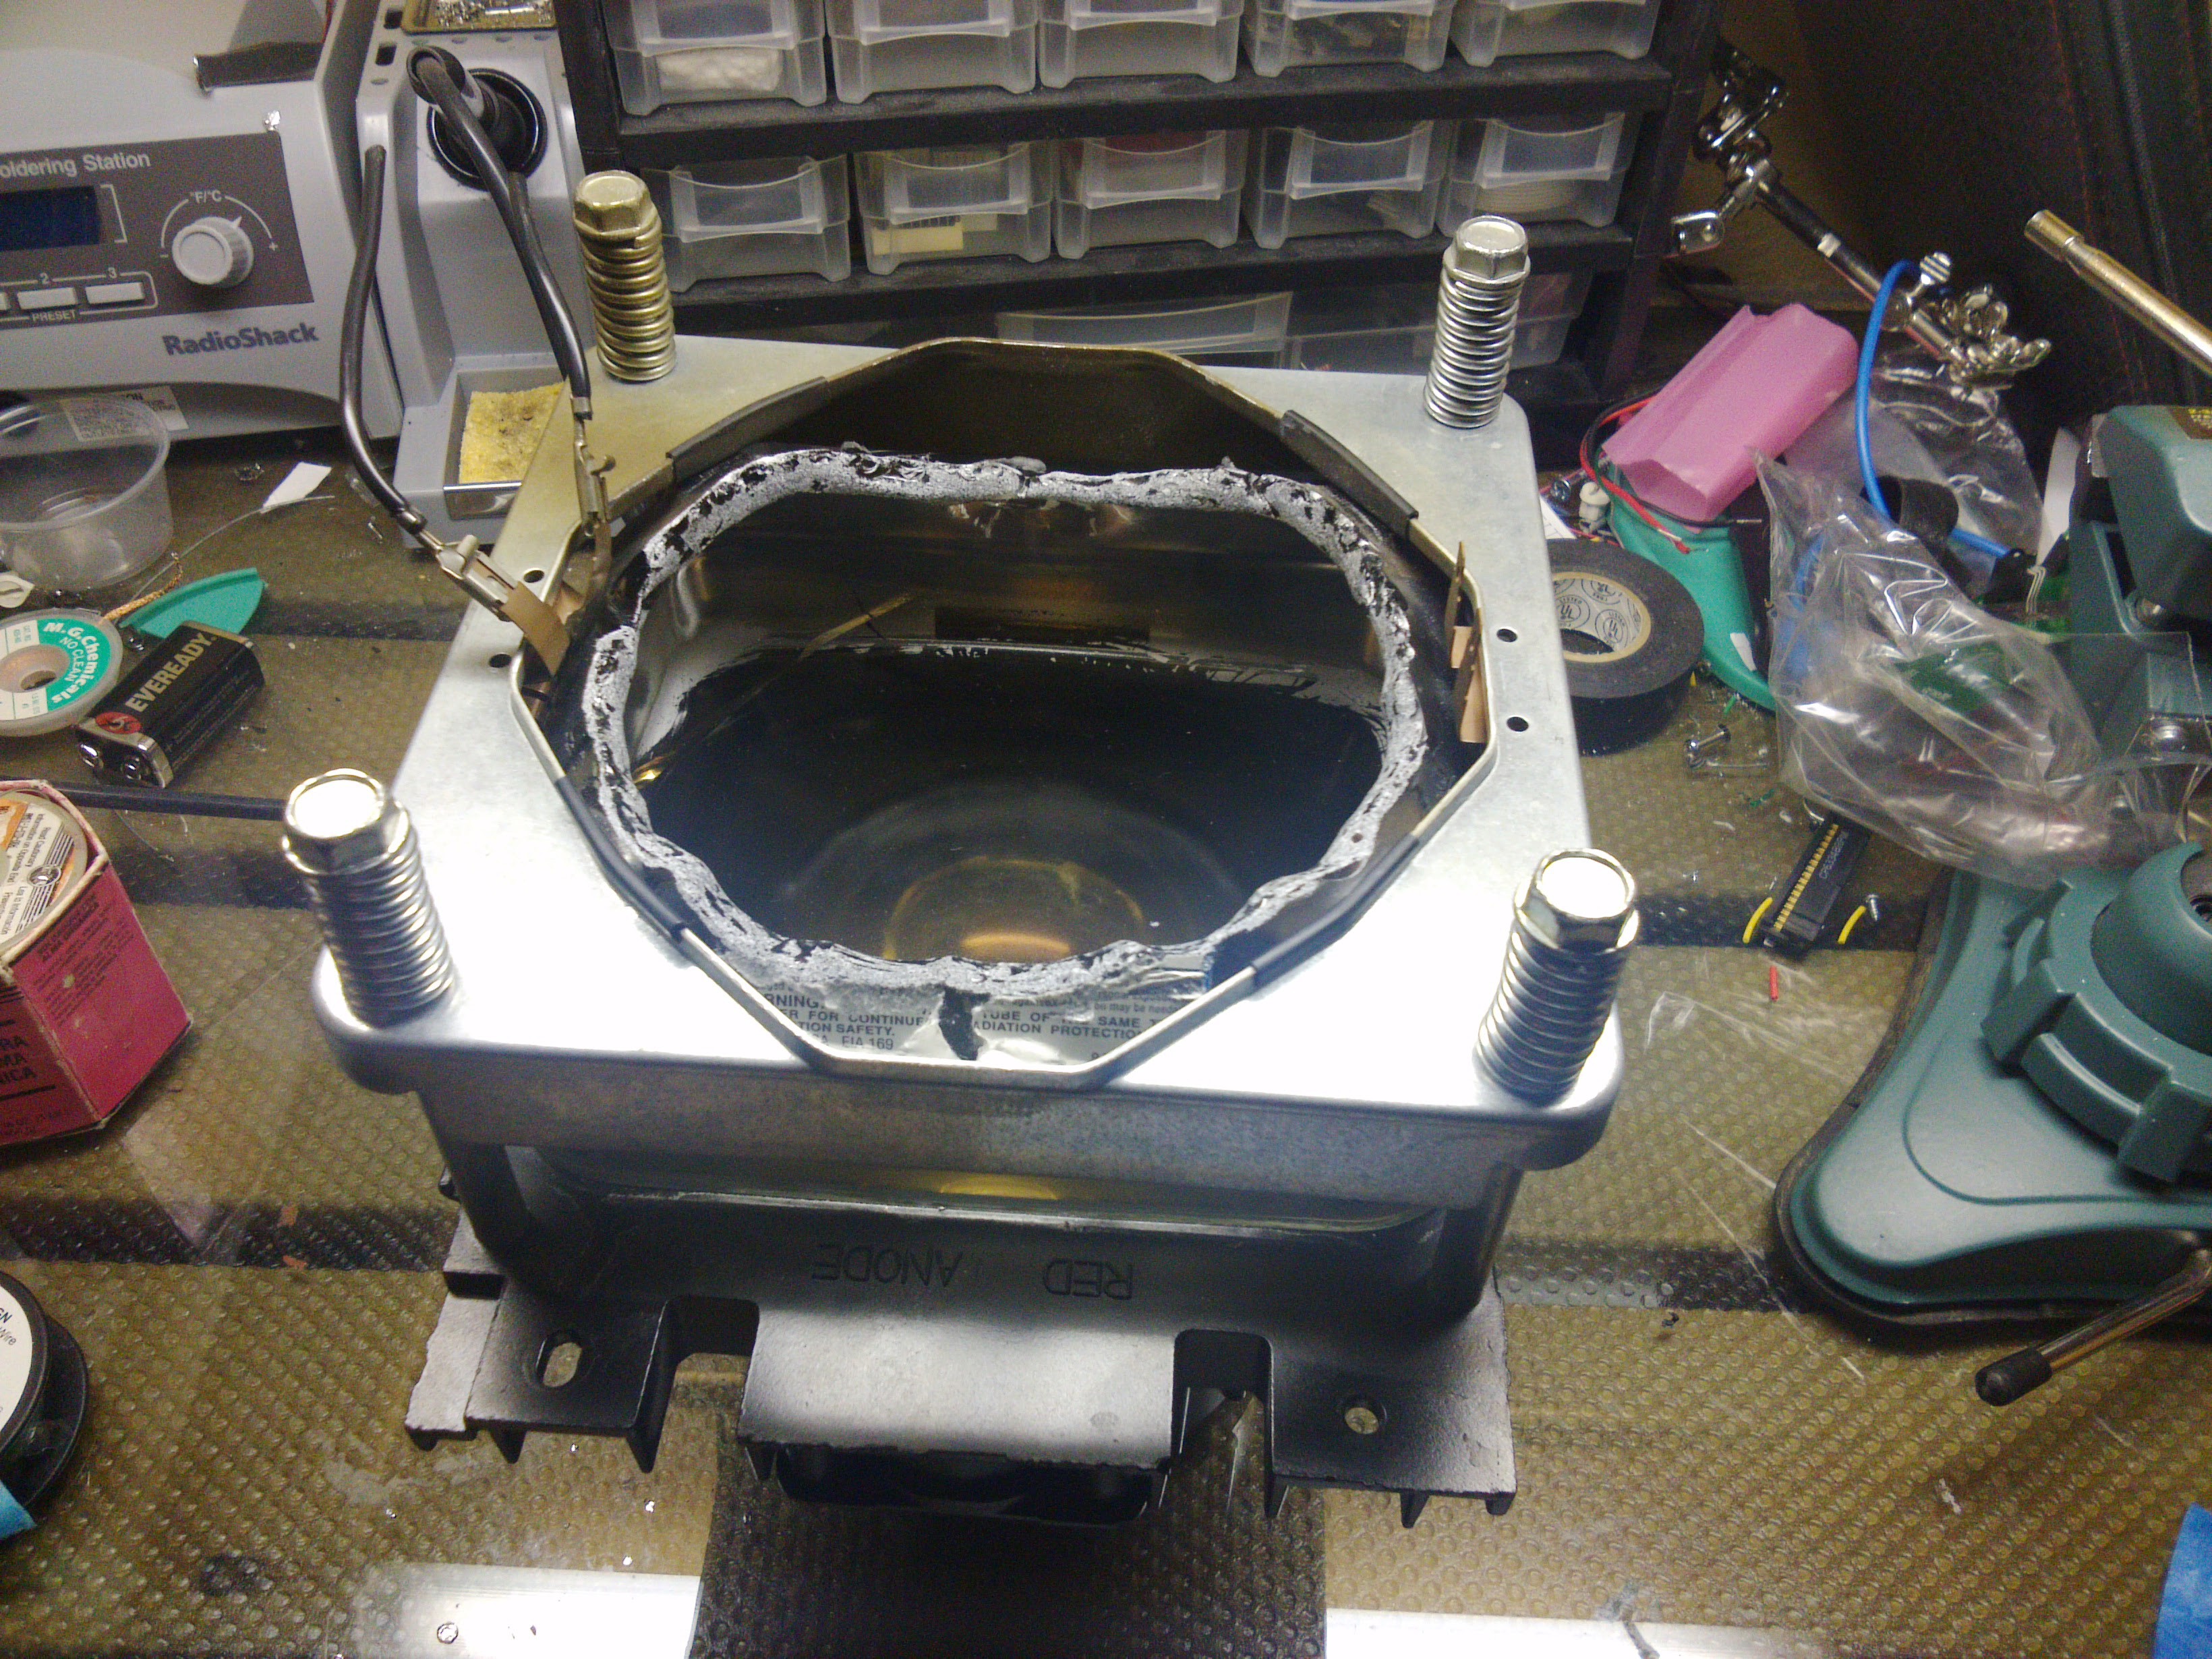
Now I have a much larger area to project onto, and the oil/lens is still intact!
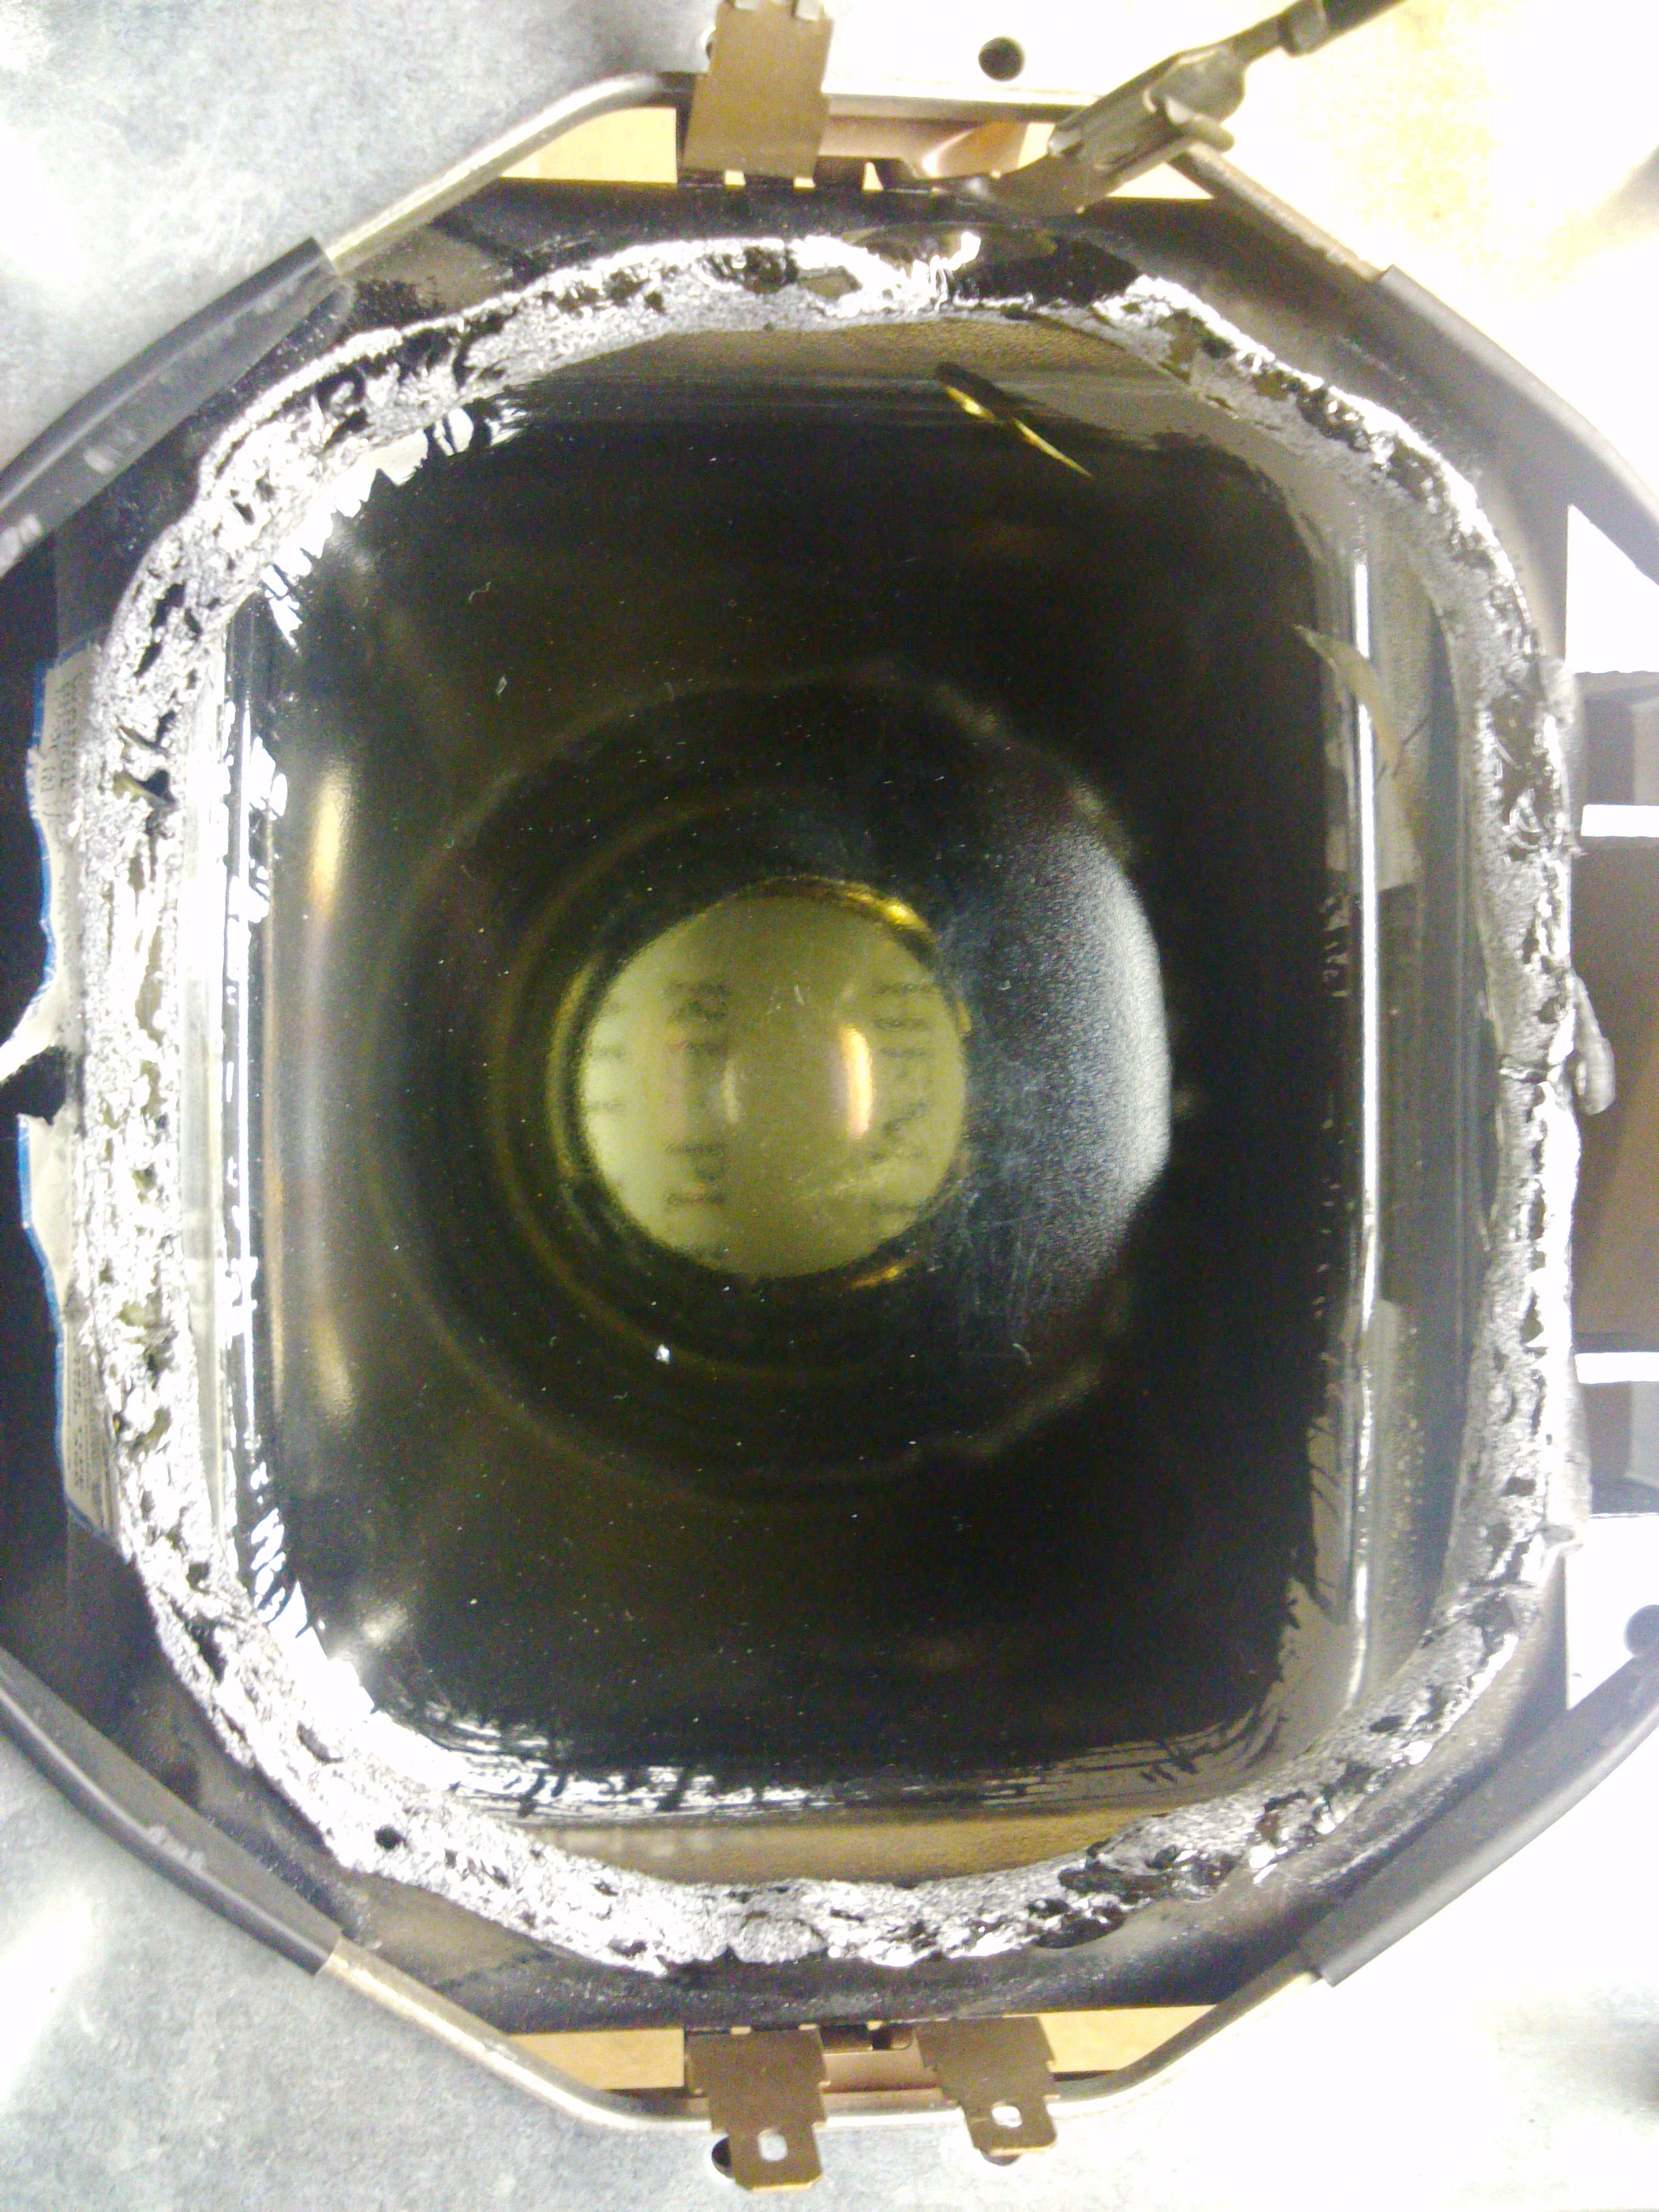
He even cleaned up the edges so that they weren't so sharp!
Now, the next thing is to determine how to lens the output of the projector so that it can place an image in focus on the inside area of this assembly. Currently, I can't get any of them to focus that closely.
One thing that *IS* now possible is to write things on transparency that can be placed on the surface of the lens and project them on things using a bright, bright light!
The dome experiment continues!
So, in order for this to look spiffy, I need to remove the lettering from the PVC pipe. I tried a bunch of solvents, and Laquer Thinner seemed to be the best.
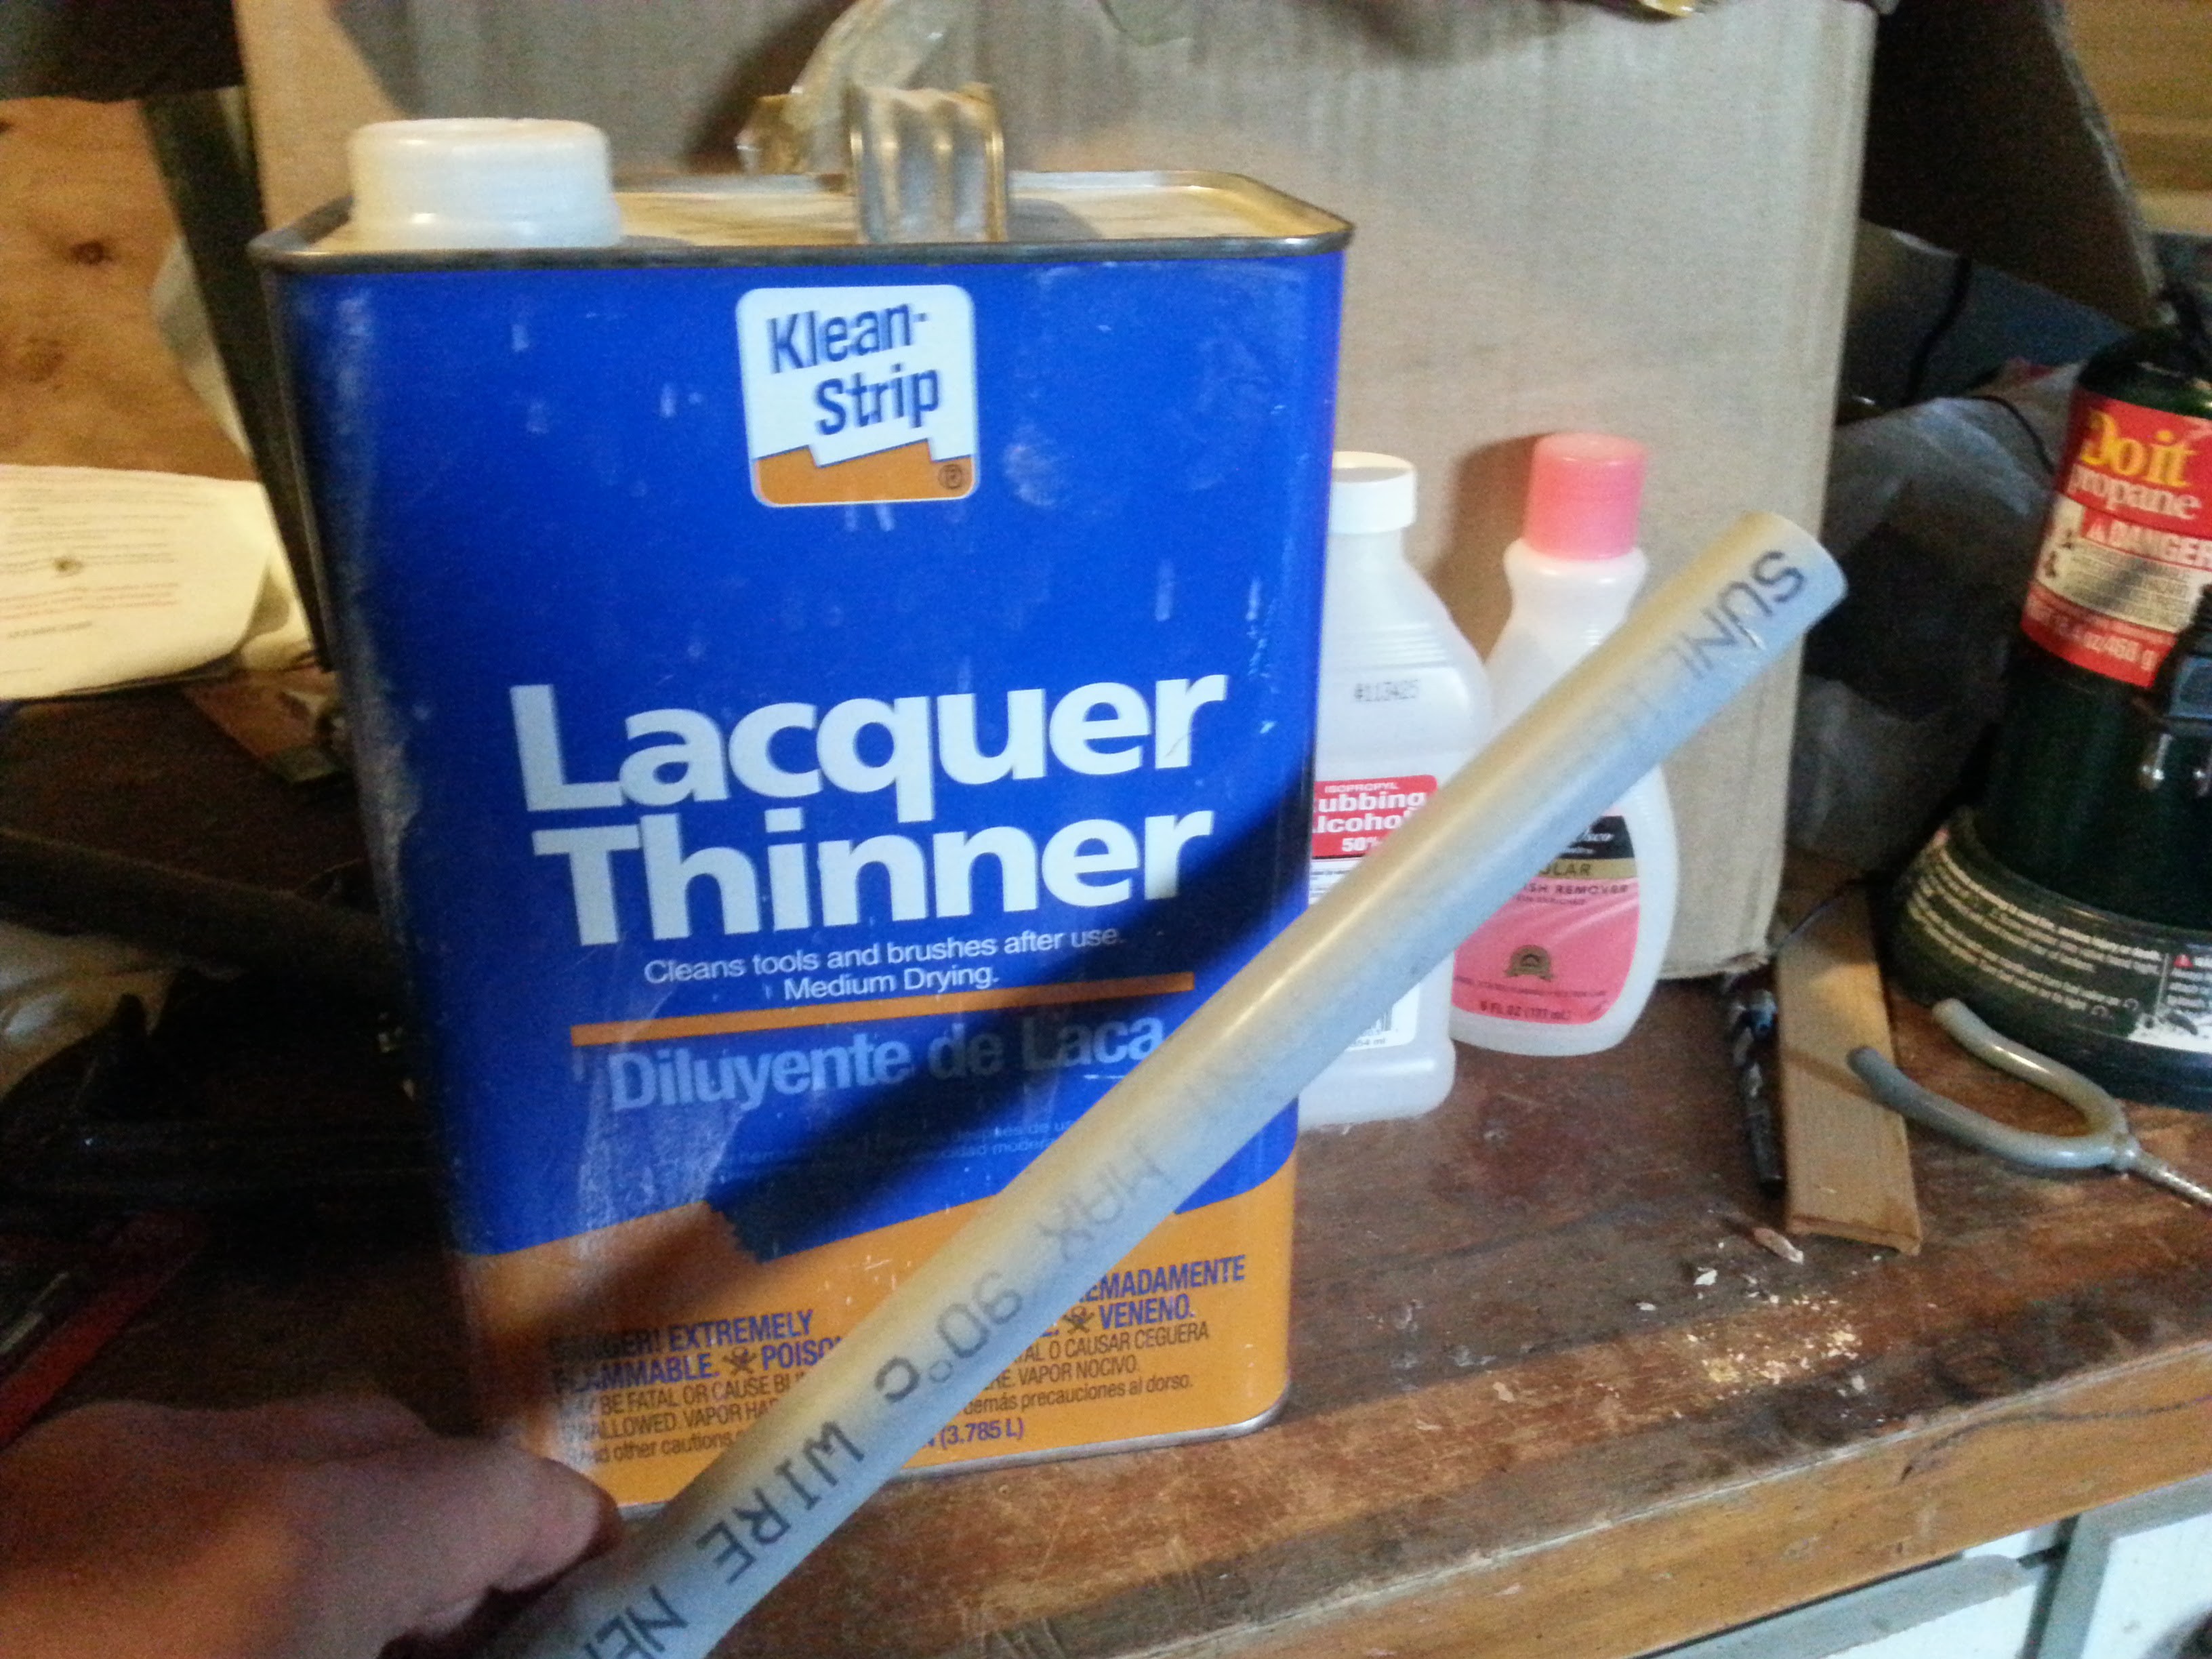
I tried grinding the letters off, with some success, but it was hard to do it in a way that didn't accidentally leave deep pits in the pipe.
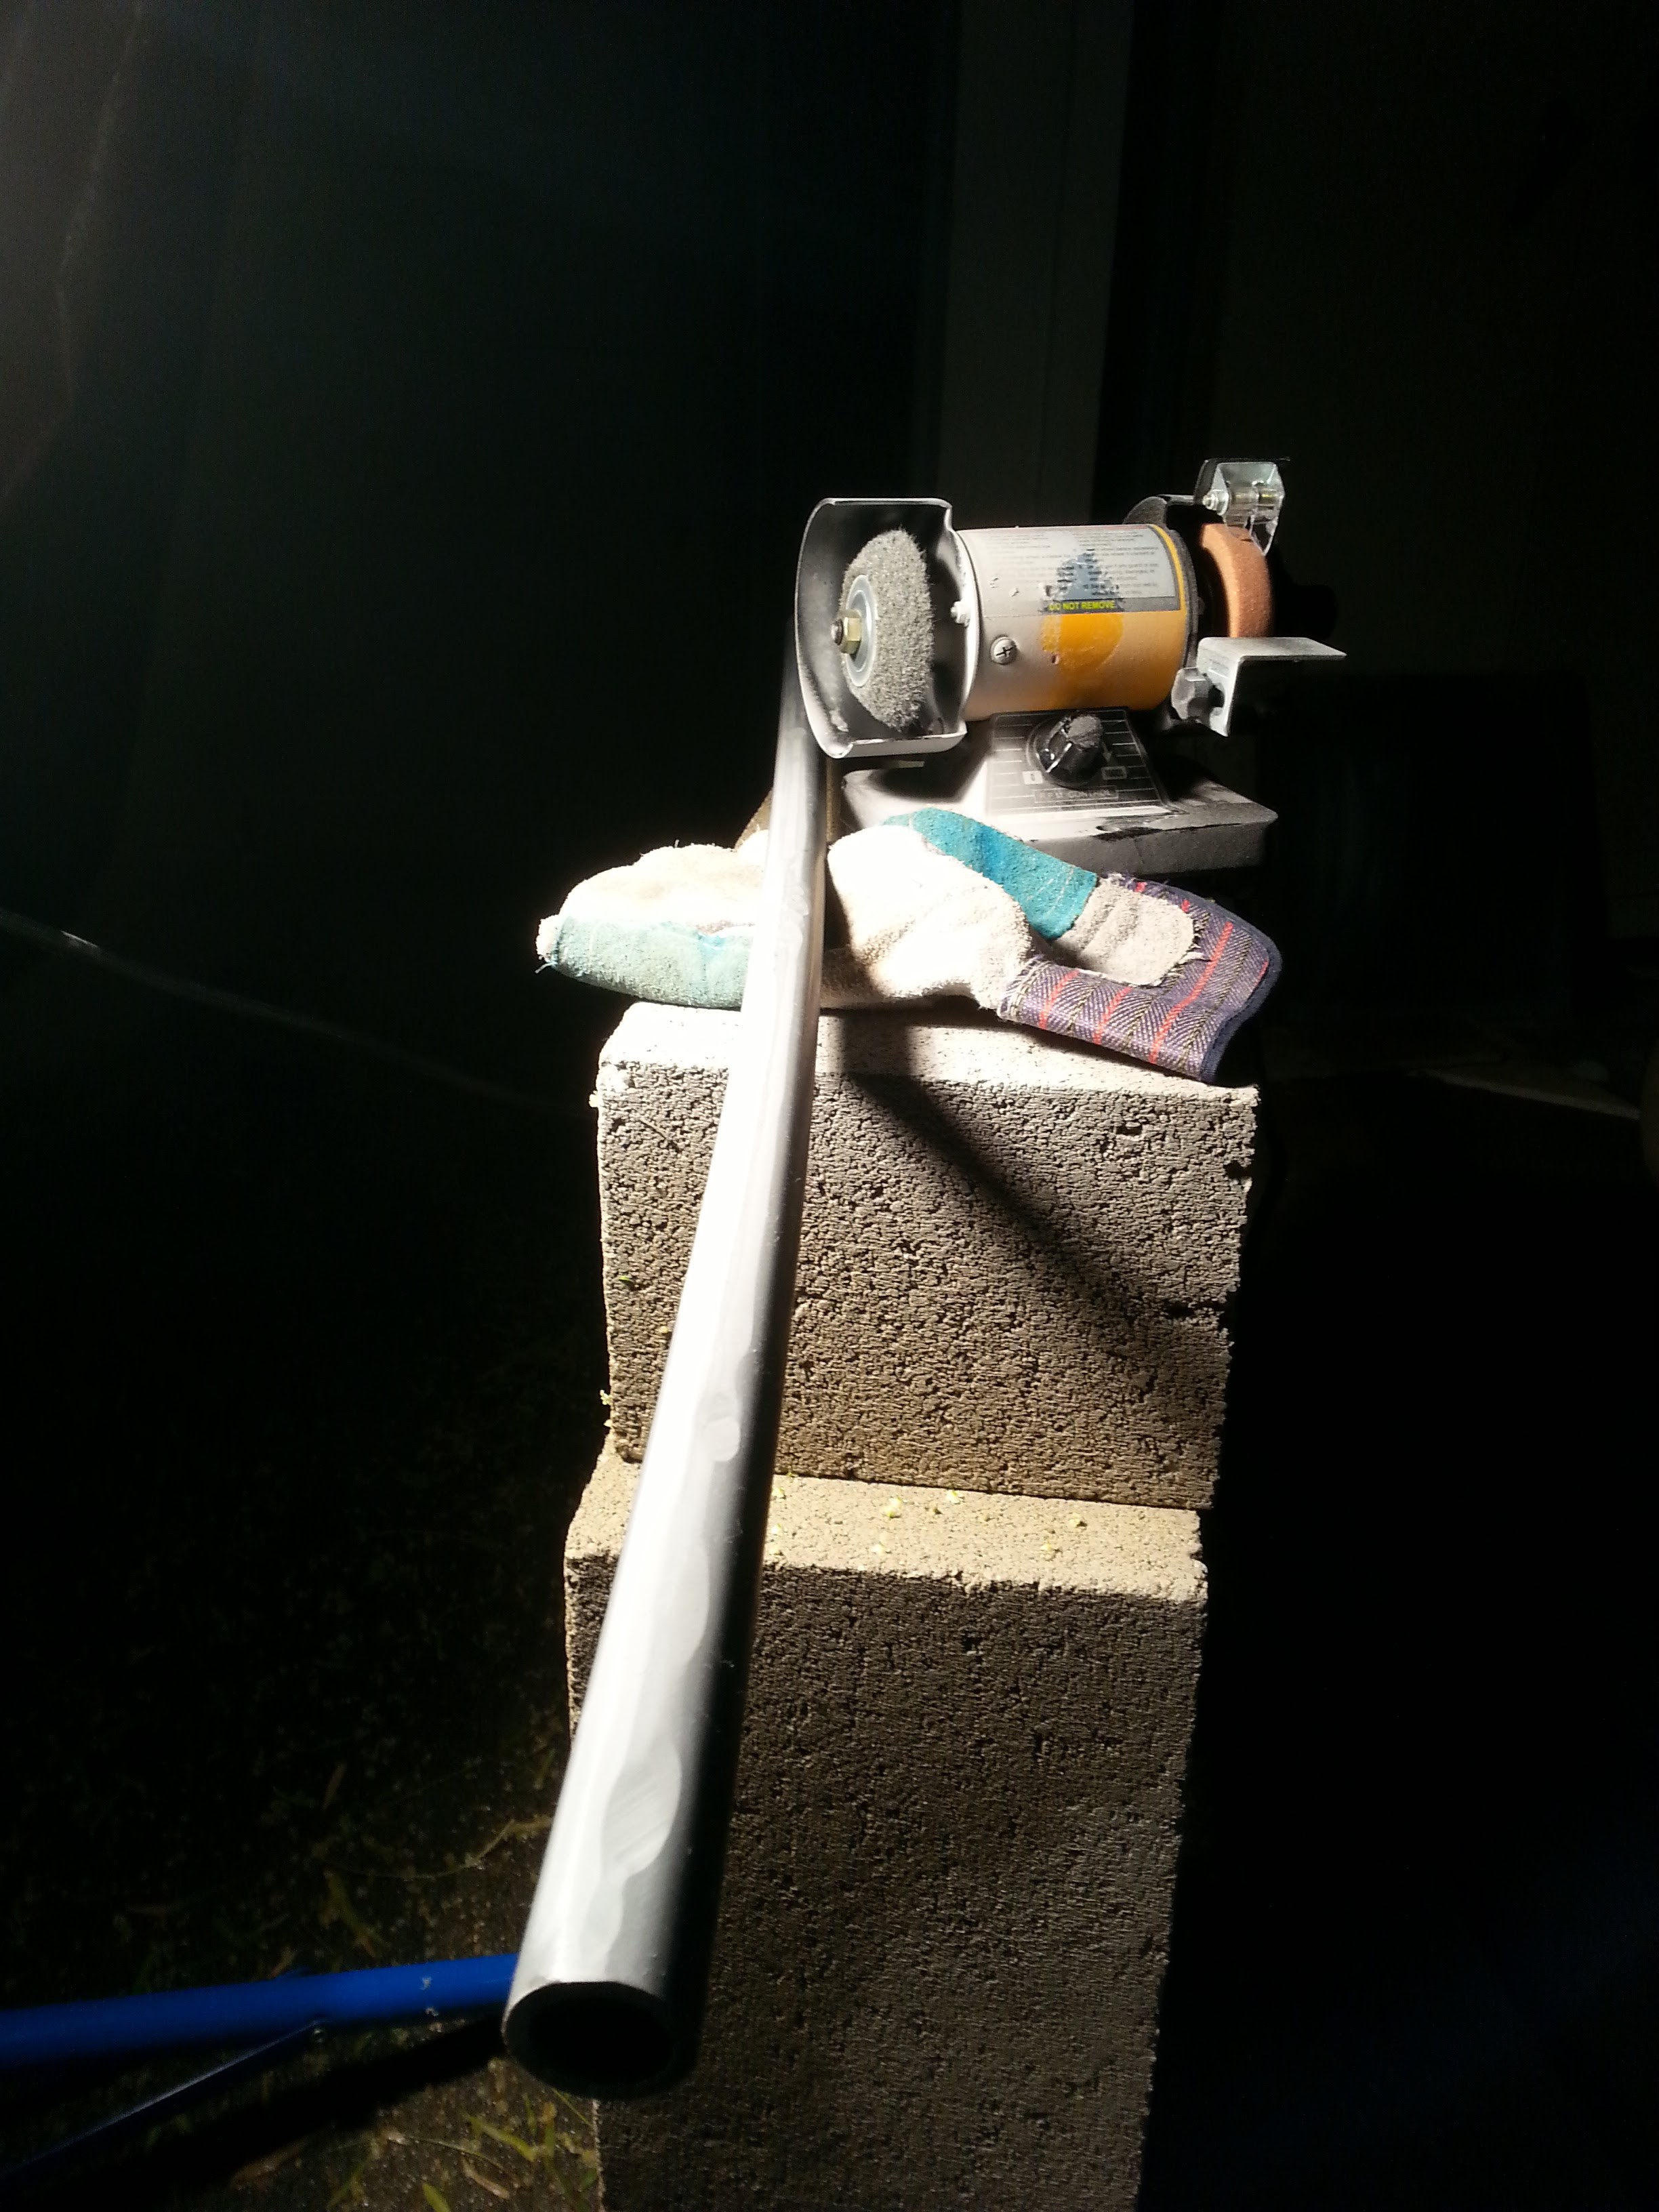
I've obtained a prodigious amount of lacquer thinner and a bit of roof gutter to dip the pipes in, so I'll update this as soon as I get around to that... I decided that dipping was the best because when I tried to rub it off with paper towels it seemed ineffective unless the surface was soaked with thinner first. So I might as well dunk the thing and then it will be easy, right? I just hope it doesn't do anything bad to the structural integrity of the PVC...
So, here are all of the parts of the disassembled Soft Egg Dome!
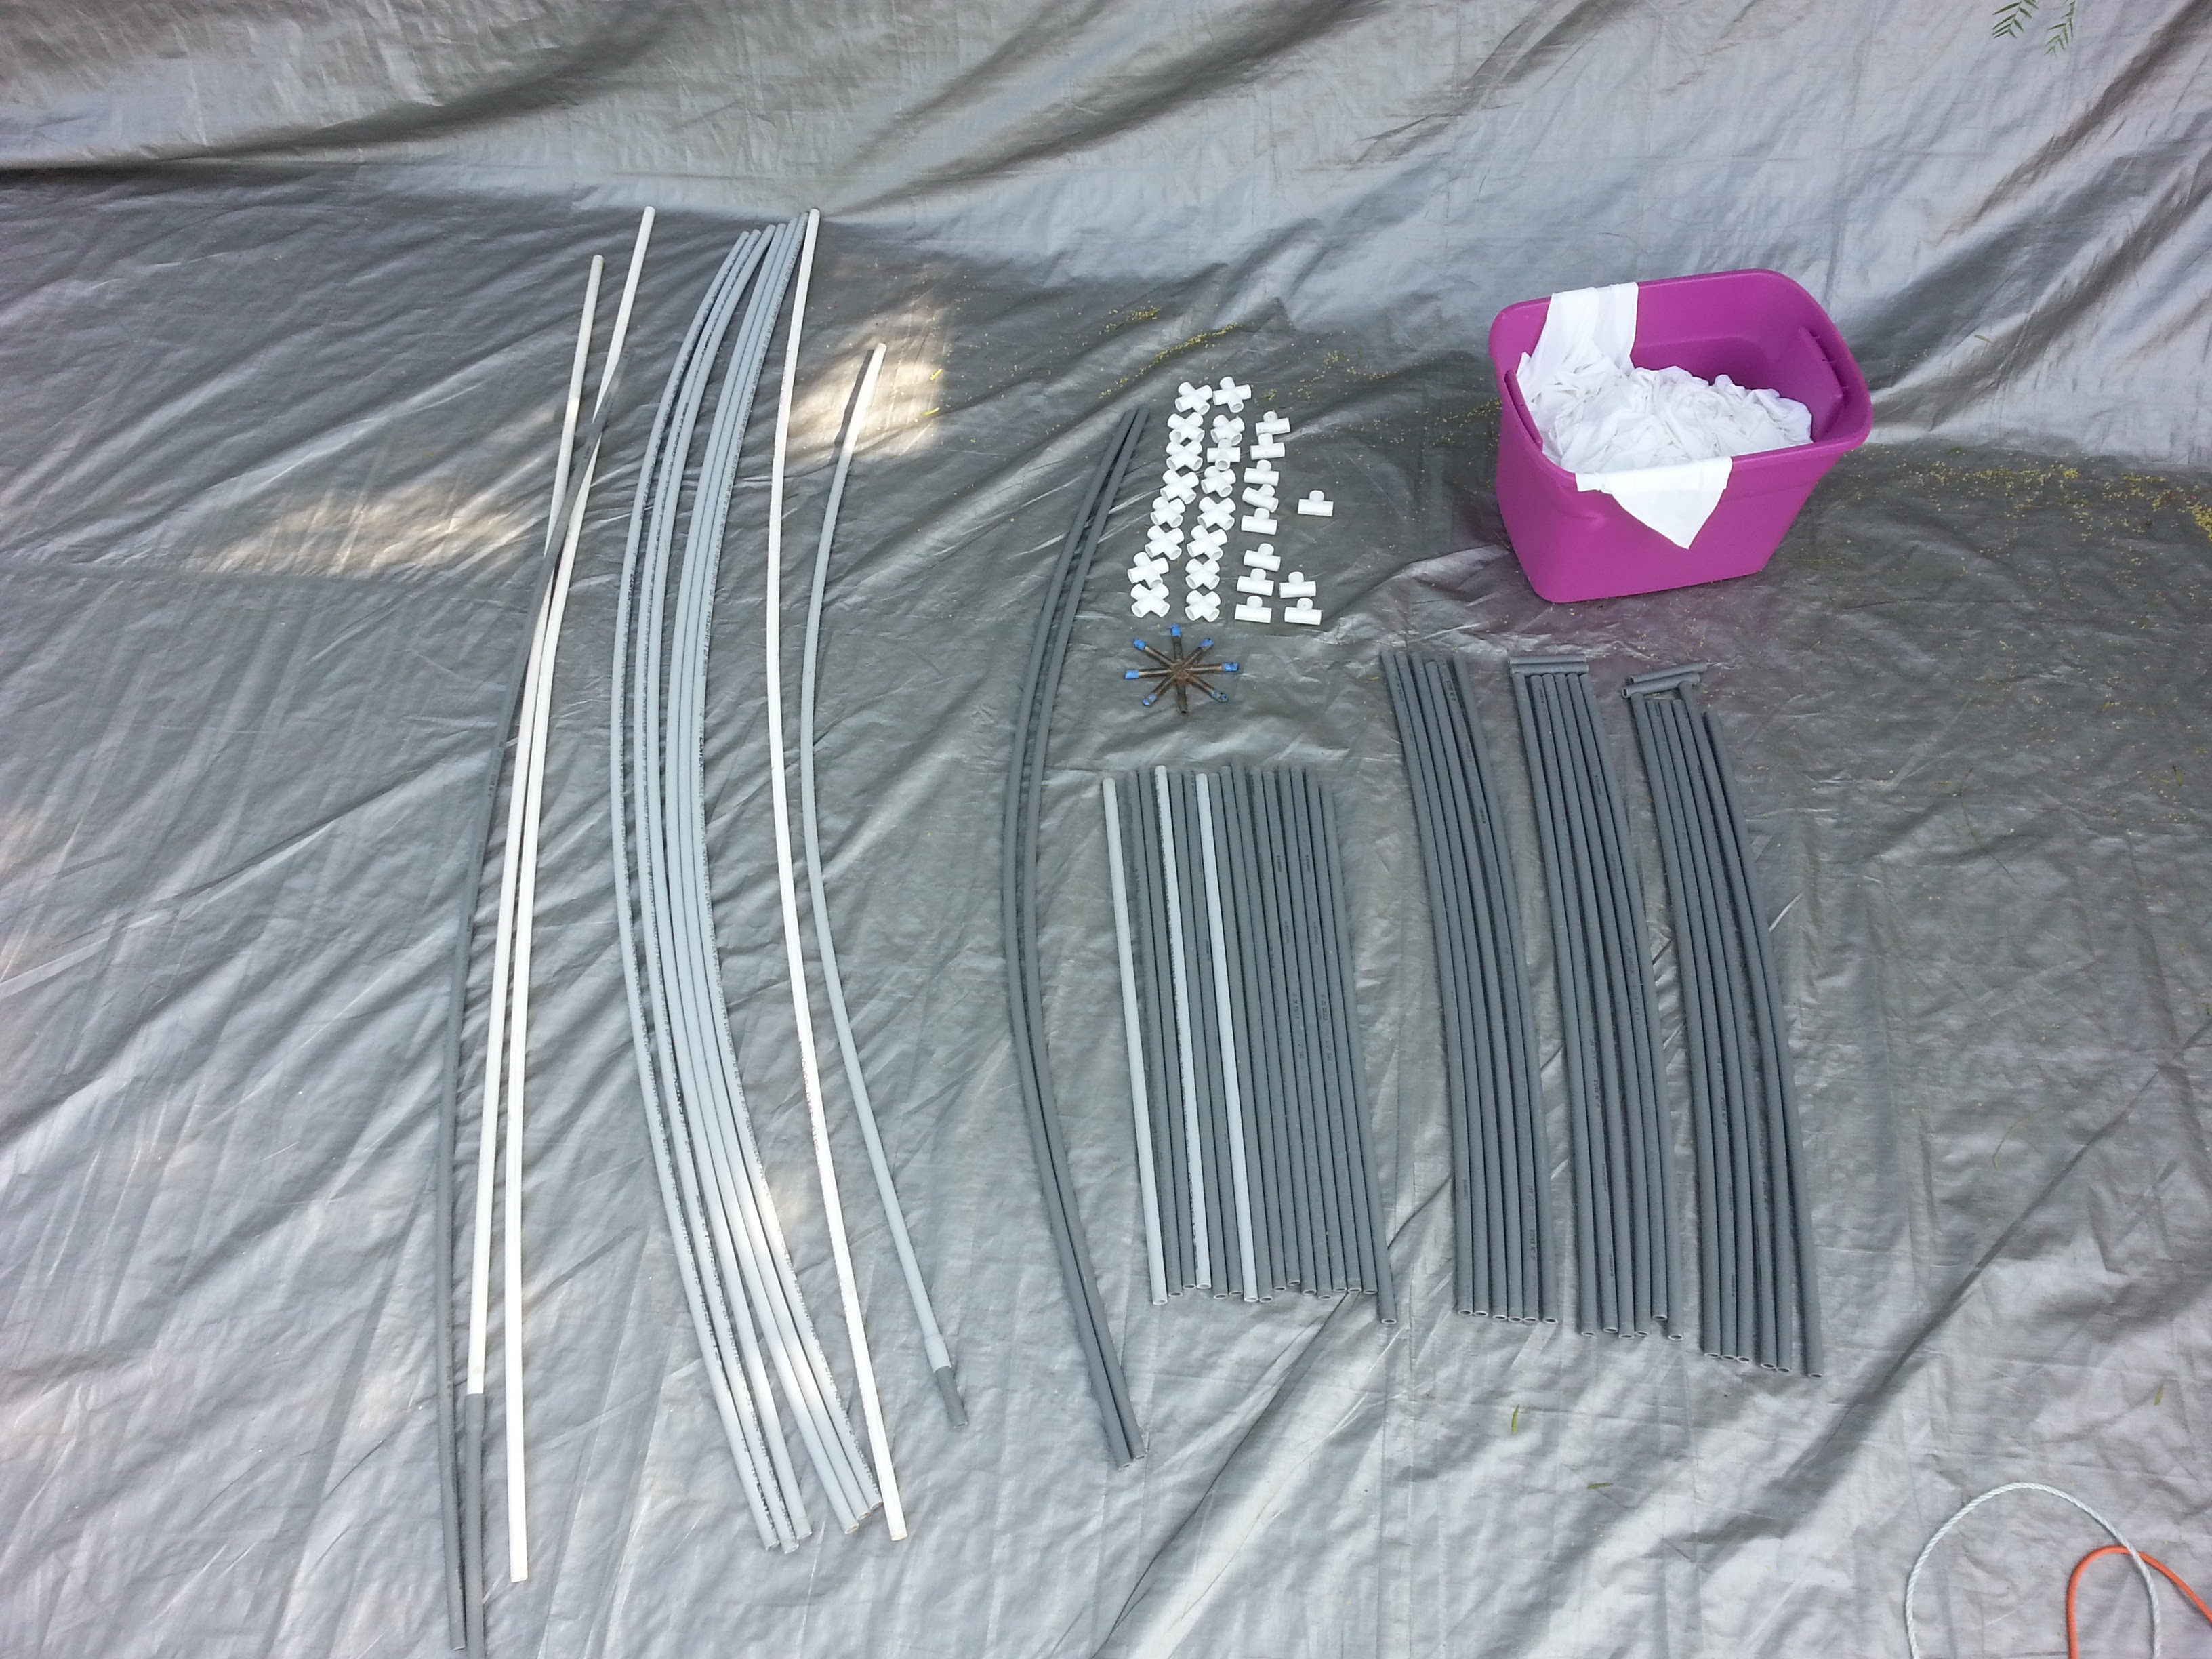
Here they are on my nifty, but horribly inadequate, cart!
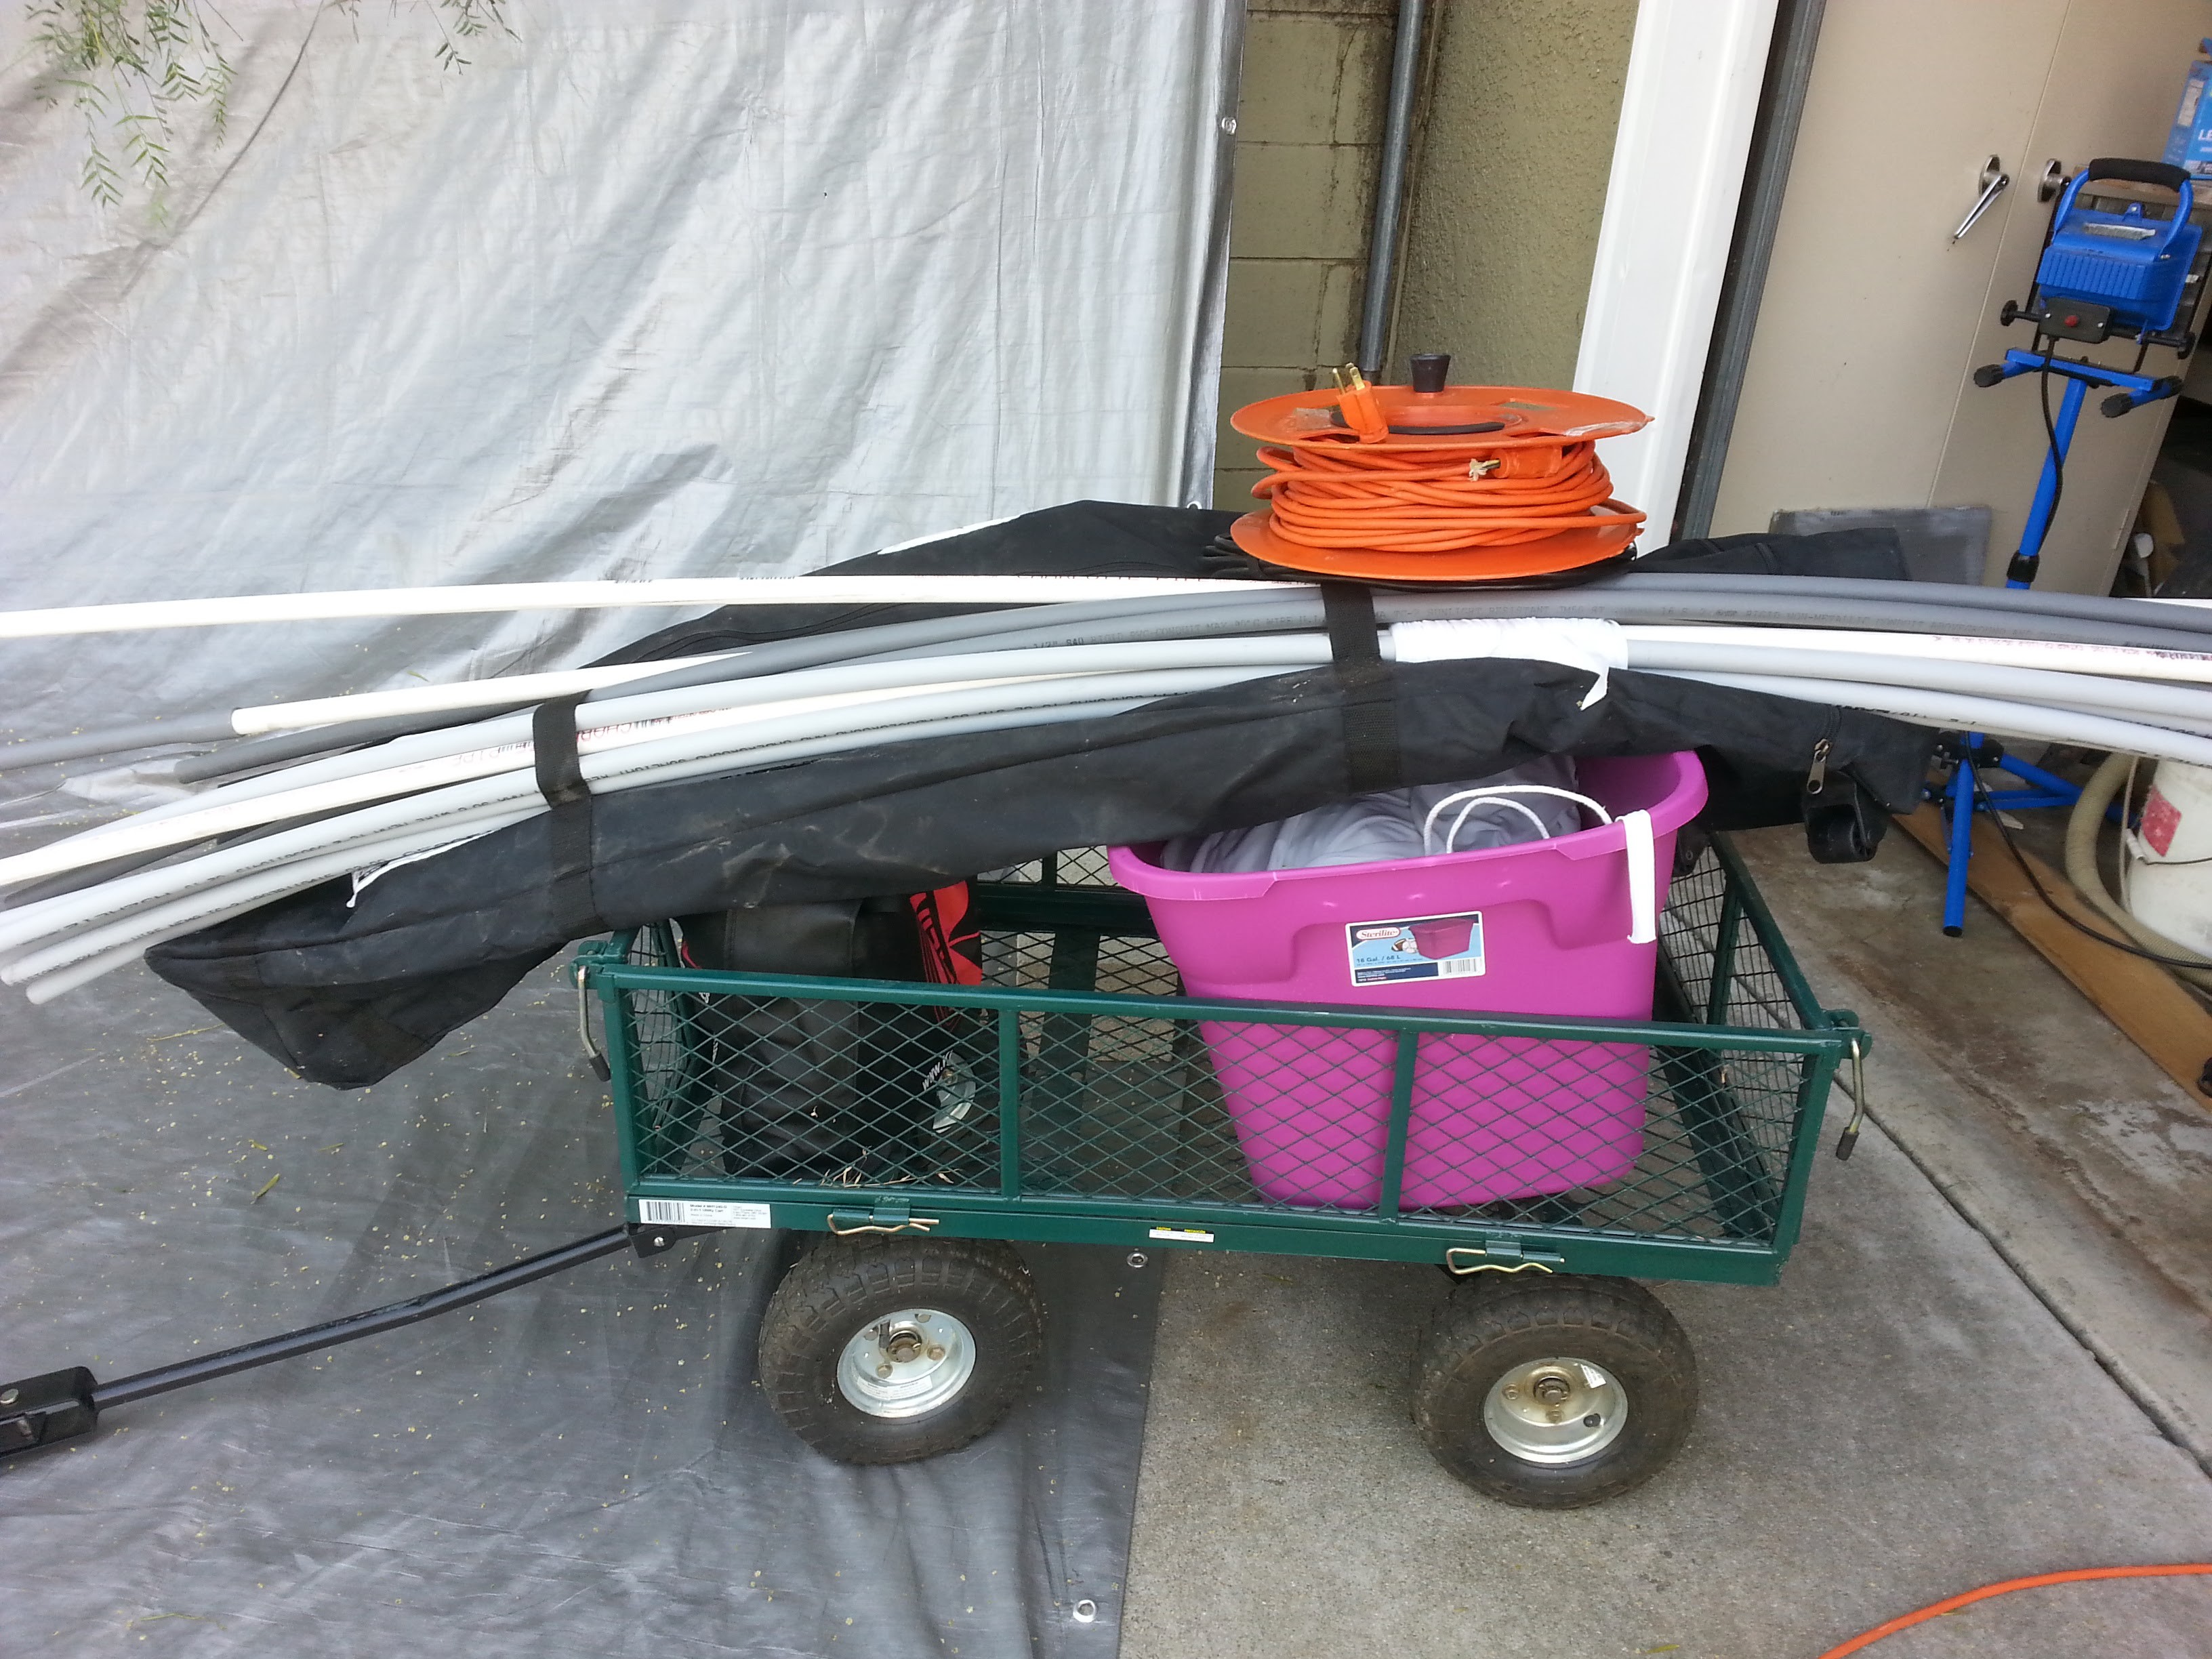 Not pictured: metal T joints. They were made after this picture was taken.
Here are some tests of video projection on the dome:
So, since the PVC joints keep breaking, I went back to 23b Shop and welded more metal joints. This time only 4 way joints were required.
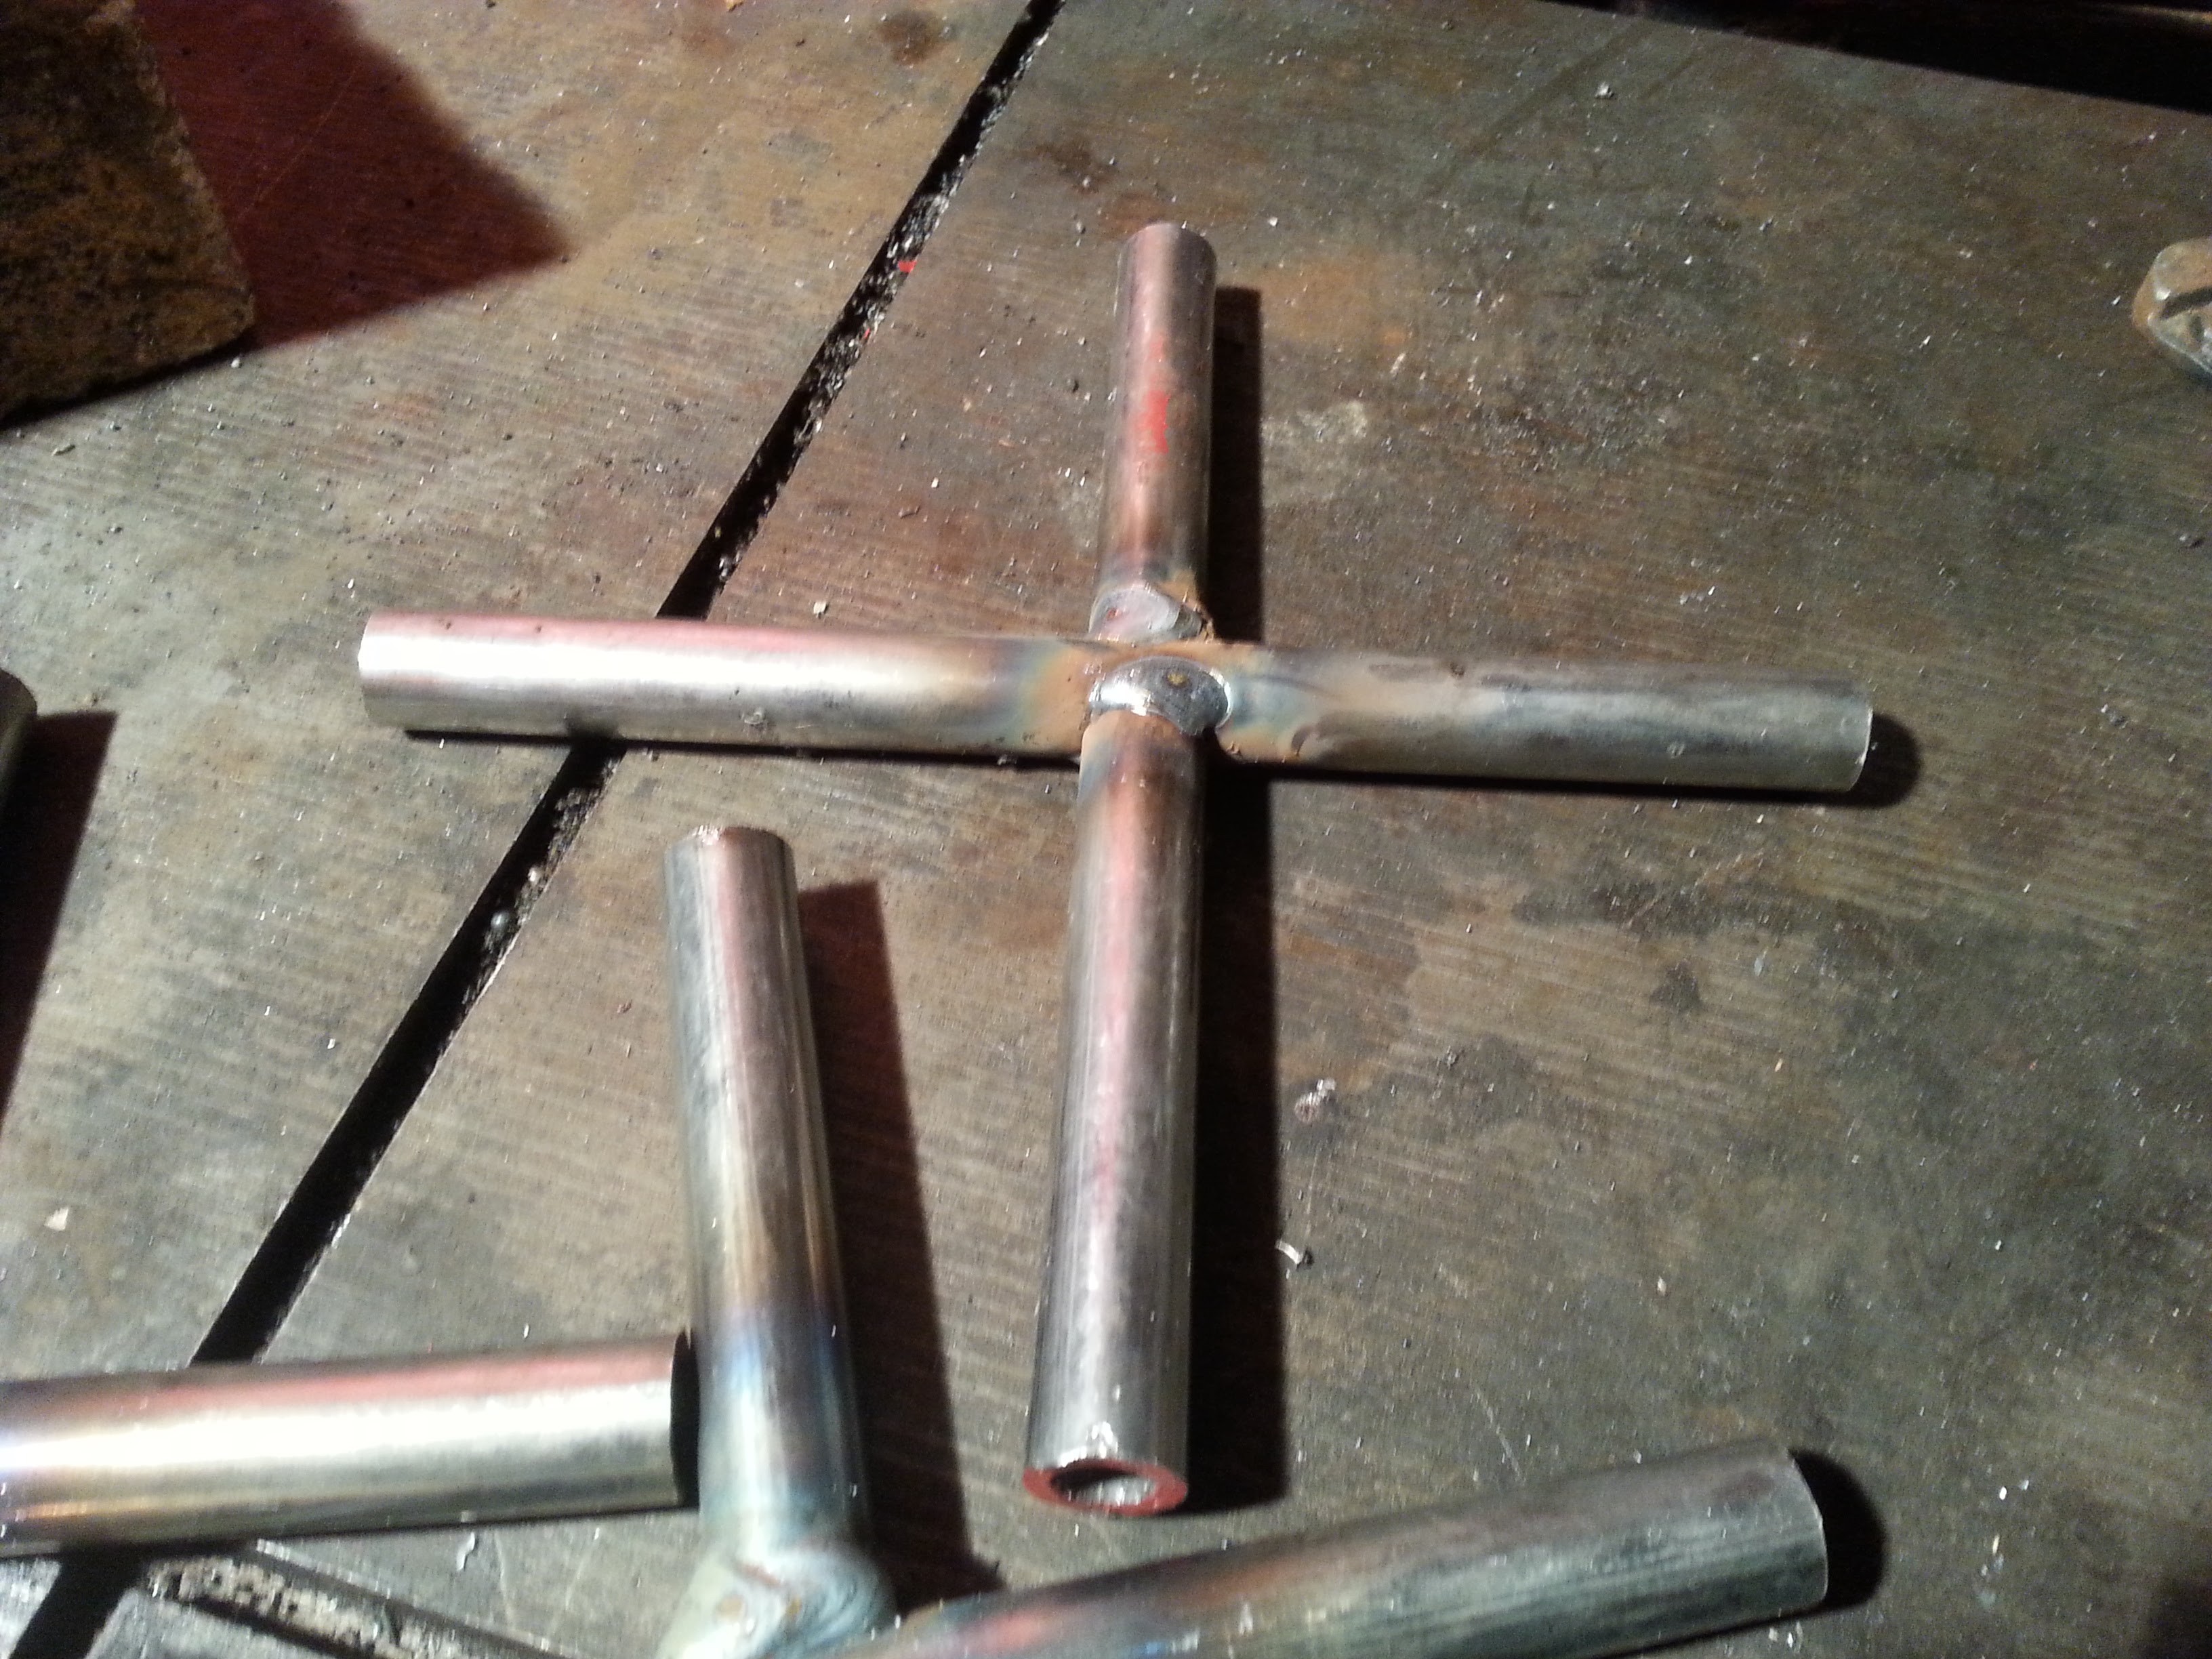
But I needed a lot of them.
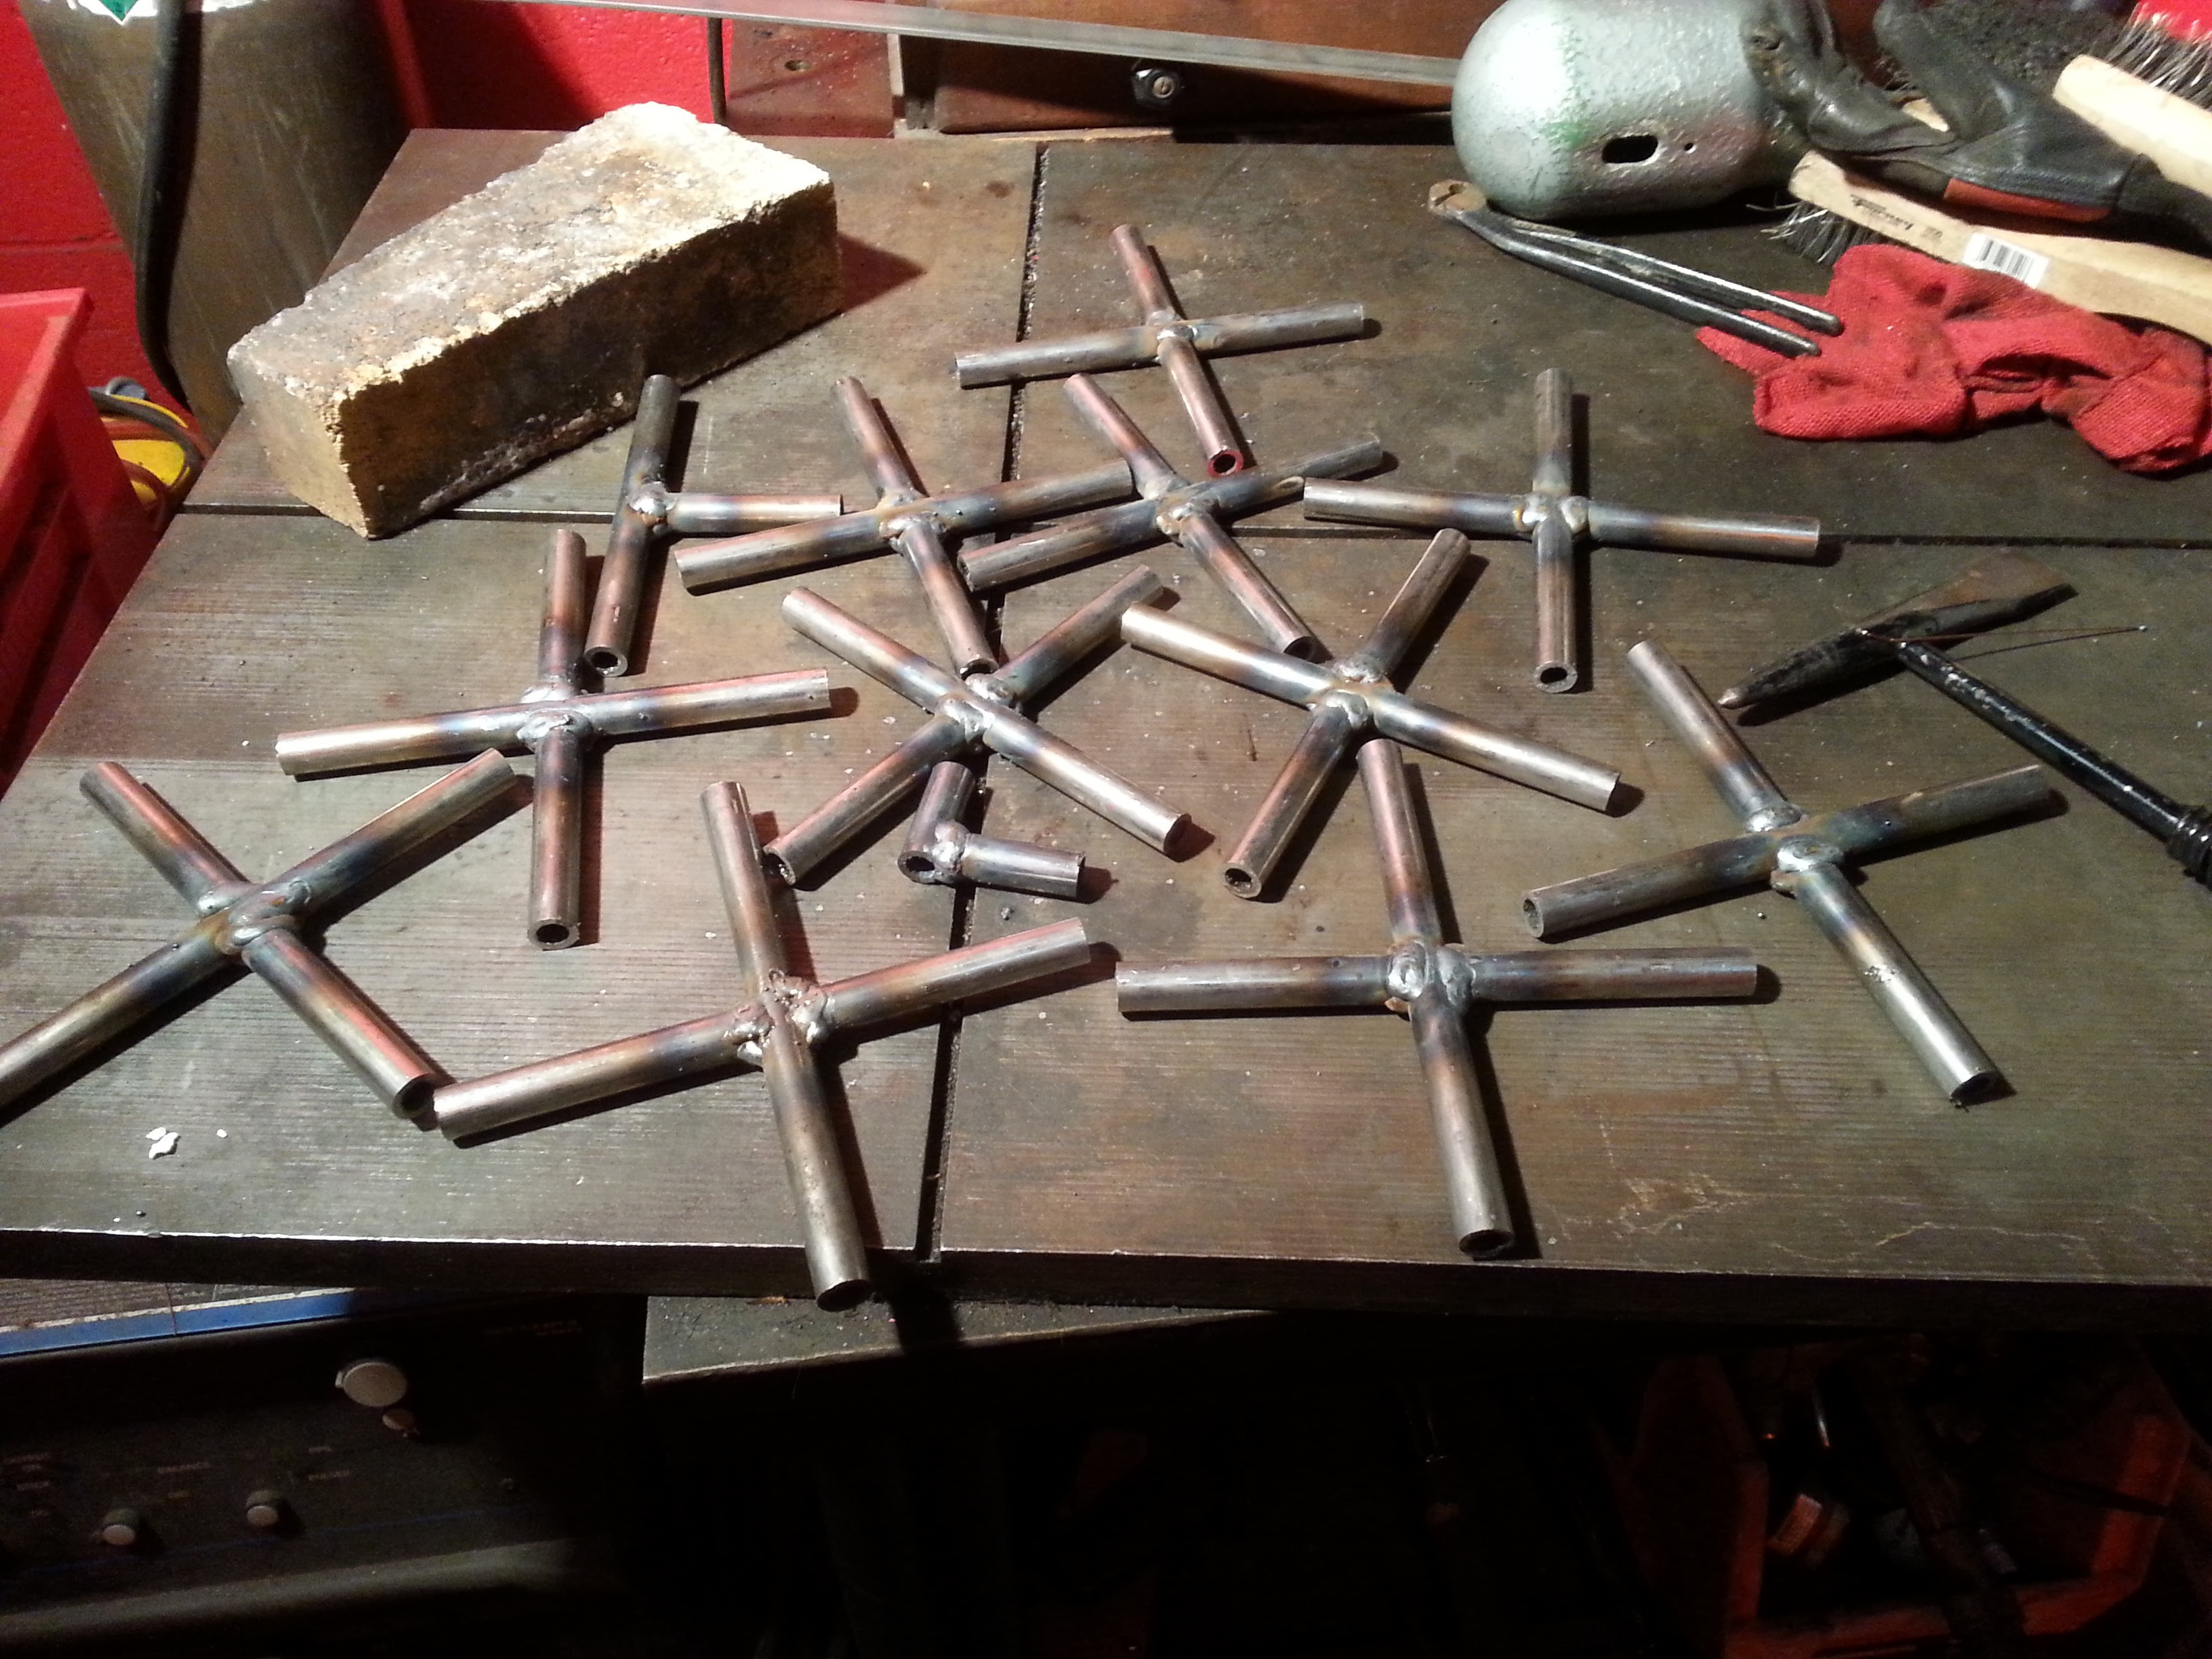
In fact, that is still not enough, so I went back to Industrial Metal Supply to feel even more metal!

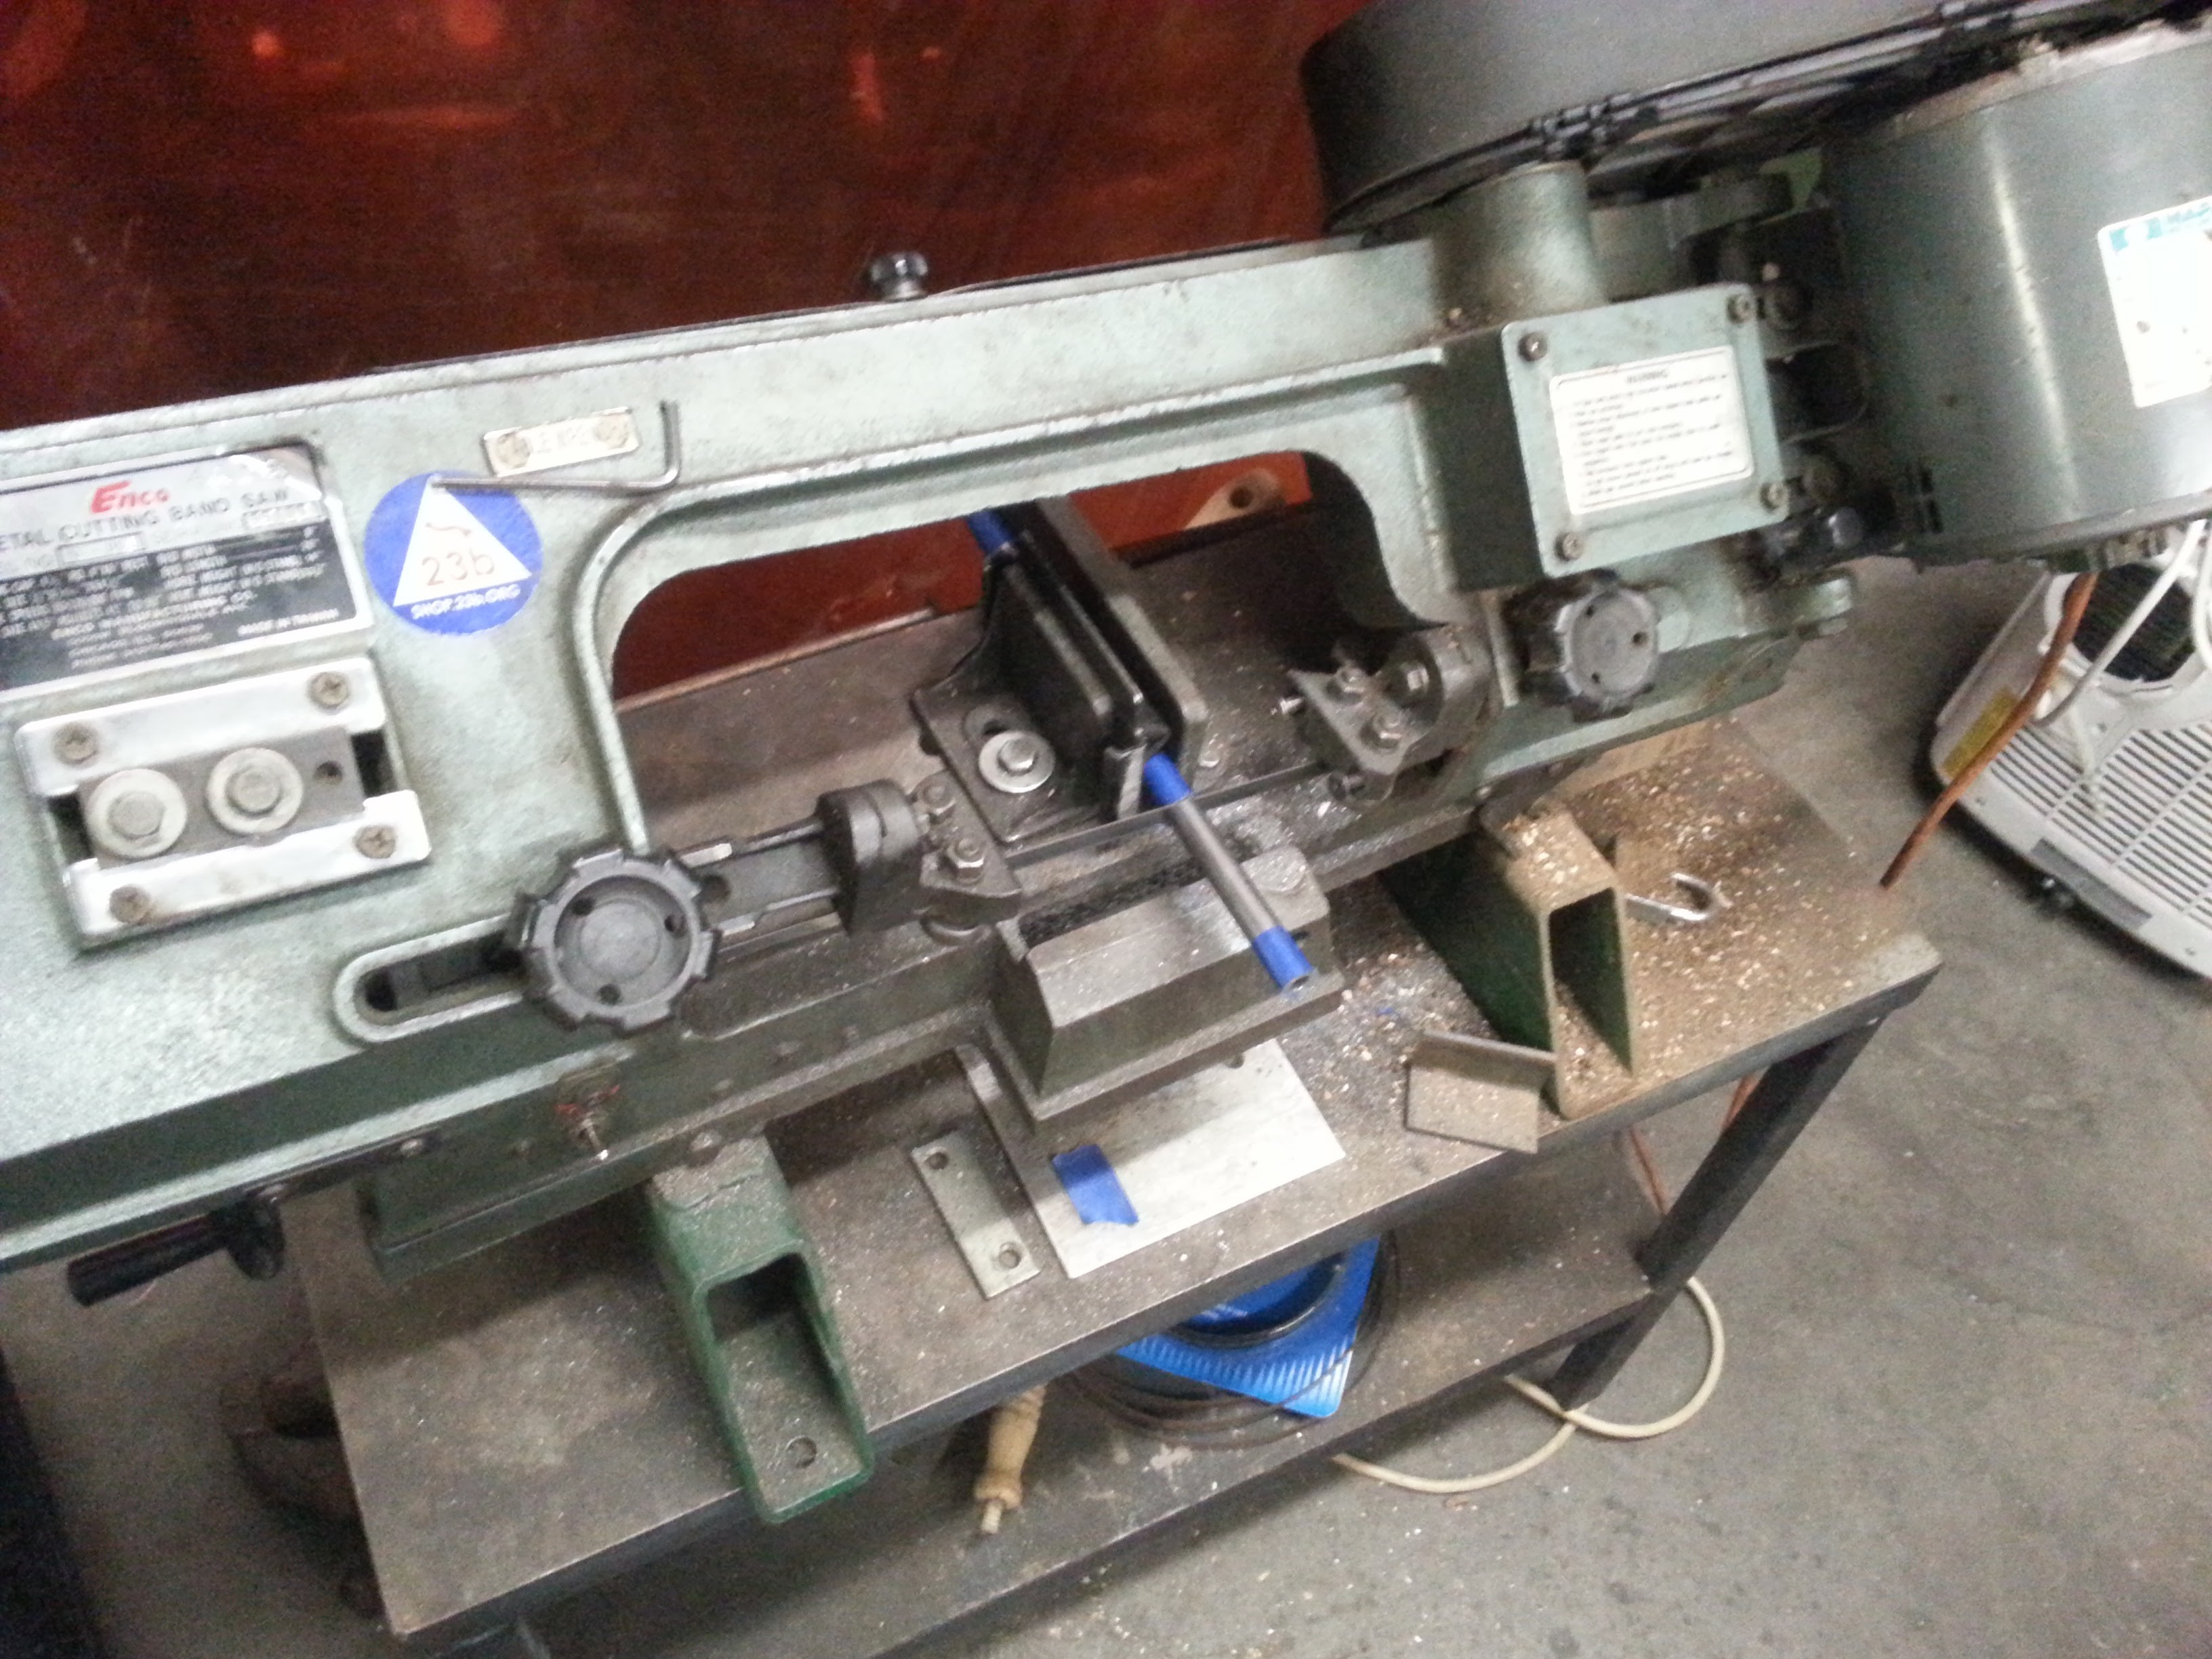
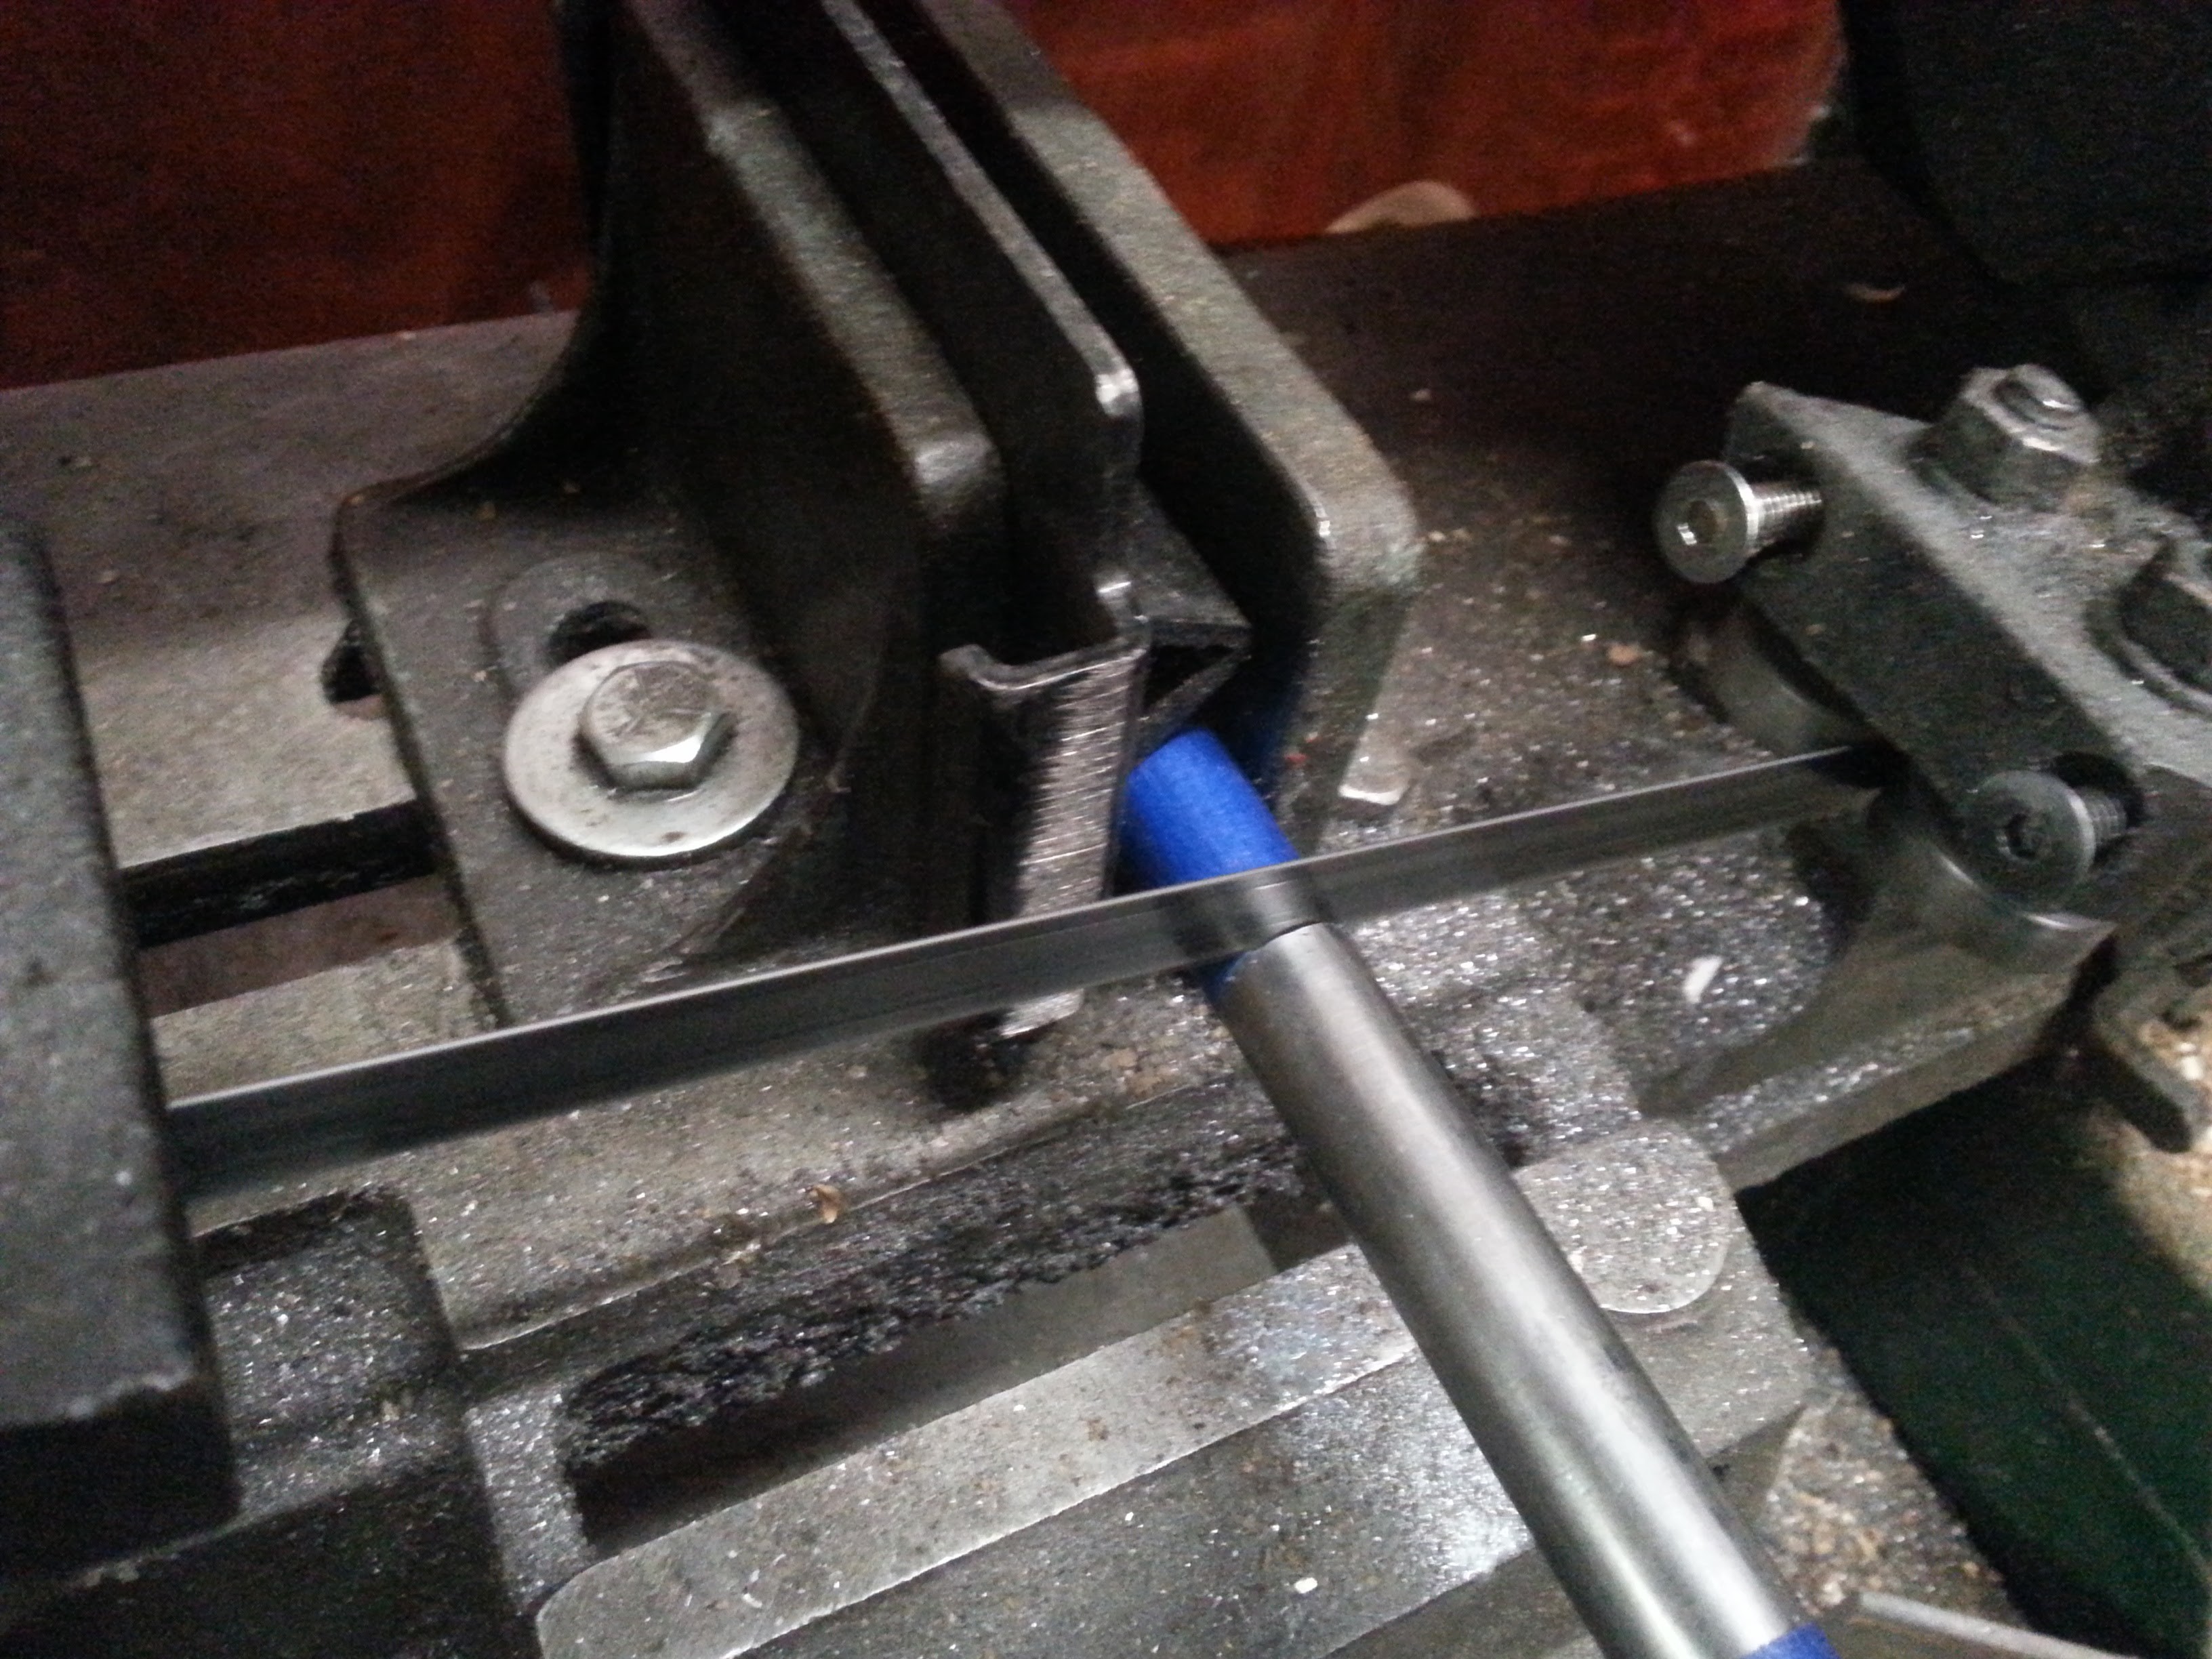
Cutting resumes...
So, to use it for an indoor show, I need to treat it with flame retardant. I didn't do a great job, so don't do as I have done.
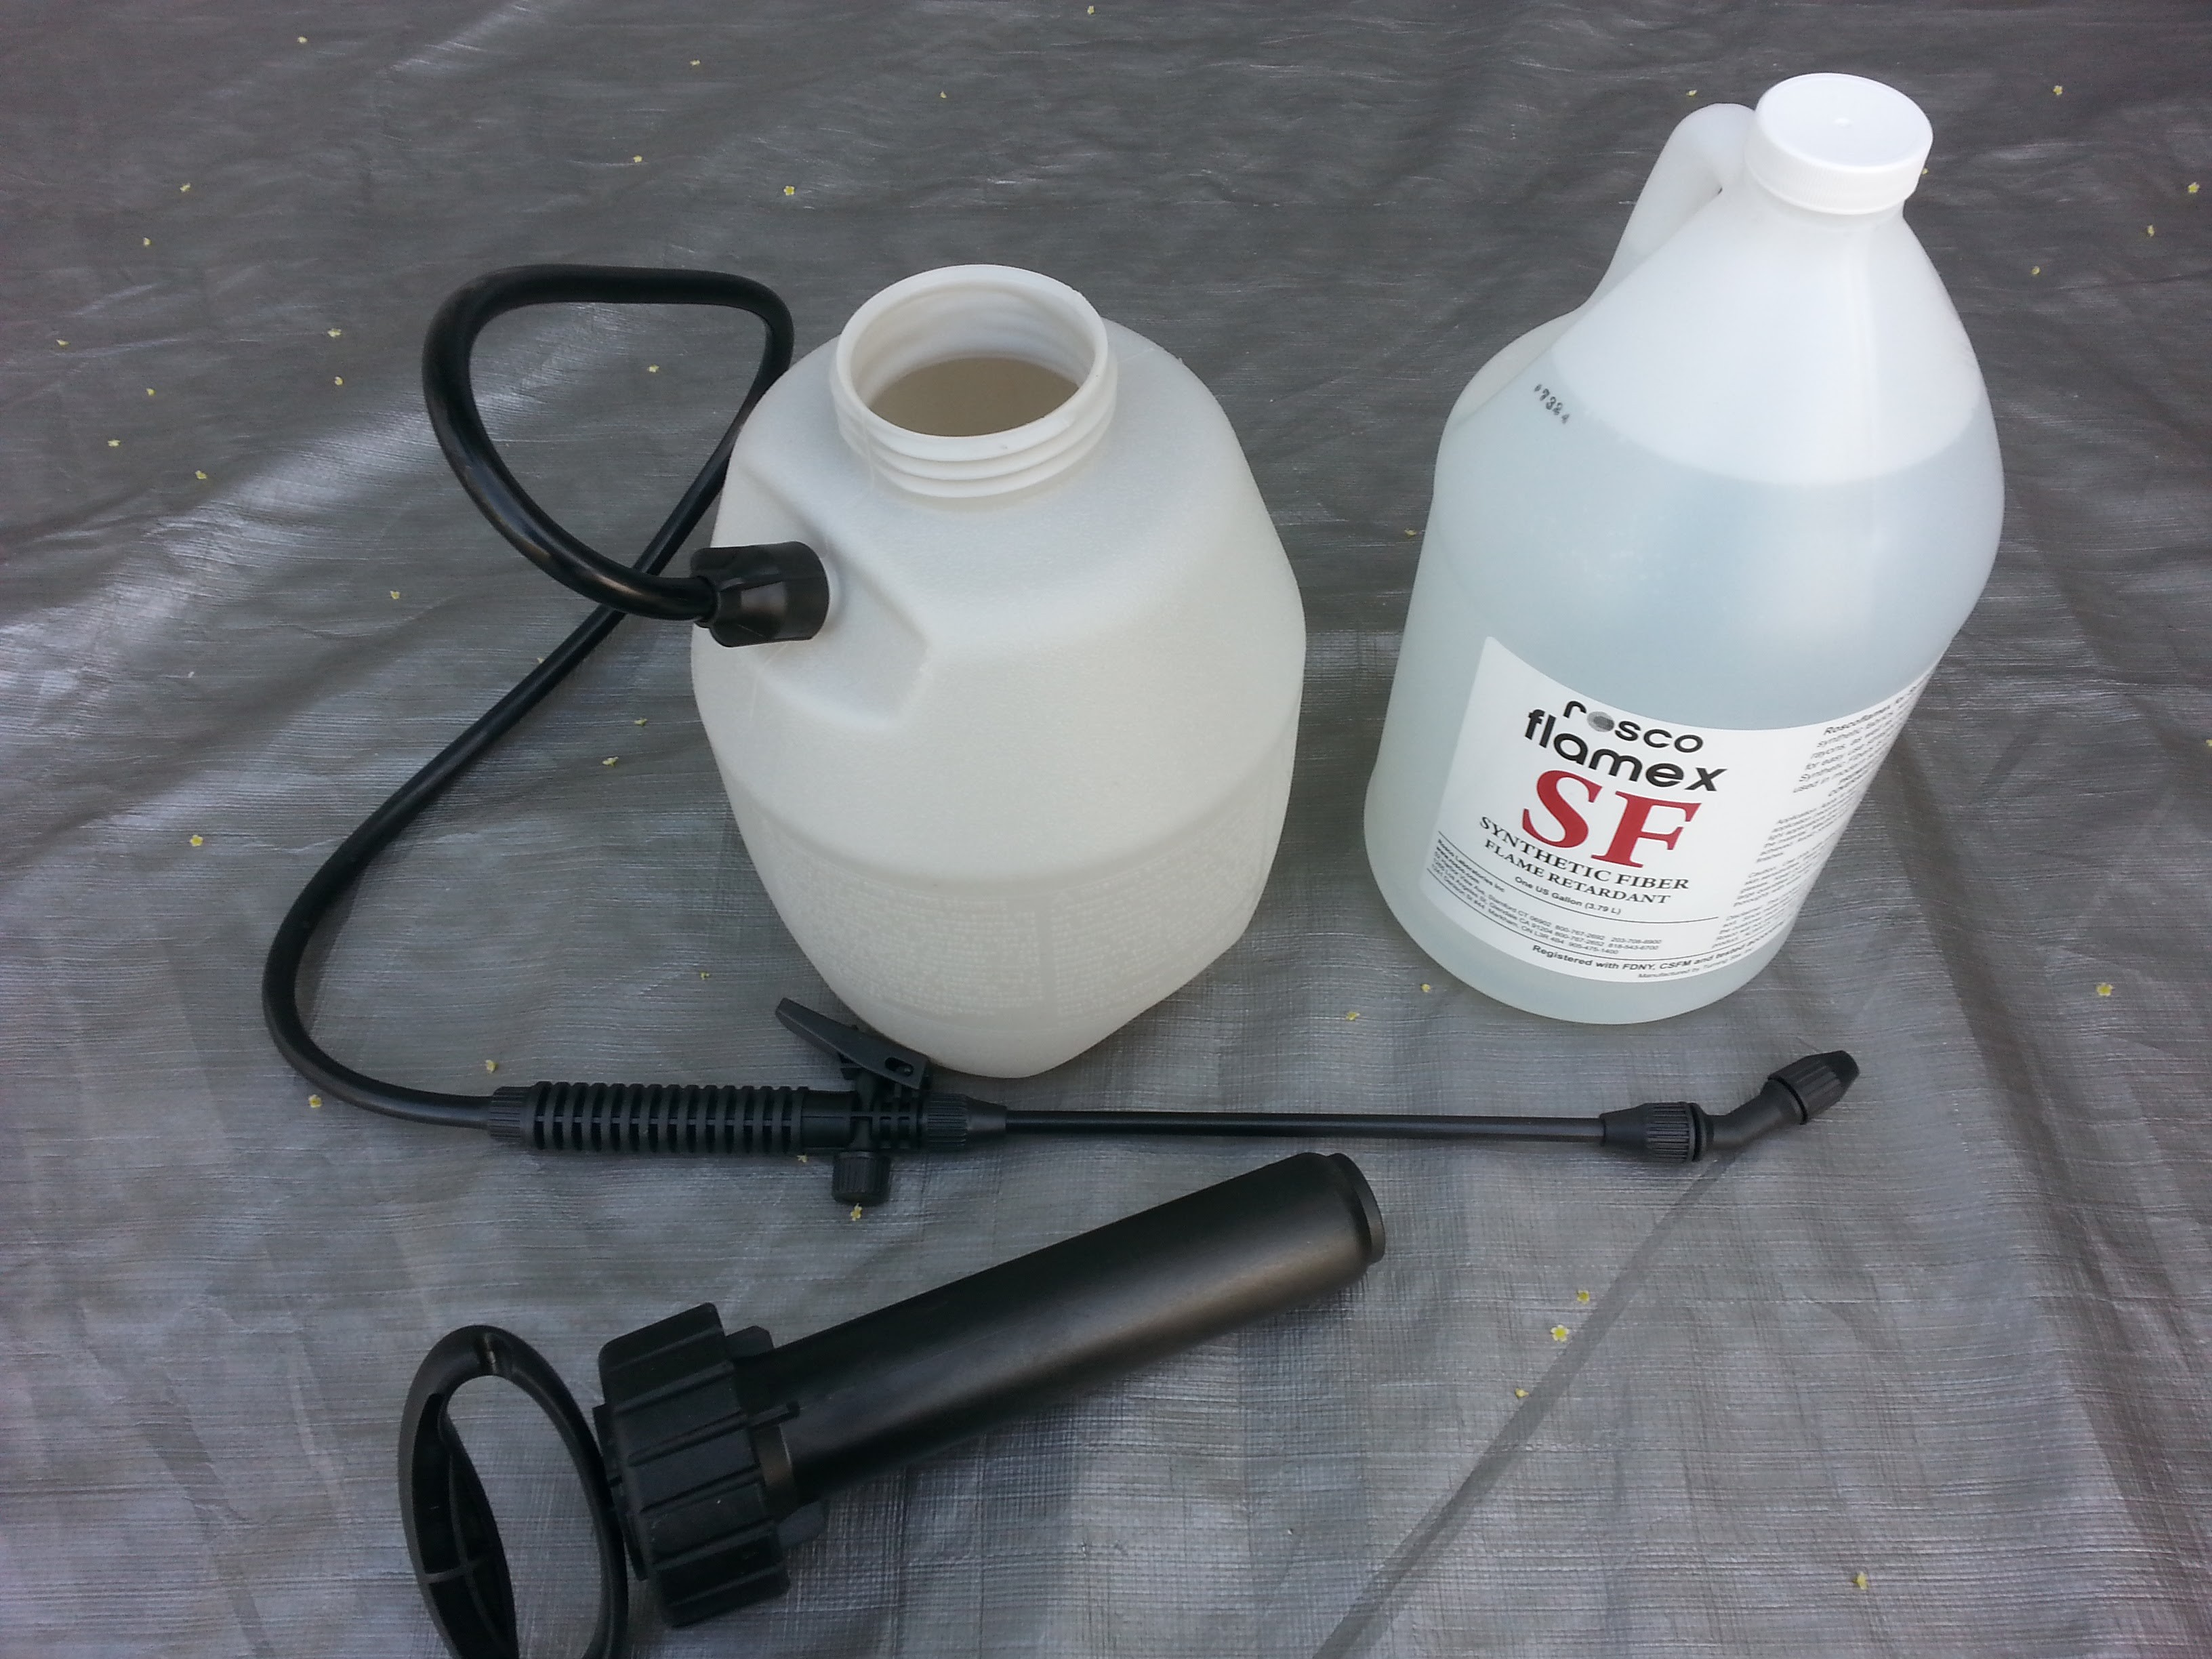
For the first try, I used a garden insecticide sprayer.
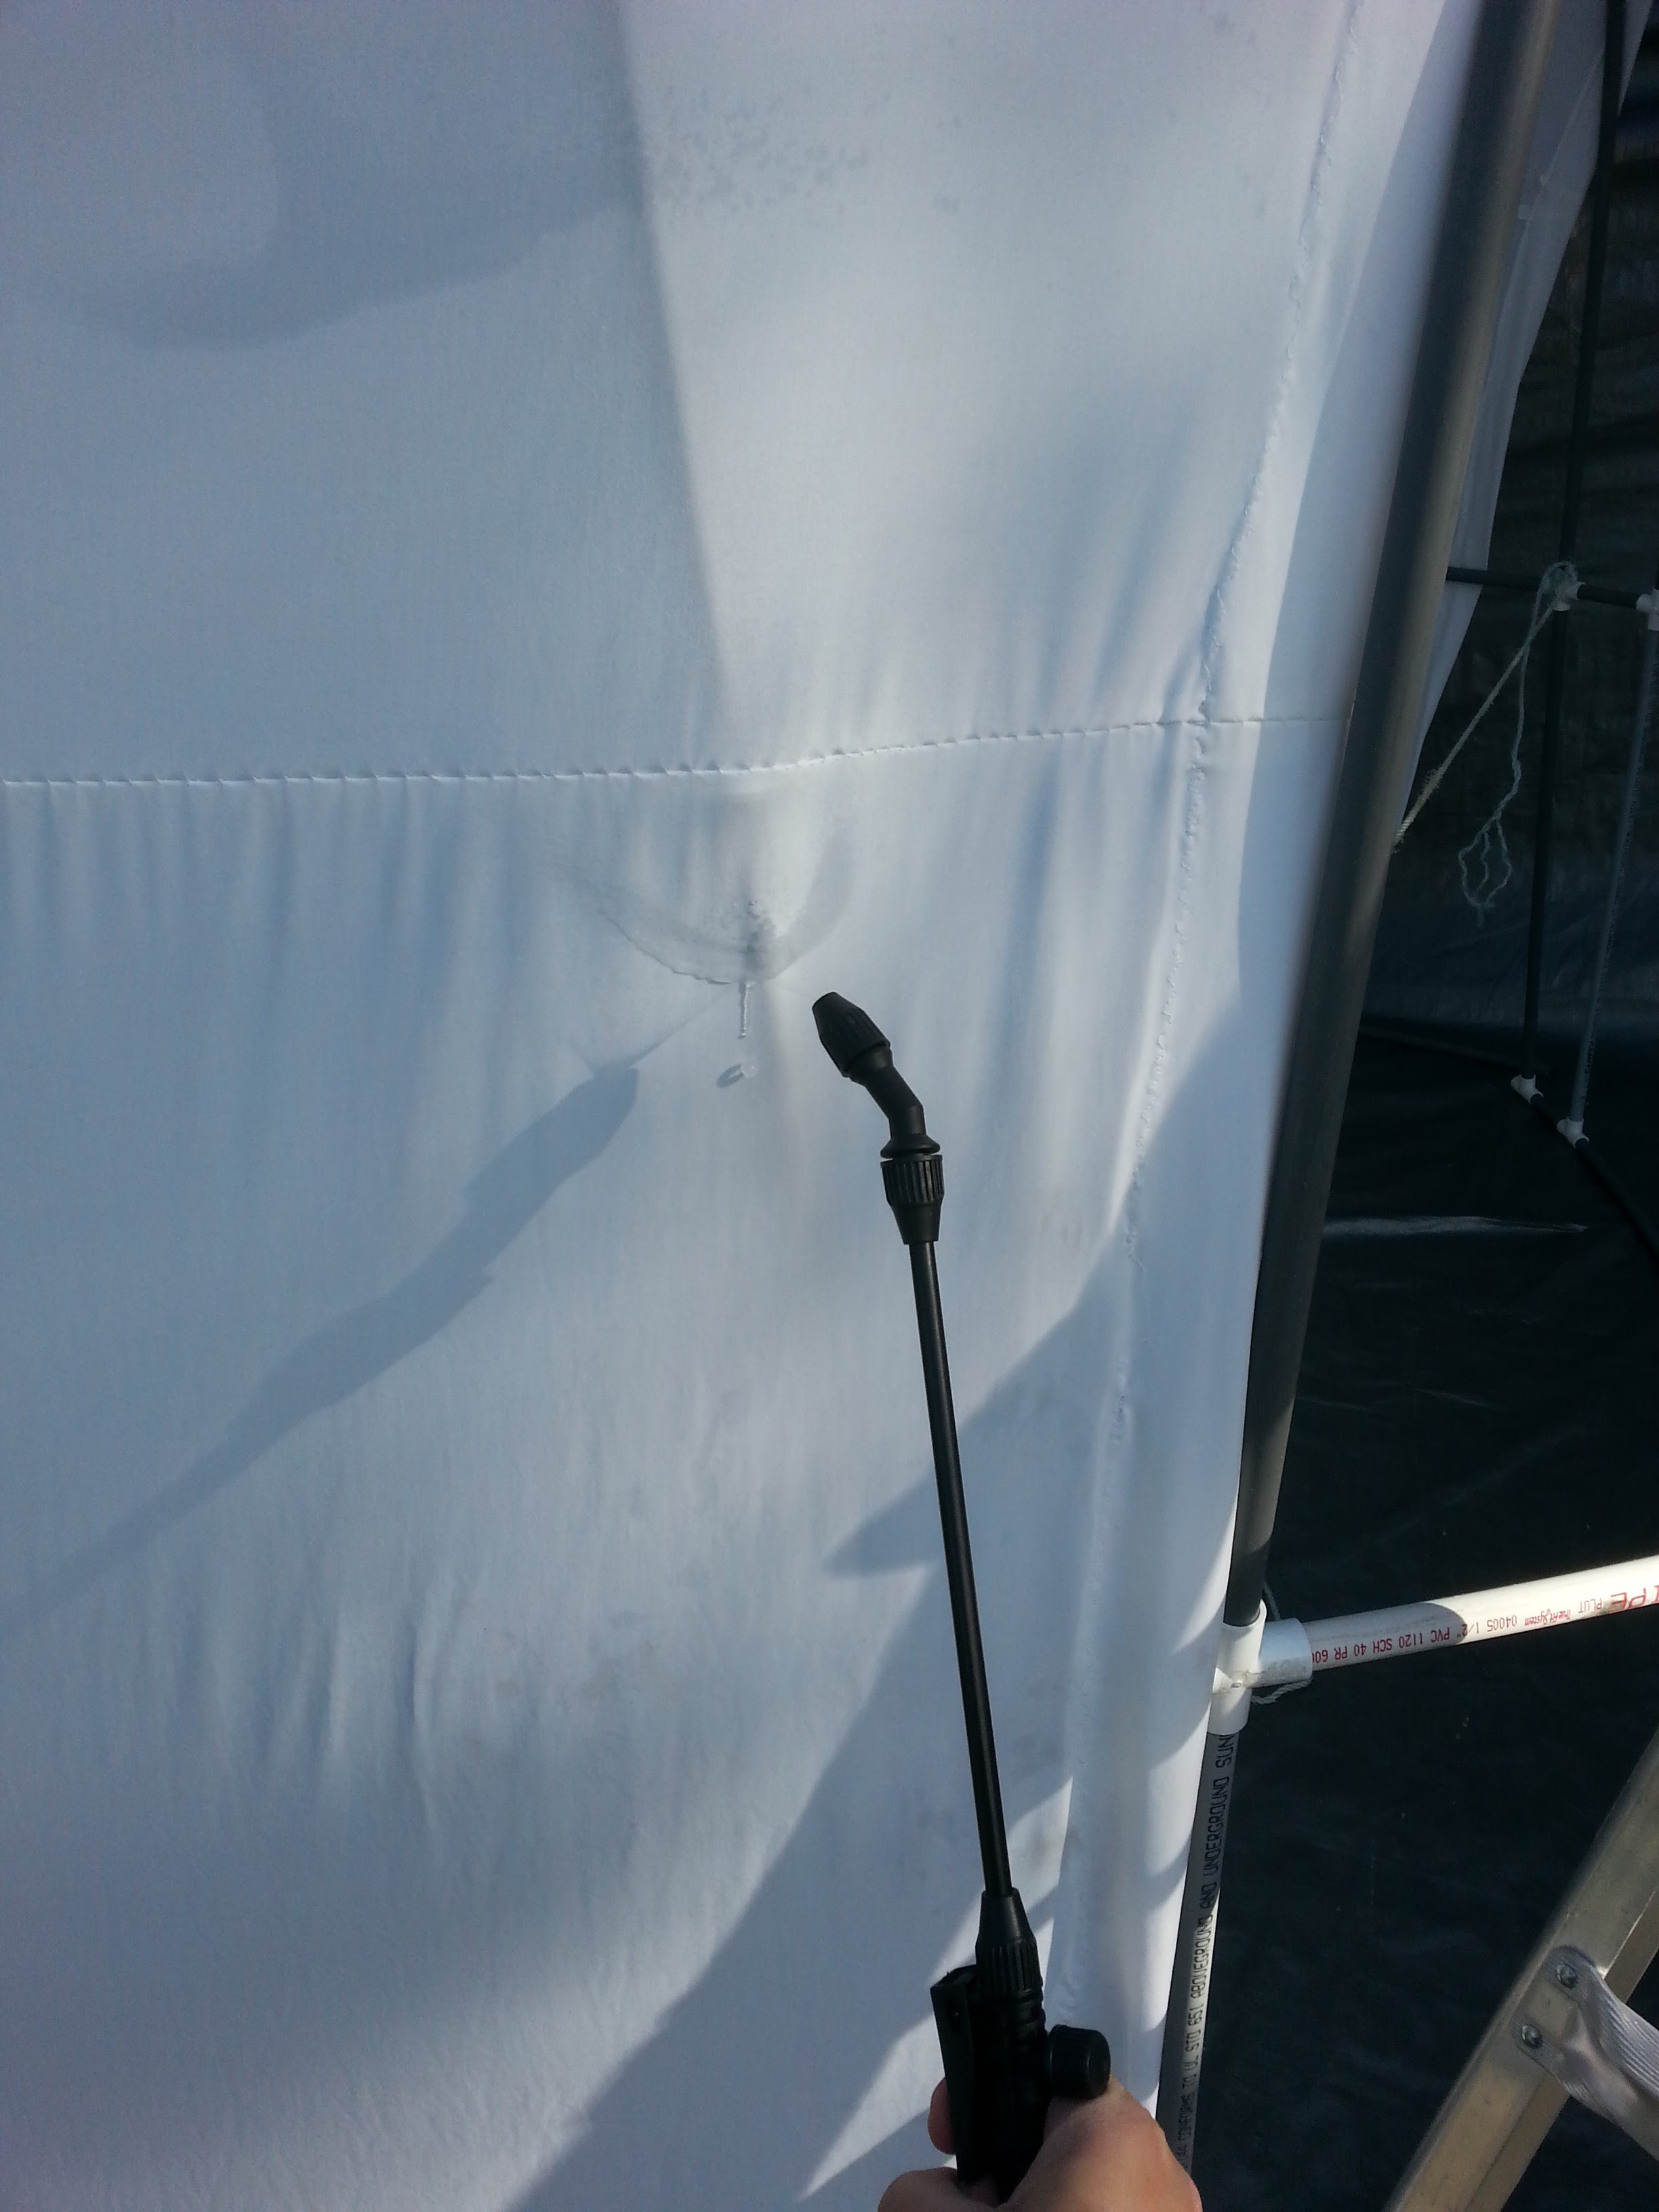
Unless I could see that the cloth was very soaked, I wasn't satisfied that it had been treated enough.
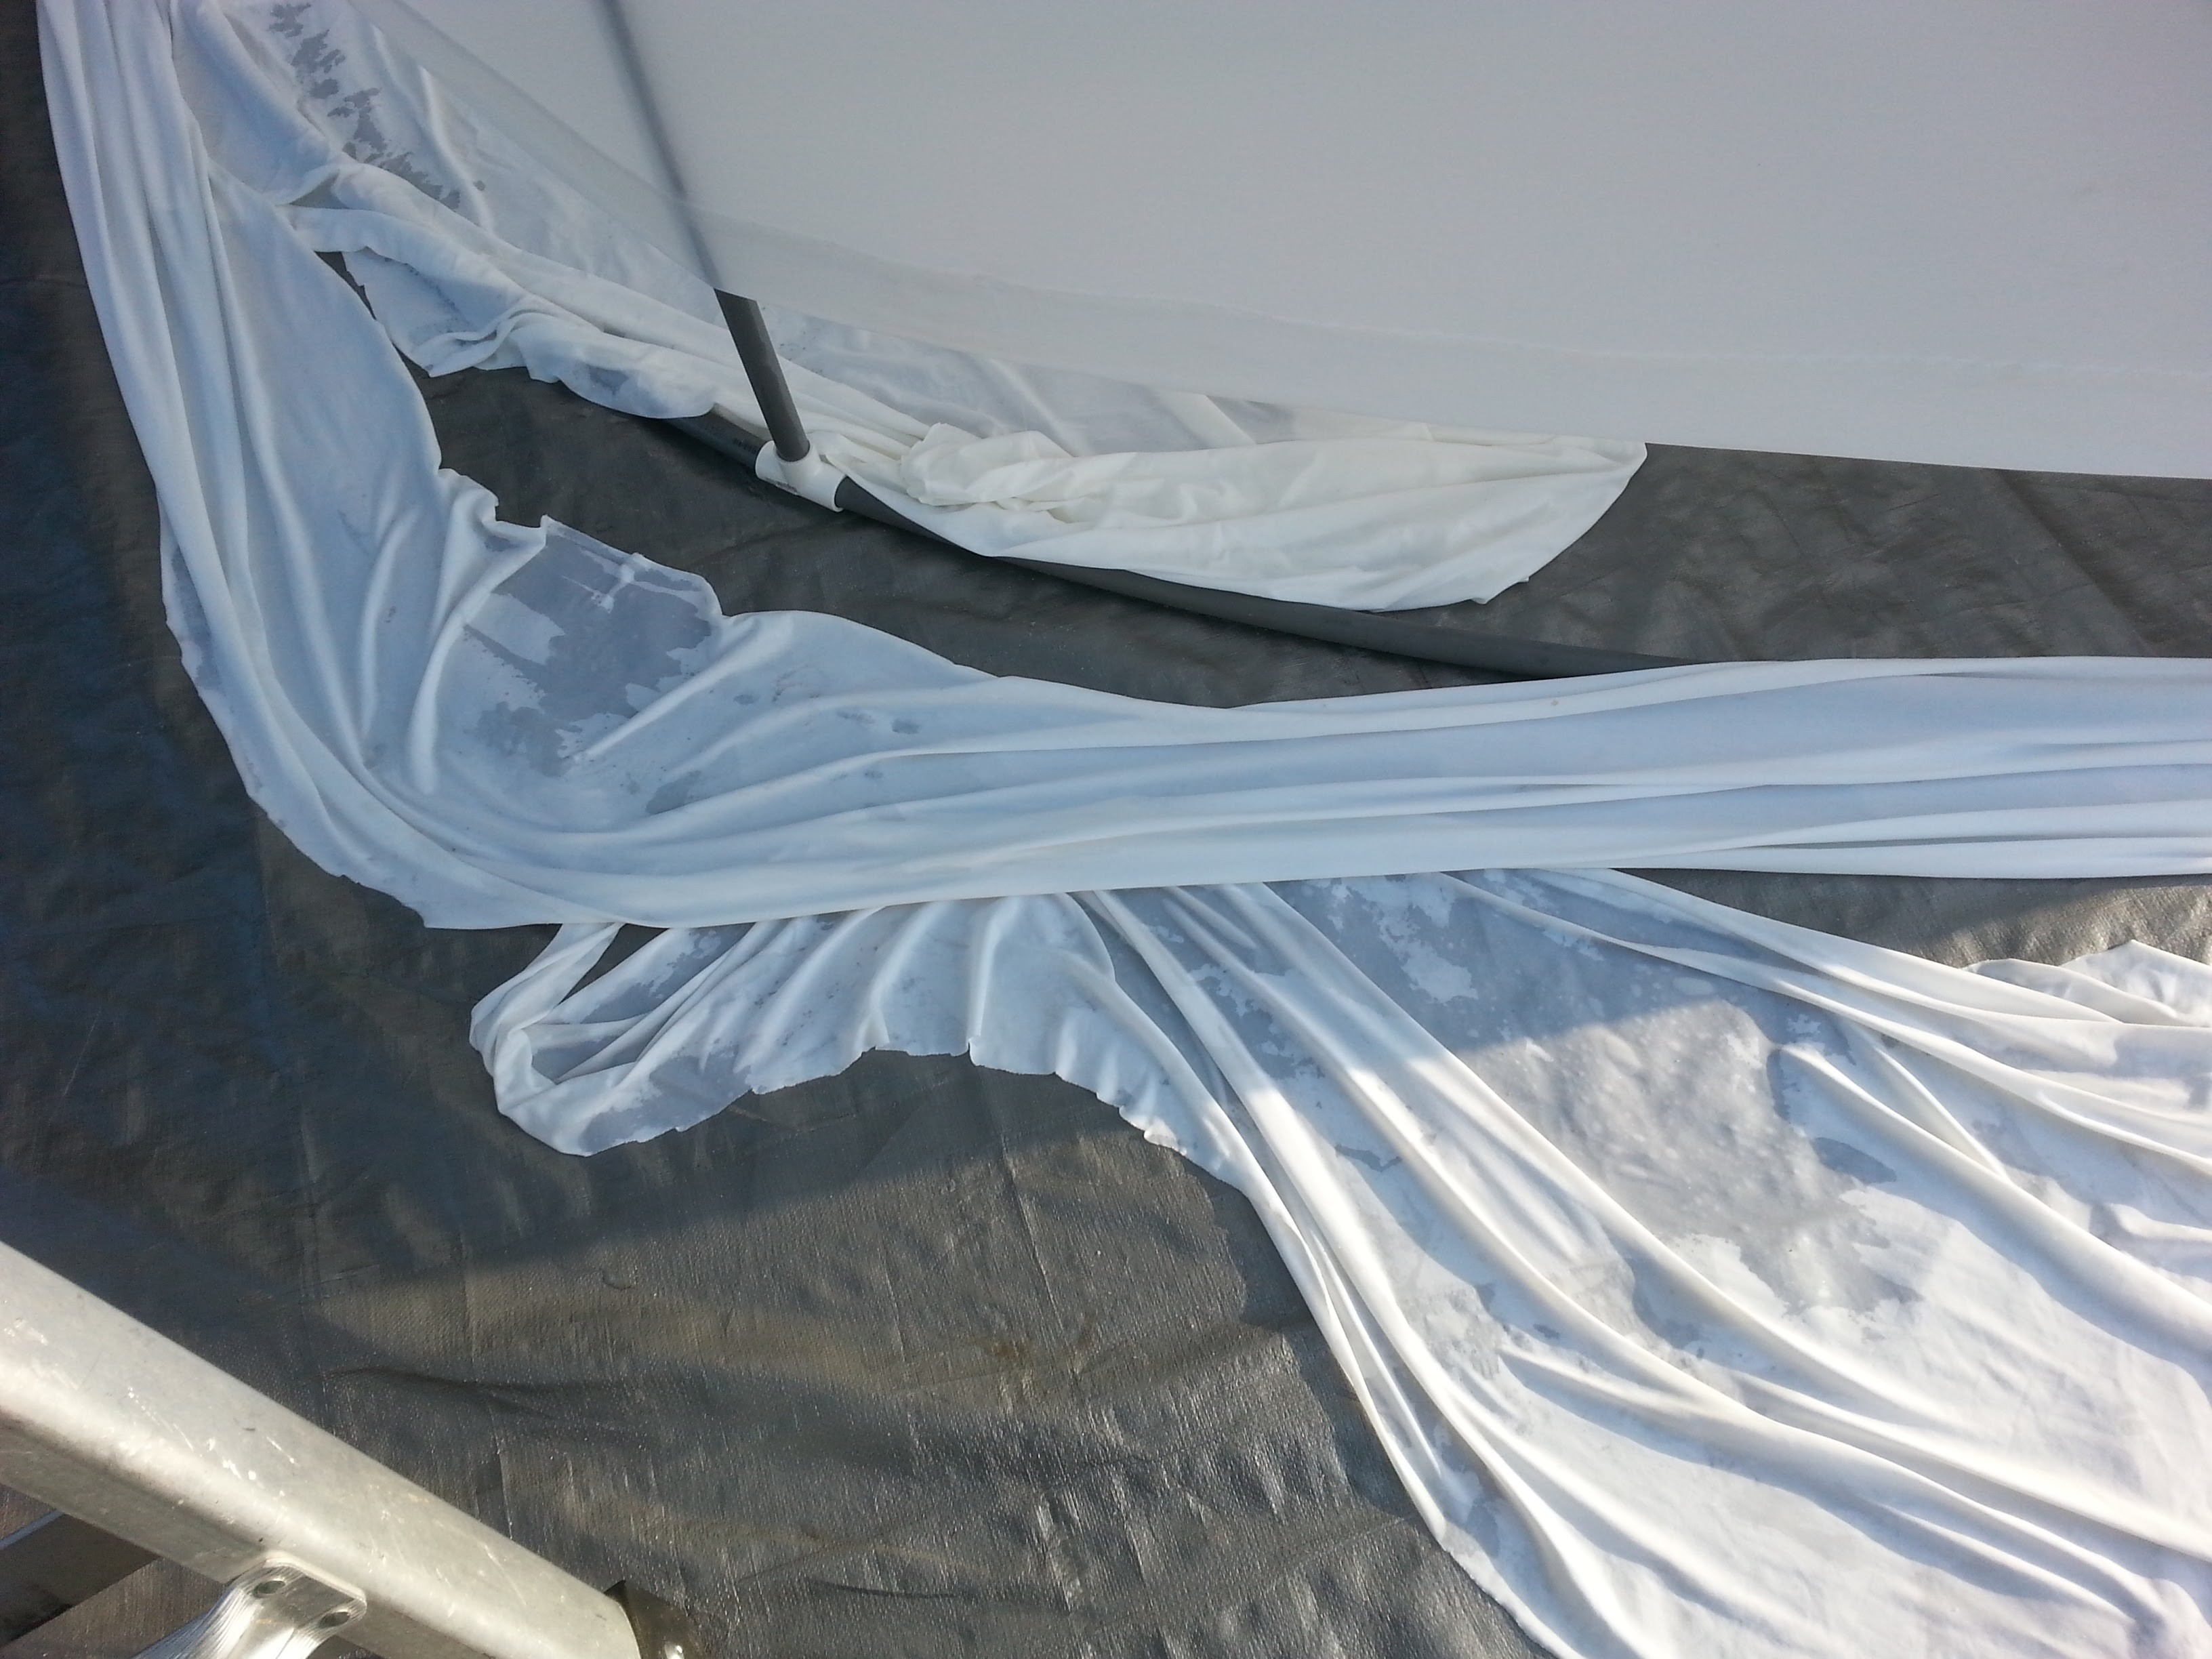 So I ended up with great honkin' puddles of the very expensive flame retardant treatment on the ground.
I ended up having to buy another $67 bottle of the stuff, bringing the total to $135 for the flame retardant. It cost more than the cloth!
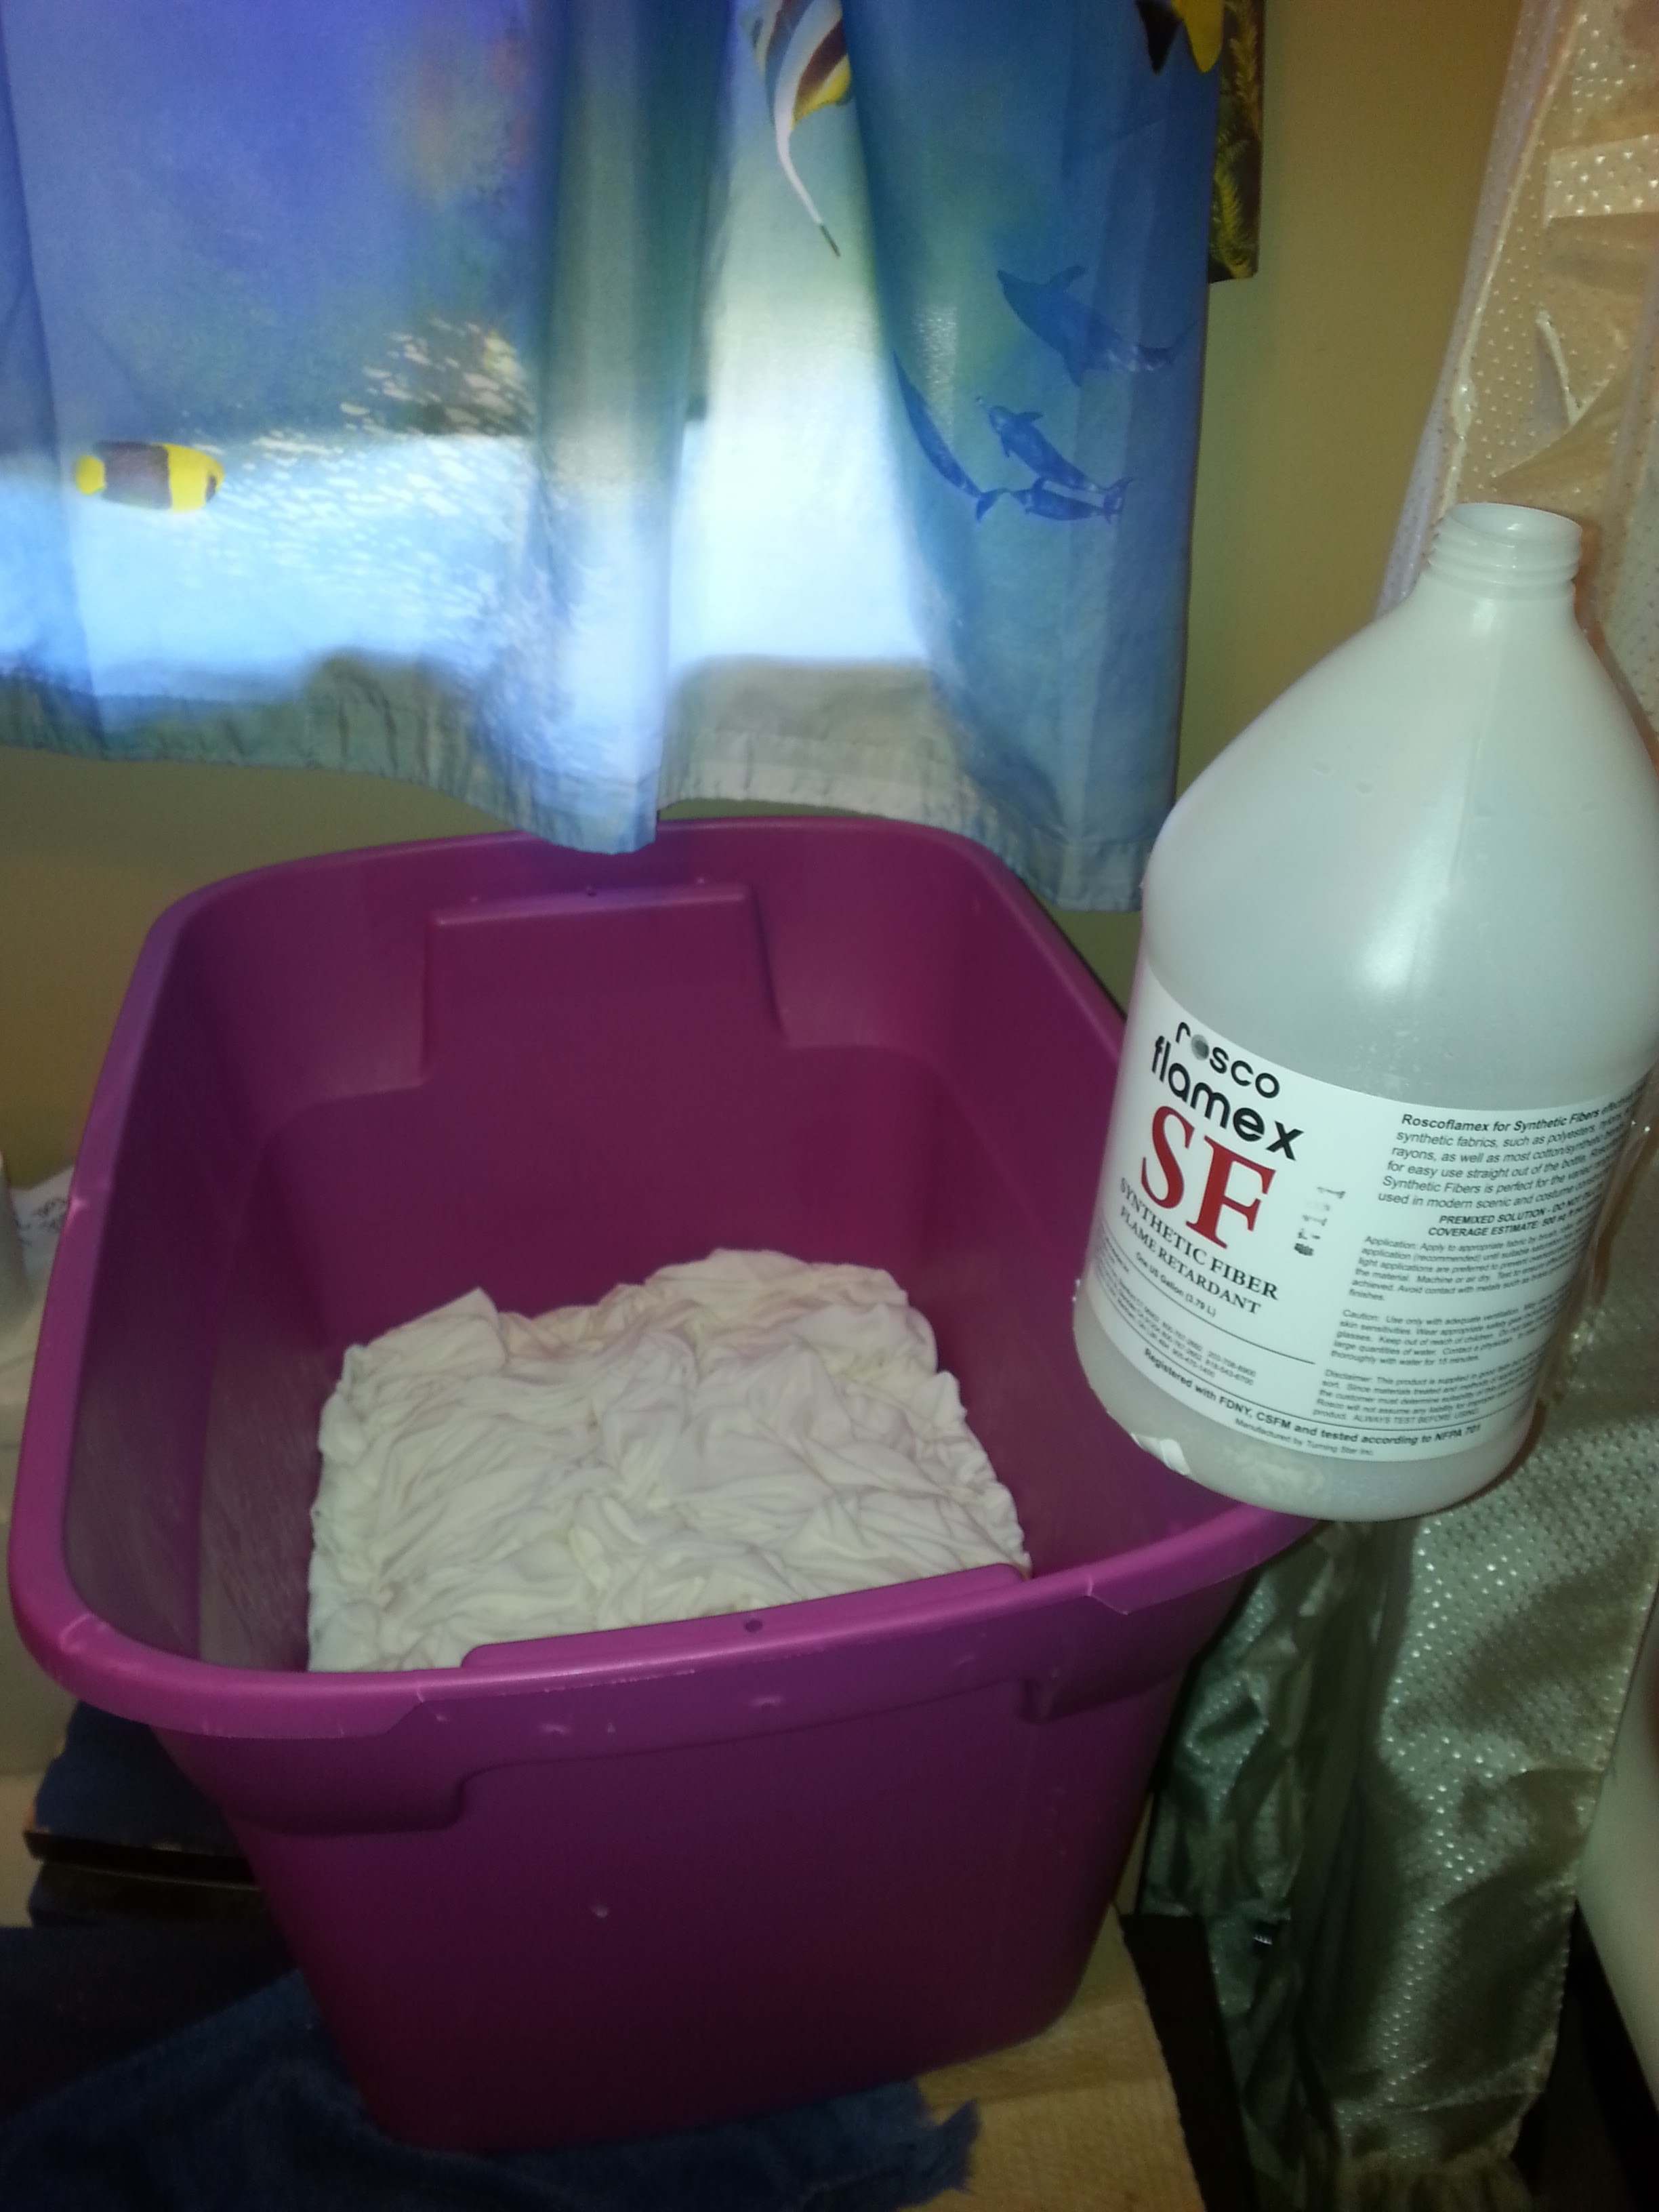 This time I just stuck it in a bucket in the bathroom and soaked the whole thing. Now, it is probably treated with 2x as much as it needed and the fabric is kinda slimy to the touch and smells like flame retardant. Oh well. The show must go on.
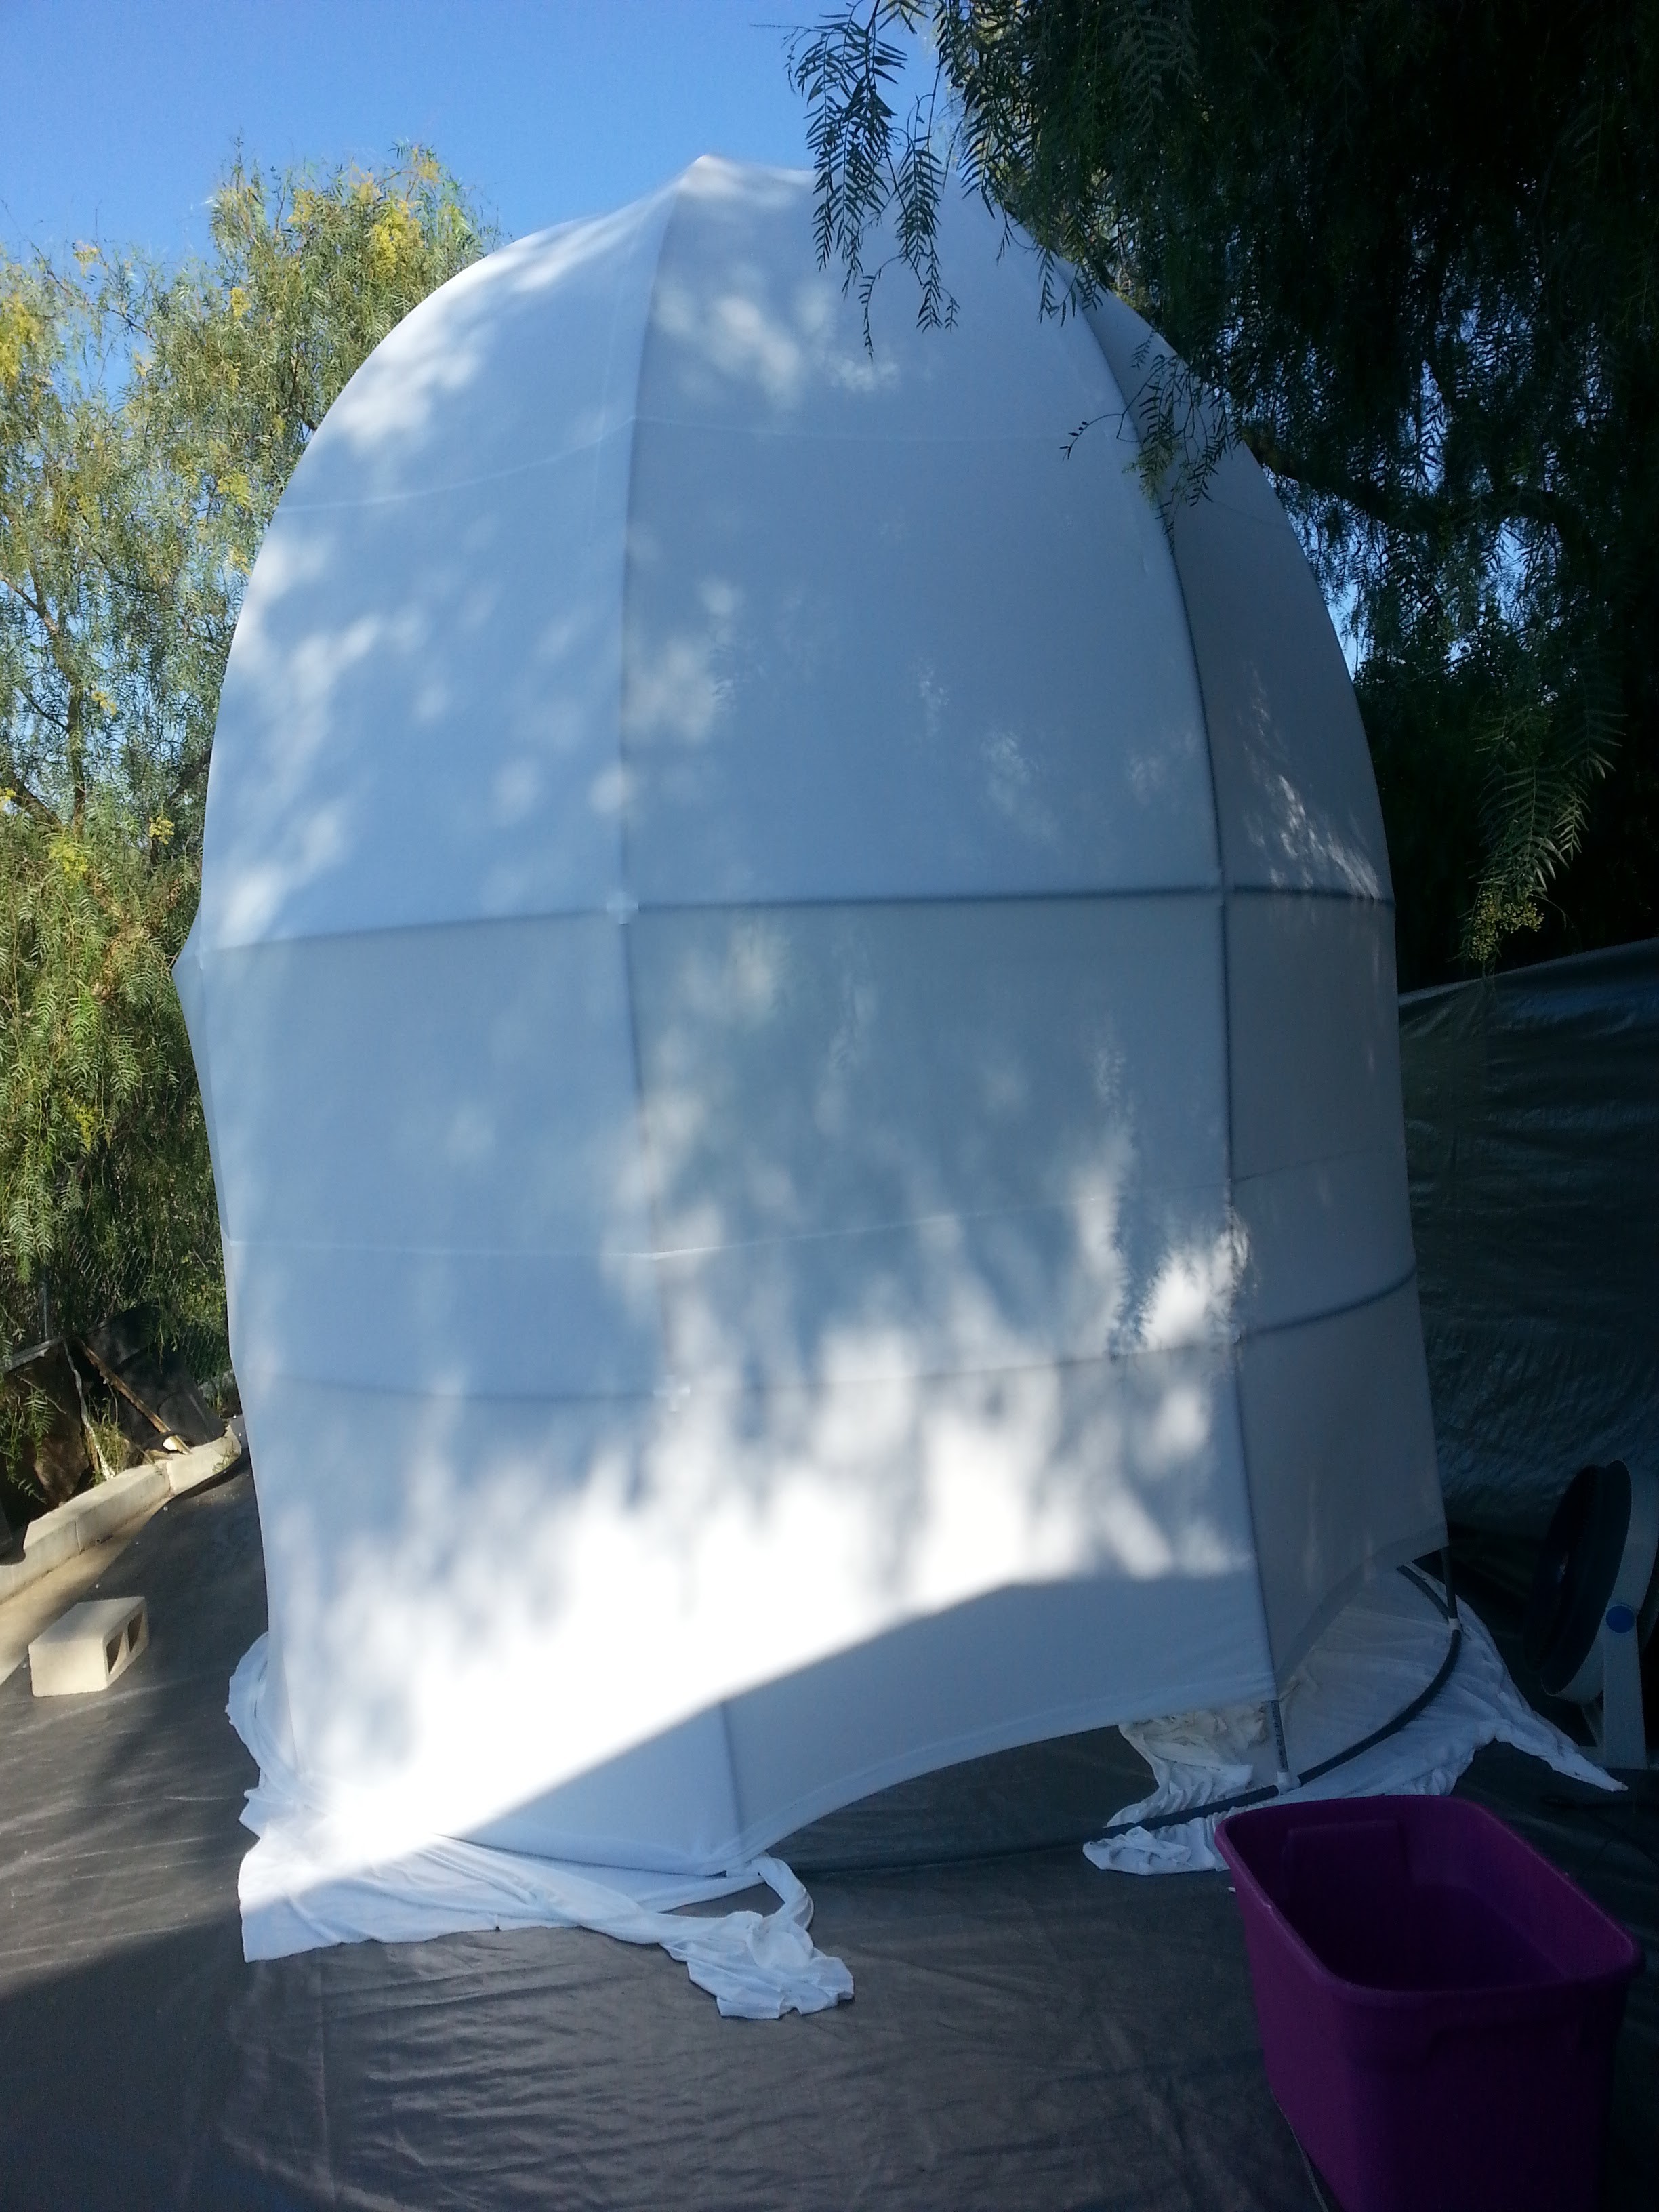
I stretched out the damp cloth on the frame to let it dry in the sun.
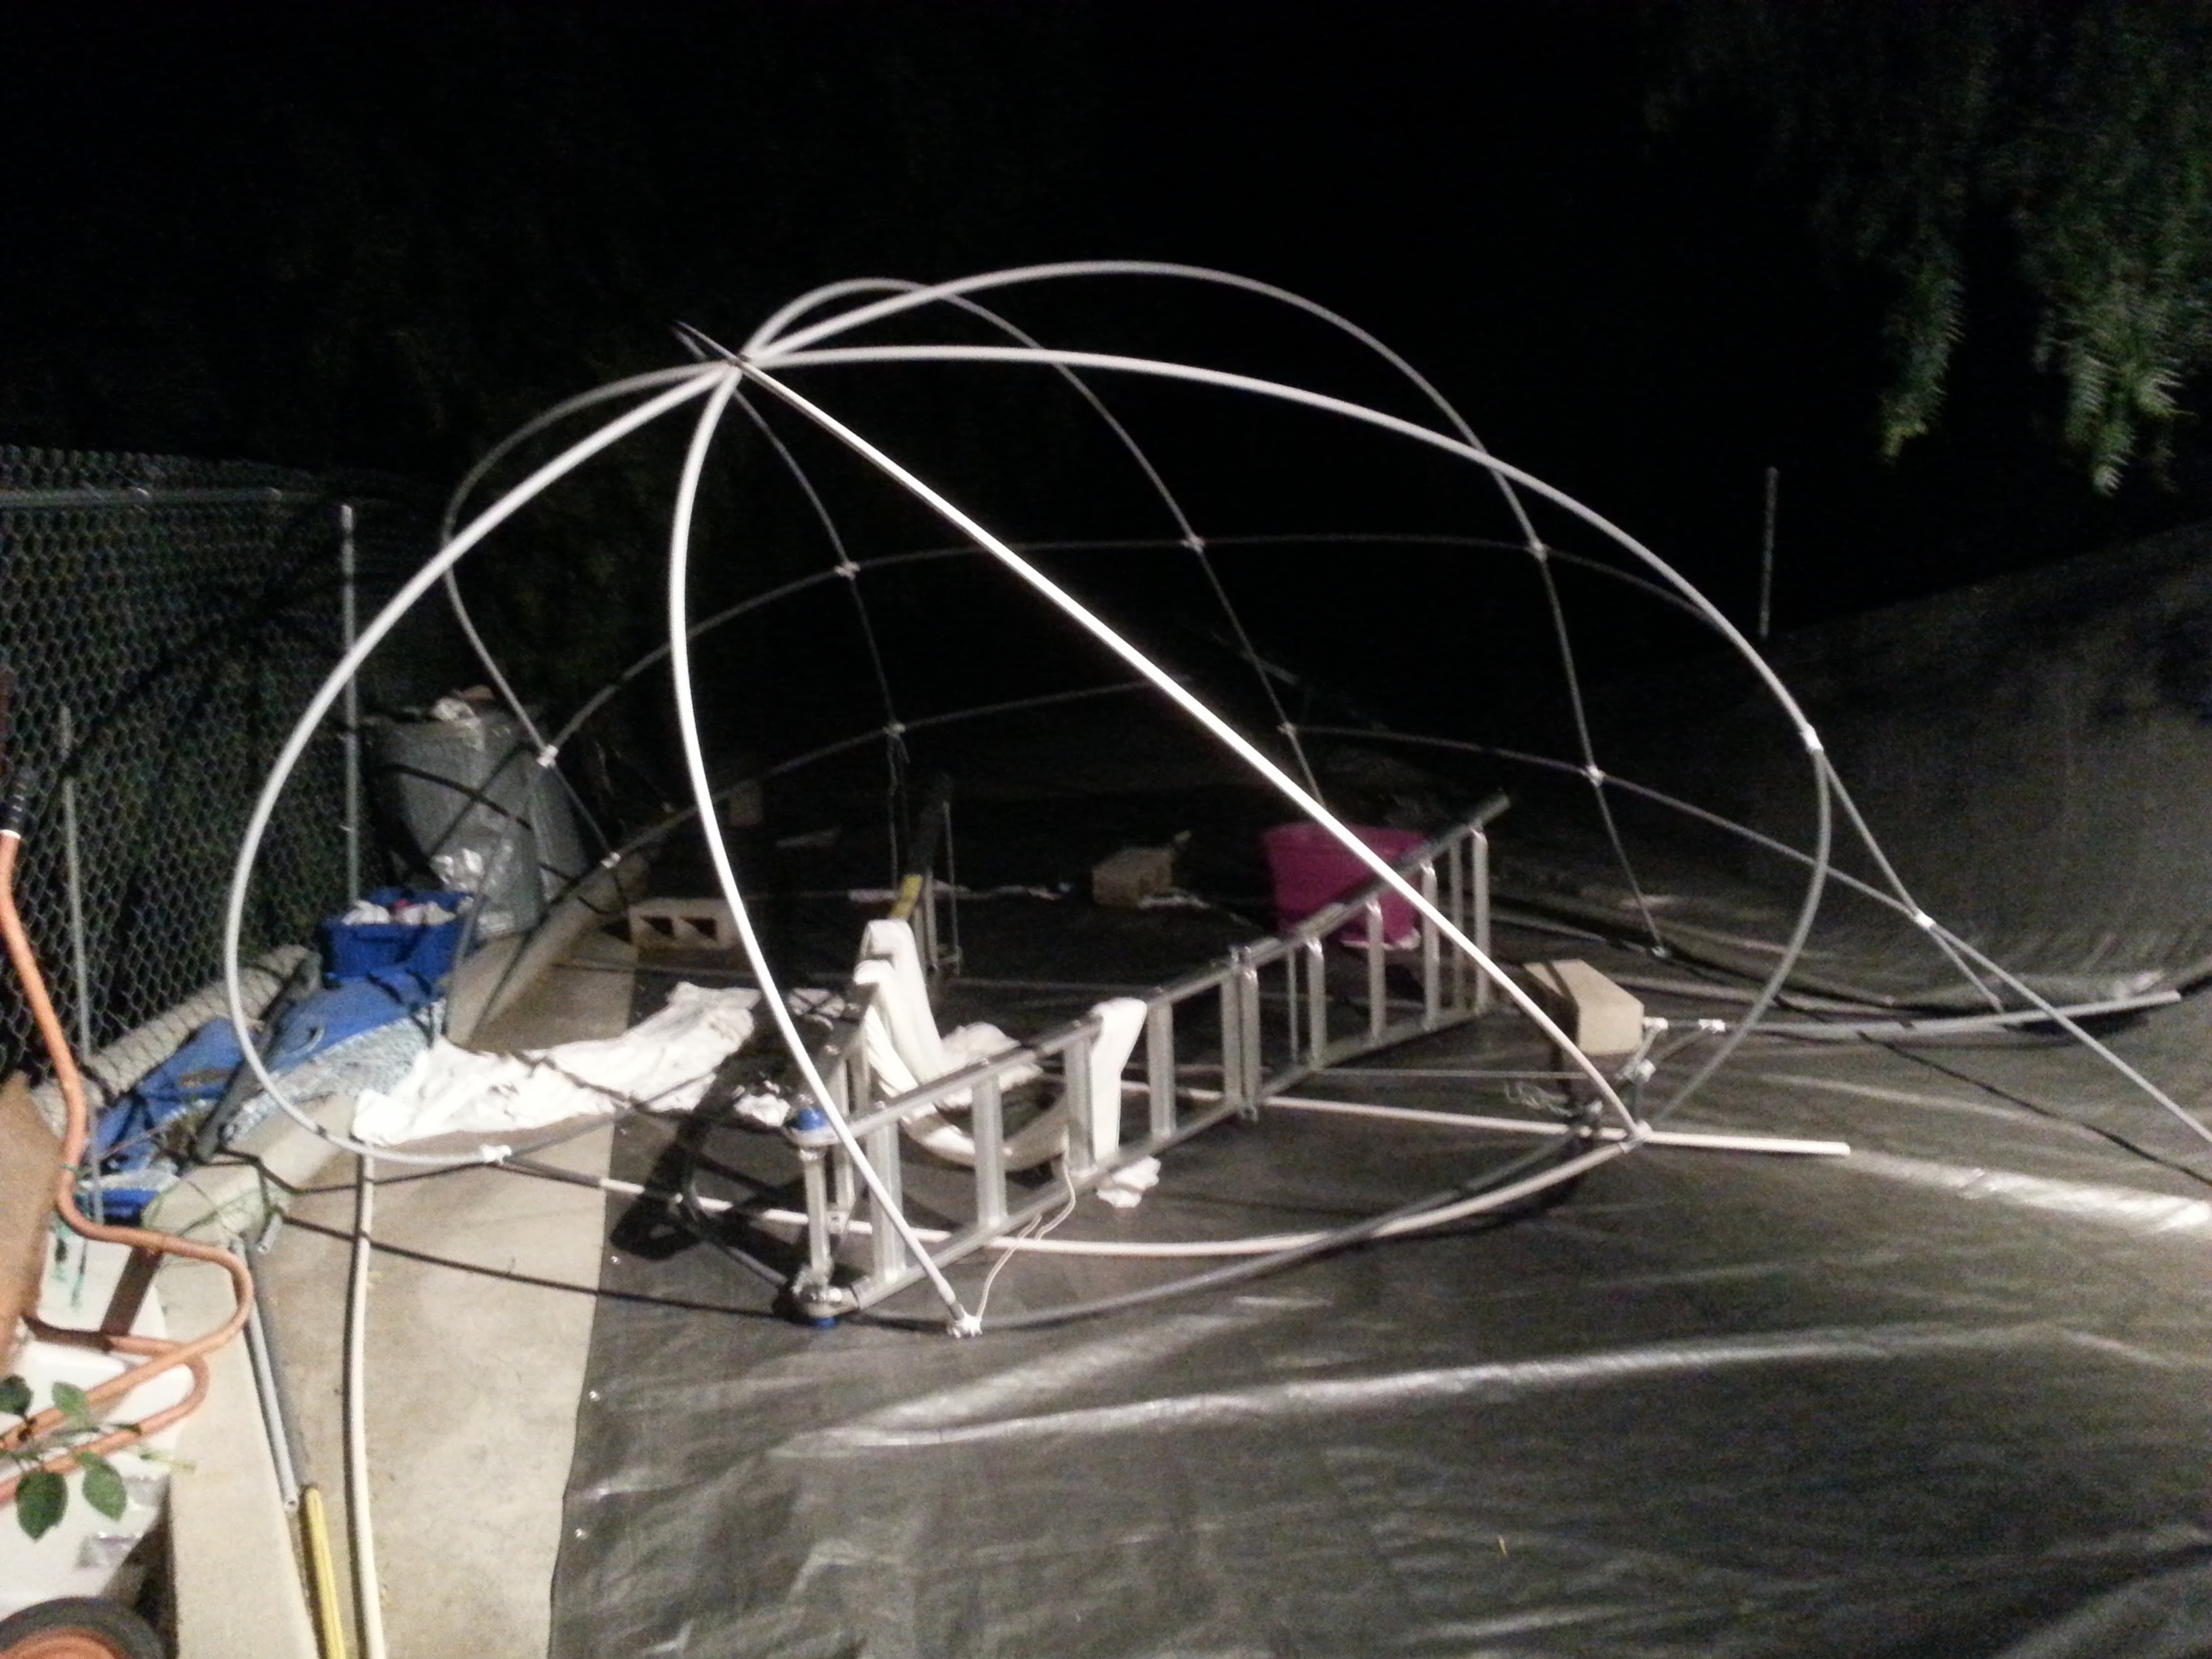 But when I left it overnight the whole thing collapsed and made a mess. I had to very carefully scrub off the bits that got dirty when I put it back up.
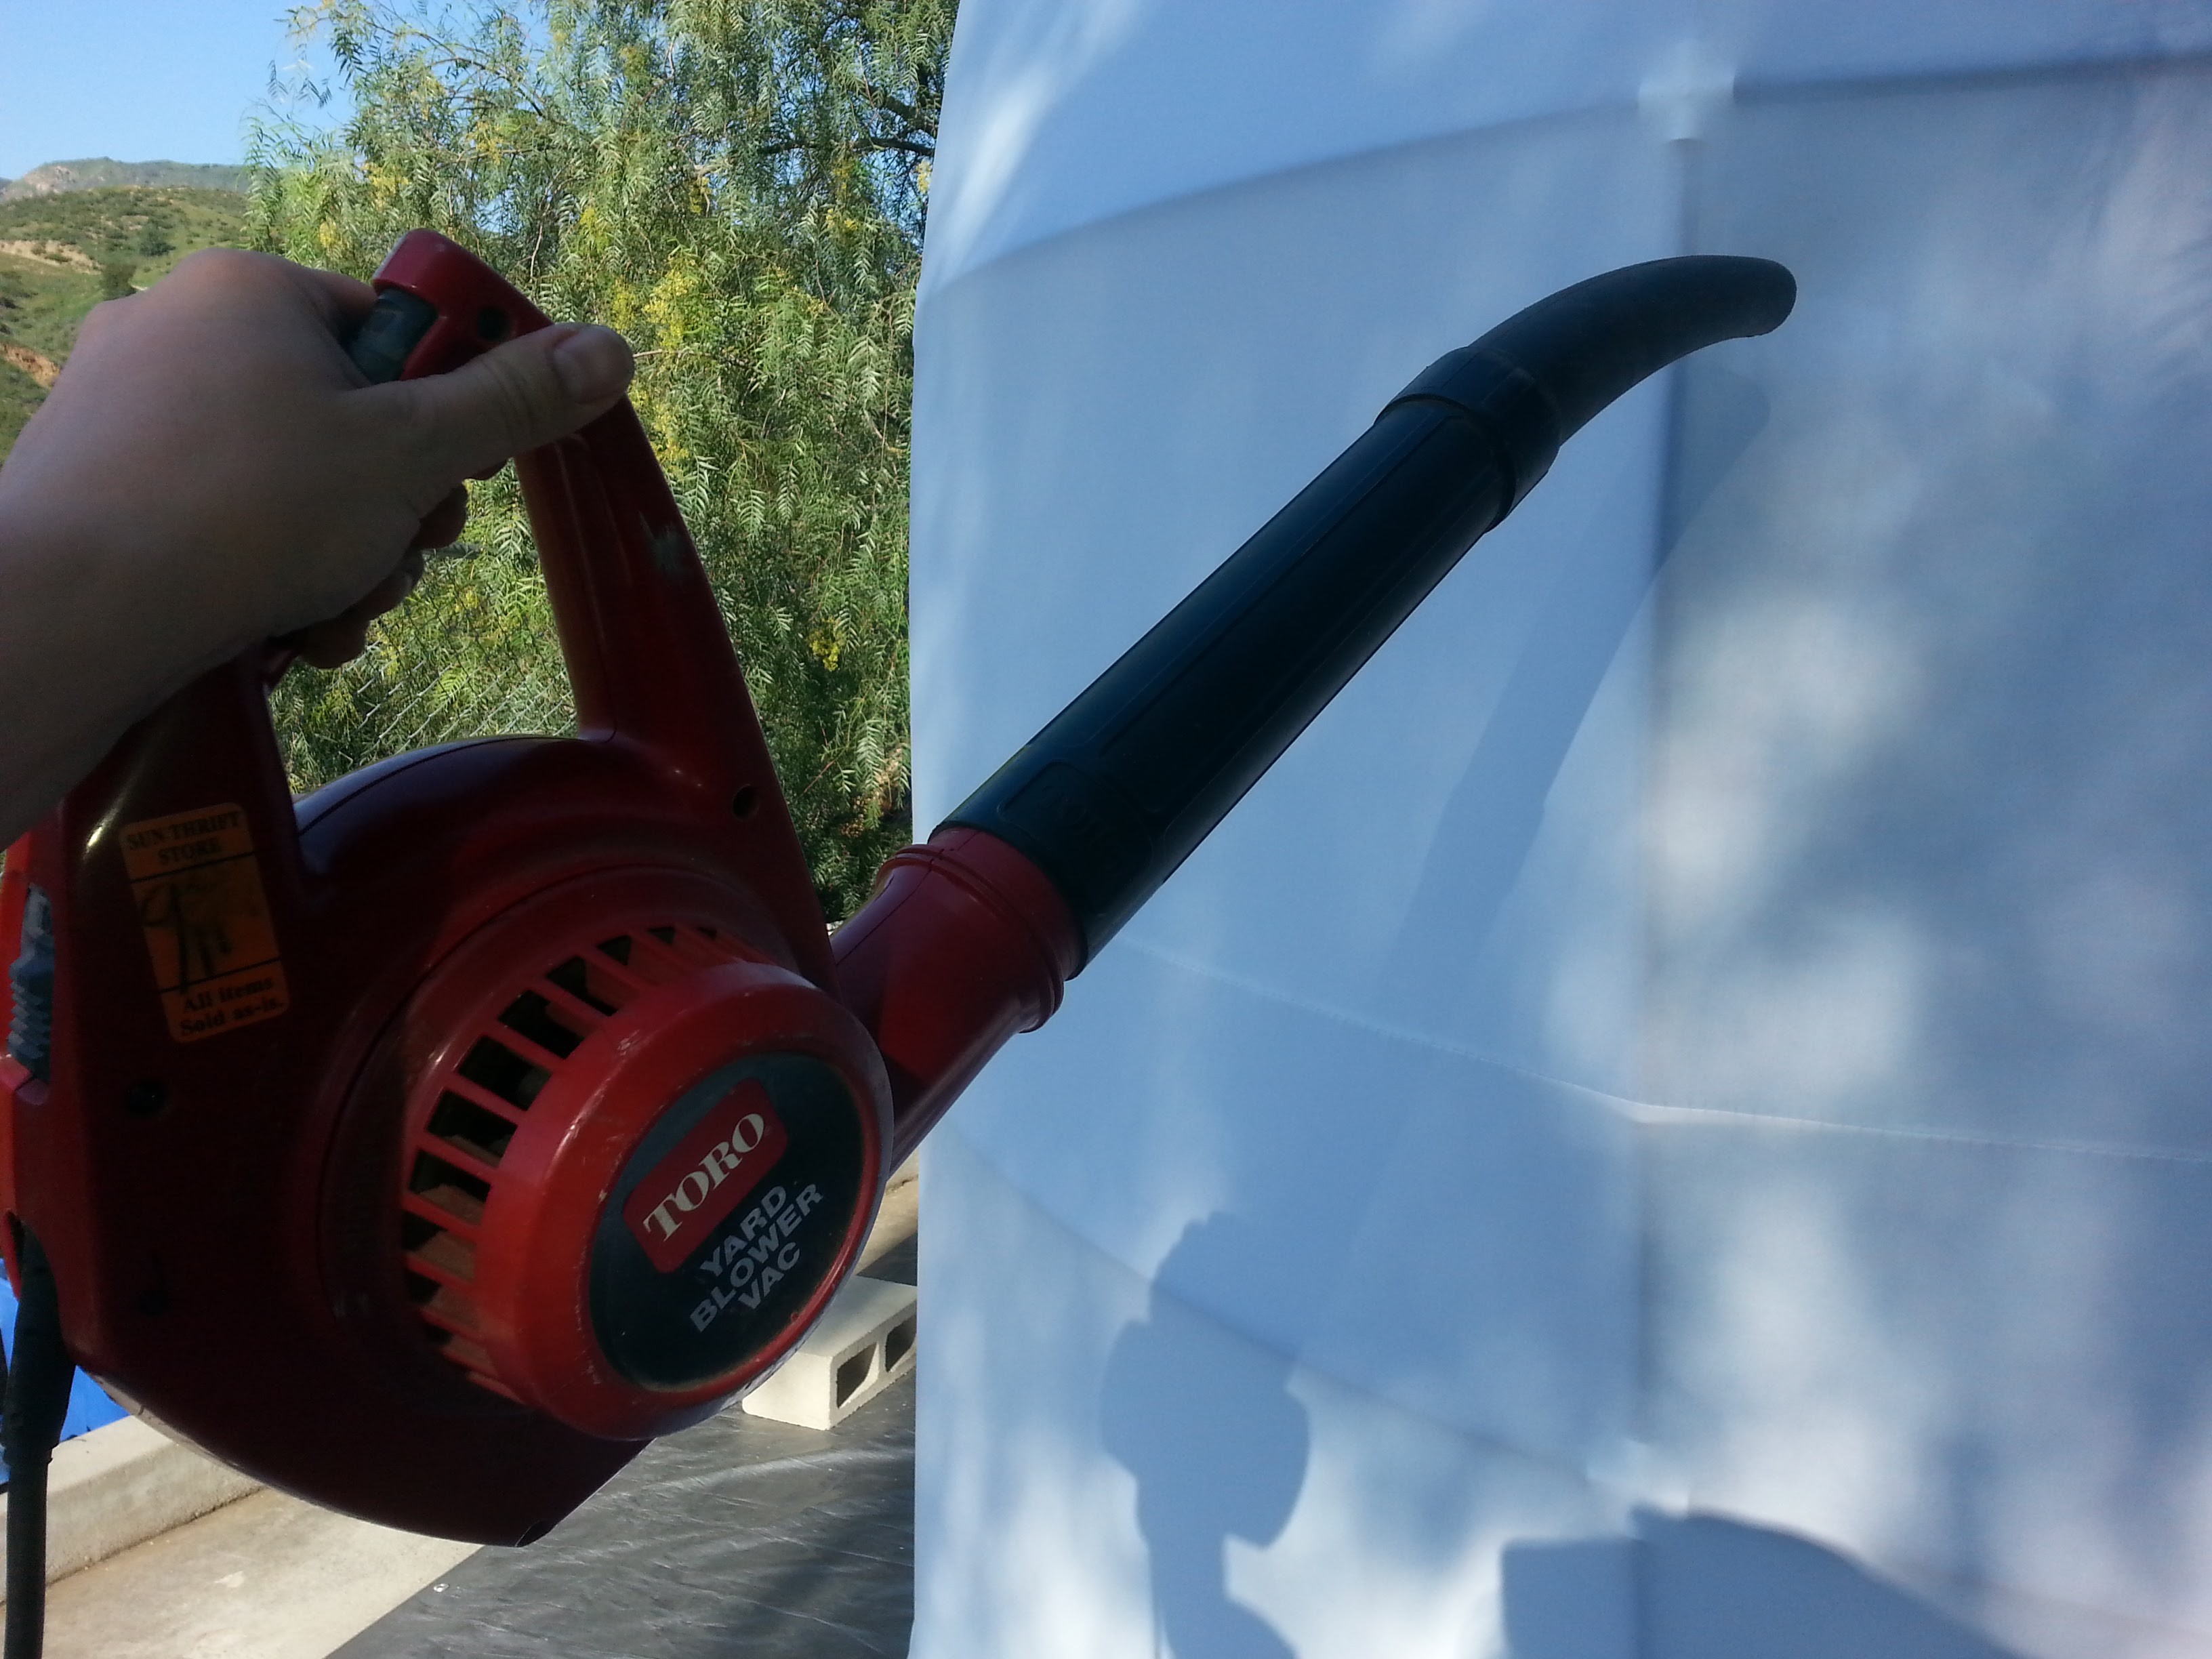
I did my best to help it dry by setting fans up to blow on it, but I got impatient and brought out the big guns! Not sure it actually helped.
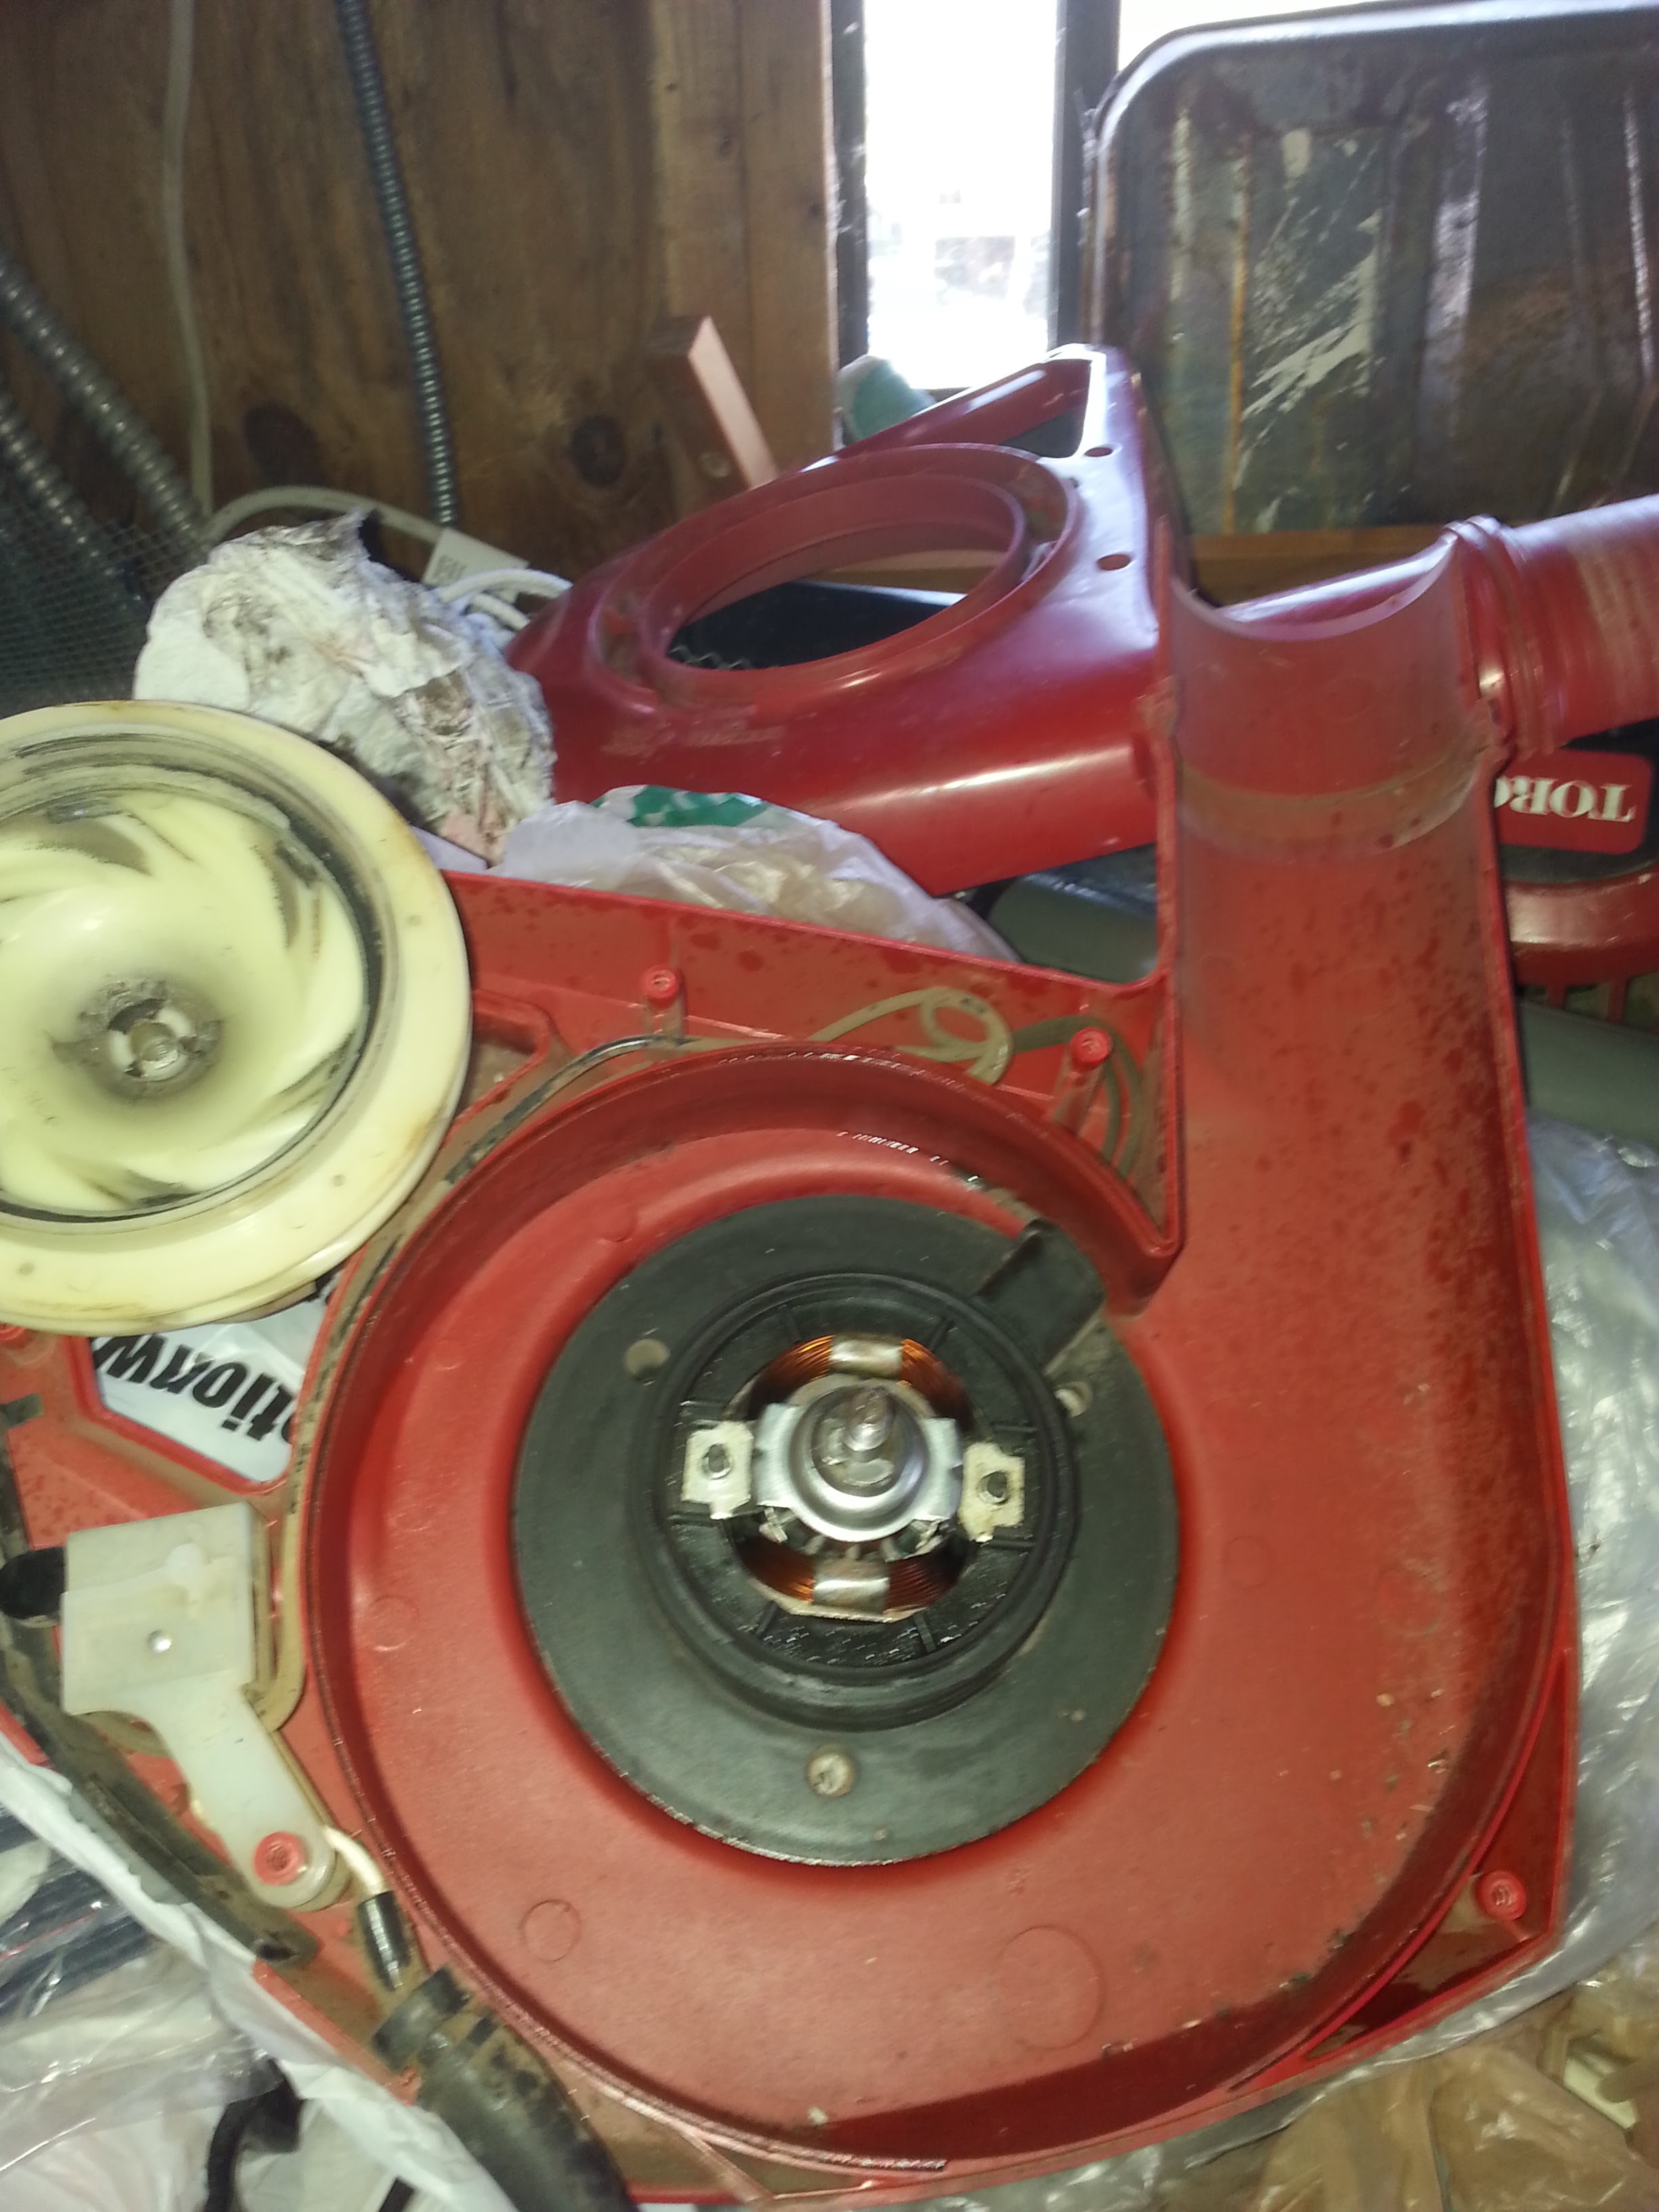 The motor started to seize up, so I treated it with WD40 and was back in business!
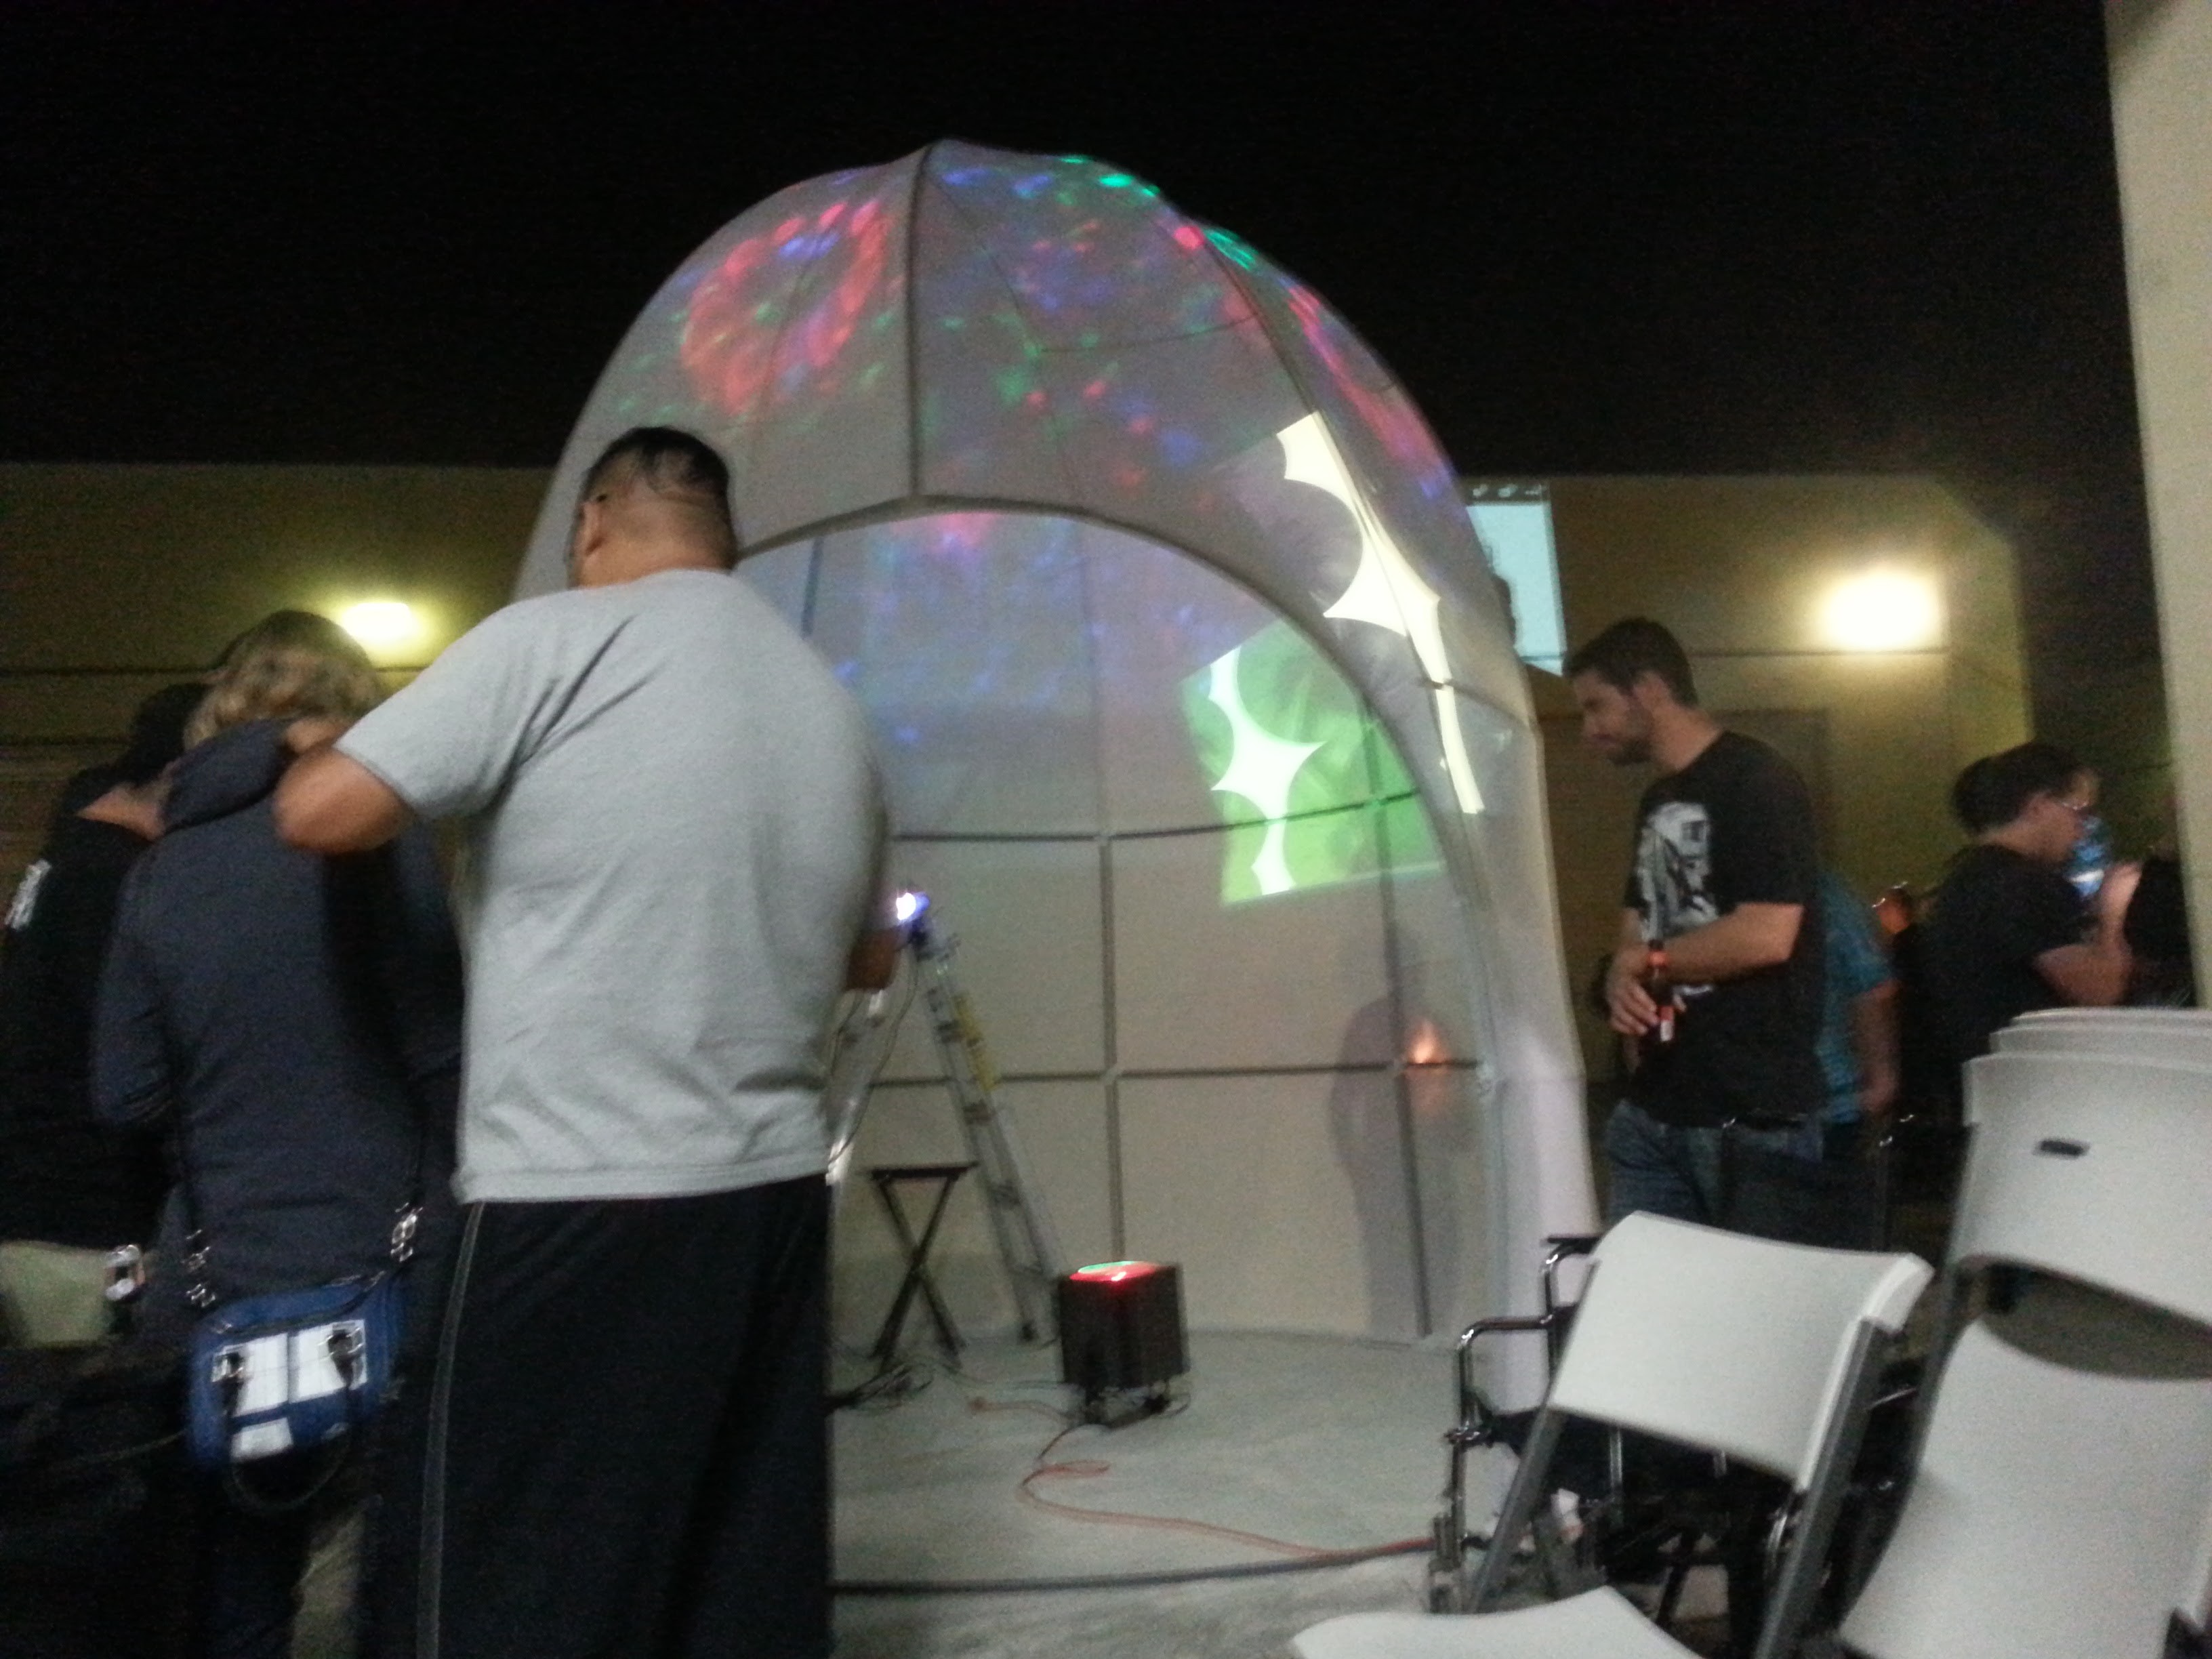 Boom! Party Time! Here I am running some stage lights and projectors on the dome, which is how it was intended to be used!
So, I have to actually sew this cloth into a dome shape at some point, but measuring it is hard to do when it is so bloody big! So I used my giant tarp and set up a huge area in my driveway for it.
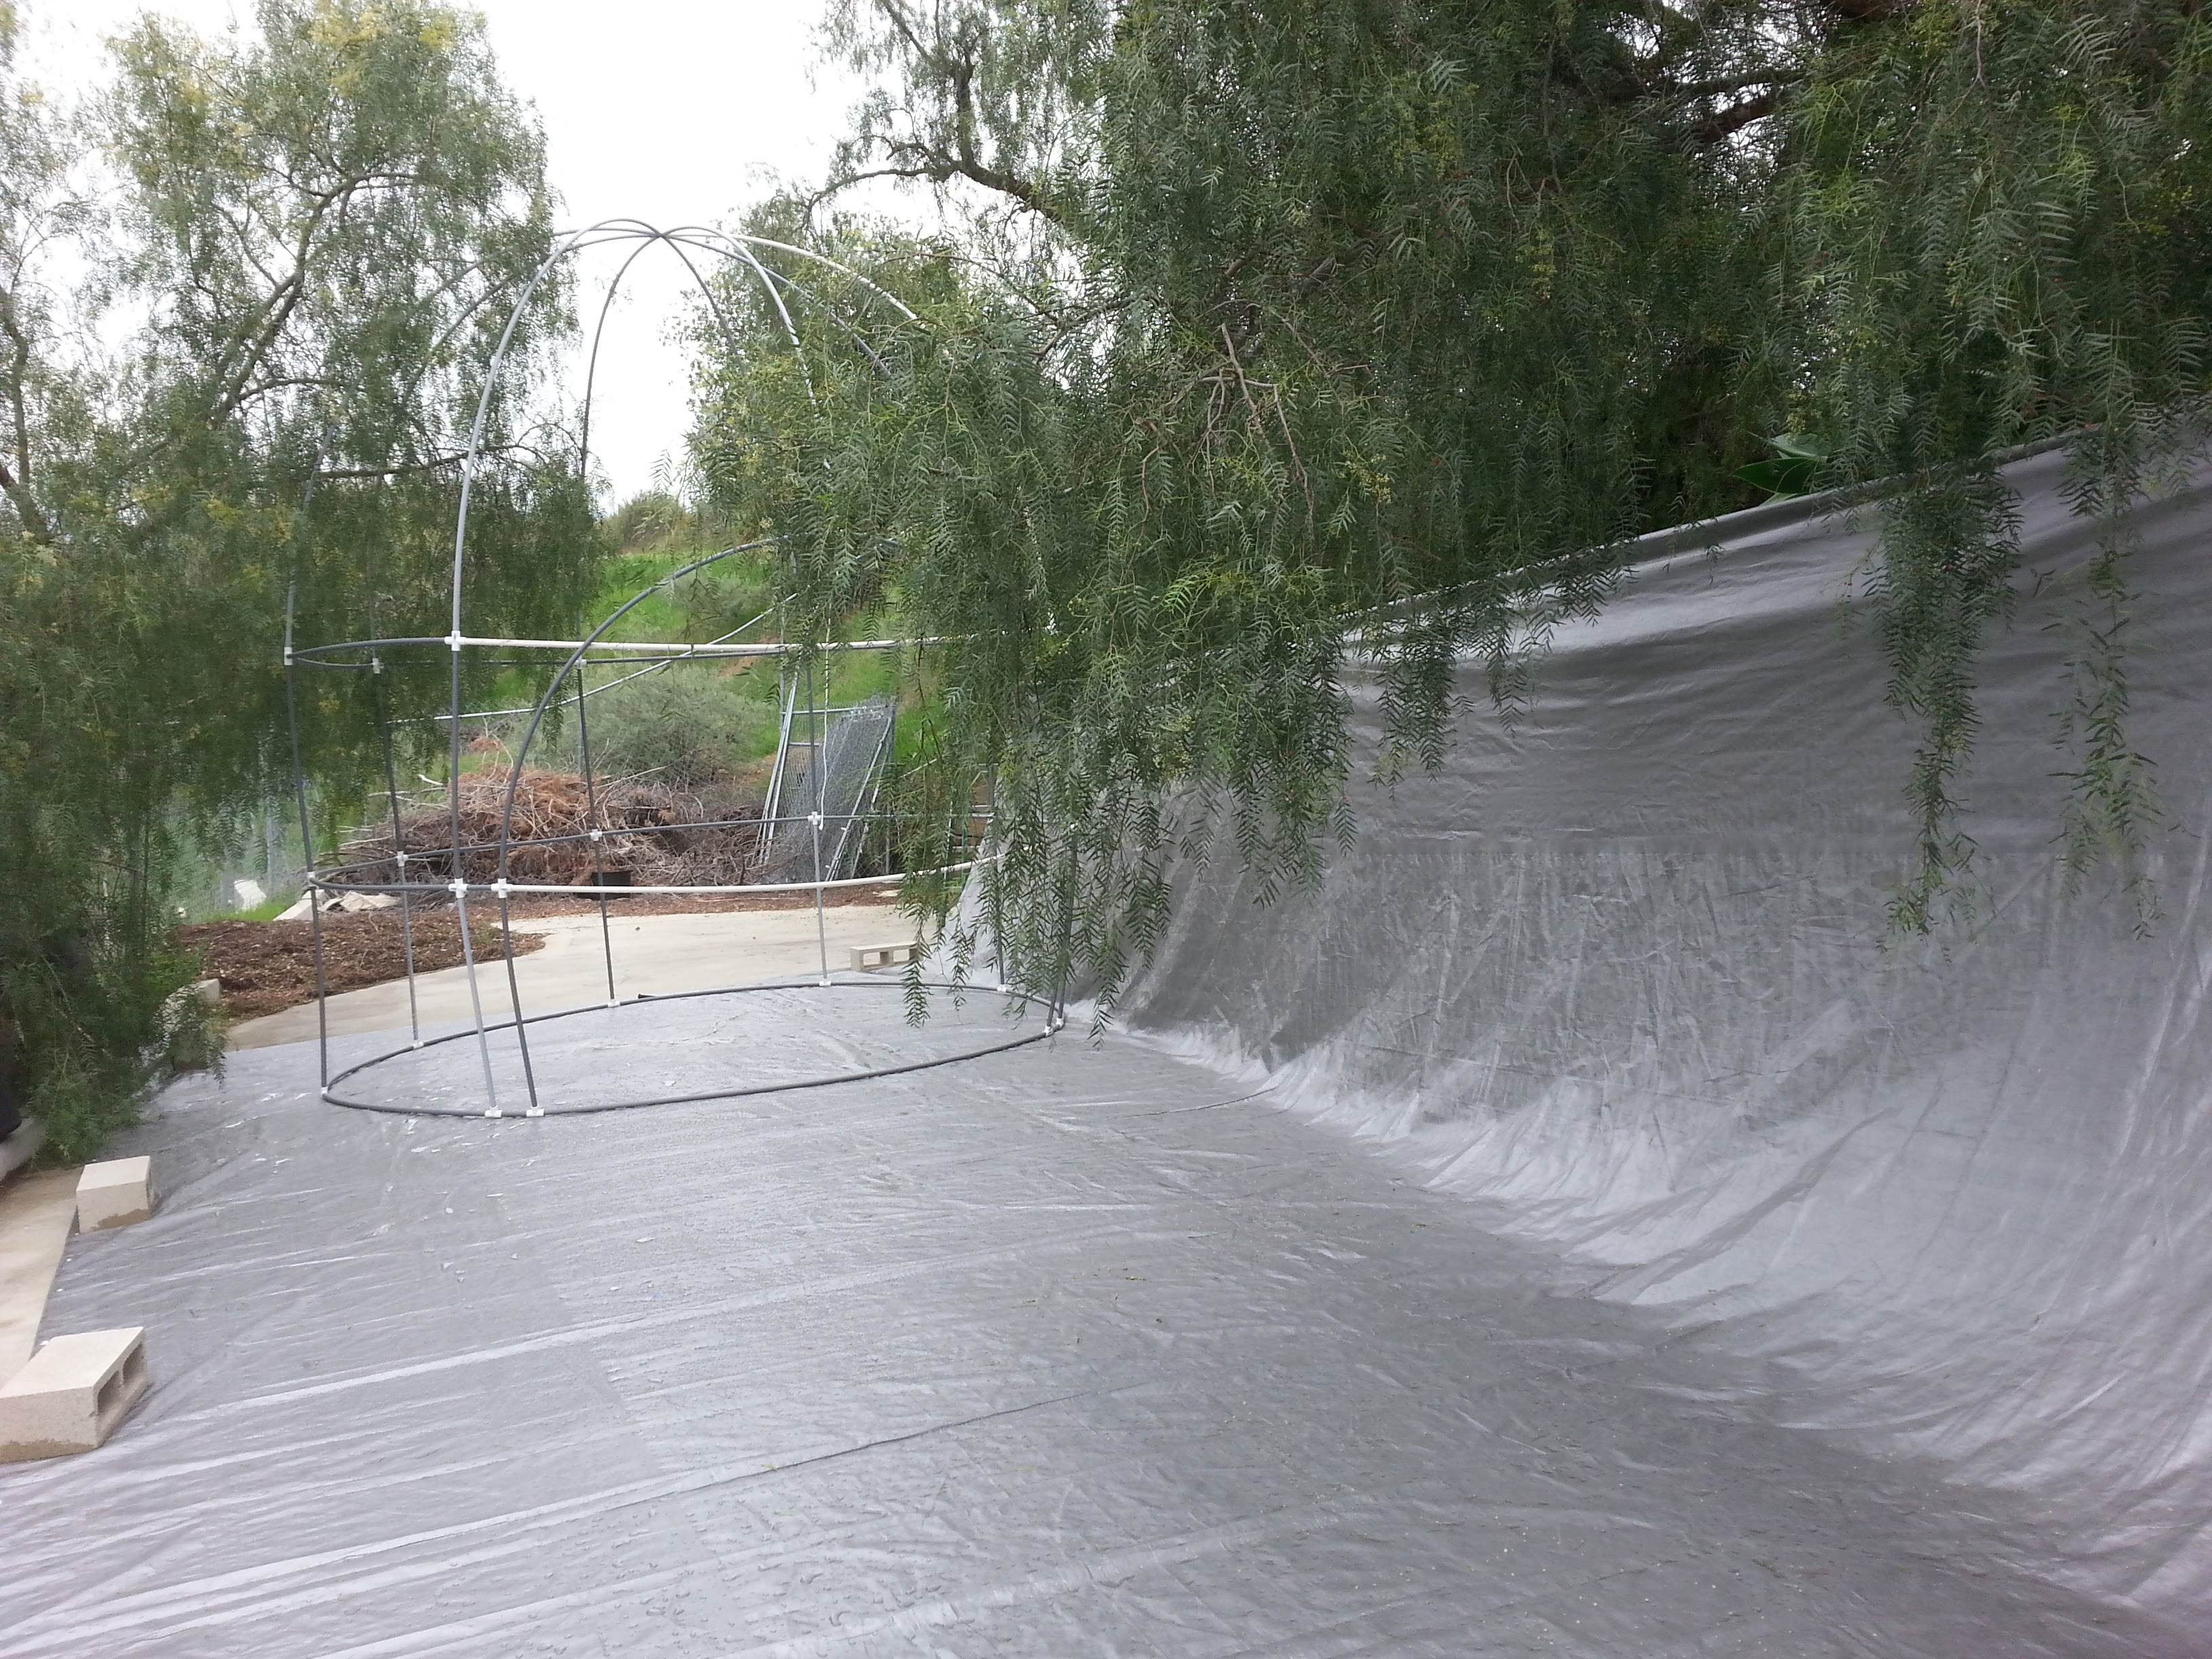
So the first task was to sew an extra panel above the door to make up for my mistaken dimensions there.
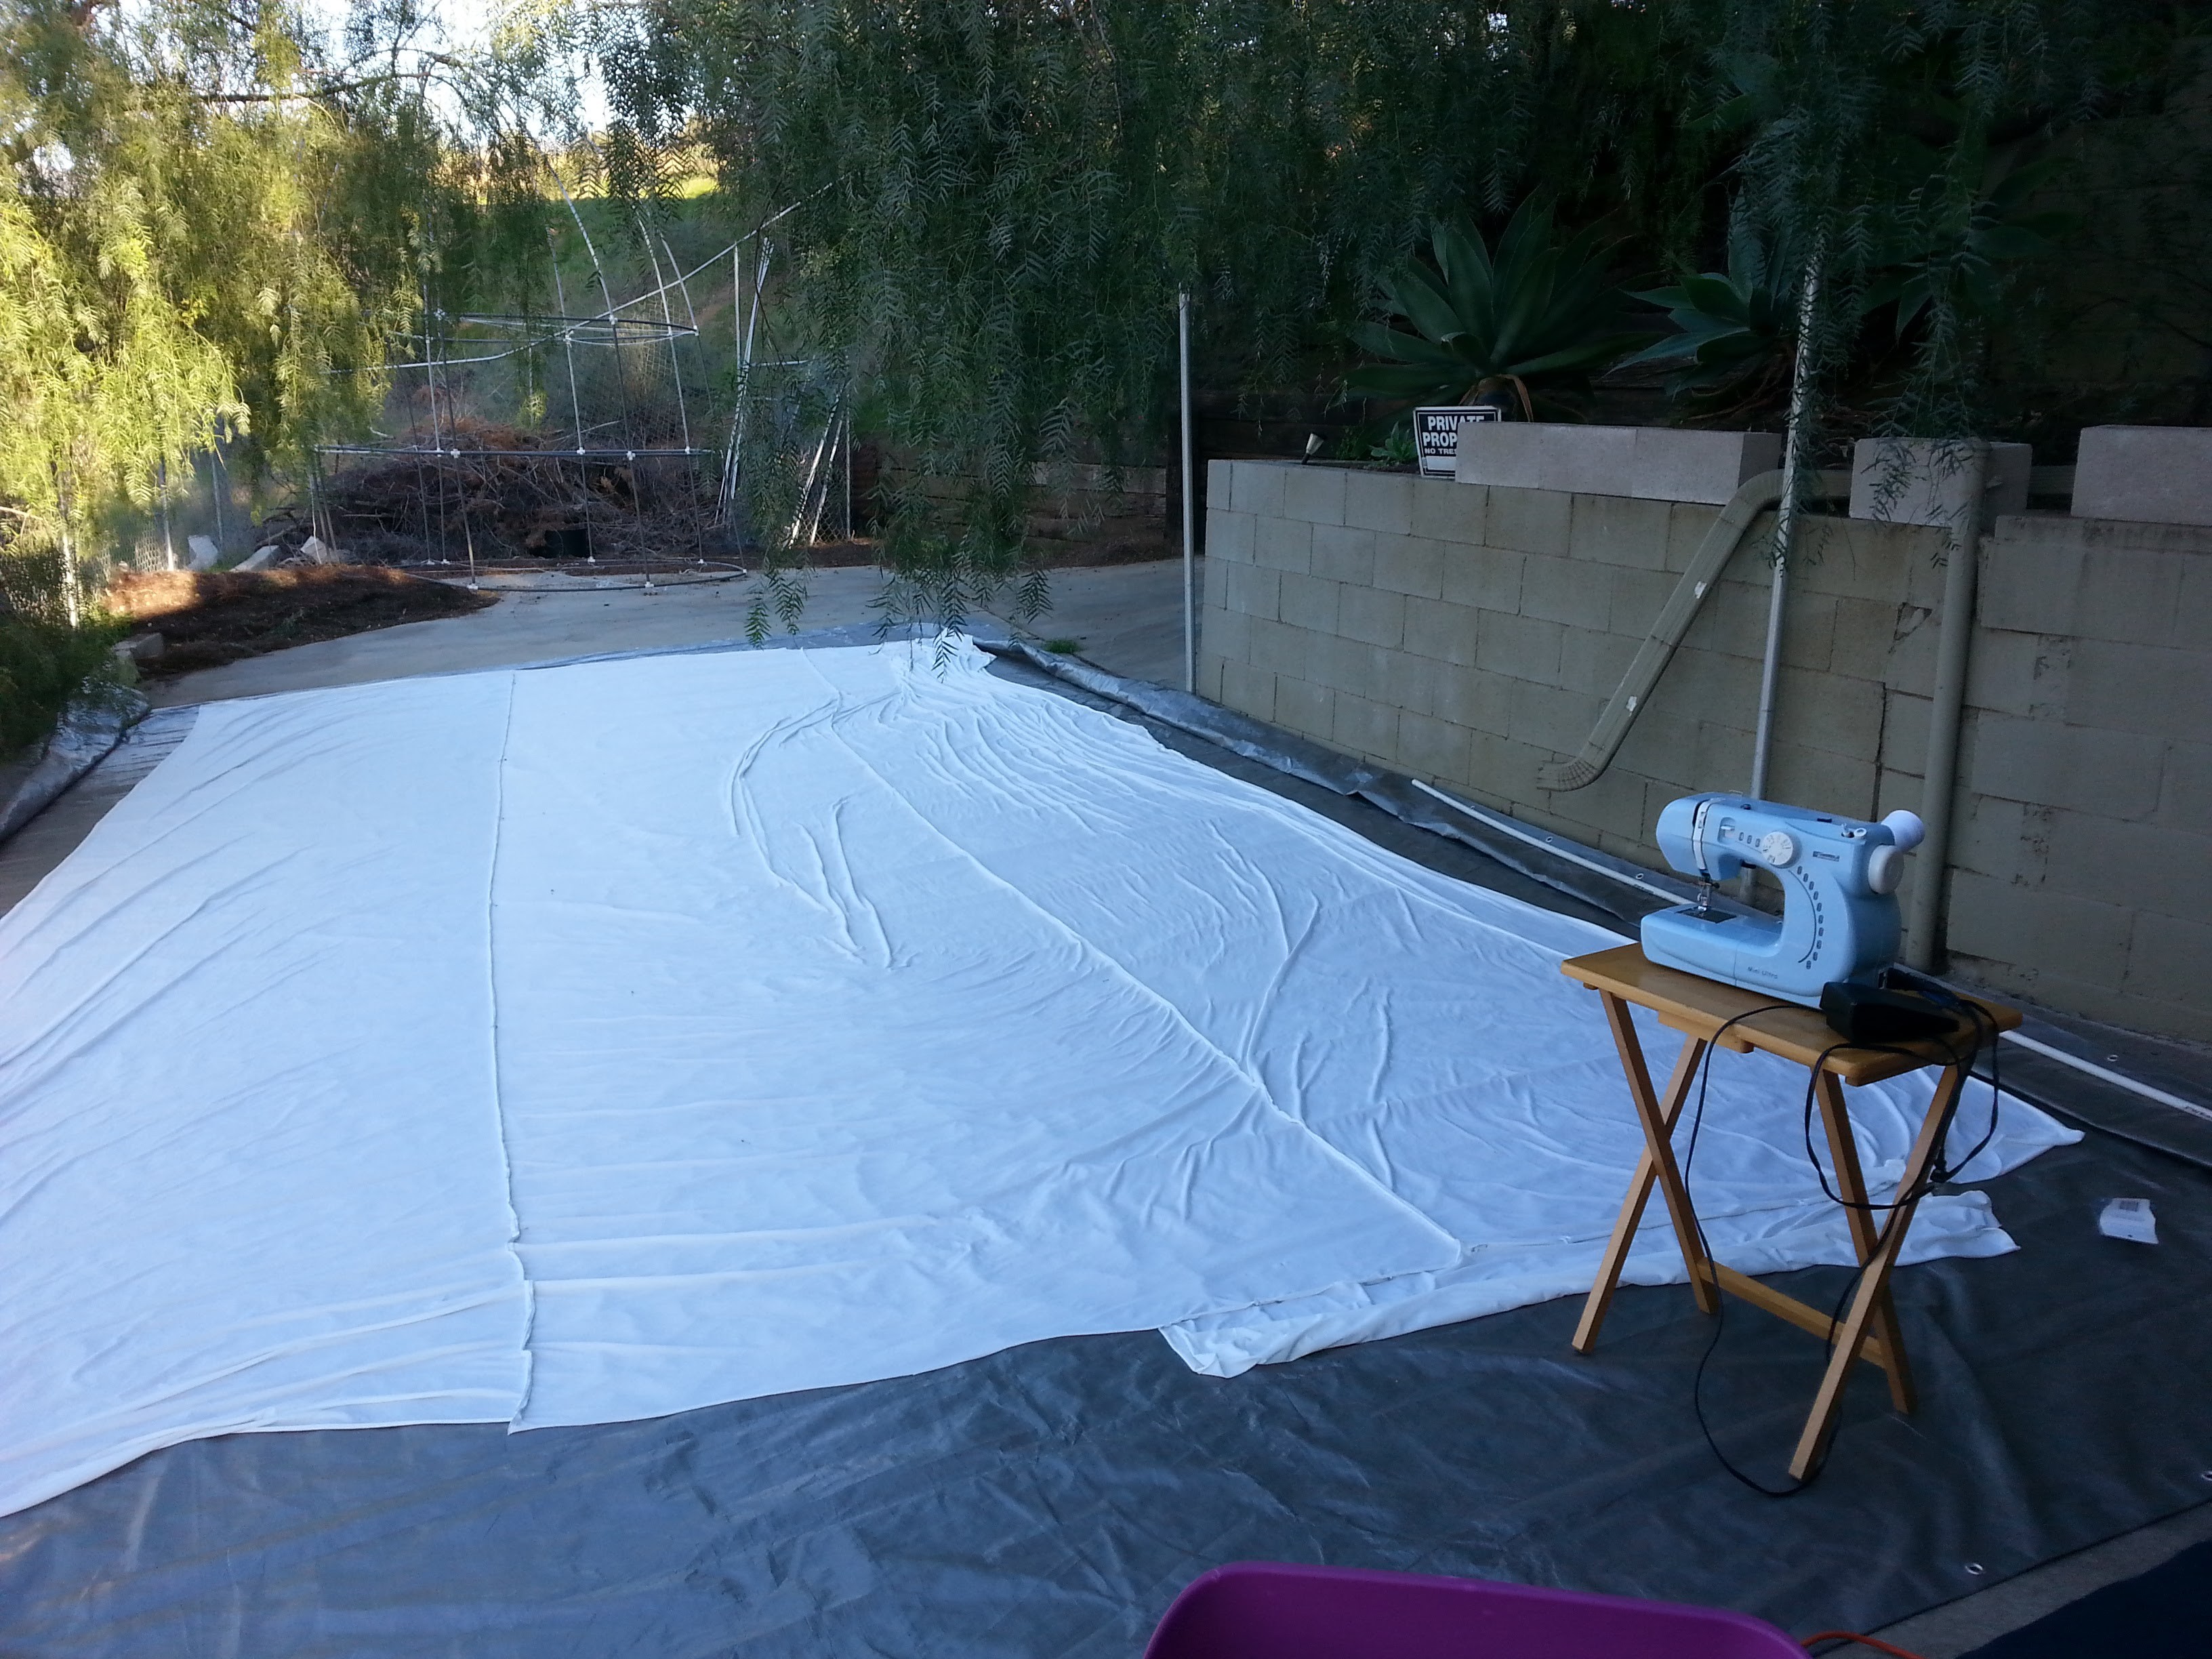
This made for a very large tube of spandex material.
That was followed by a lot of confusion as to how to properly mark and pin the cloth to get the correct dome shape.
What I finally did was to build half of the dome structure flat on the ground, and put the cloth around it.
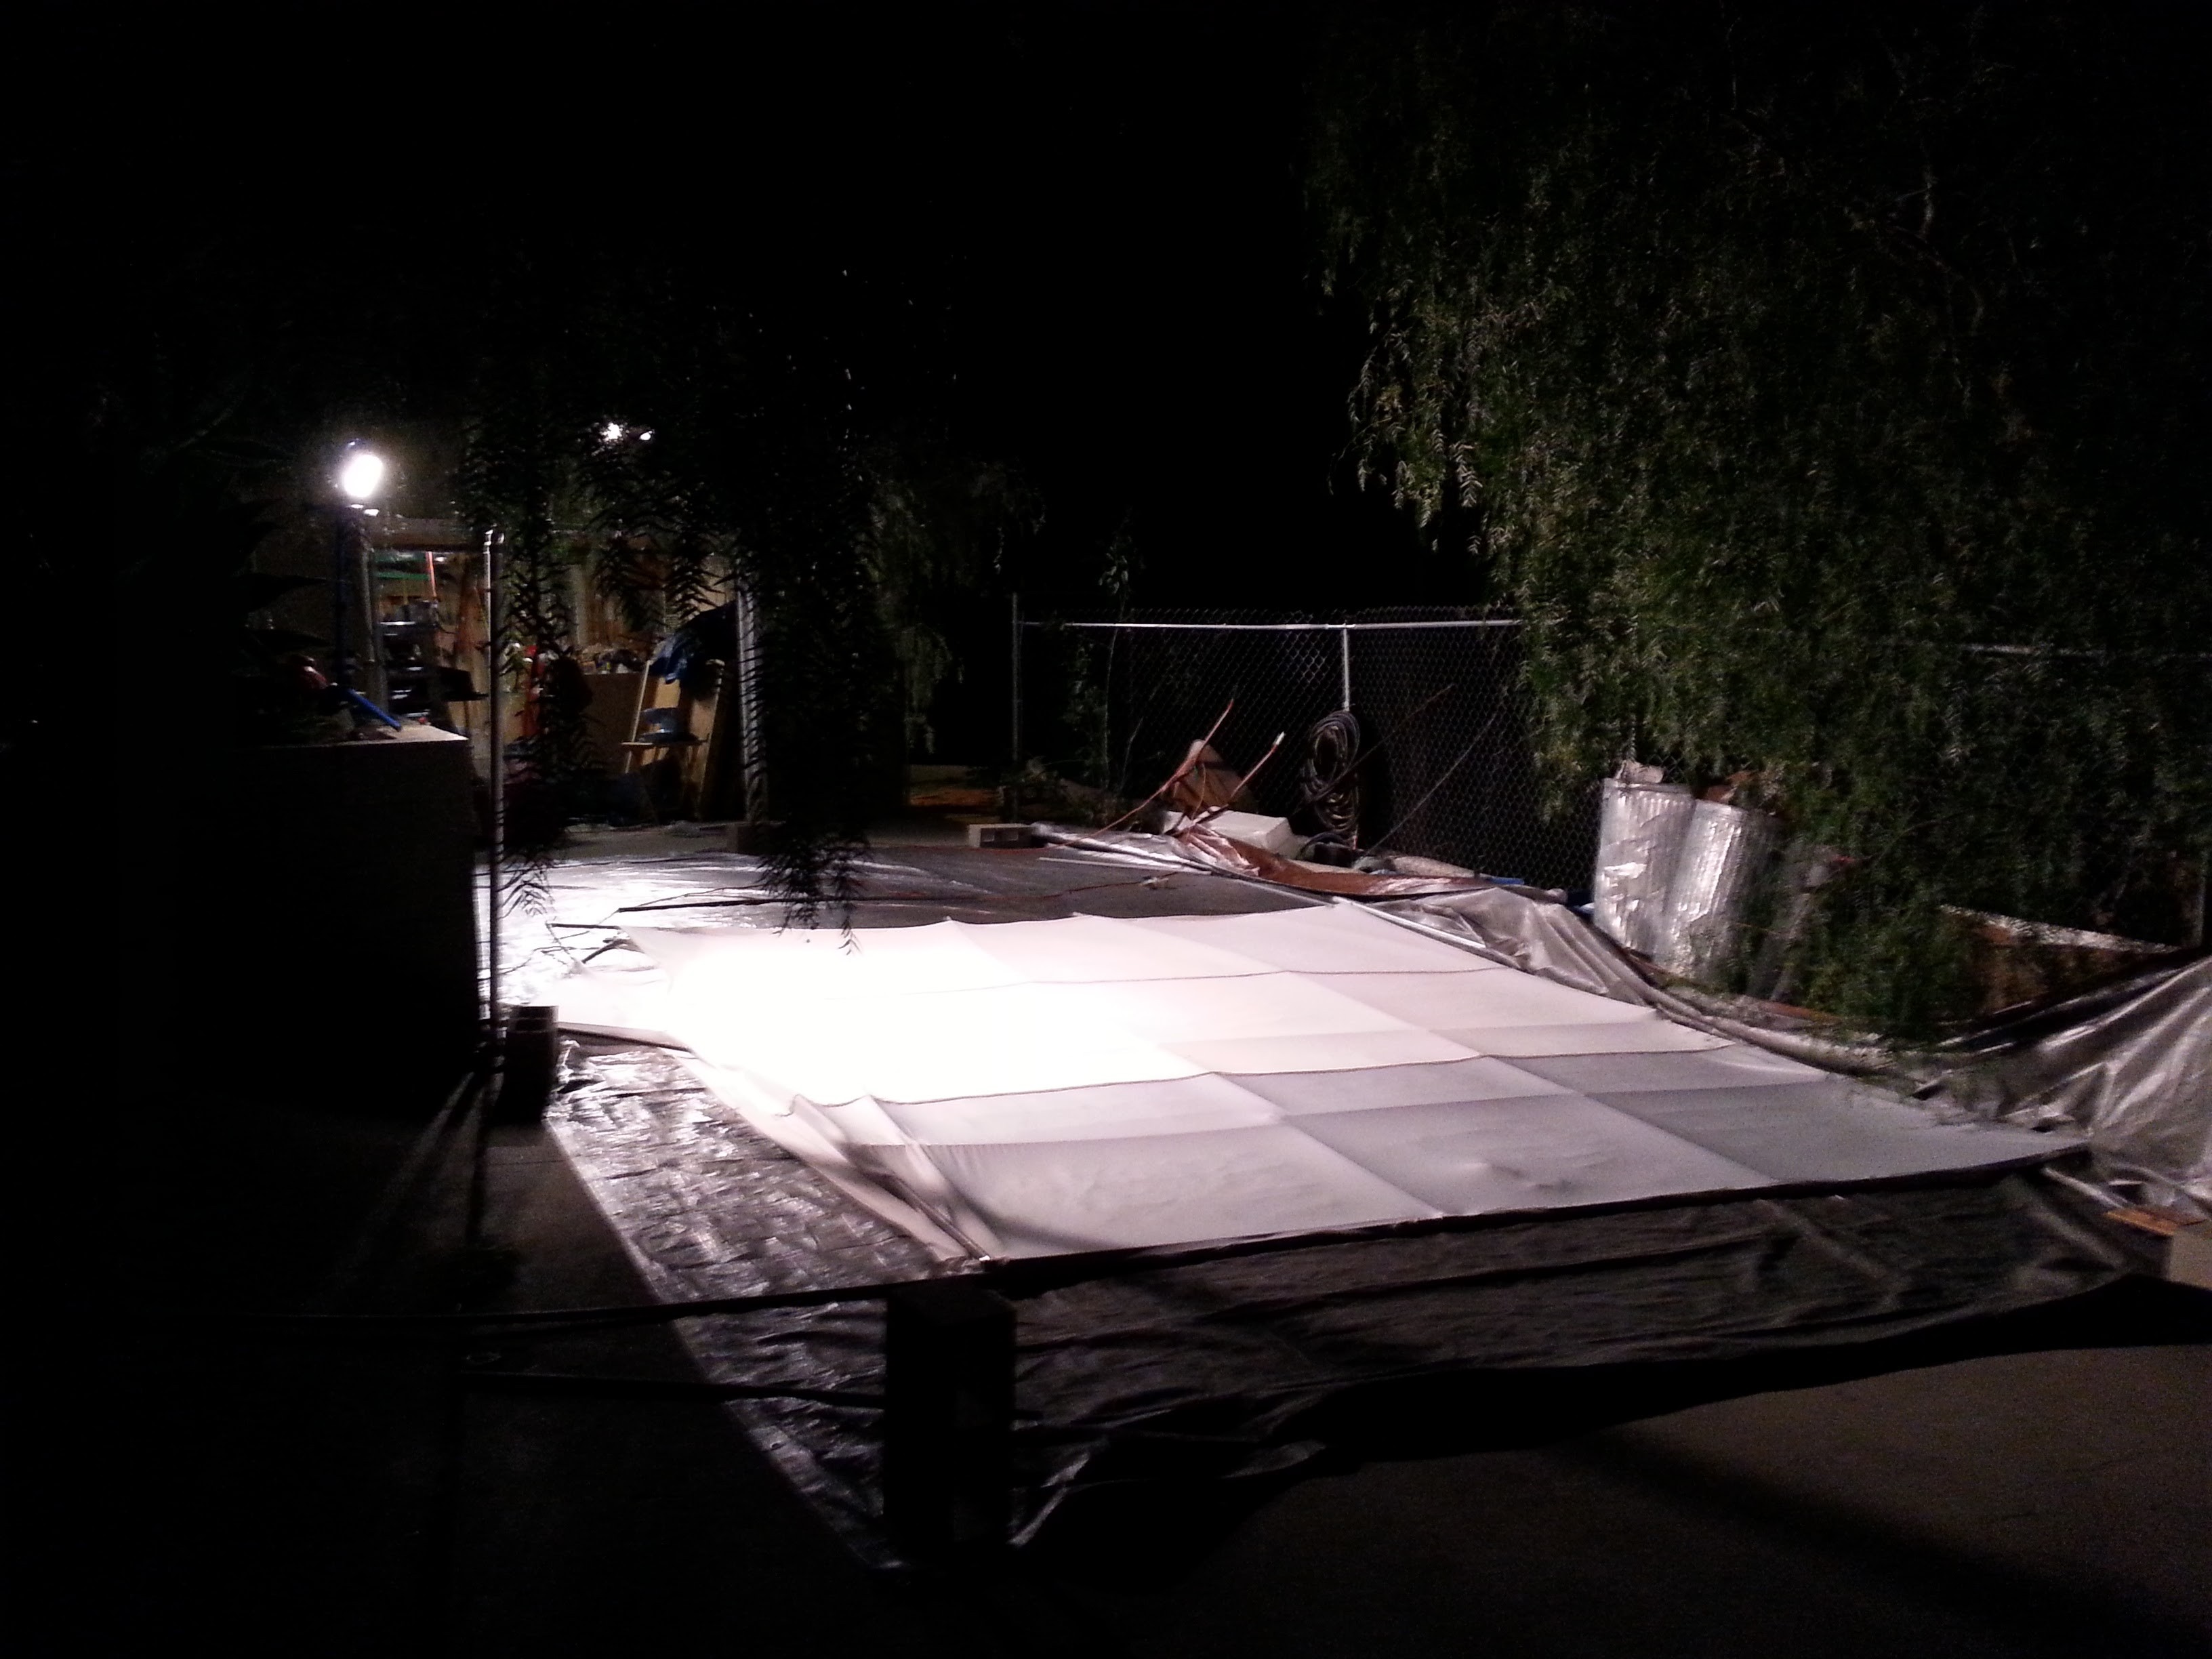
Then I attached the 8 way joint to every two of the top parts and traced their outline on the fabric.
First I tried an expensive blue pencil I bought at the fabric store. It wasn't very effective.
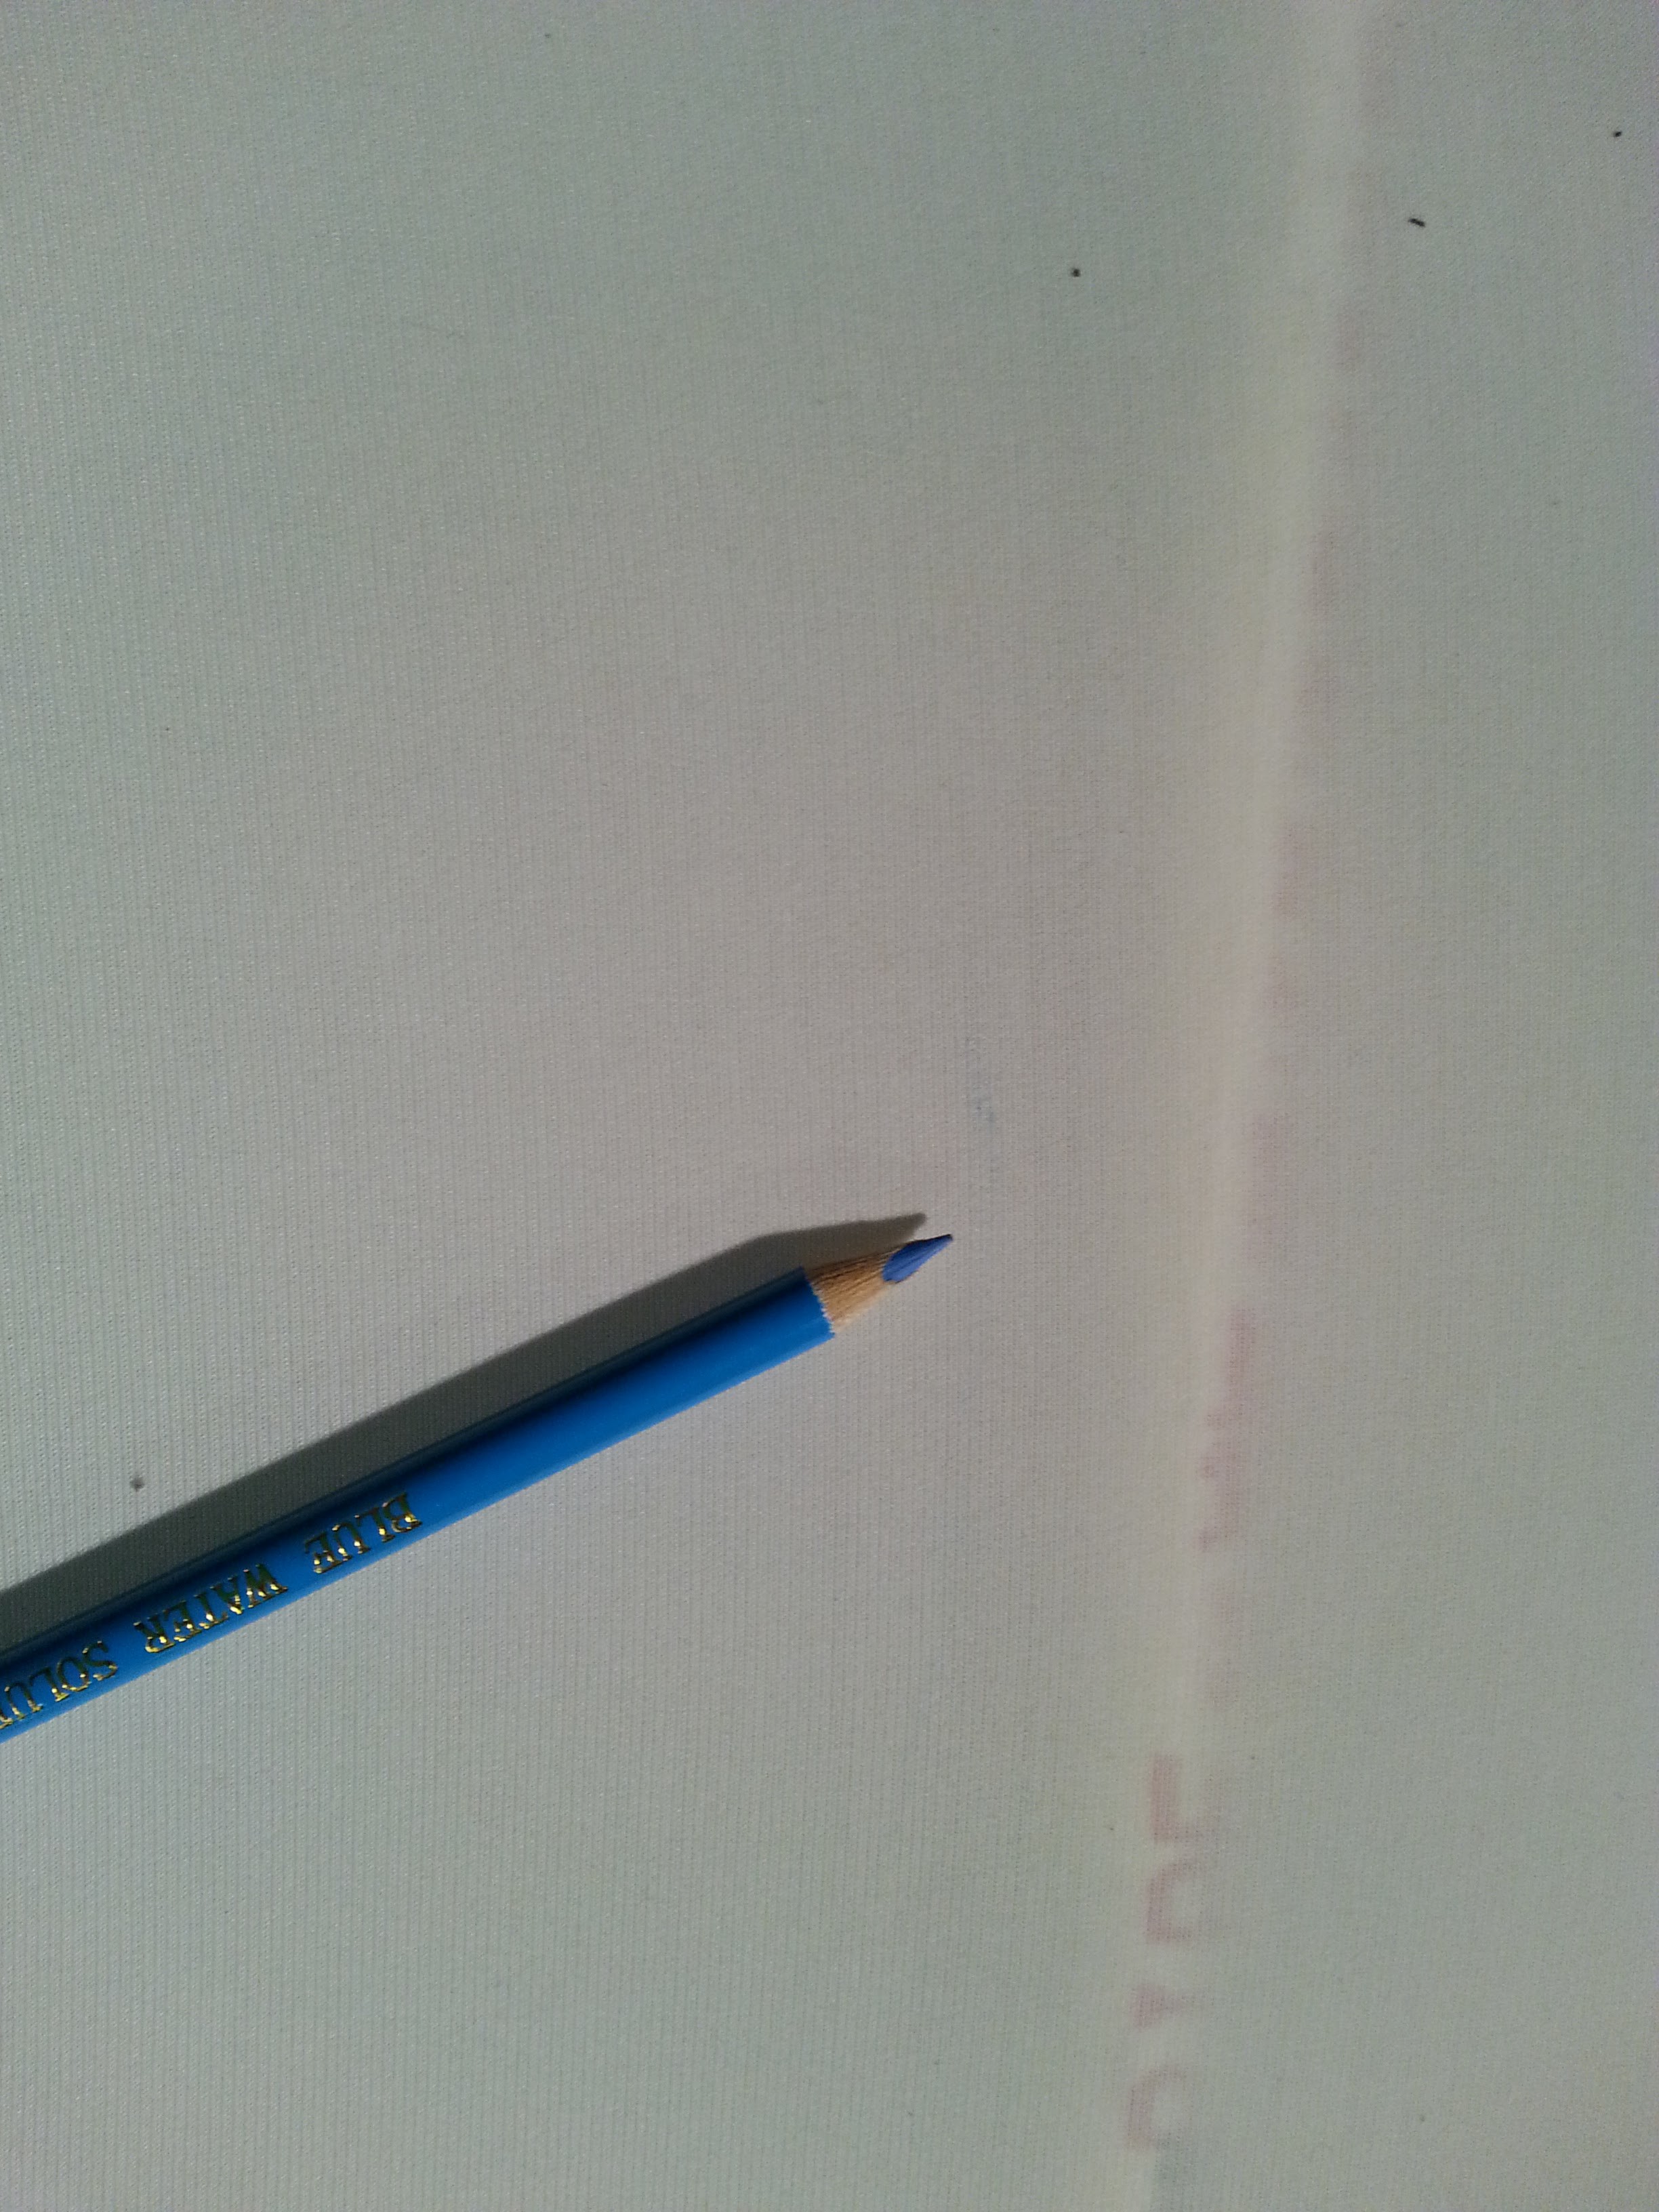
So I went back to my old standby: bar soap. It was super effective!

So, I traced outlines of every peak to give a good estimate of where the fabric I cut out should be.

But I just pin it together with safety pins so that I can test it without making irreversible changes to the cloth.
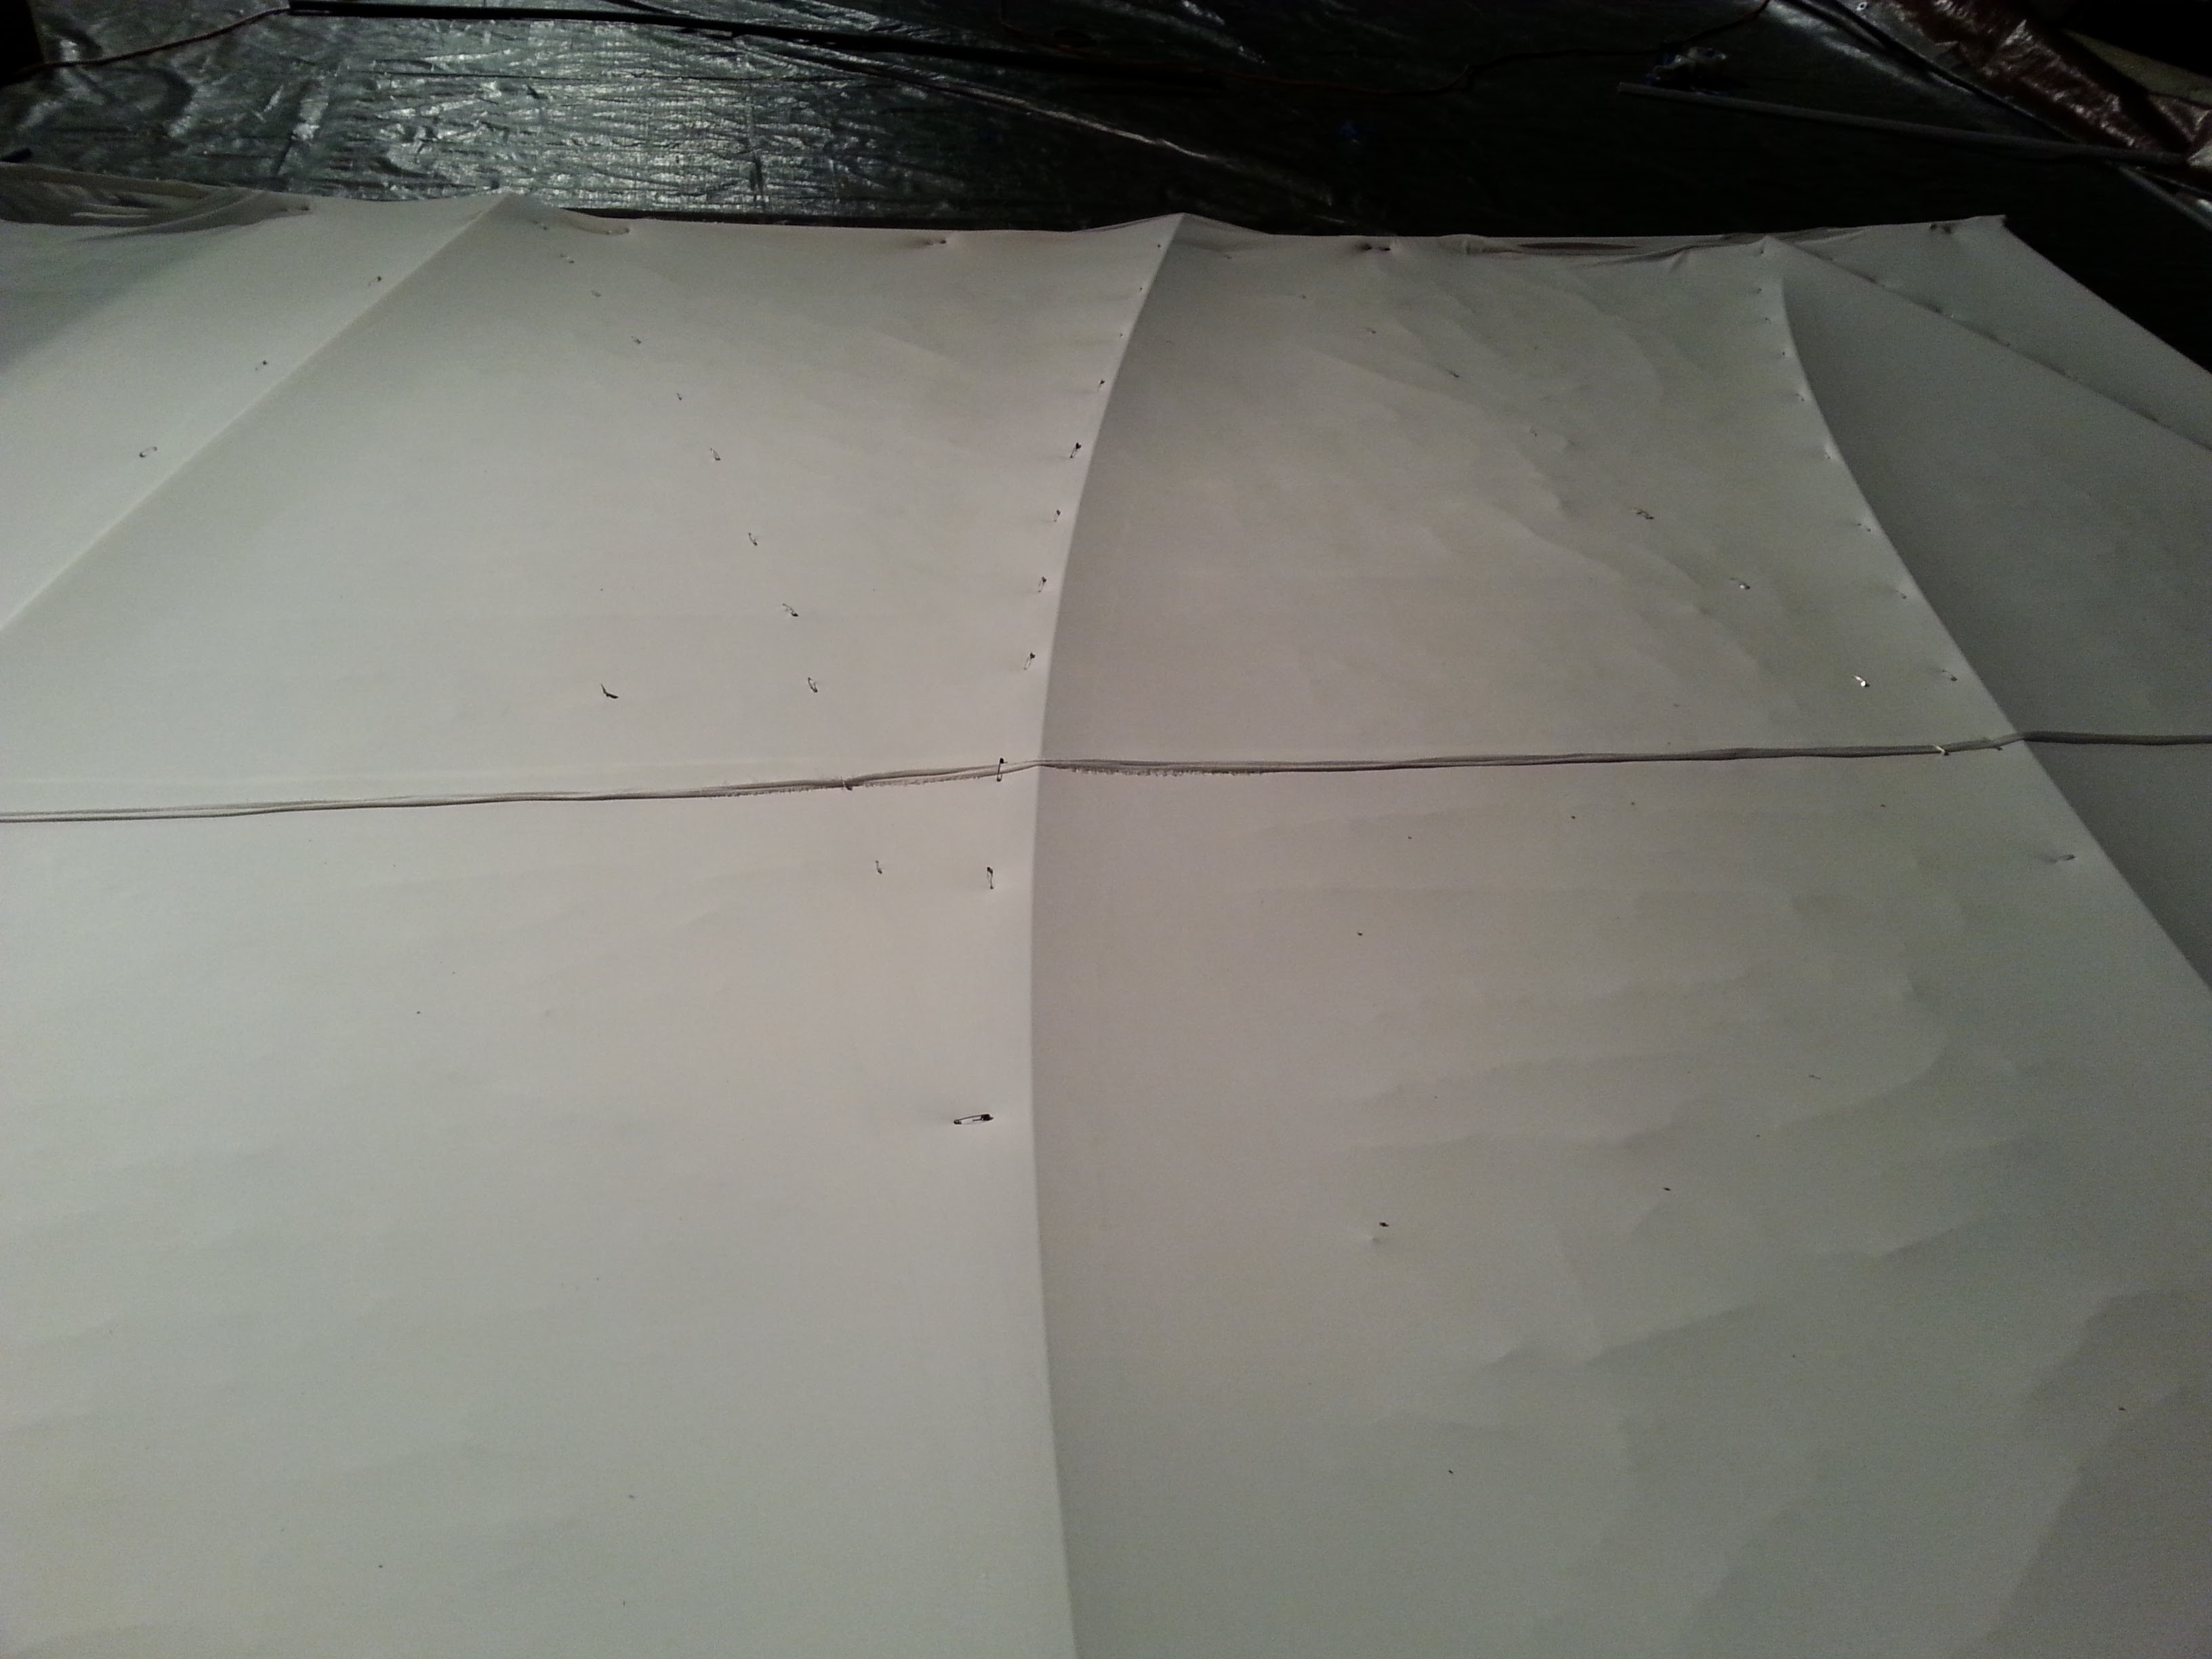
These pins just mark the area. I need to redo them so each side of the area is pinned together. This is a time consuming pain in the ass. You have to lay the fabric flat on the ground and fold over the two sections that you need to pin. You line it up as best as you can and then put the new pins in.
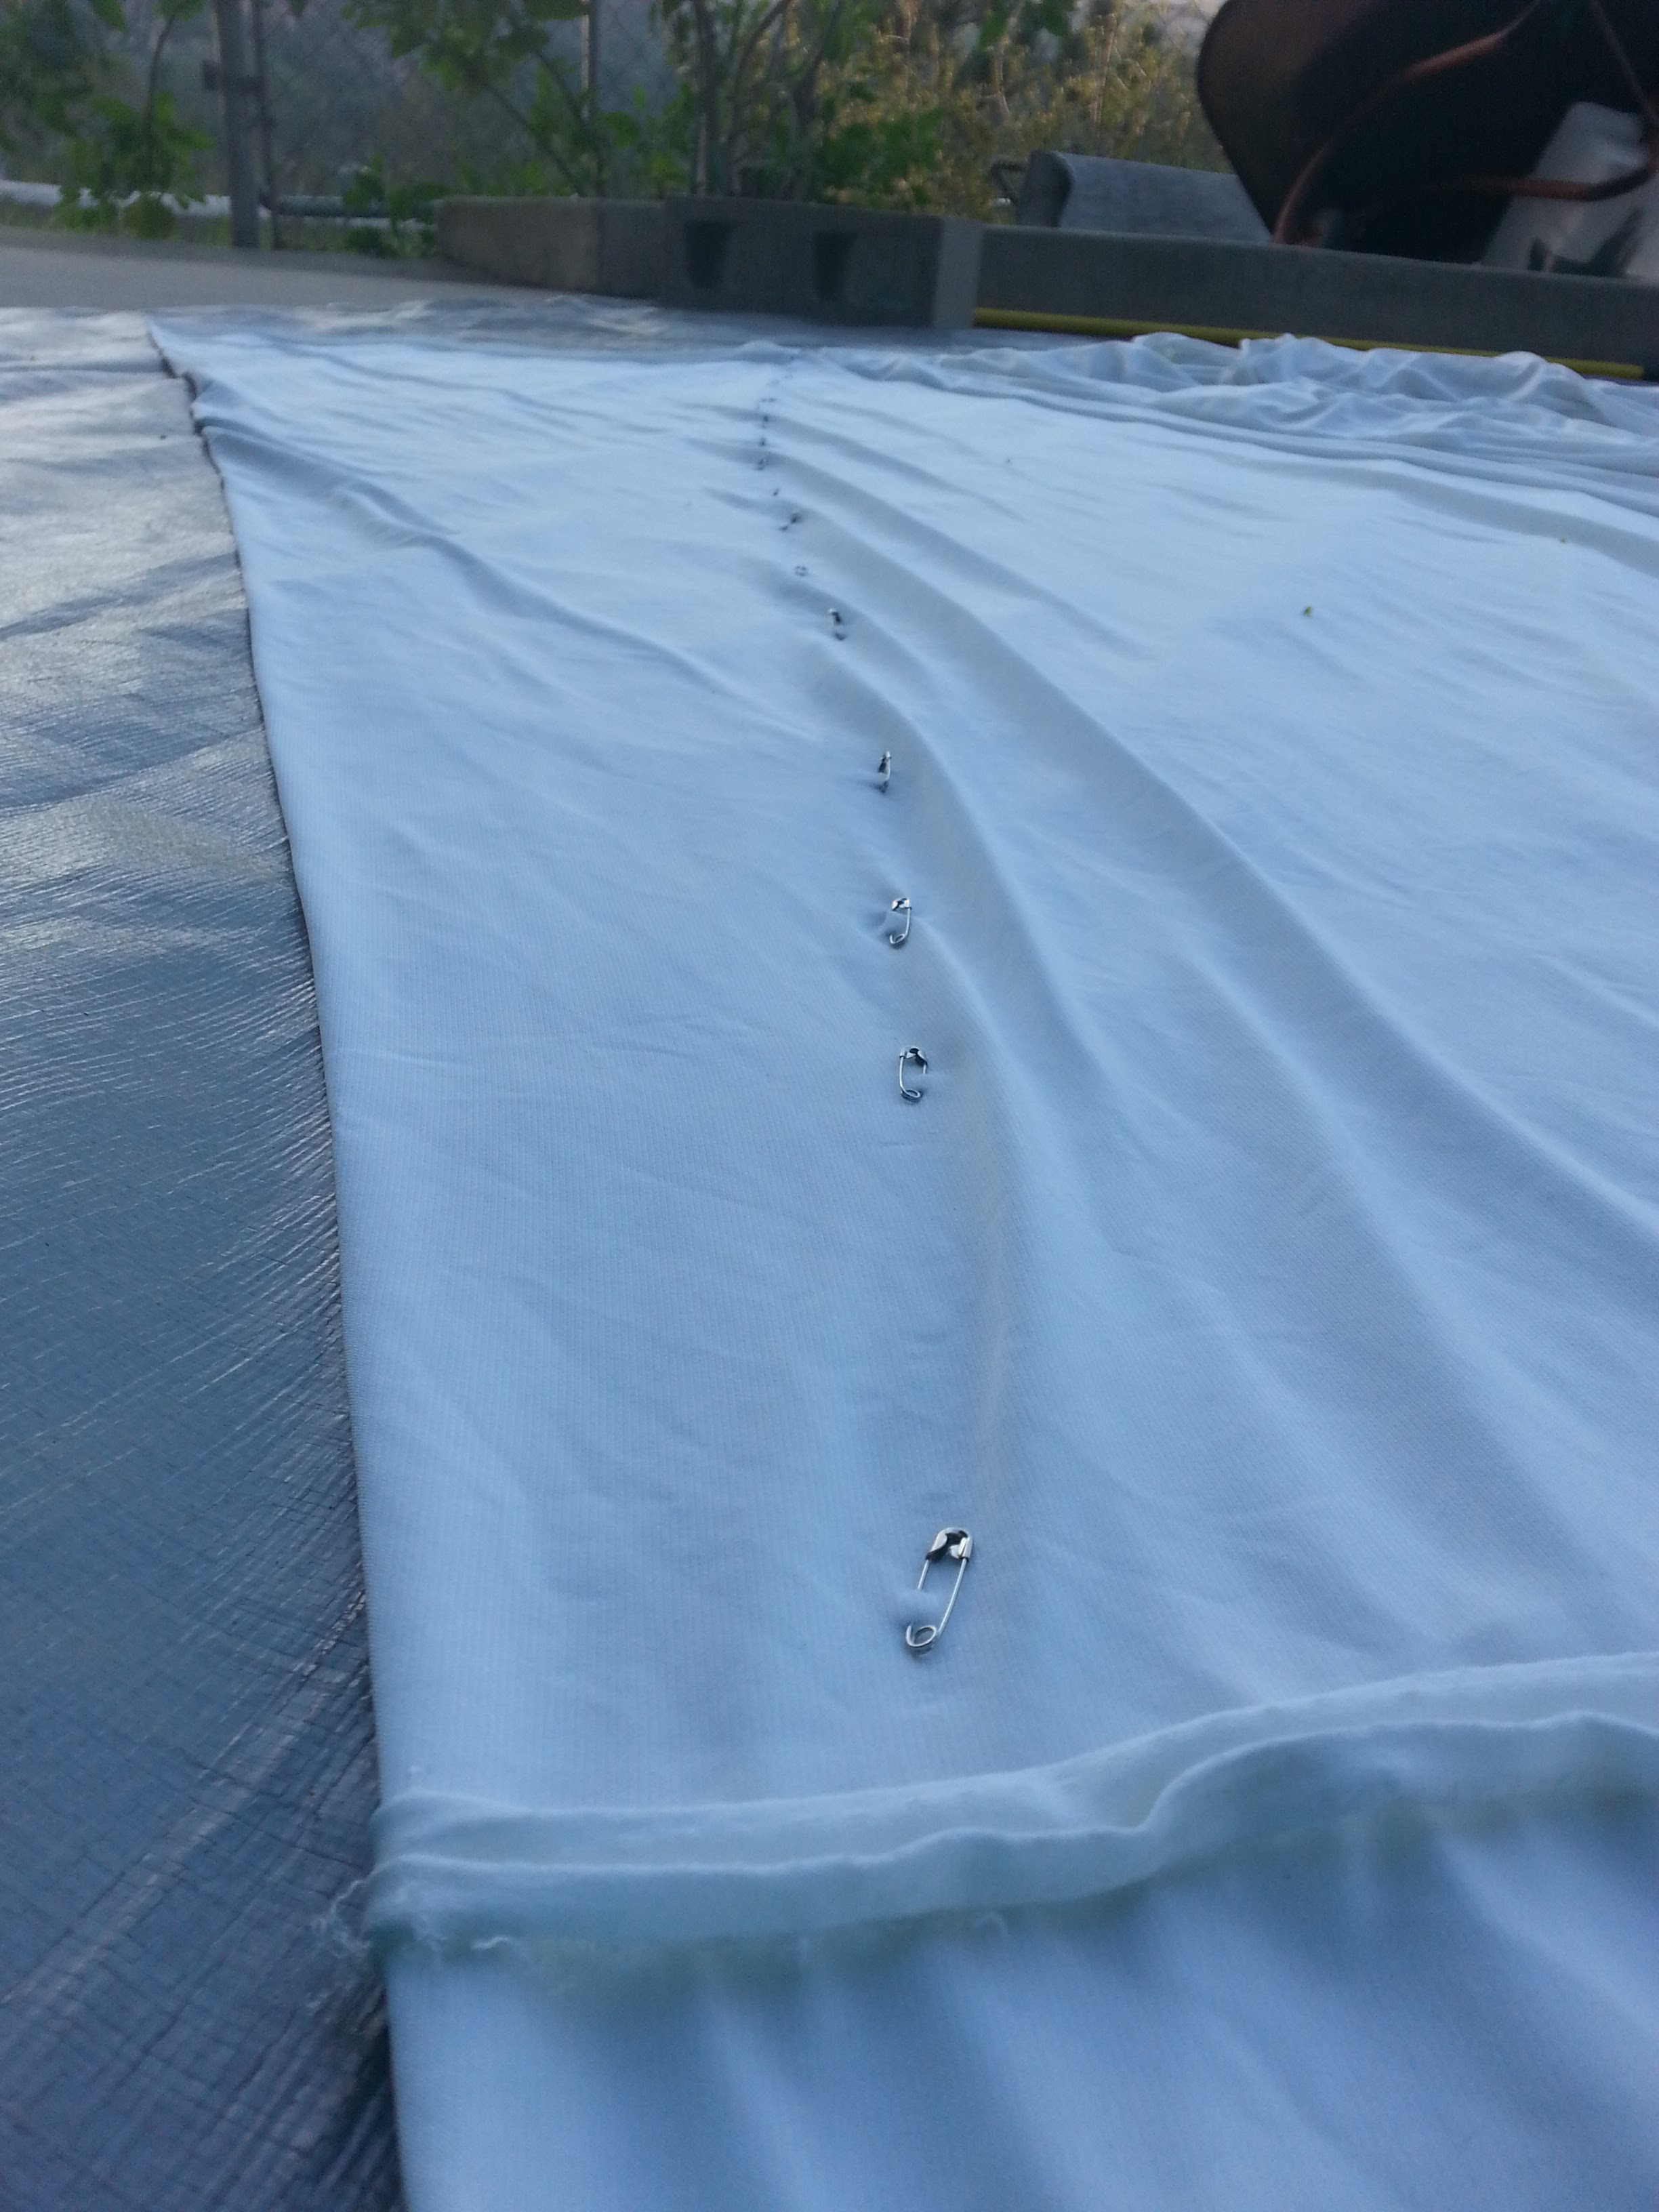
Then you have to remove the extra pins from both sides. As you do this, the fabric you have already pinned is kinda scrunched up and difficult to deal with.
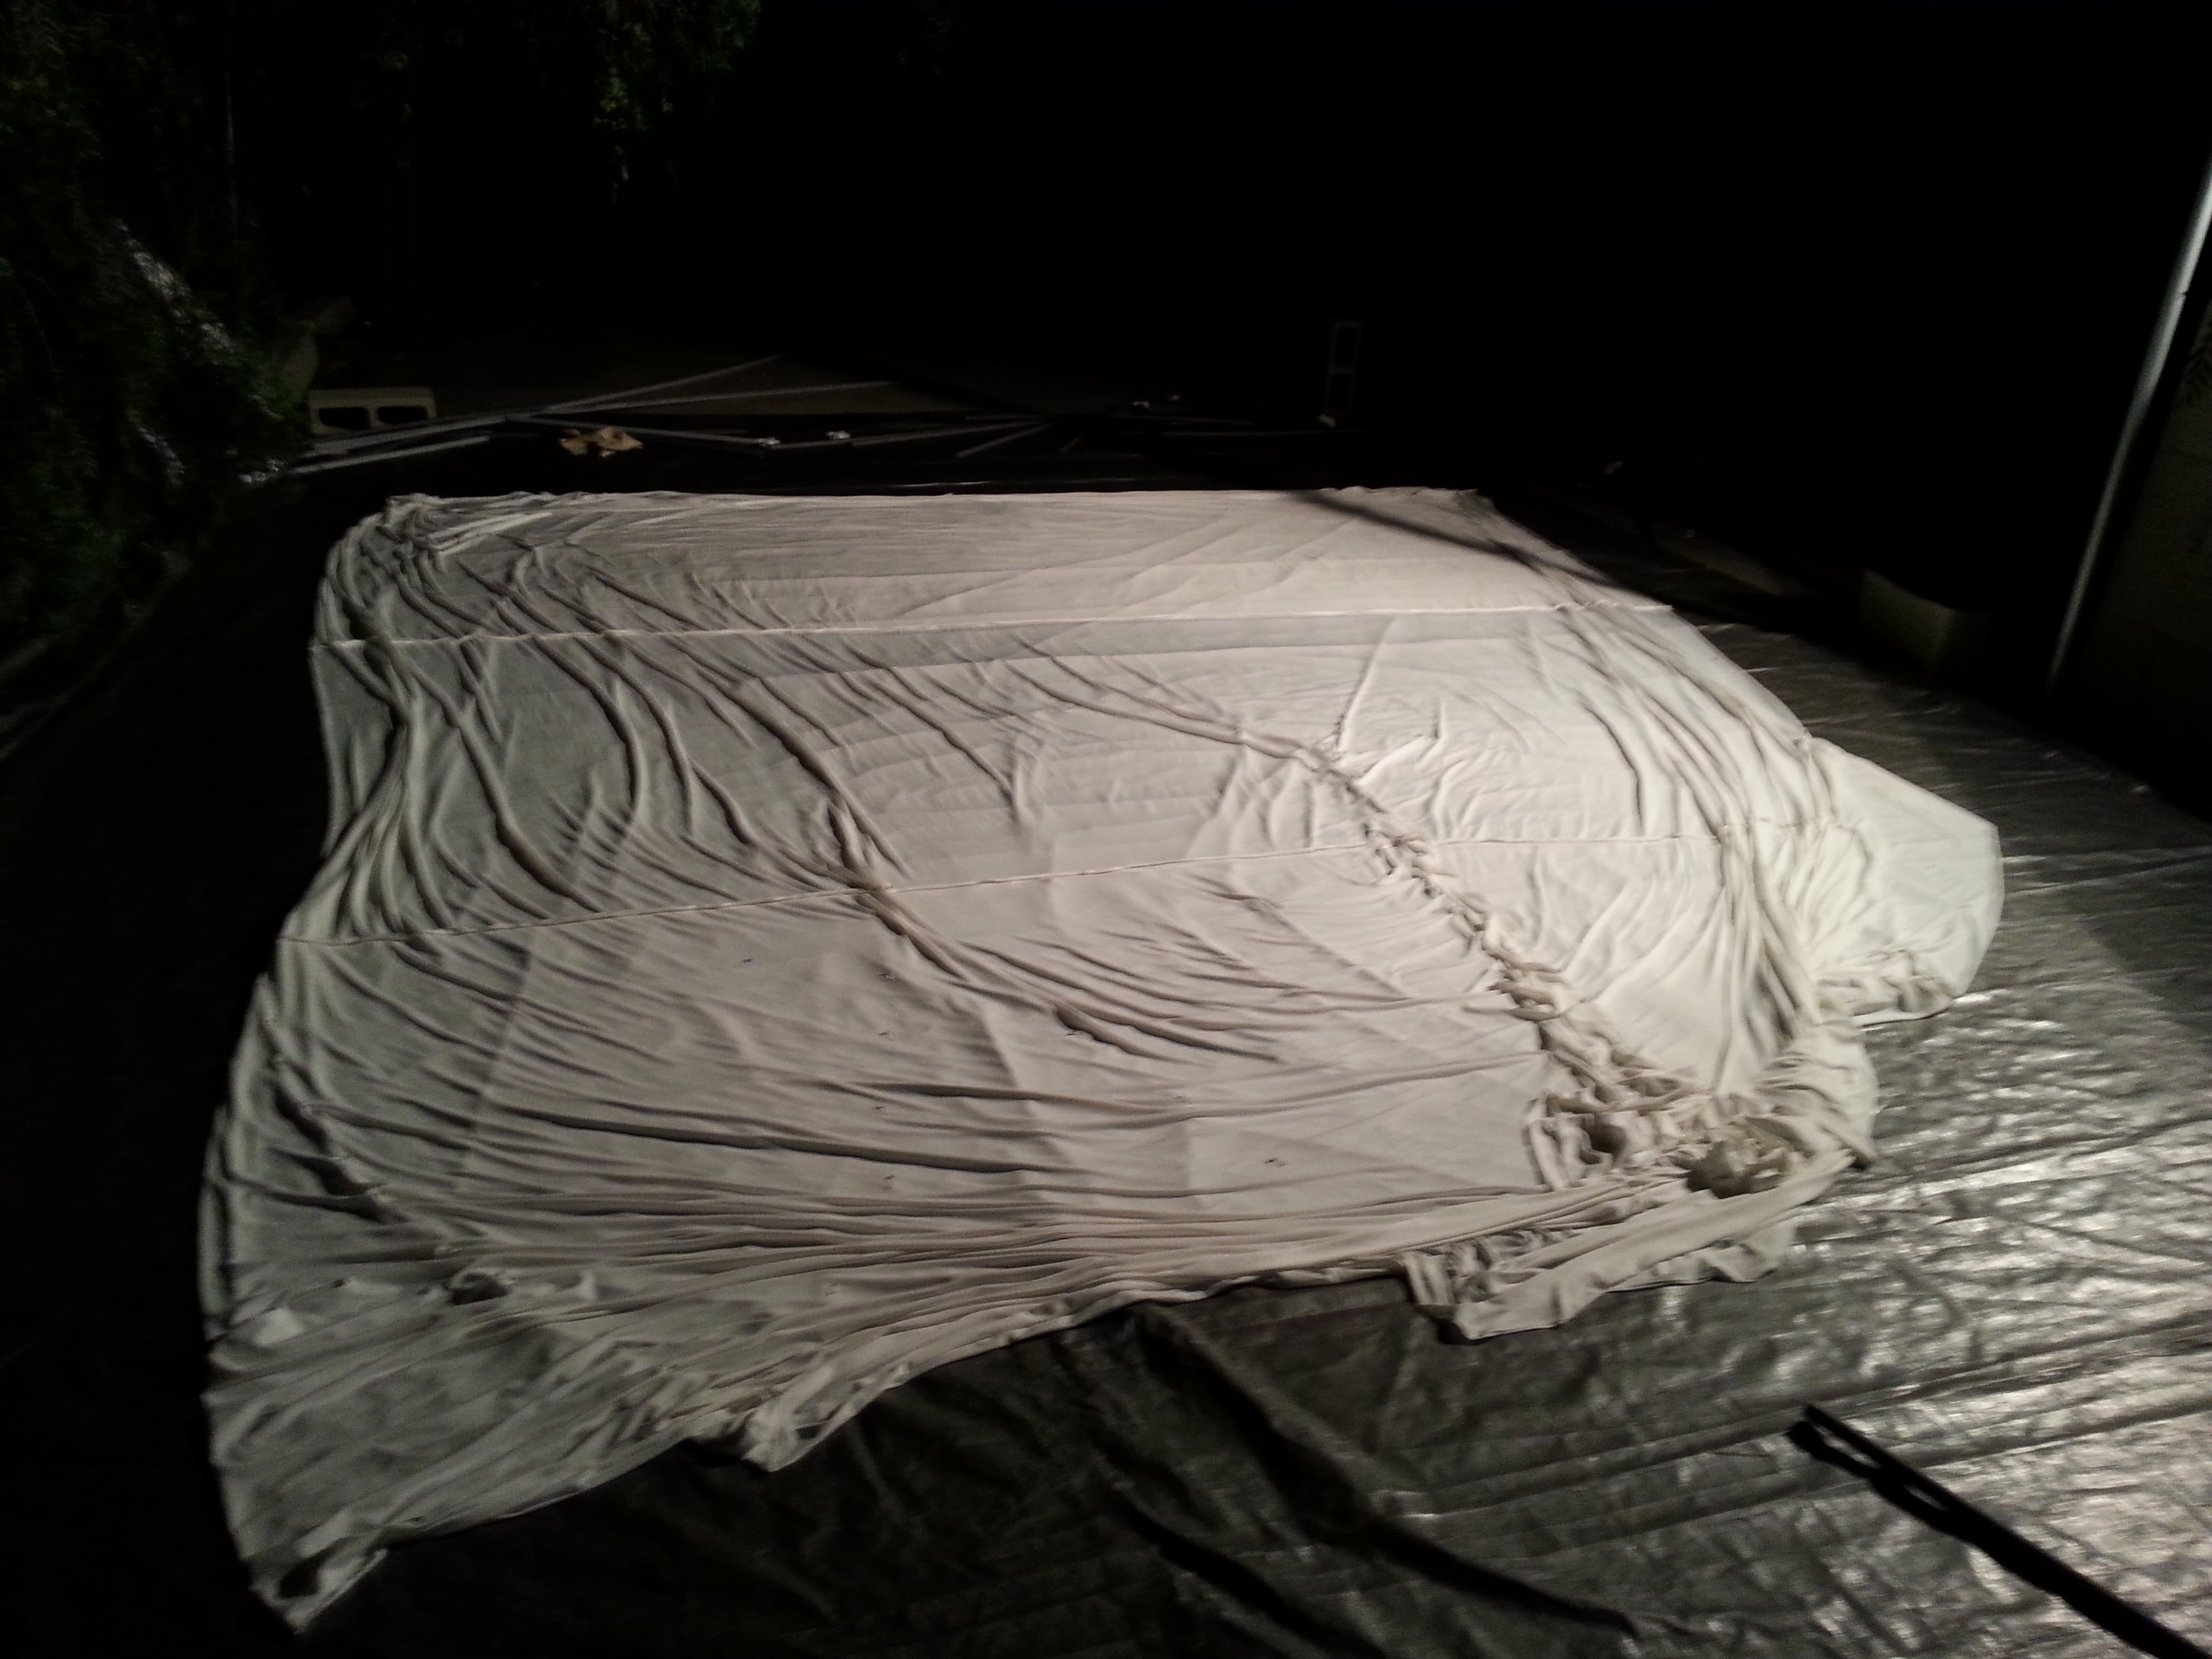
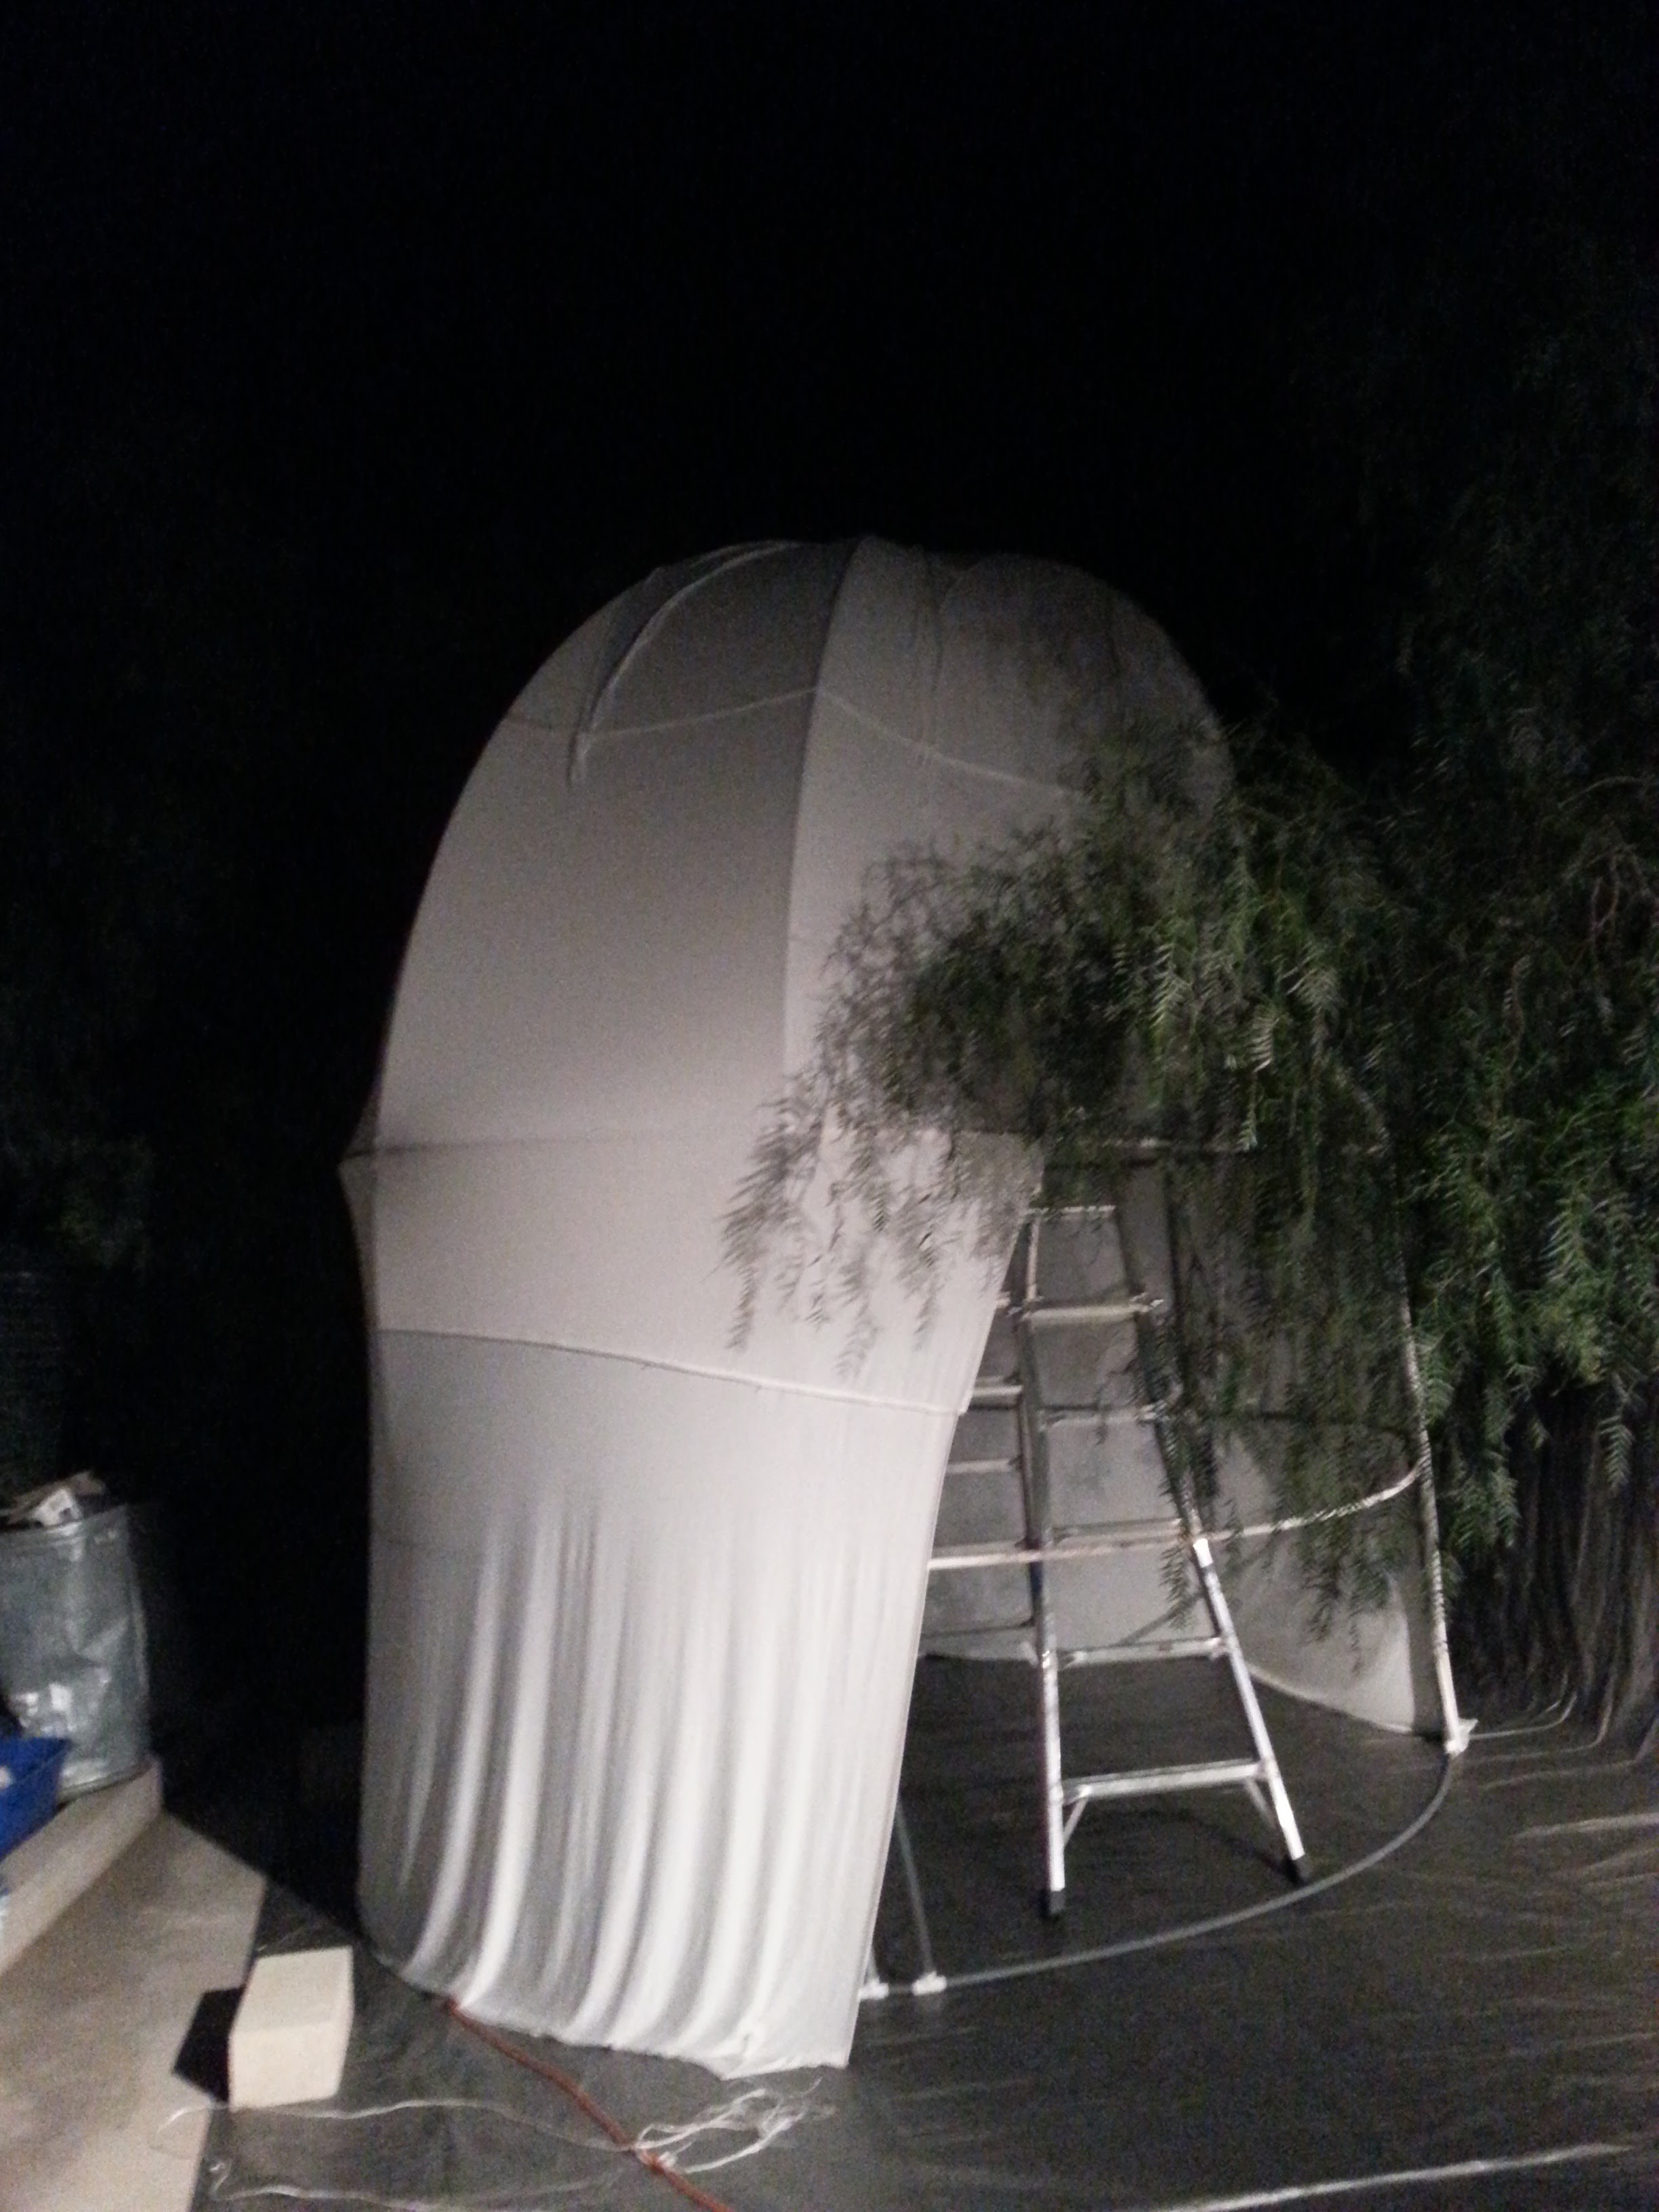
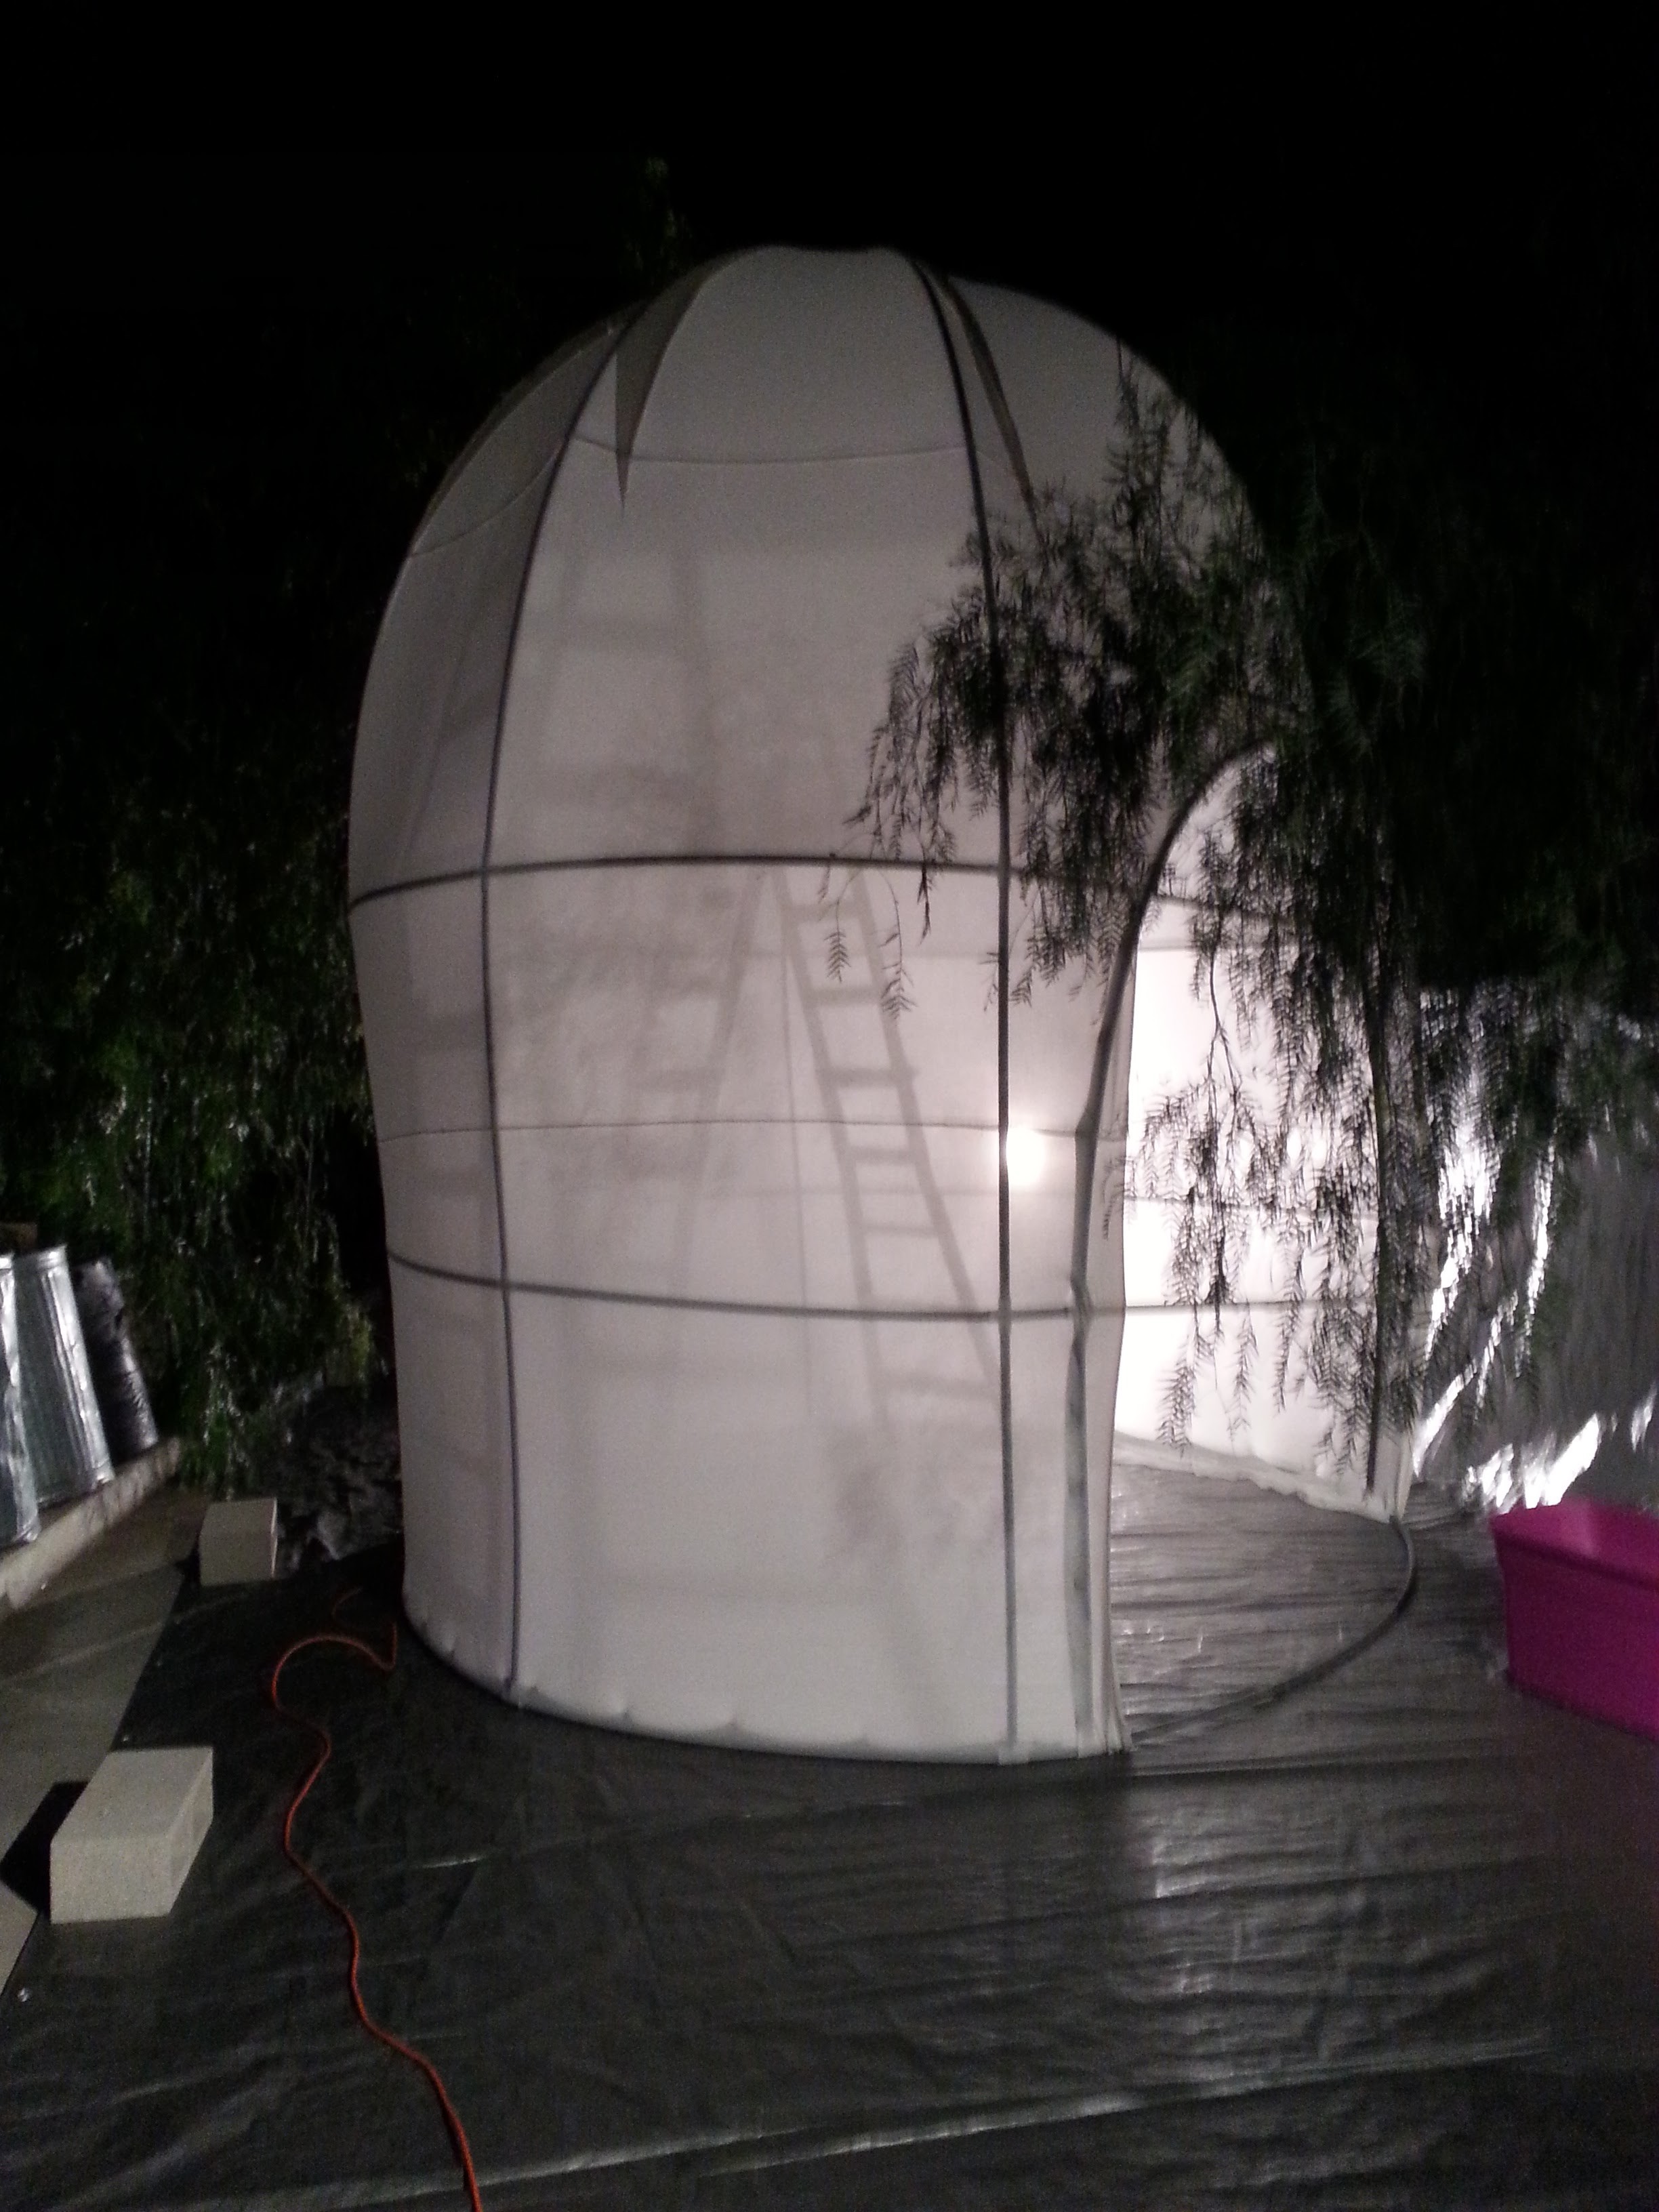
OMG! It's a dome!

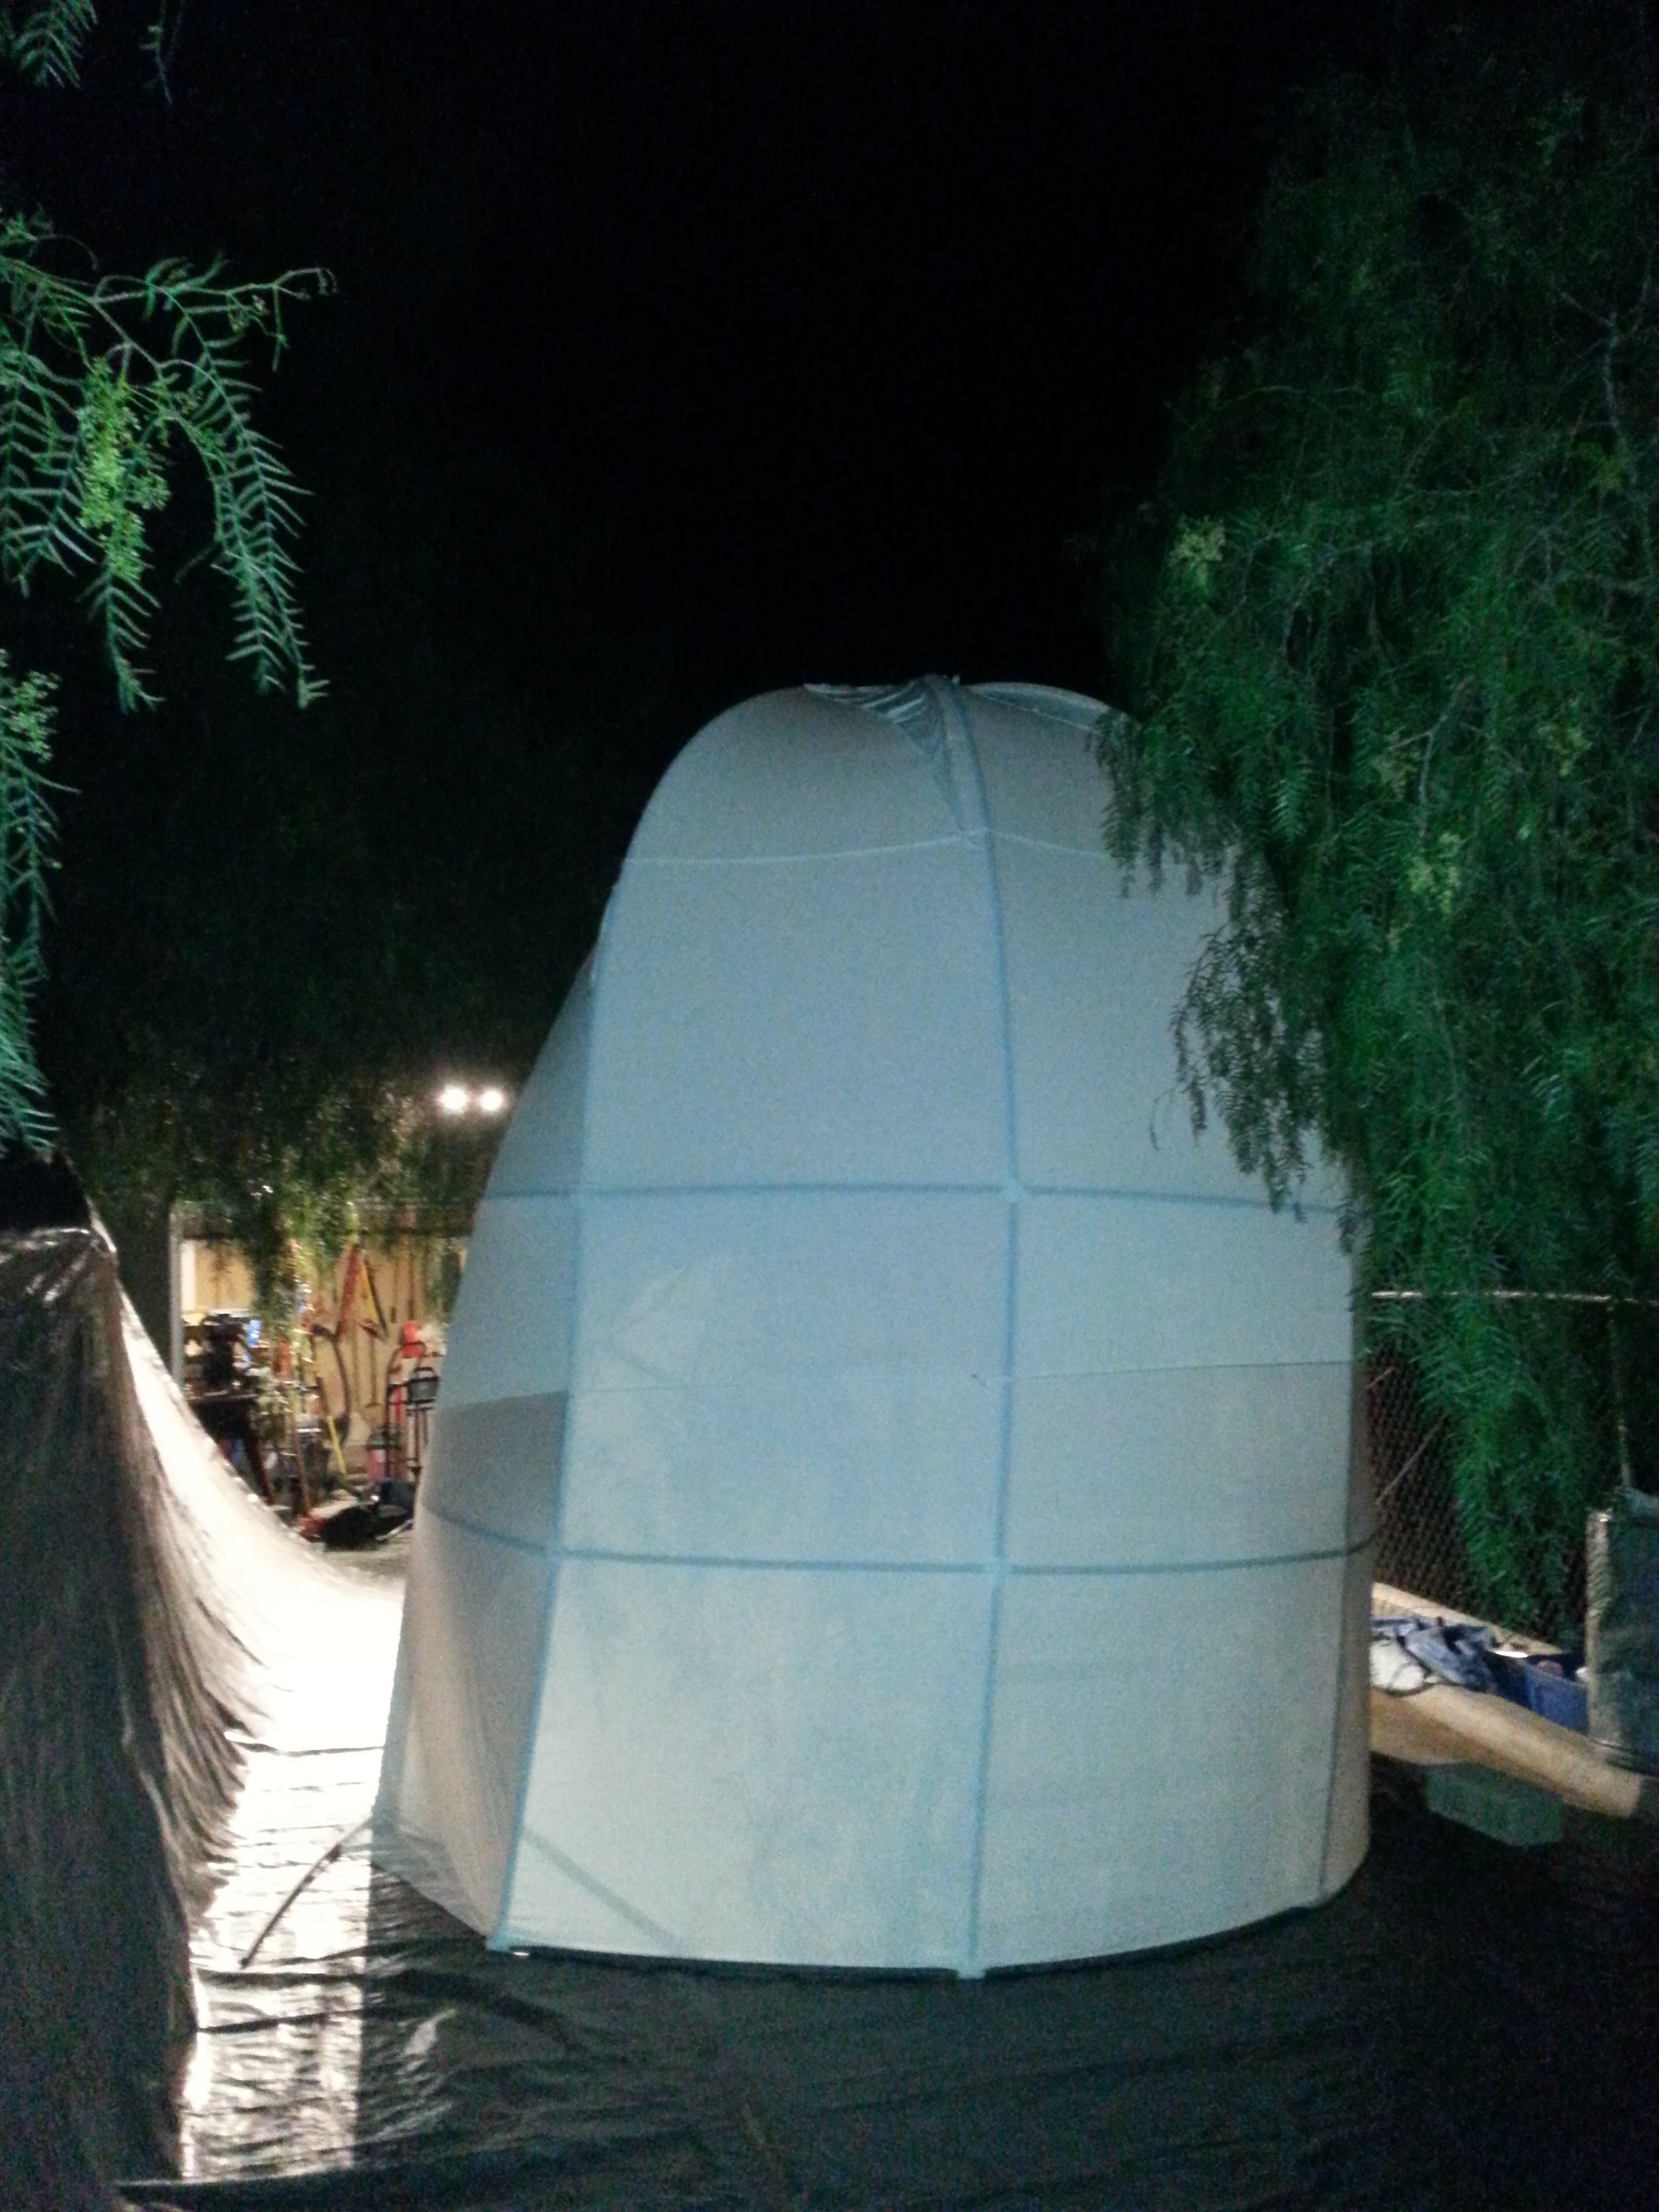
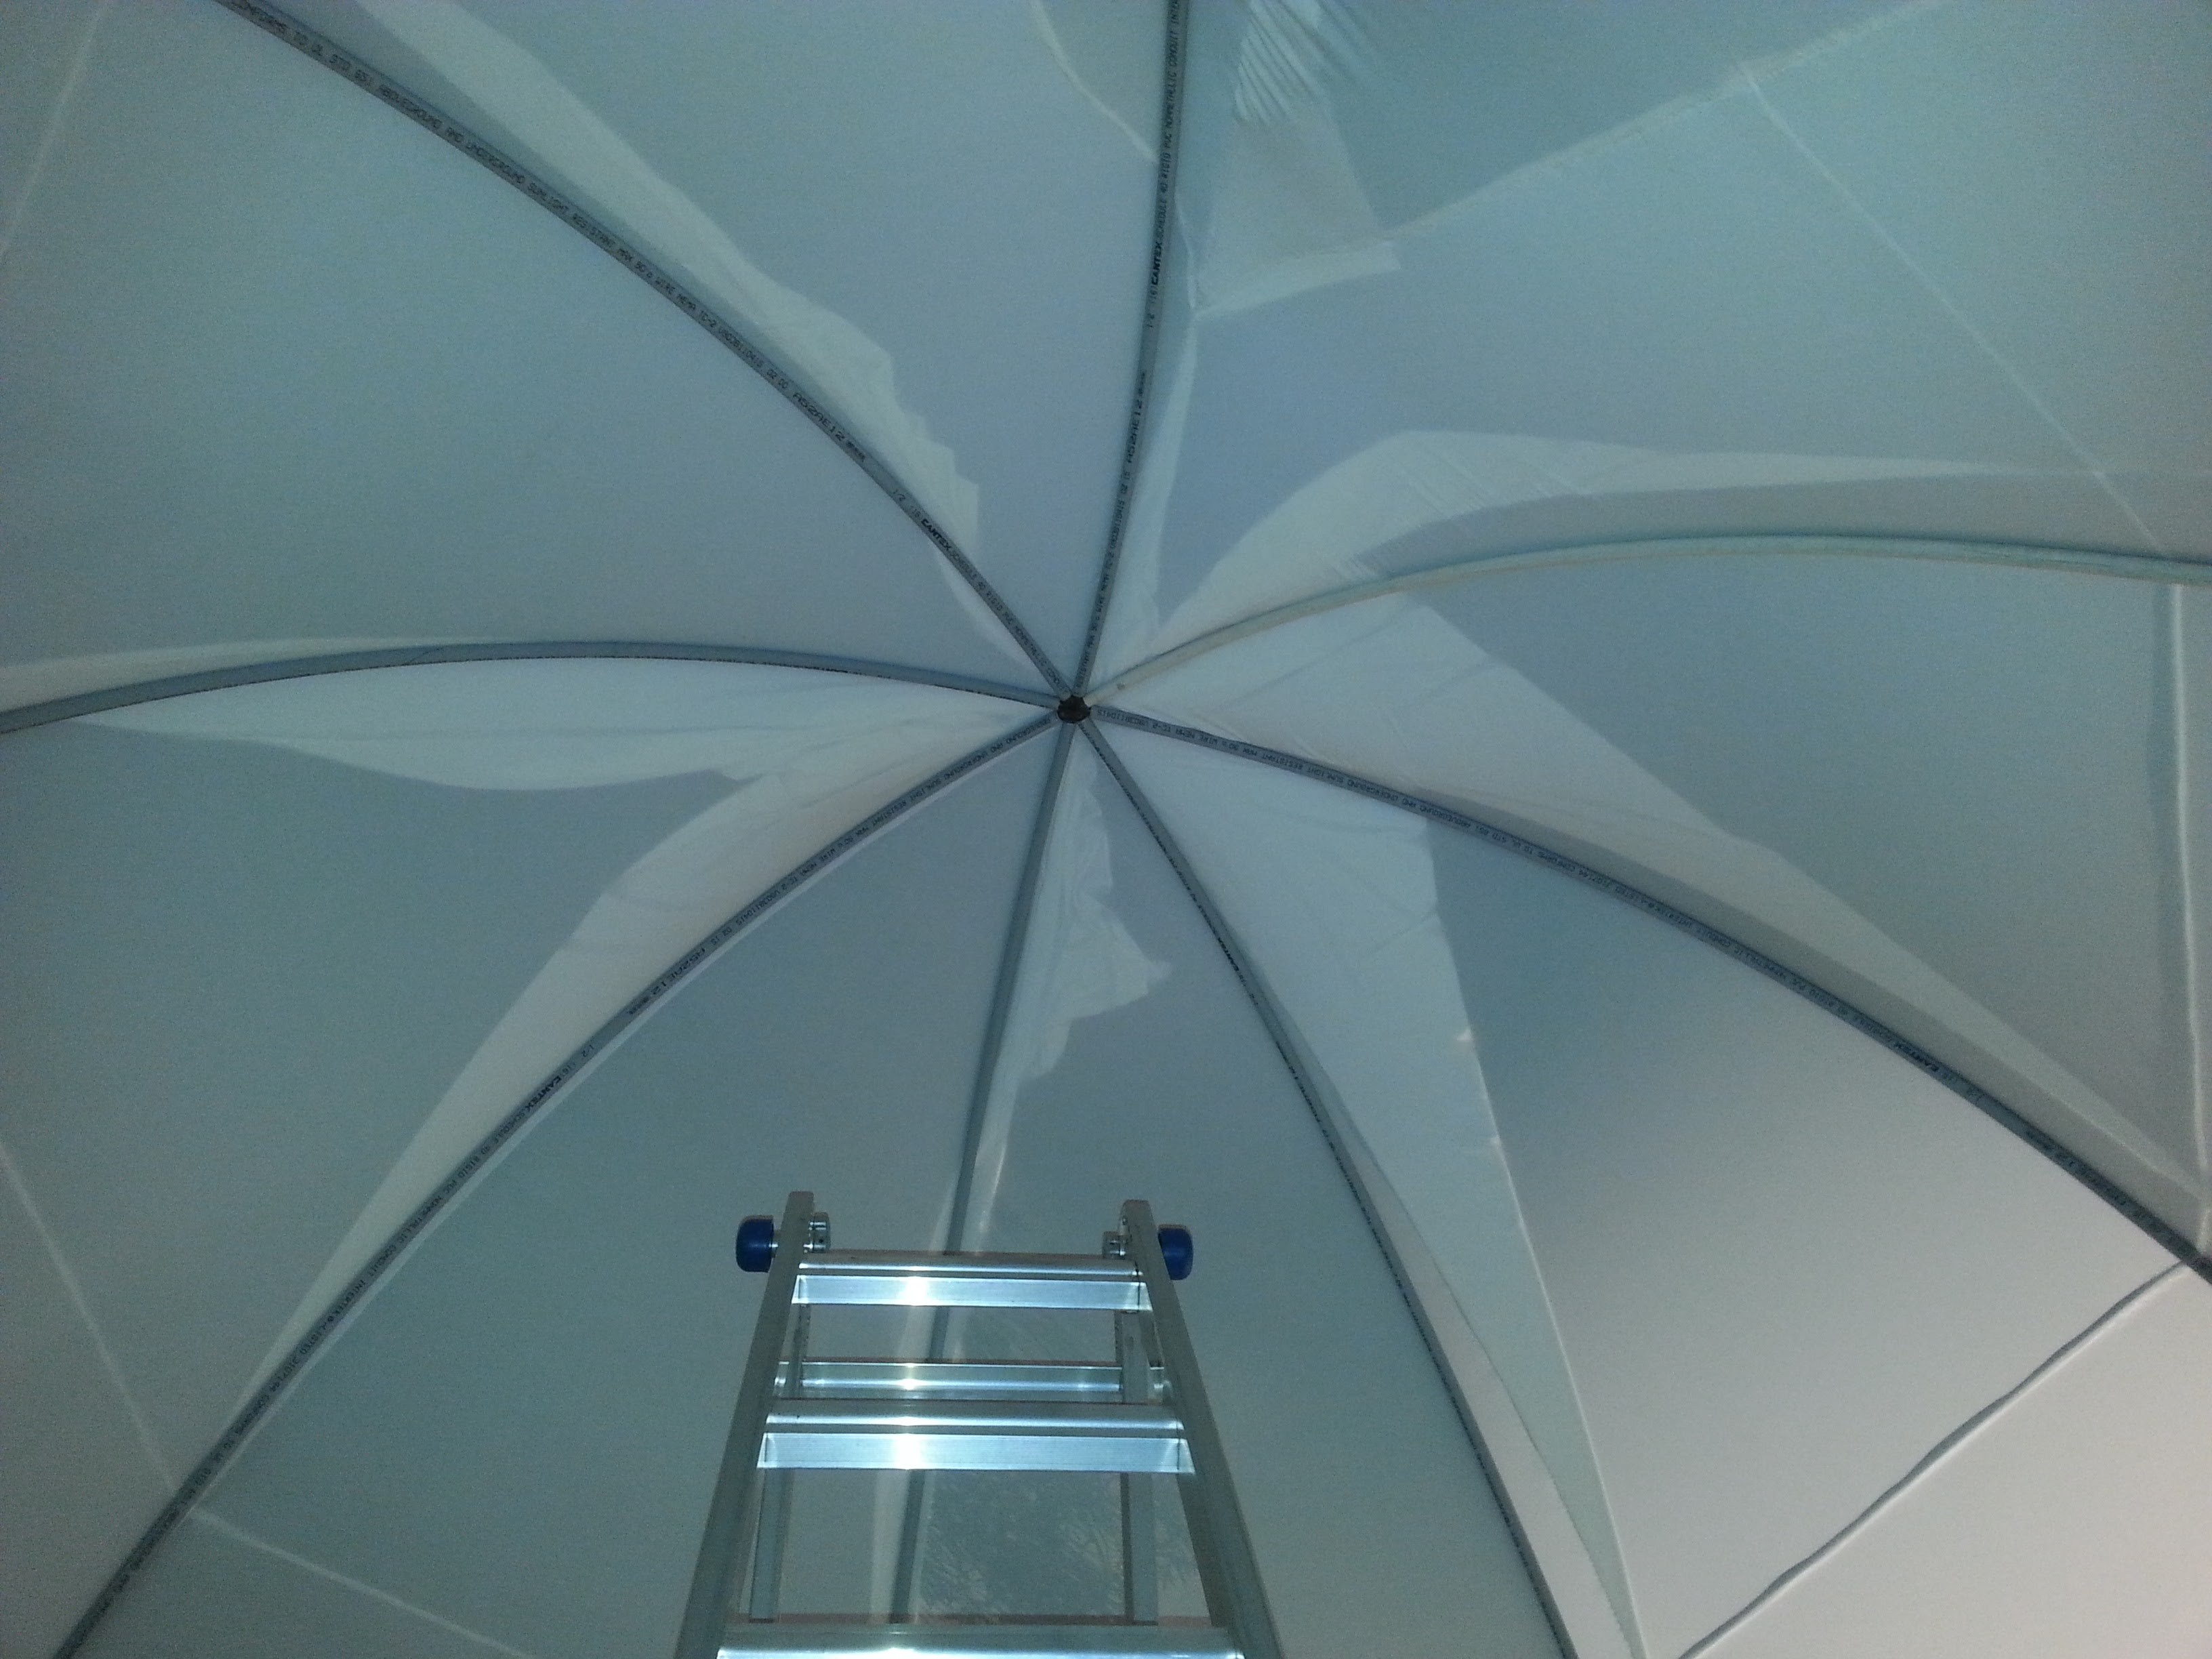
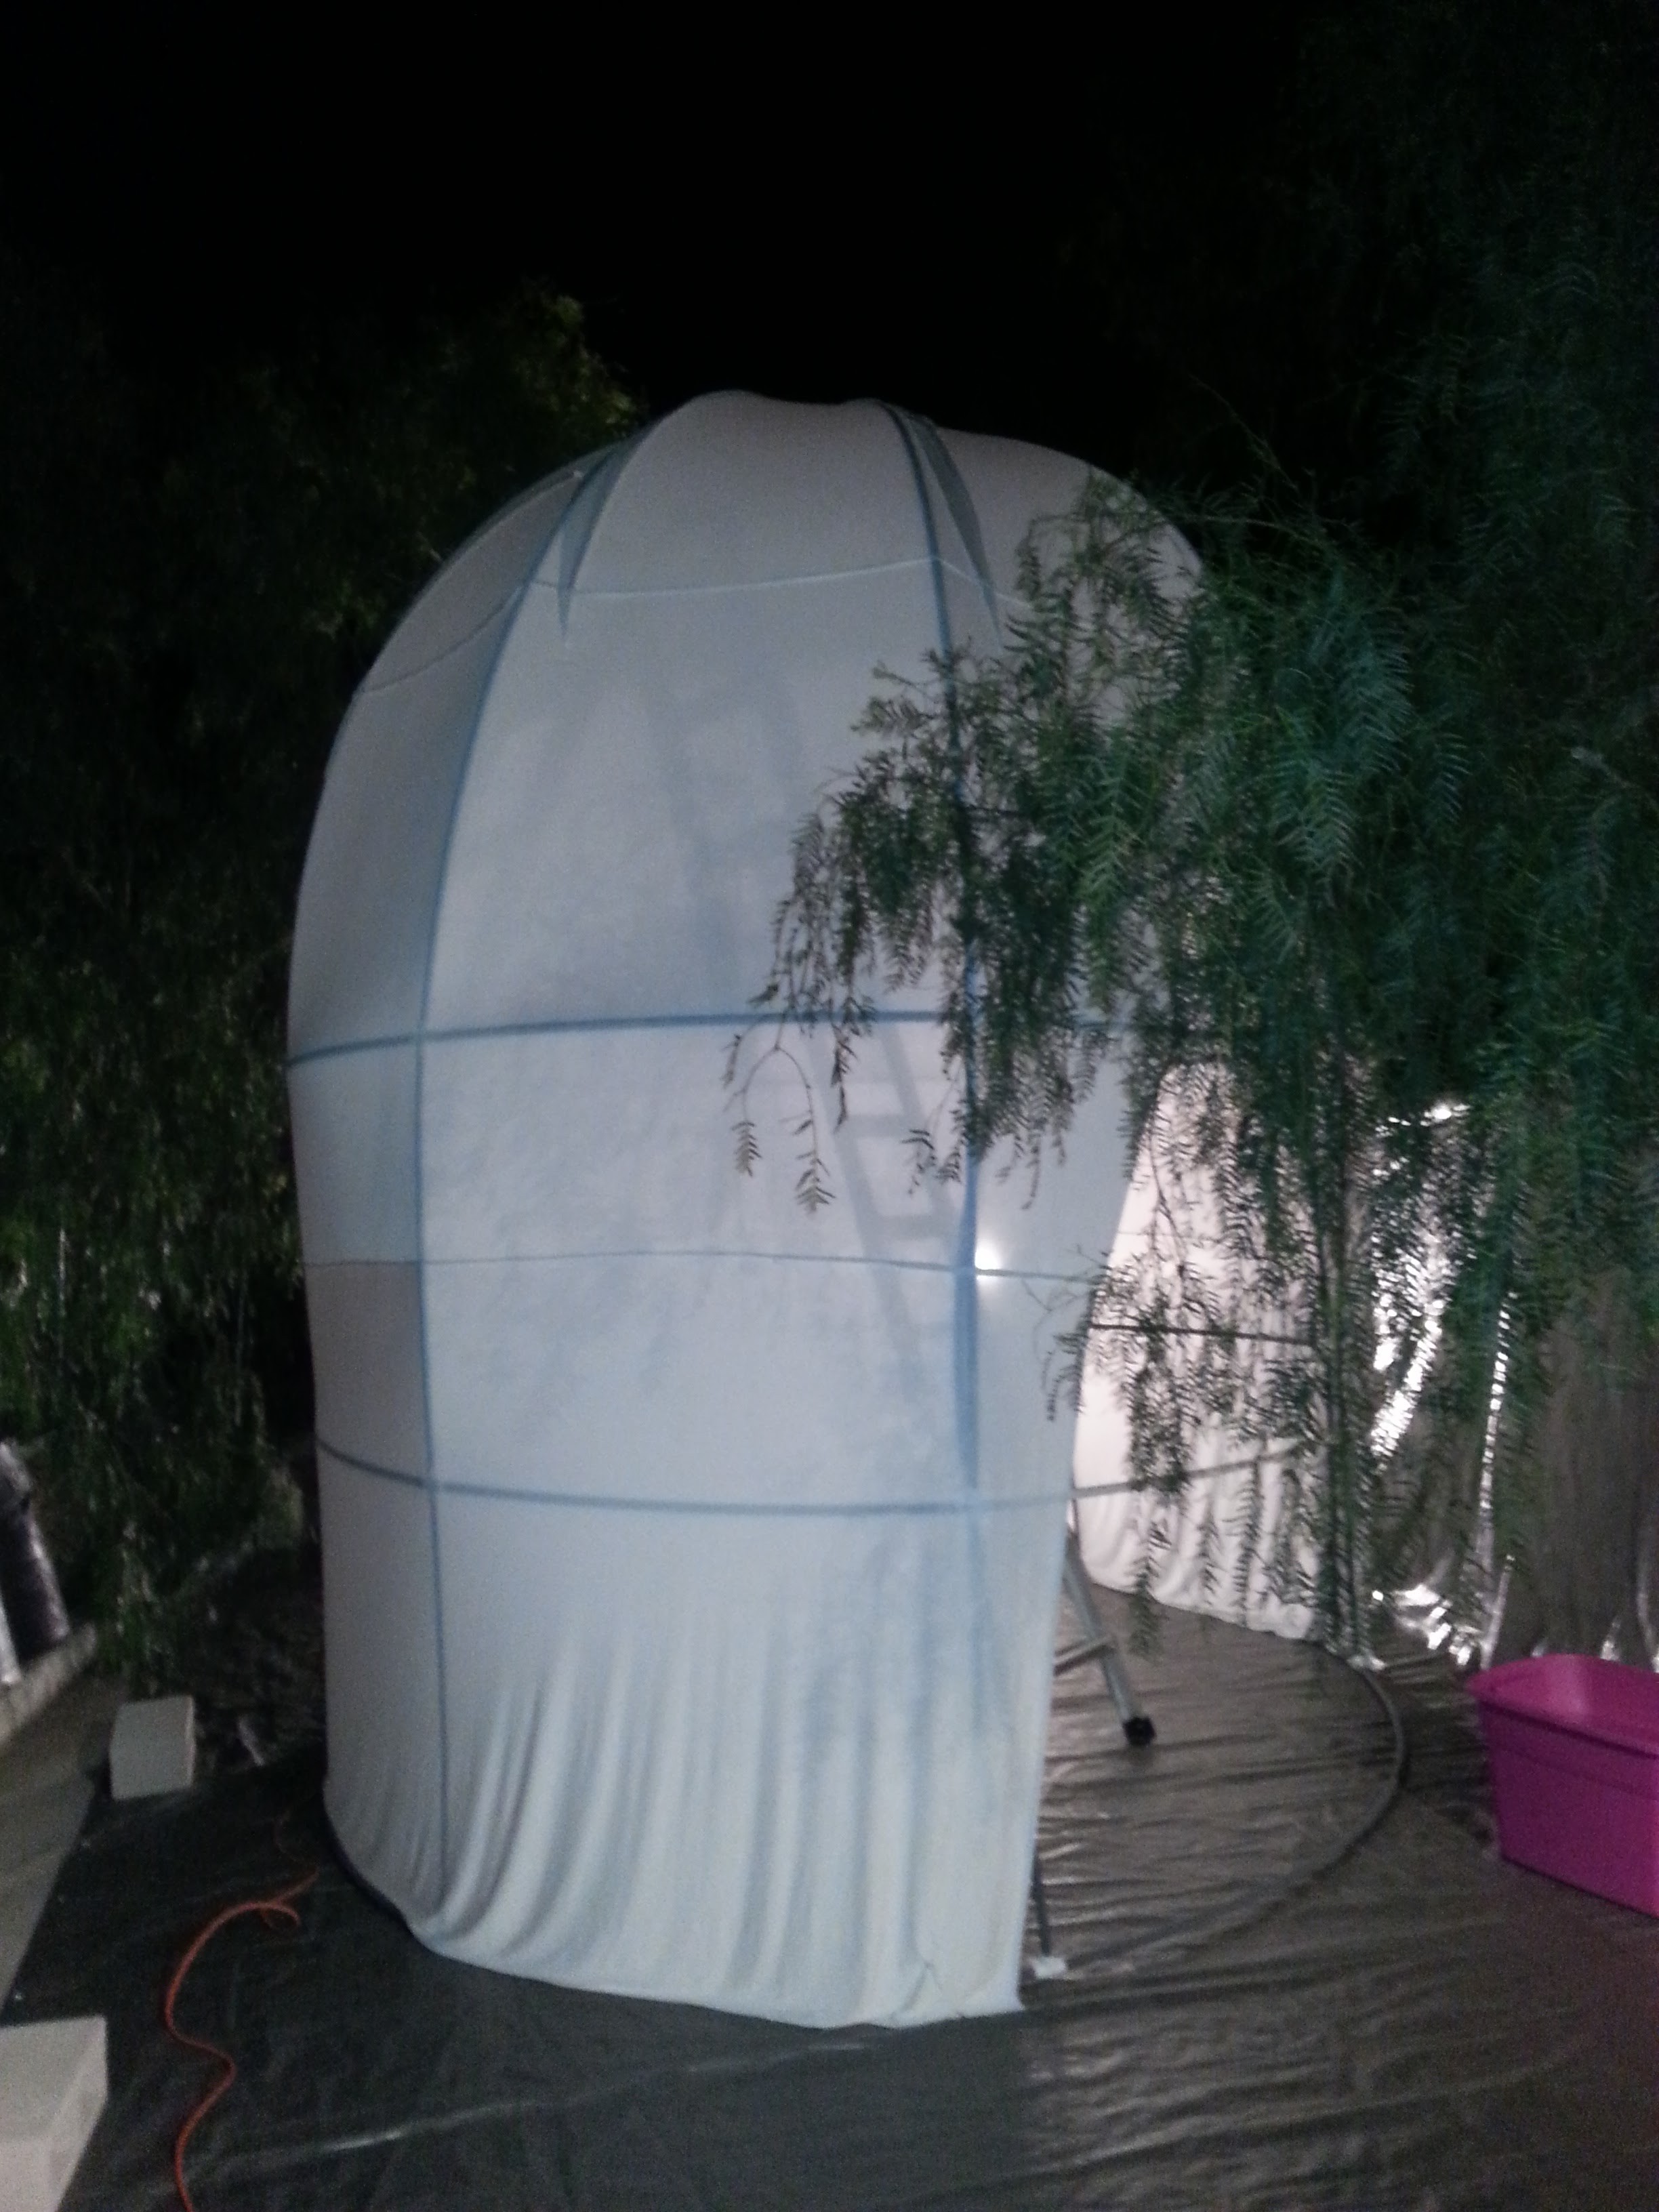
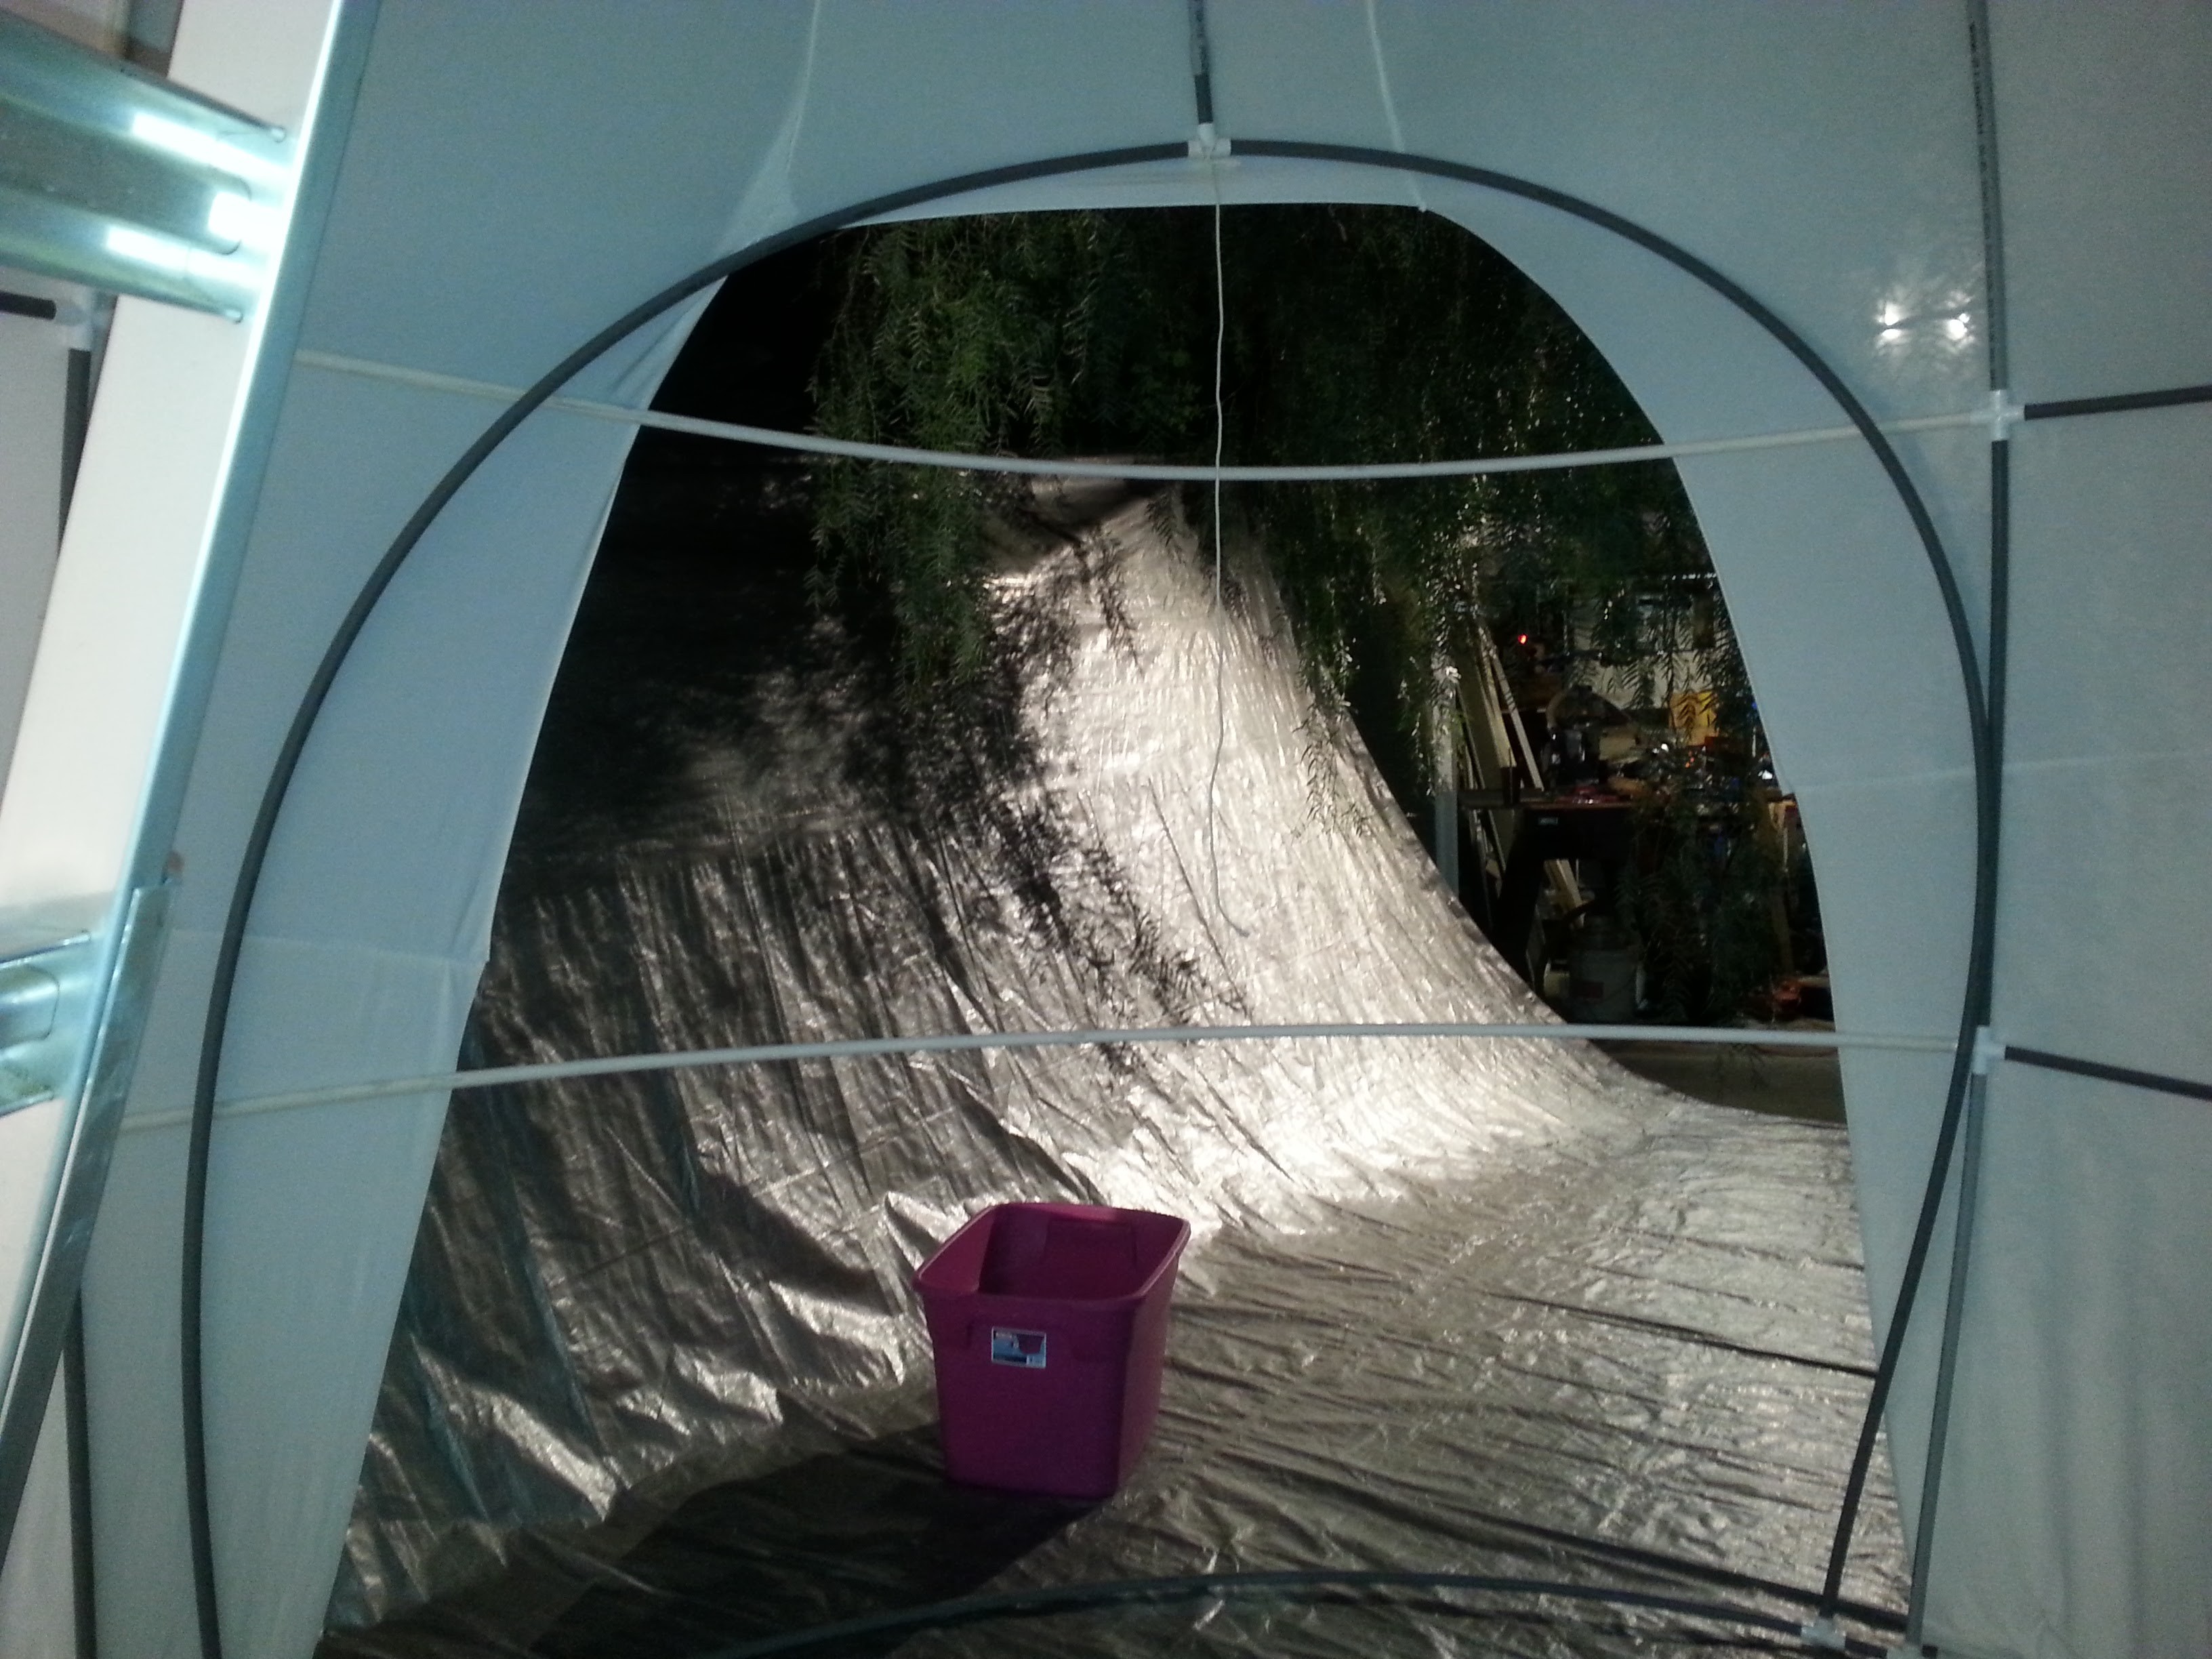

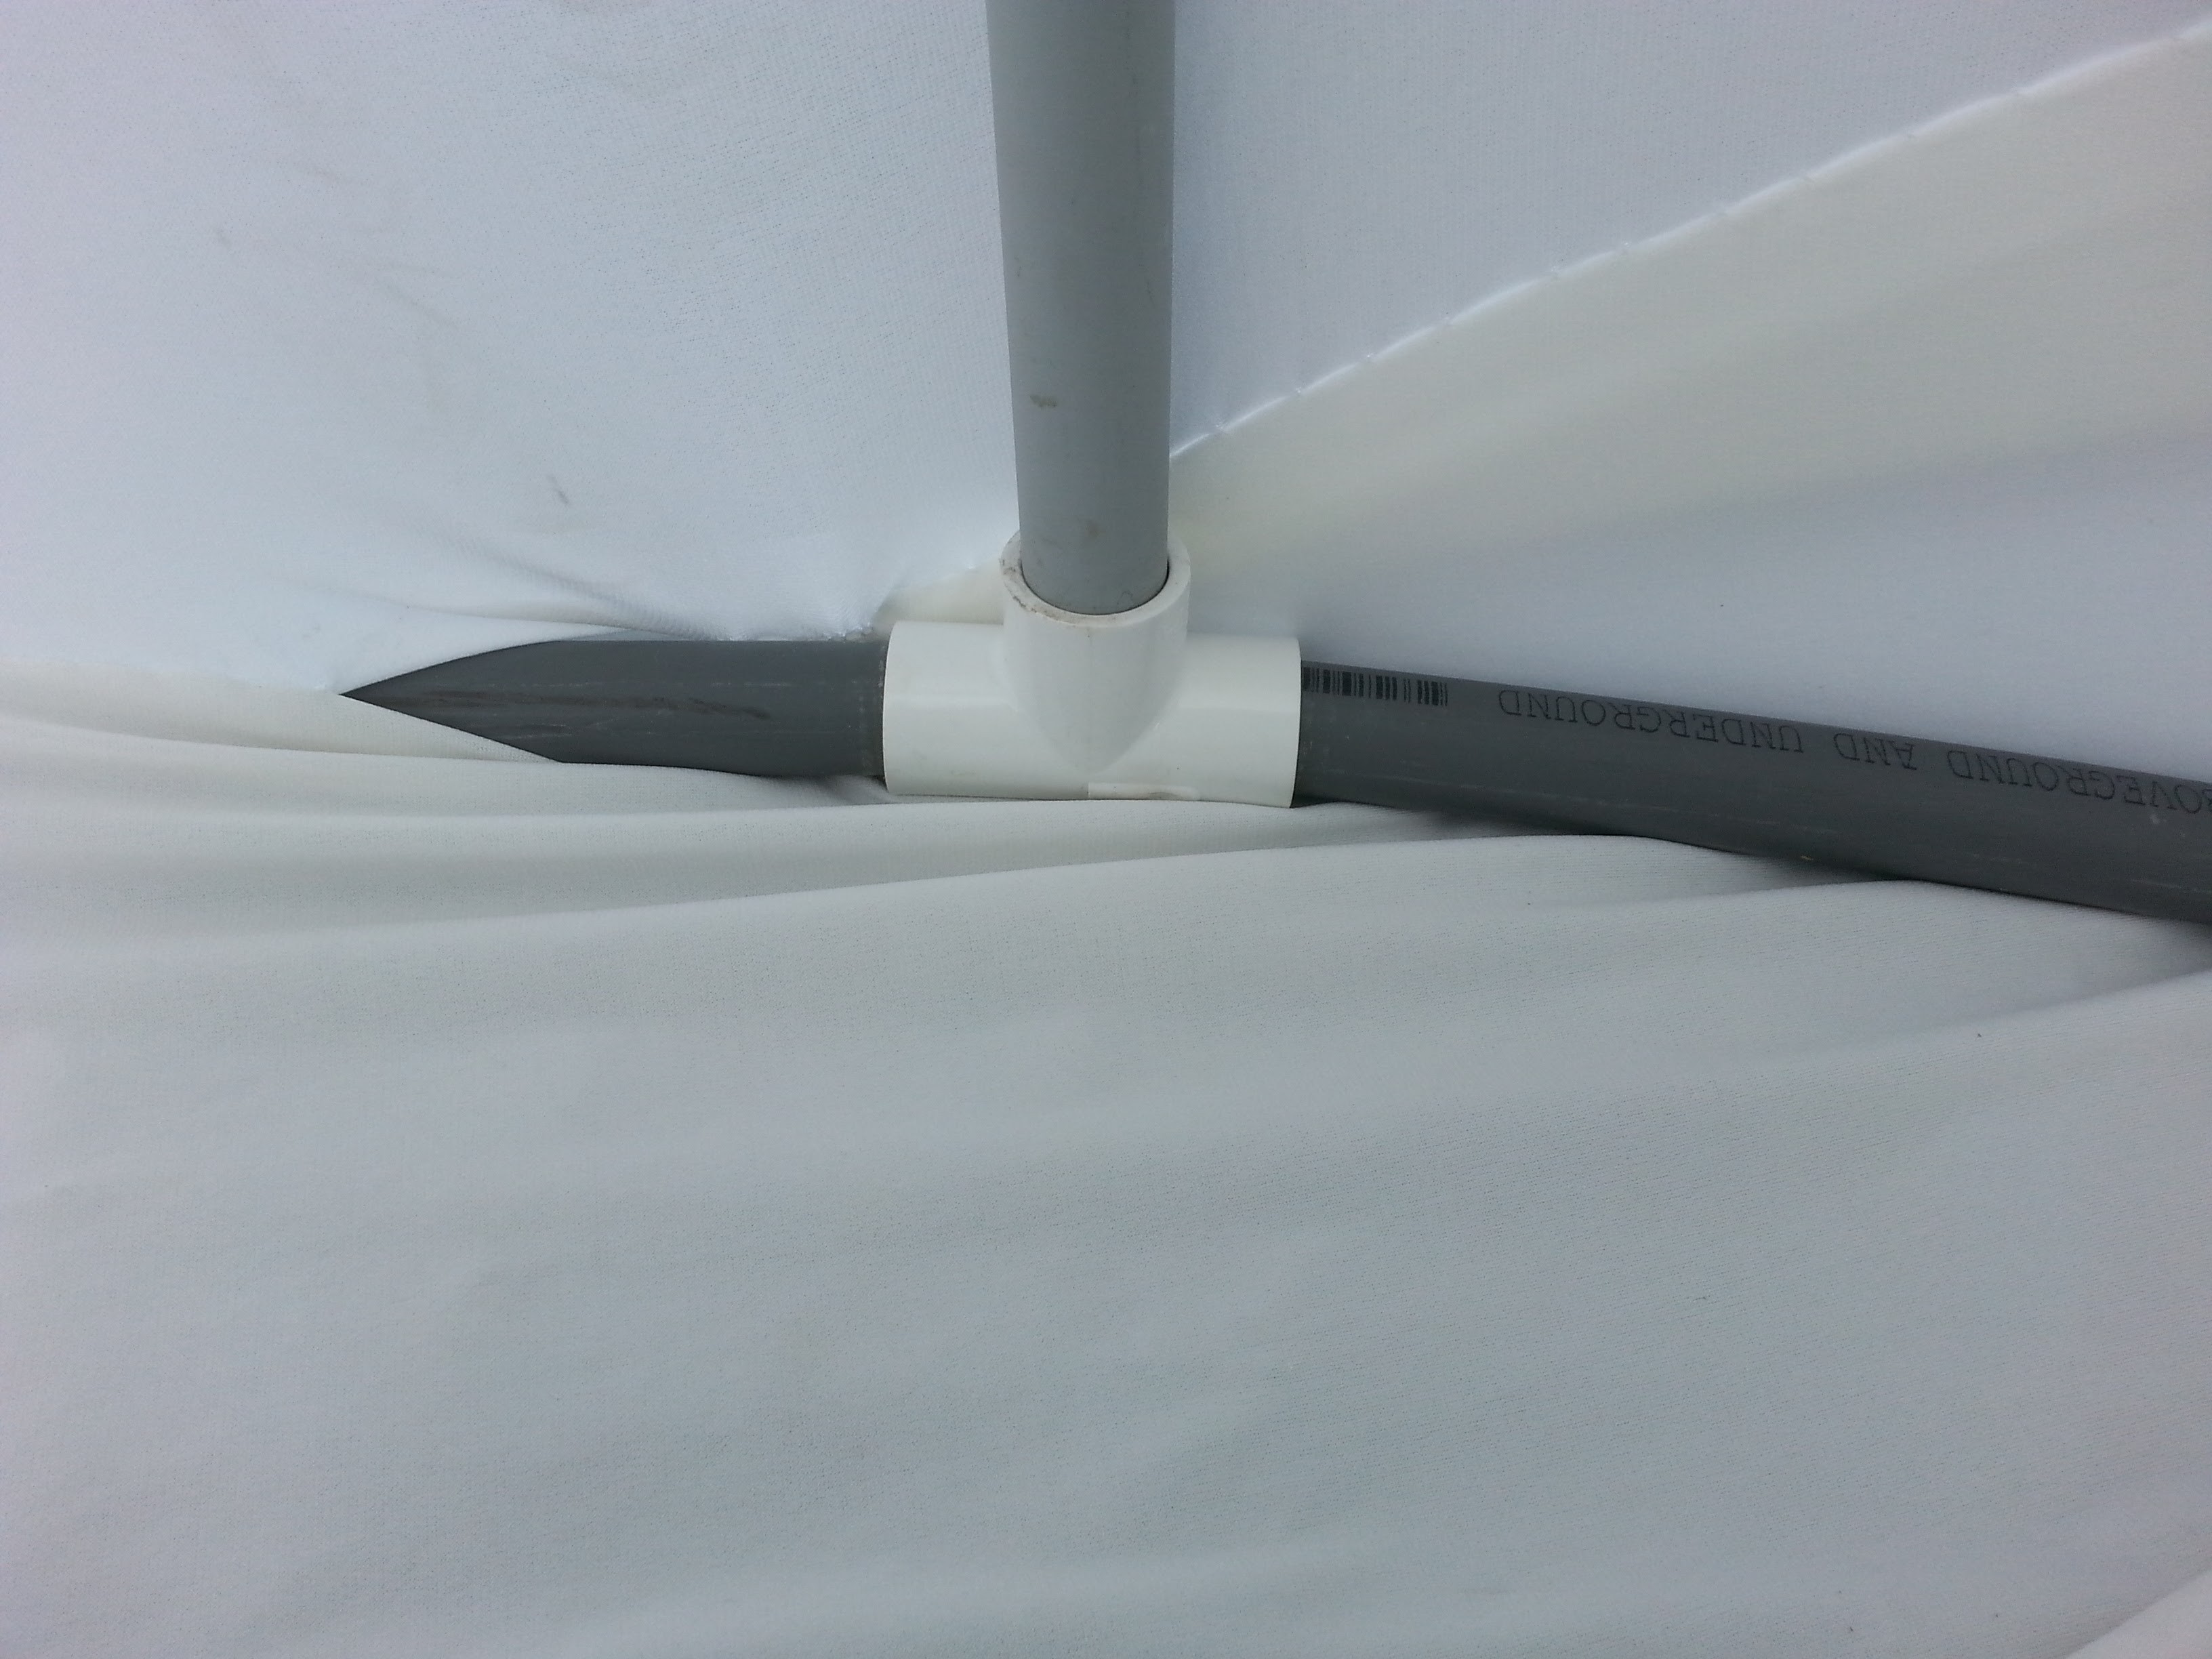
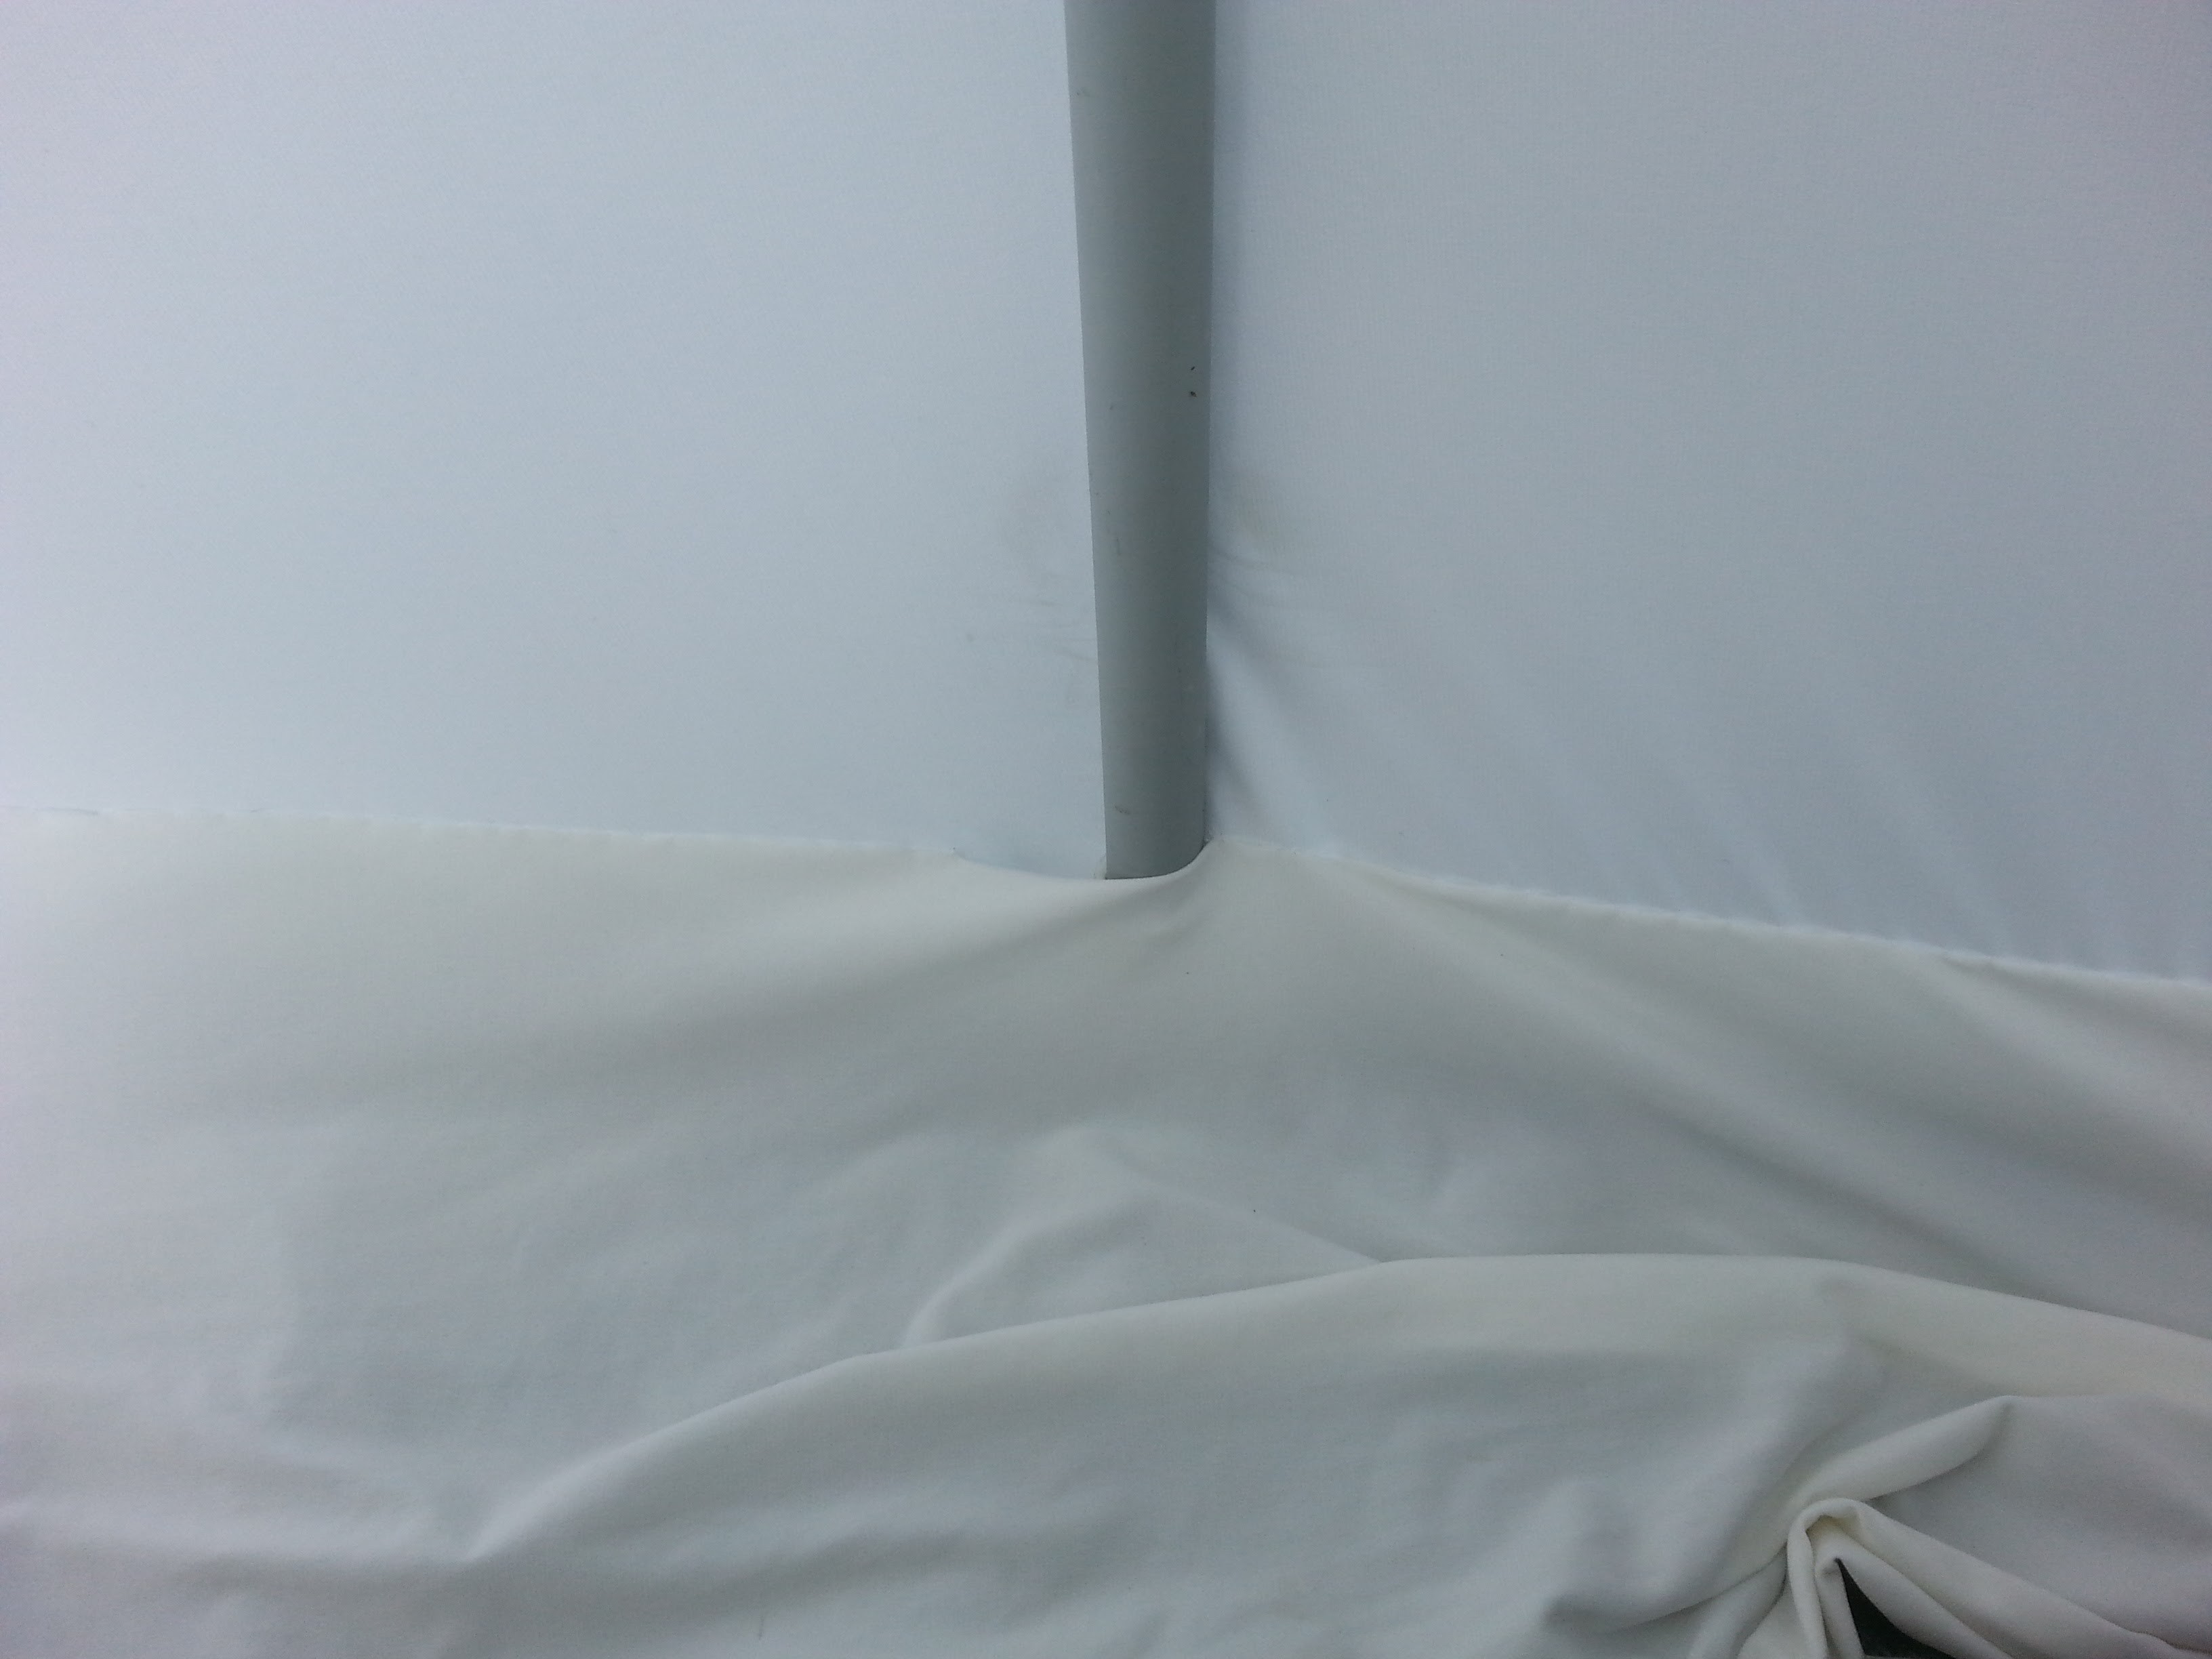
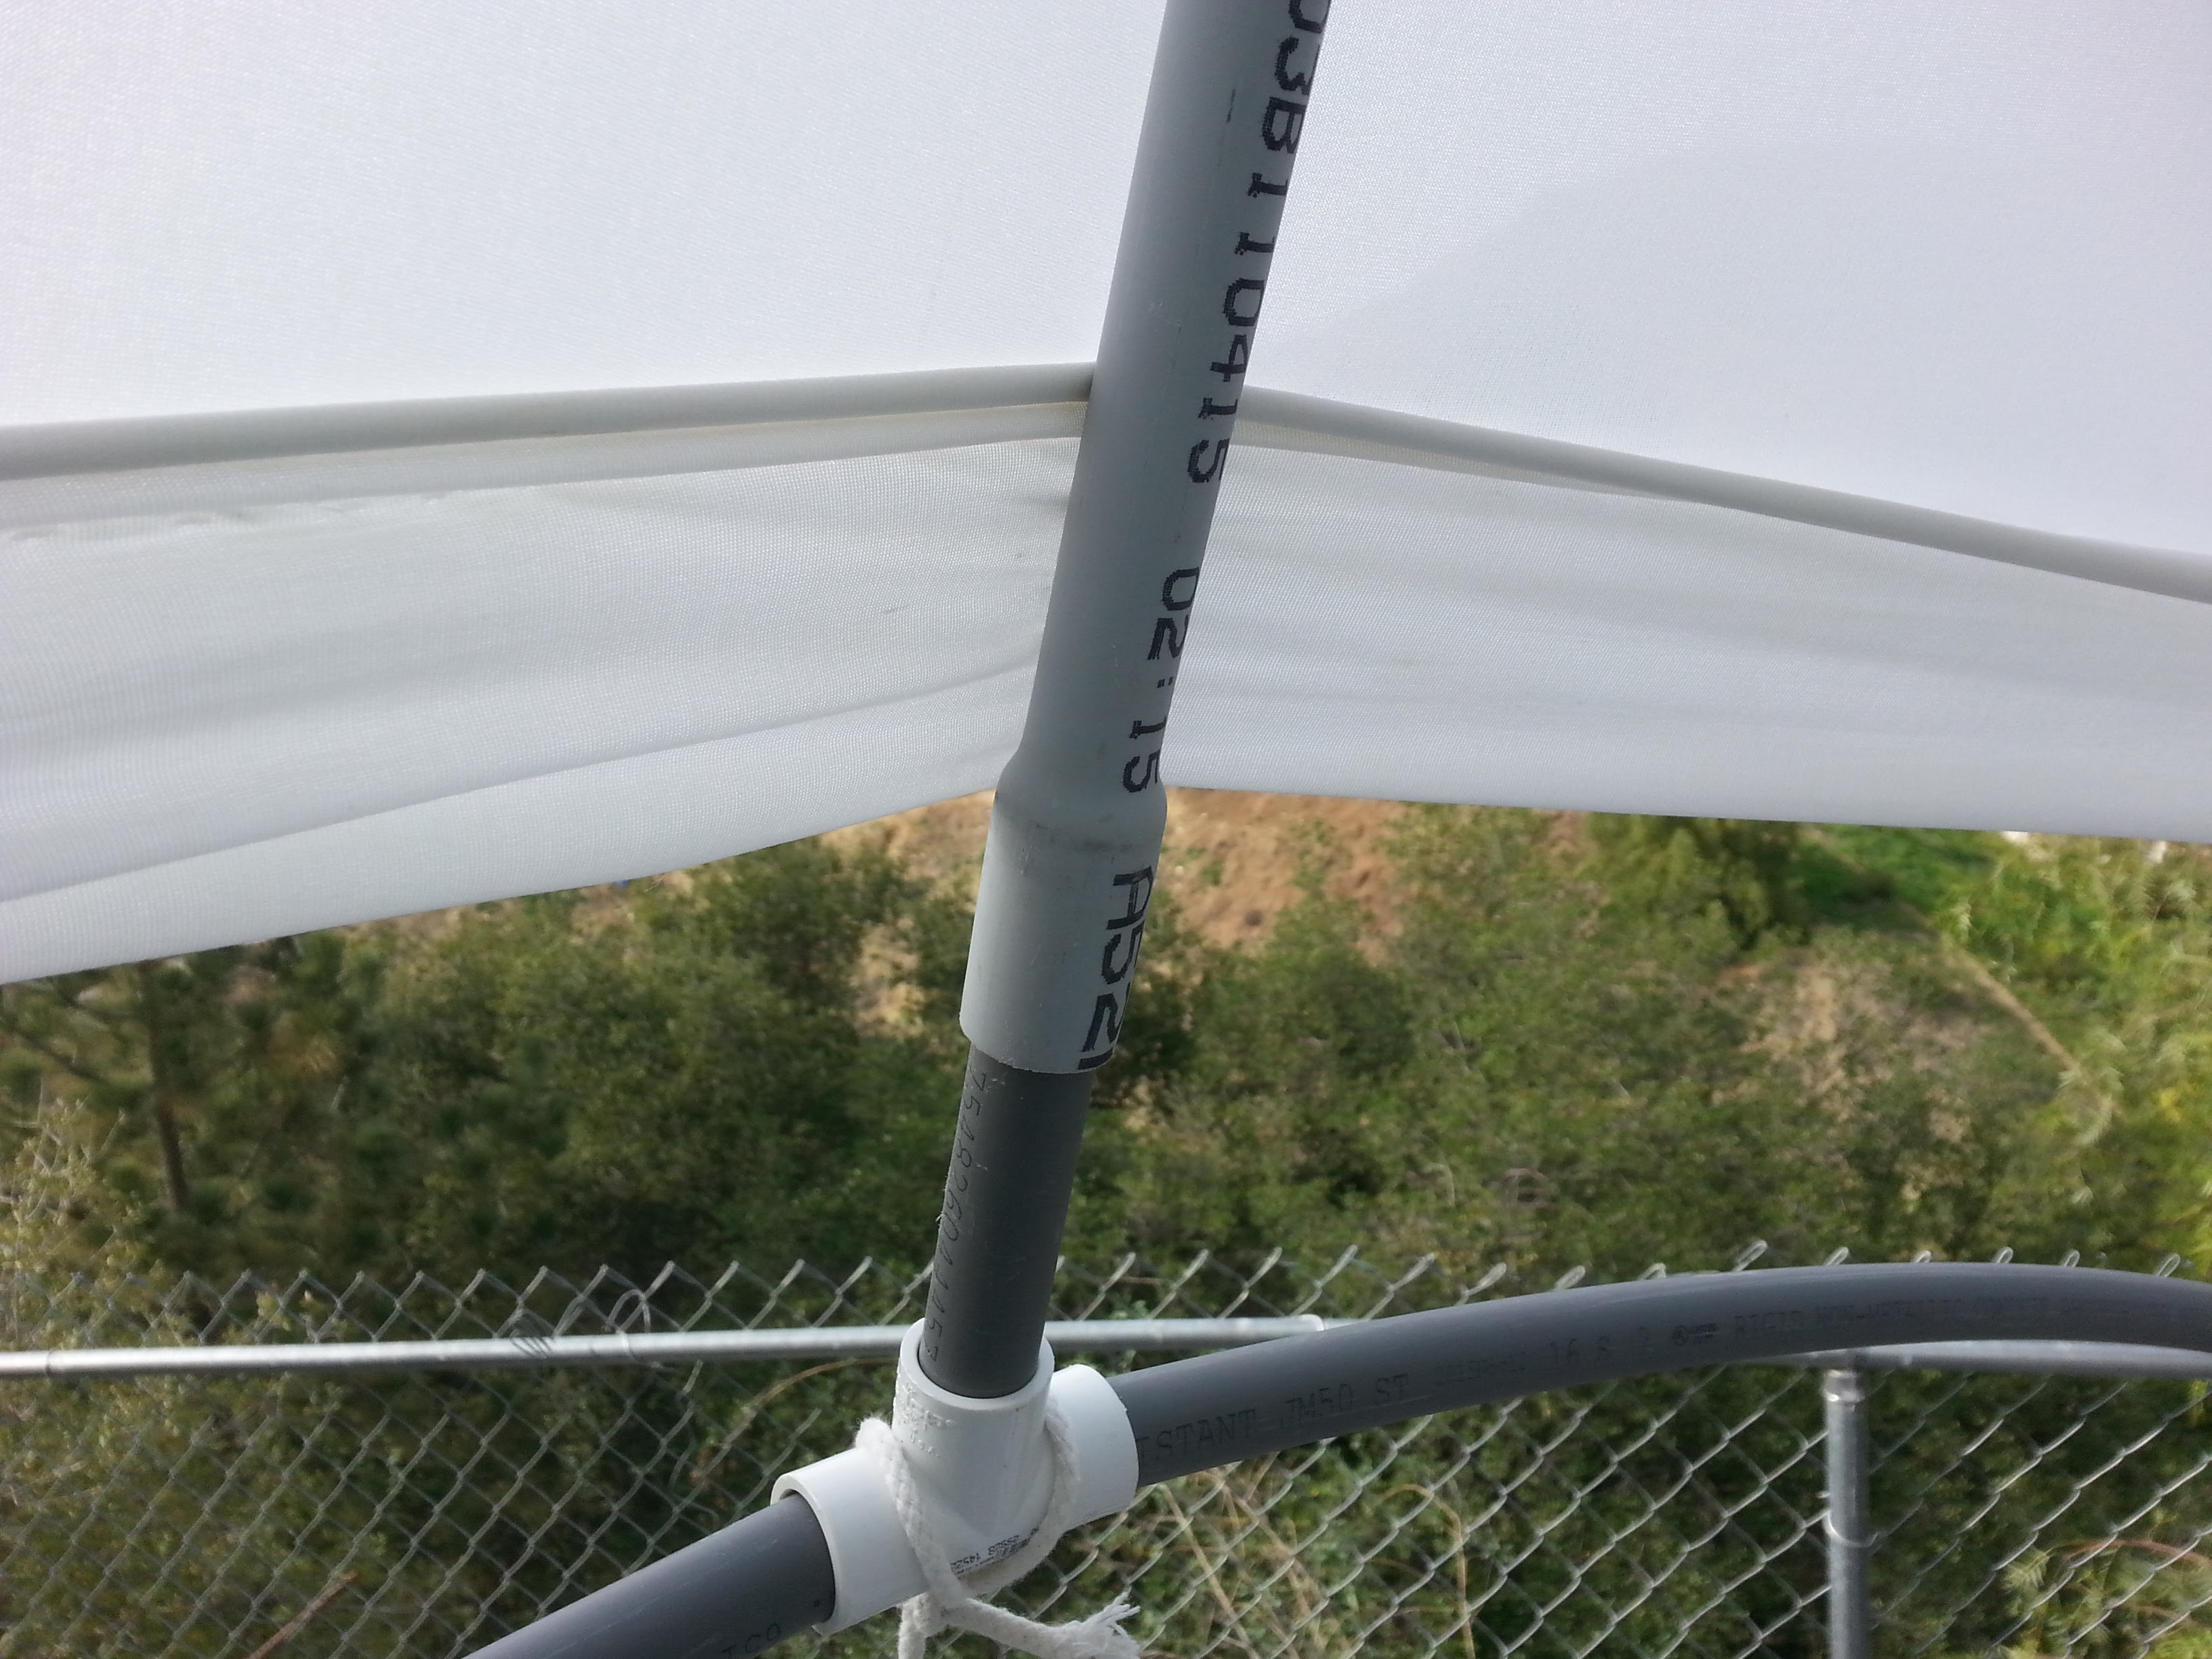
After sewing the door, I realized that I didn't leave a hole for the center tube.
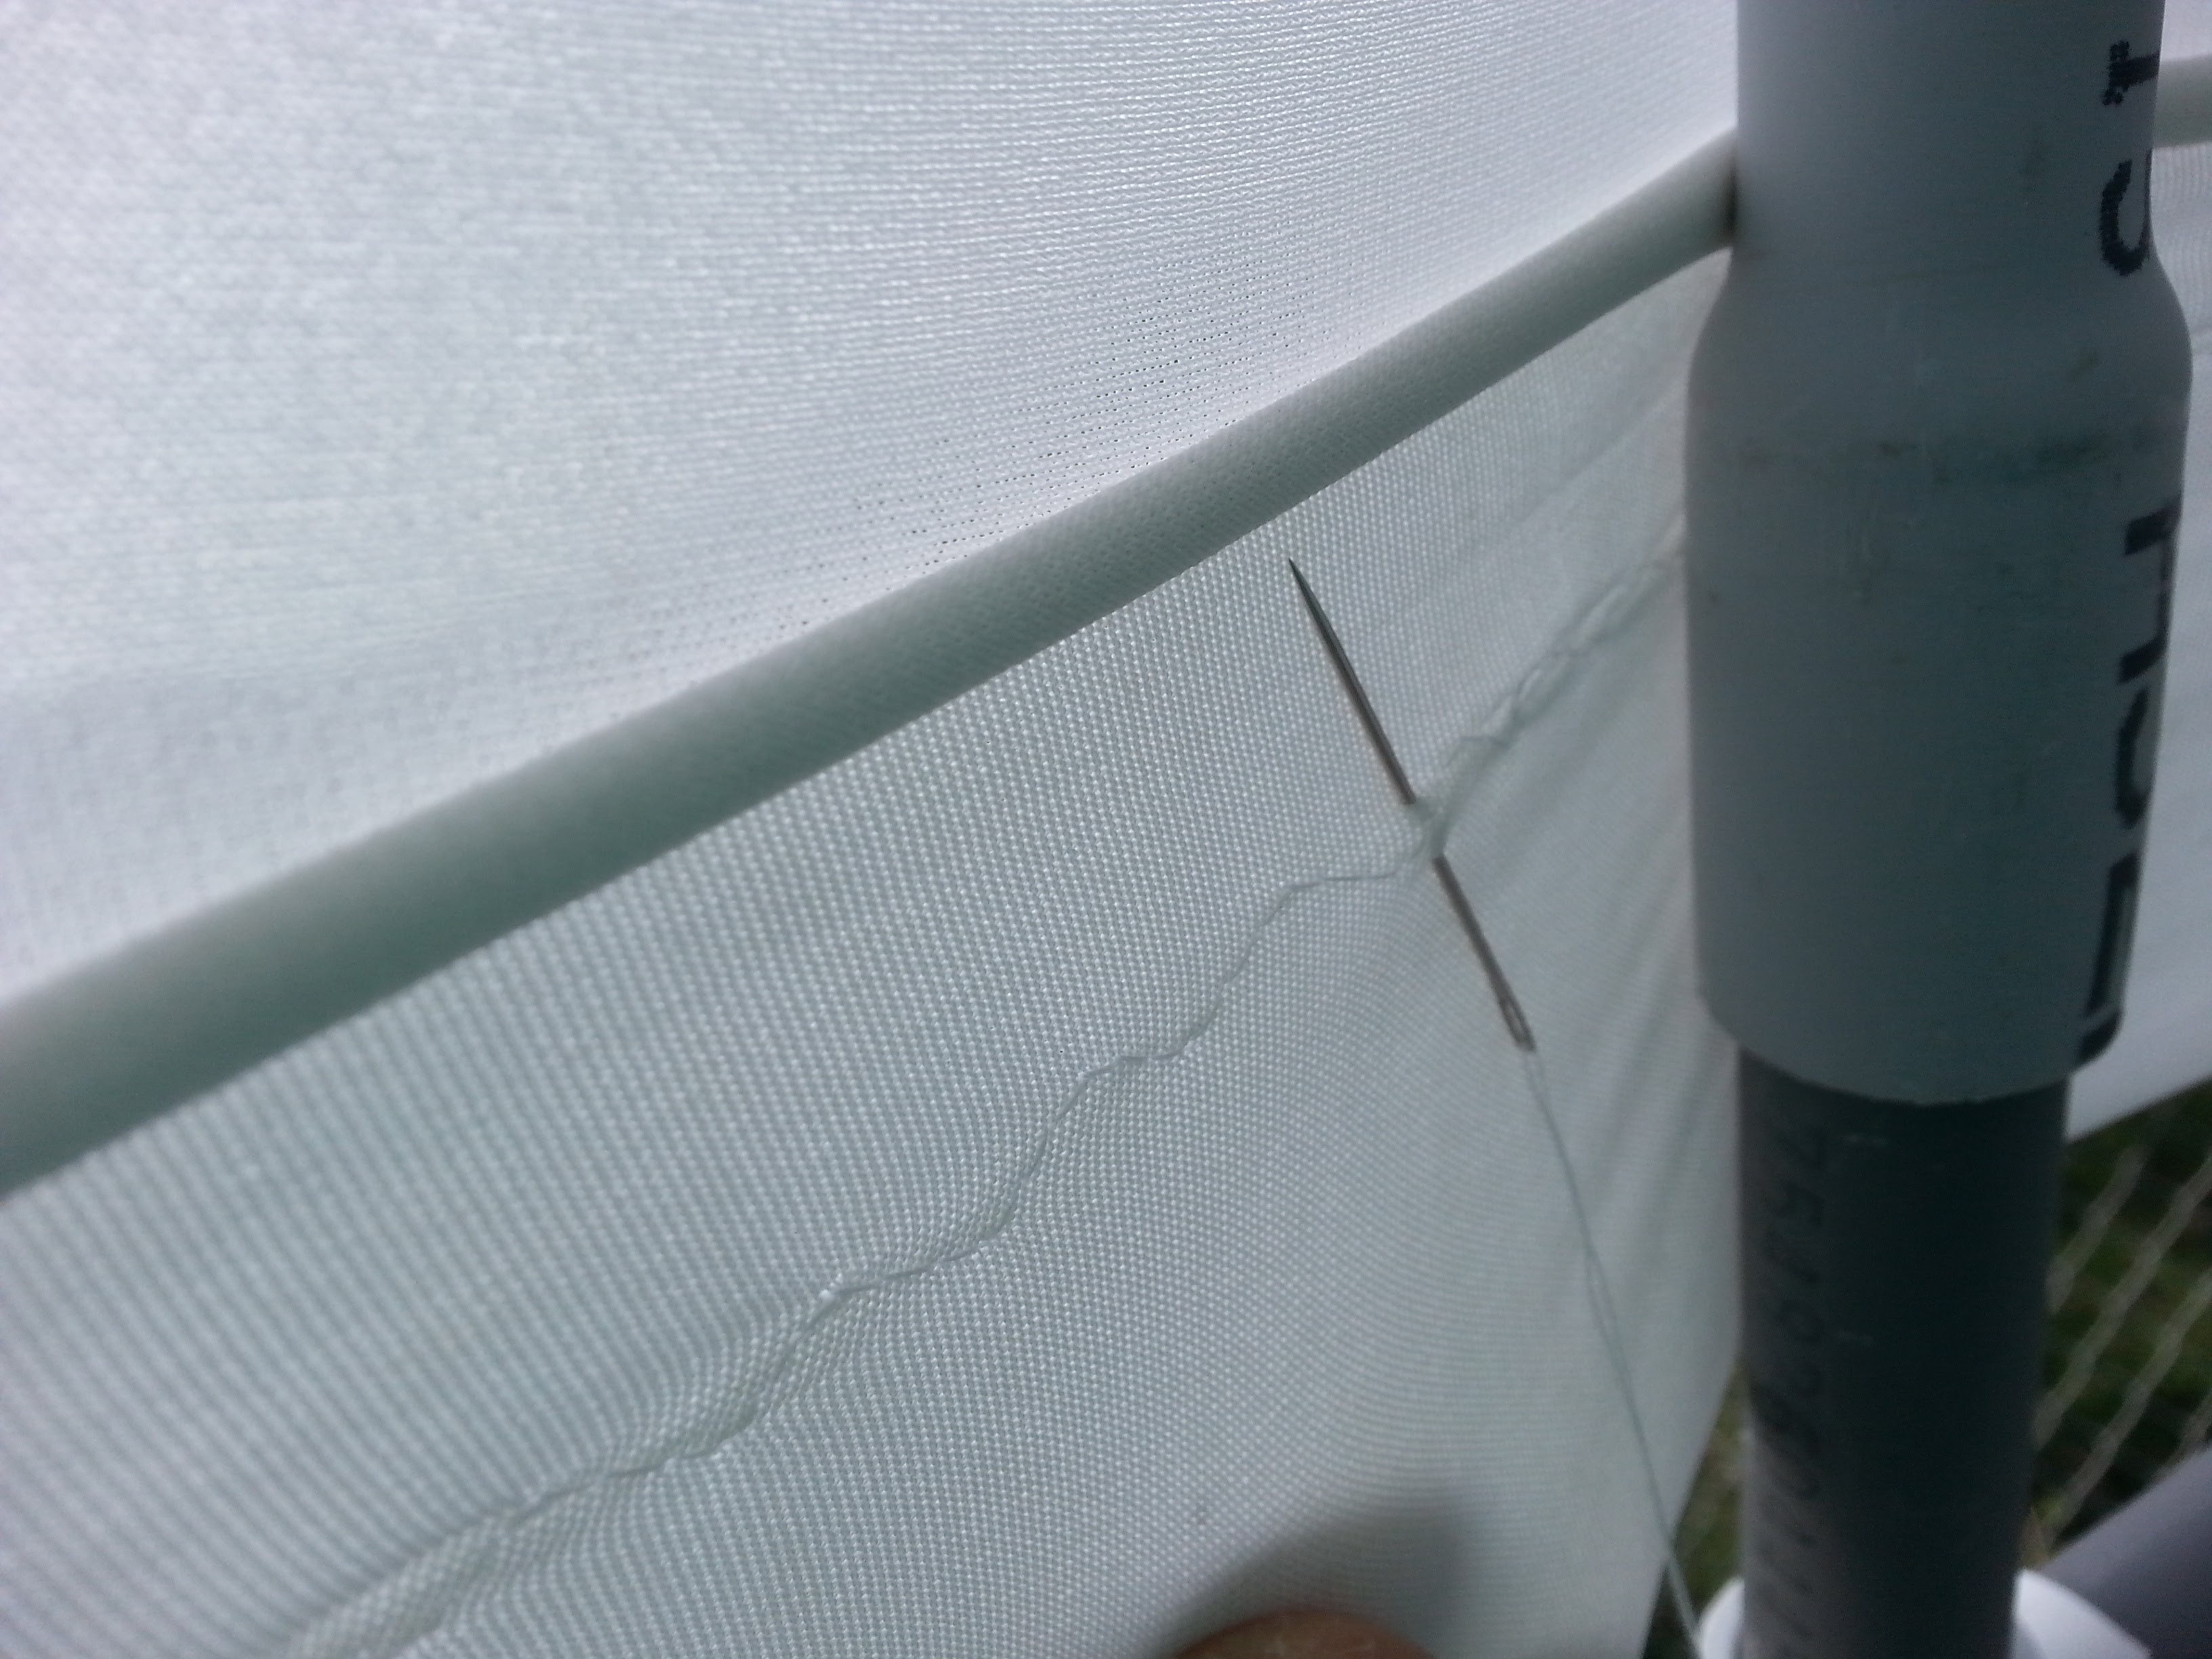
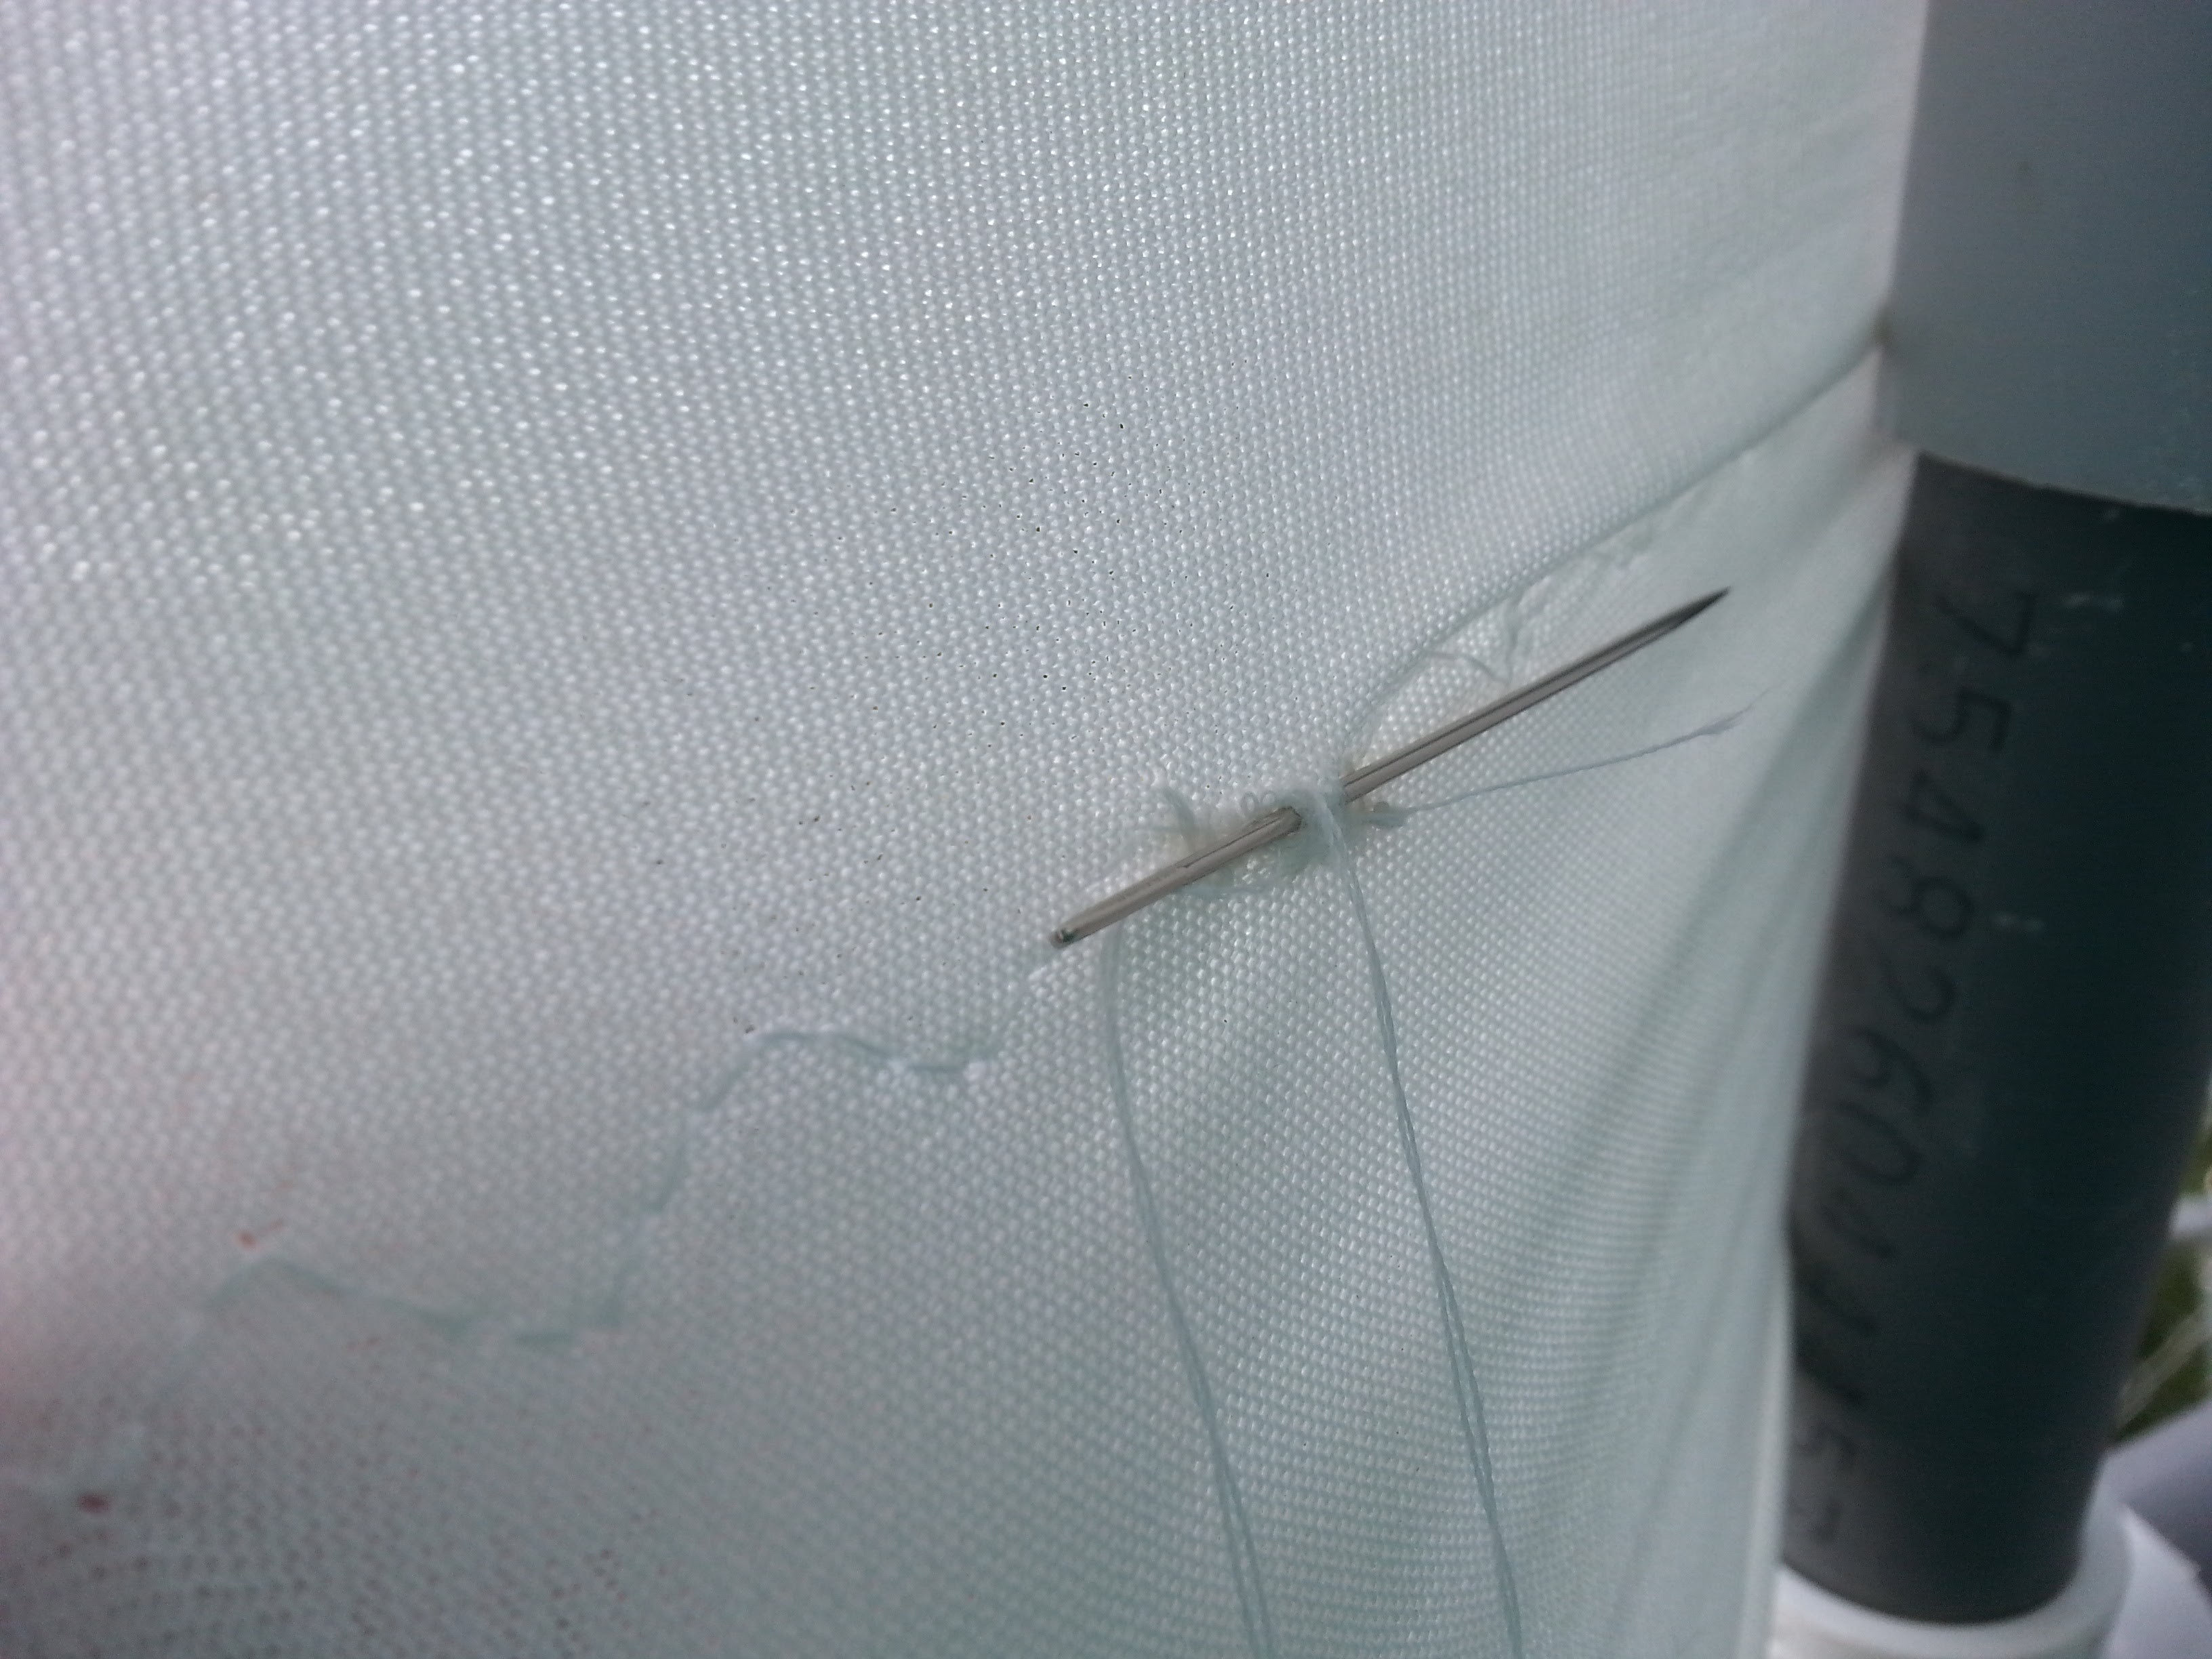
So I sew on each side of the stitch to make sure it won't come apart when I remove the center stitches.

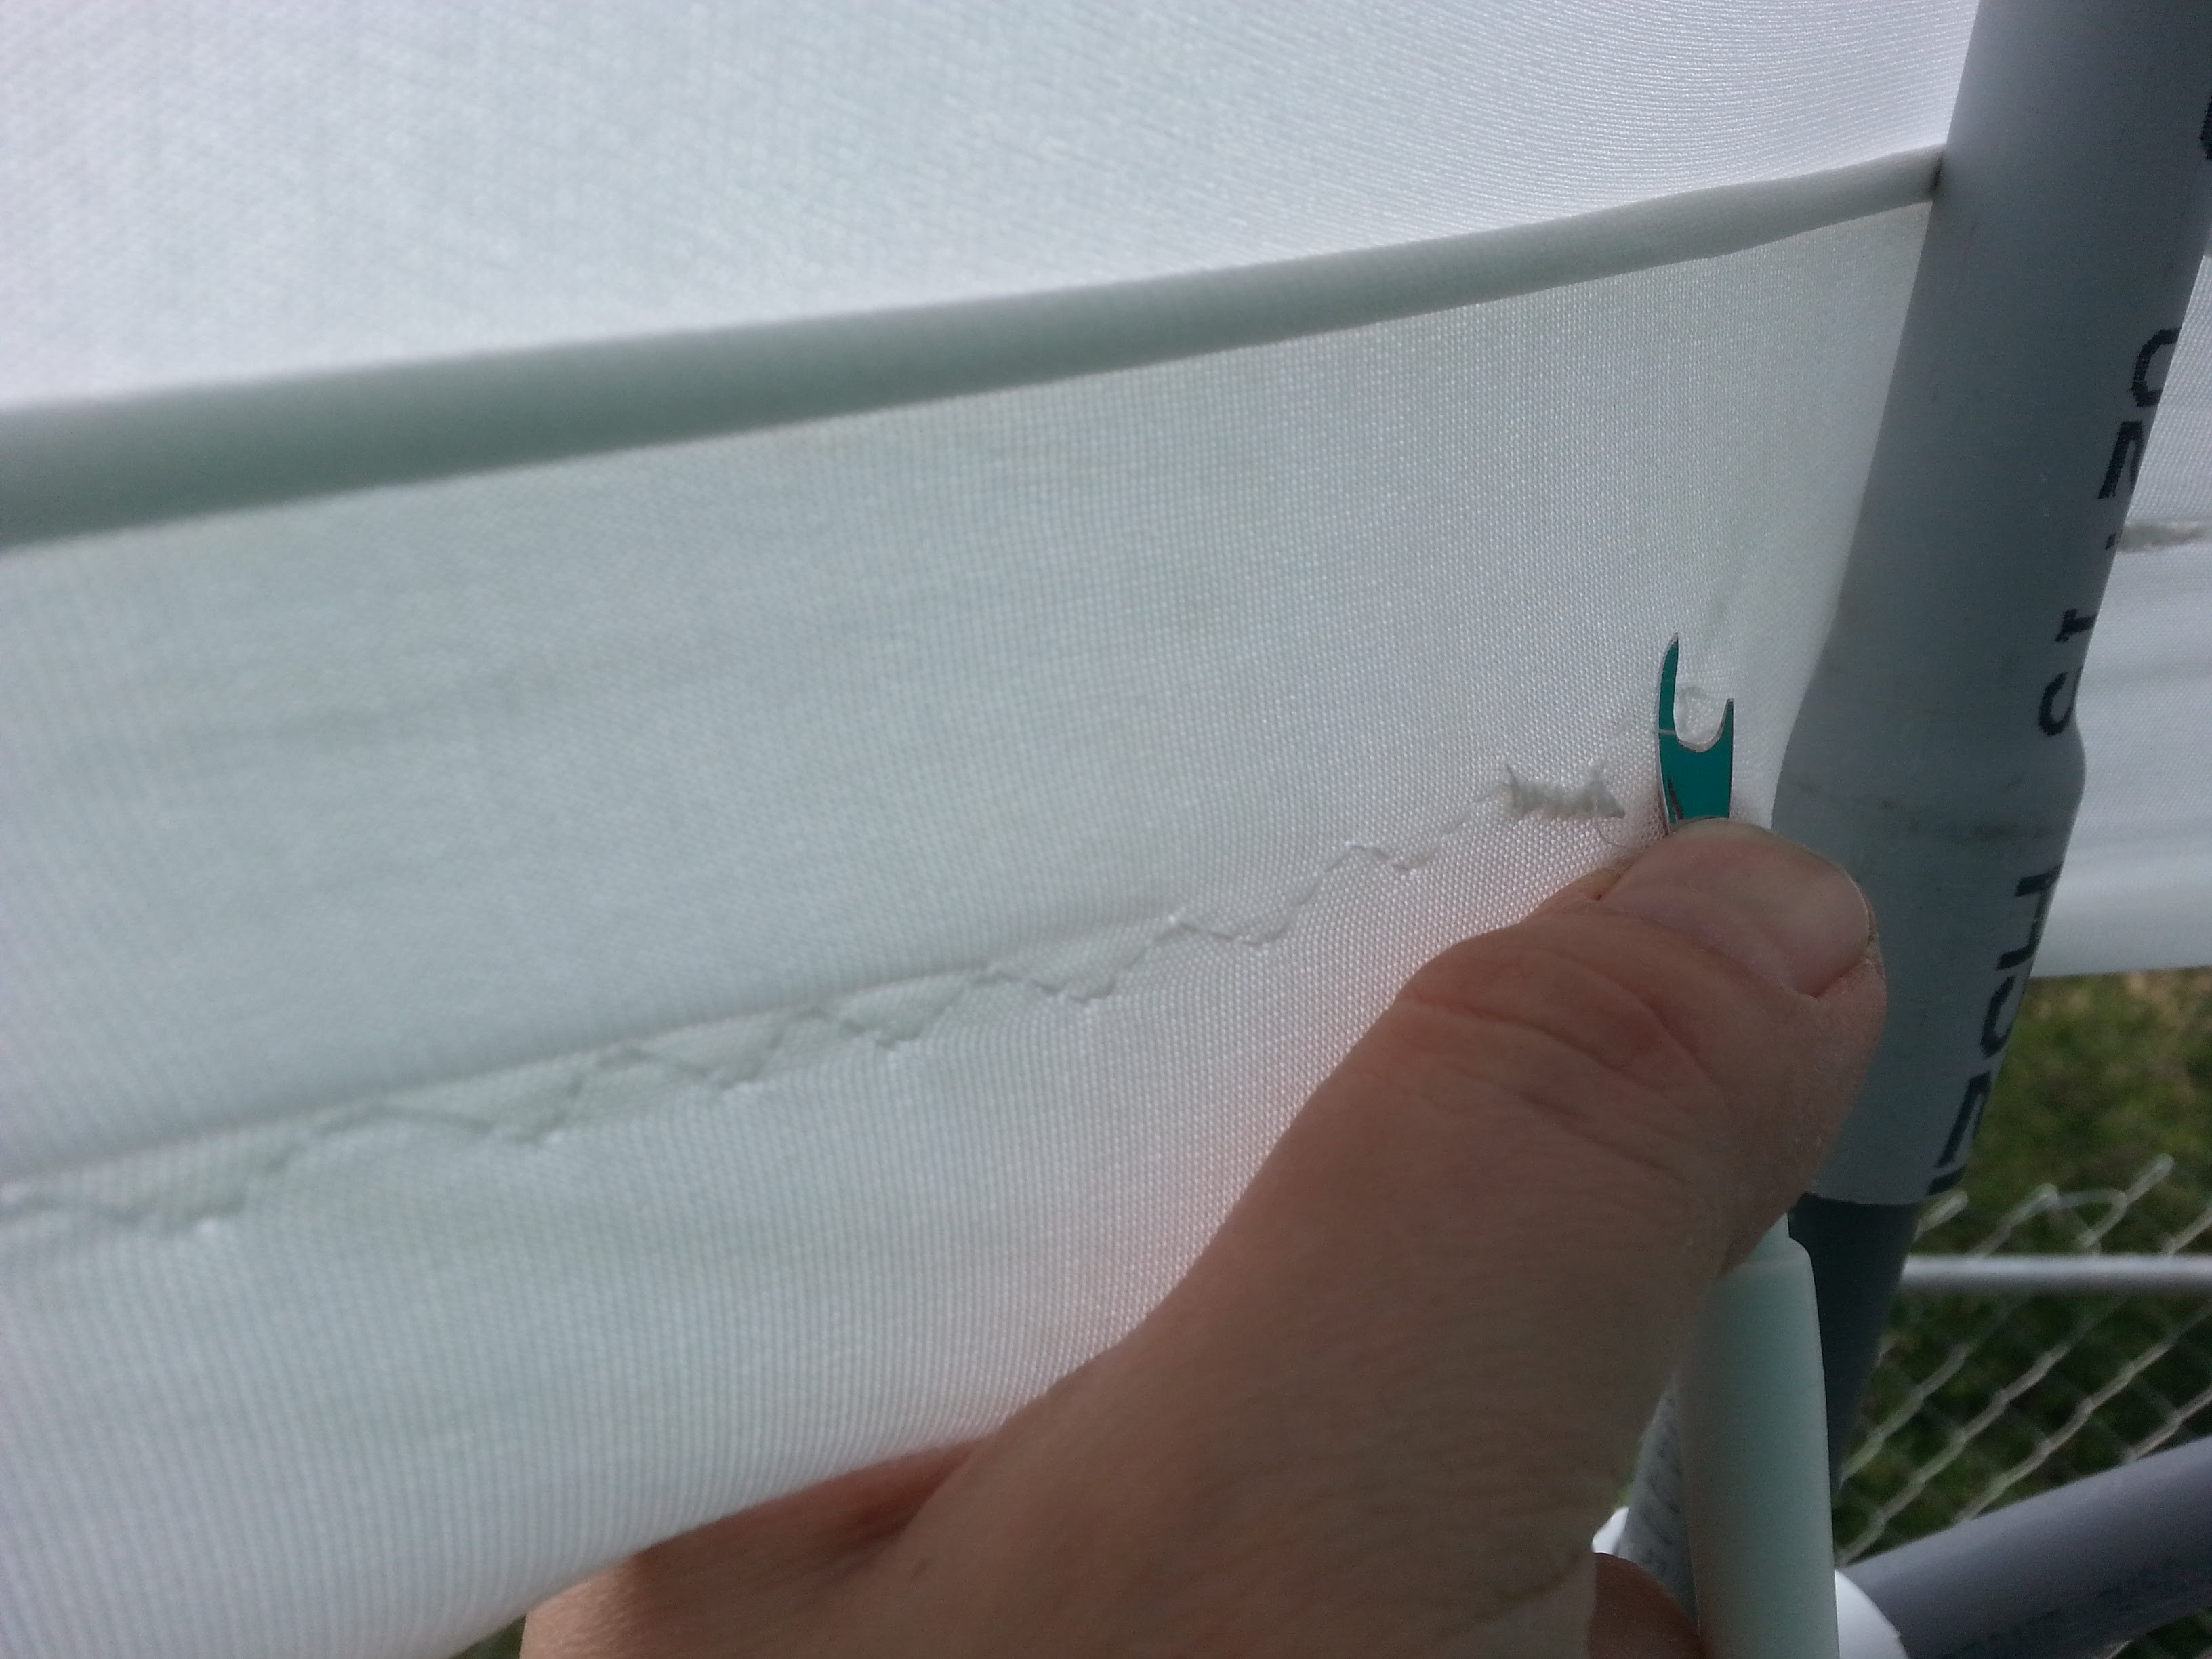
Then I rip out the stitches where the pipe needs to go.
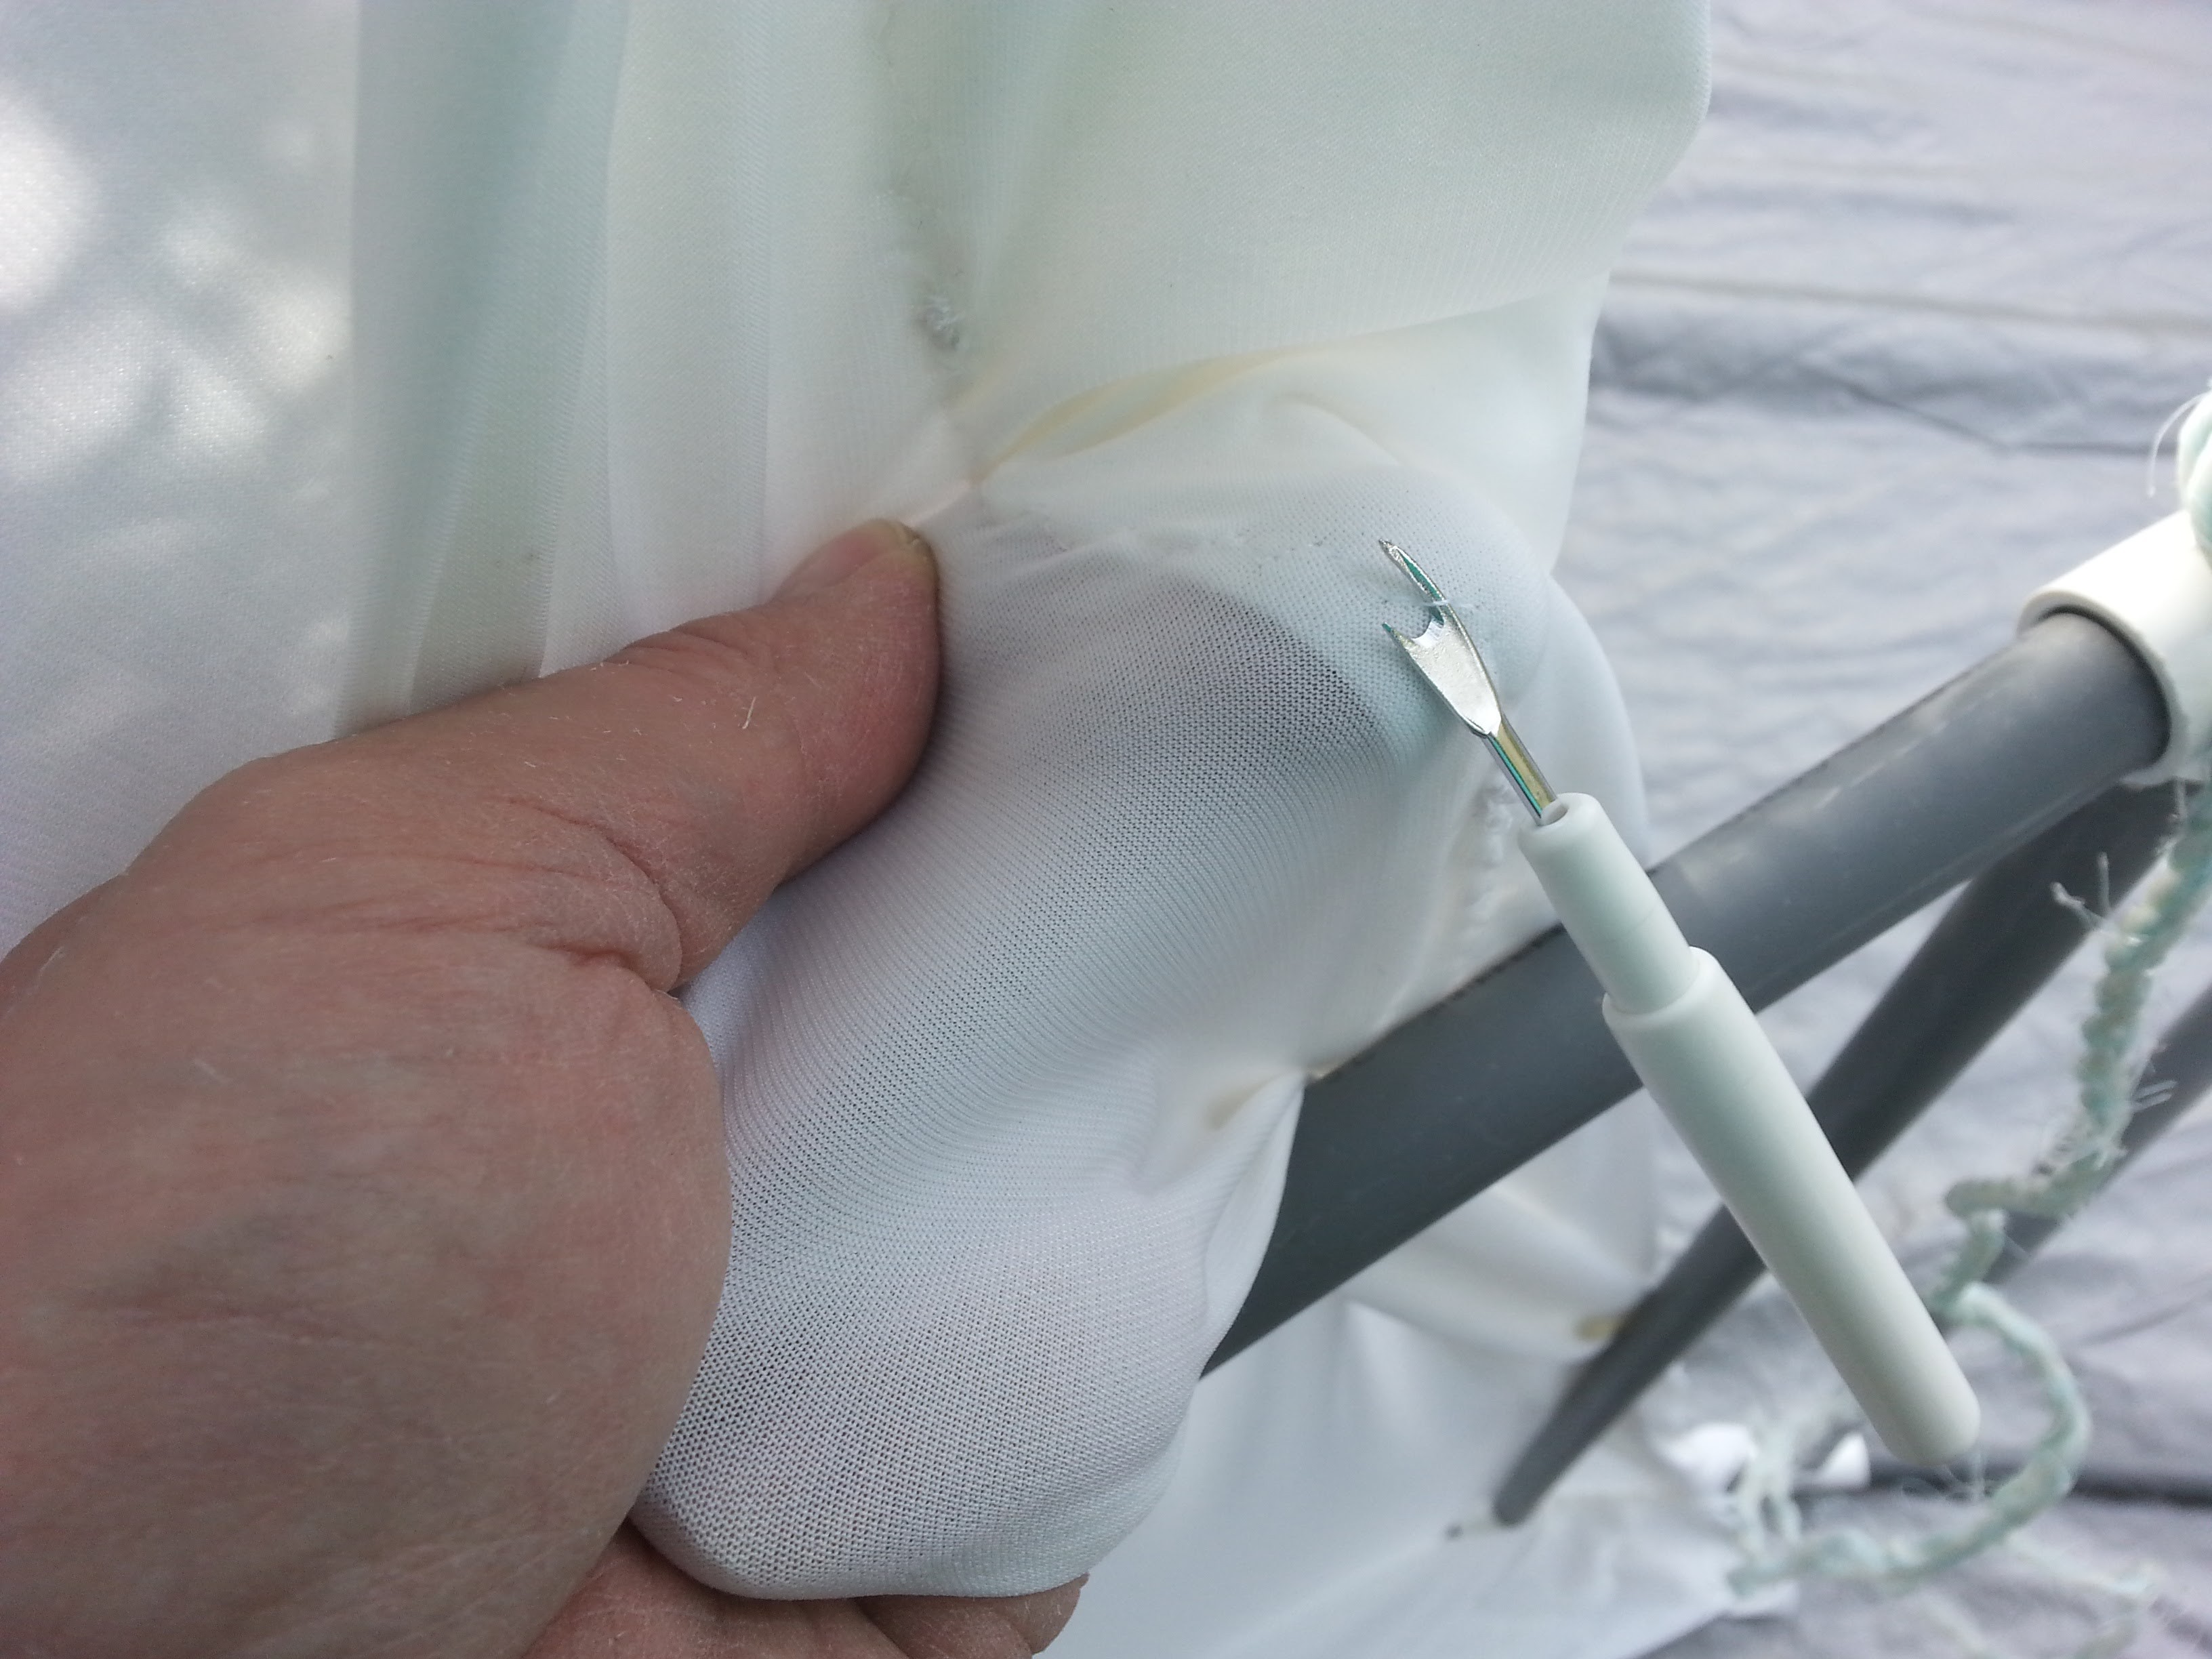
I had the same problem when I added the extra spacers to the side of the doorway, too.
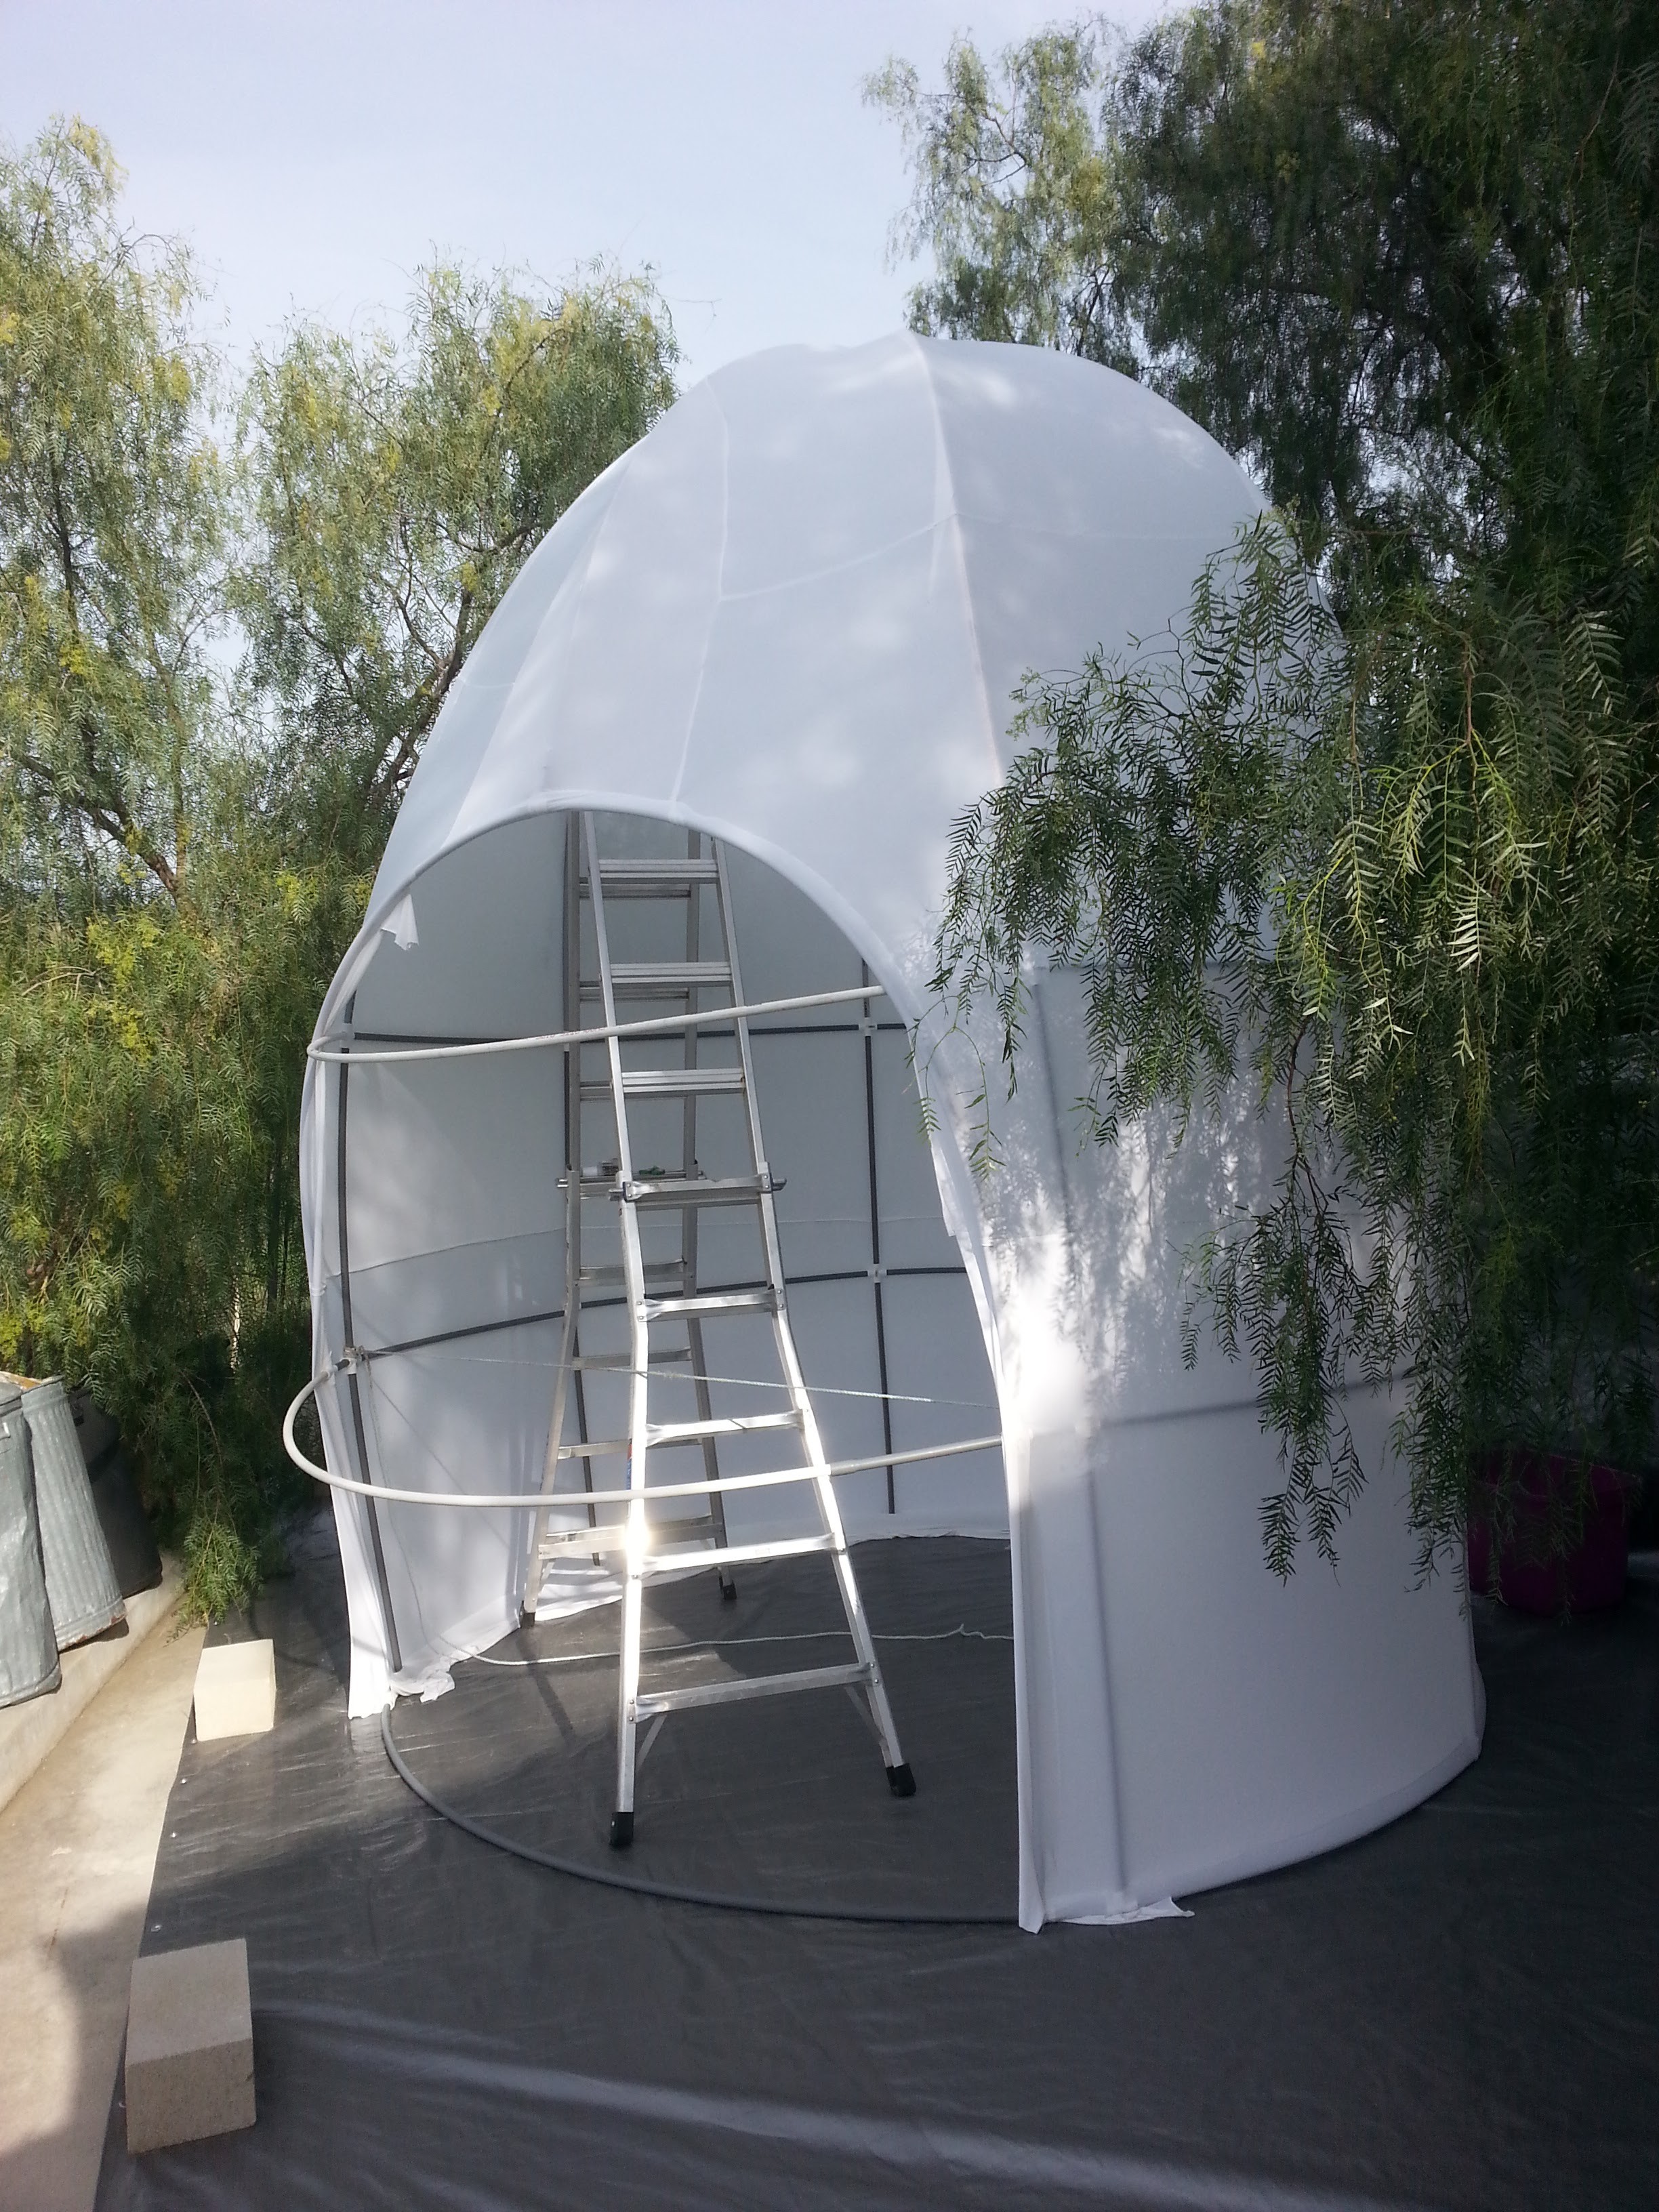
Finally, It is completely together. But there is still a lot of excess material hanging off.
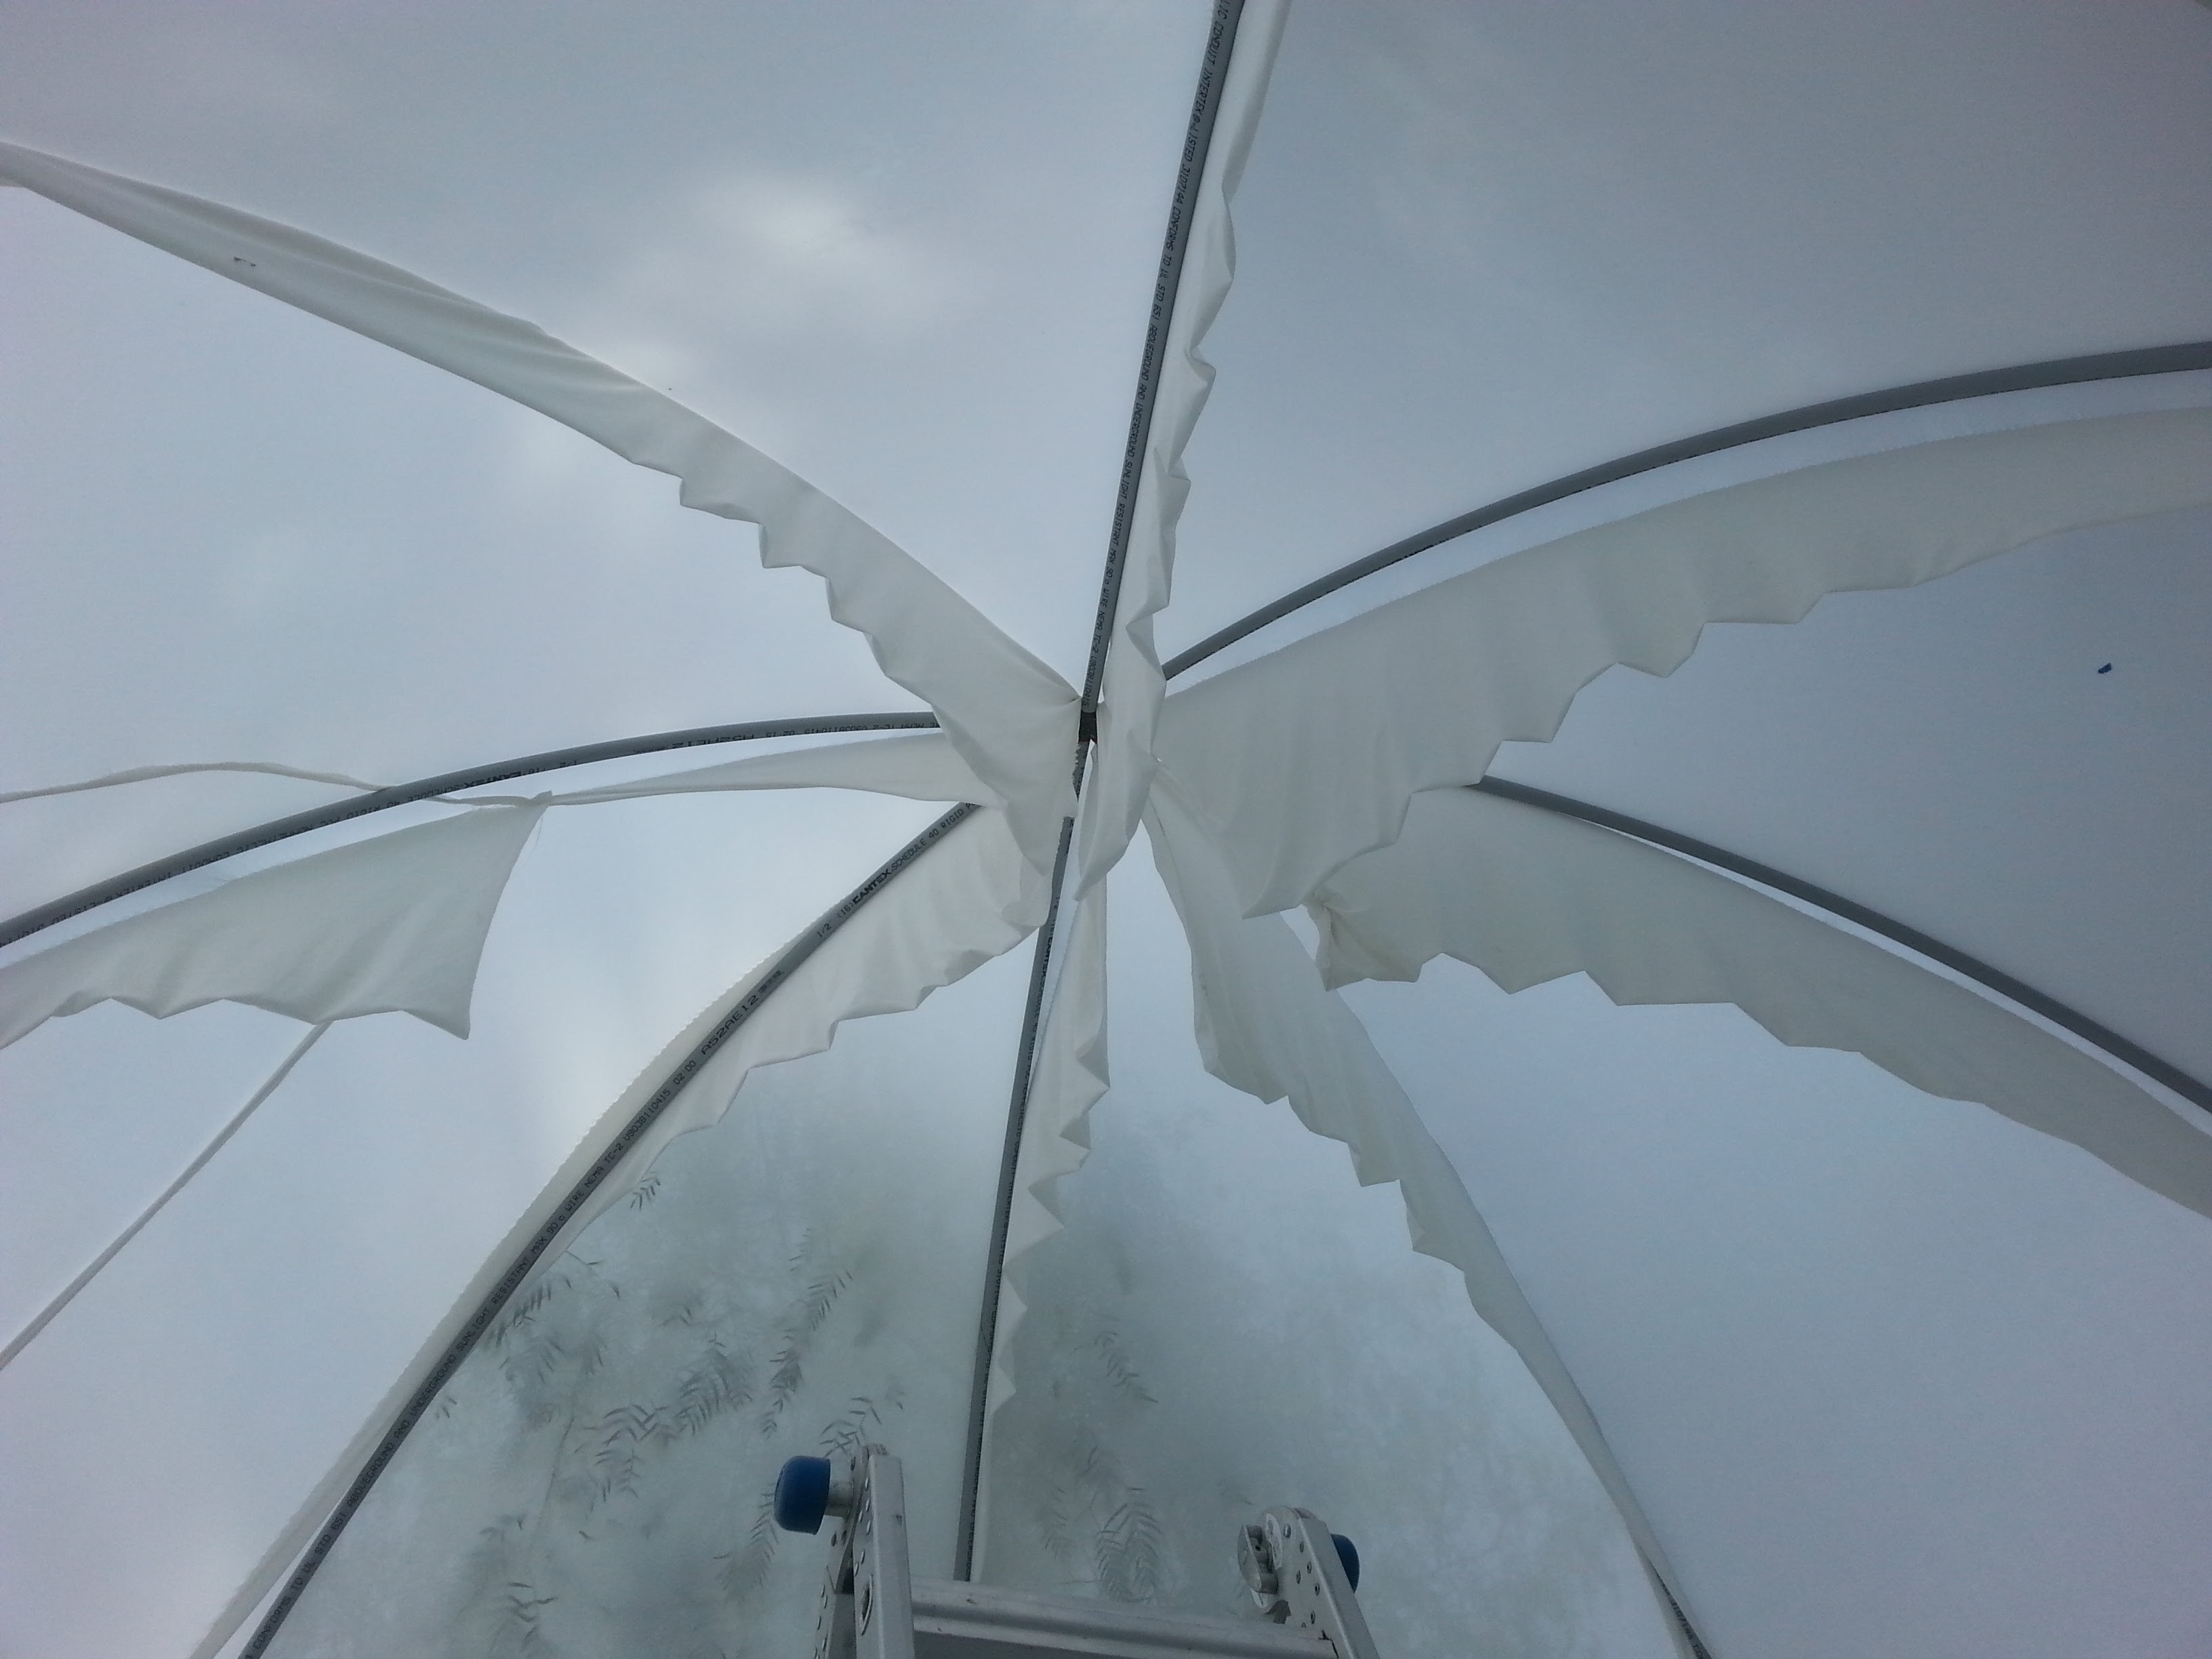
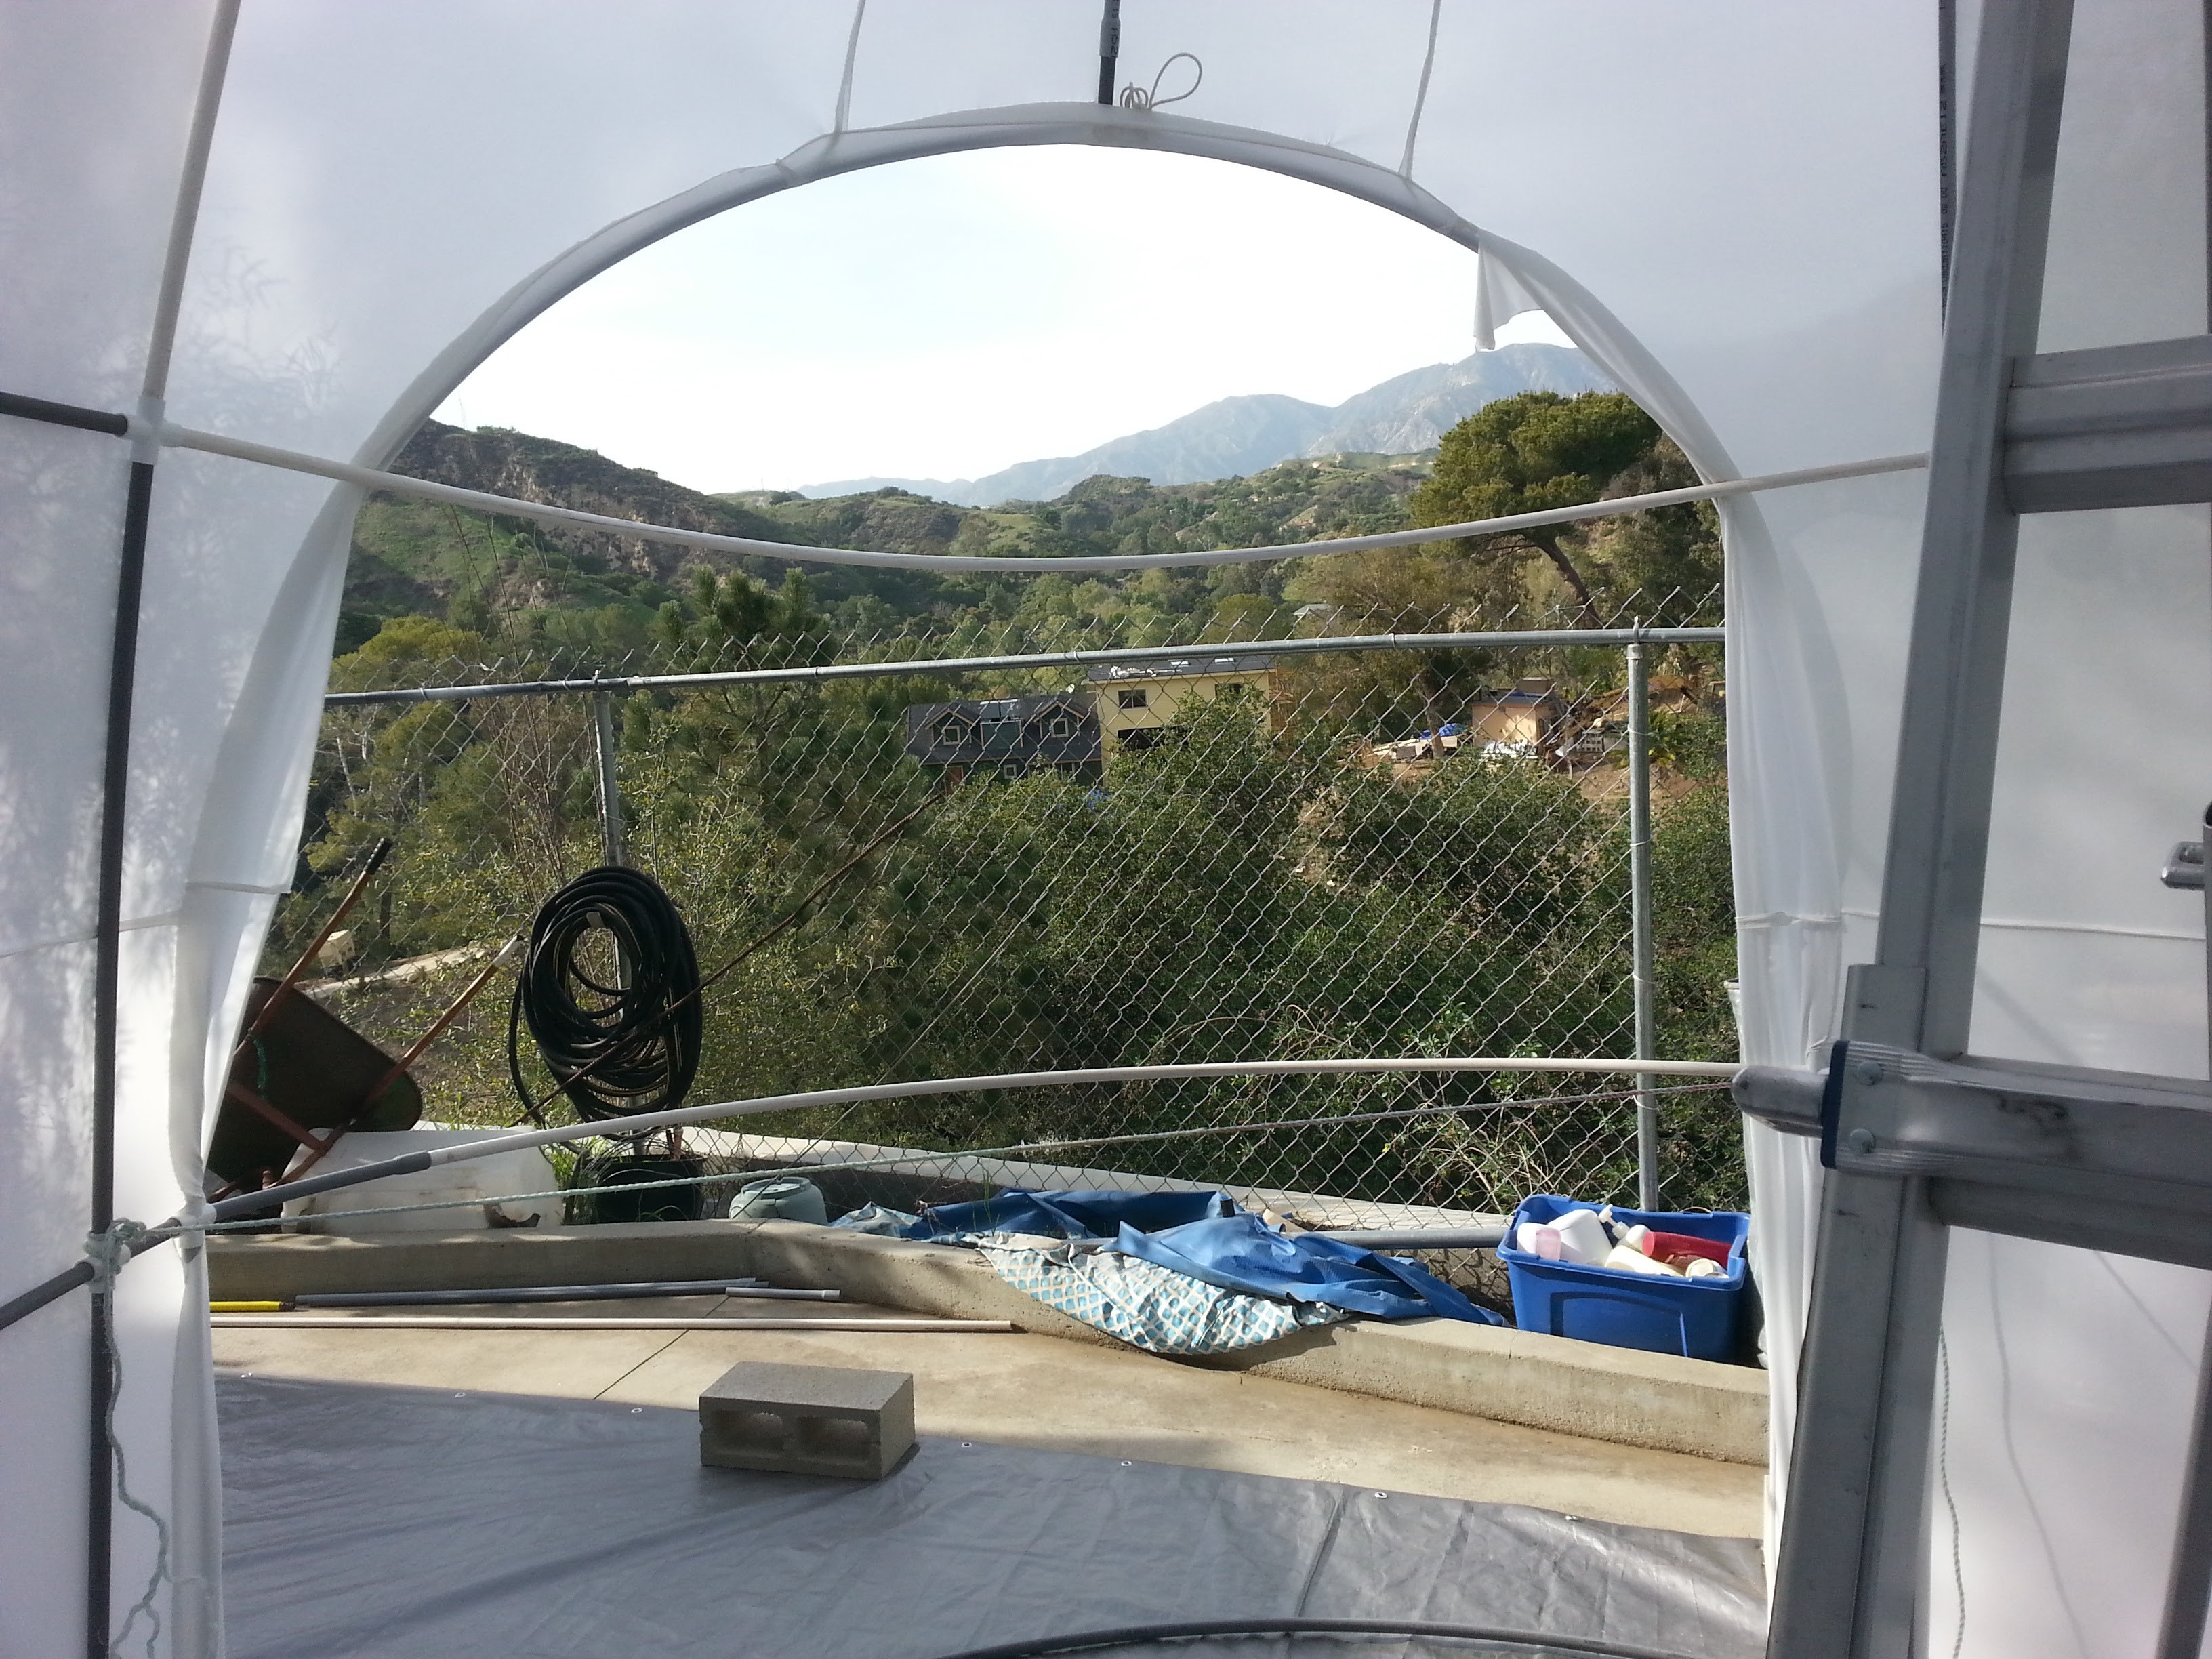
So it is time to cut.
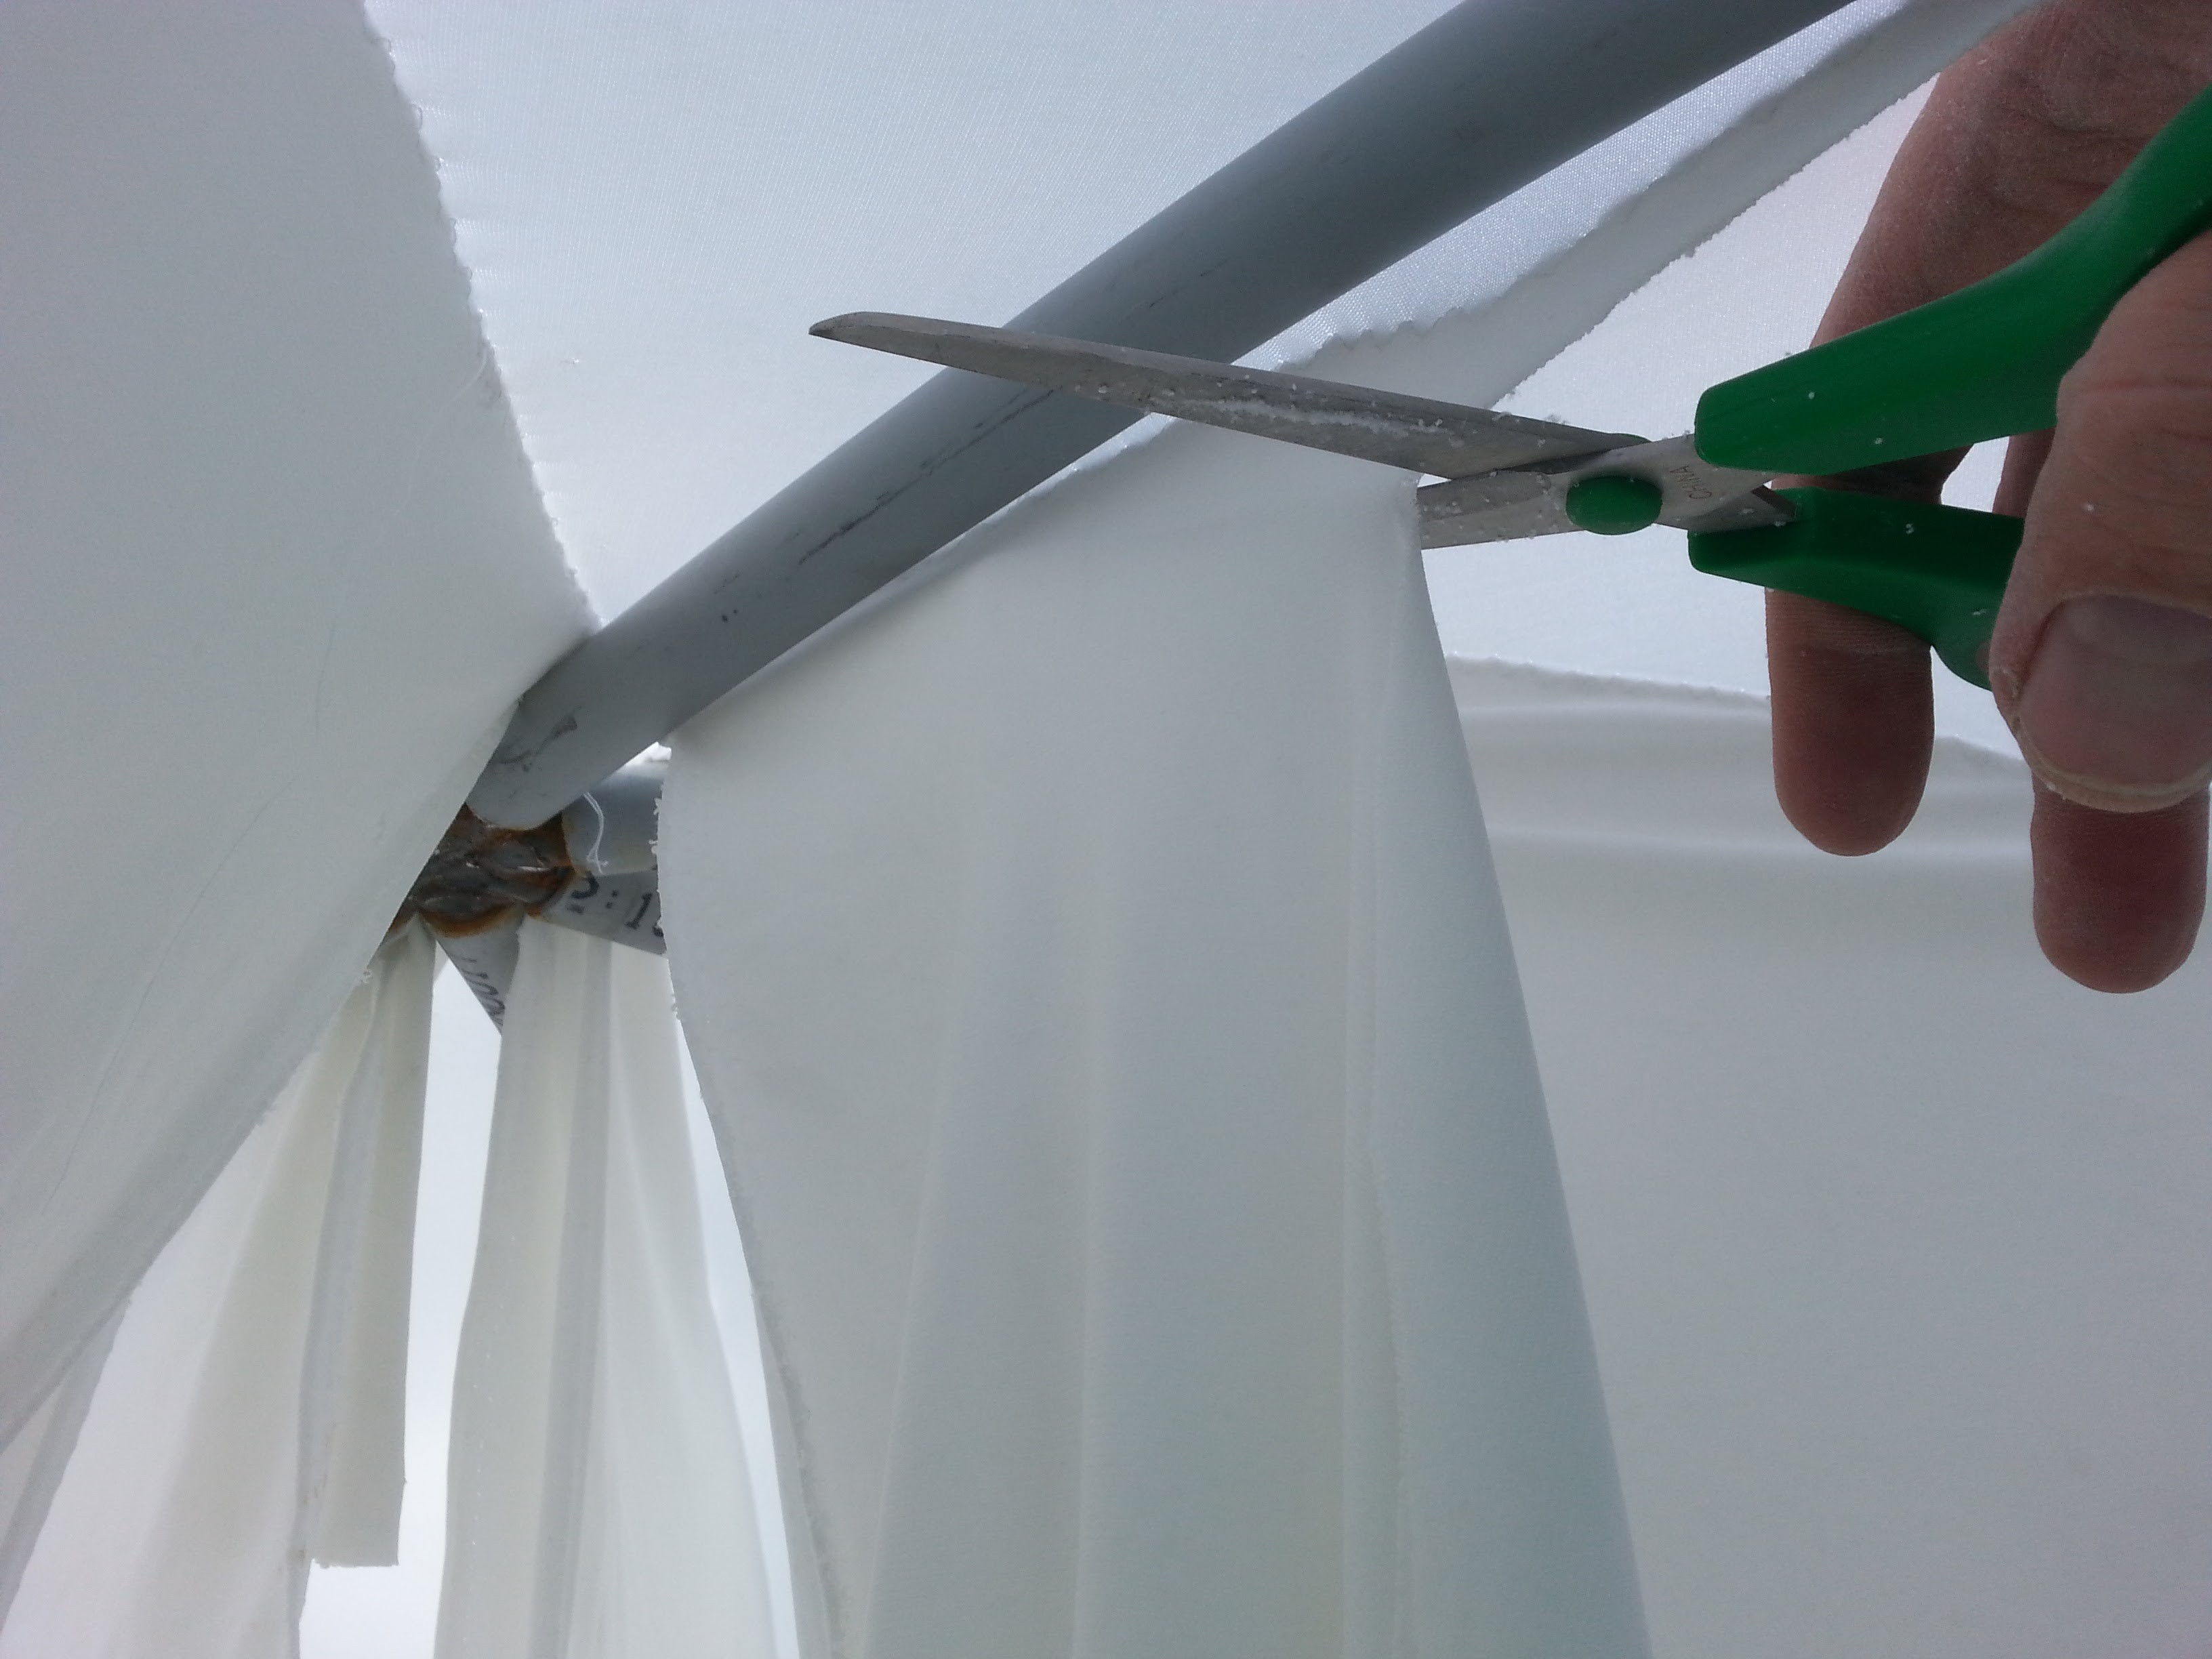
The edges look so clean!
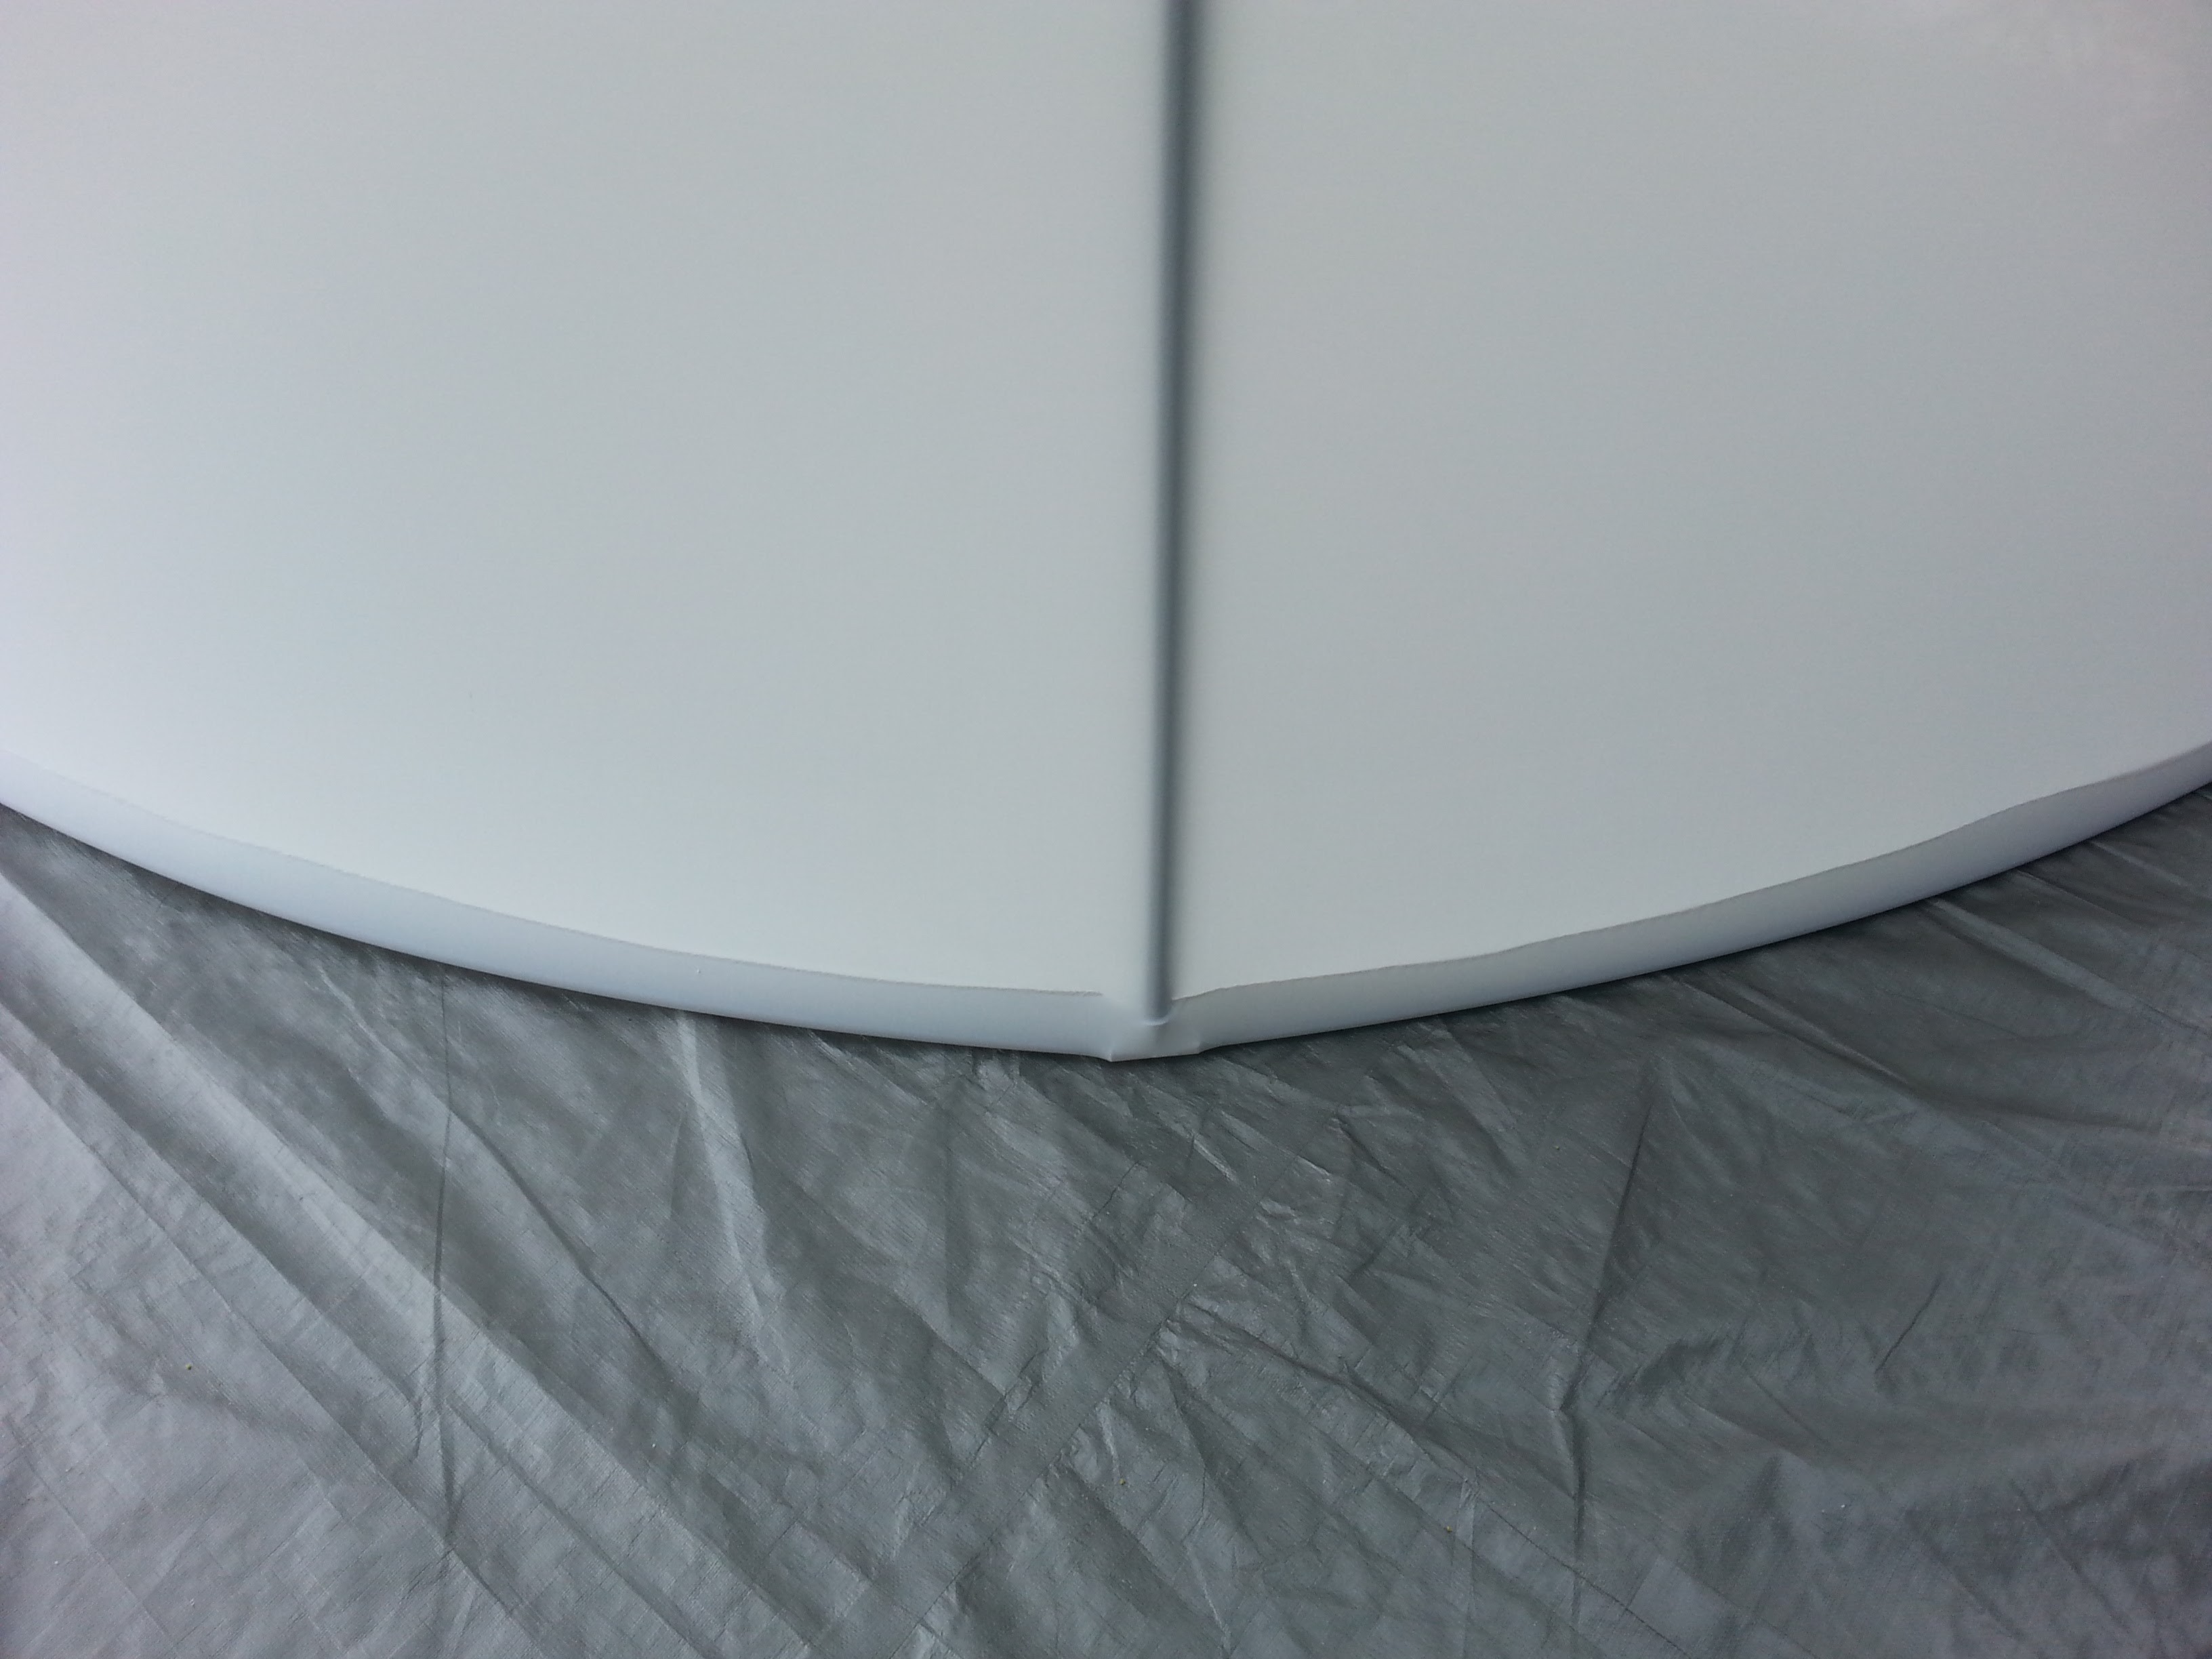
So, we now have a serviceable dome!
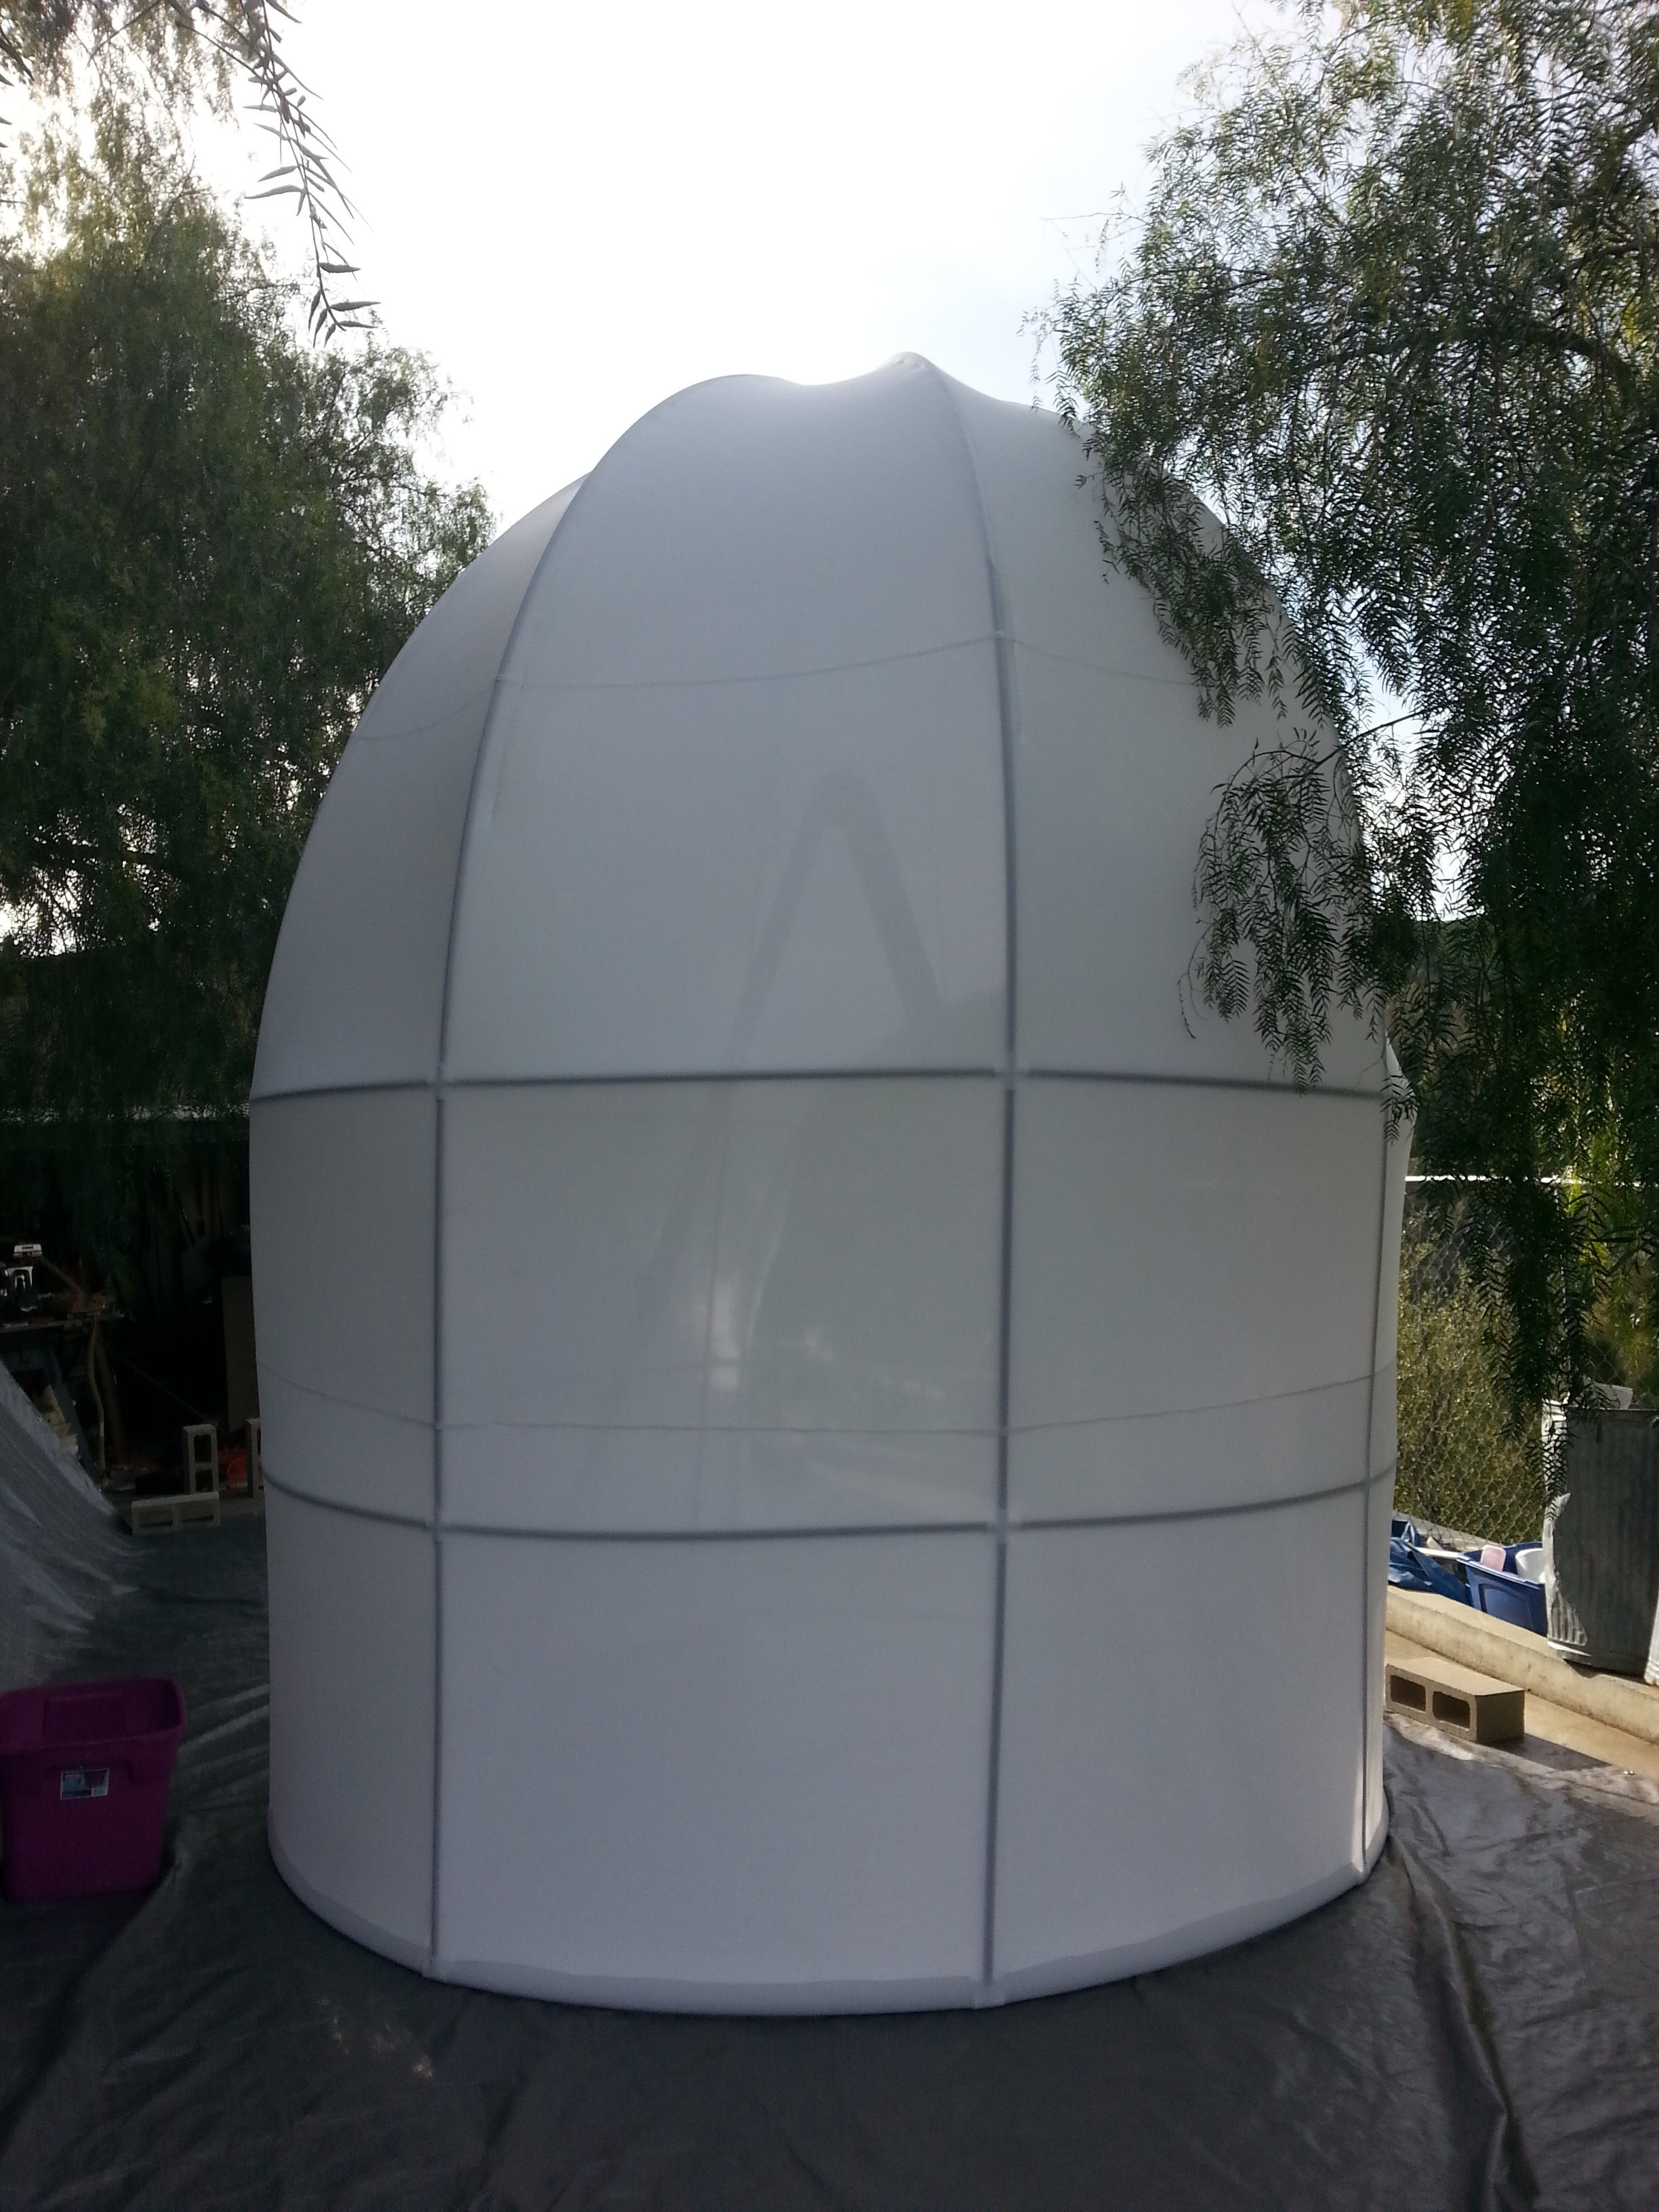
It still needs flame retardant. It could probably use another layer of bracing near the top. The rest of the PVC joints should probably be replaced with metal joints, and I have no way to mount the projectors. My work is never done!
So, I got fed up with the constantly breaking 8-way joint at the top, so I decided to make one with metal with my friends at 23b Shop in Fullerton. Somehow, every project I bring there inevitably comes to involve welding...

Bad hair day at Industrial Metal Supply, but I am feeling very industrial metal...
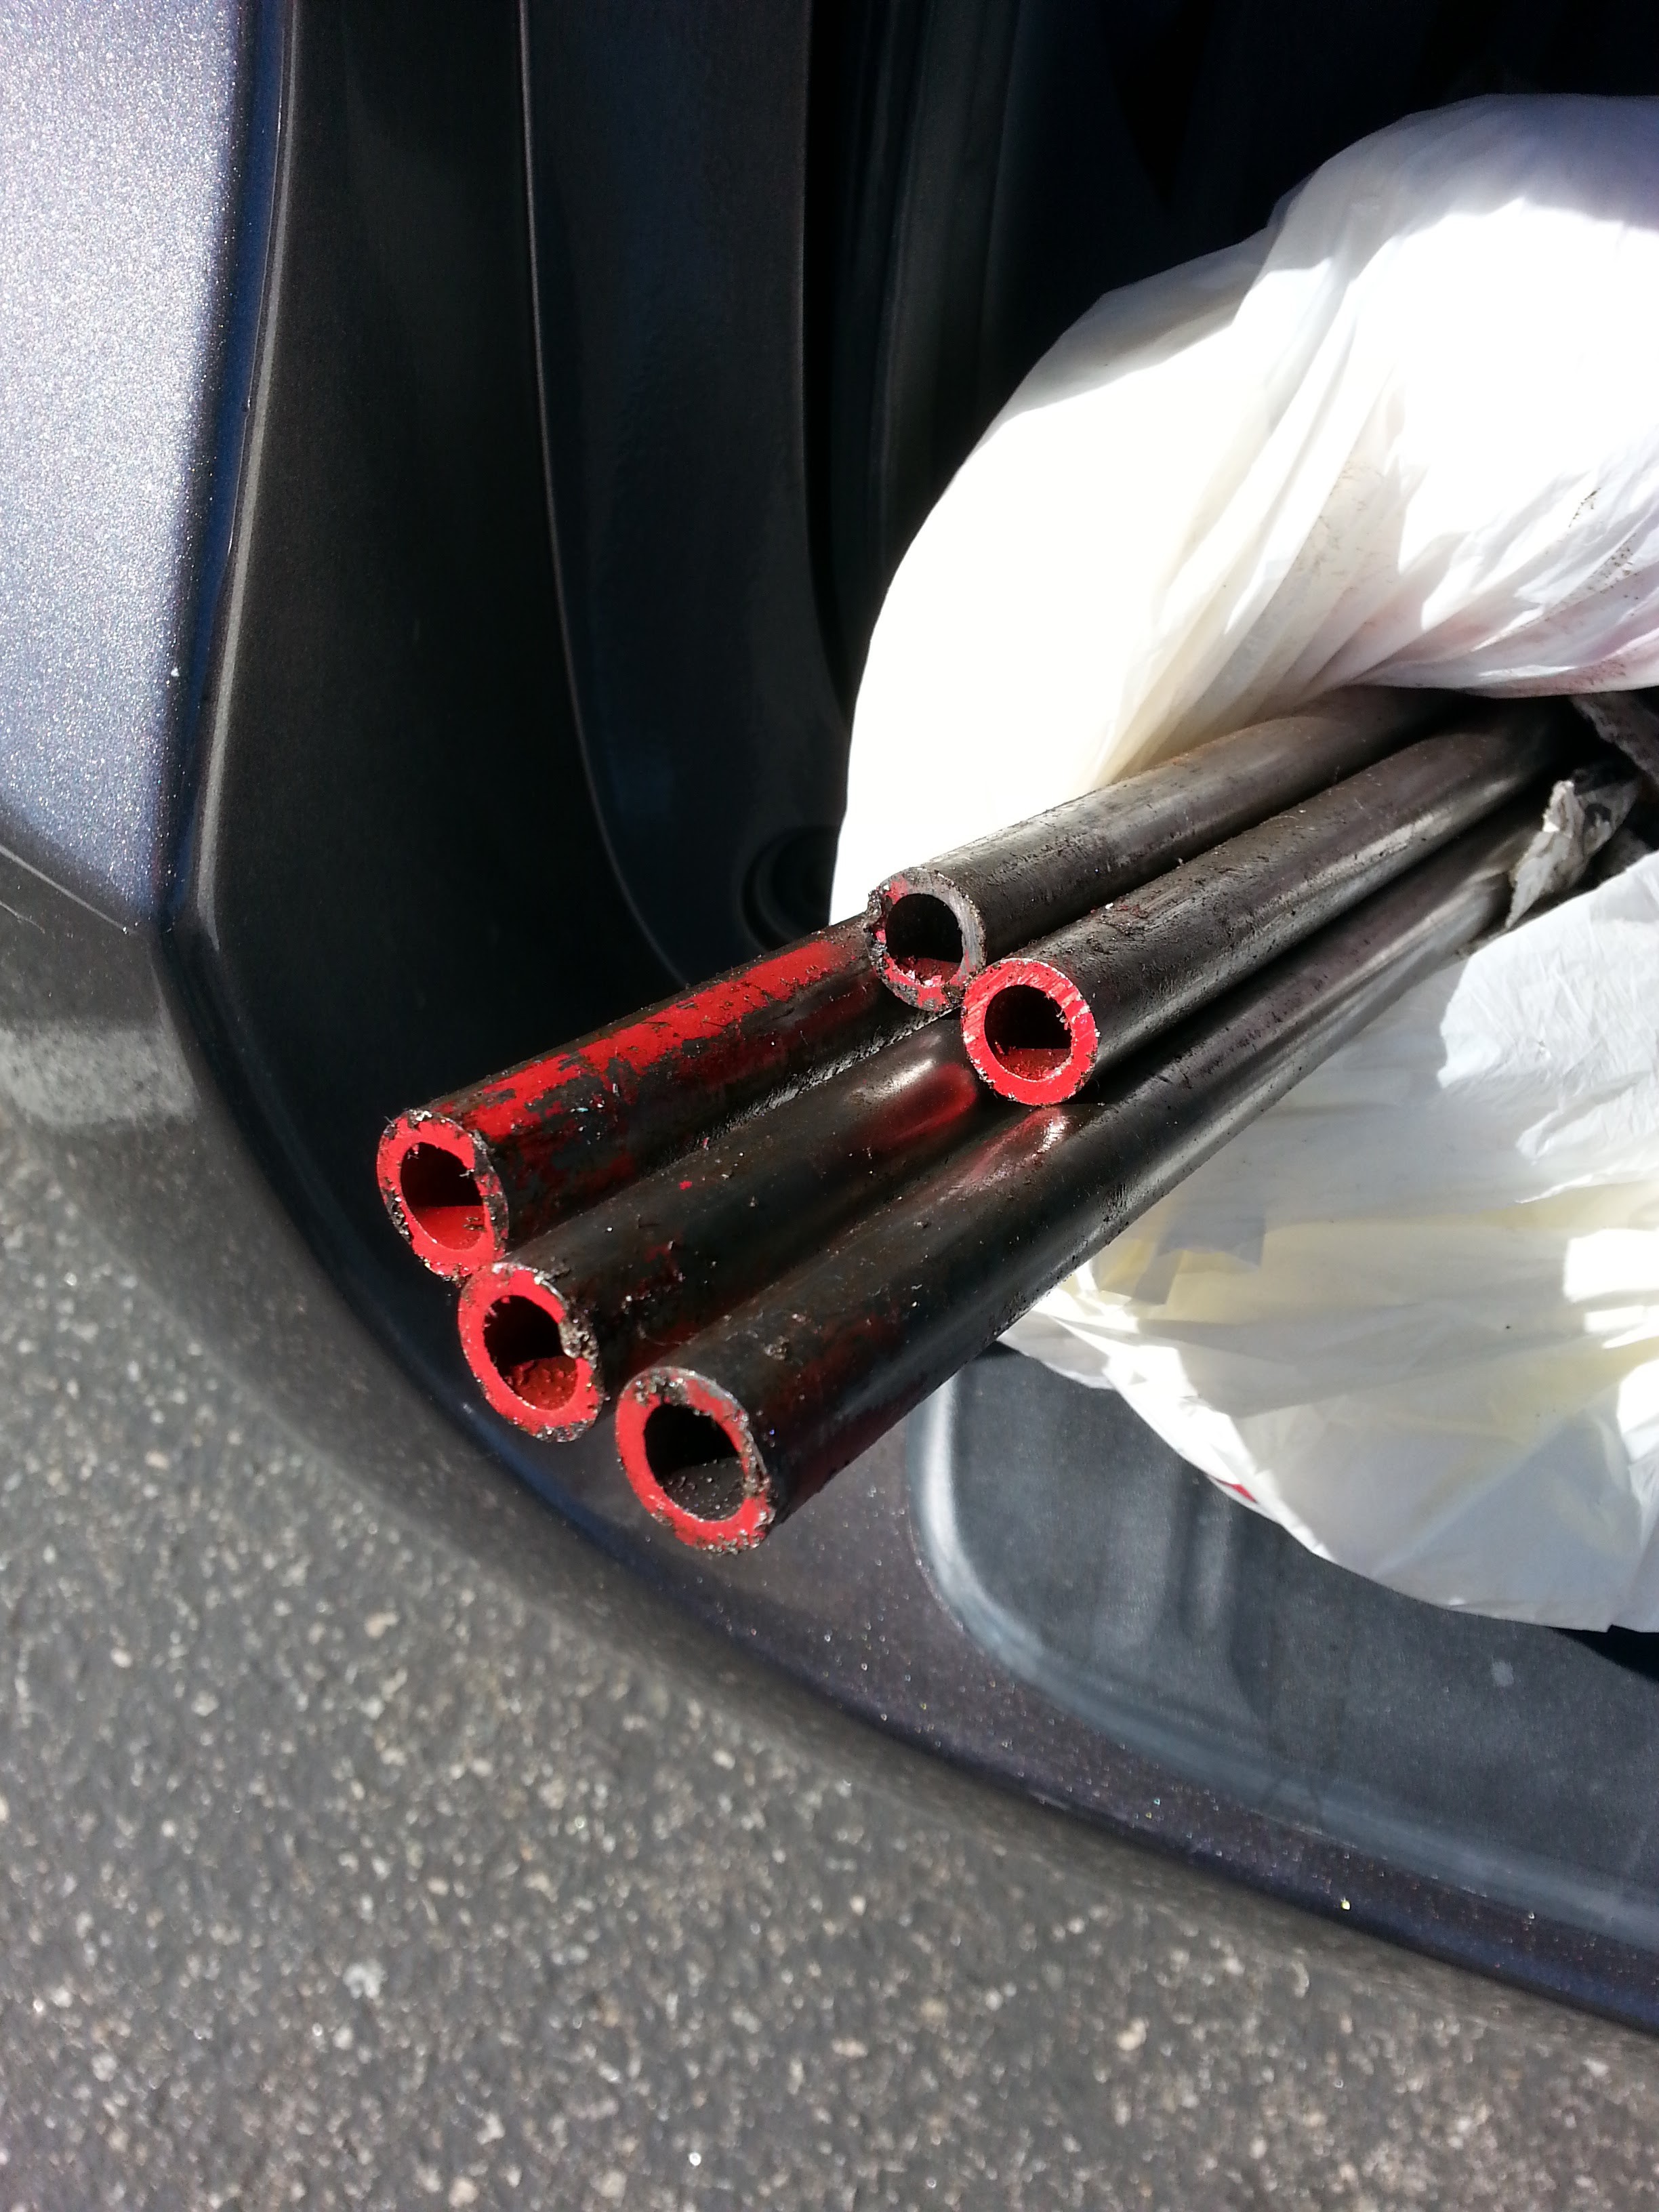 I was going for the best possible fit *inside* the PVC pipe. The inside diameter is somewhere between 9 and 10 16ths of an inch. I looked at everything they had, but the only 9/16" I could find with anything approaching a decent fit was in the "thick walled" pipe section. It is still a little loose, but I think if we put a little tape on each pipe it will have enough friction to stay put.
Each tube is about 40", and I bought 5, so about 16.6' of pipe.
23b has a lovely specialty saw for cutting metal pipes that I made great use of. I made the long parts about 7" long, and the short ones about 3.25" so that when put together they should be about the same length.
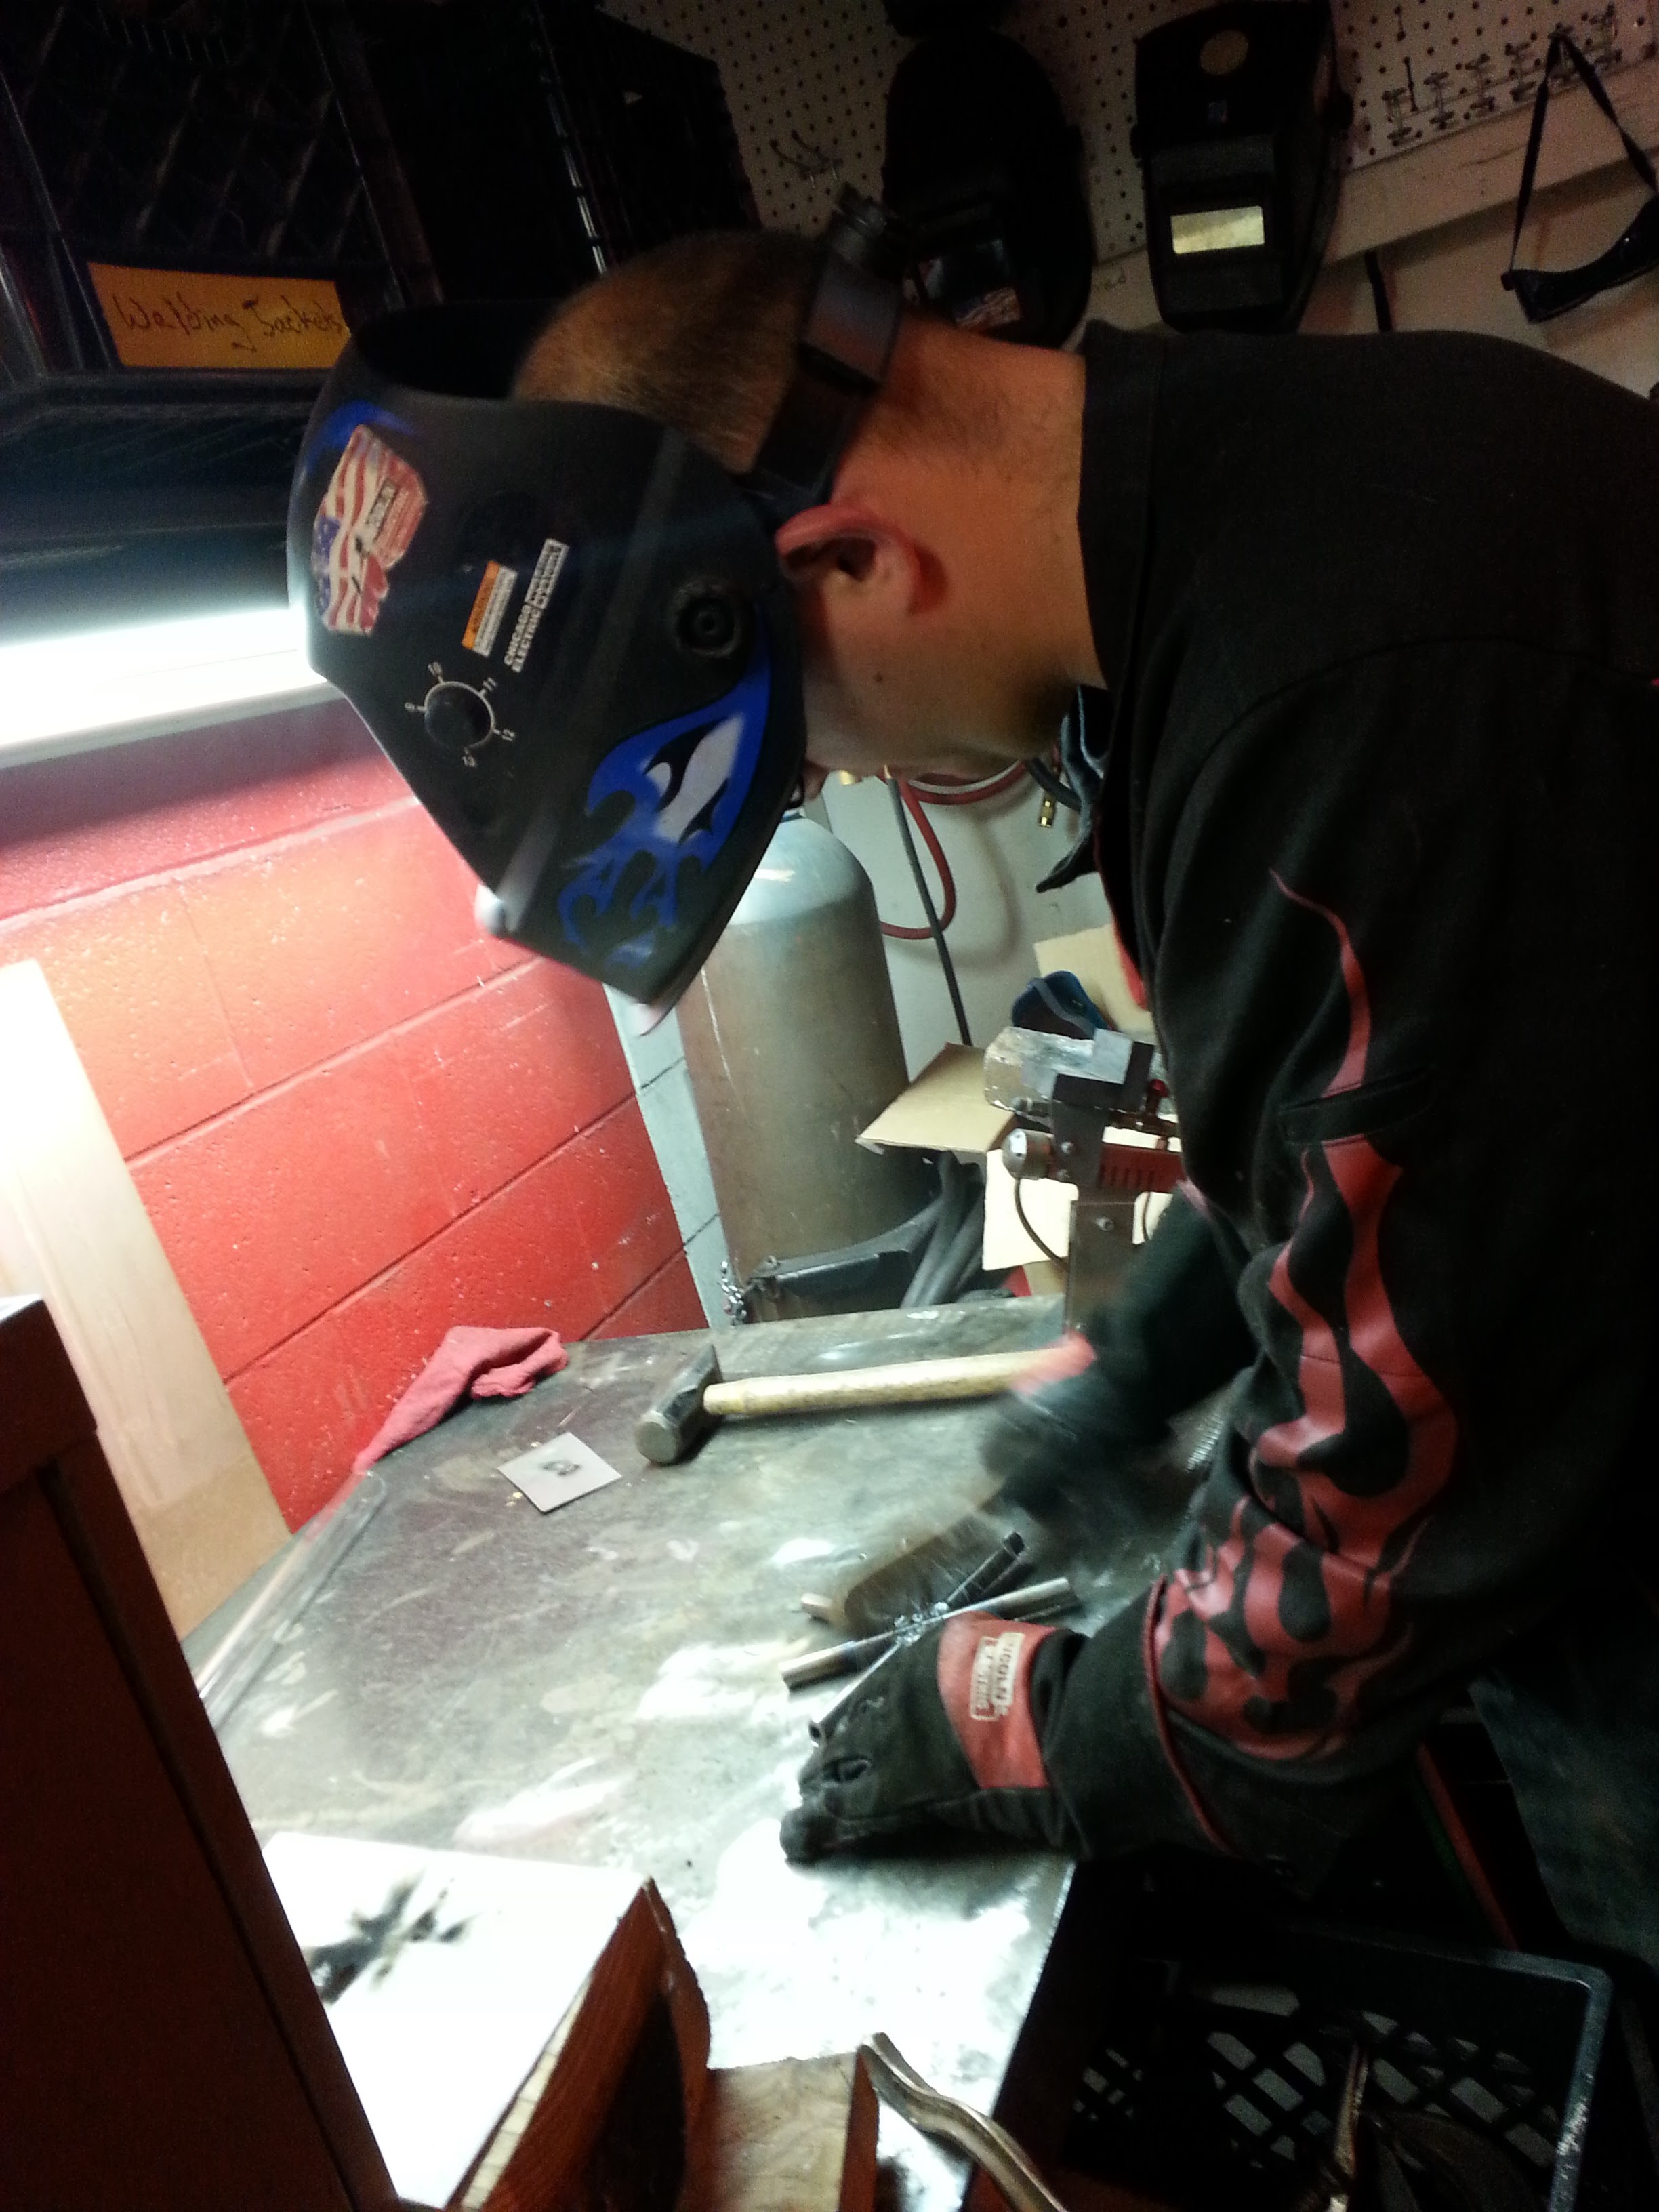 This fellow didn't want to be named, but he helped by welding the 8 way joint for me.
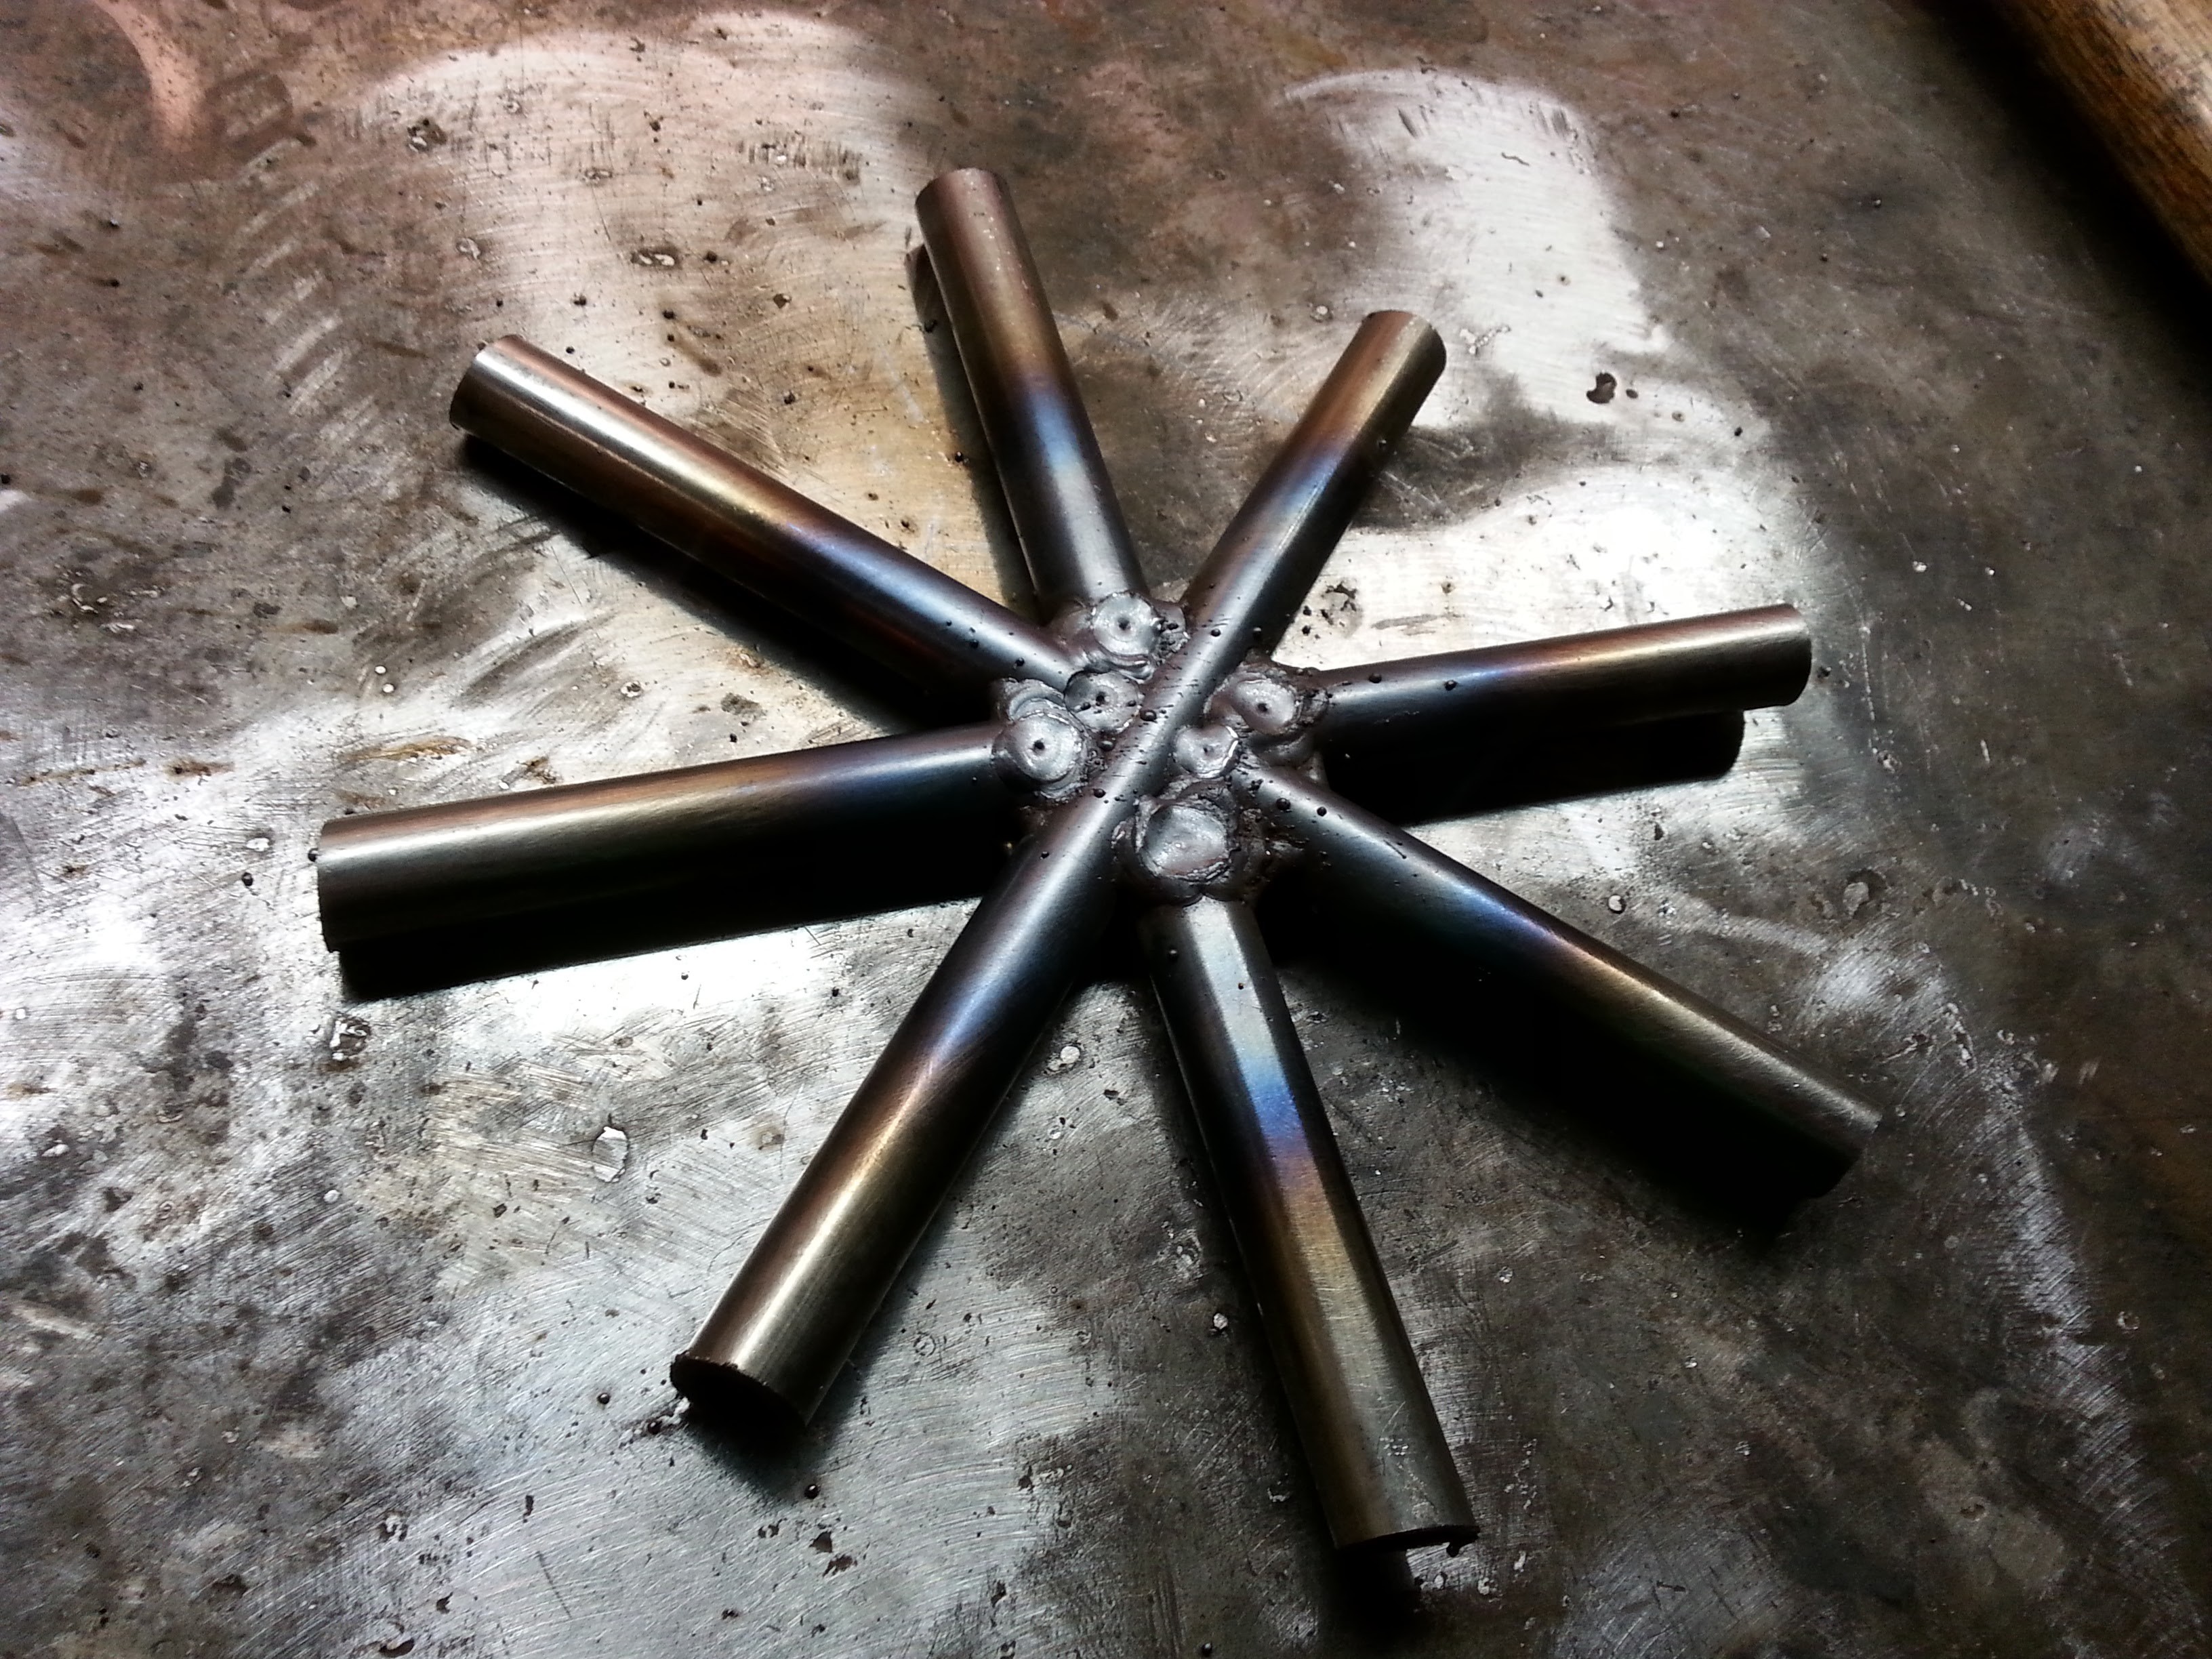 Booyah! It is an 8 way metal joint!
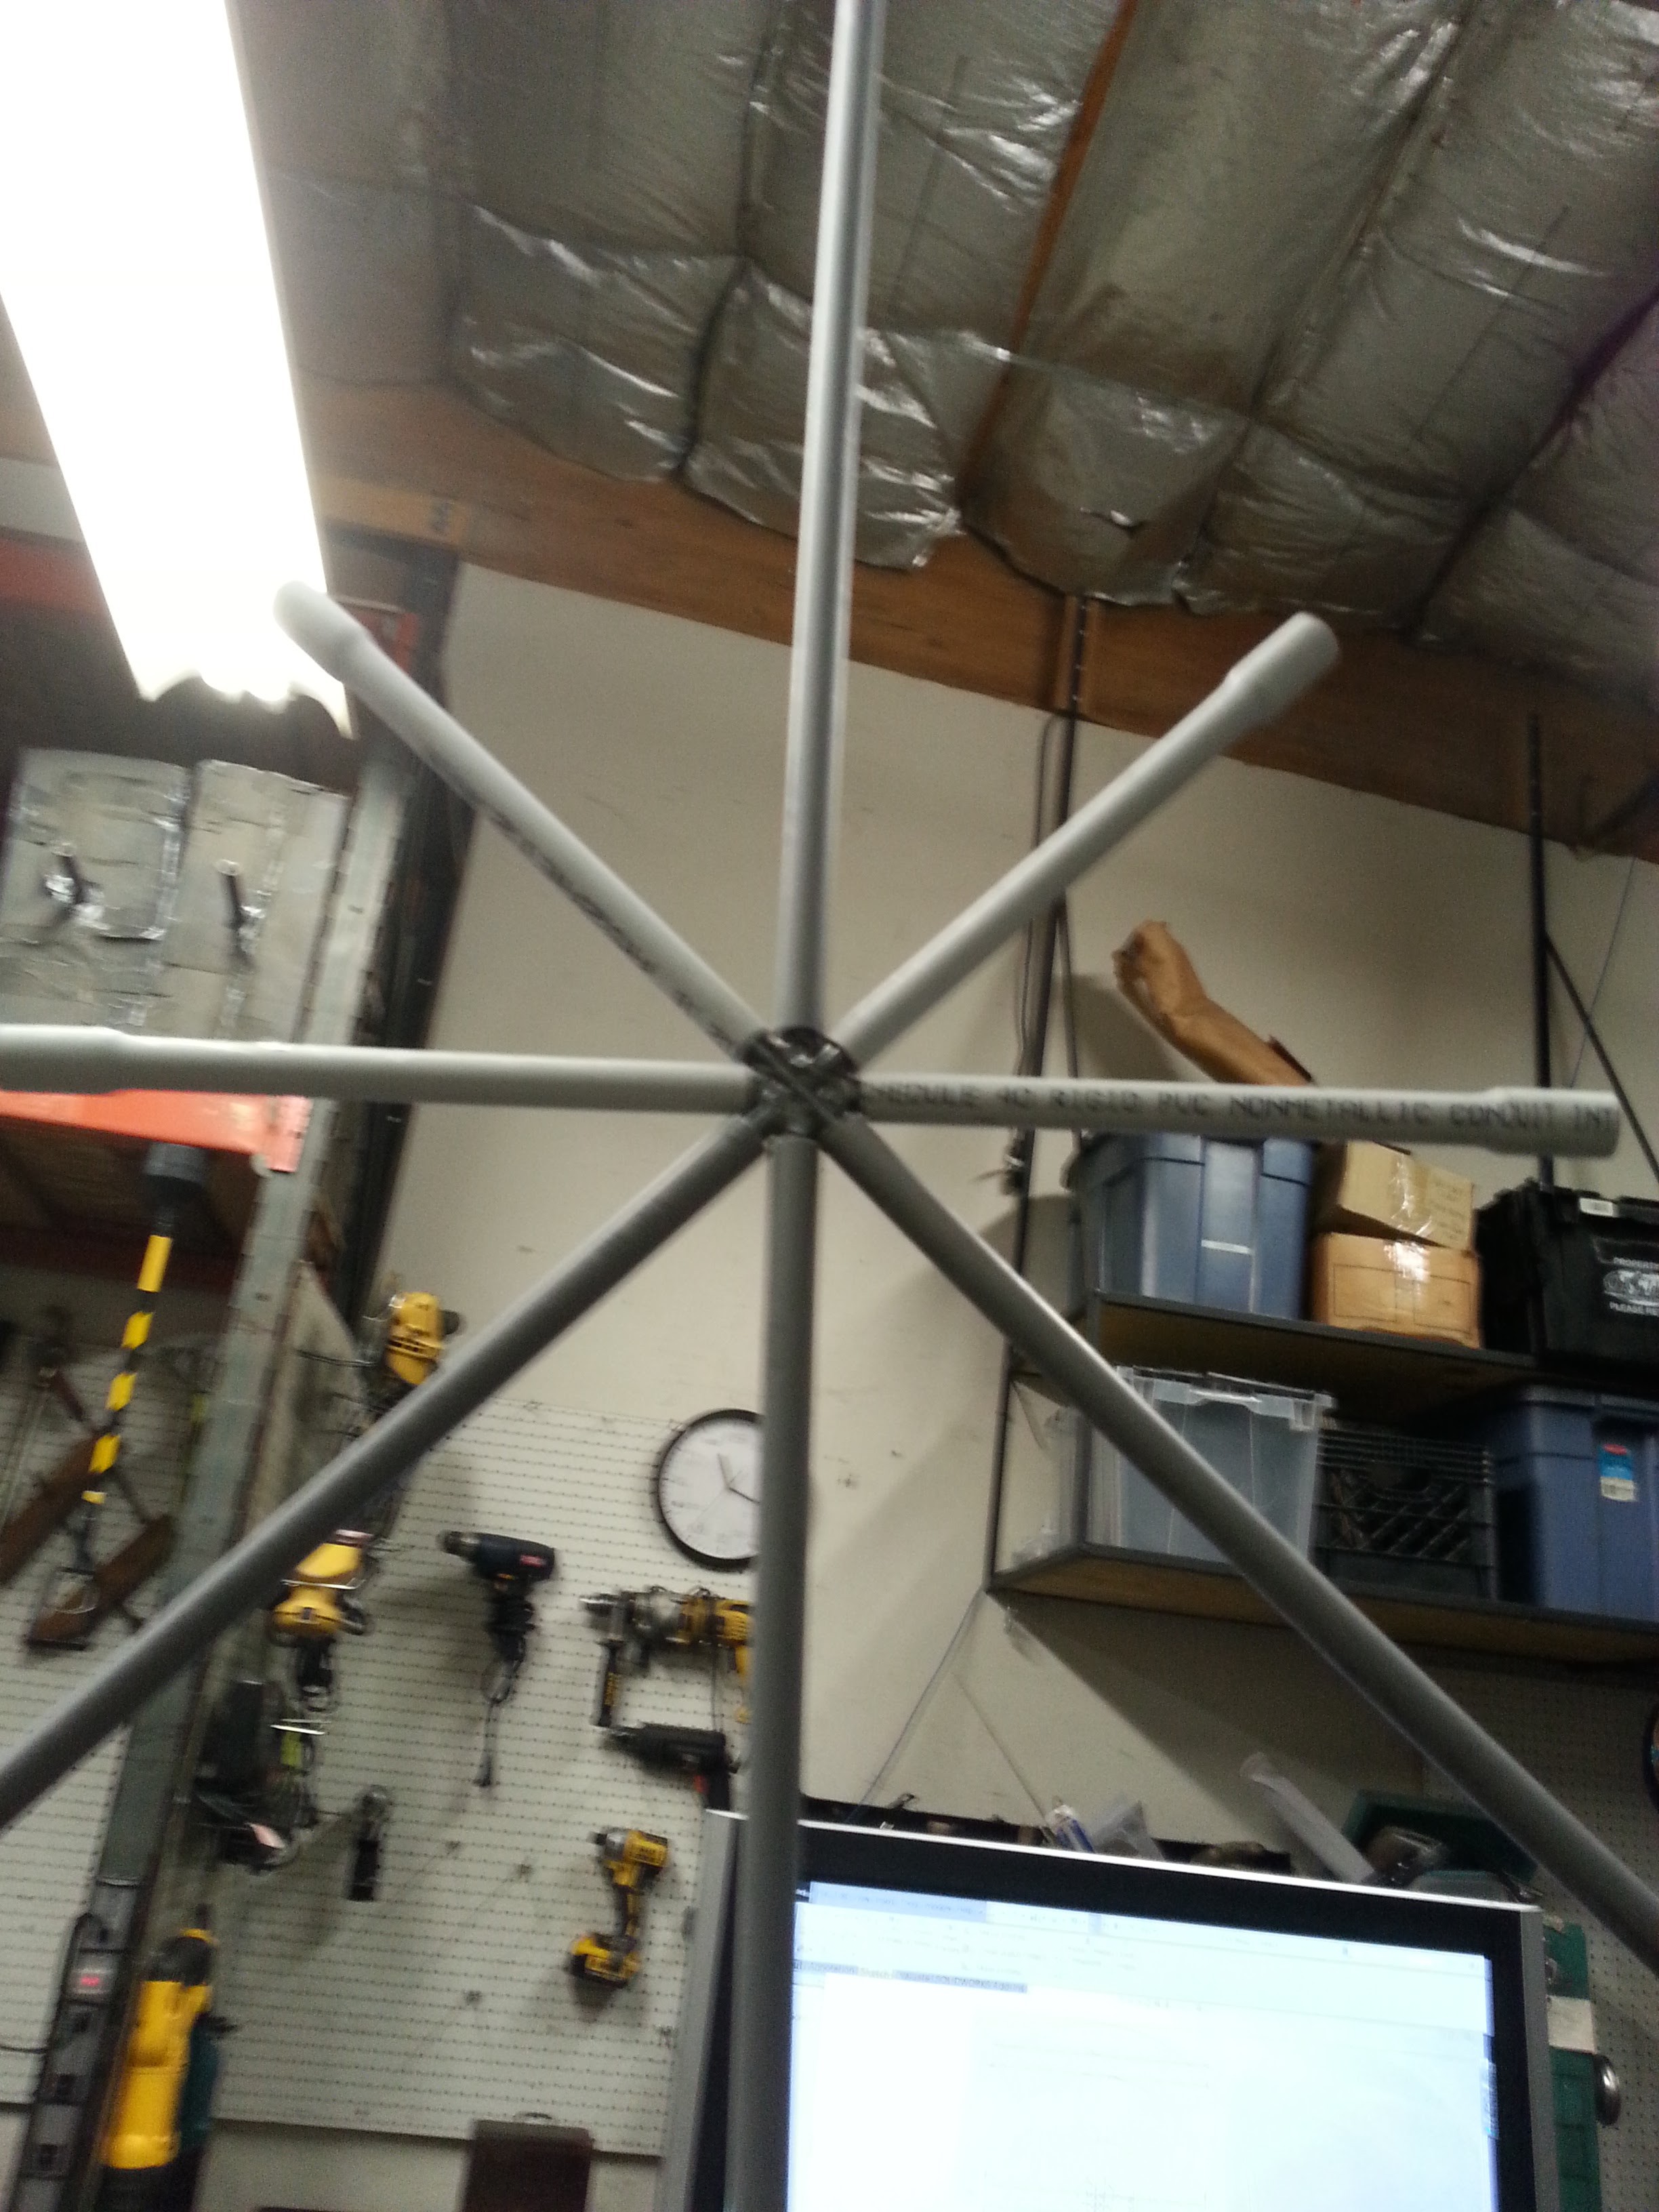
PVC pipe fits on it!
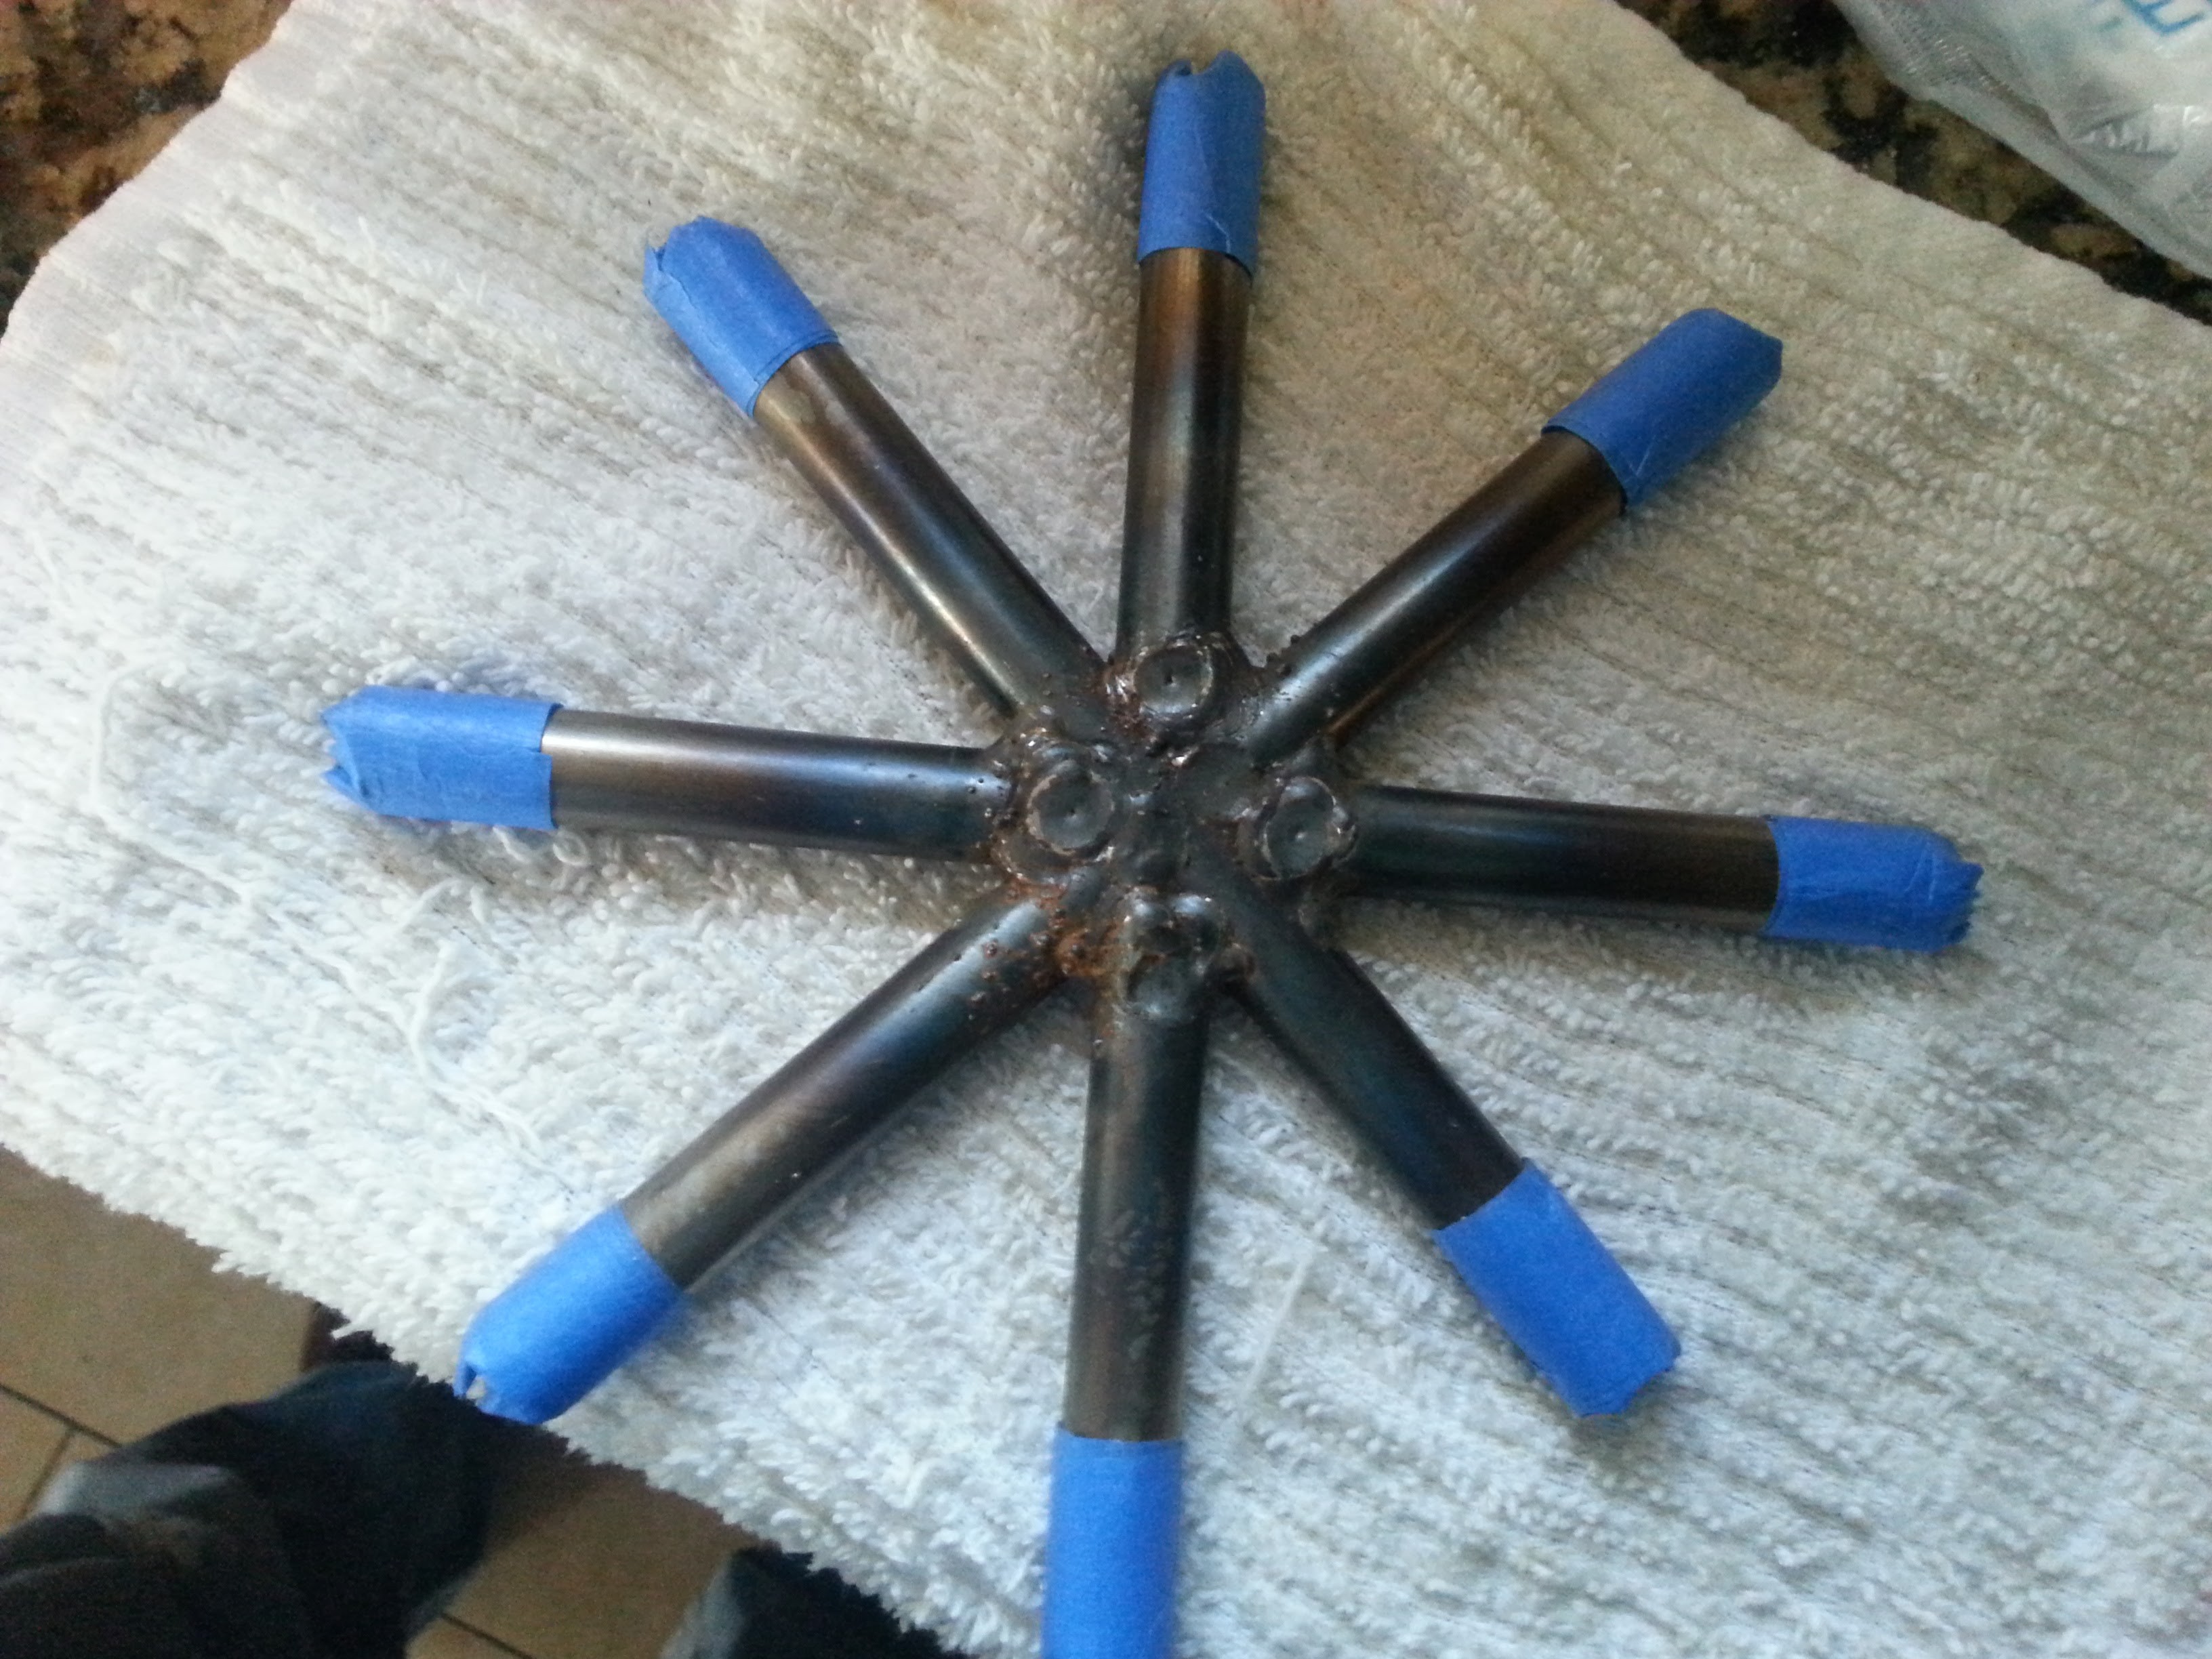
I had to wrap the ends in blue painters tape in order to get a friction fit with the PVC.
So, in order to use any sort of fabric thing indoors at a trade show, it has to be flame retardant. You can buy fabric that has been treated as such, but it is awfully expensive. So I bought super cheap fabric and treated it myself. I'm not sure if the results are great, but here is what I did.
I ordered a gallon of Rosco Flamex SF (for synthetic fabrics like my polyester spandex) from Rose Brand and picked it up at their local warehouse. Evidently you can't just walk in and buy stuff, they only take orders online or on the phone. I think it cost me $67 .
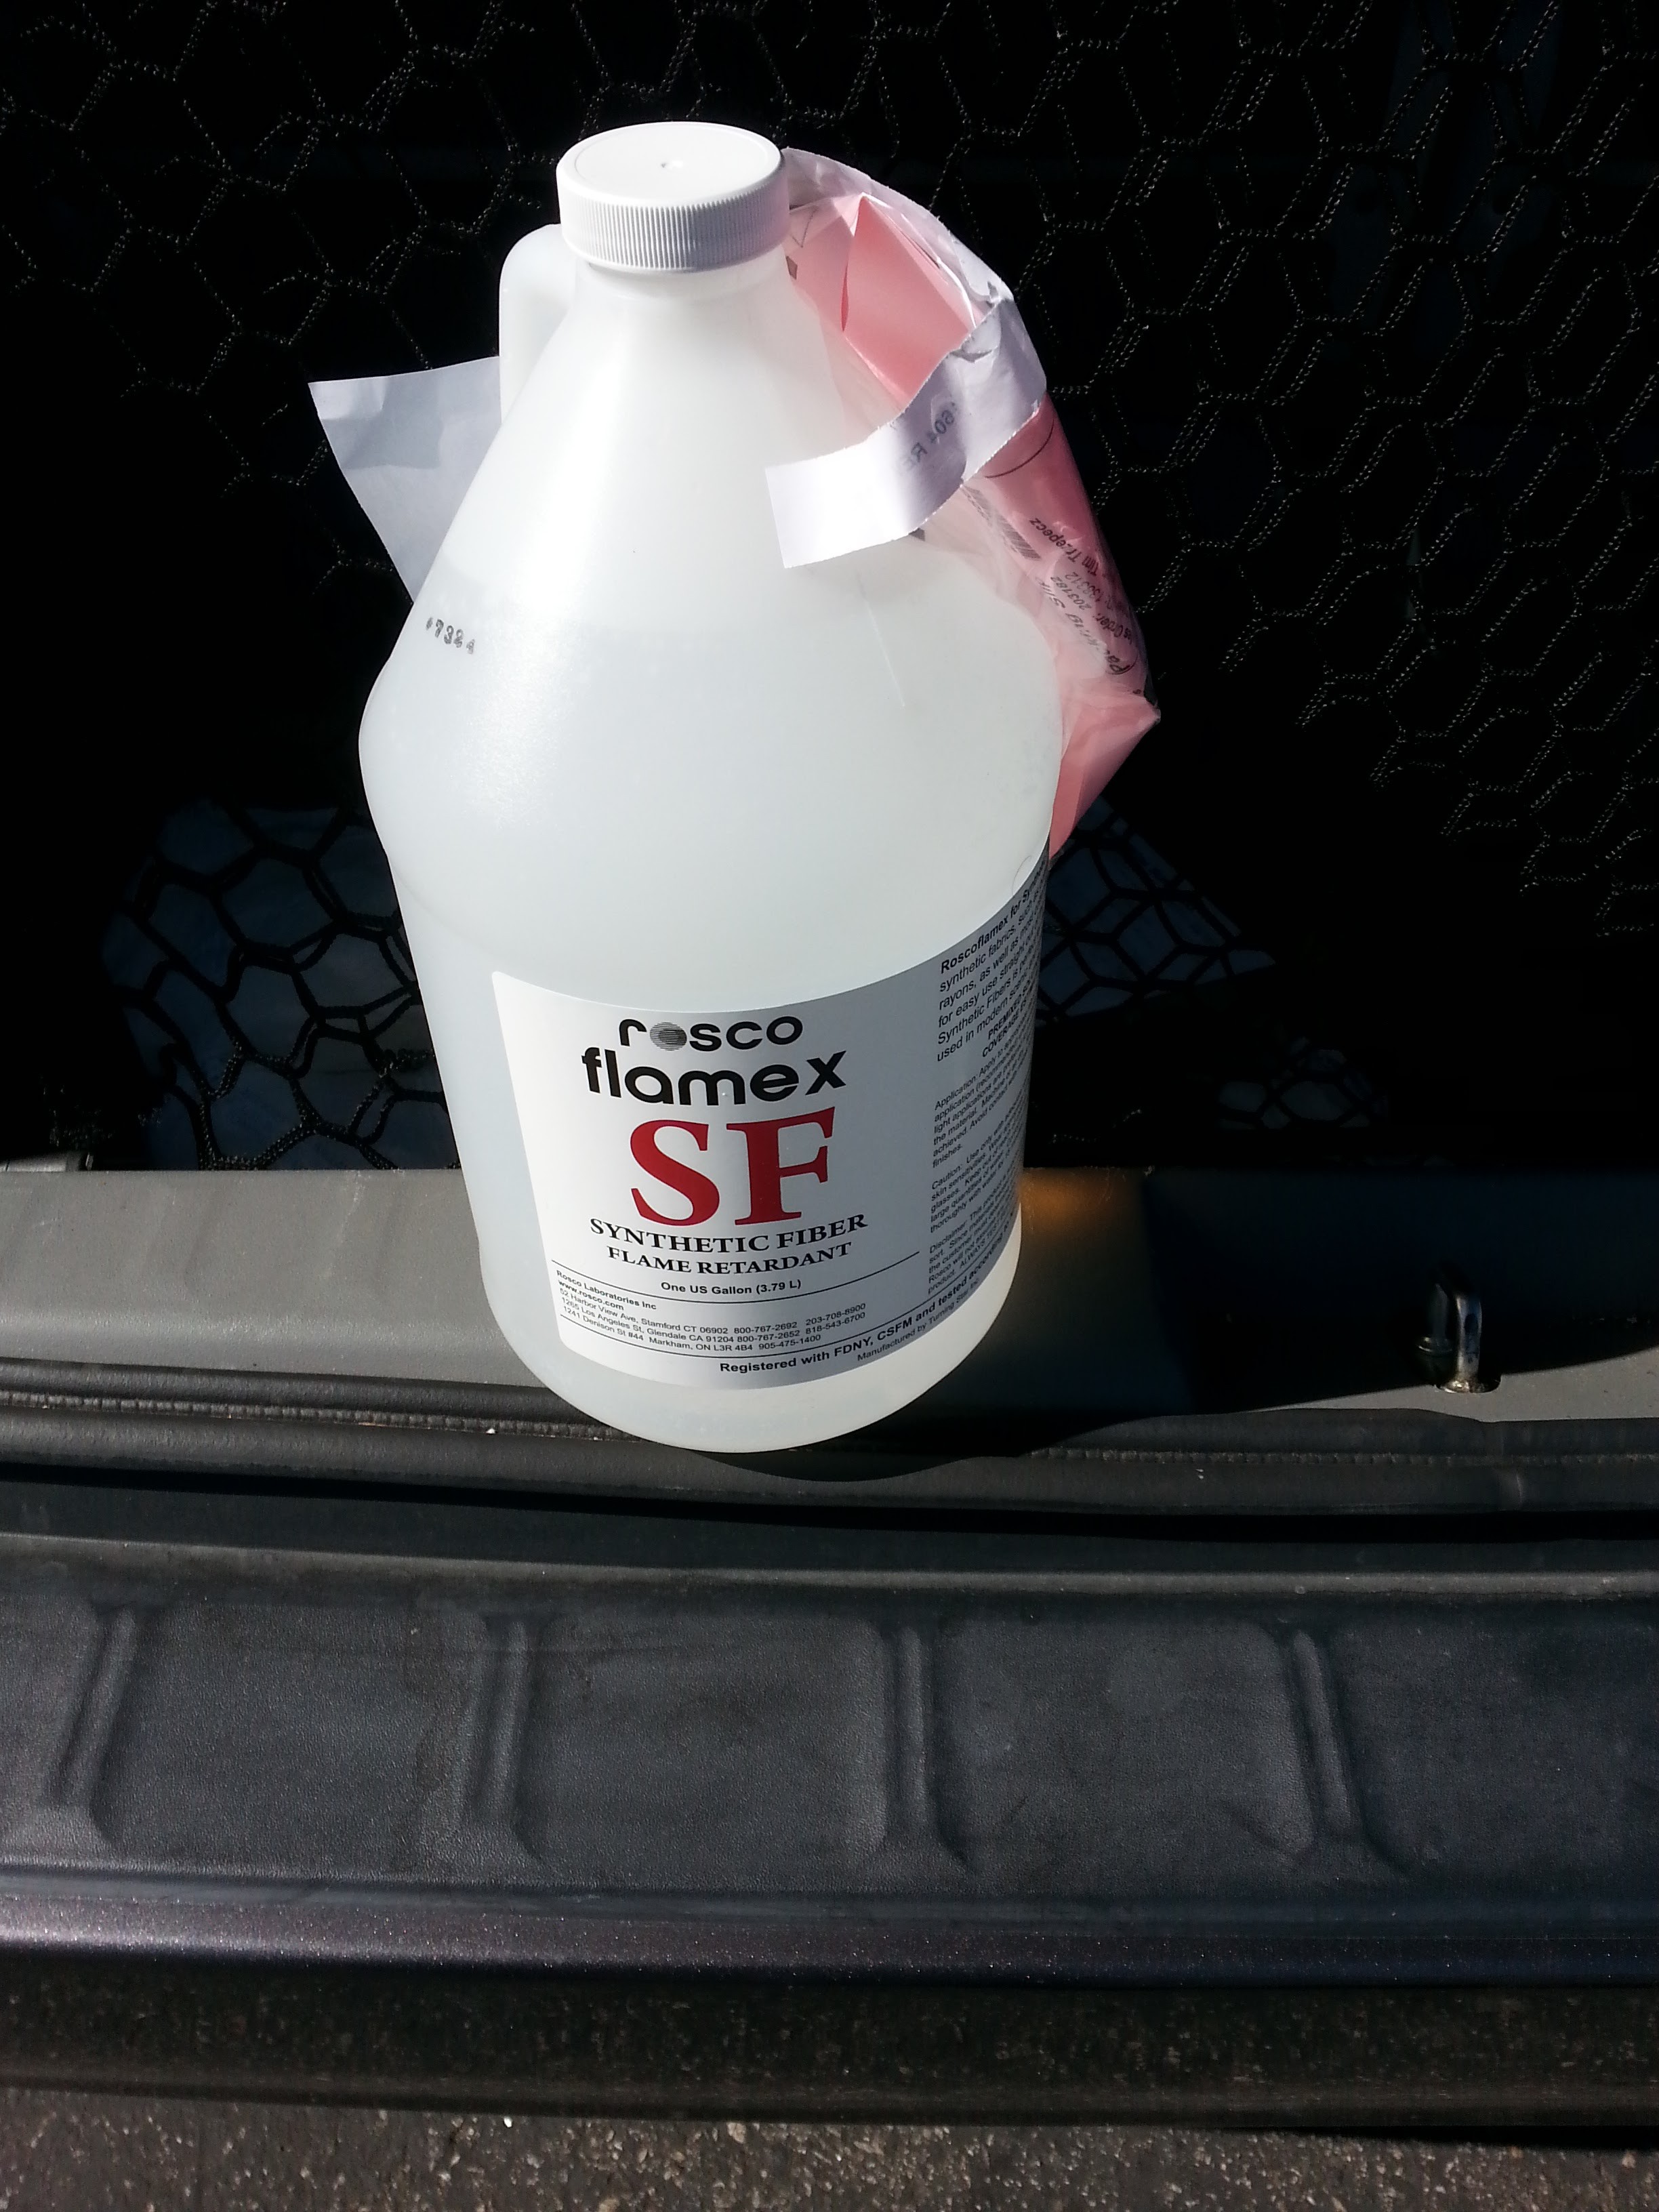
So I did some tests on the fabric to see if it burns.
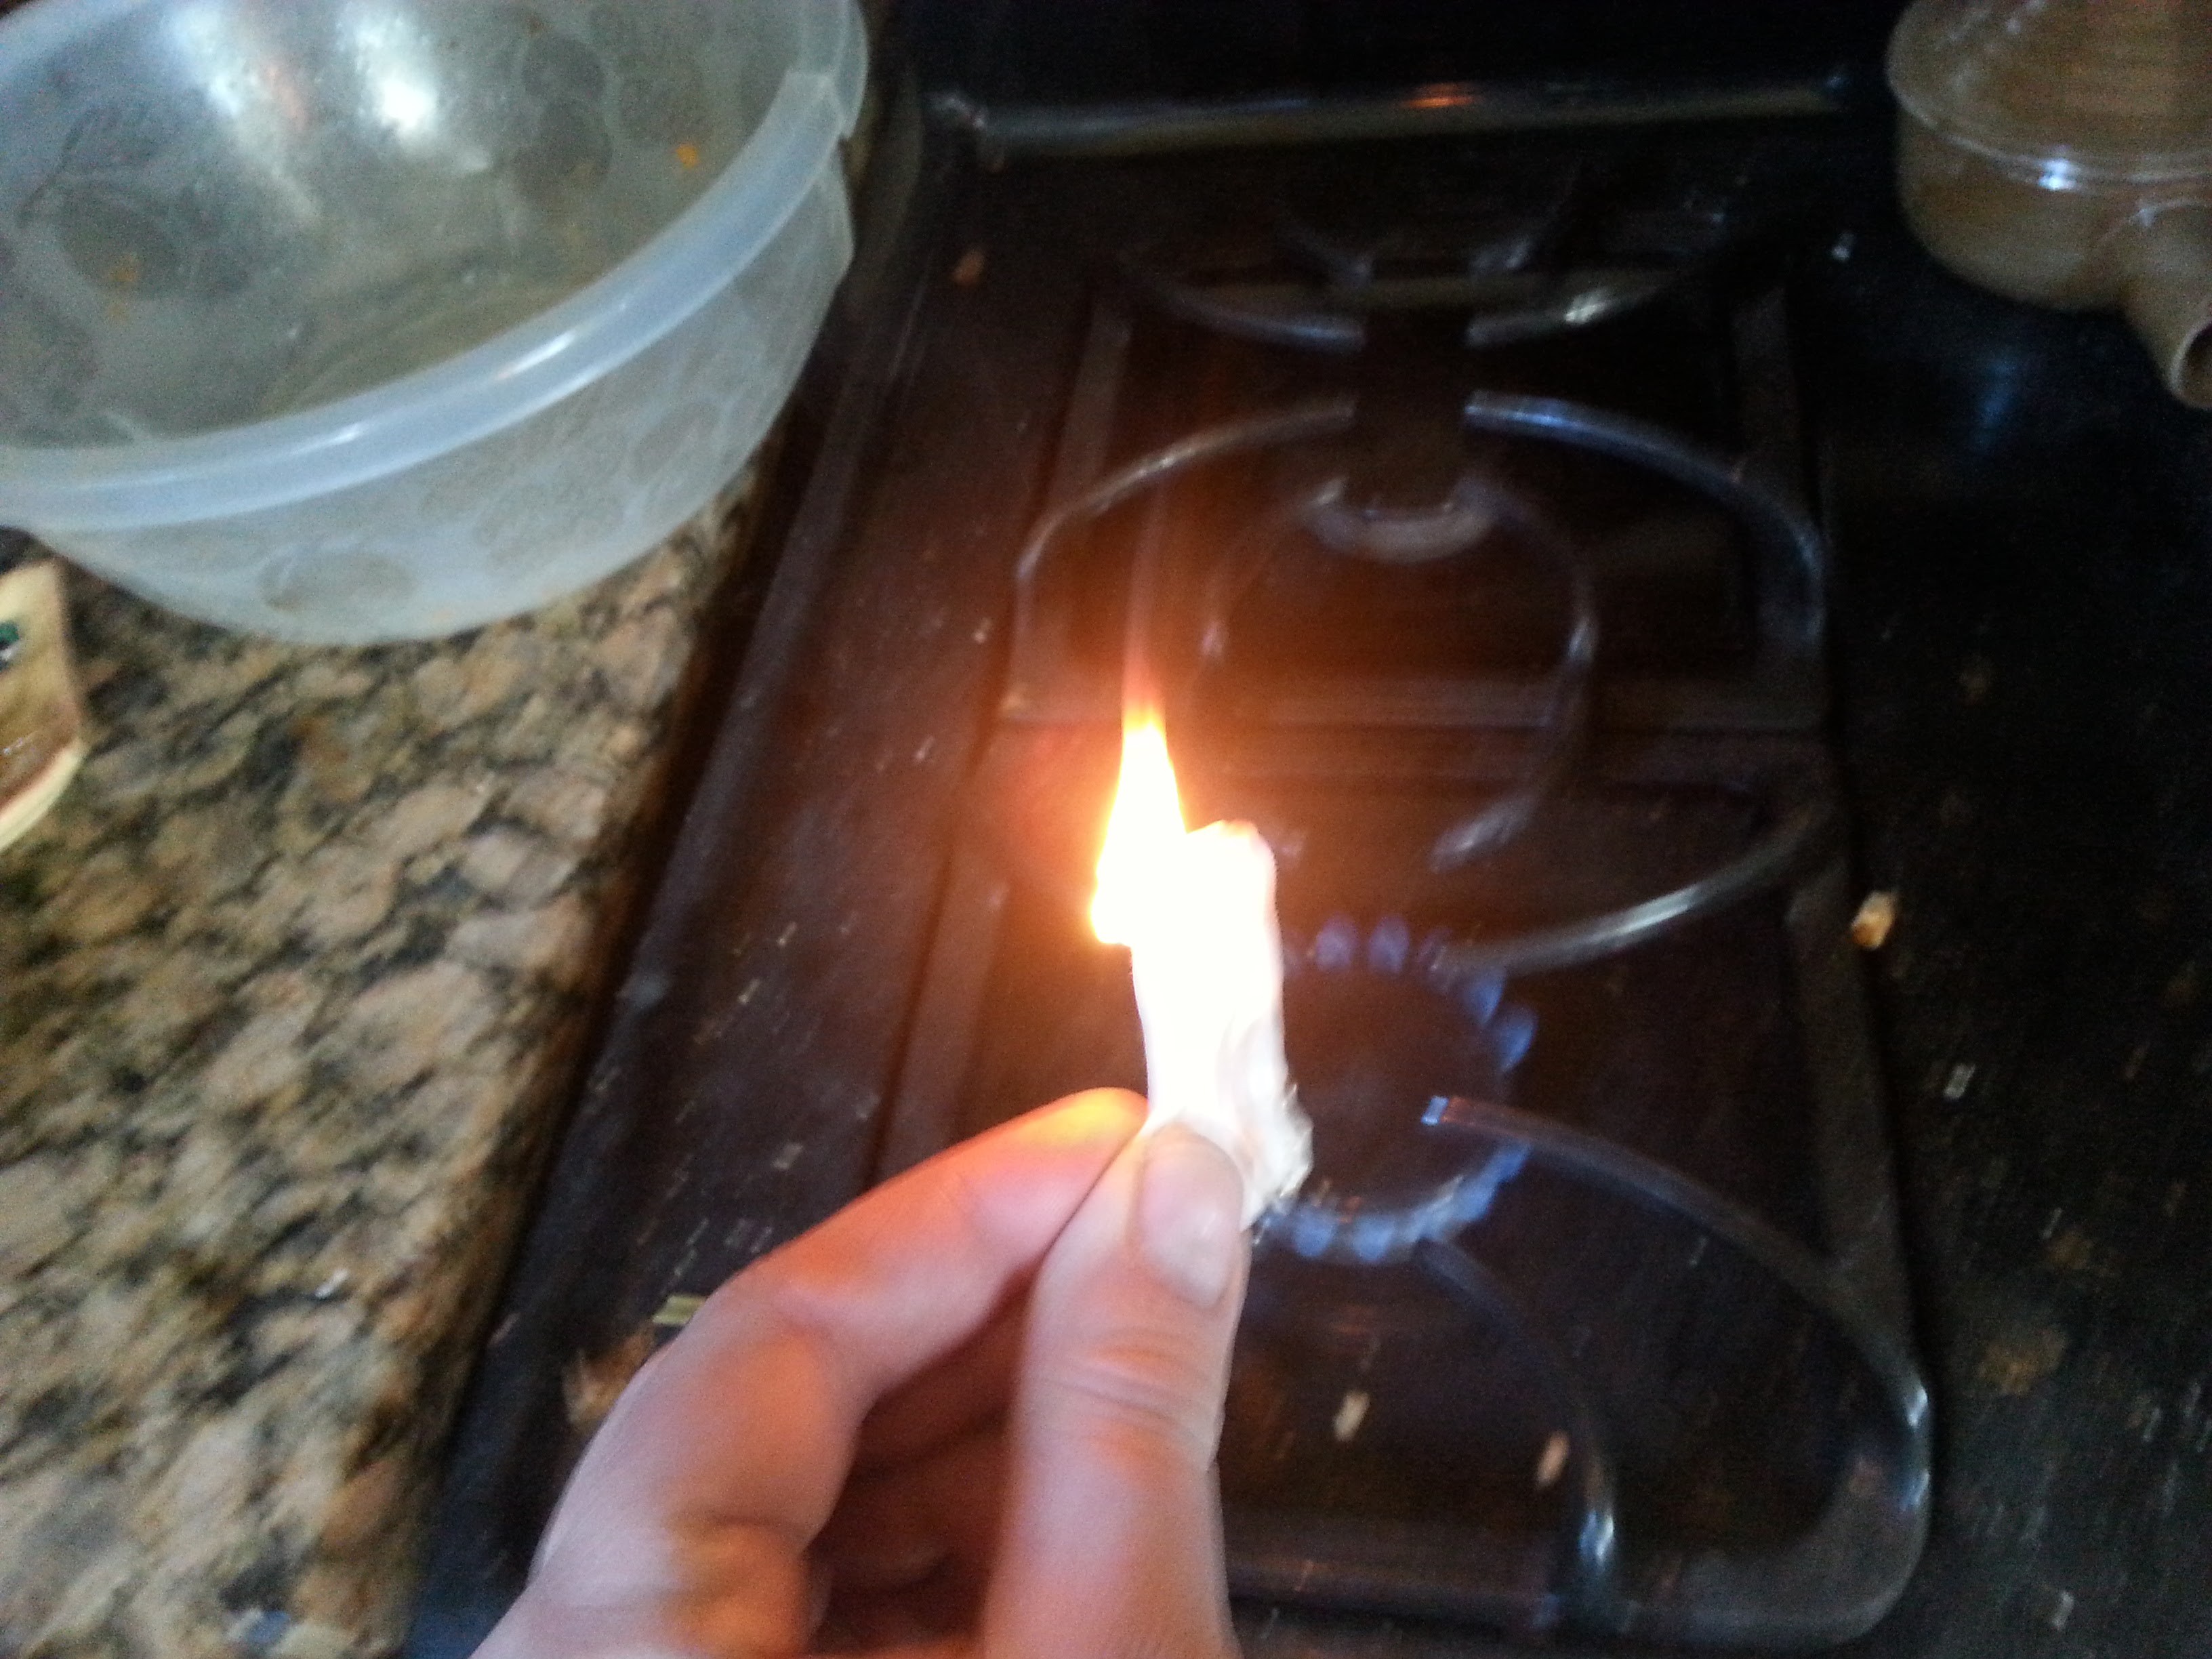
Burn it does!
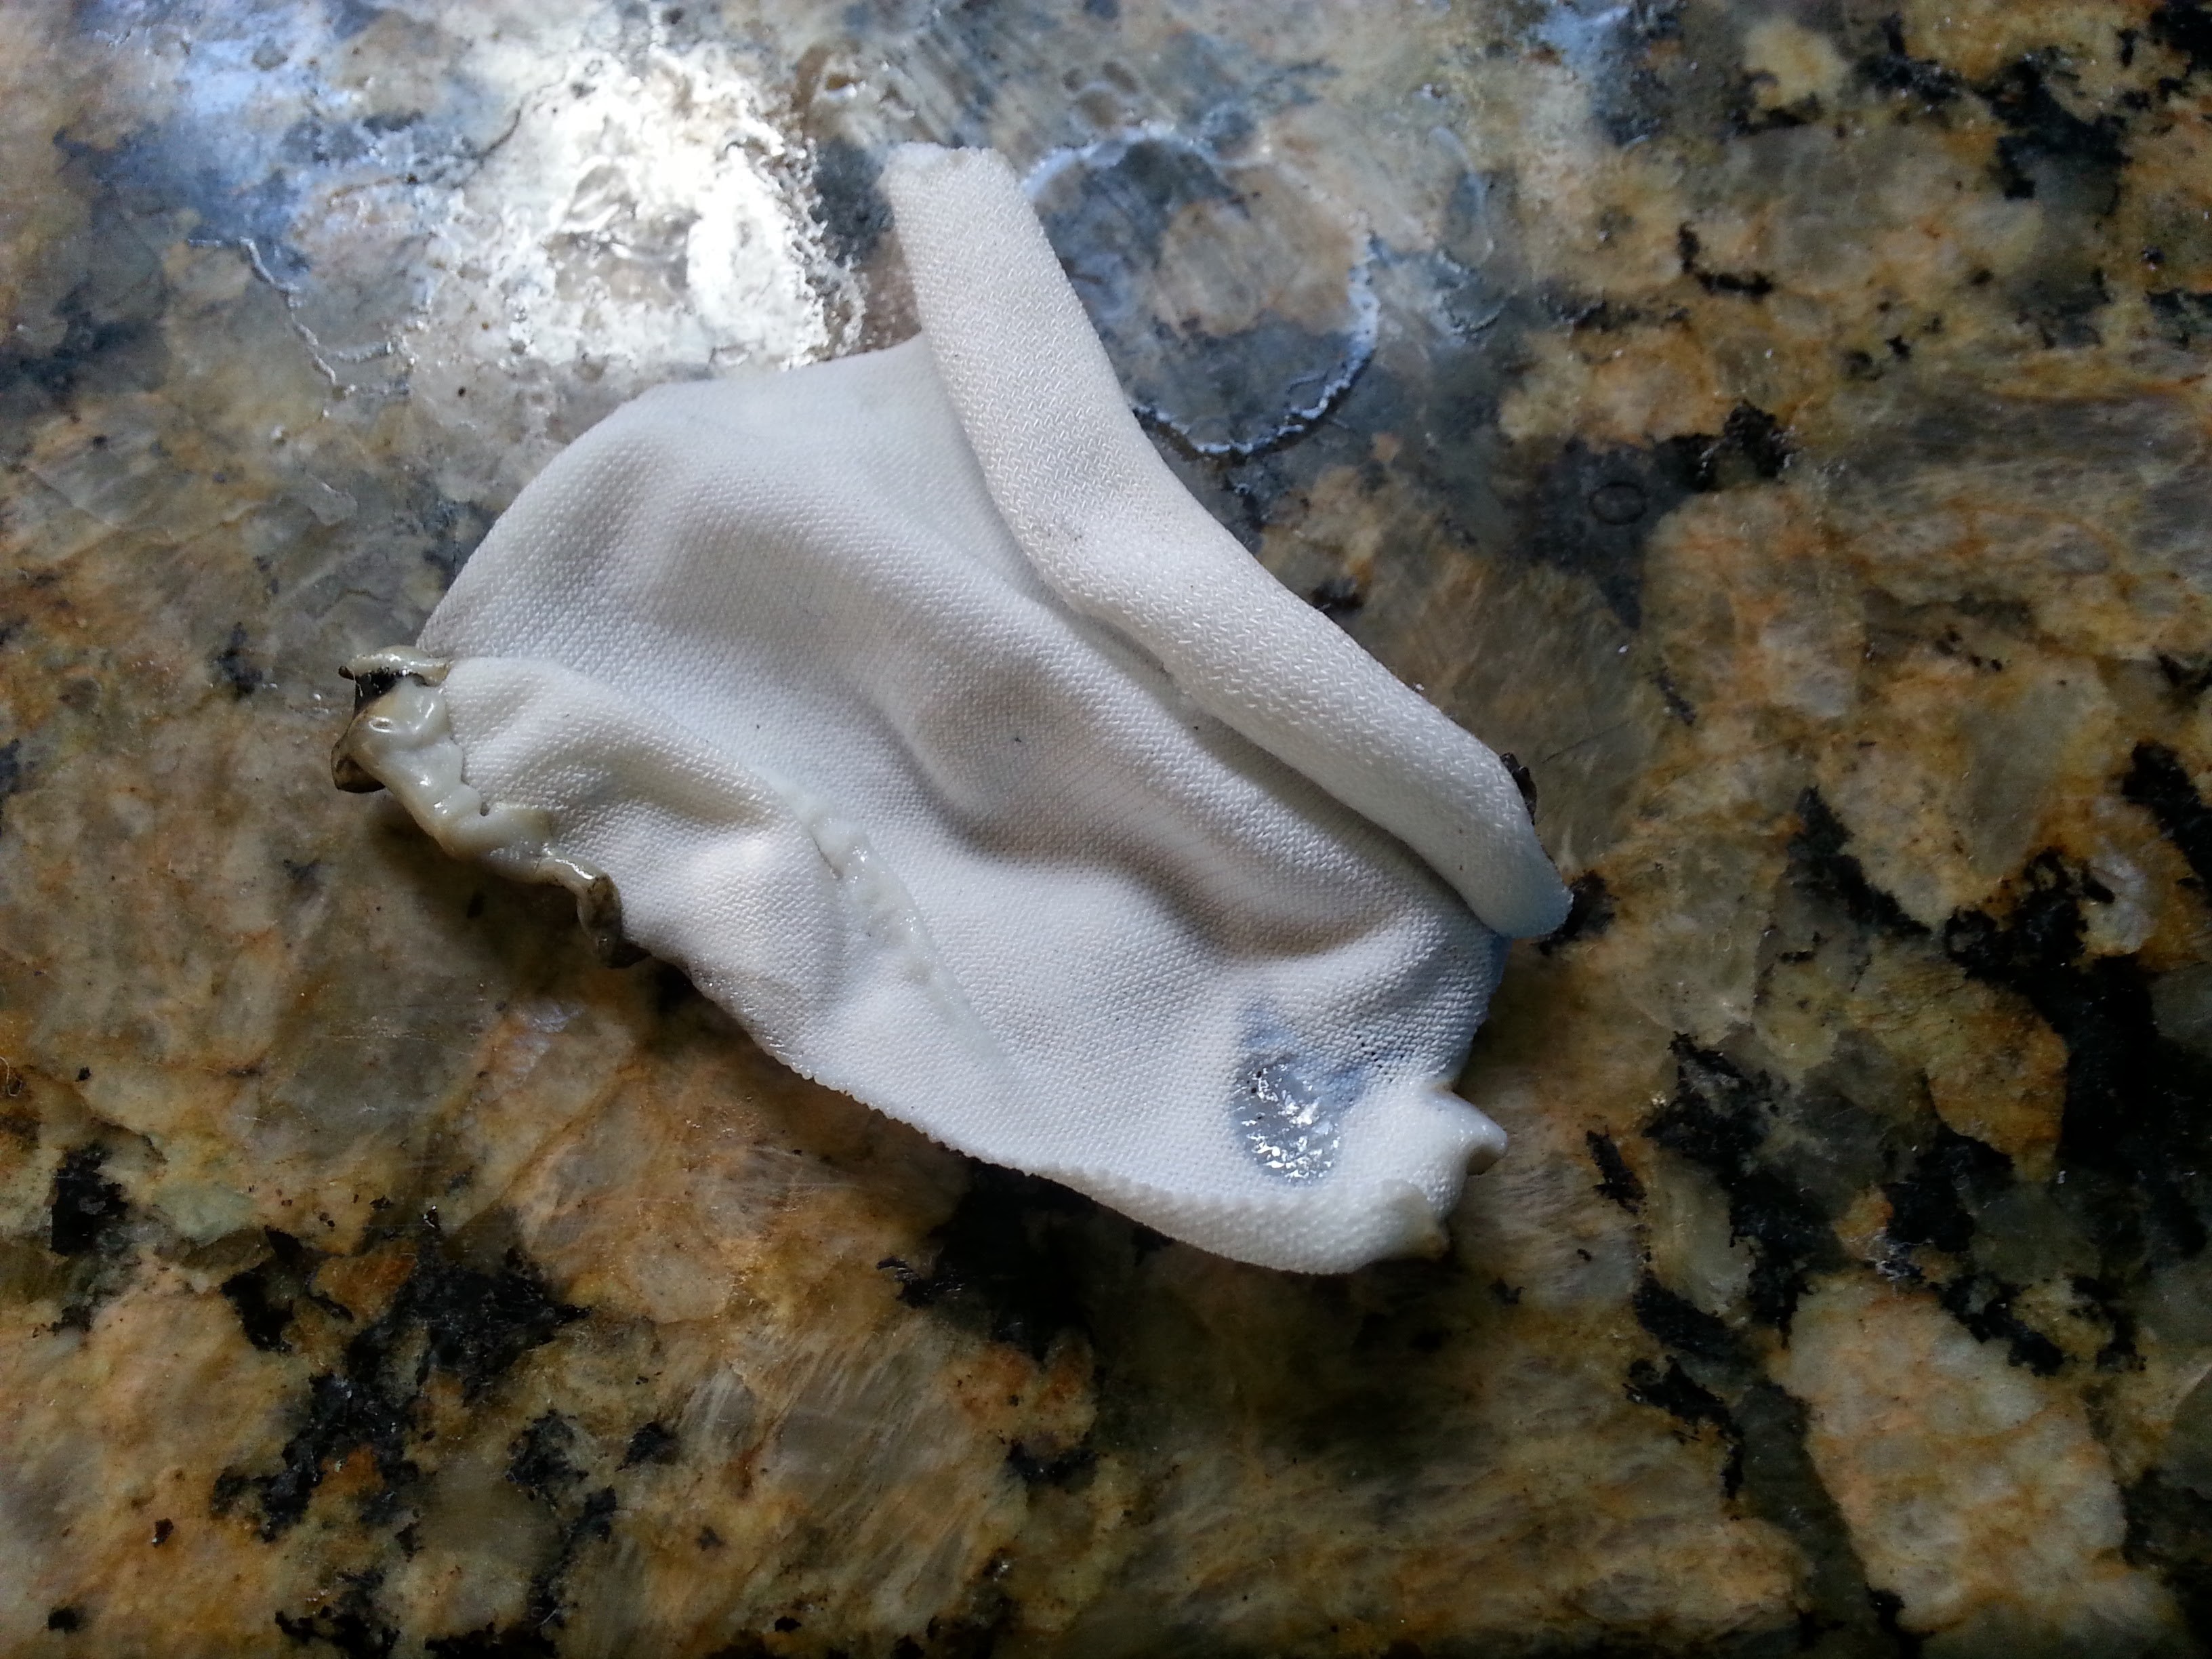
Gets nice and crunchy too!
So, now with the flame retardant:
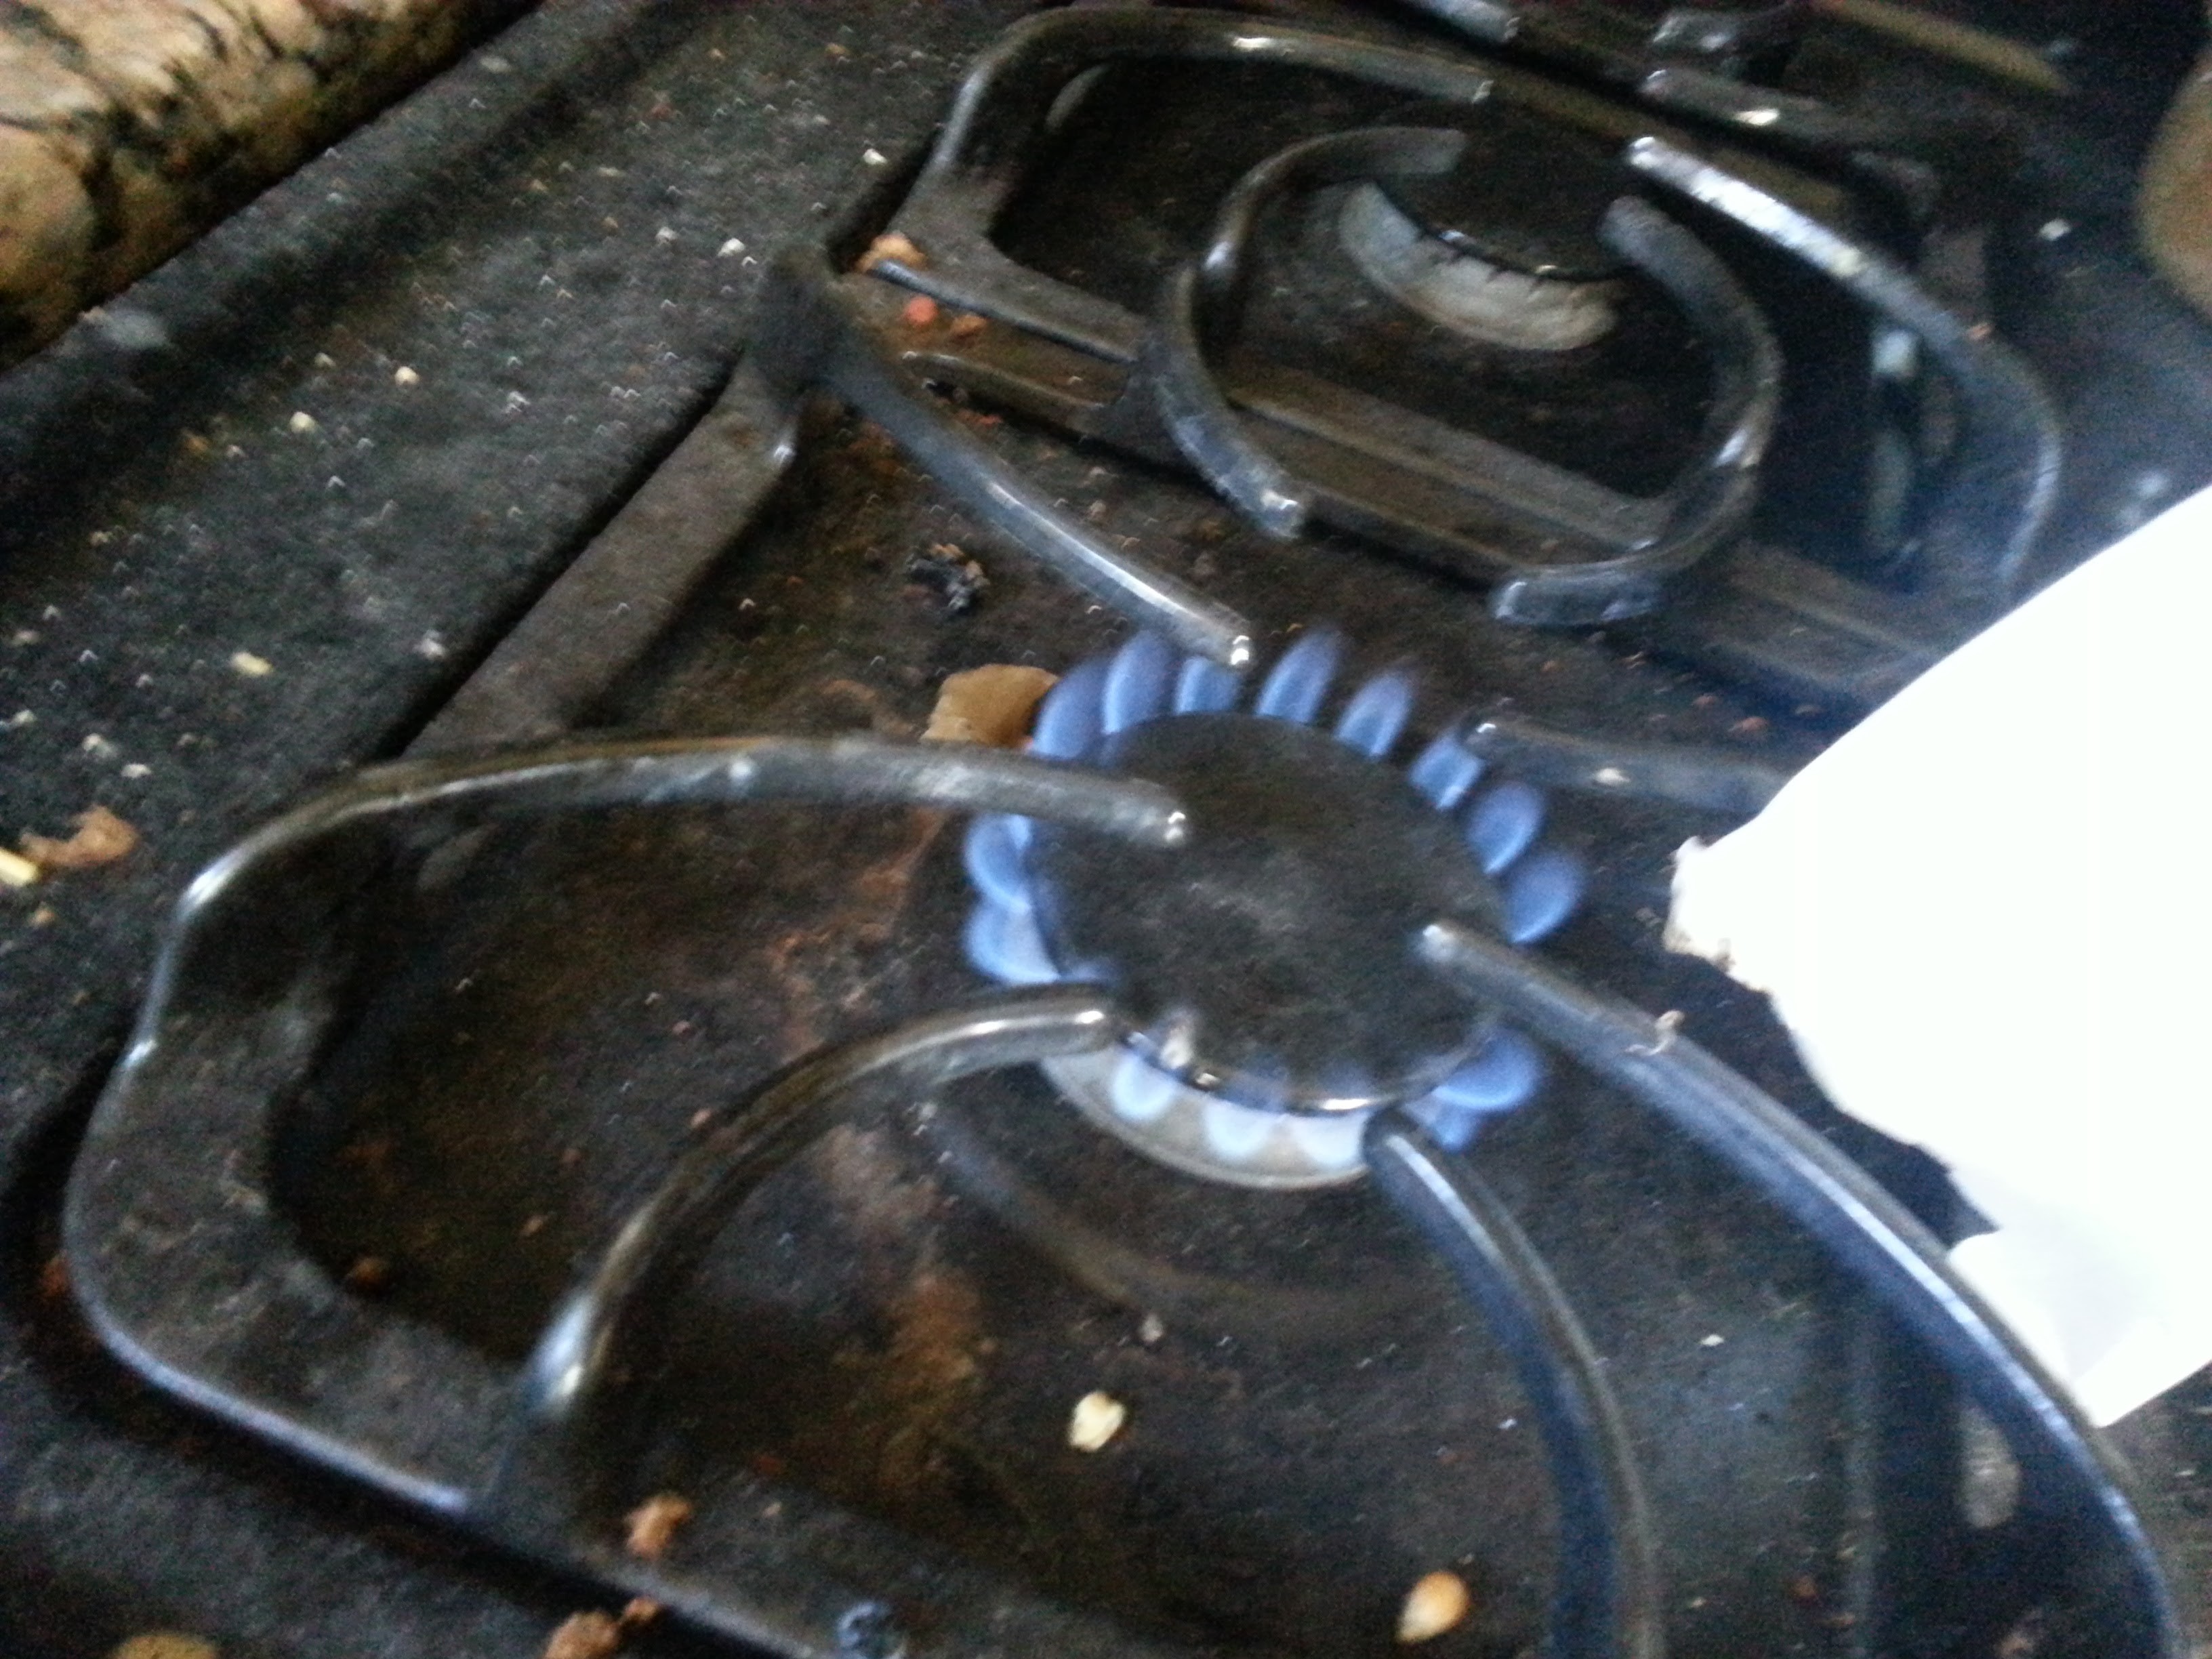
Not so much!
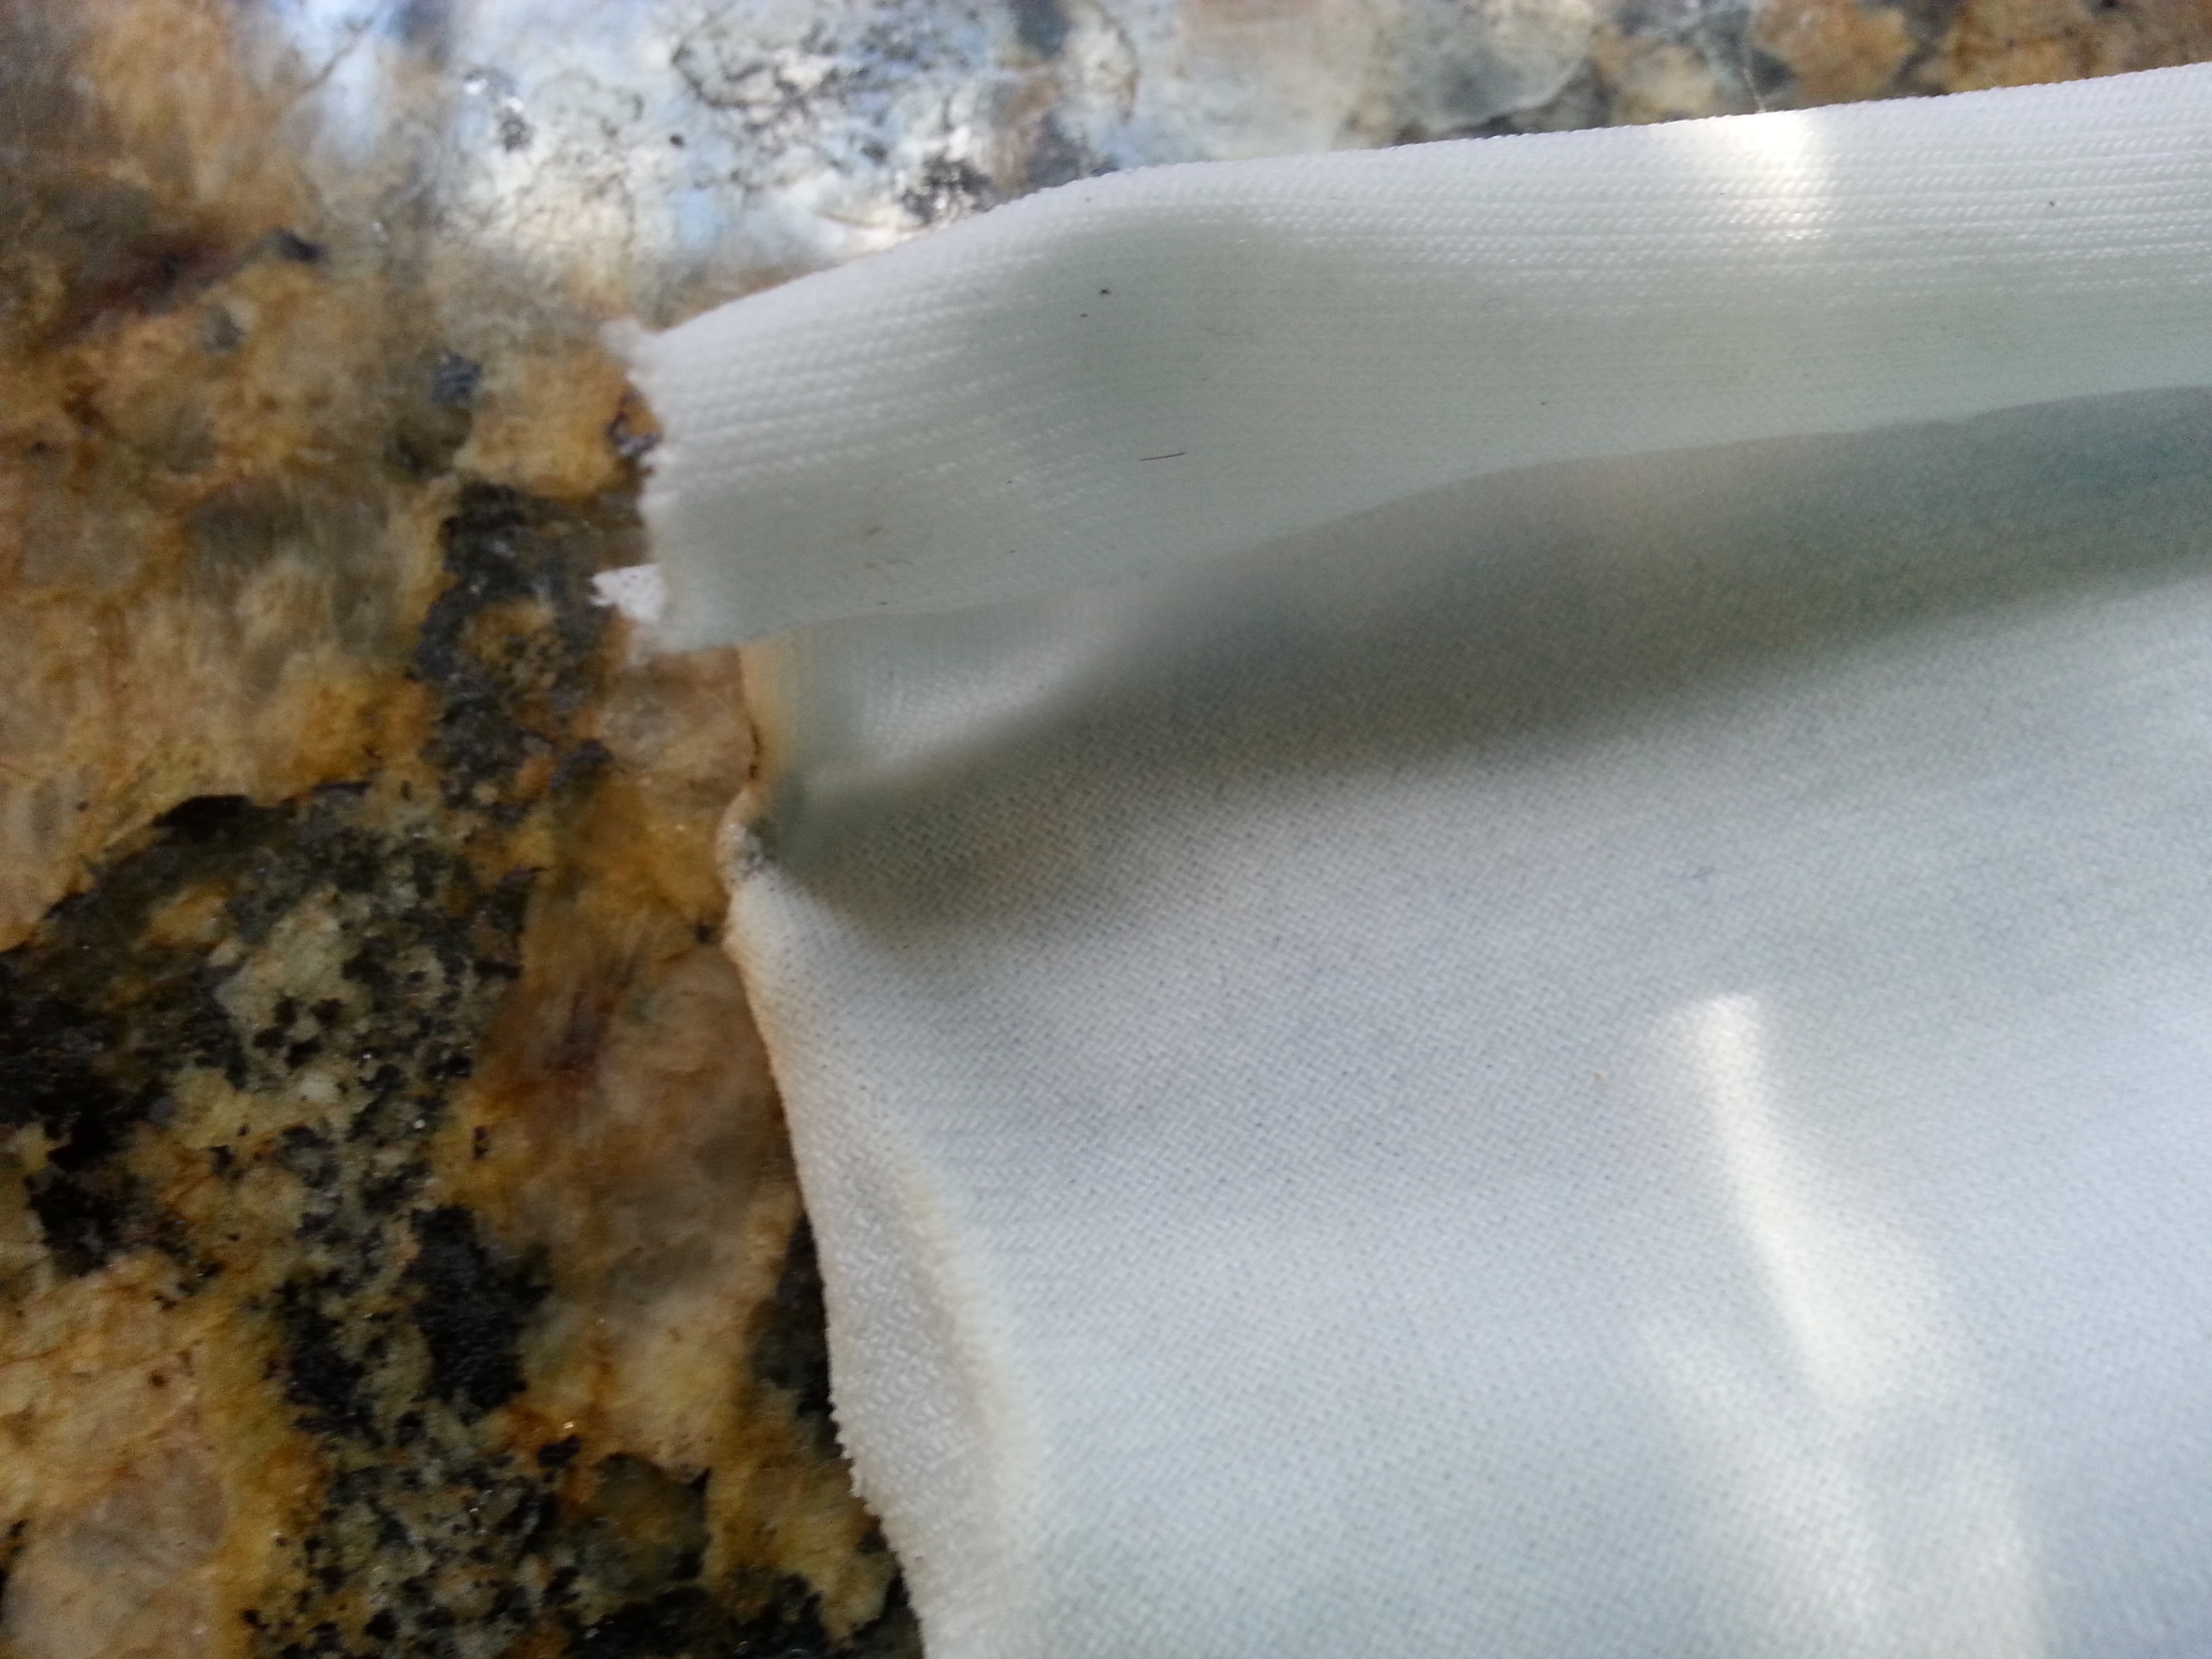
It still gets hard and crunchy but it does not alight!
I'm going to wait until I have all of the fabric cut and sewn before I actually treat it. It will be easier to work with before I add the retardant, and I don't want to waste it on the extra material I have to cut away.
I spent a lot of time trying to find the right cloth. Rosebrand will sell nice flame retardant cloth, but it costs $26 a yard, so that seemed rather out of reach. I went to the garment district and bought nice spandex cloth for $2 a yard. But it needs to be treated with flame retardant or I can't use it at indoor trade shows.
Having acquired some cloth, the next step was to measure, cut, and pin it, a process that would prove to be quite arduous!
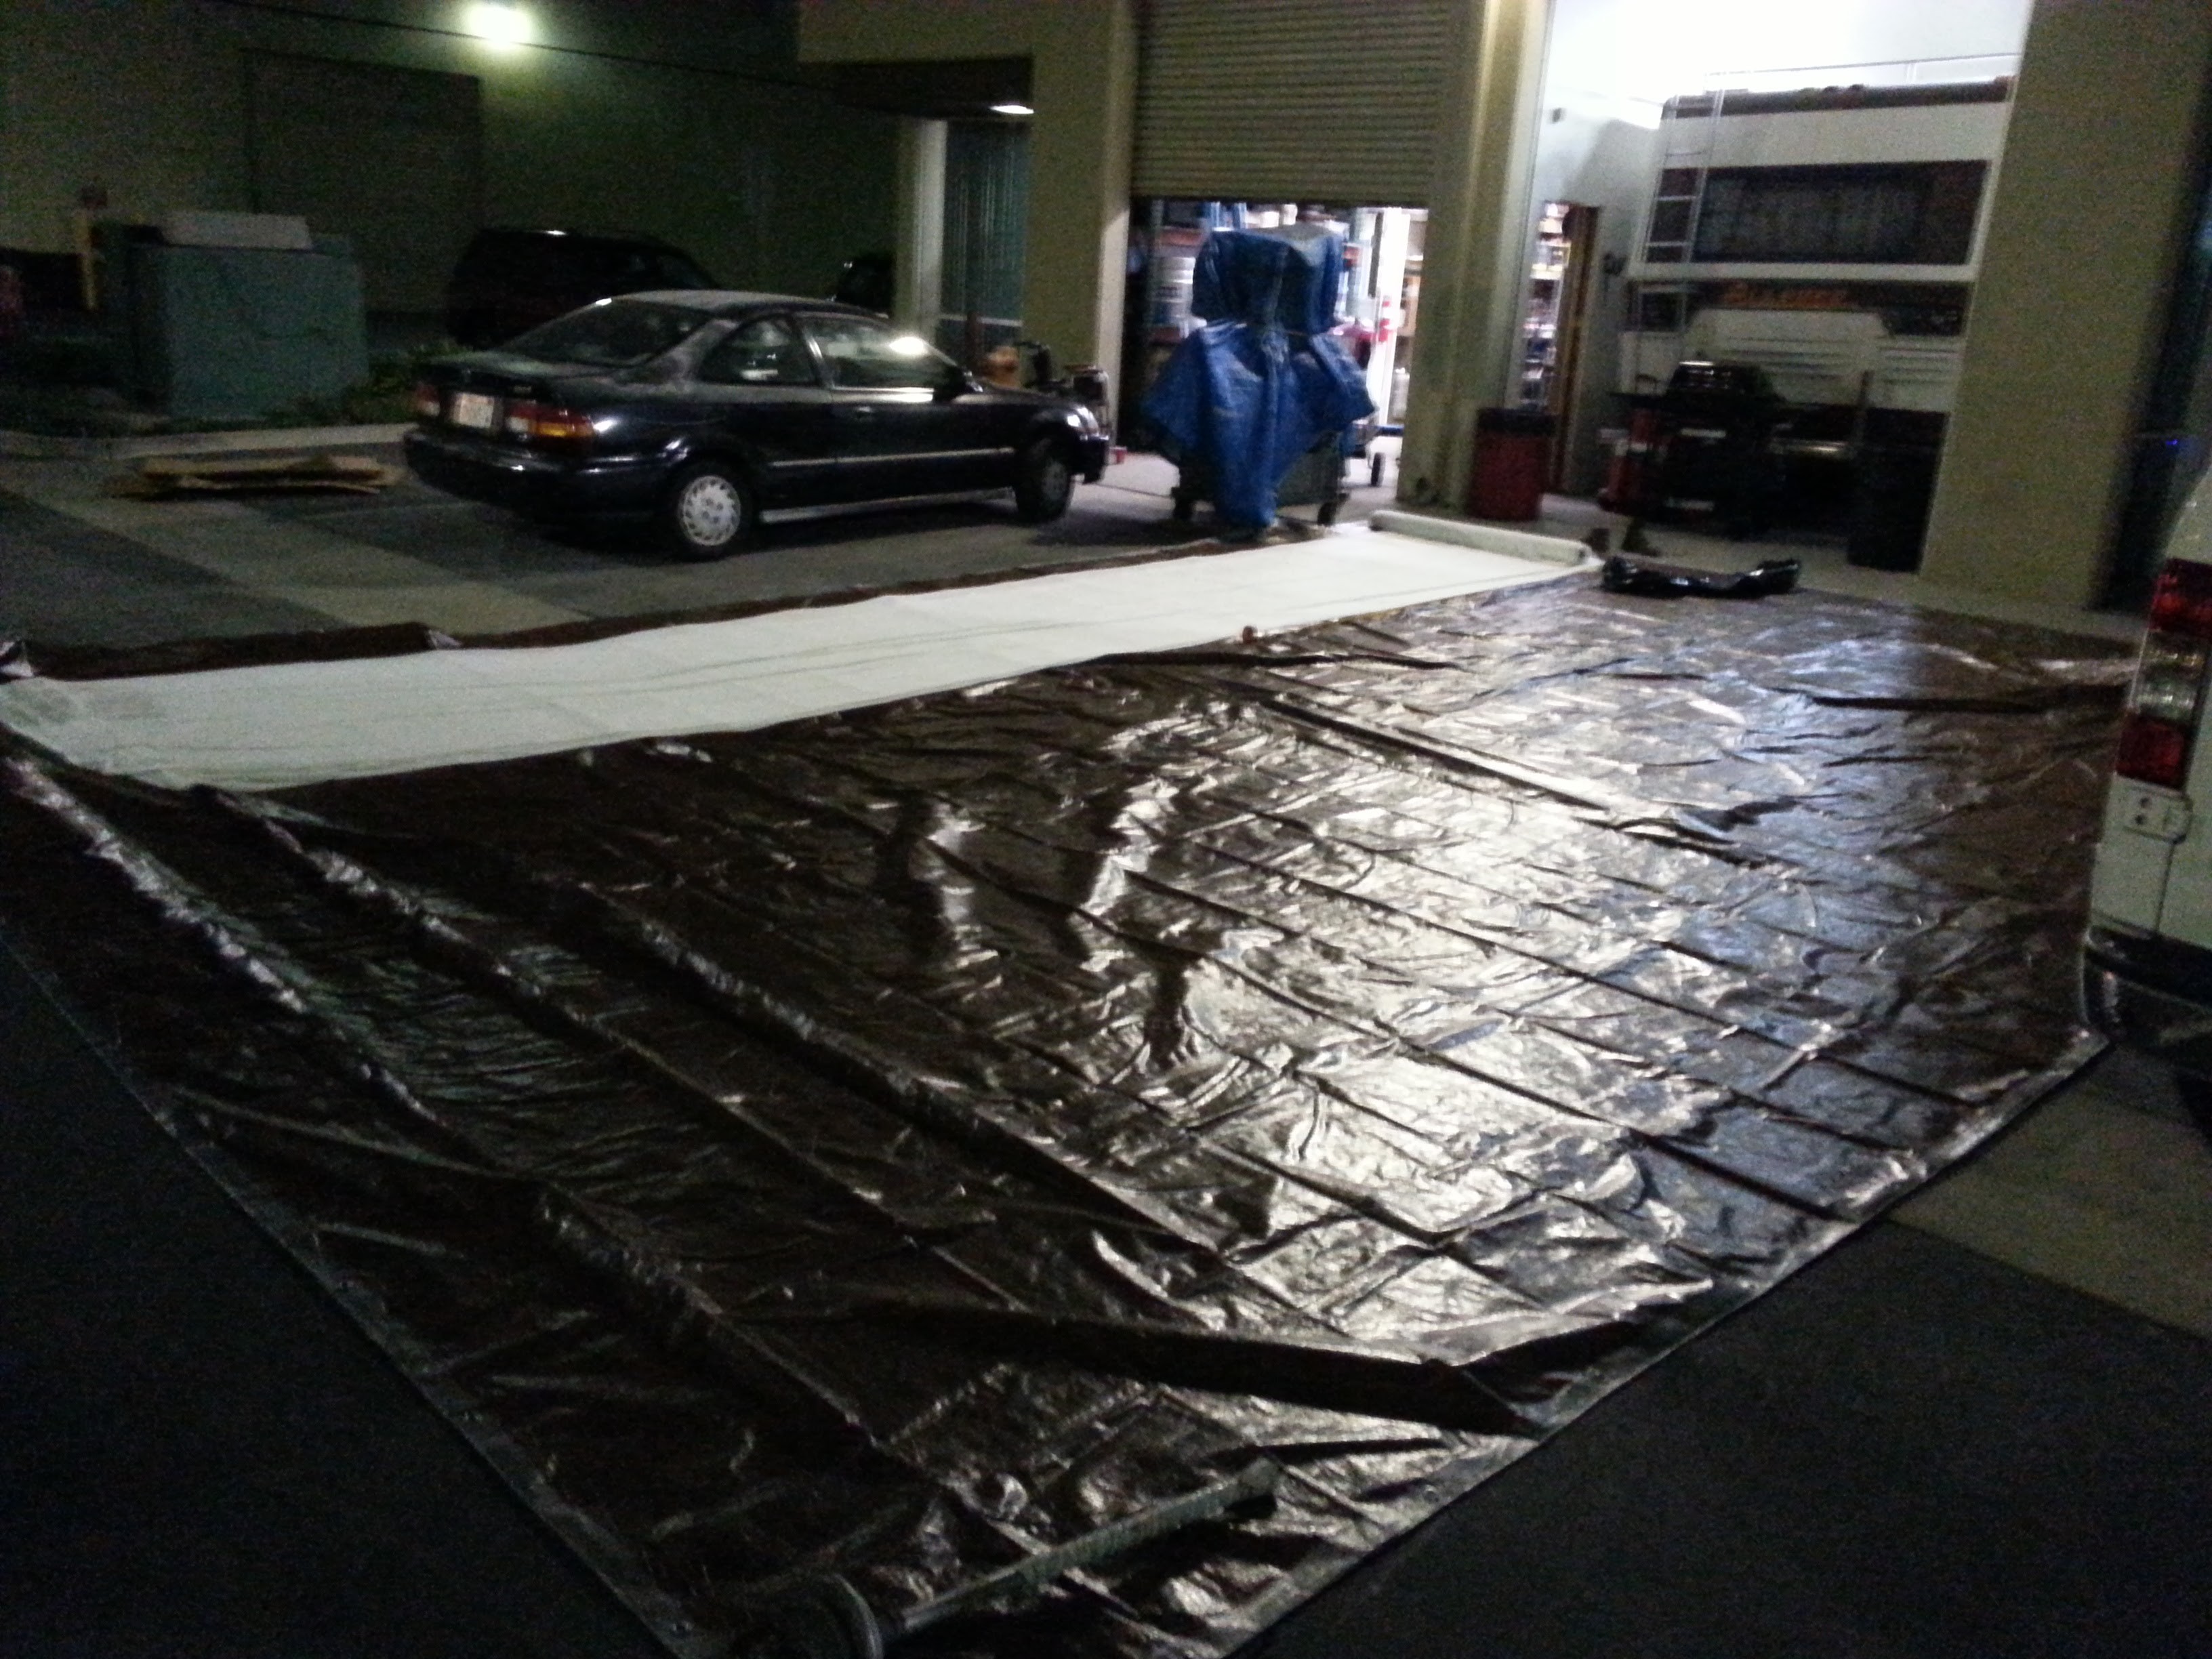
In order to keep a clean surface to stretch the cloth out on, I used a huge tarp I had bought as a roof for a show and hadn't used yet. Here it is stretched out in front of 23b Shop Hackerspace in Fullerton.
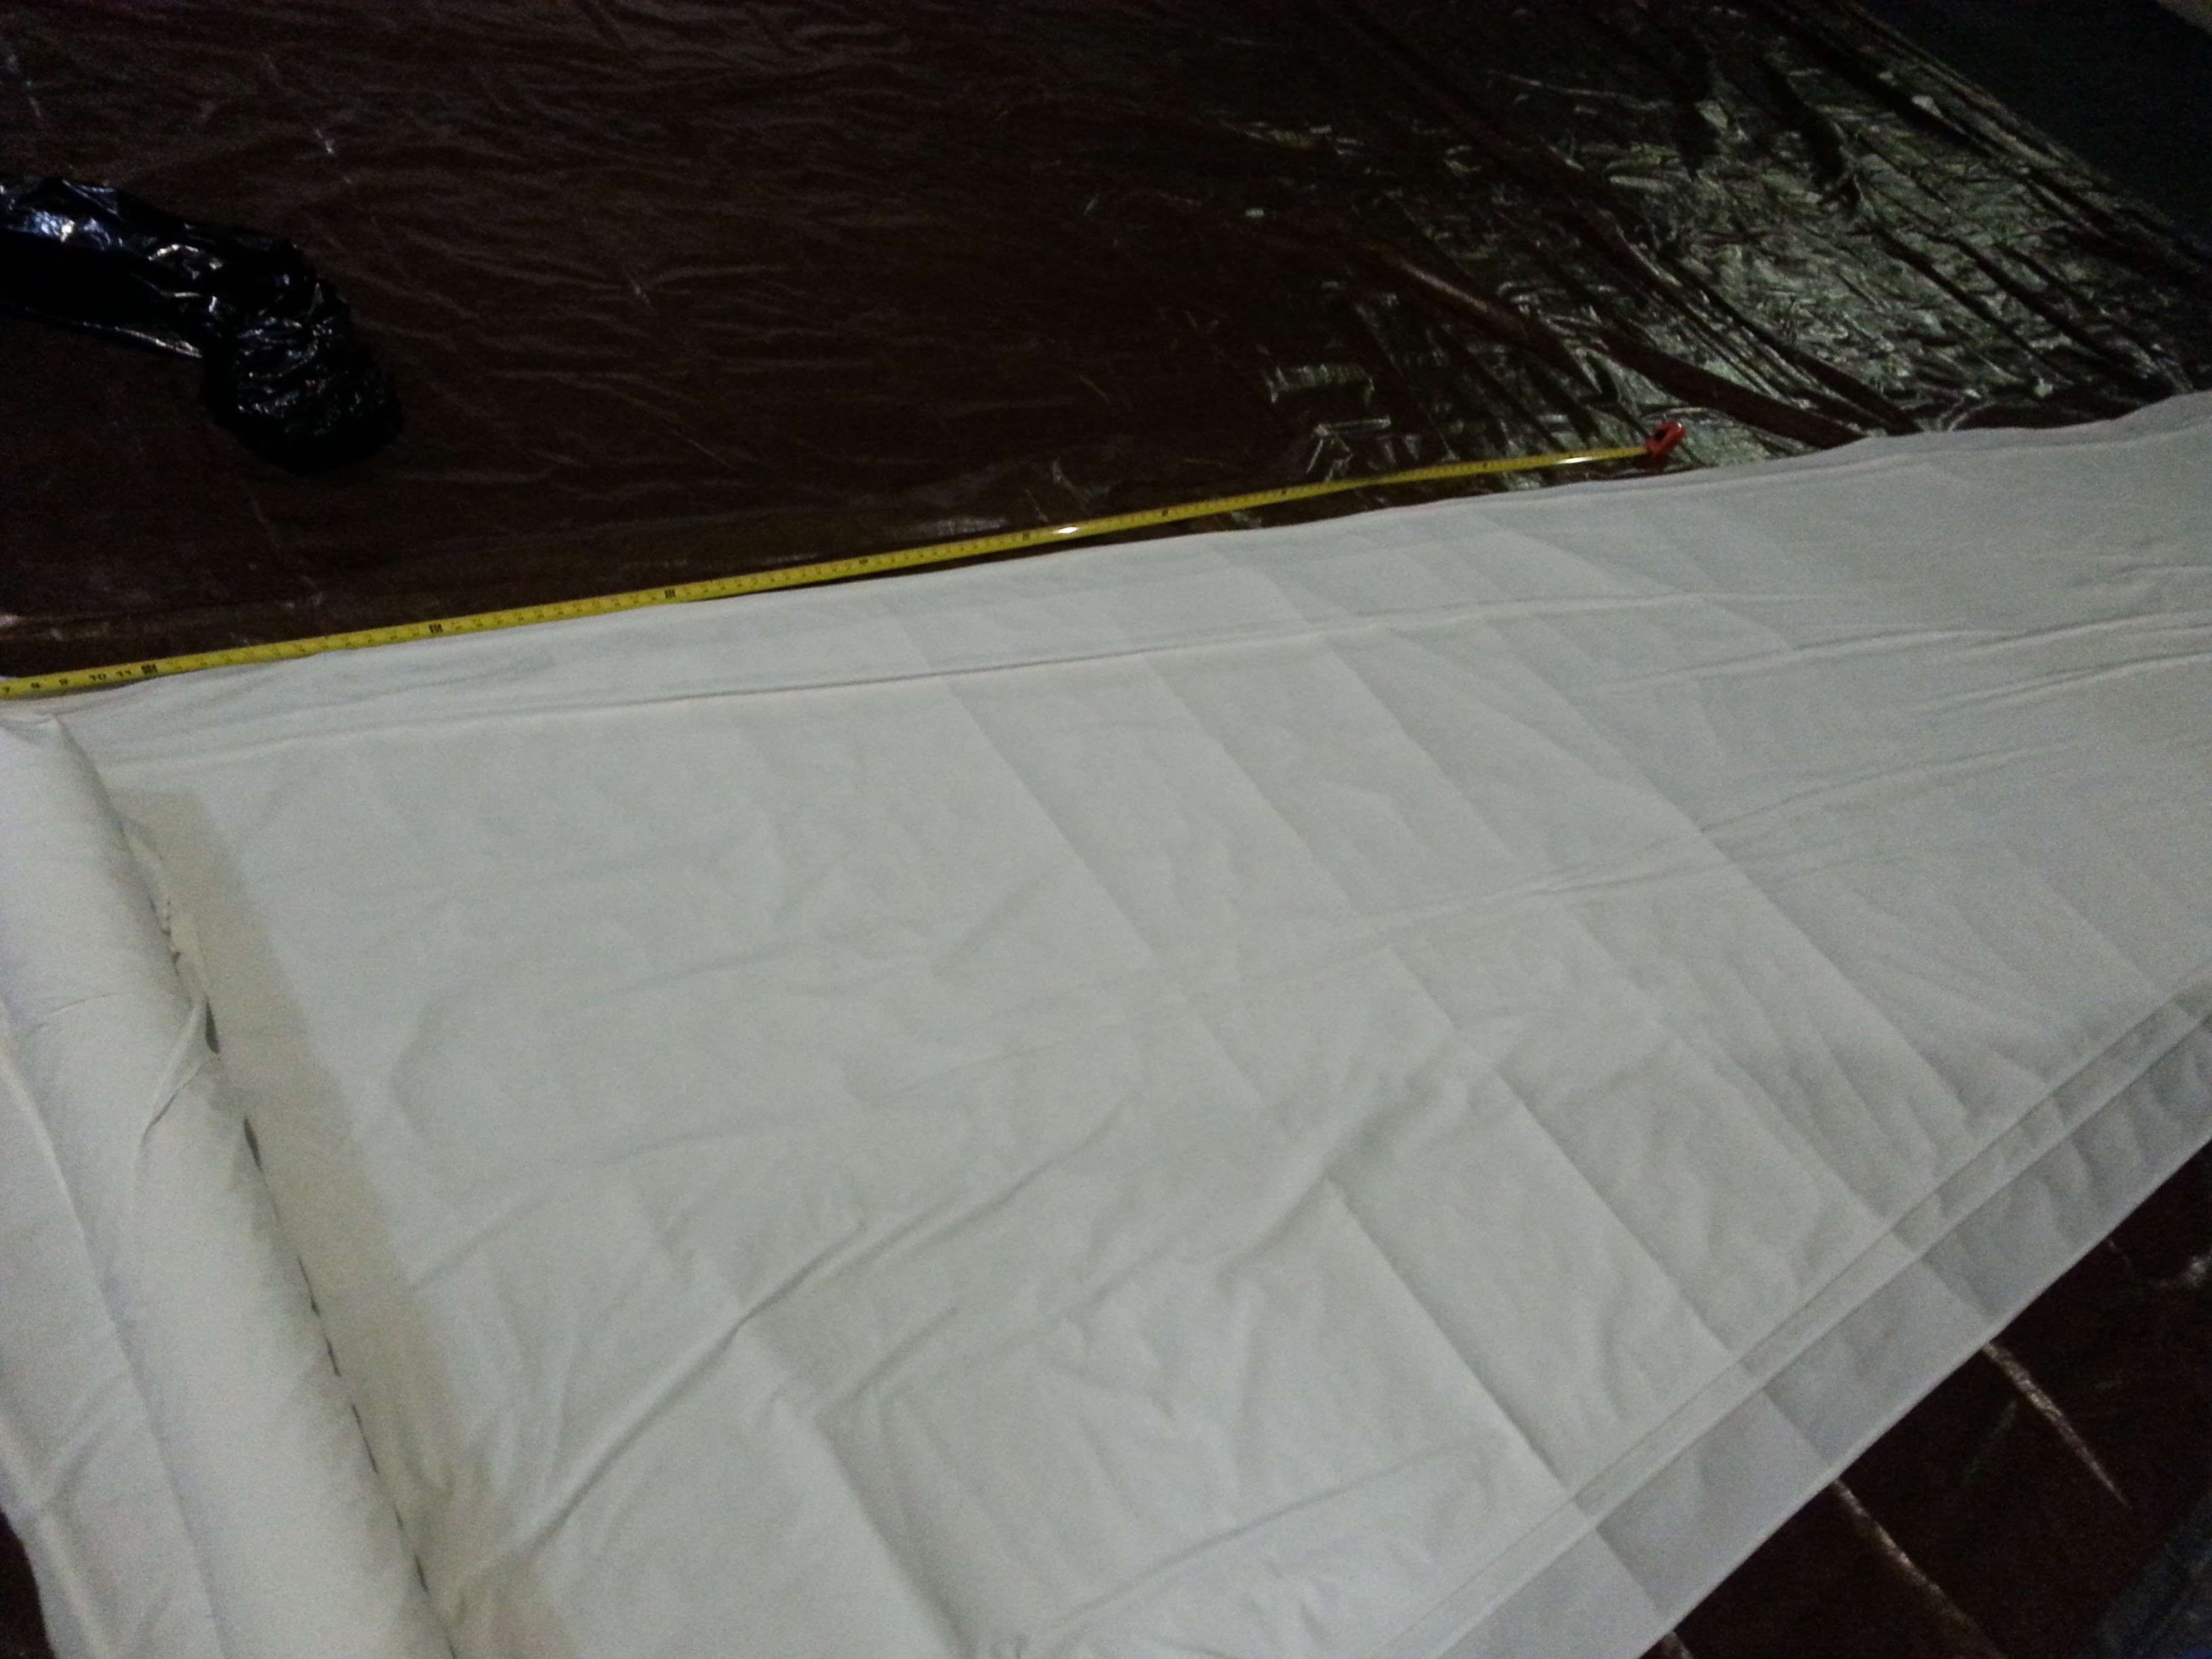
Measuring.
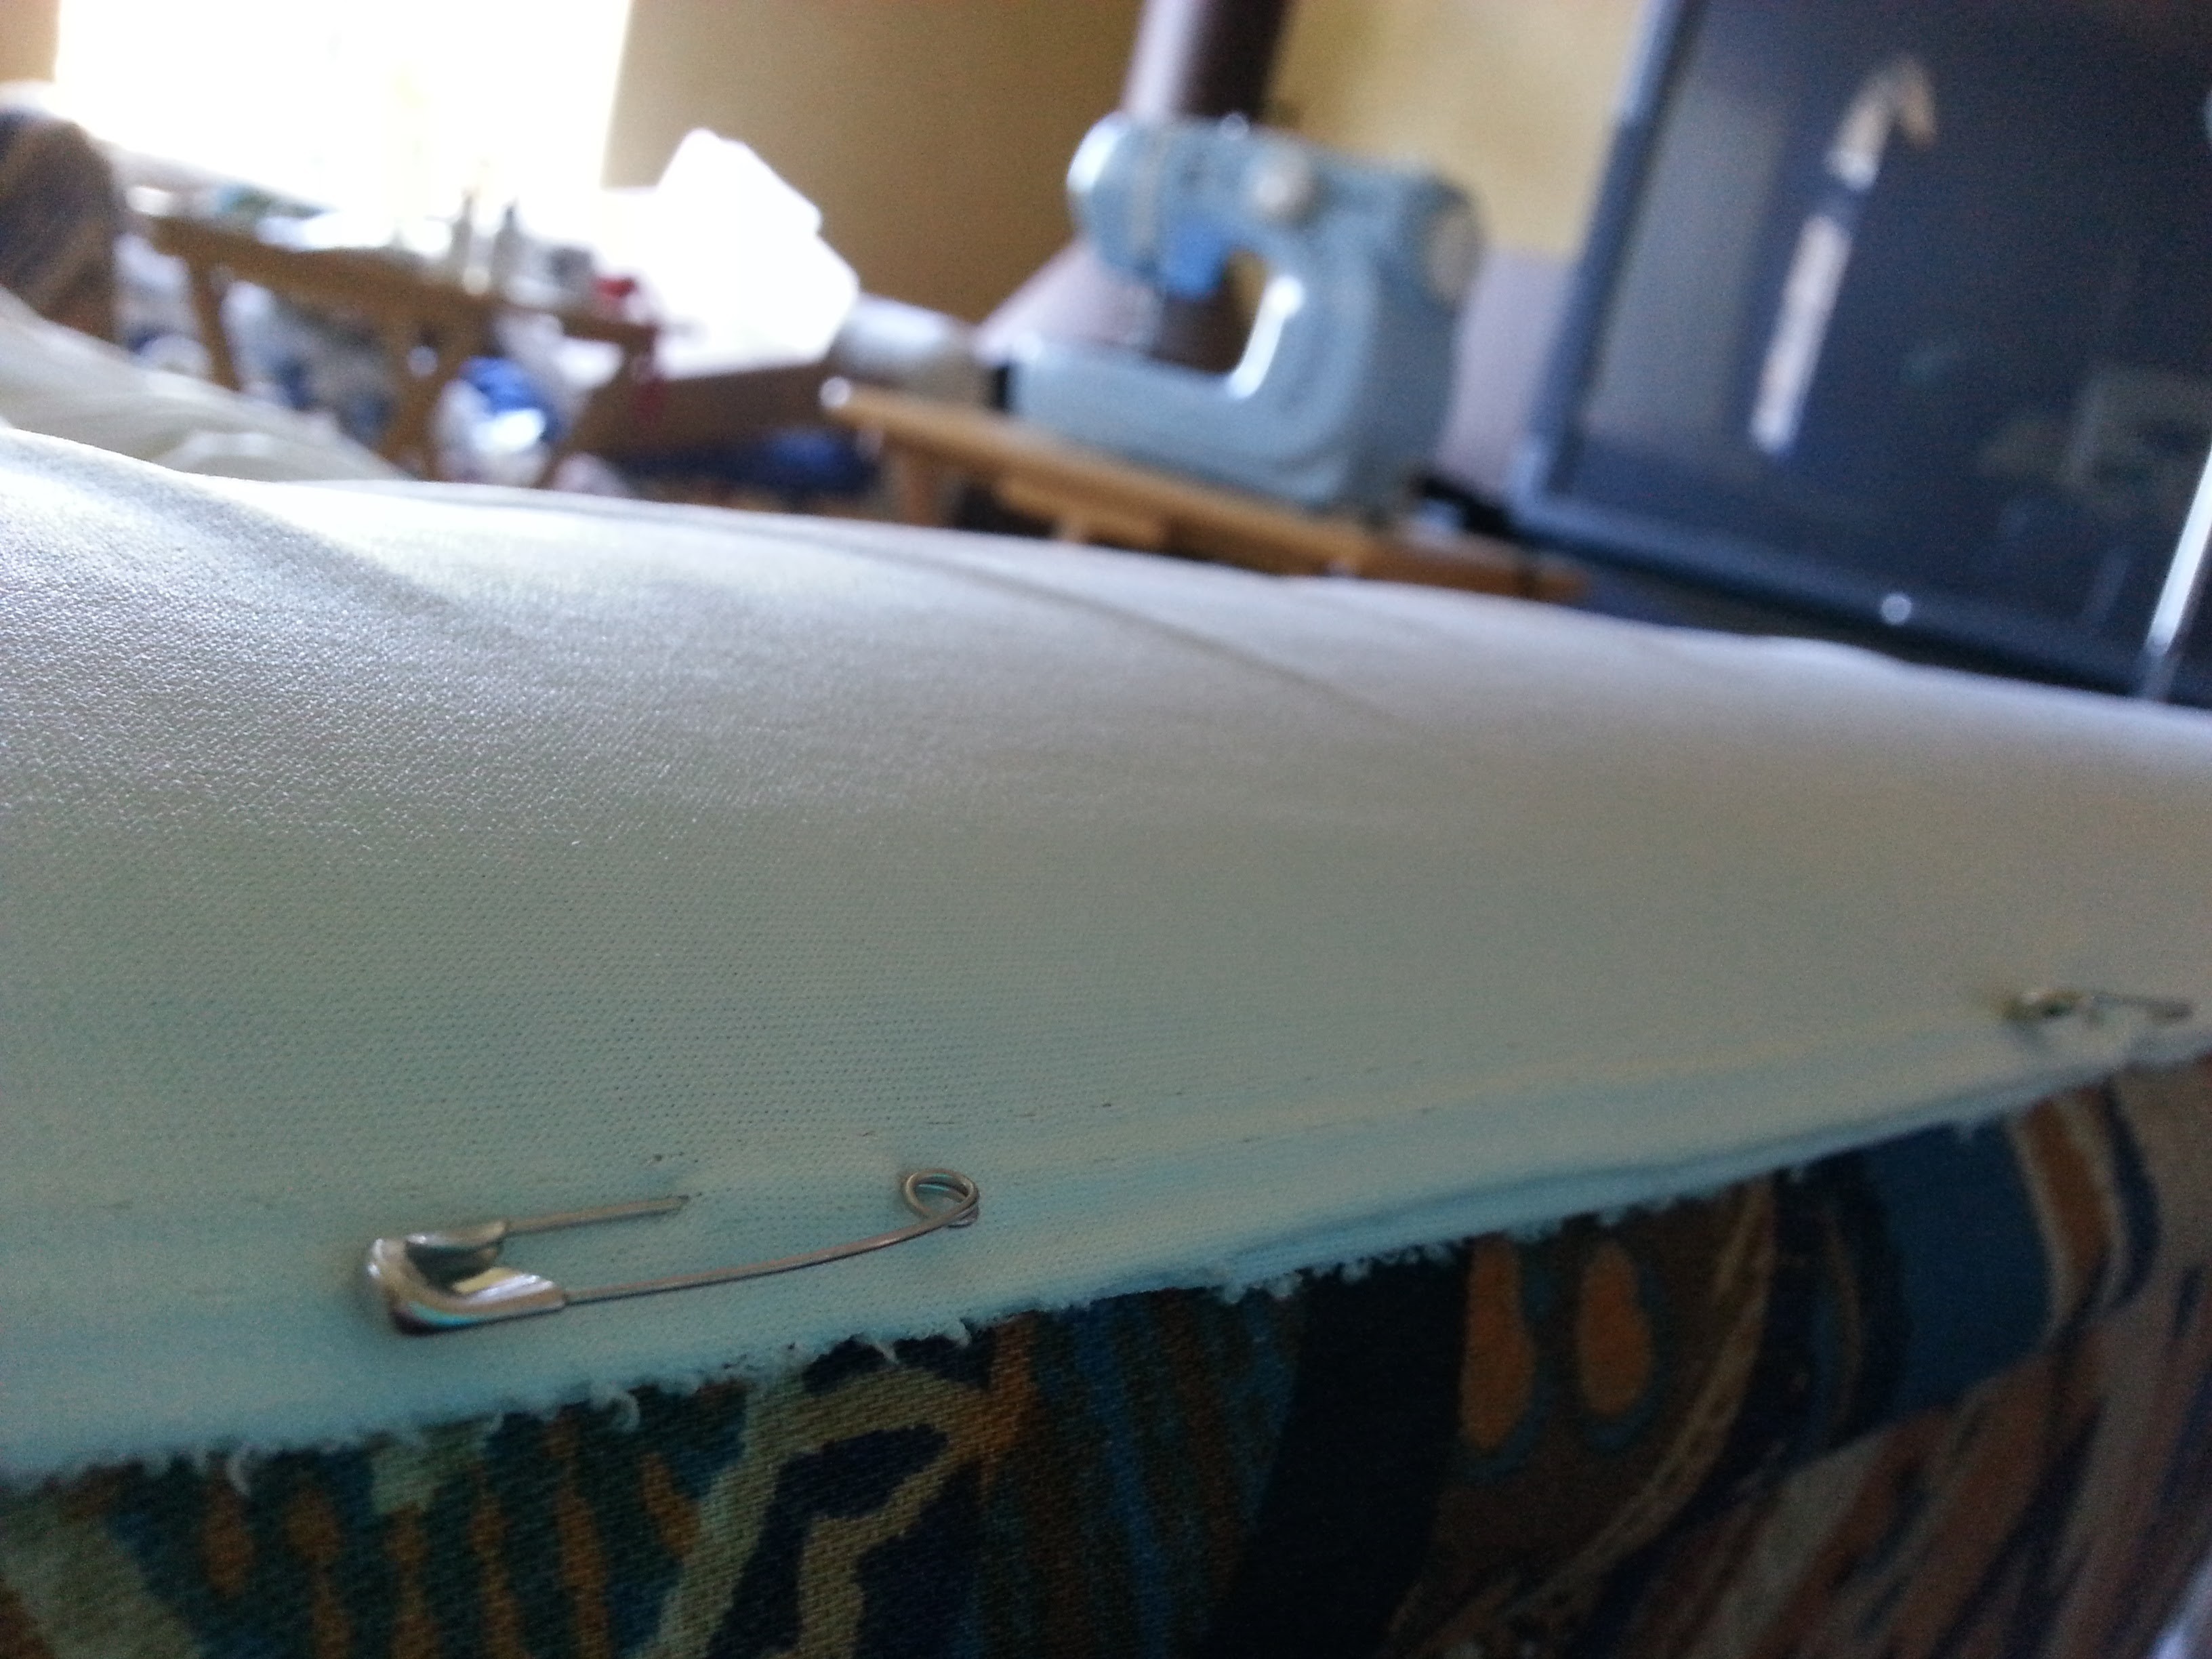 Pinning the edges using the edge of my couch as a frame.
At the end of this process, I had a 15' high, 27' long sheet of cloth.
So I tried to hang it on the frame. It begins...
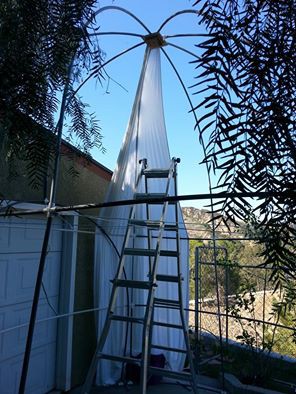
And then:
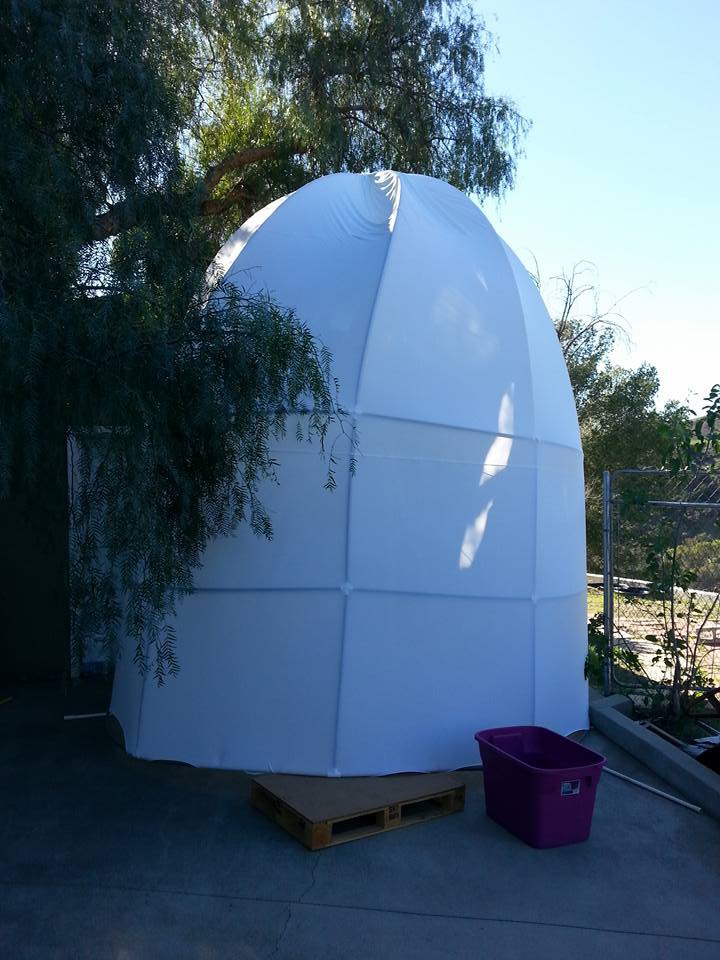 Success... sort of. It actually sags quite a bit more than this picture shows. Pinning this cloth for sewing is going to be harder than I thought!
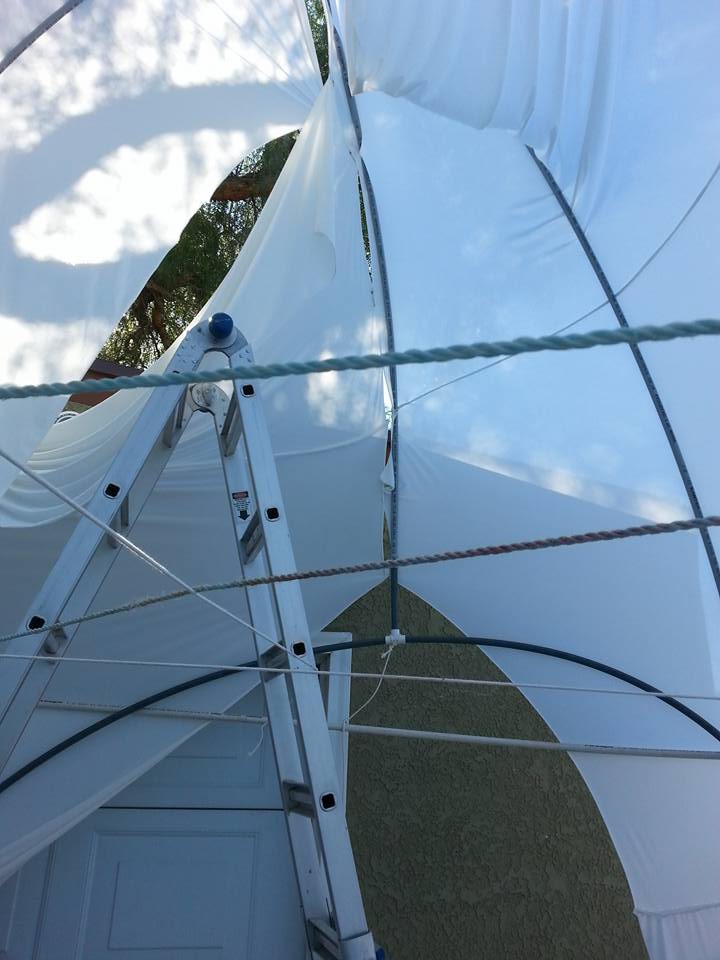
And it is awfully tight over the doorway. It is clear that I didn't give enough material in that area, and will have to add an extra panel at least a couple of feet wide.
Create an account to leave a comment. Already have an account? Log In.
Become a member to follow this project and never miss any updates
 matthewkleinmann
 Jan
Jan
 Joseph Eoff
 kristina panos