-
1Acquire the tiny home trailer
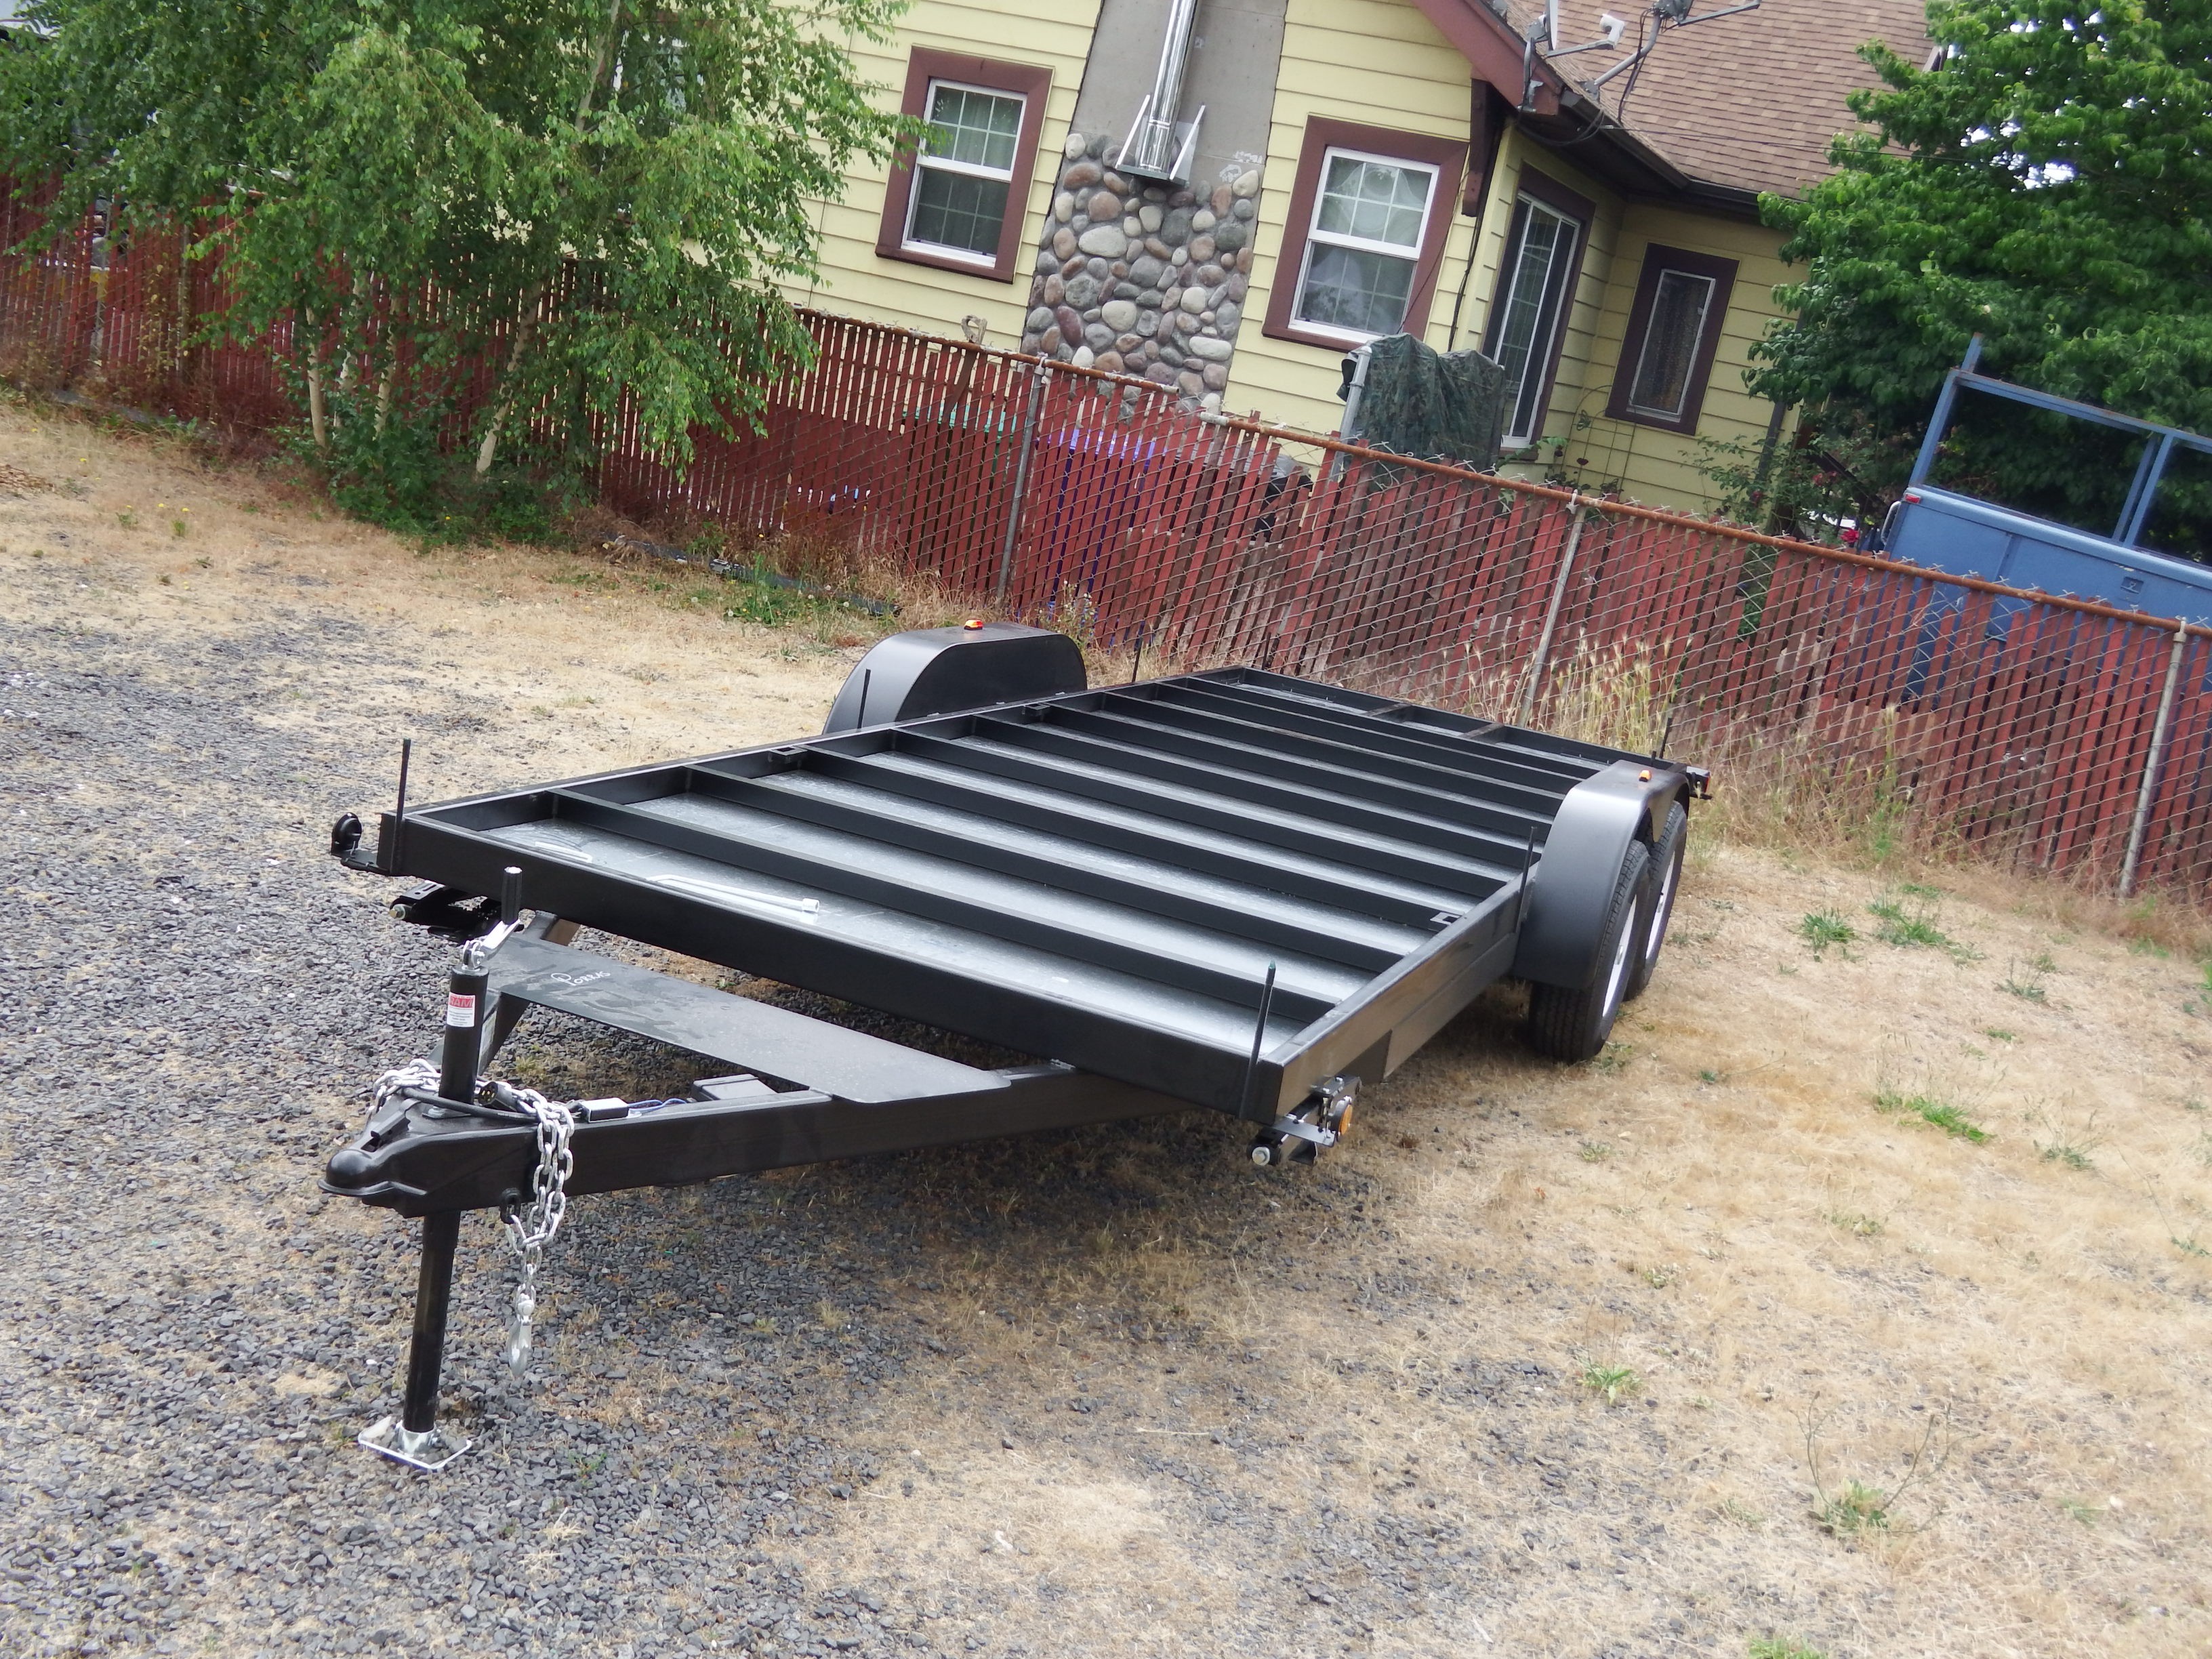
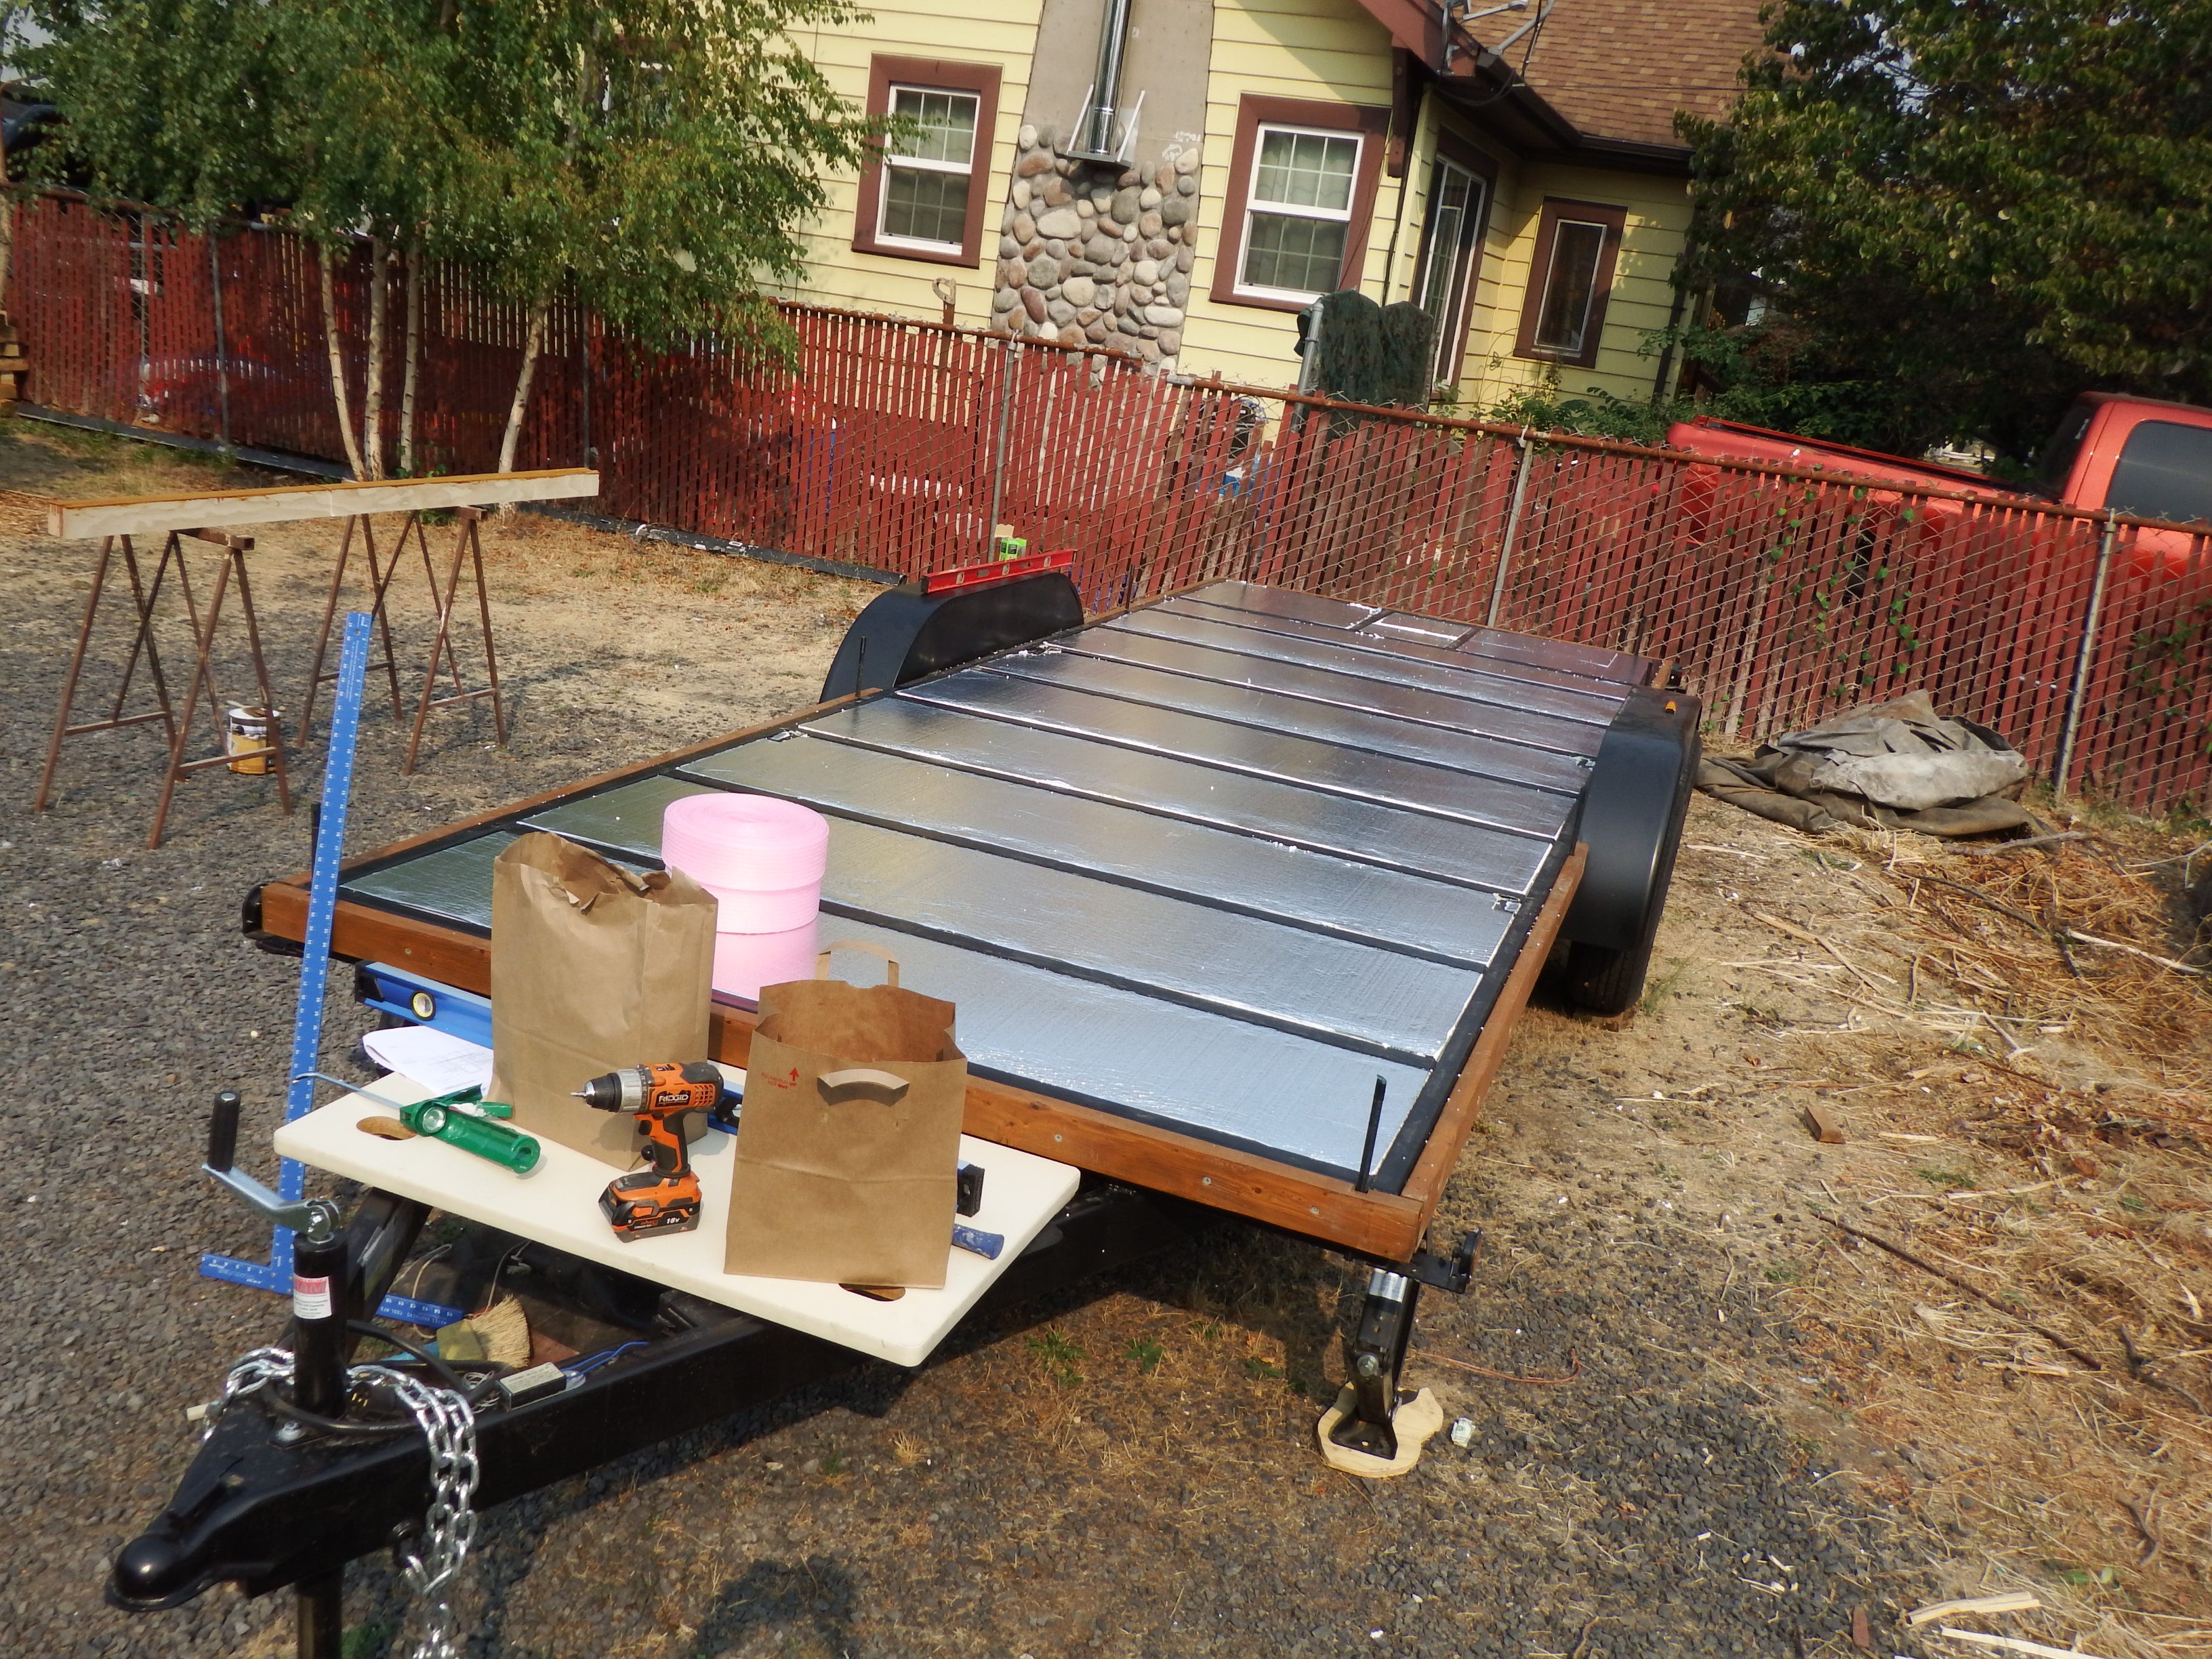
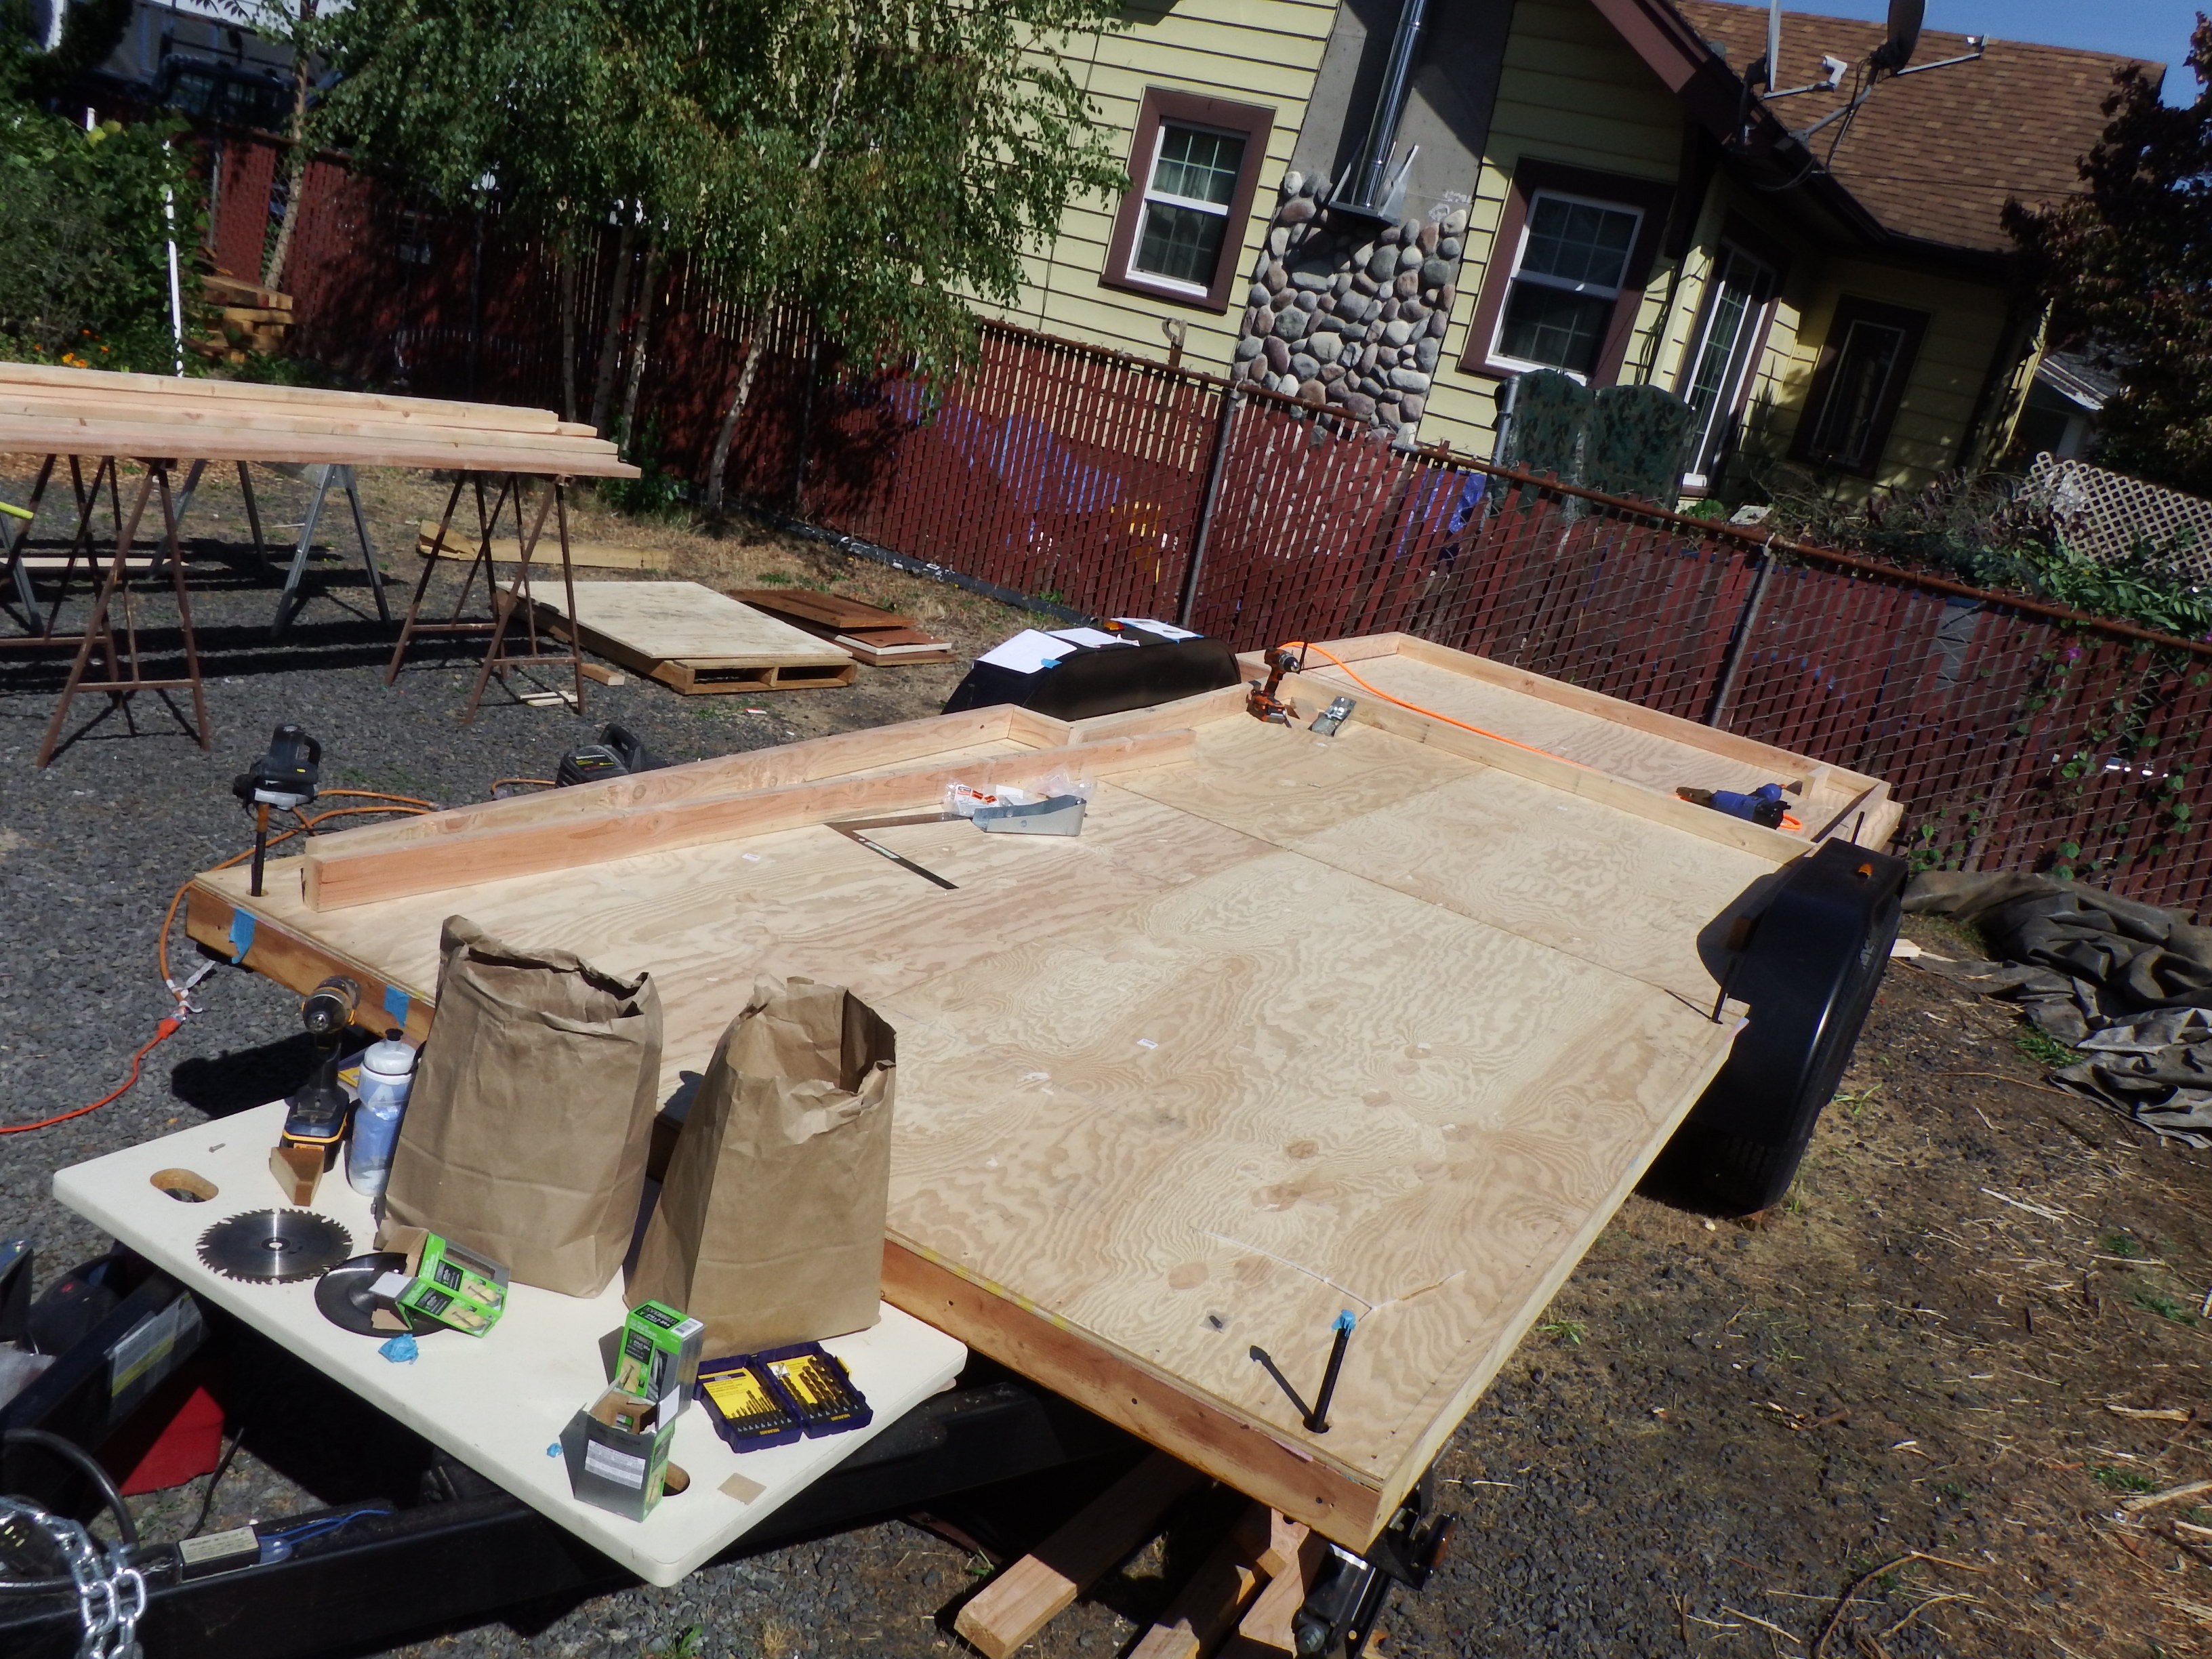
The first step of any tiny home on wheels build is to acquire the tiny home trailer. It doesn't really matter the exact type of trailer, but it should have tiny home specific features built-in like leveling jacks, thick structural frame steel to bolt to, and room for subfloor insulation. Many tiny home trailers include instructions on how to construct the subfloor and secure the wall bottom plates, so at the start of construction the trailer manufacturer's instructions can be used. The maximum trailer width is 8 feet for moving on the road without special permits. The the final design for this project is a 24' trailer, but a 20' trailer is currently being used for the prototype.
-
2Frame the Tiny Home Structure
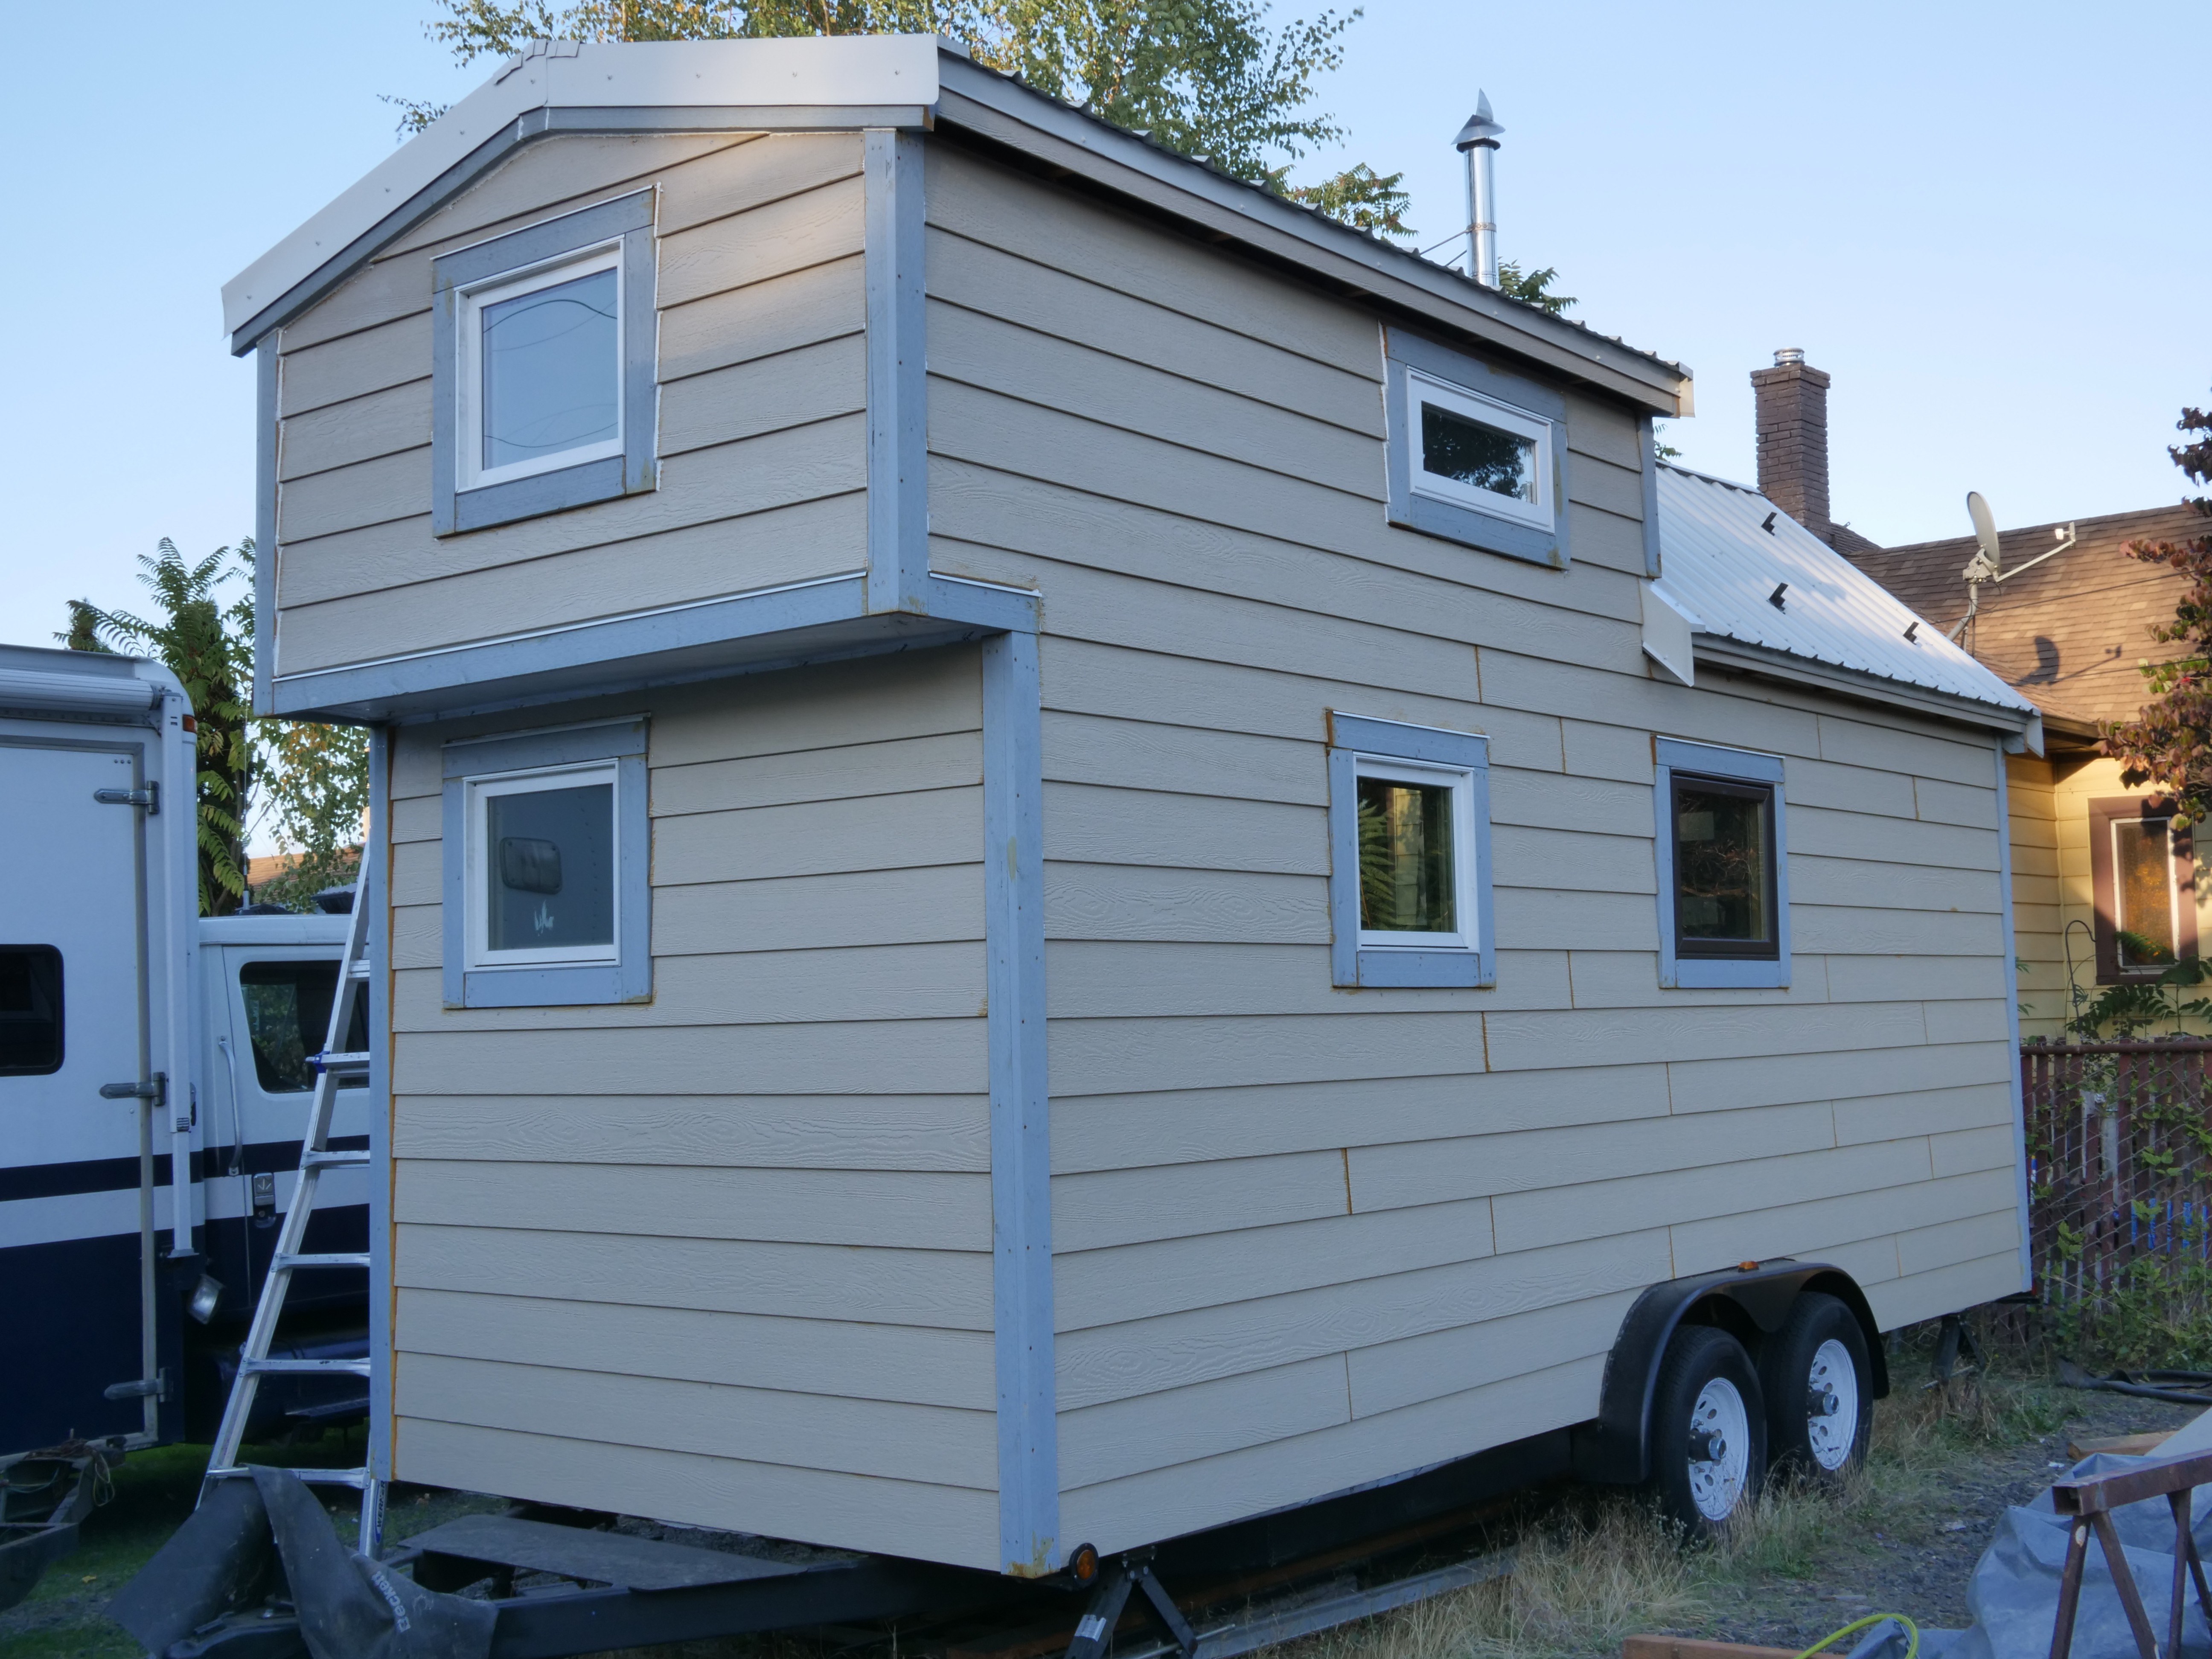
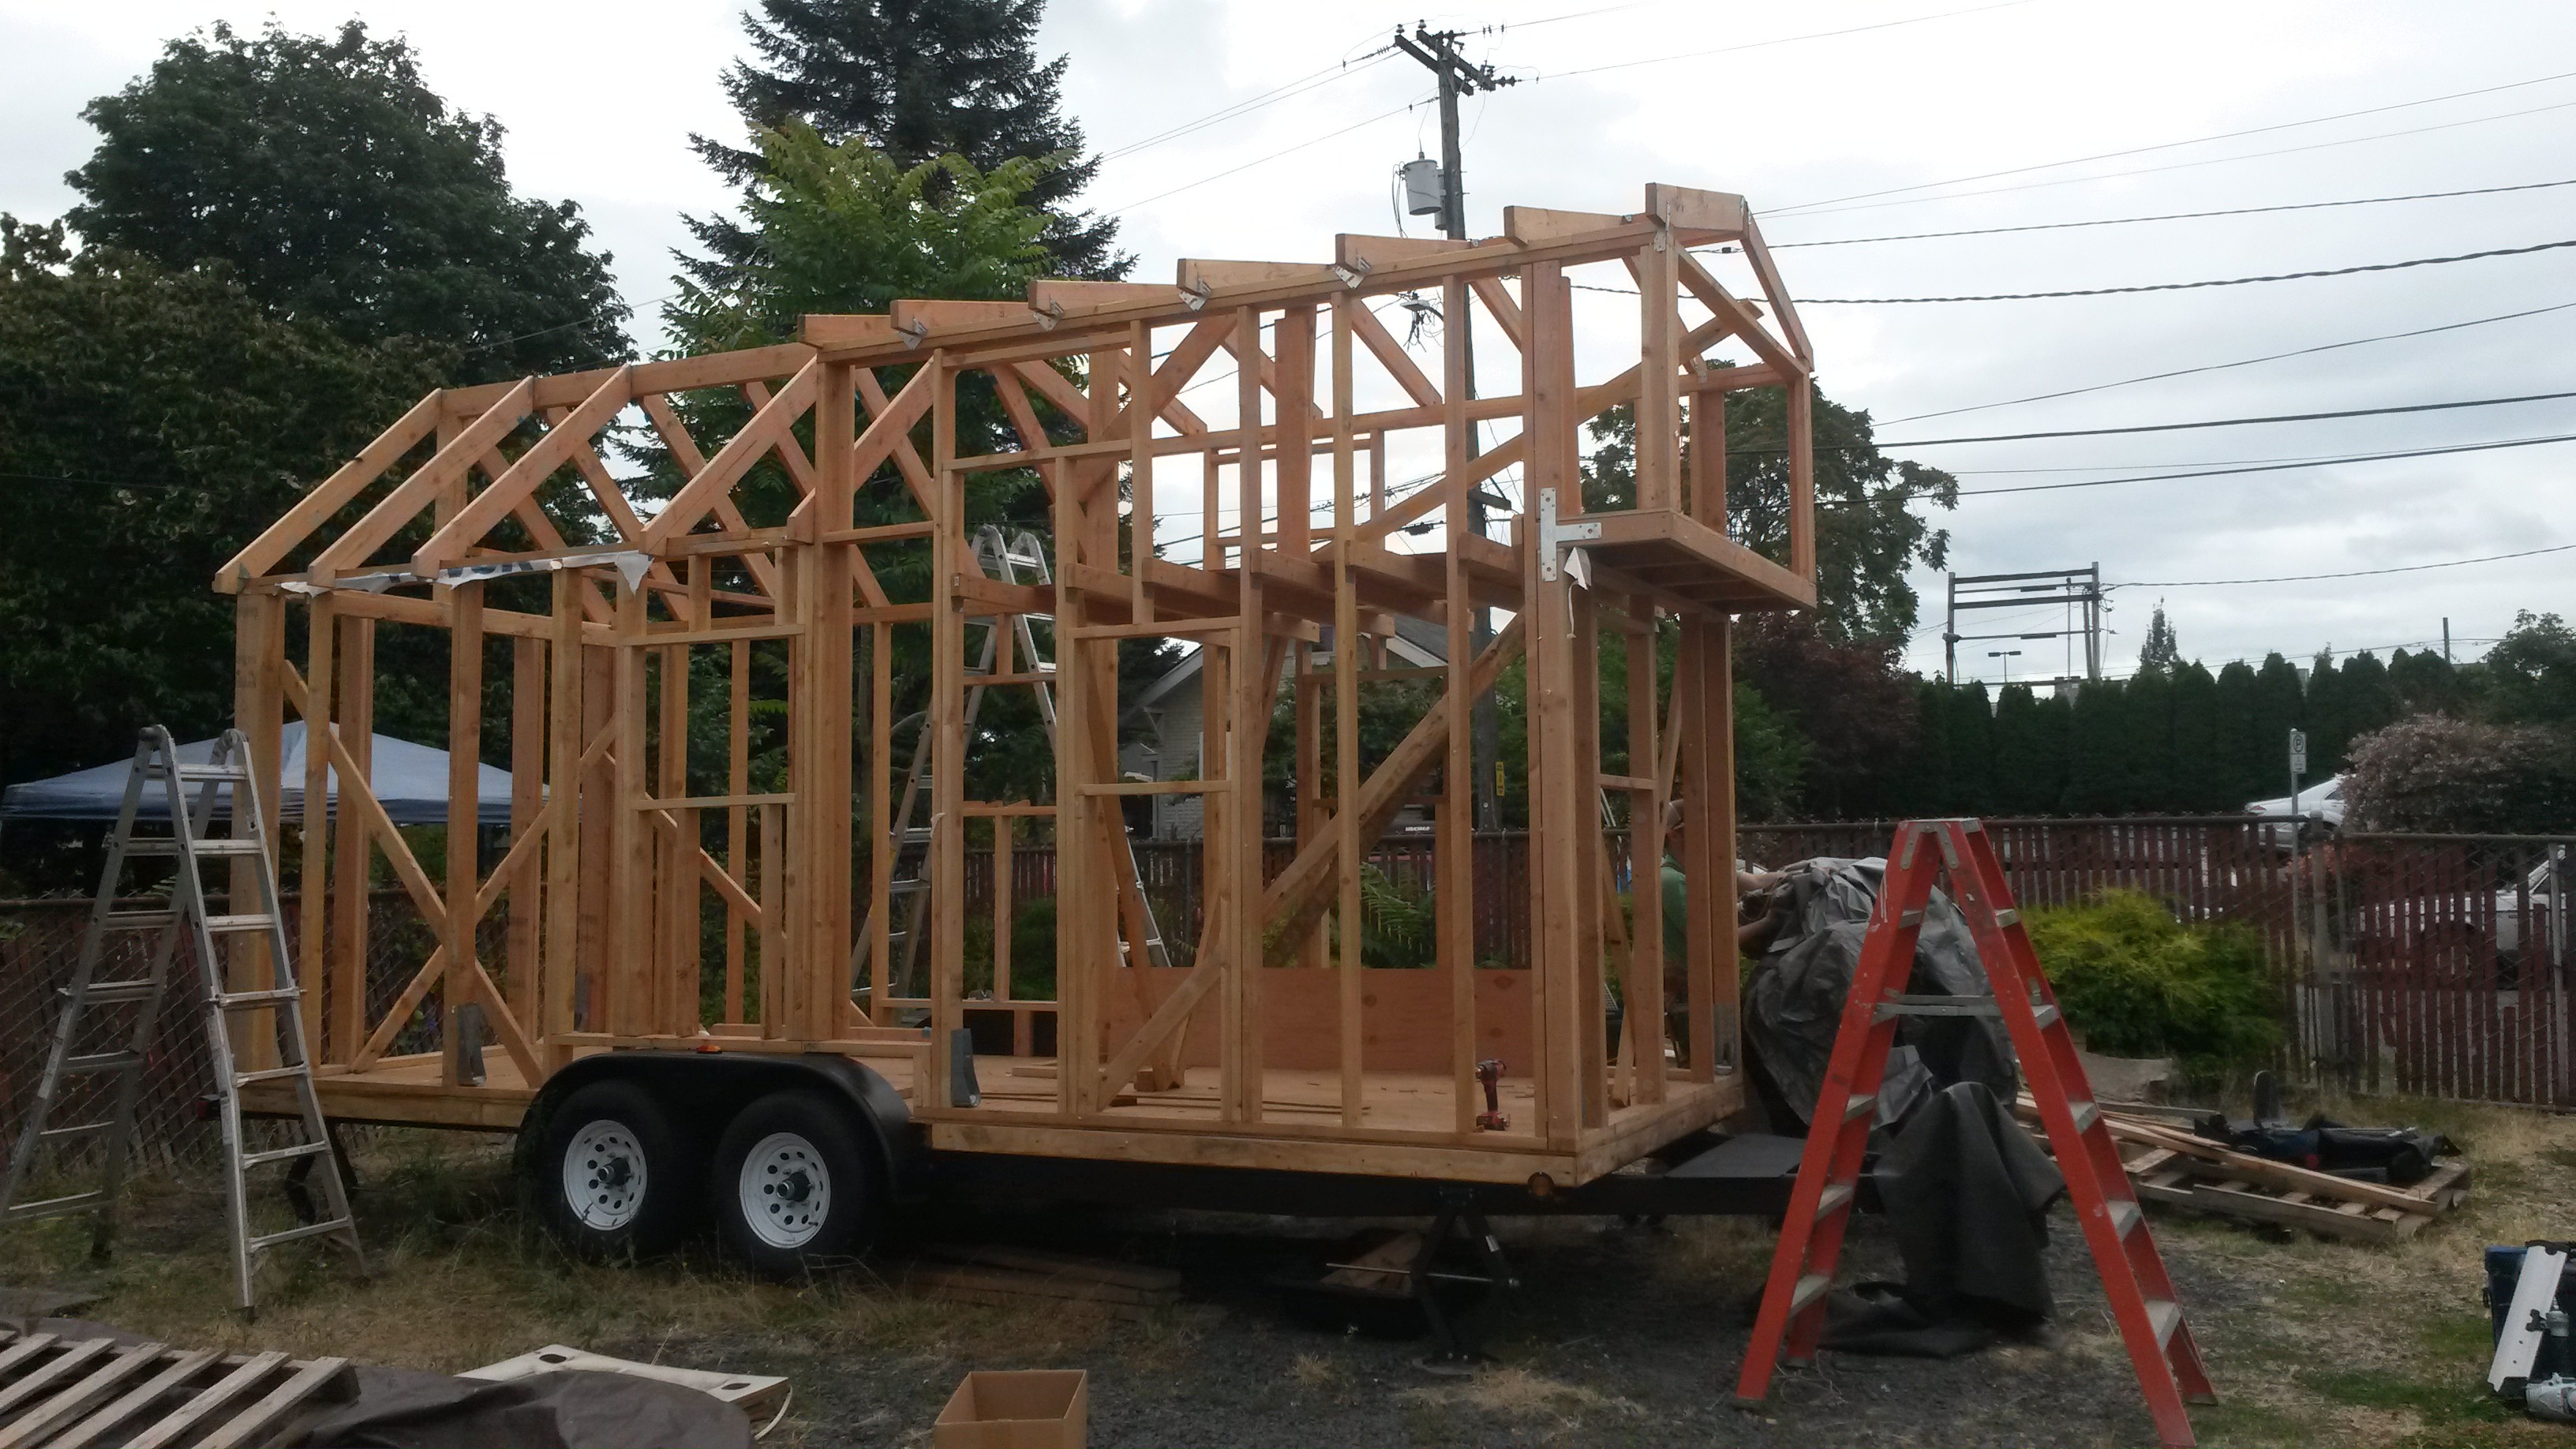
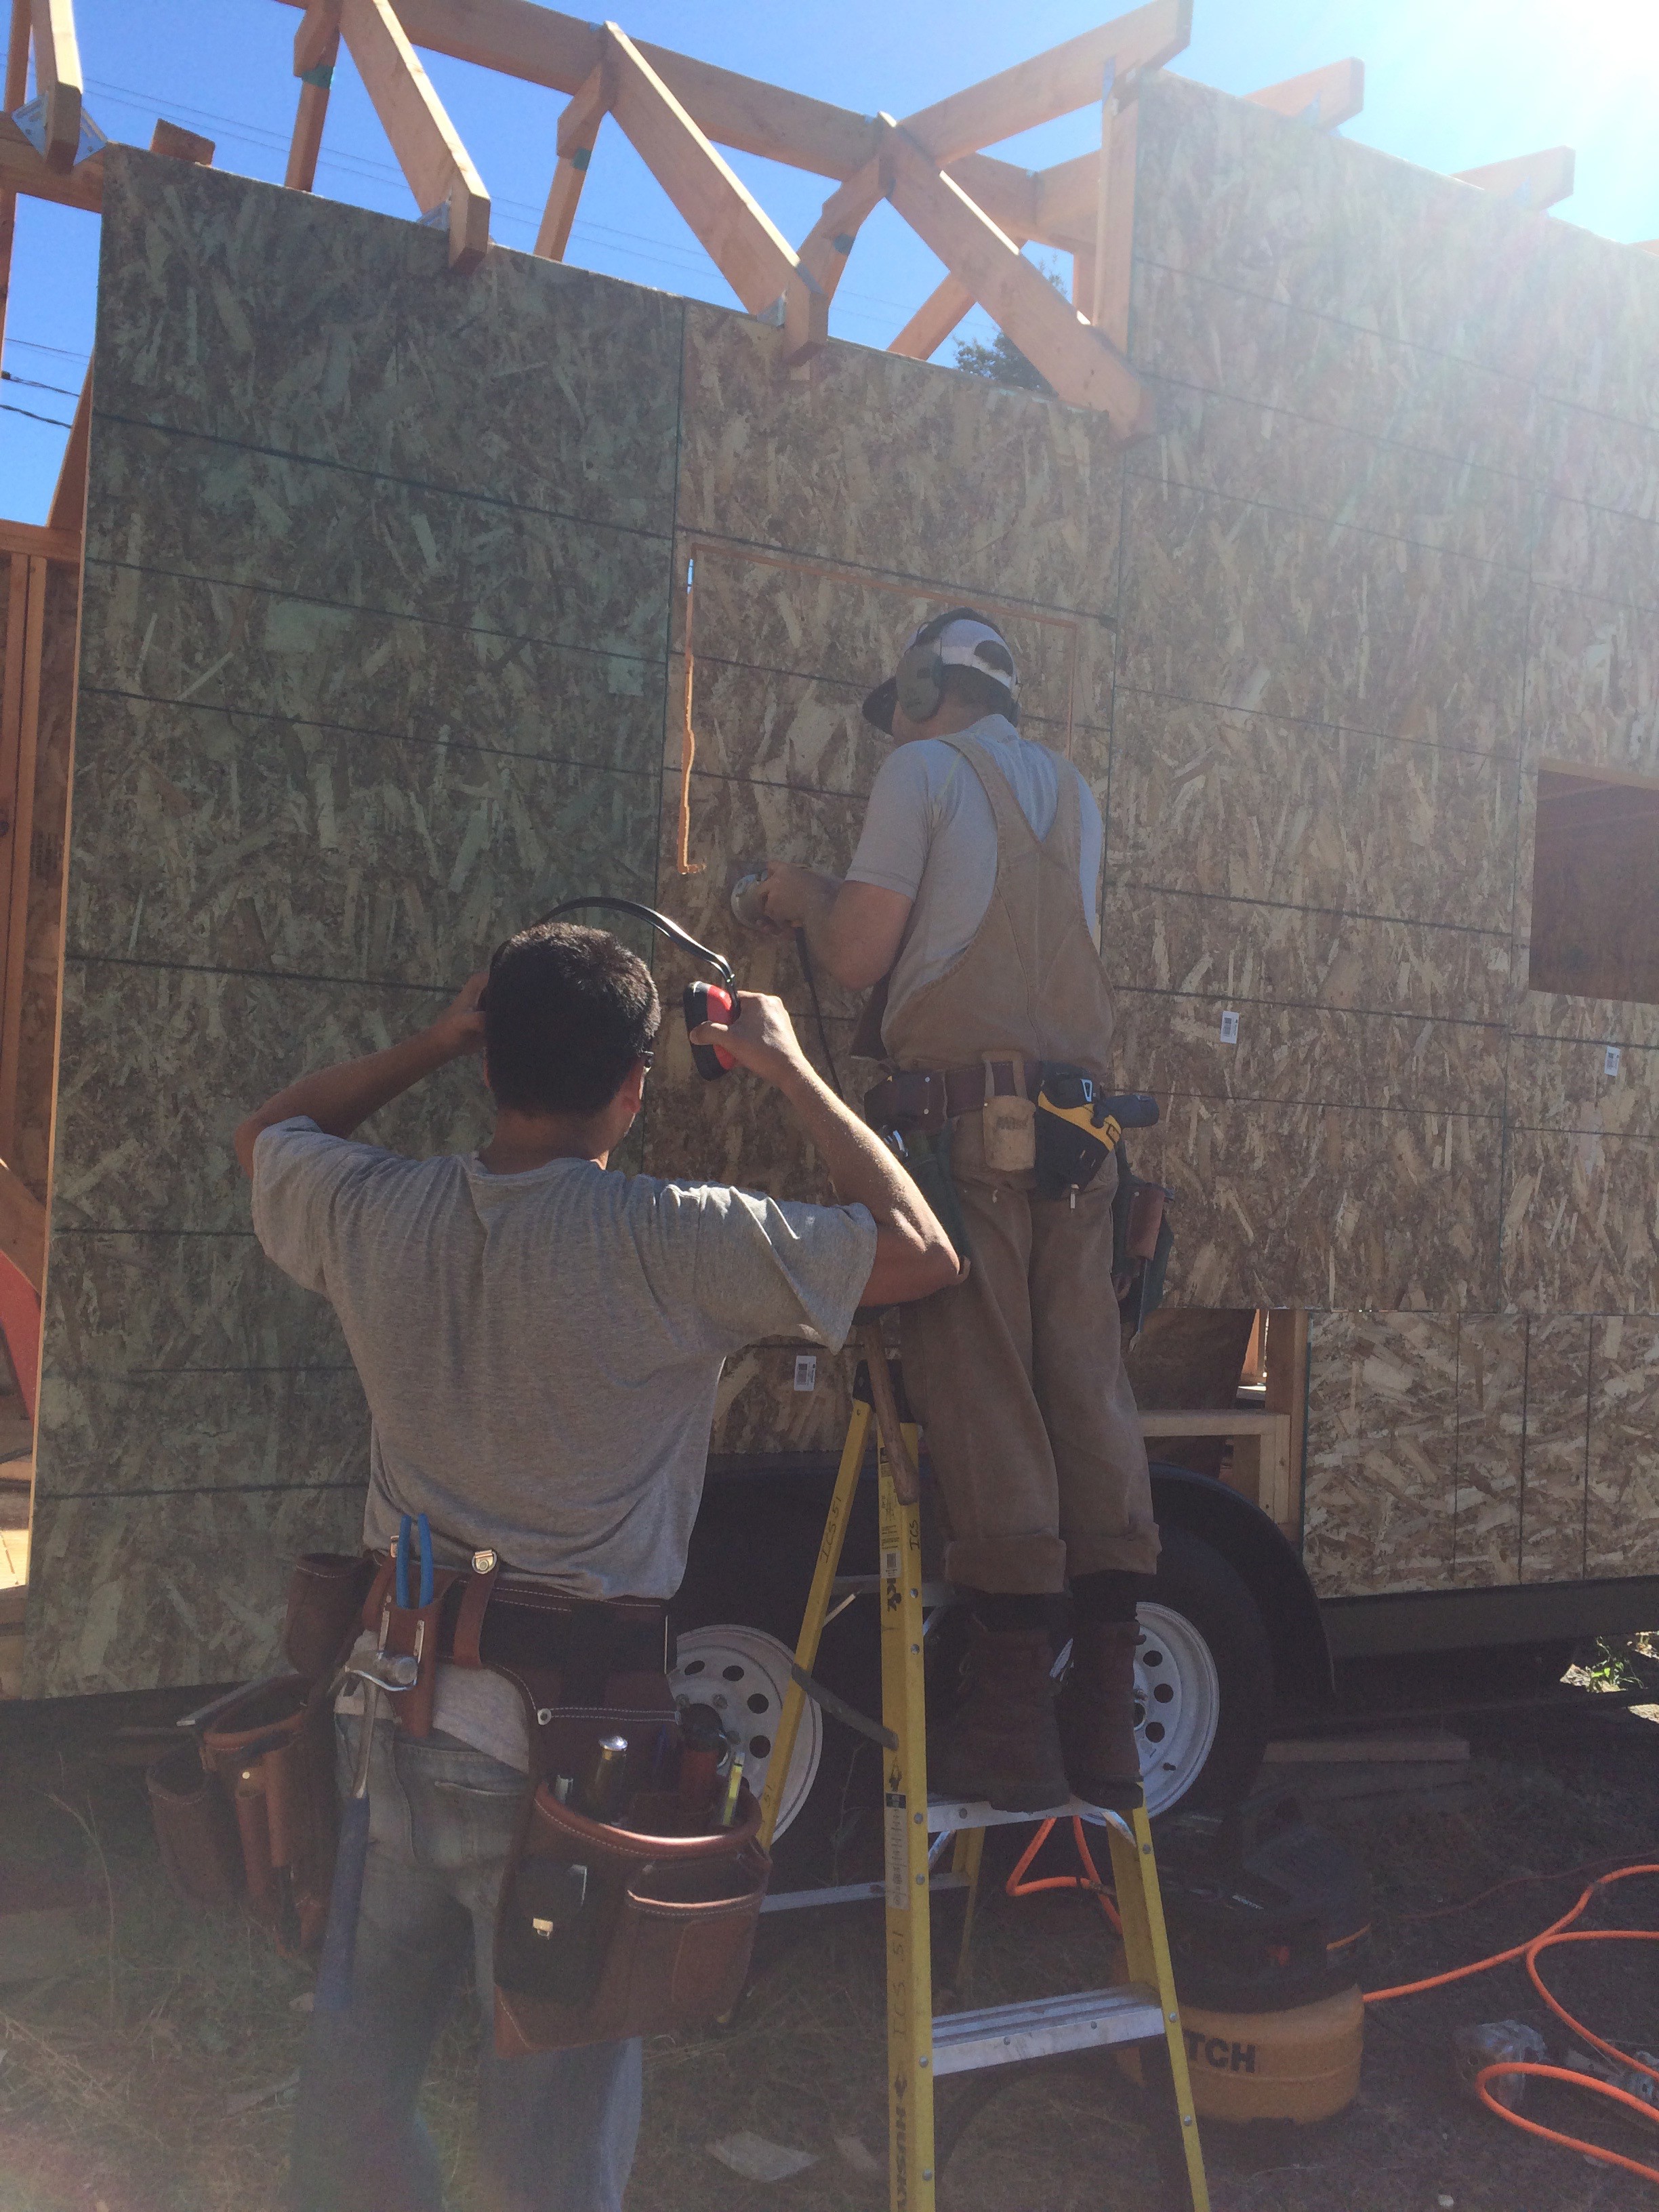
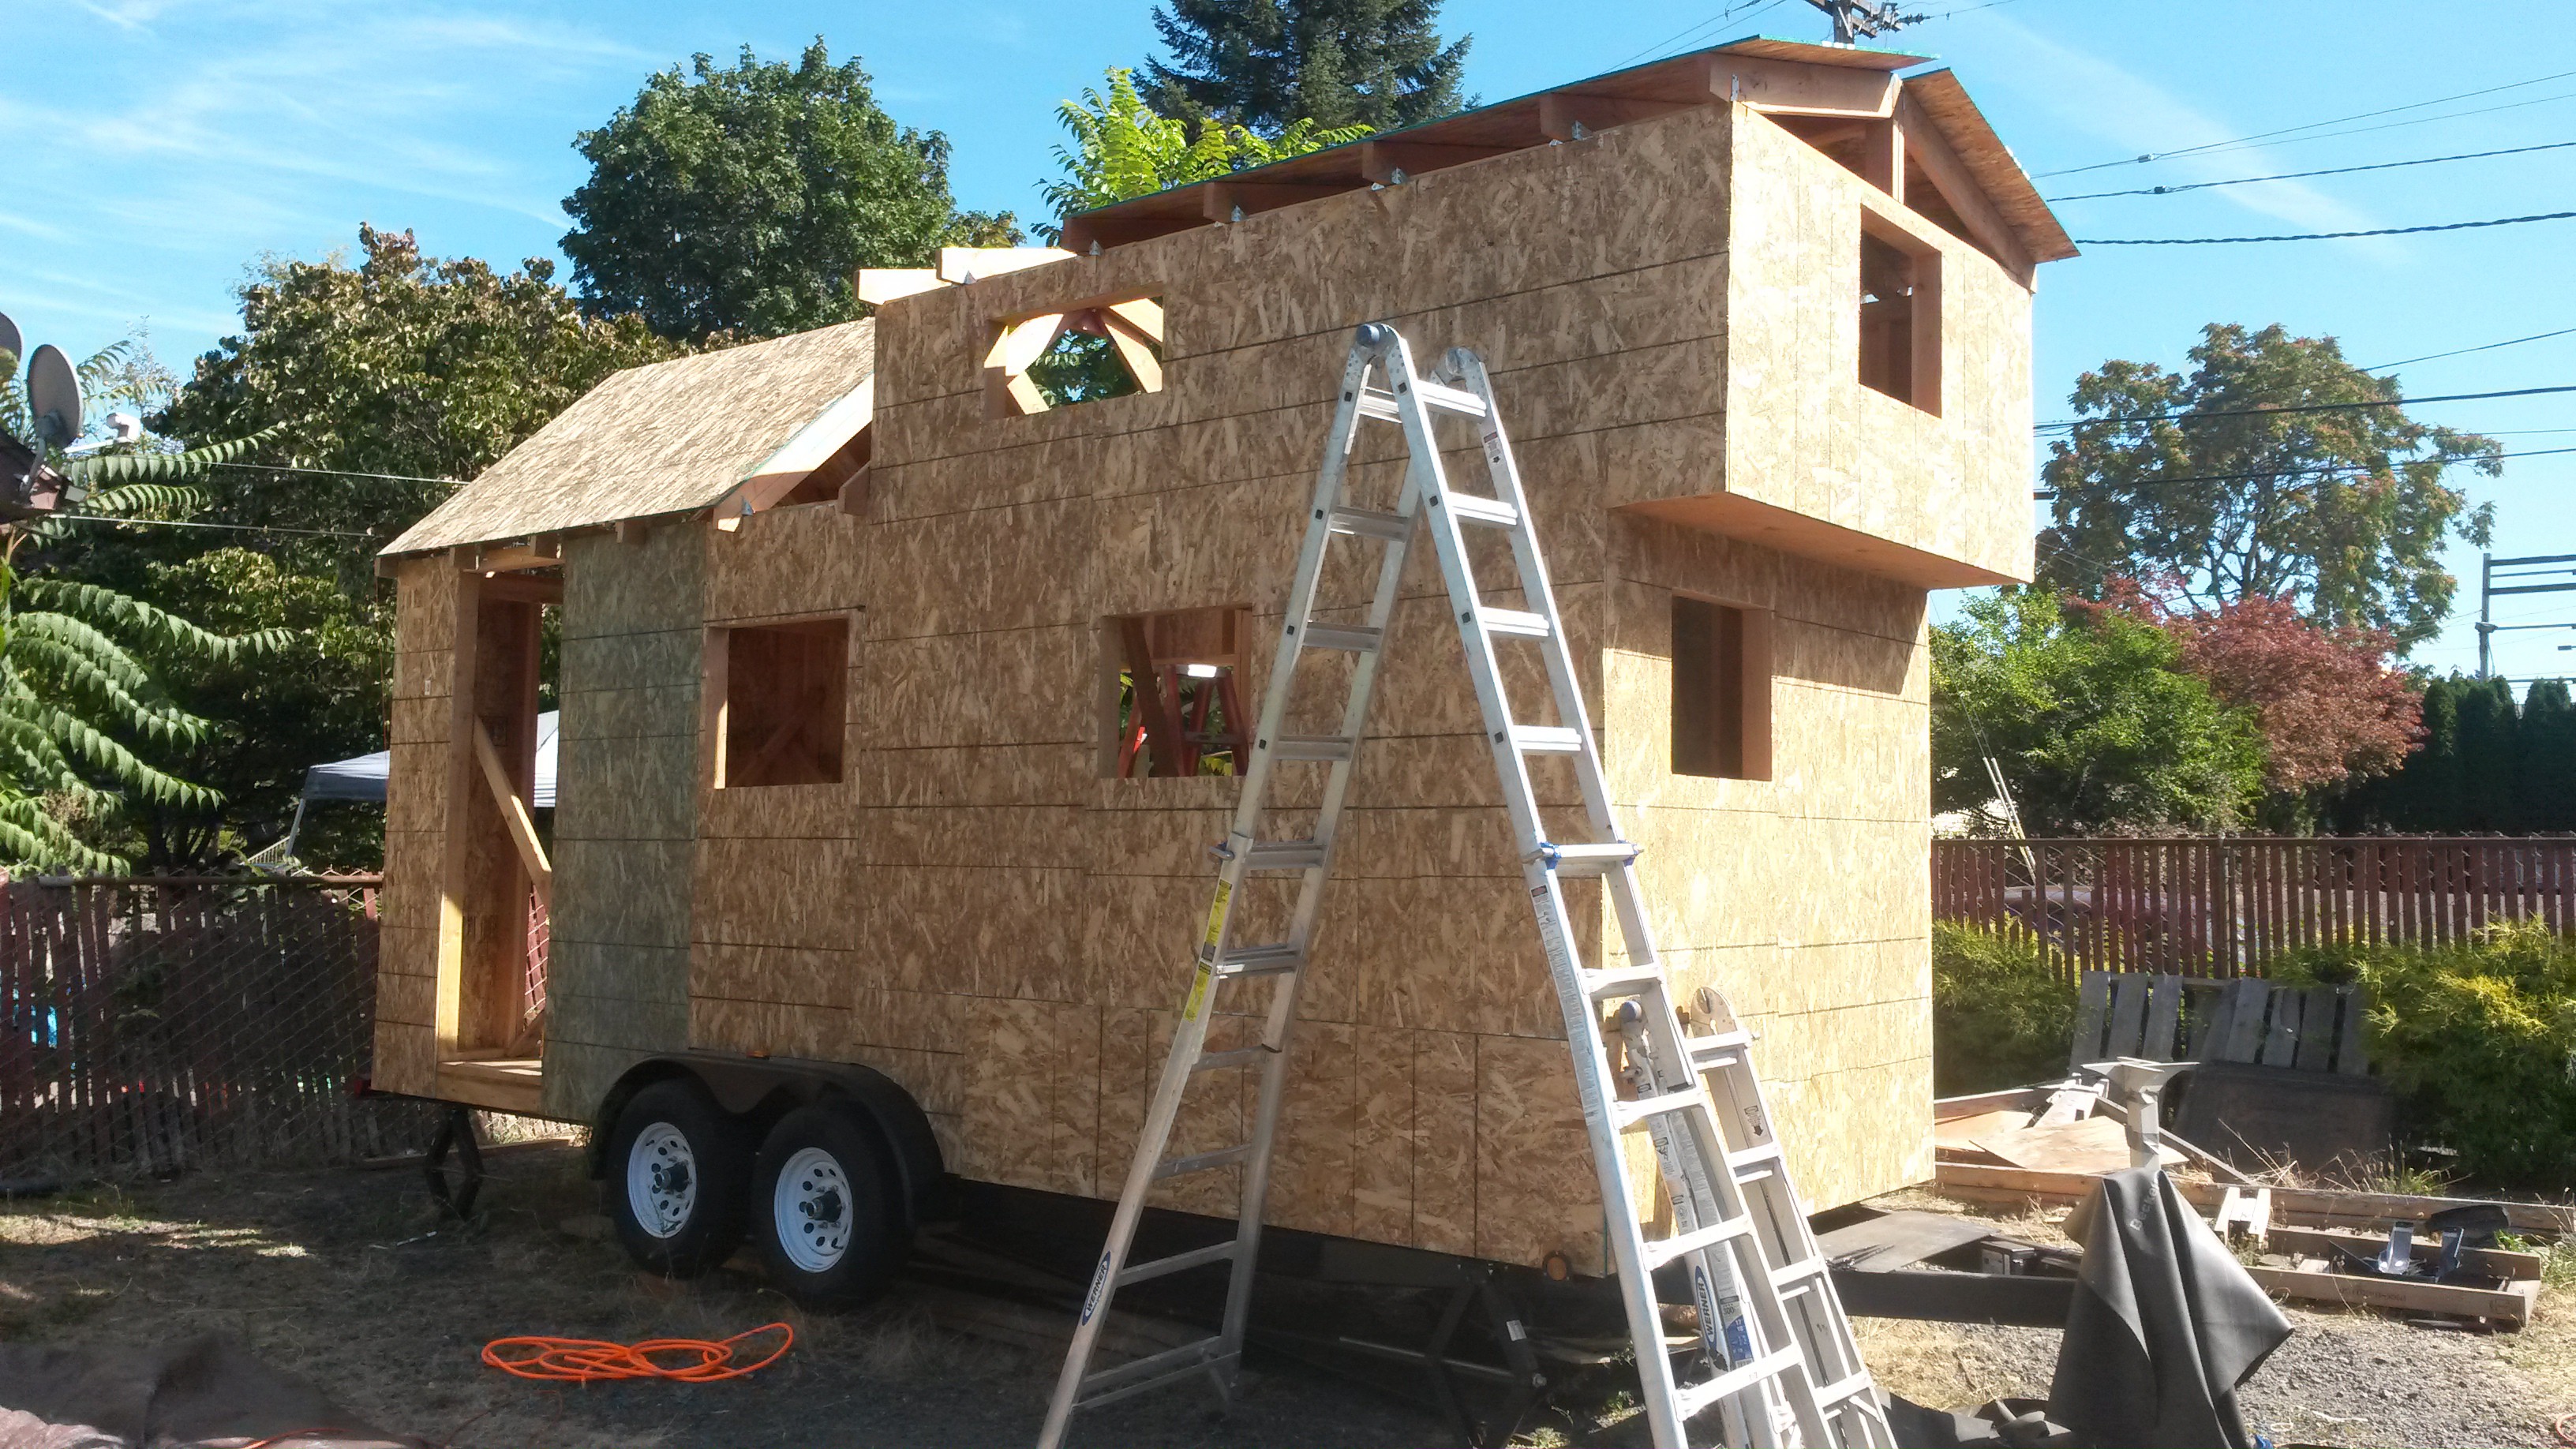
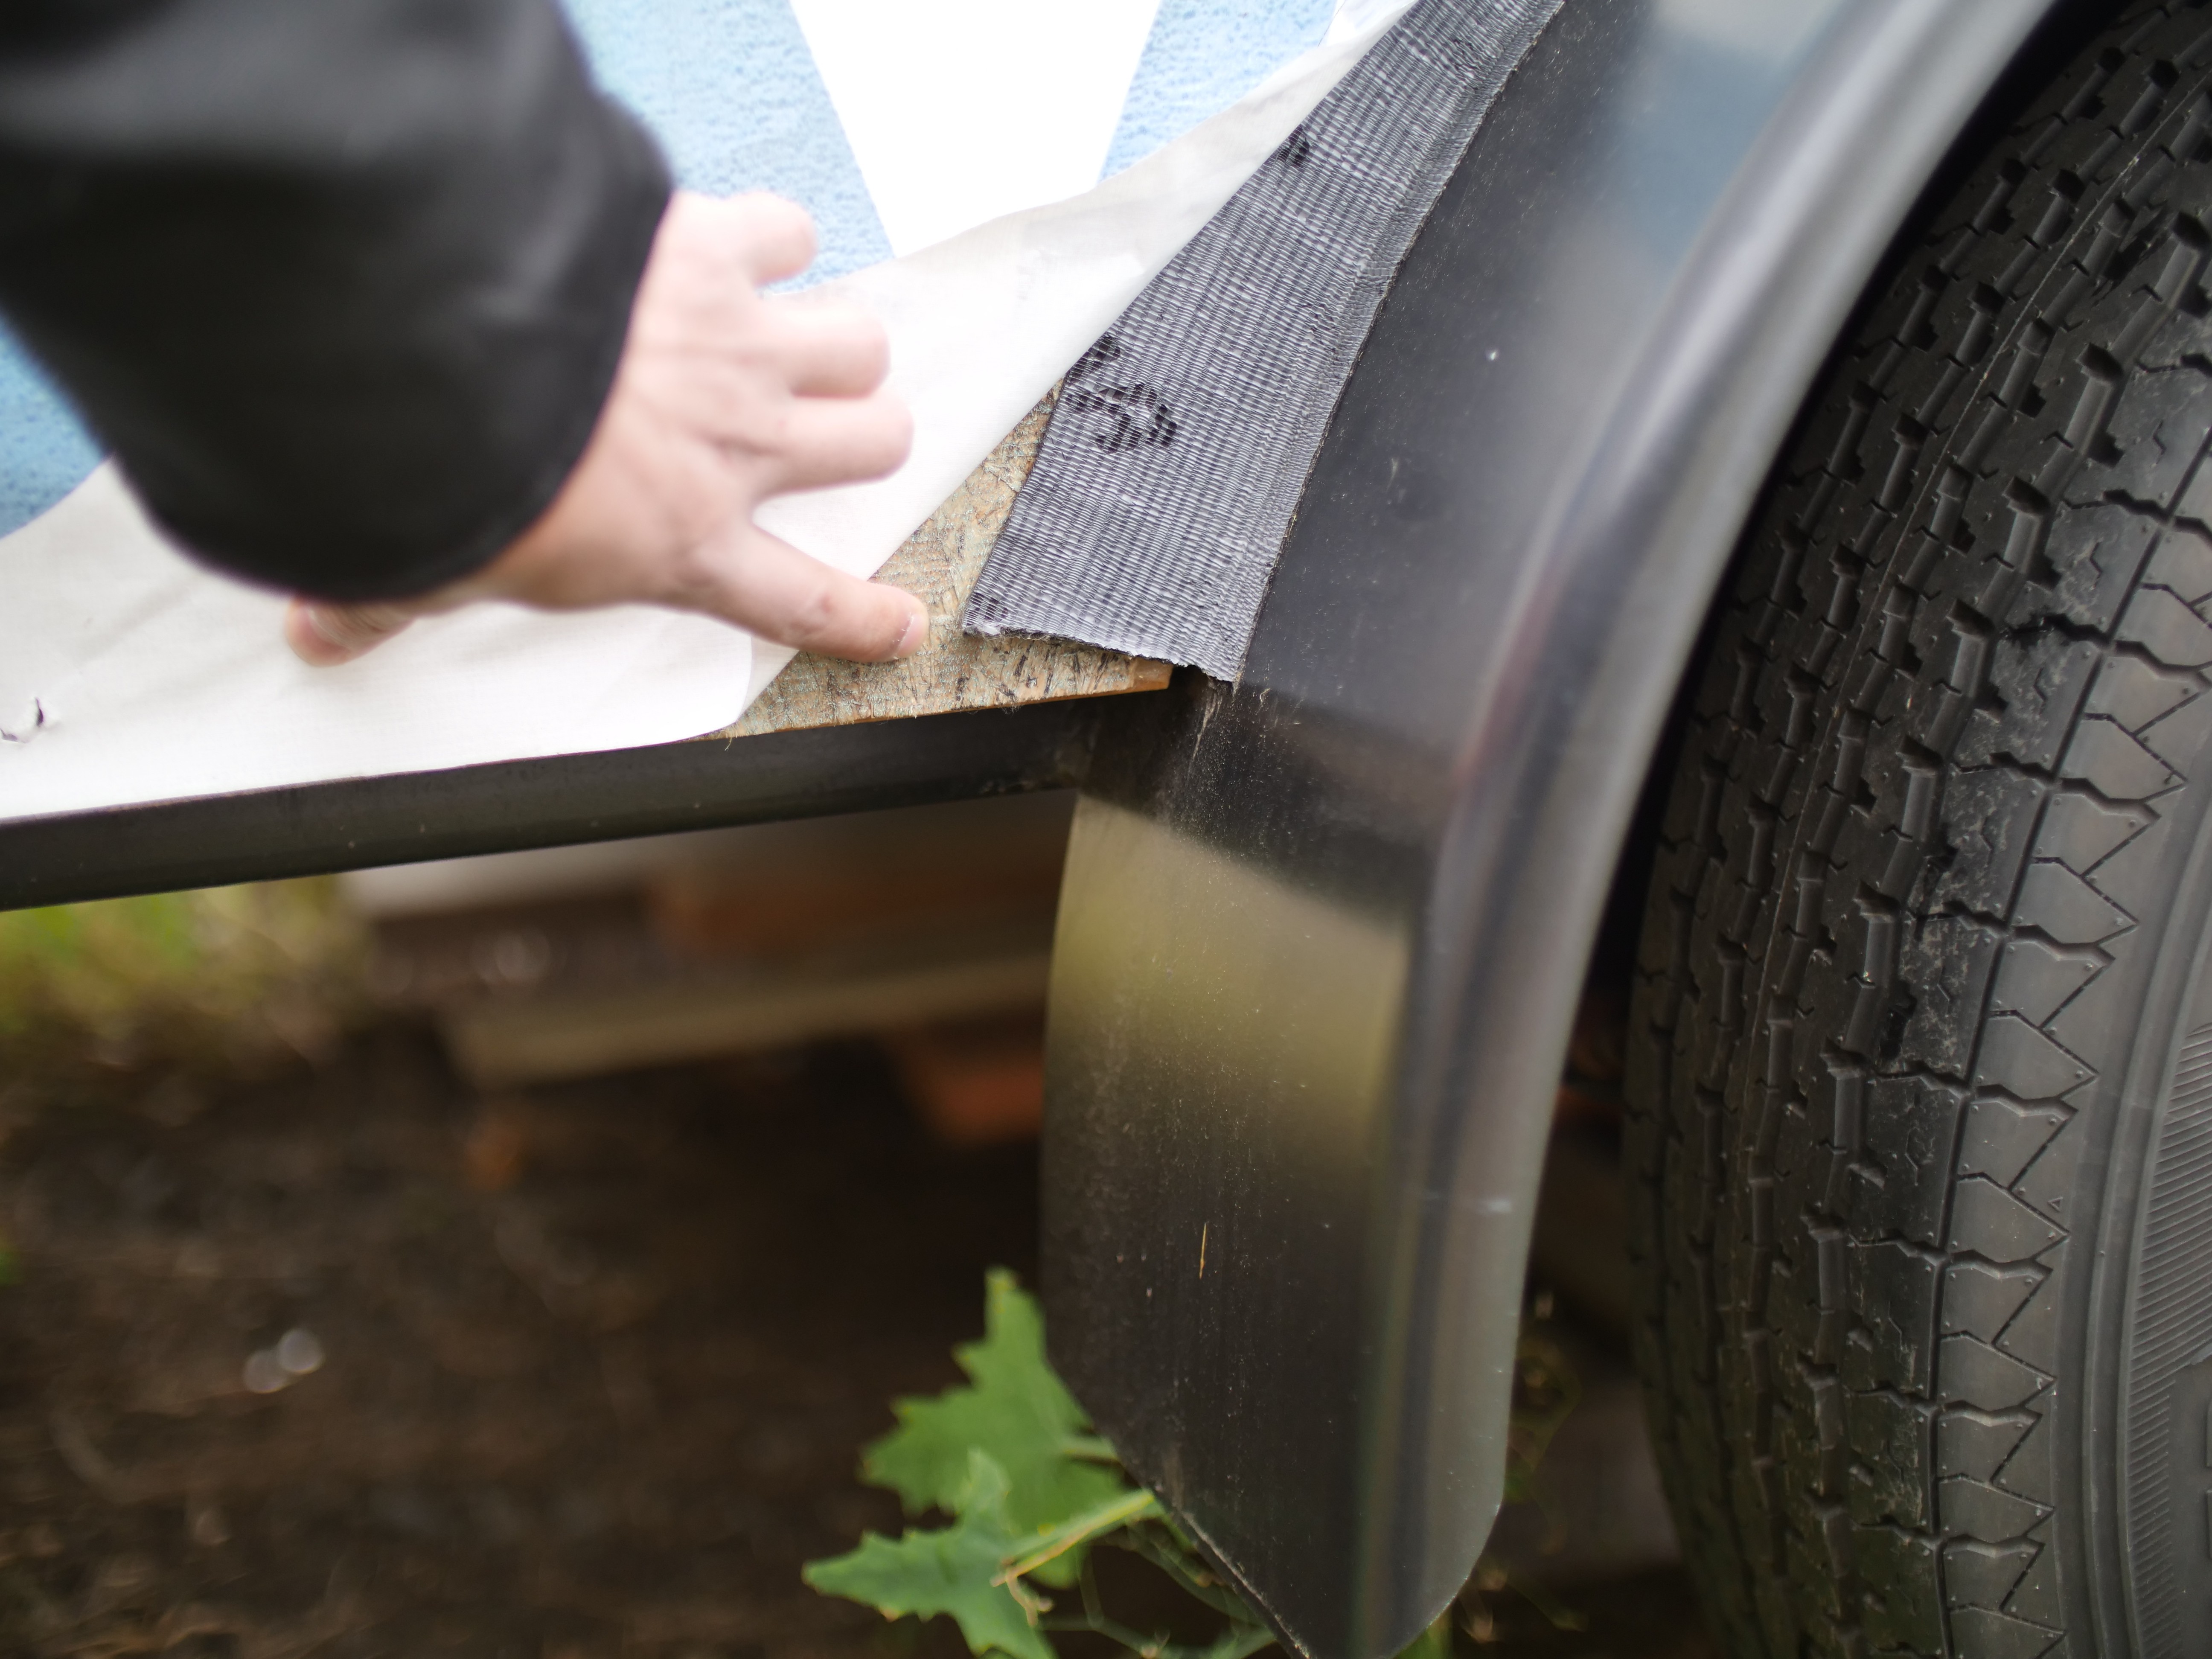
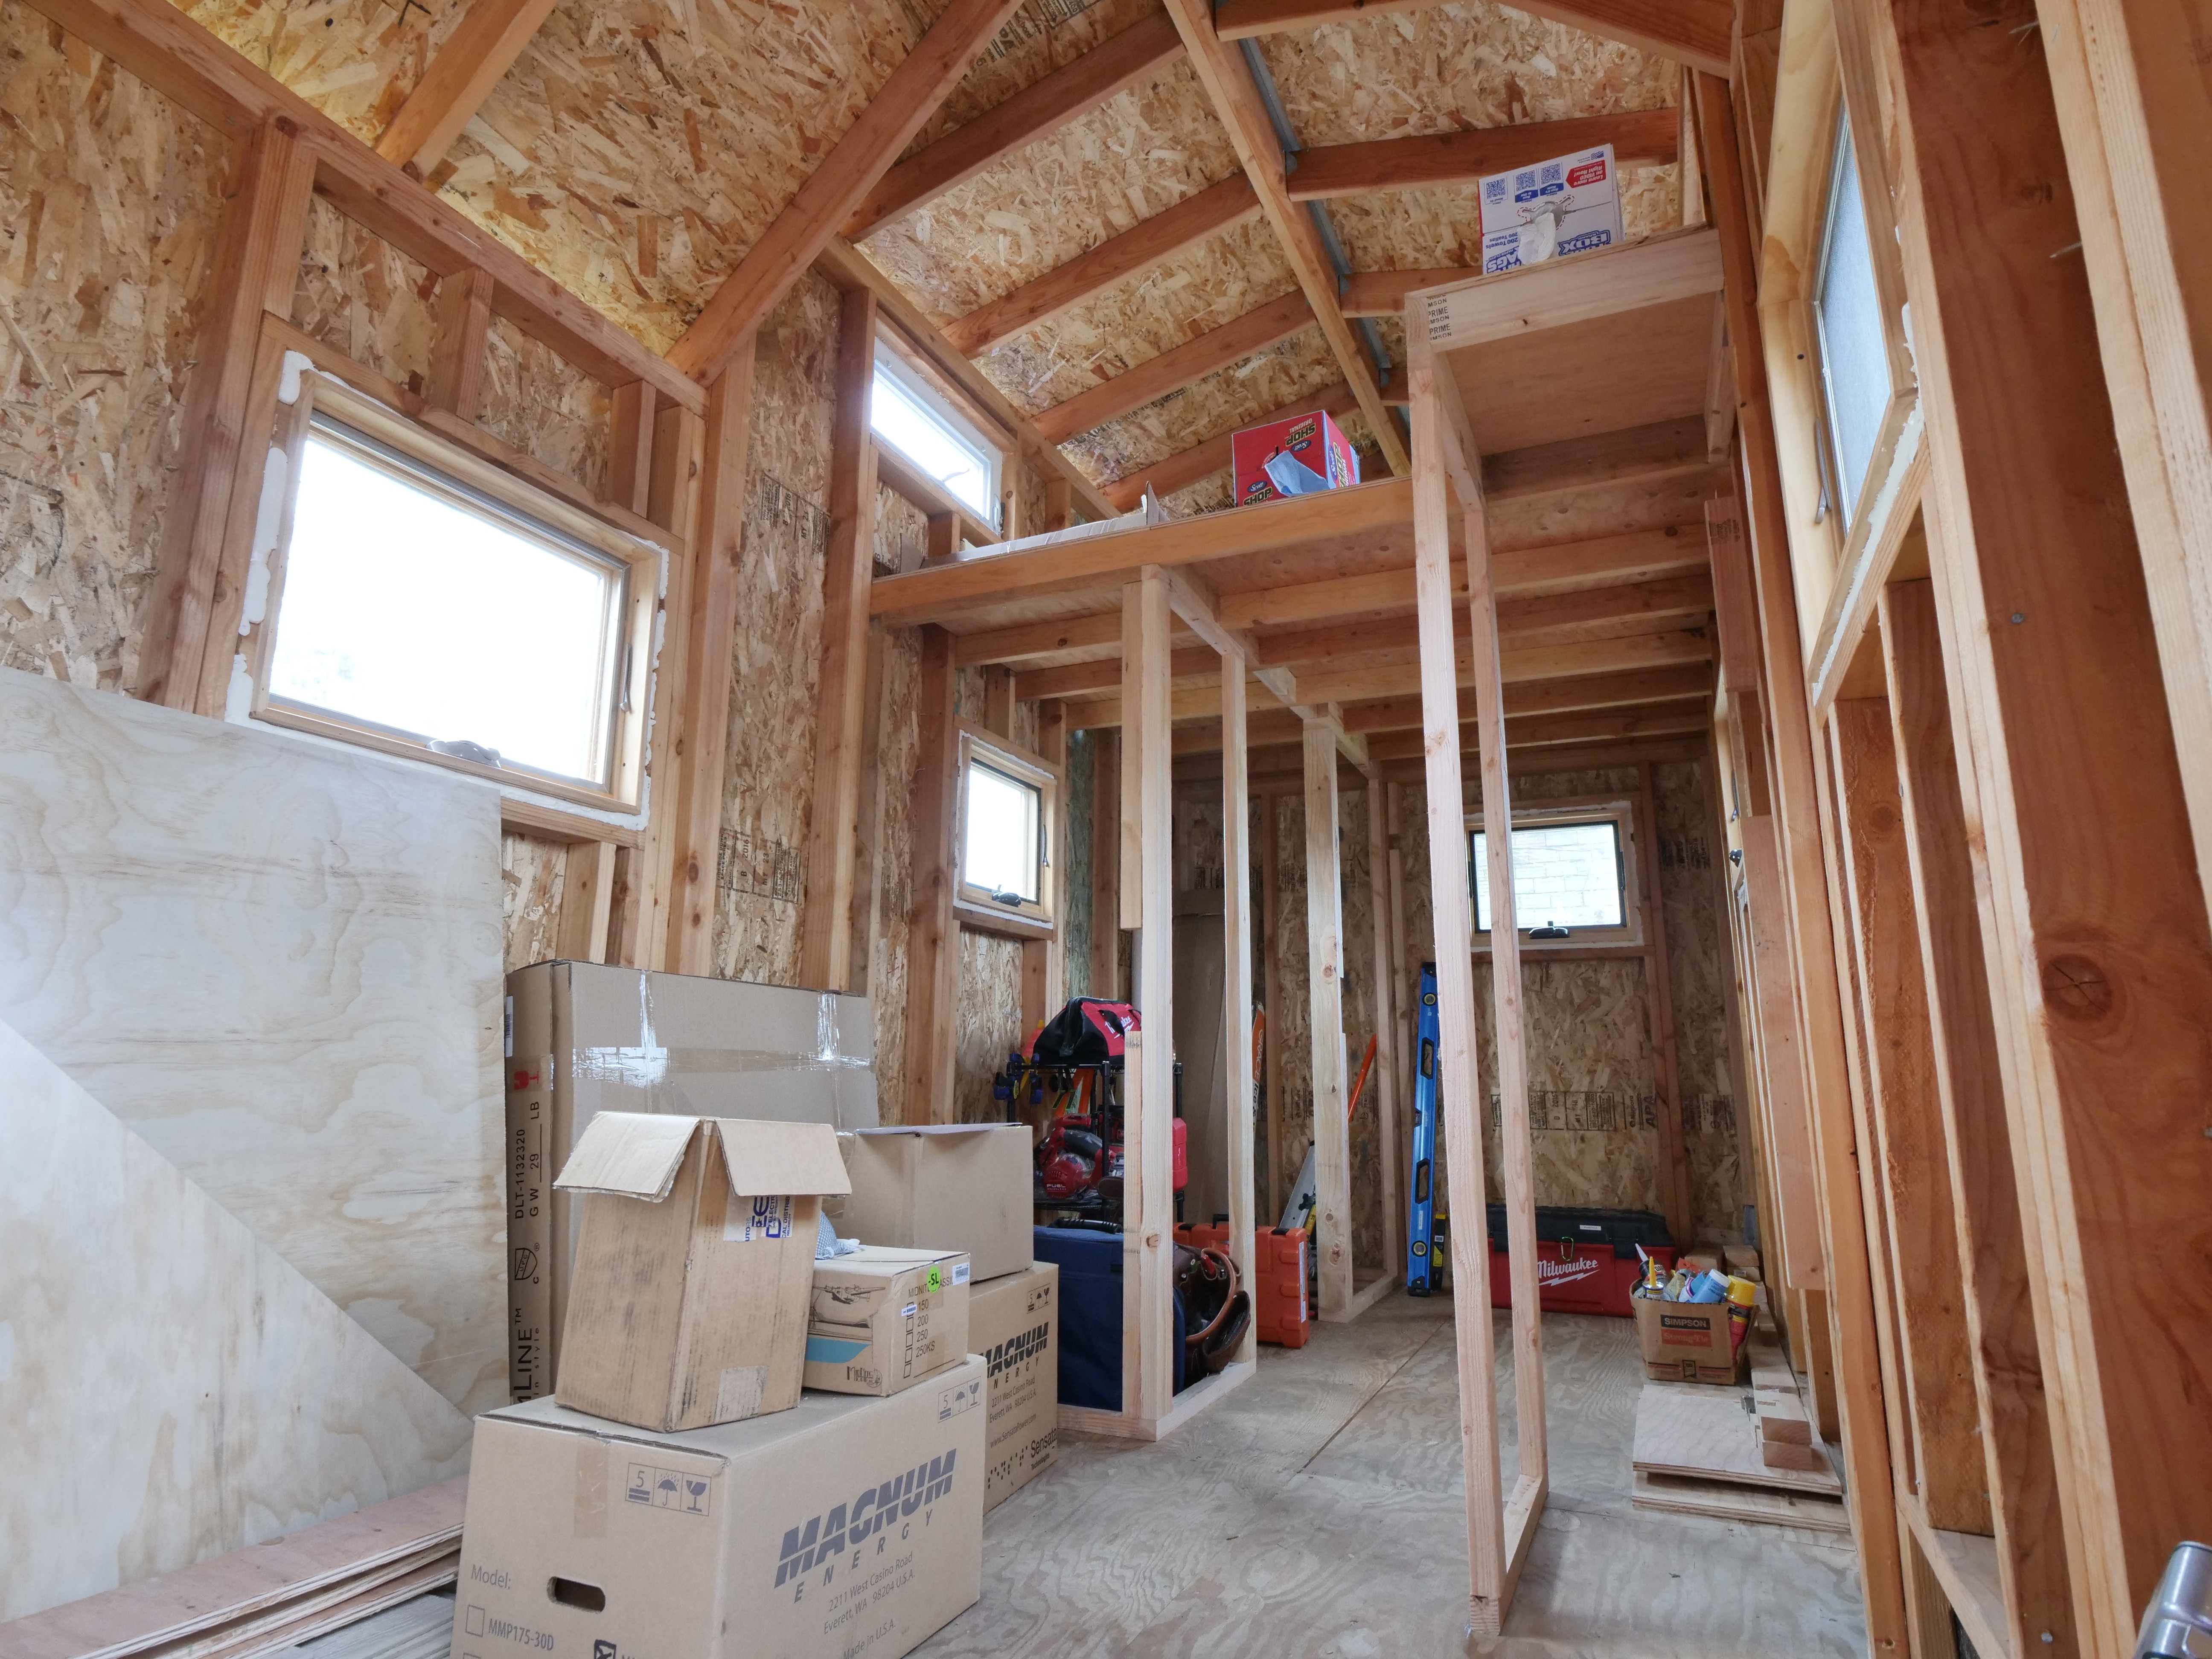
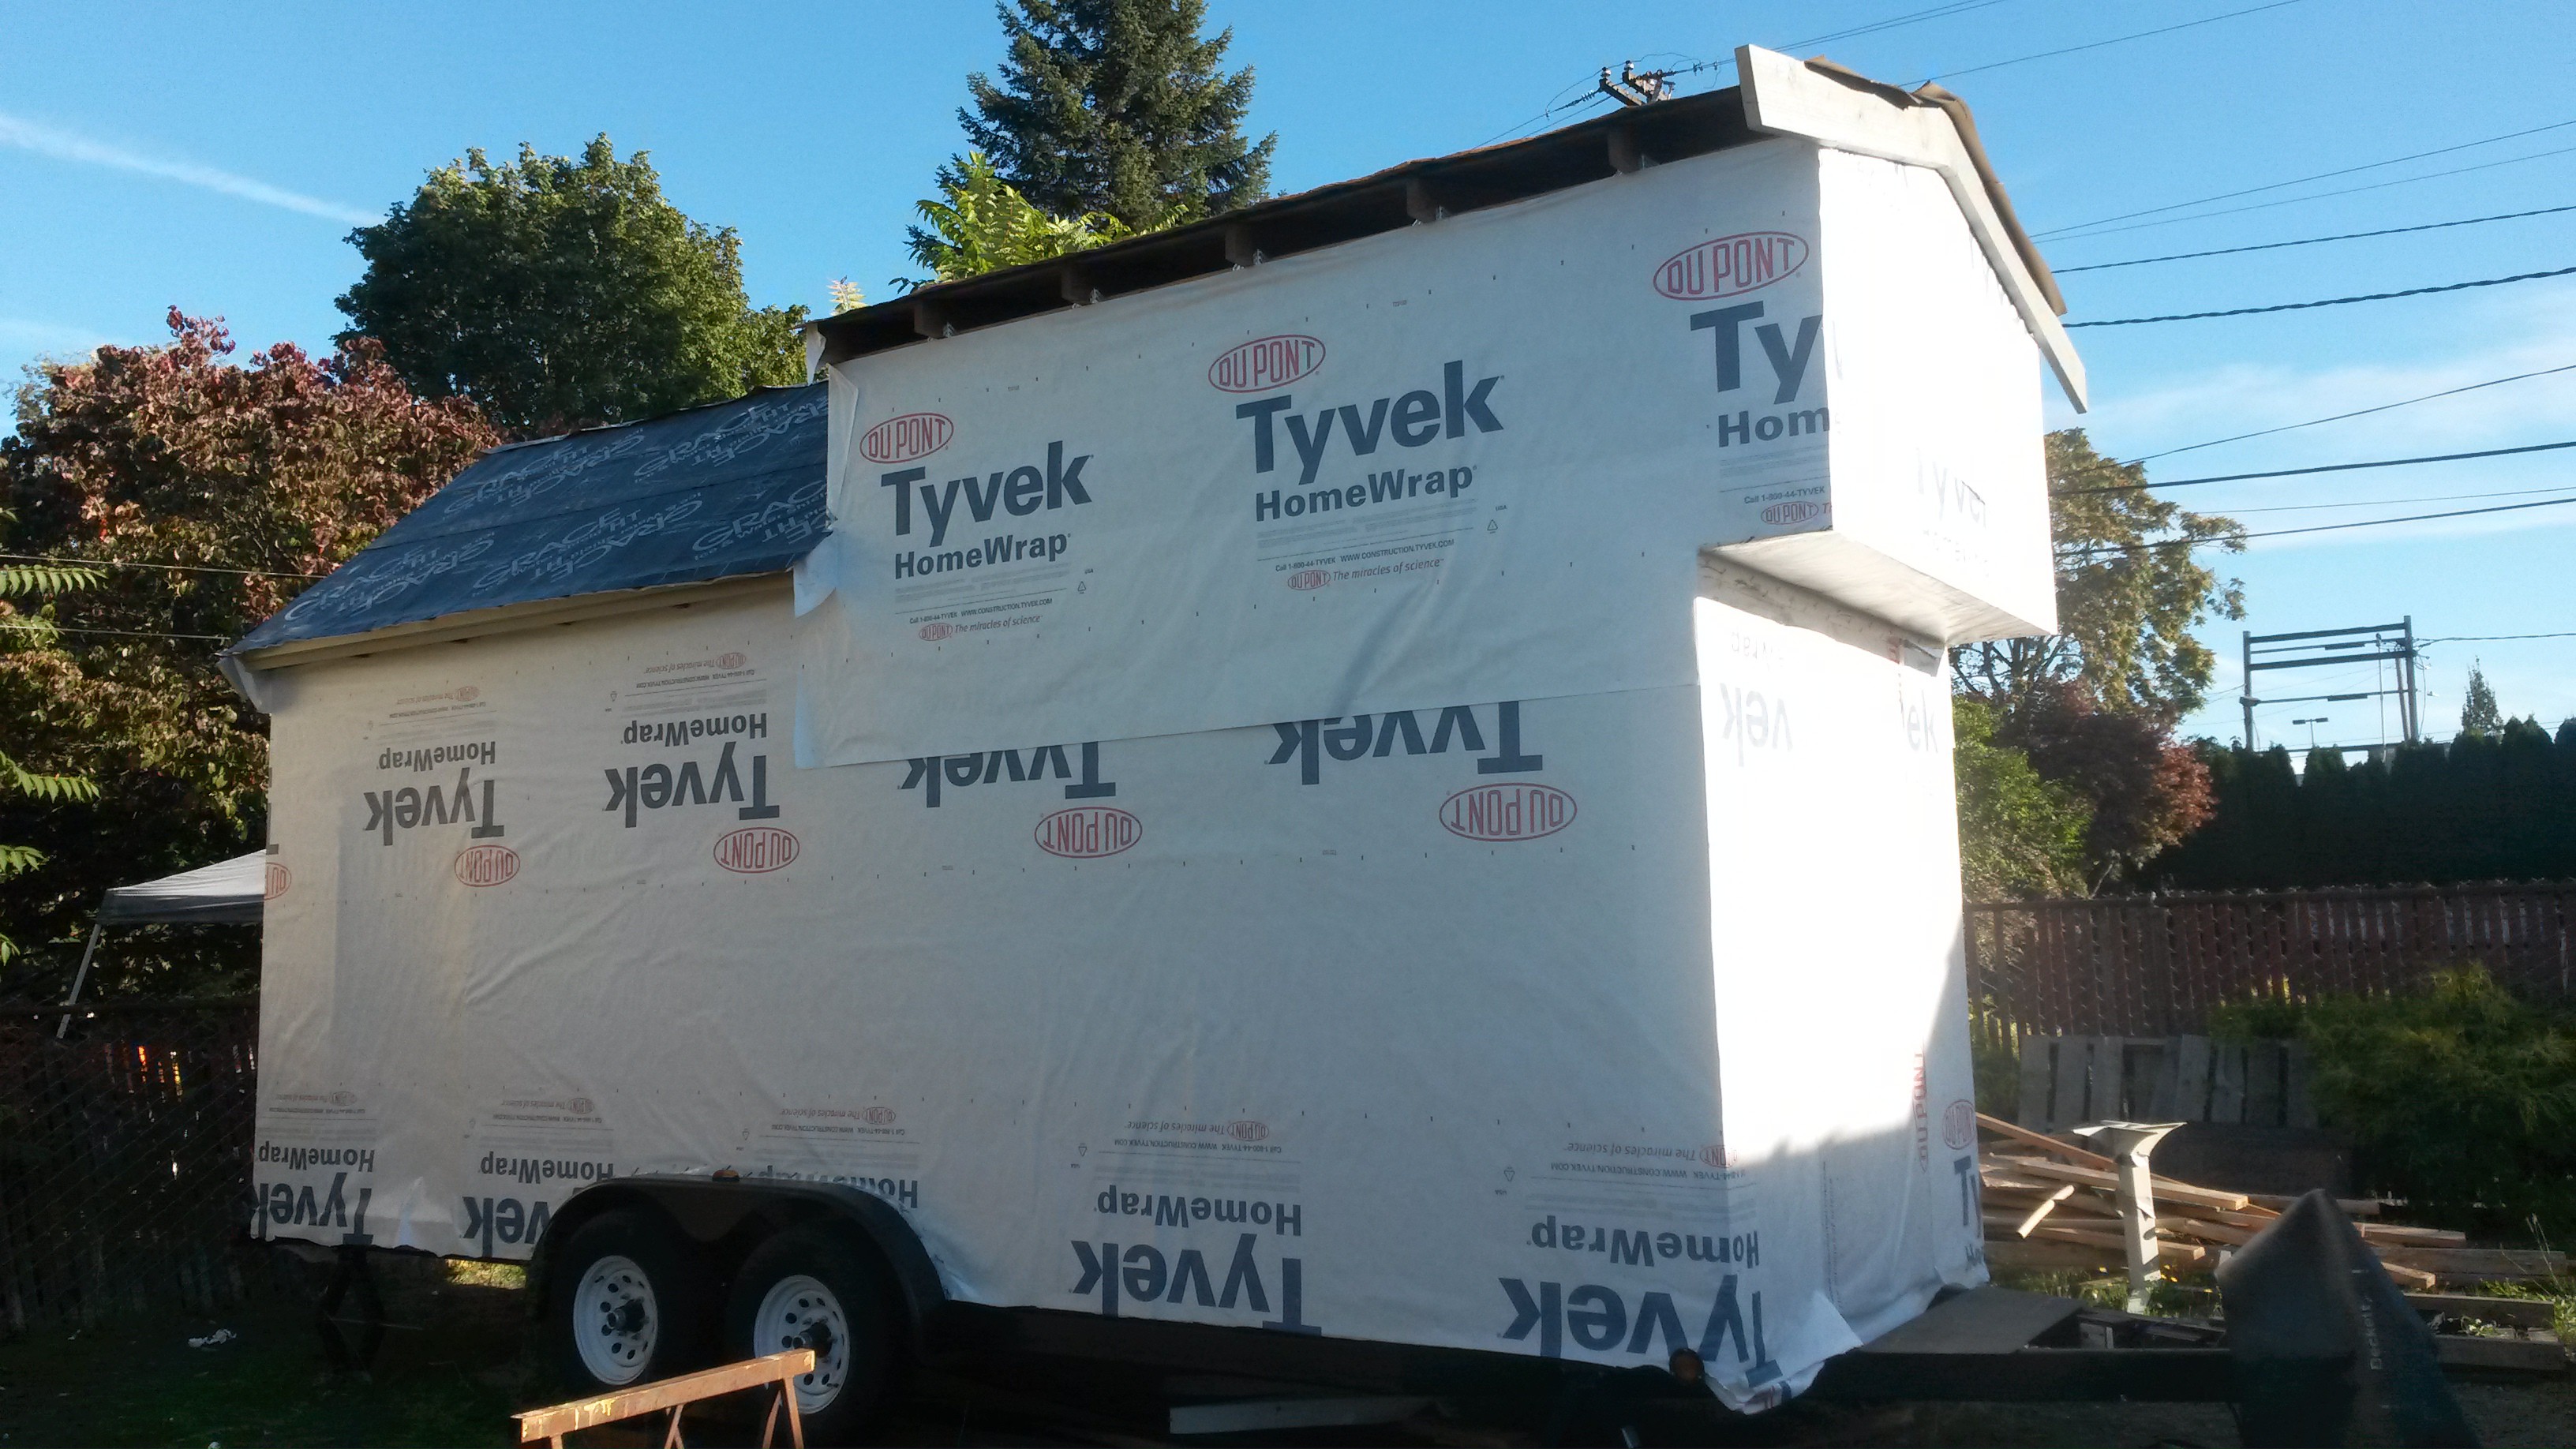
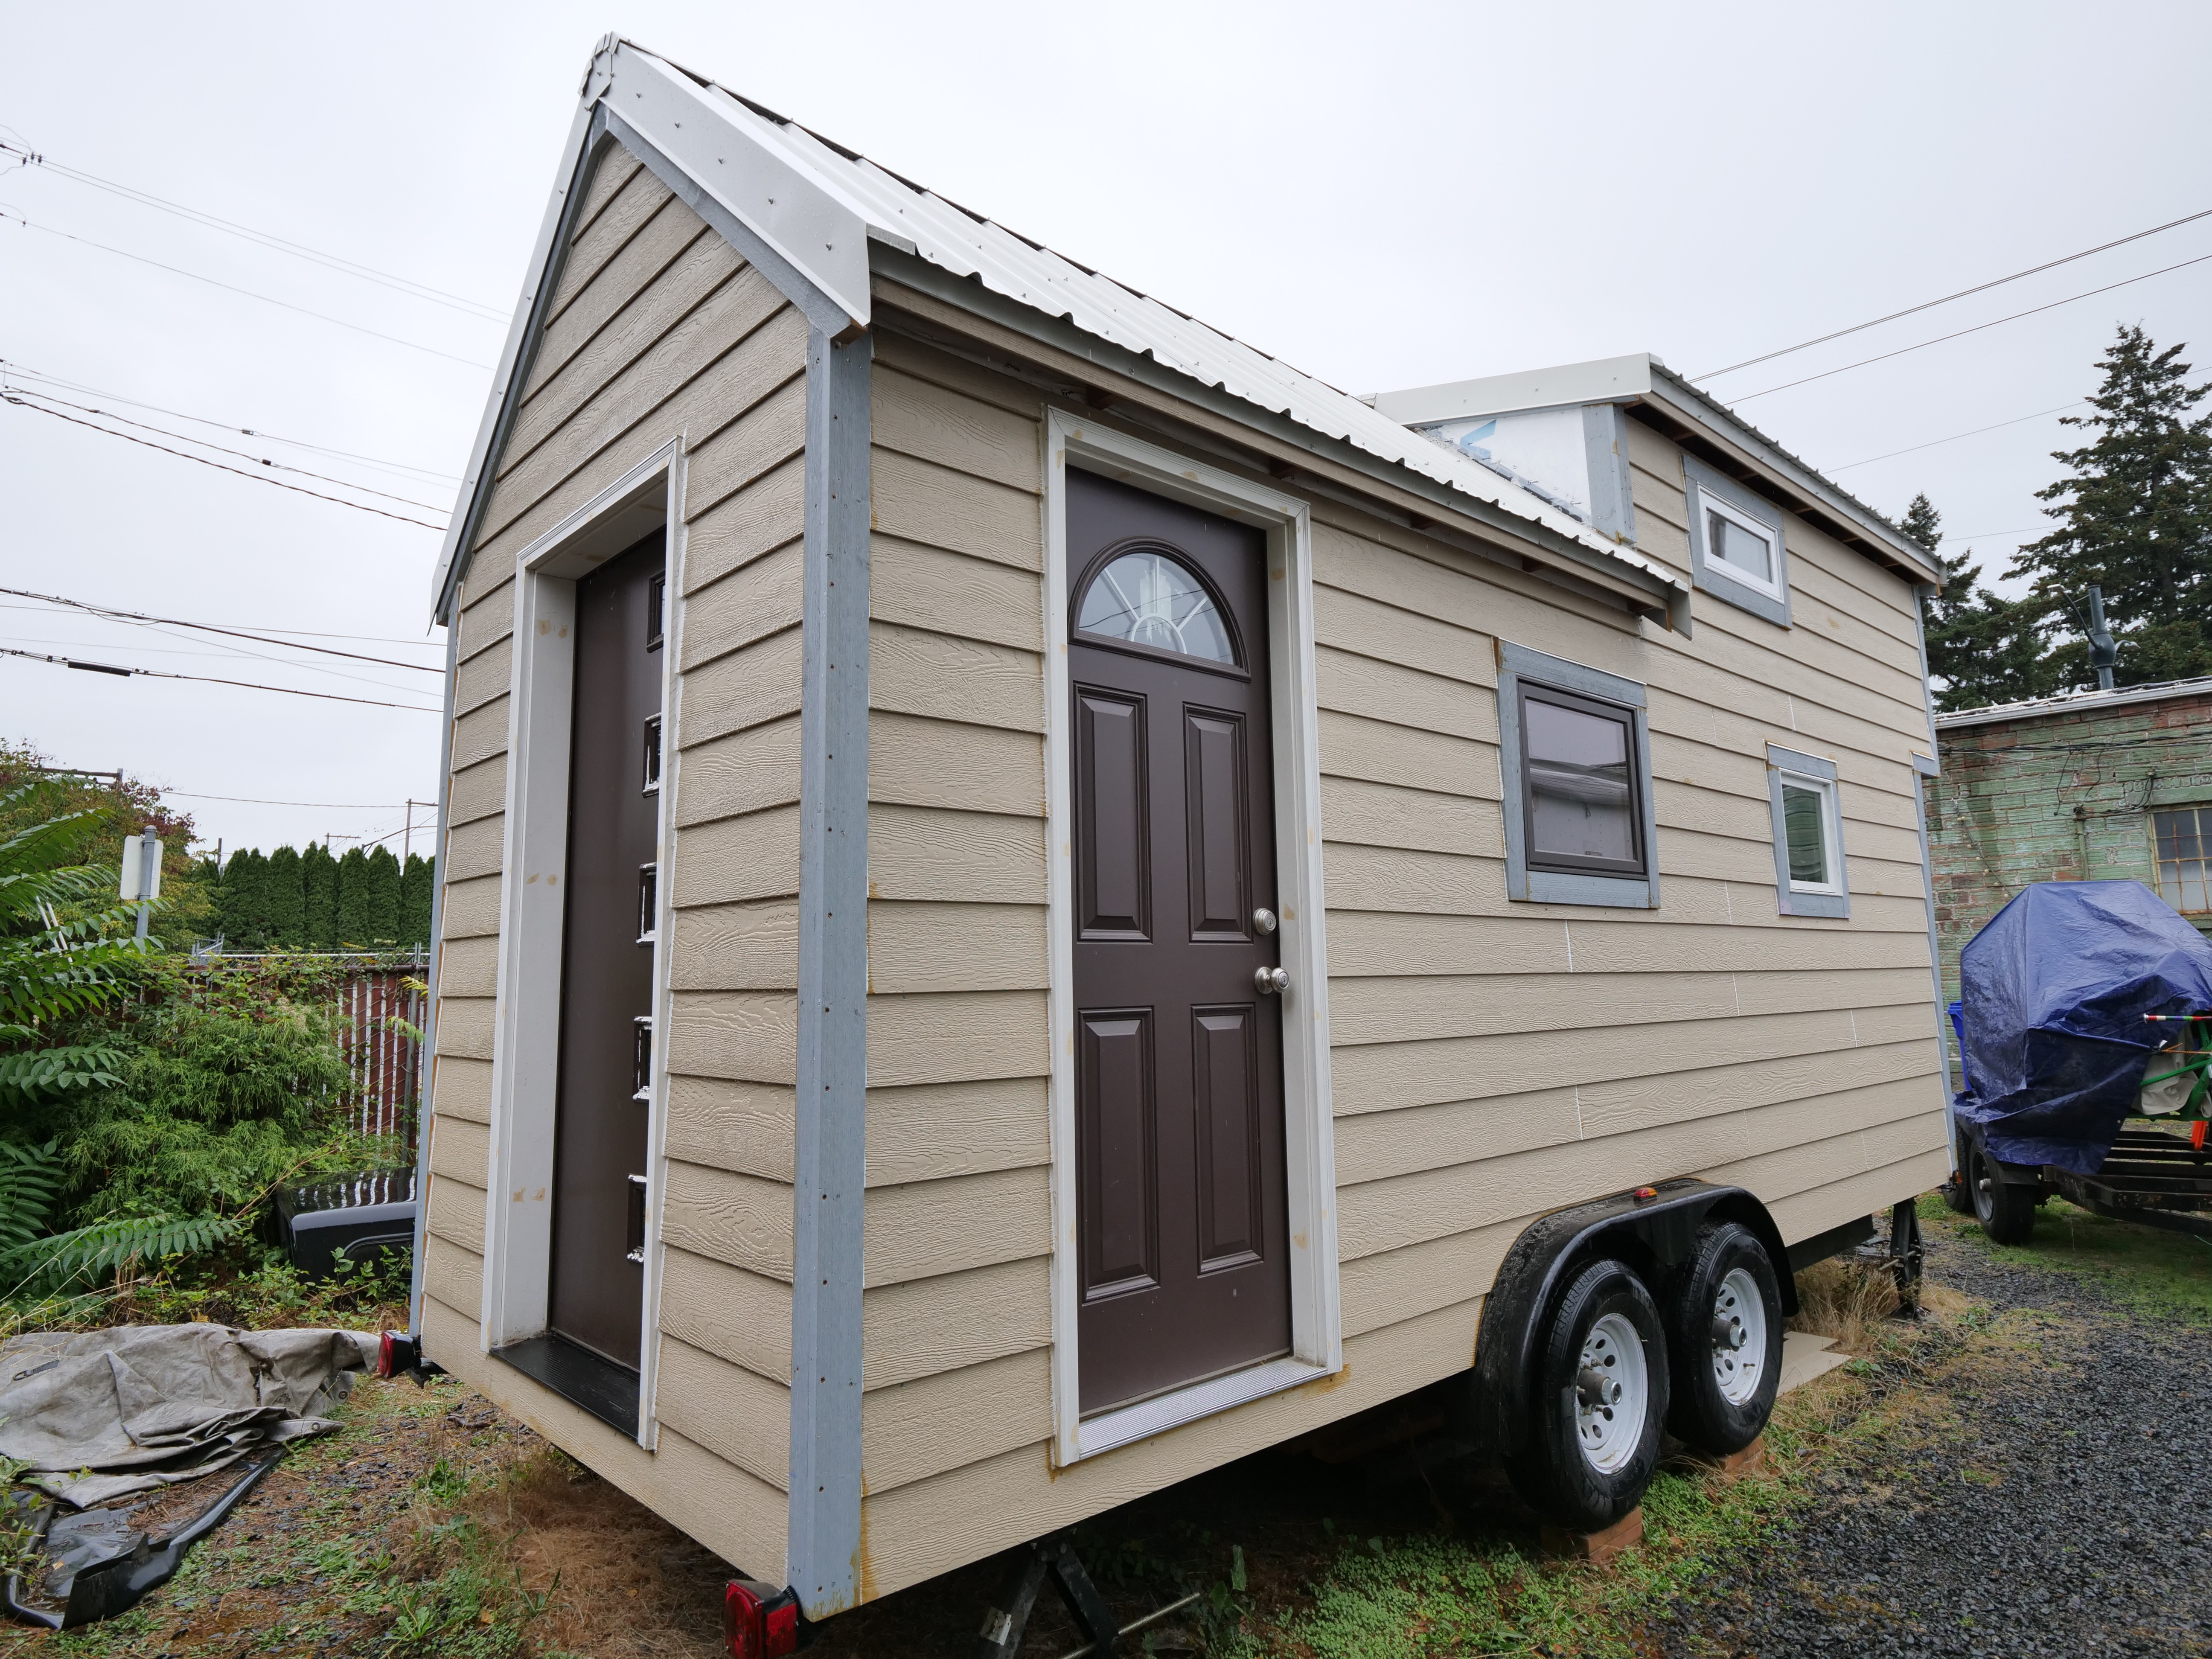
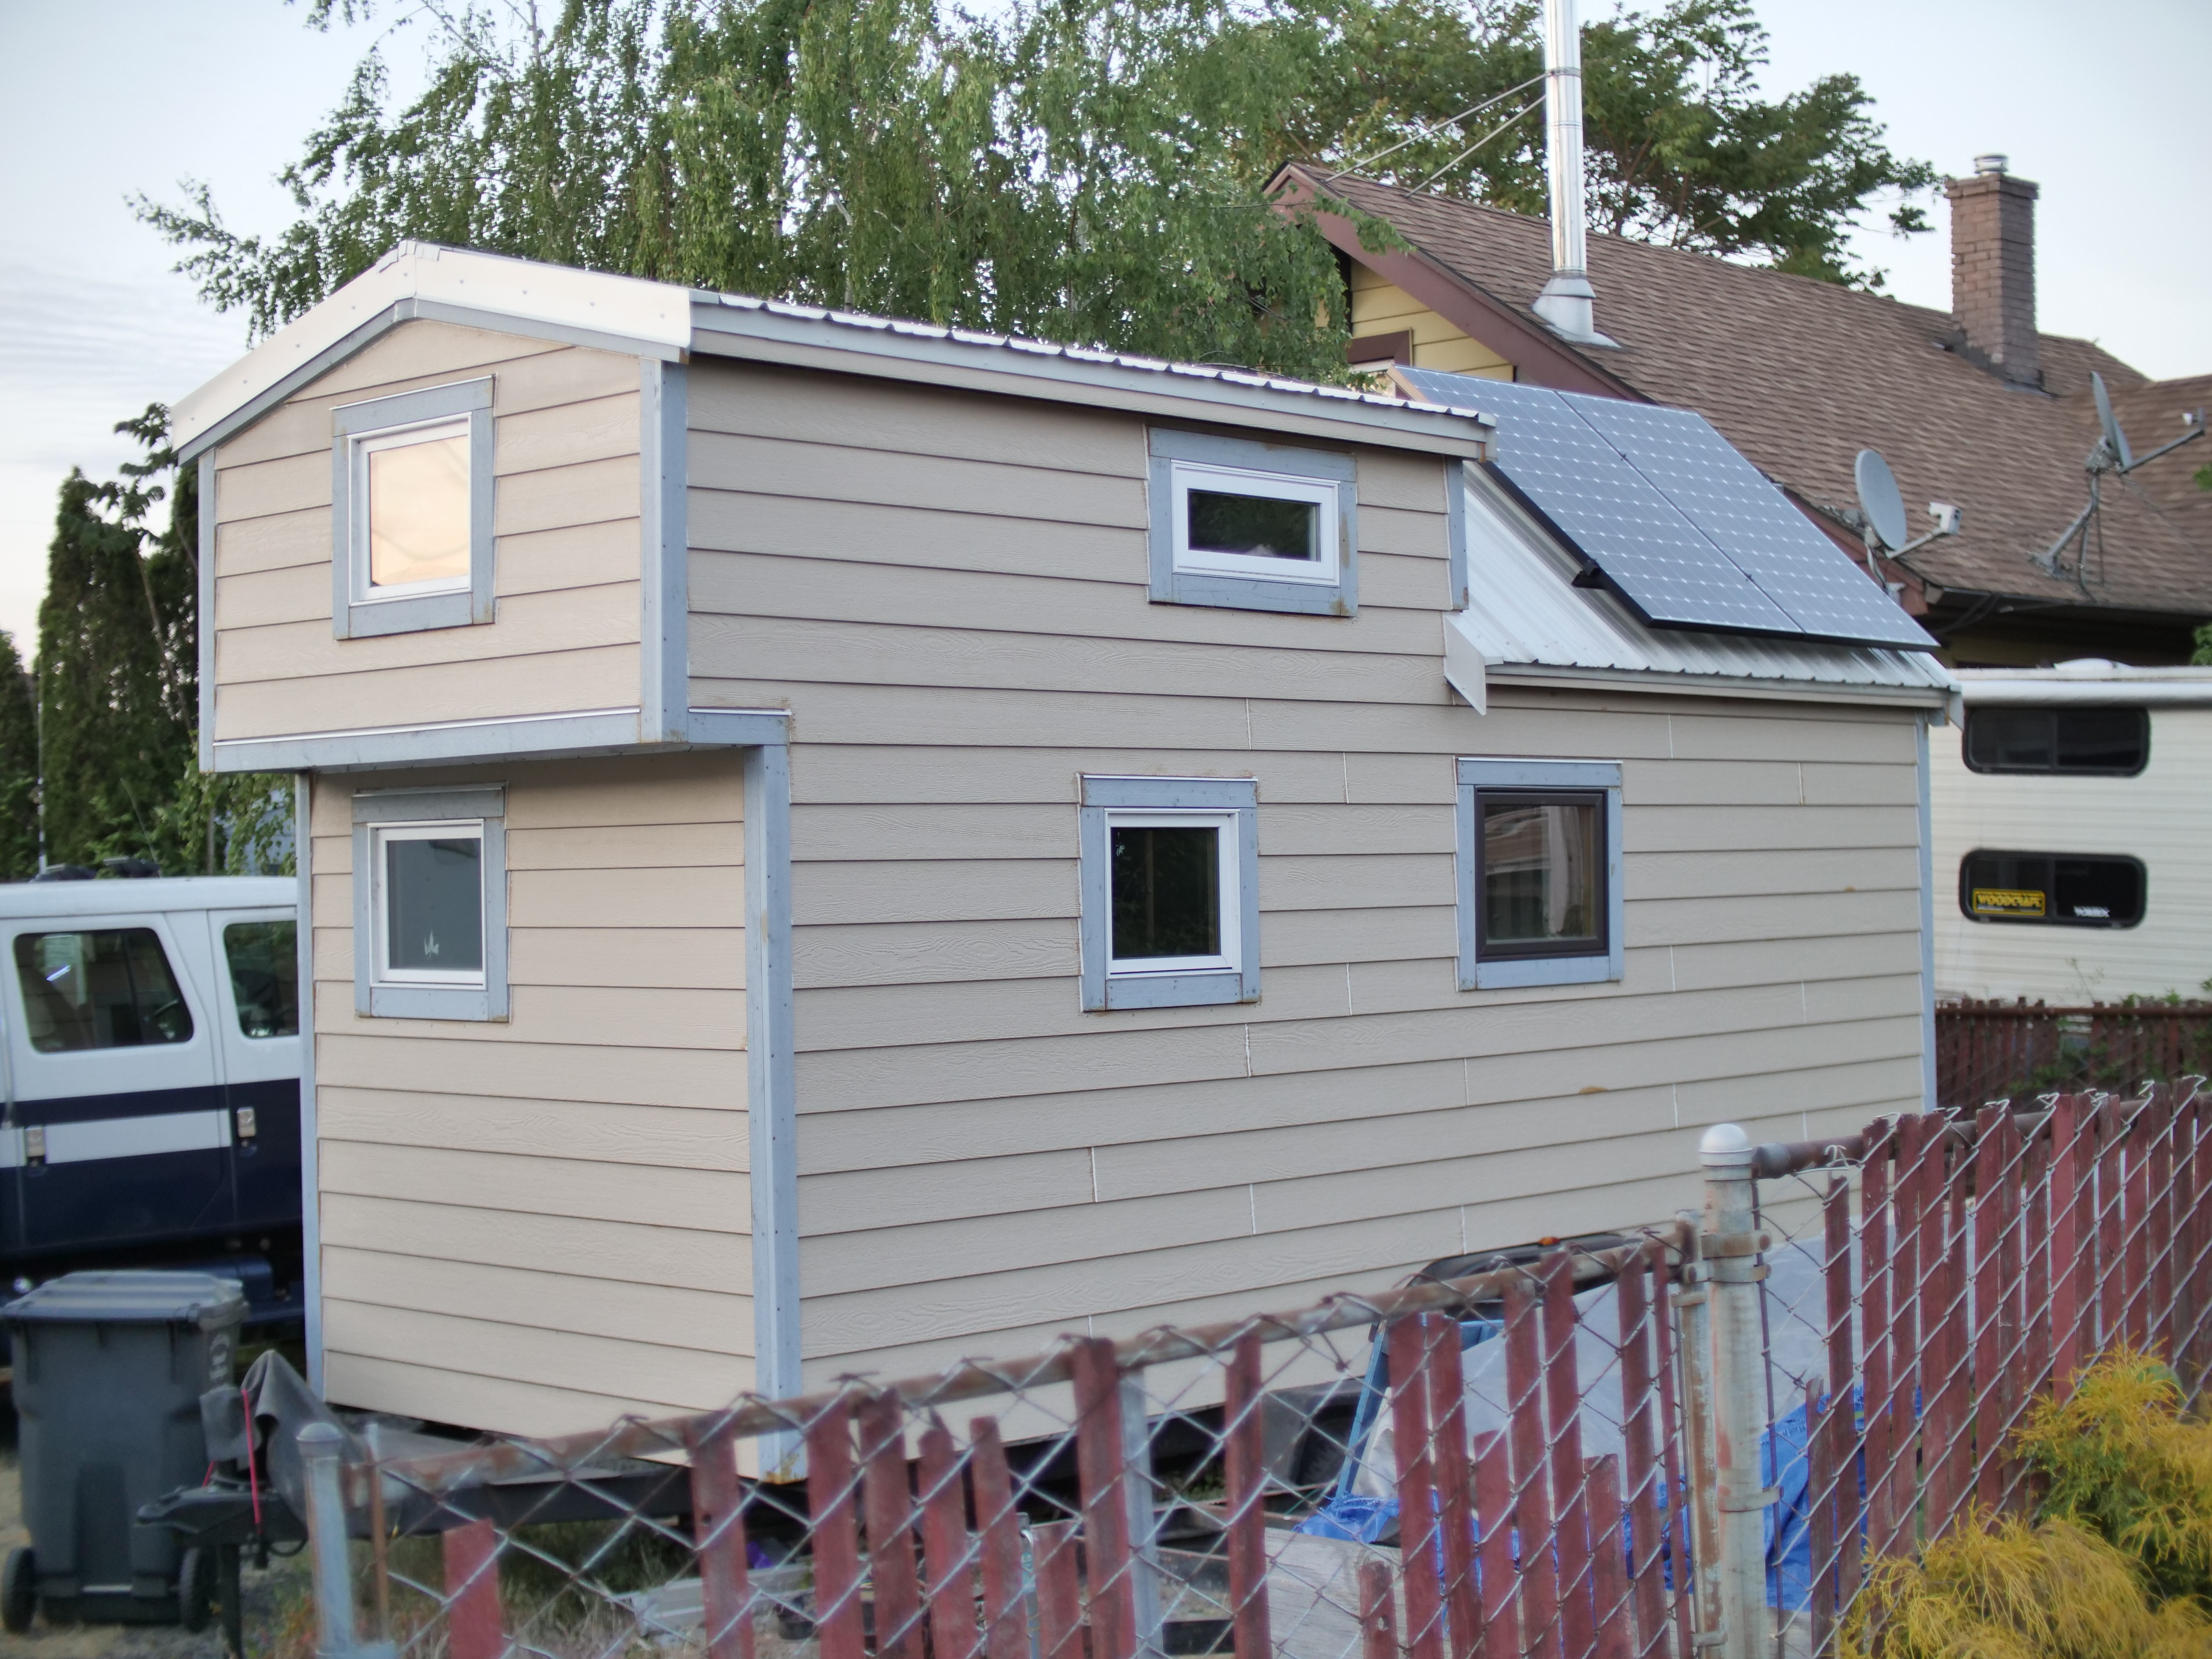
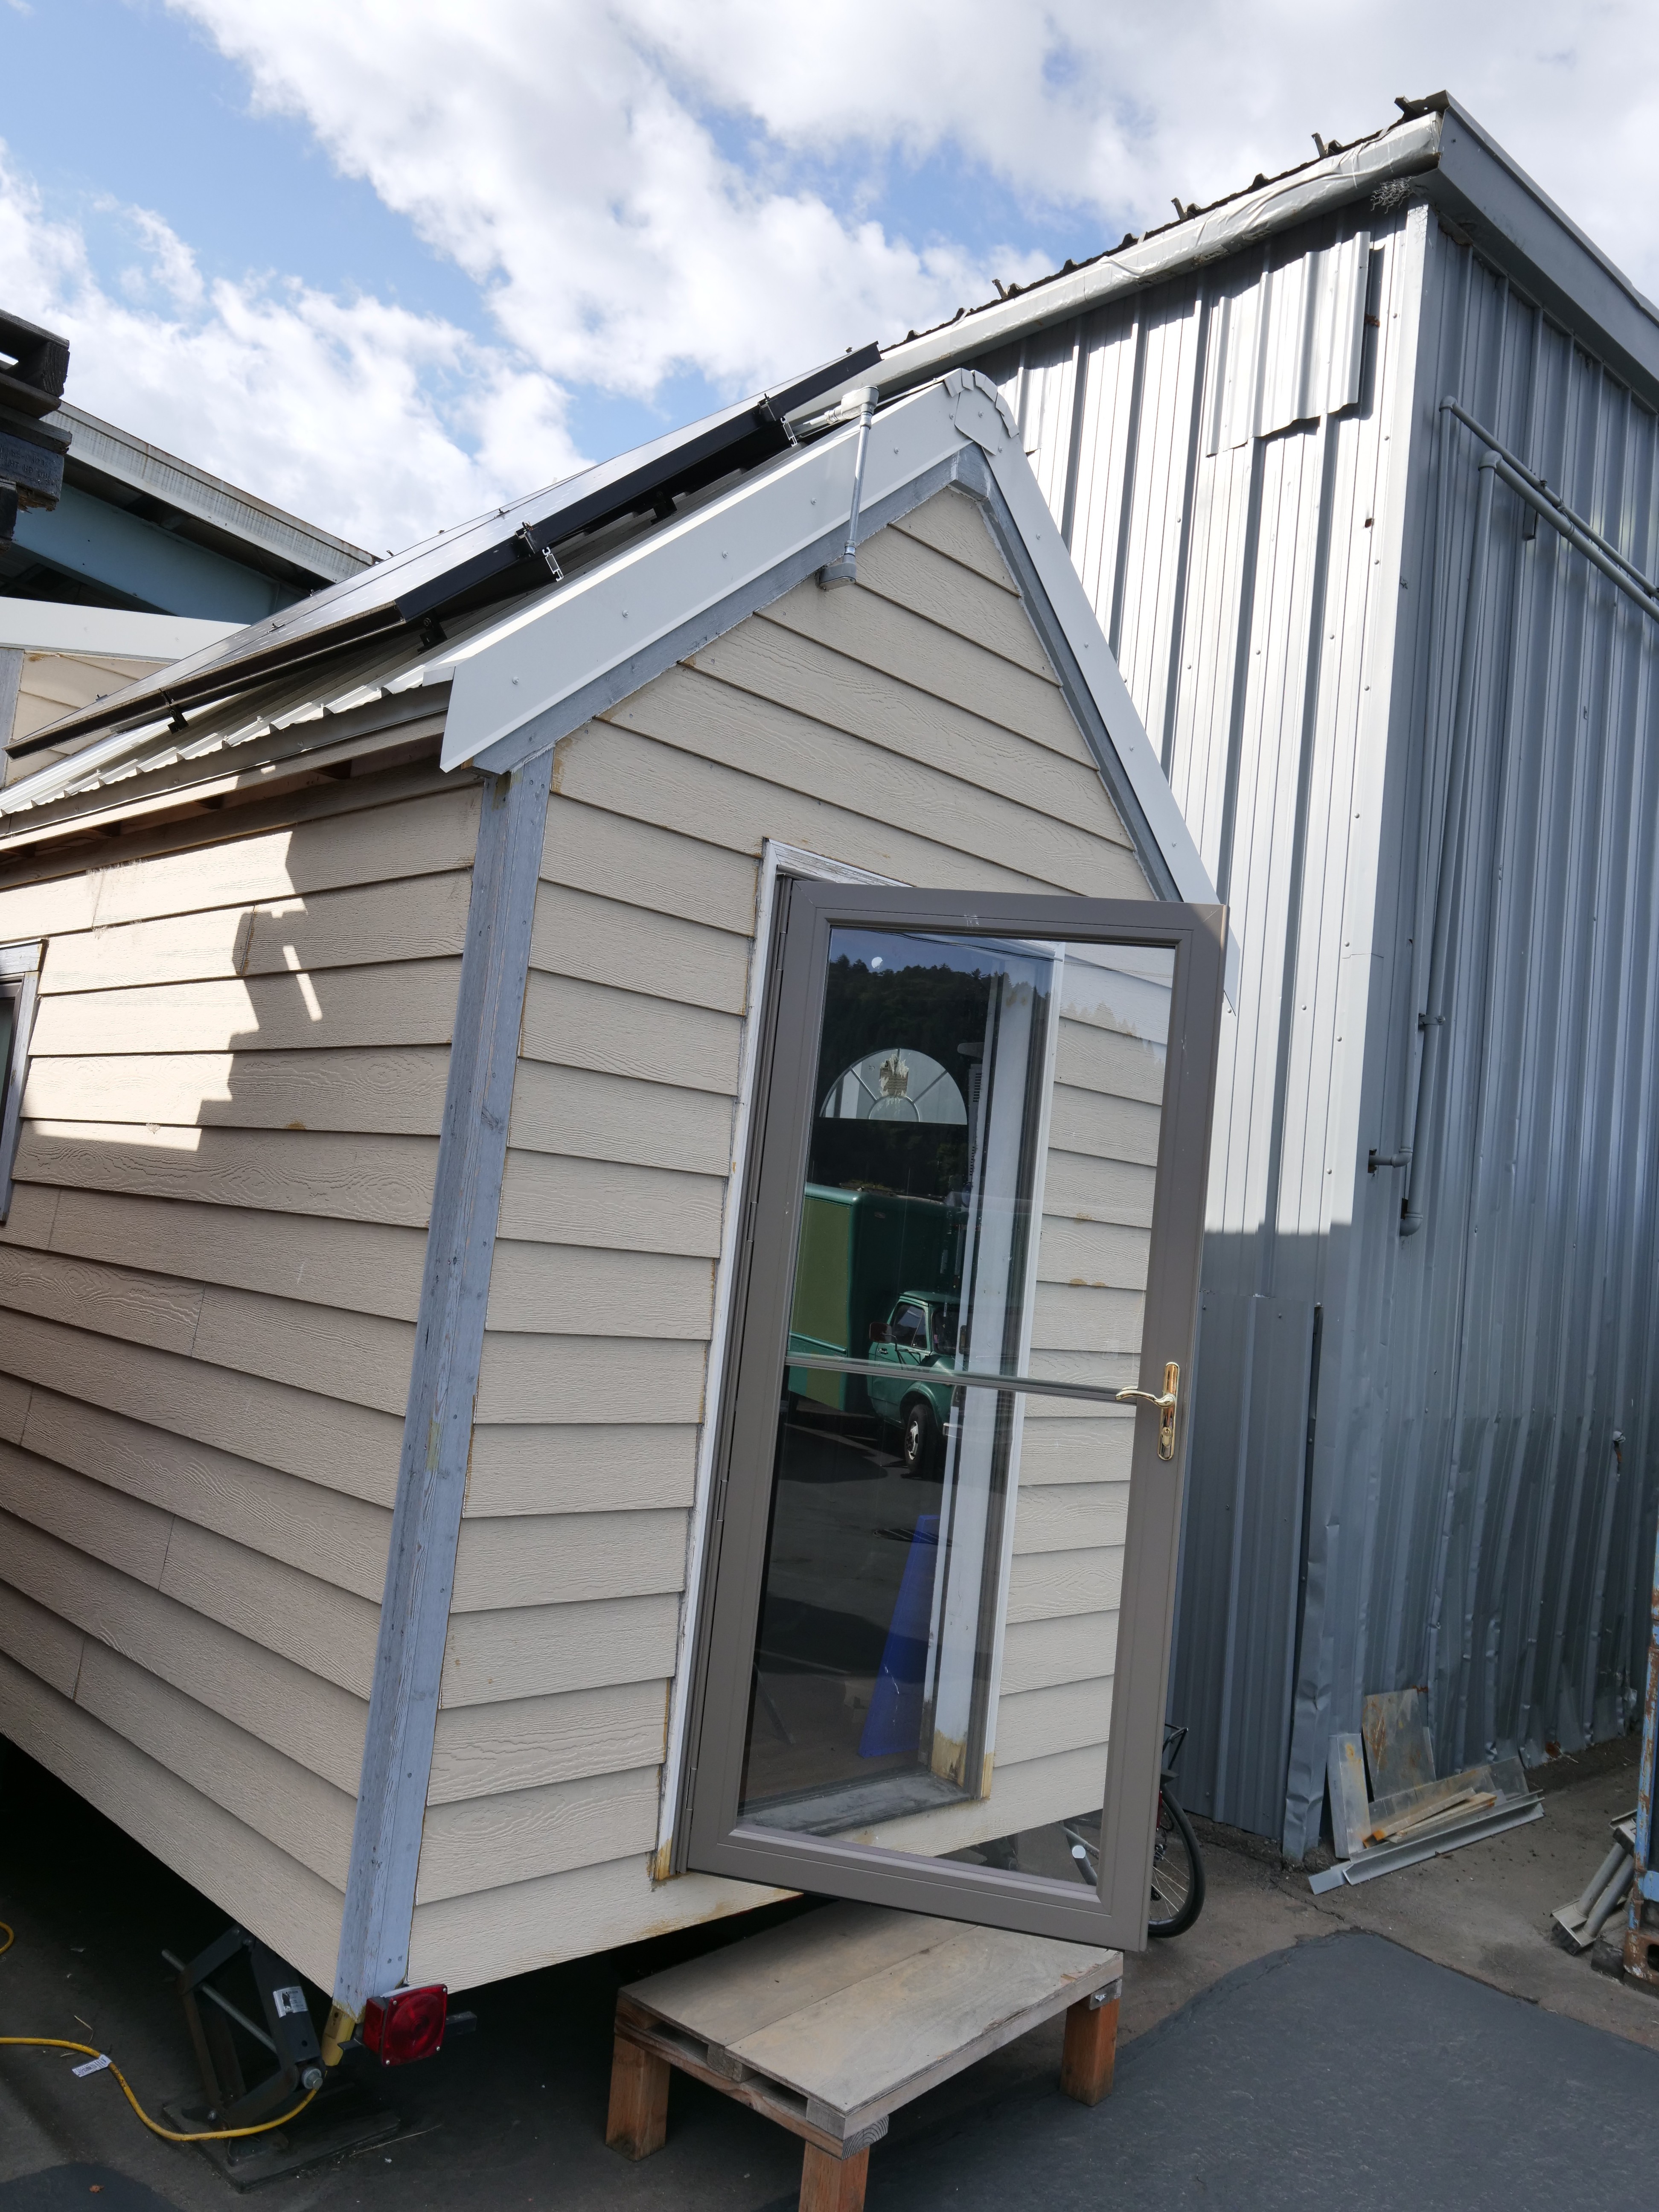
Please refer to the Assembly Drawing PDF file in the attached documents for detailed manufacturing dimensions and bill of materials. Again, this prototype version is a smaller 20 foot long tiny home, so the drawings can be used as a guide that can be scaled and modified for any other particular size or other design. Keep in mind that the maximum legal height for a tiny home on wheels is 13-1/2 feet, so make sure that the final design does NOT exceed this height, which includes any roofing material. If the frame and rafter structure is at least a few inches under the maximum height limit, it should meet the height requirement once all the final exterior layers are added. Be sure to follow manufacturer instructions for all doors, windows, siding, and metal roofing especially the flashing and water barriers. I recommend using ice/water shield rolls on the roof sheathing. One tip I learned is to use flexible window adhesive flashing around the exterior wheel well where rain can pool and leak in to the interior space. From this prototype build, I came to the conclusion that multiple roof angles and an overhang over the trailer tongue added extra build difficulty, less space for solar panels, and not much extra loft space, so this was removed from the final design to save time and cost. Storm doors are also highly recommended since most doors are not designed to have rain directly hitting them, which can pool water and cause moisture buildup around the door interior. Also, here's some good videos on wall framing basics:
![]()
![]()
![]()
![]()
![]()
-
3Install Solar Electrical
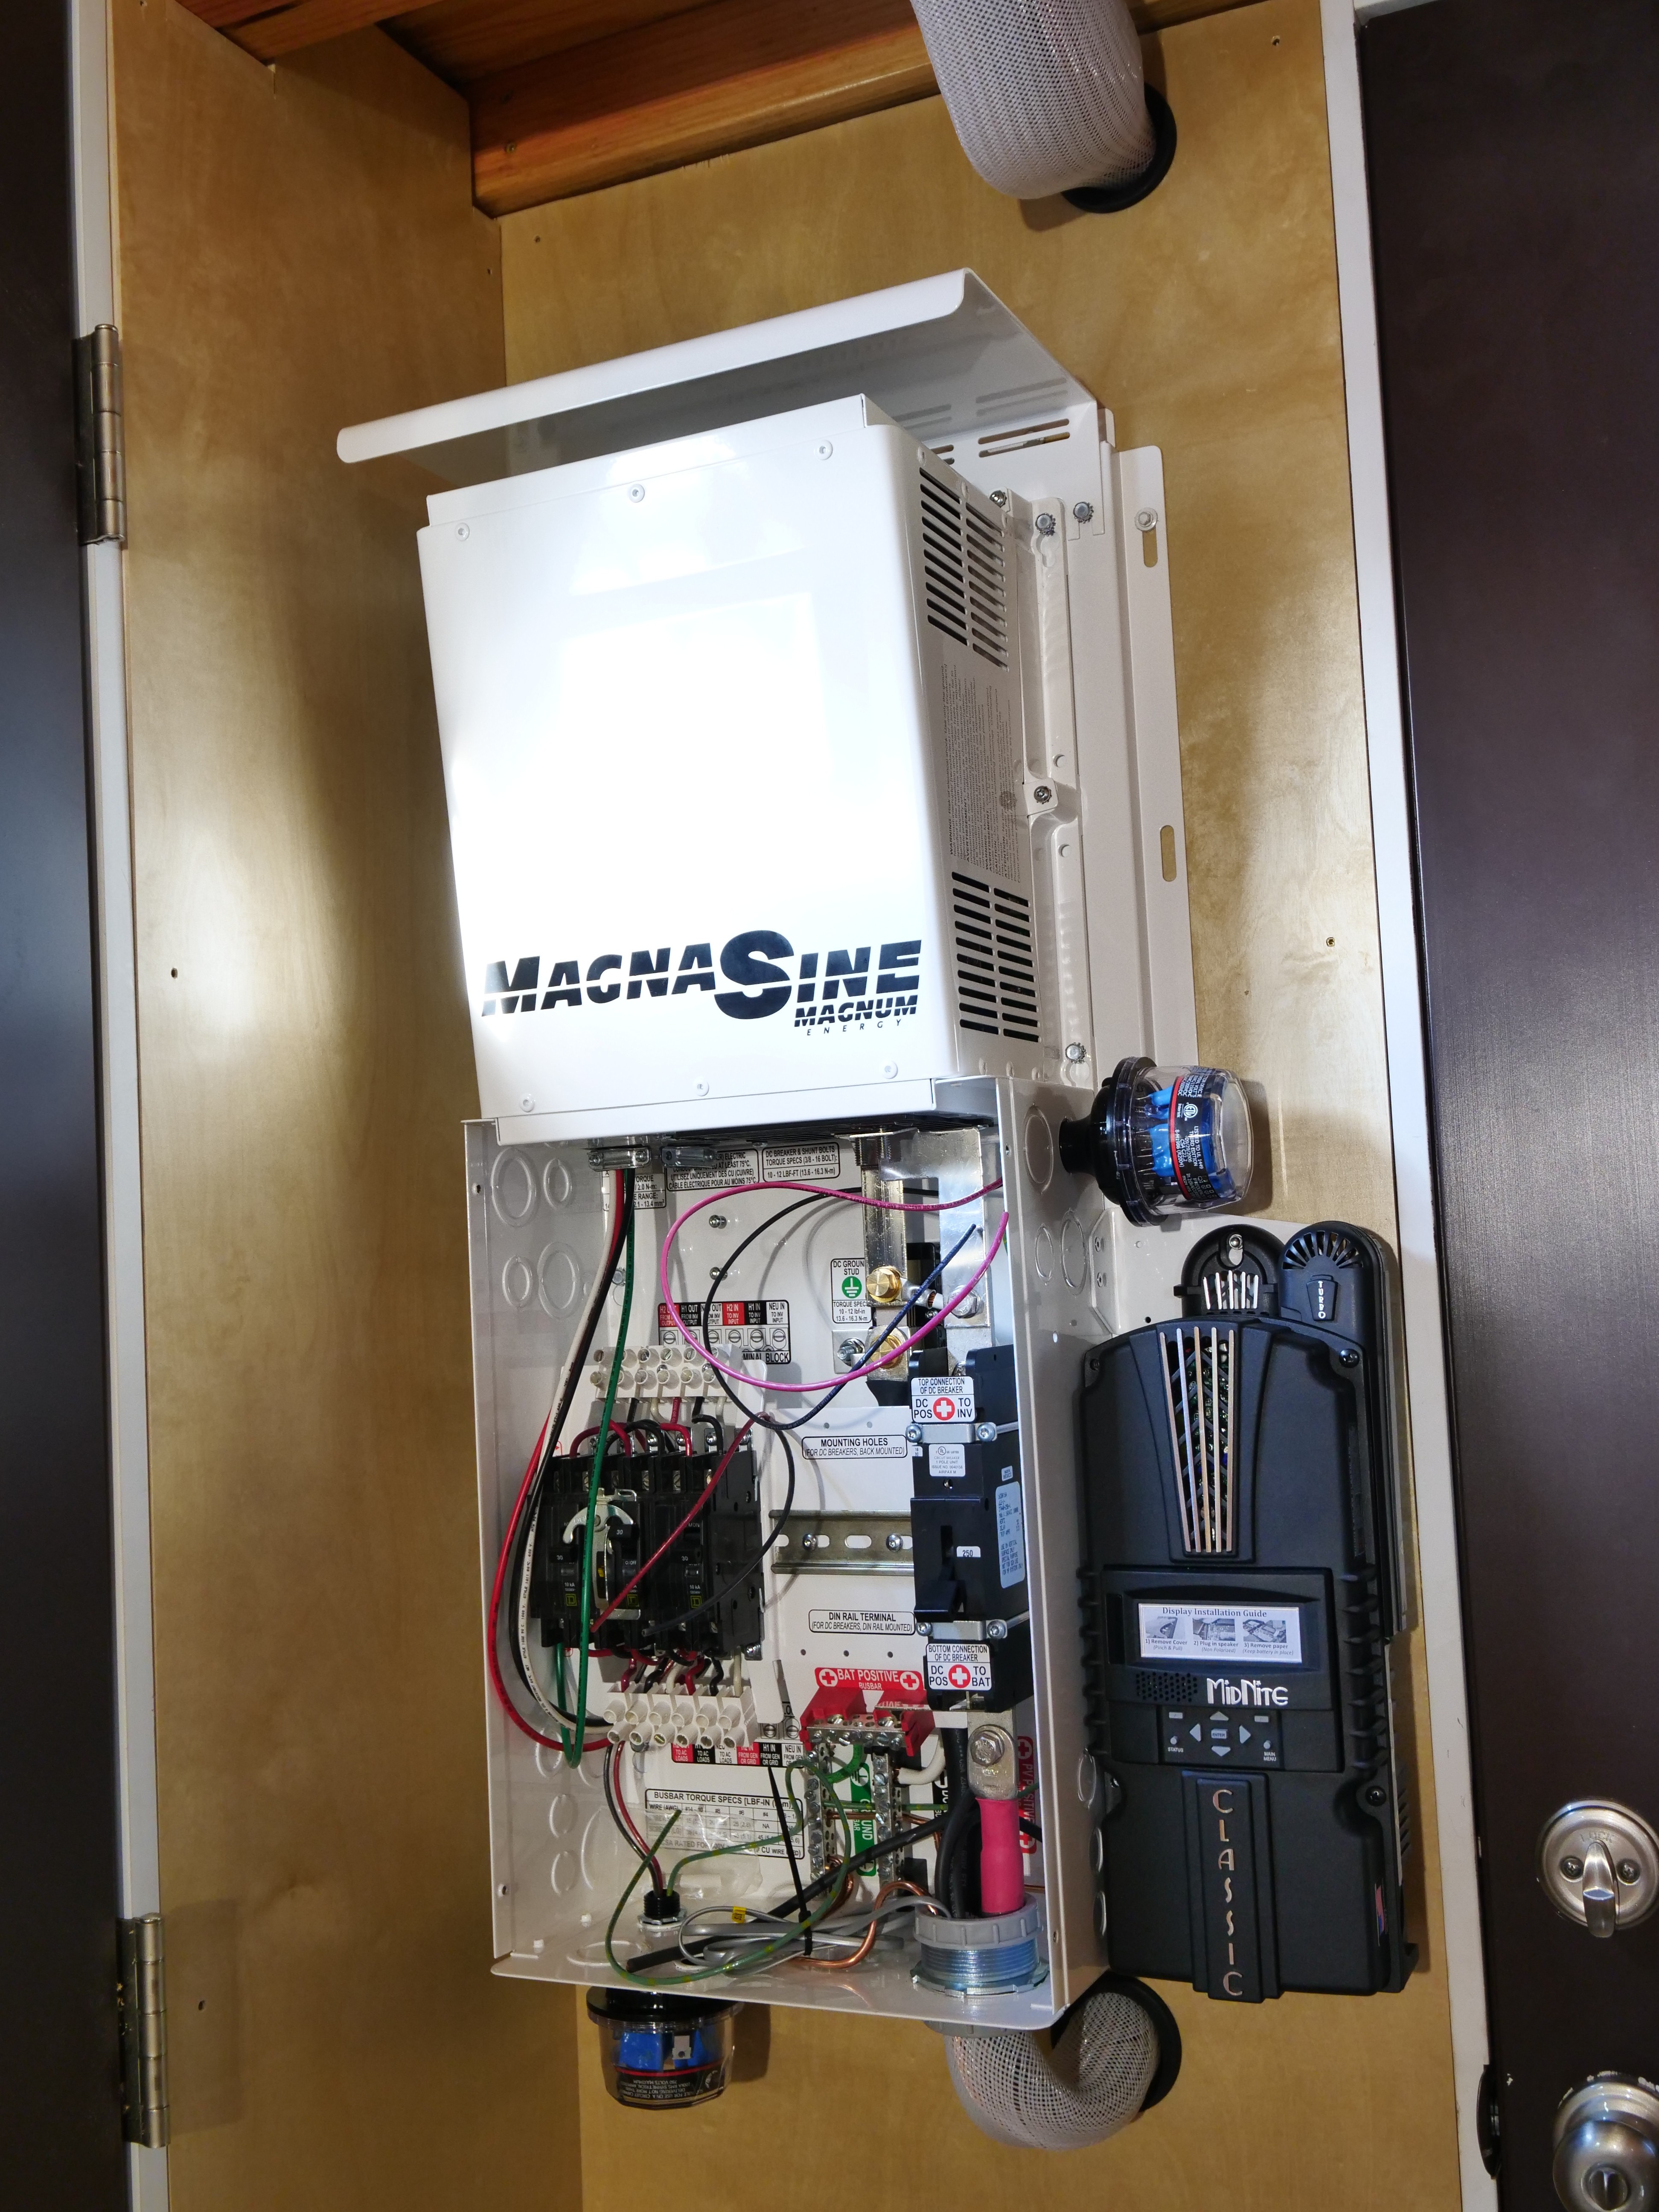
After framing and finishing the tiny home exterior, installing the electrical is next. This prototype has 690W Solar Output with a 180Ah 24V LiFePo4 battery, Midnite Solar charge controller, and 4kW 240V center tapped inverter. Here are the settings for the Charge Controller after tuning it with the help of tech support:
Equalize = Absorb, Absorb 28V, Float 26.9V
Absorb time 30 mins, Equalize time 0 mins
Ending Amps 9, Rebulk 26.0V, Skip 0 Days
Output 90A, Min T-Comp 9.9V, Max 29.2V
VBatt Offset 0.1V, Vpv 0.8V
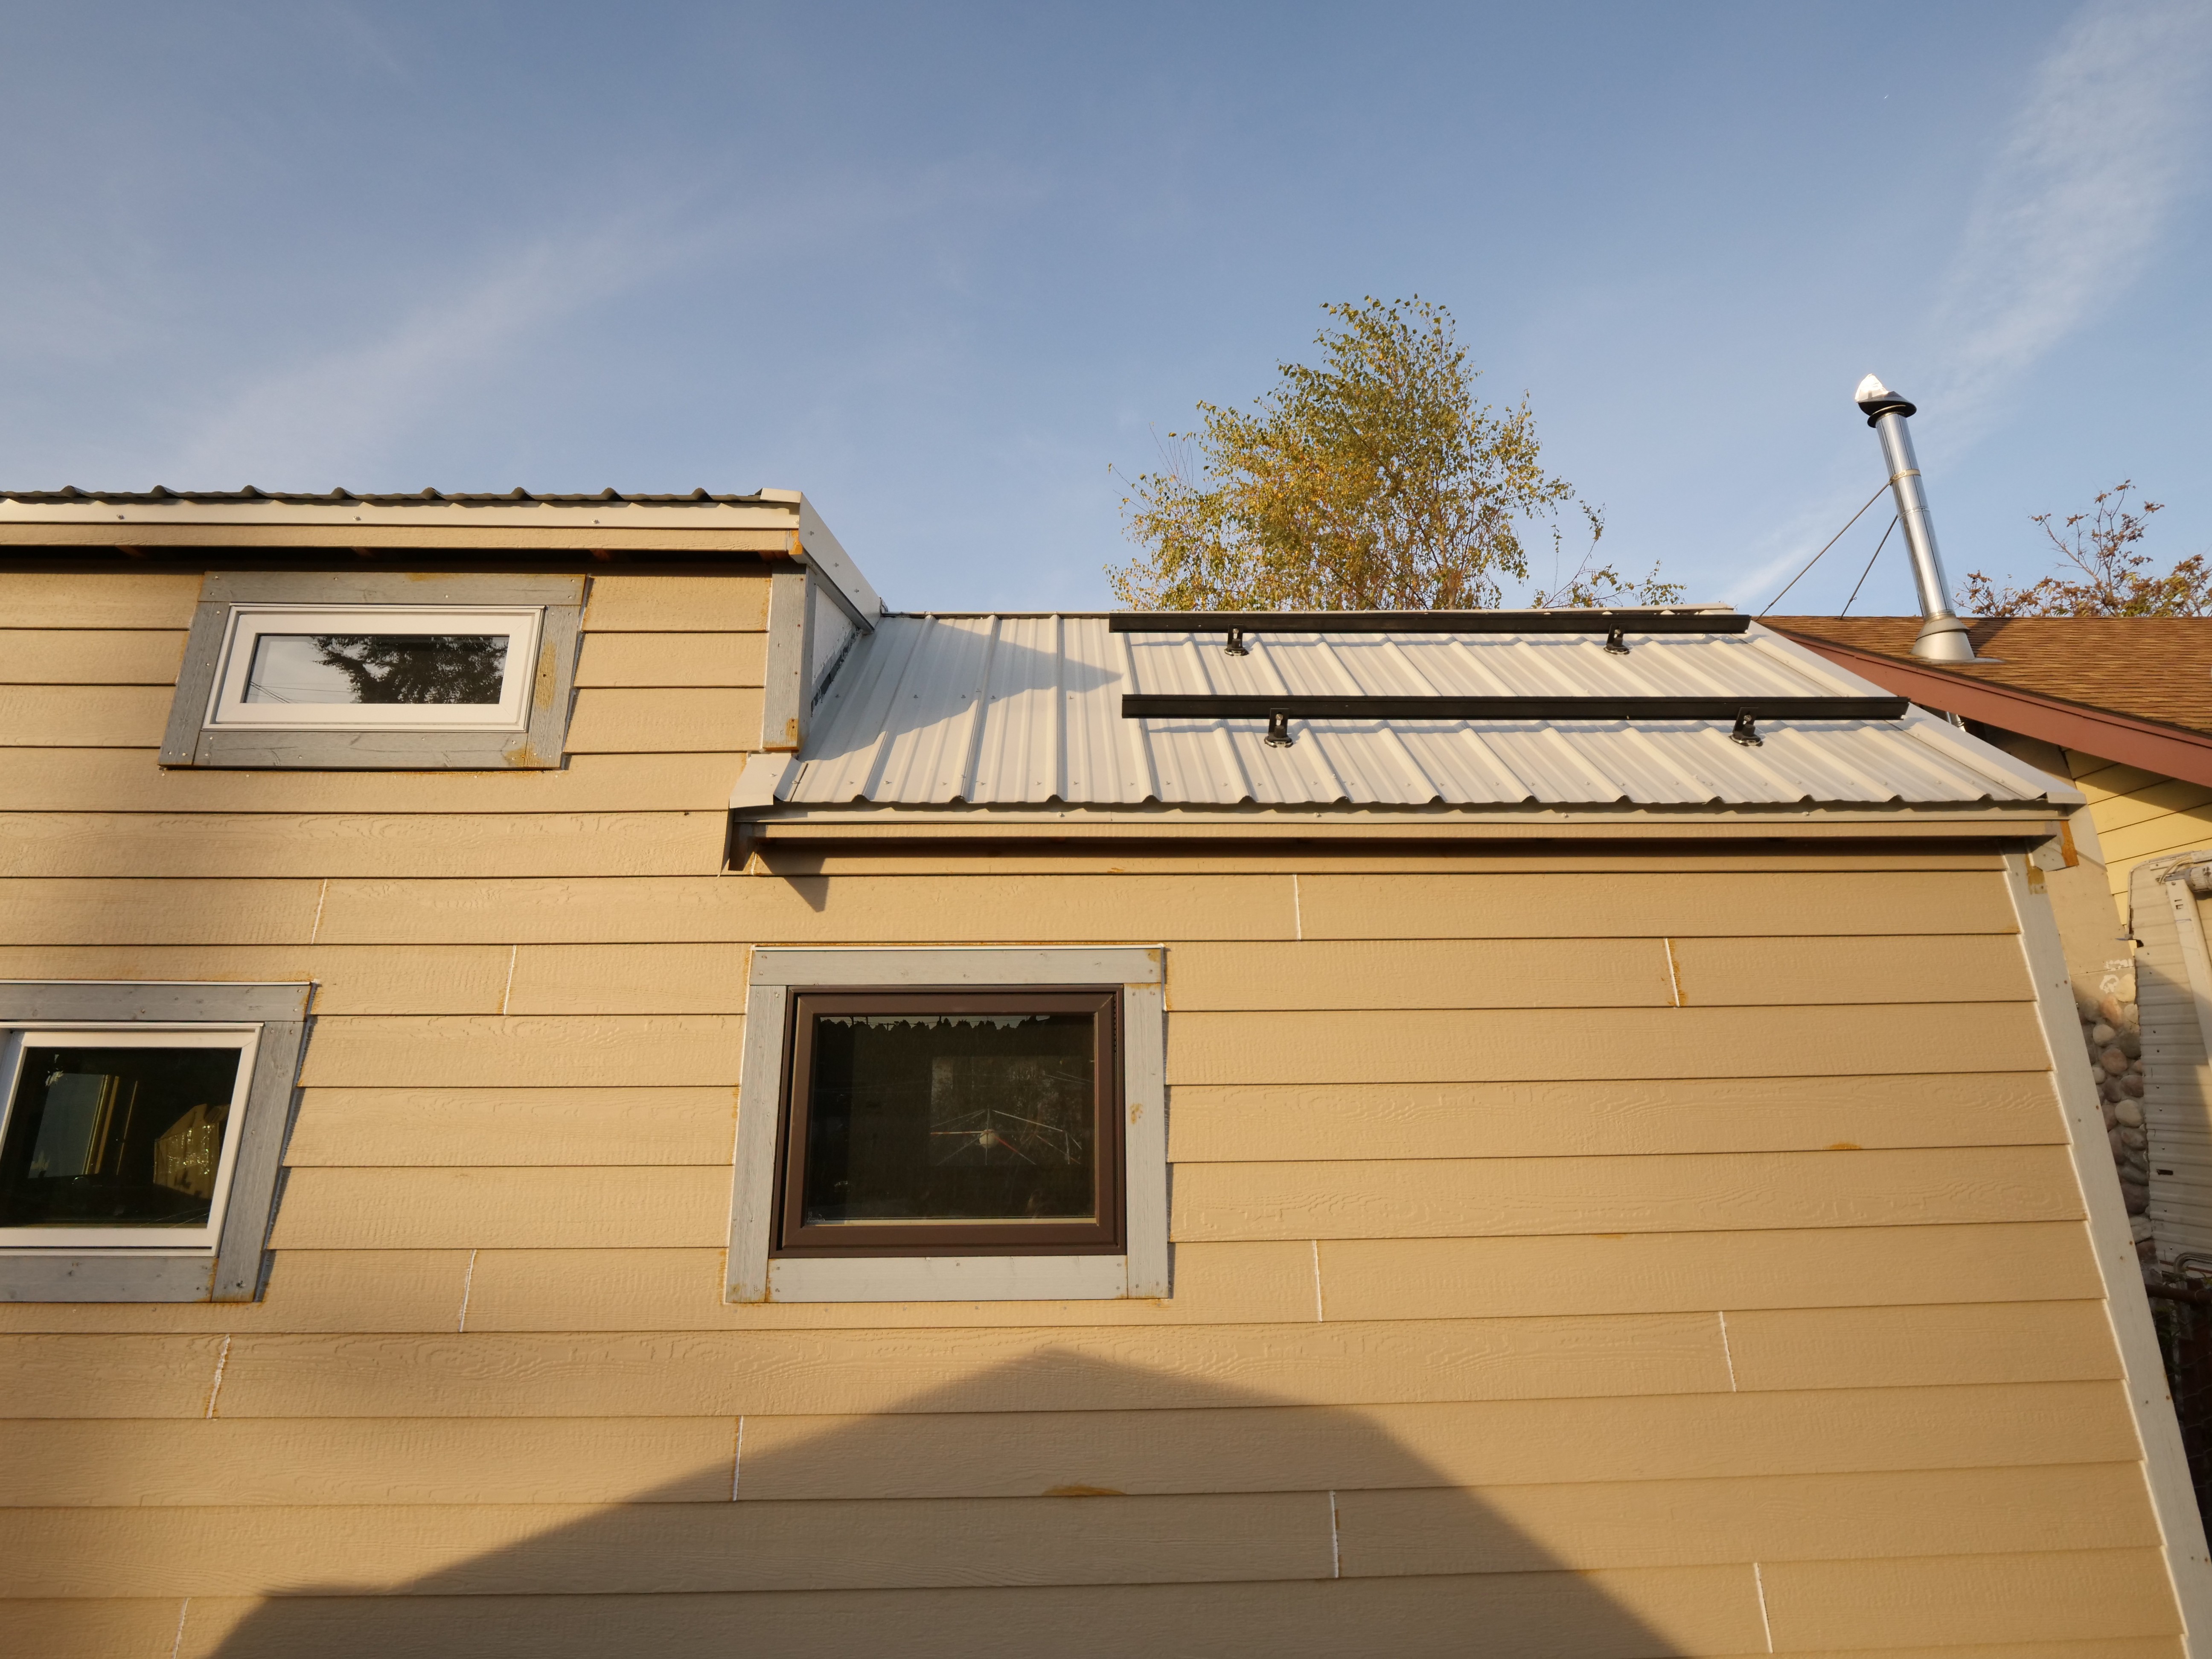
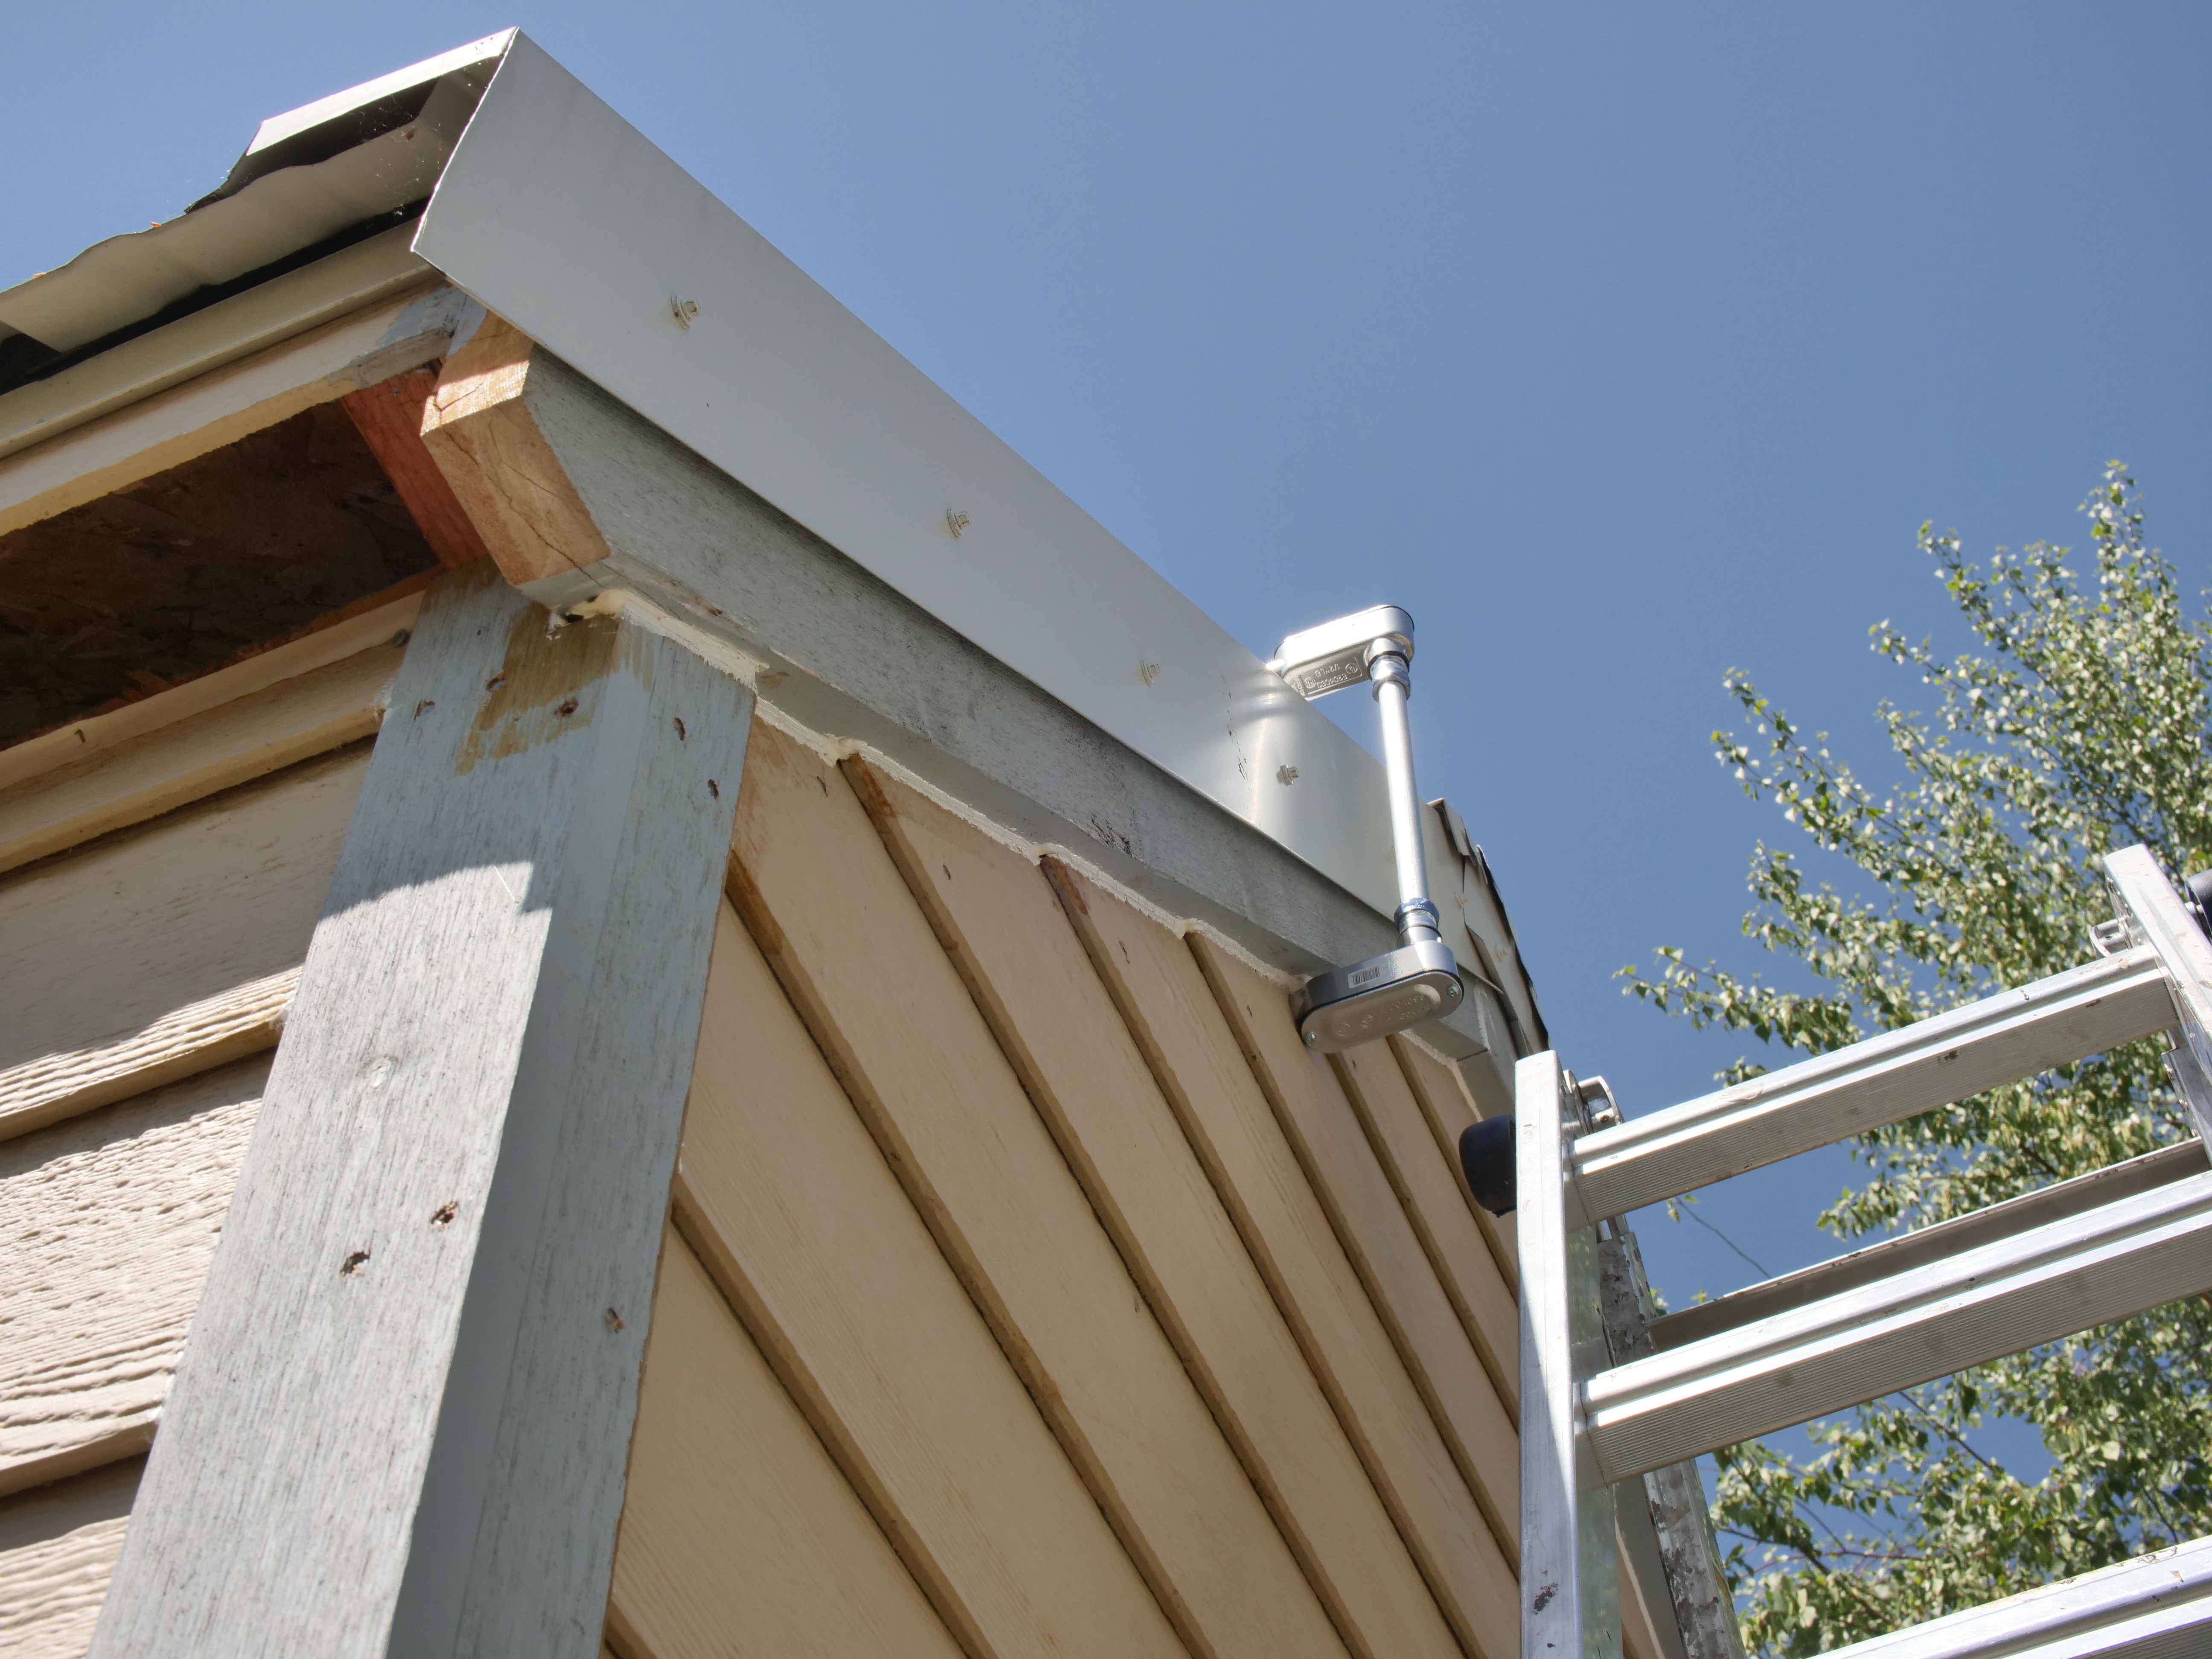
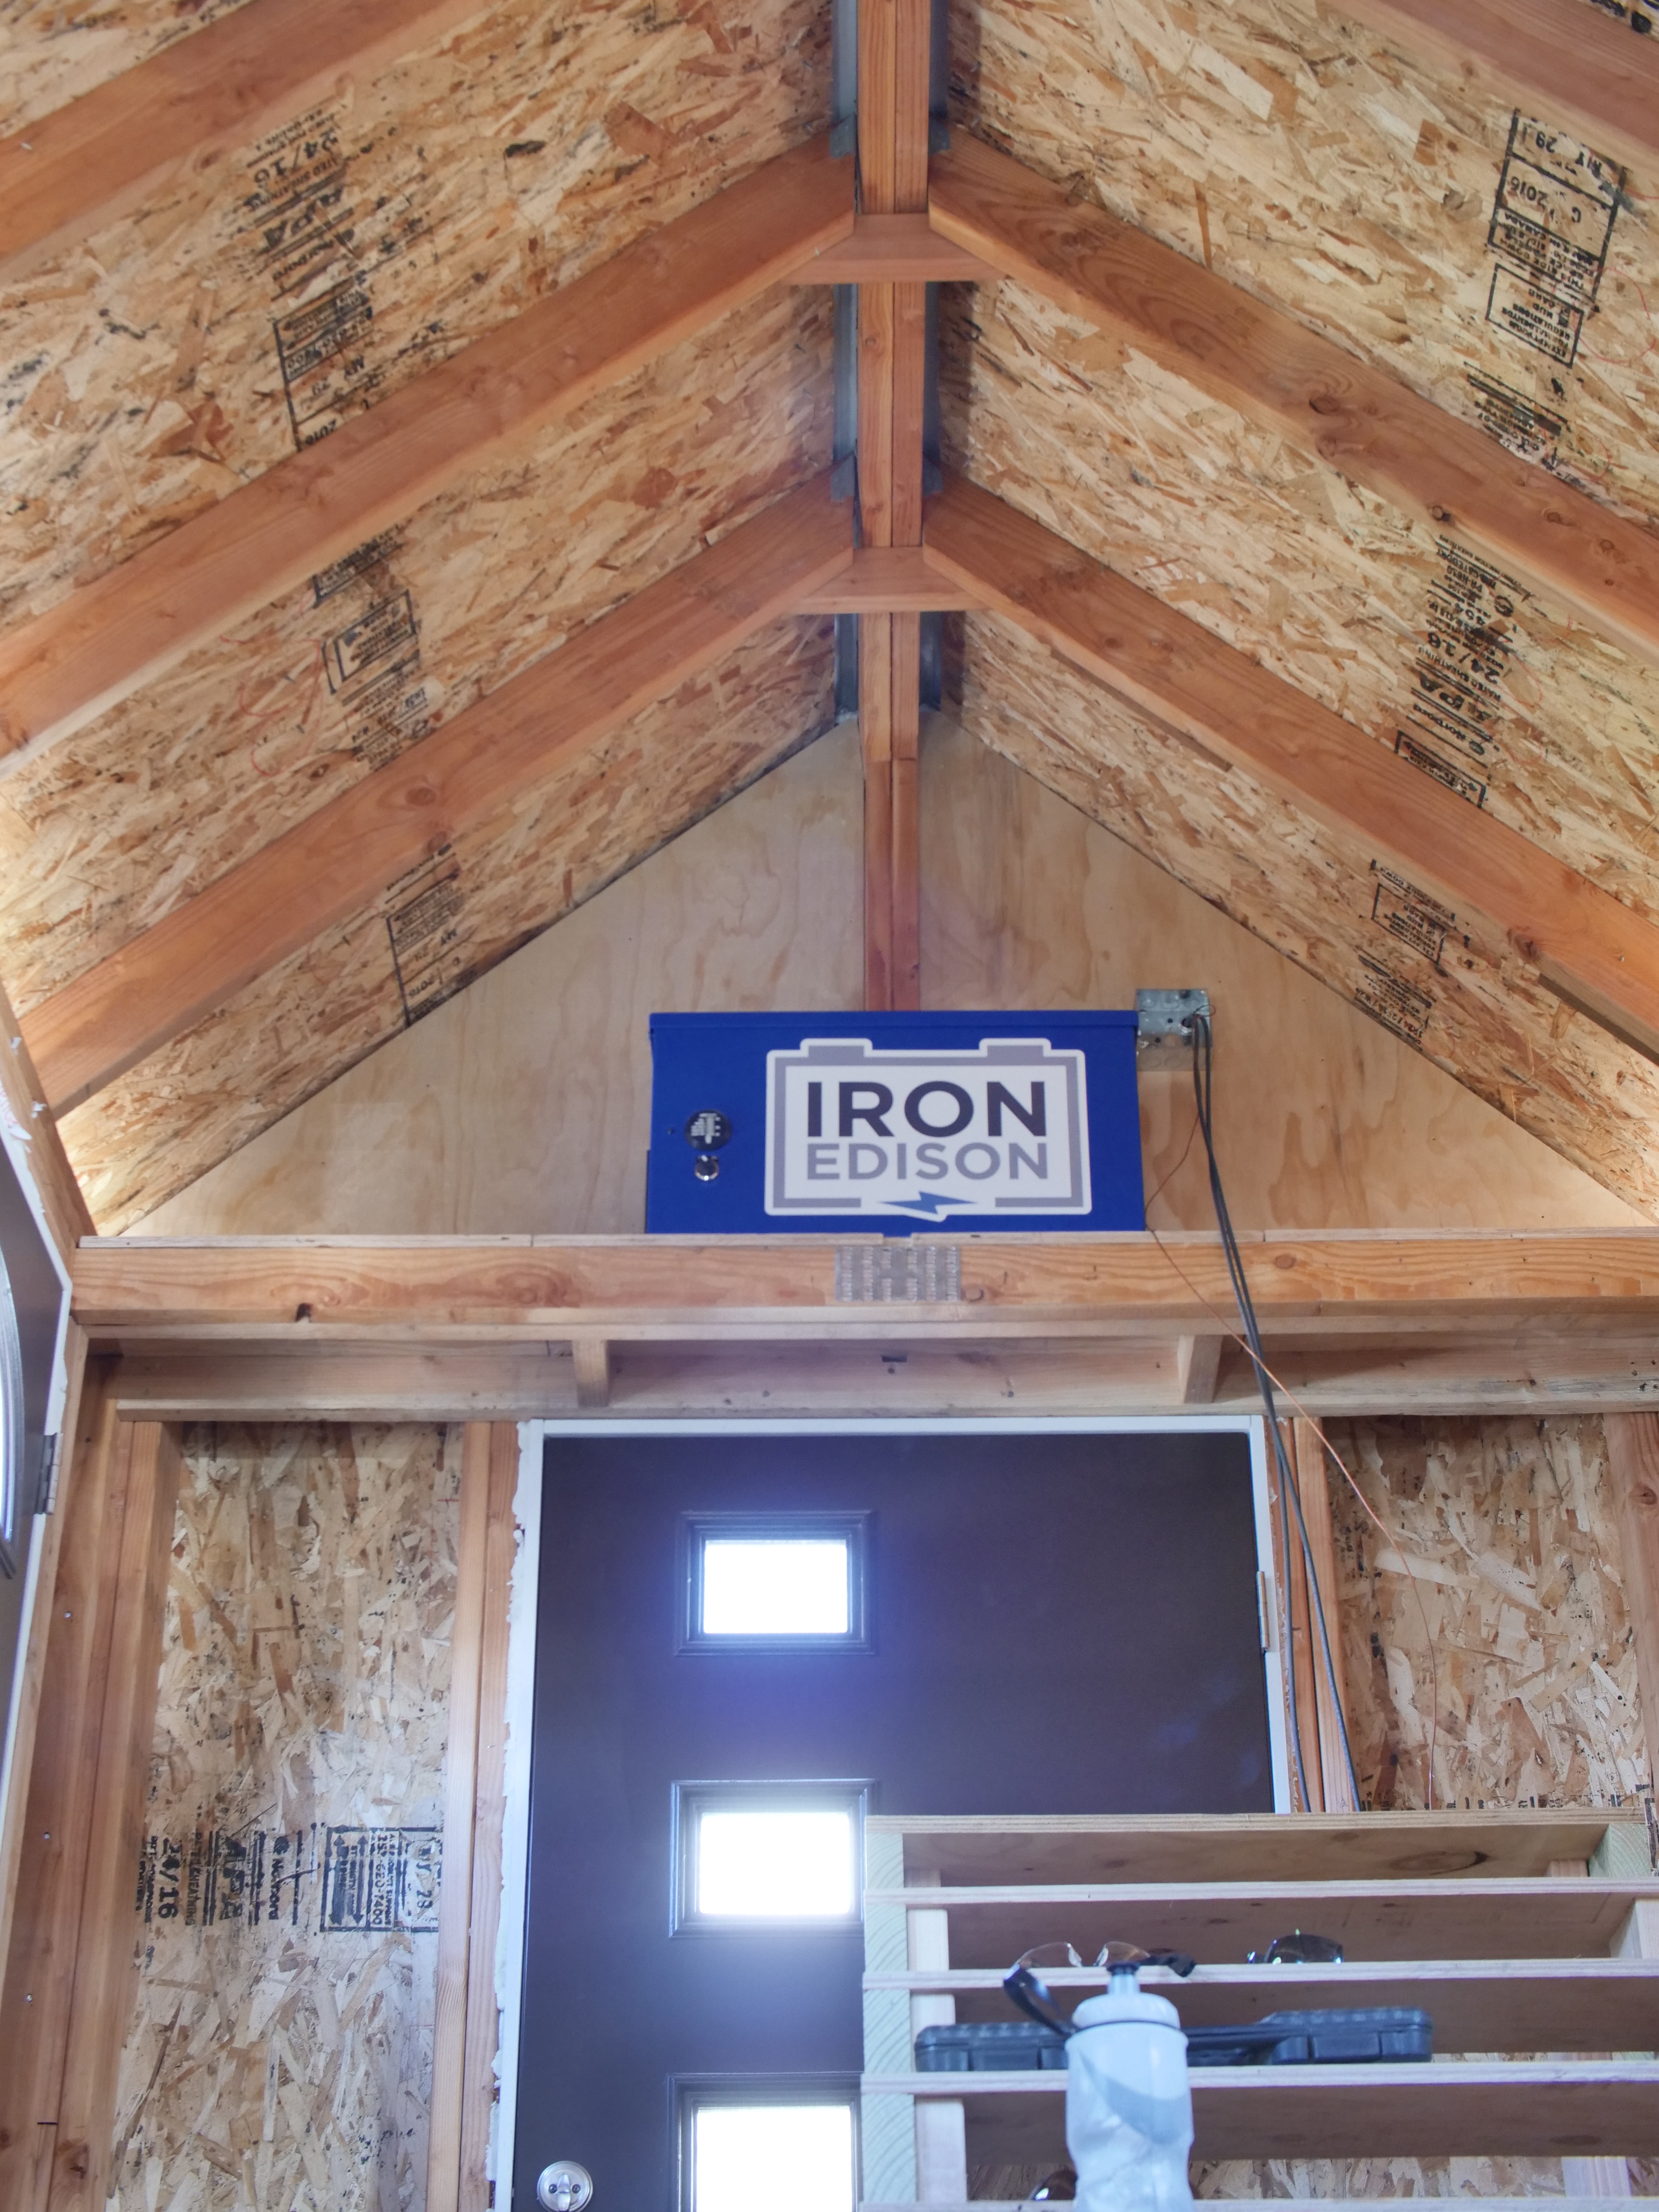
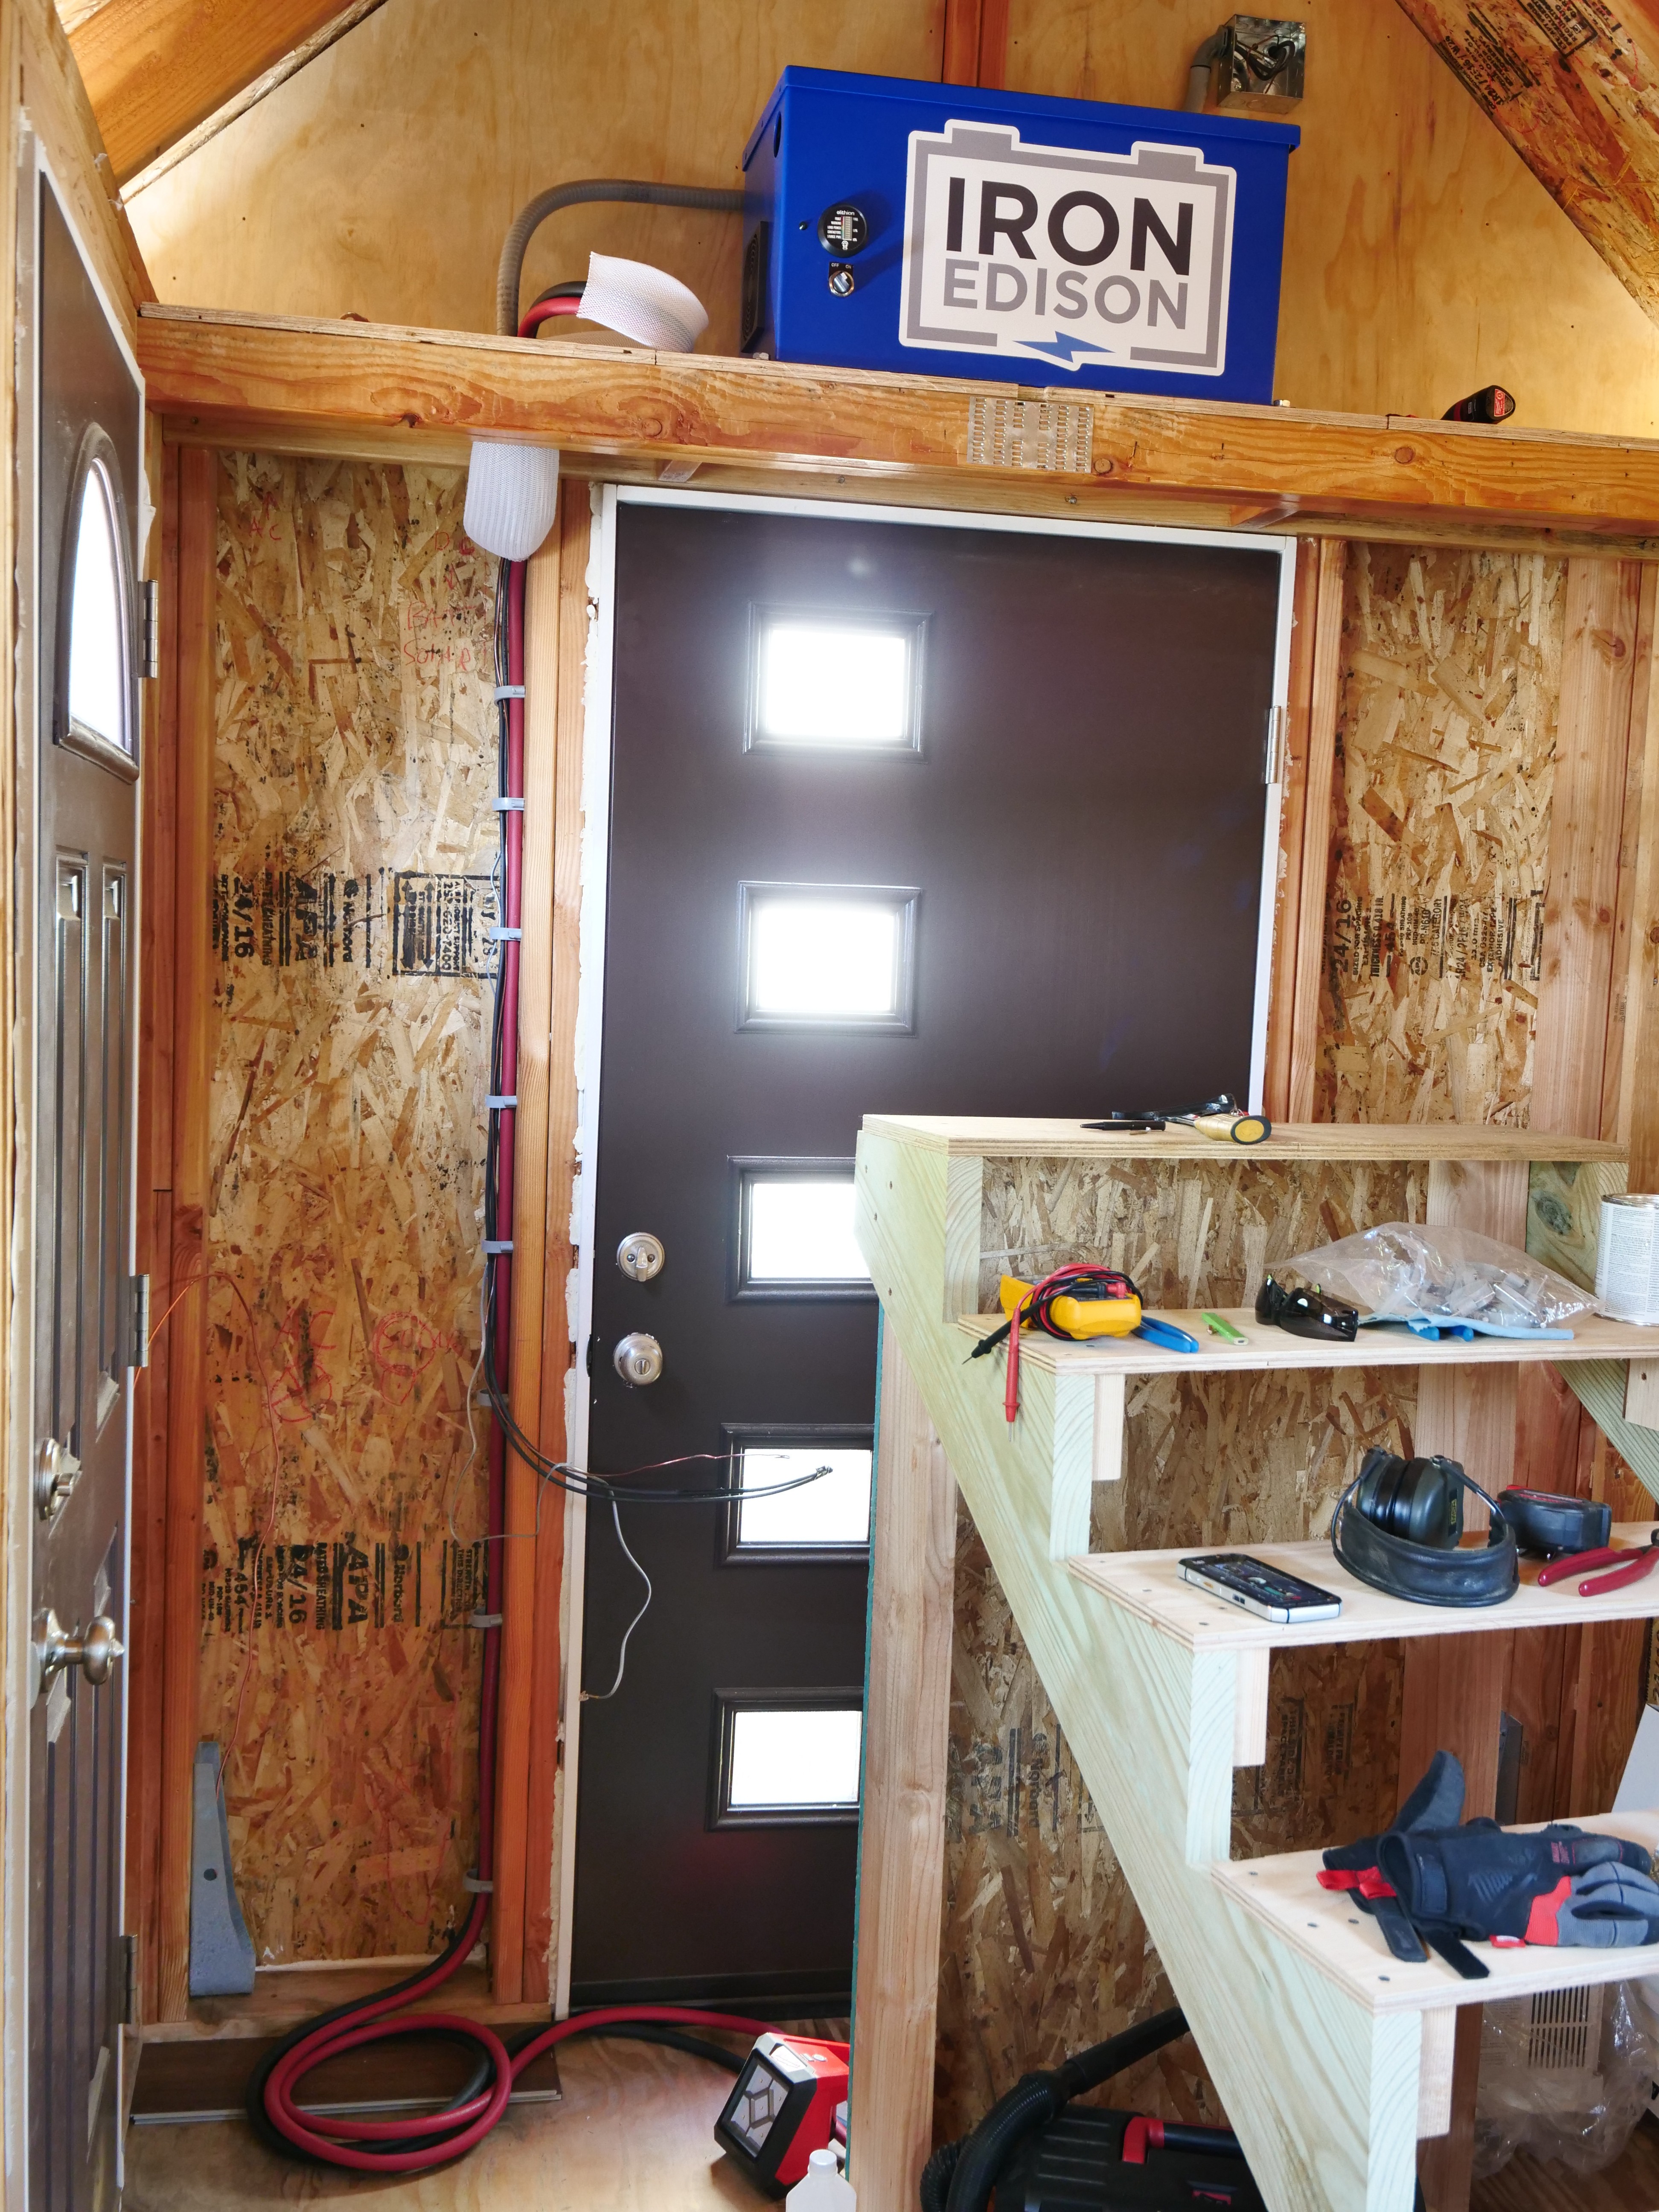
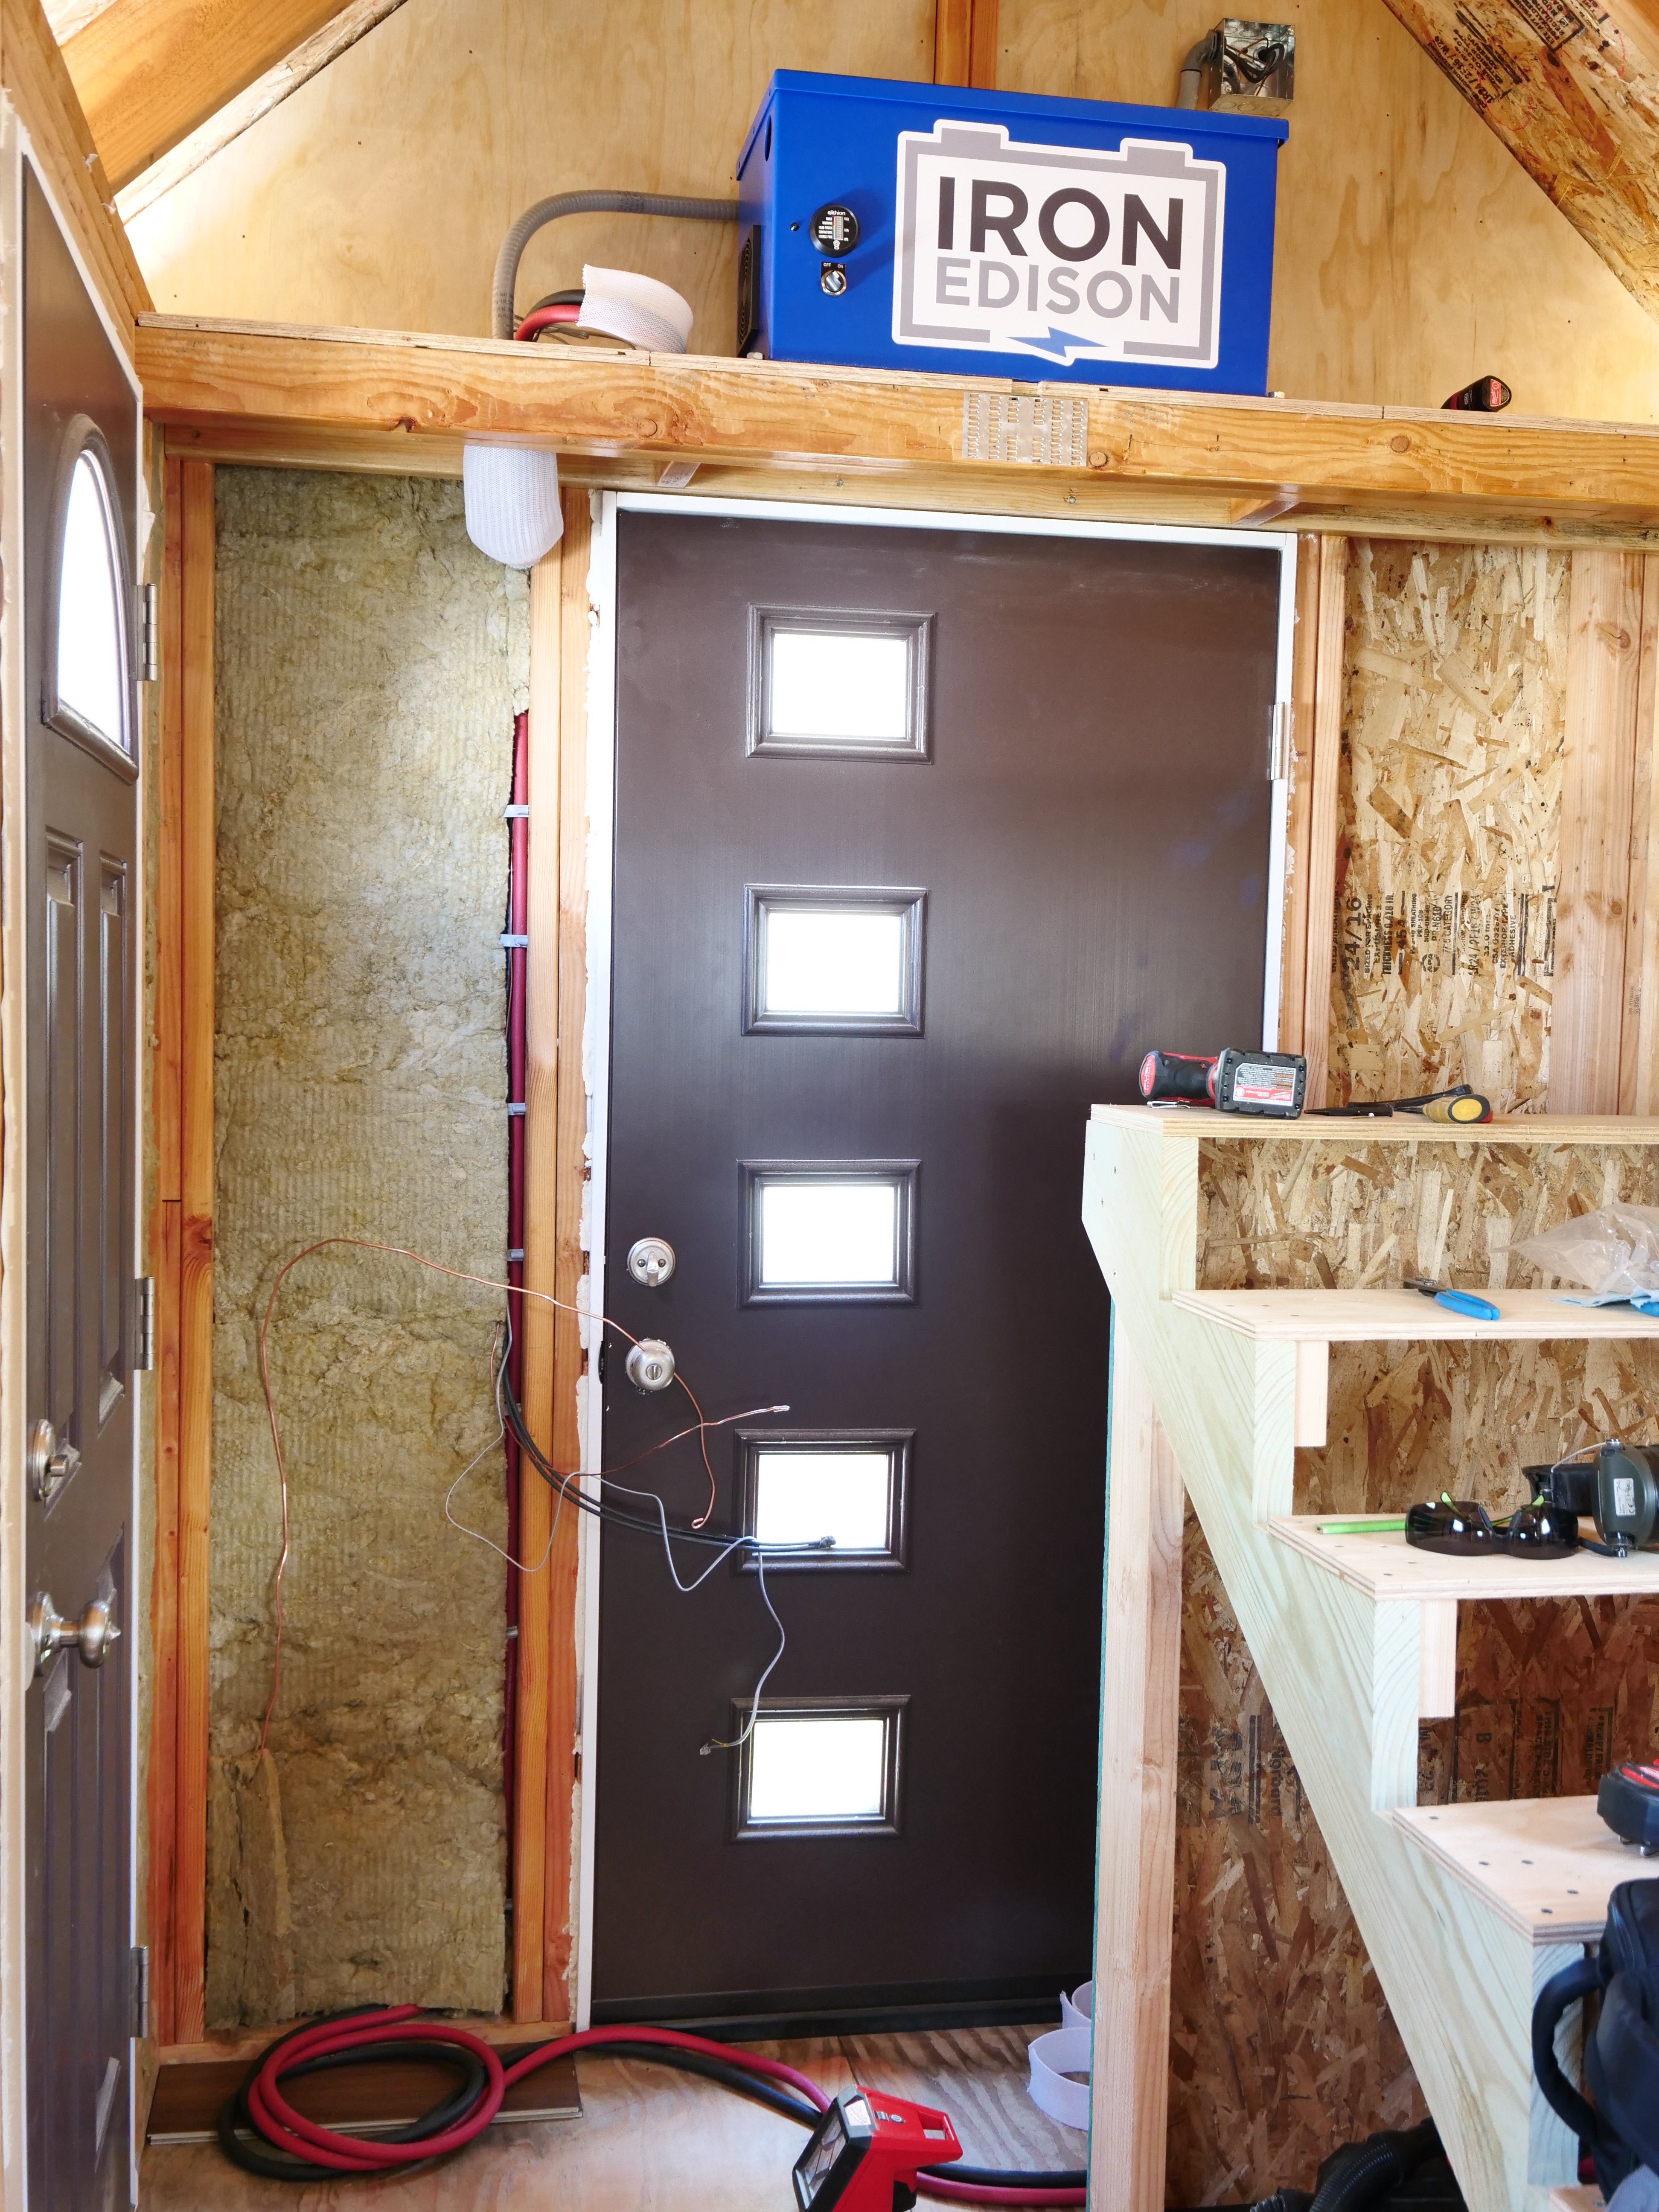
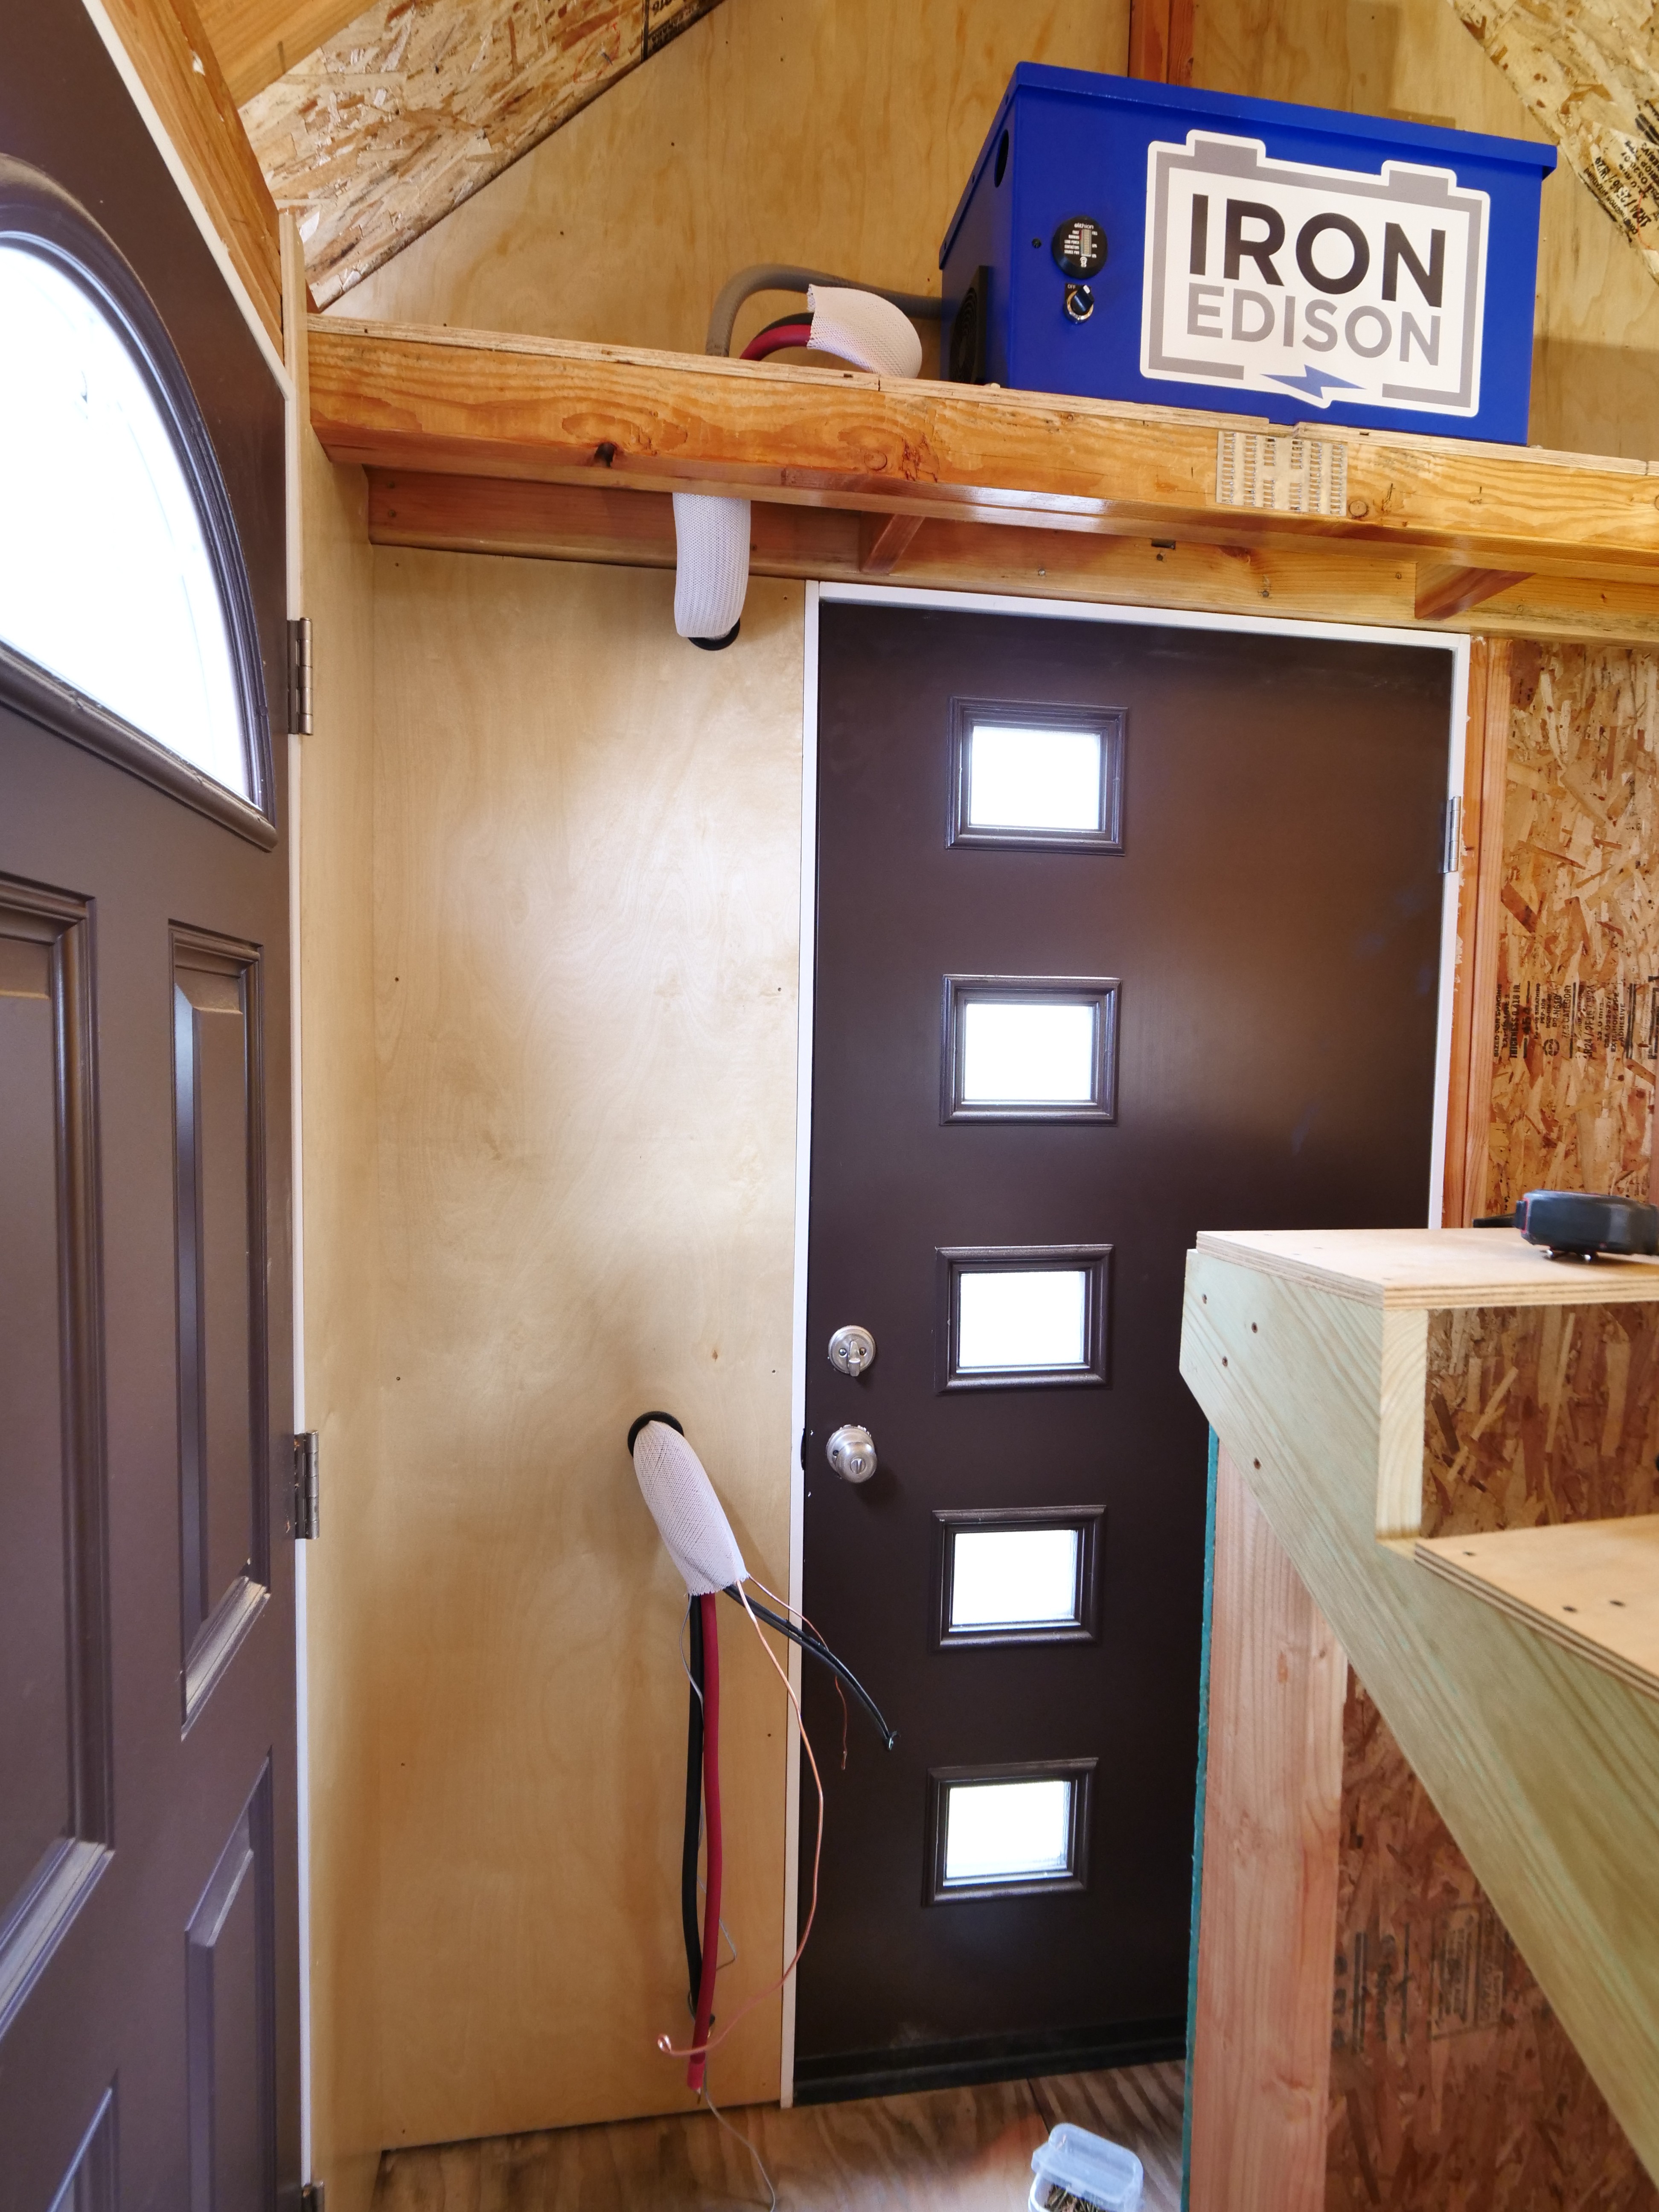
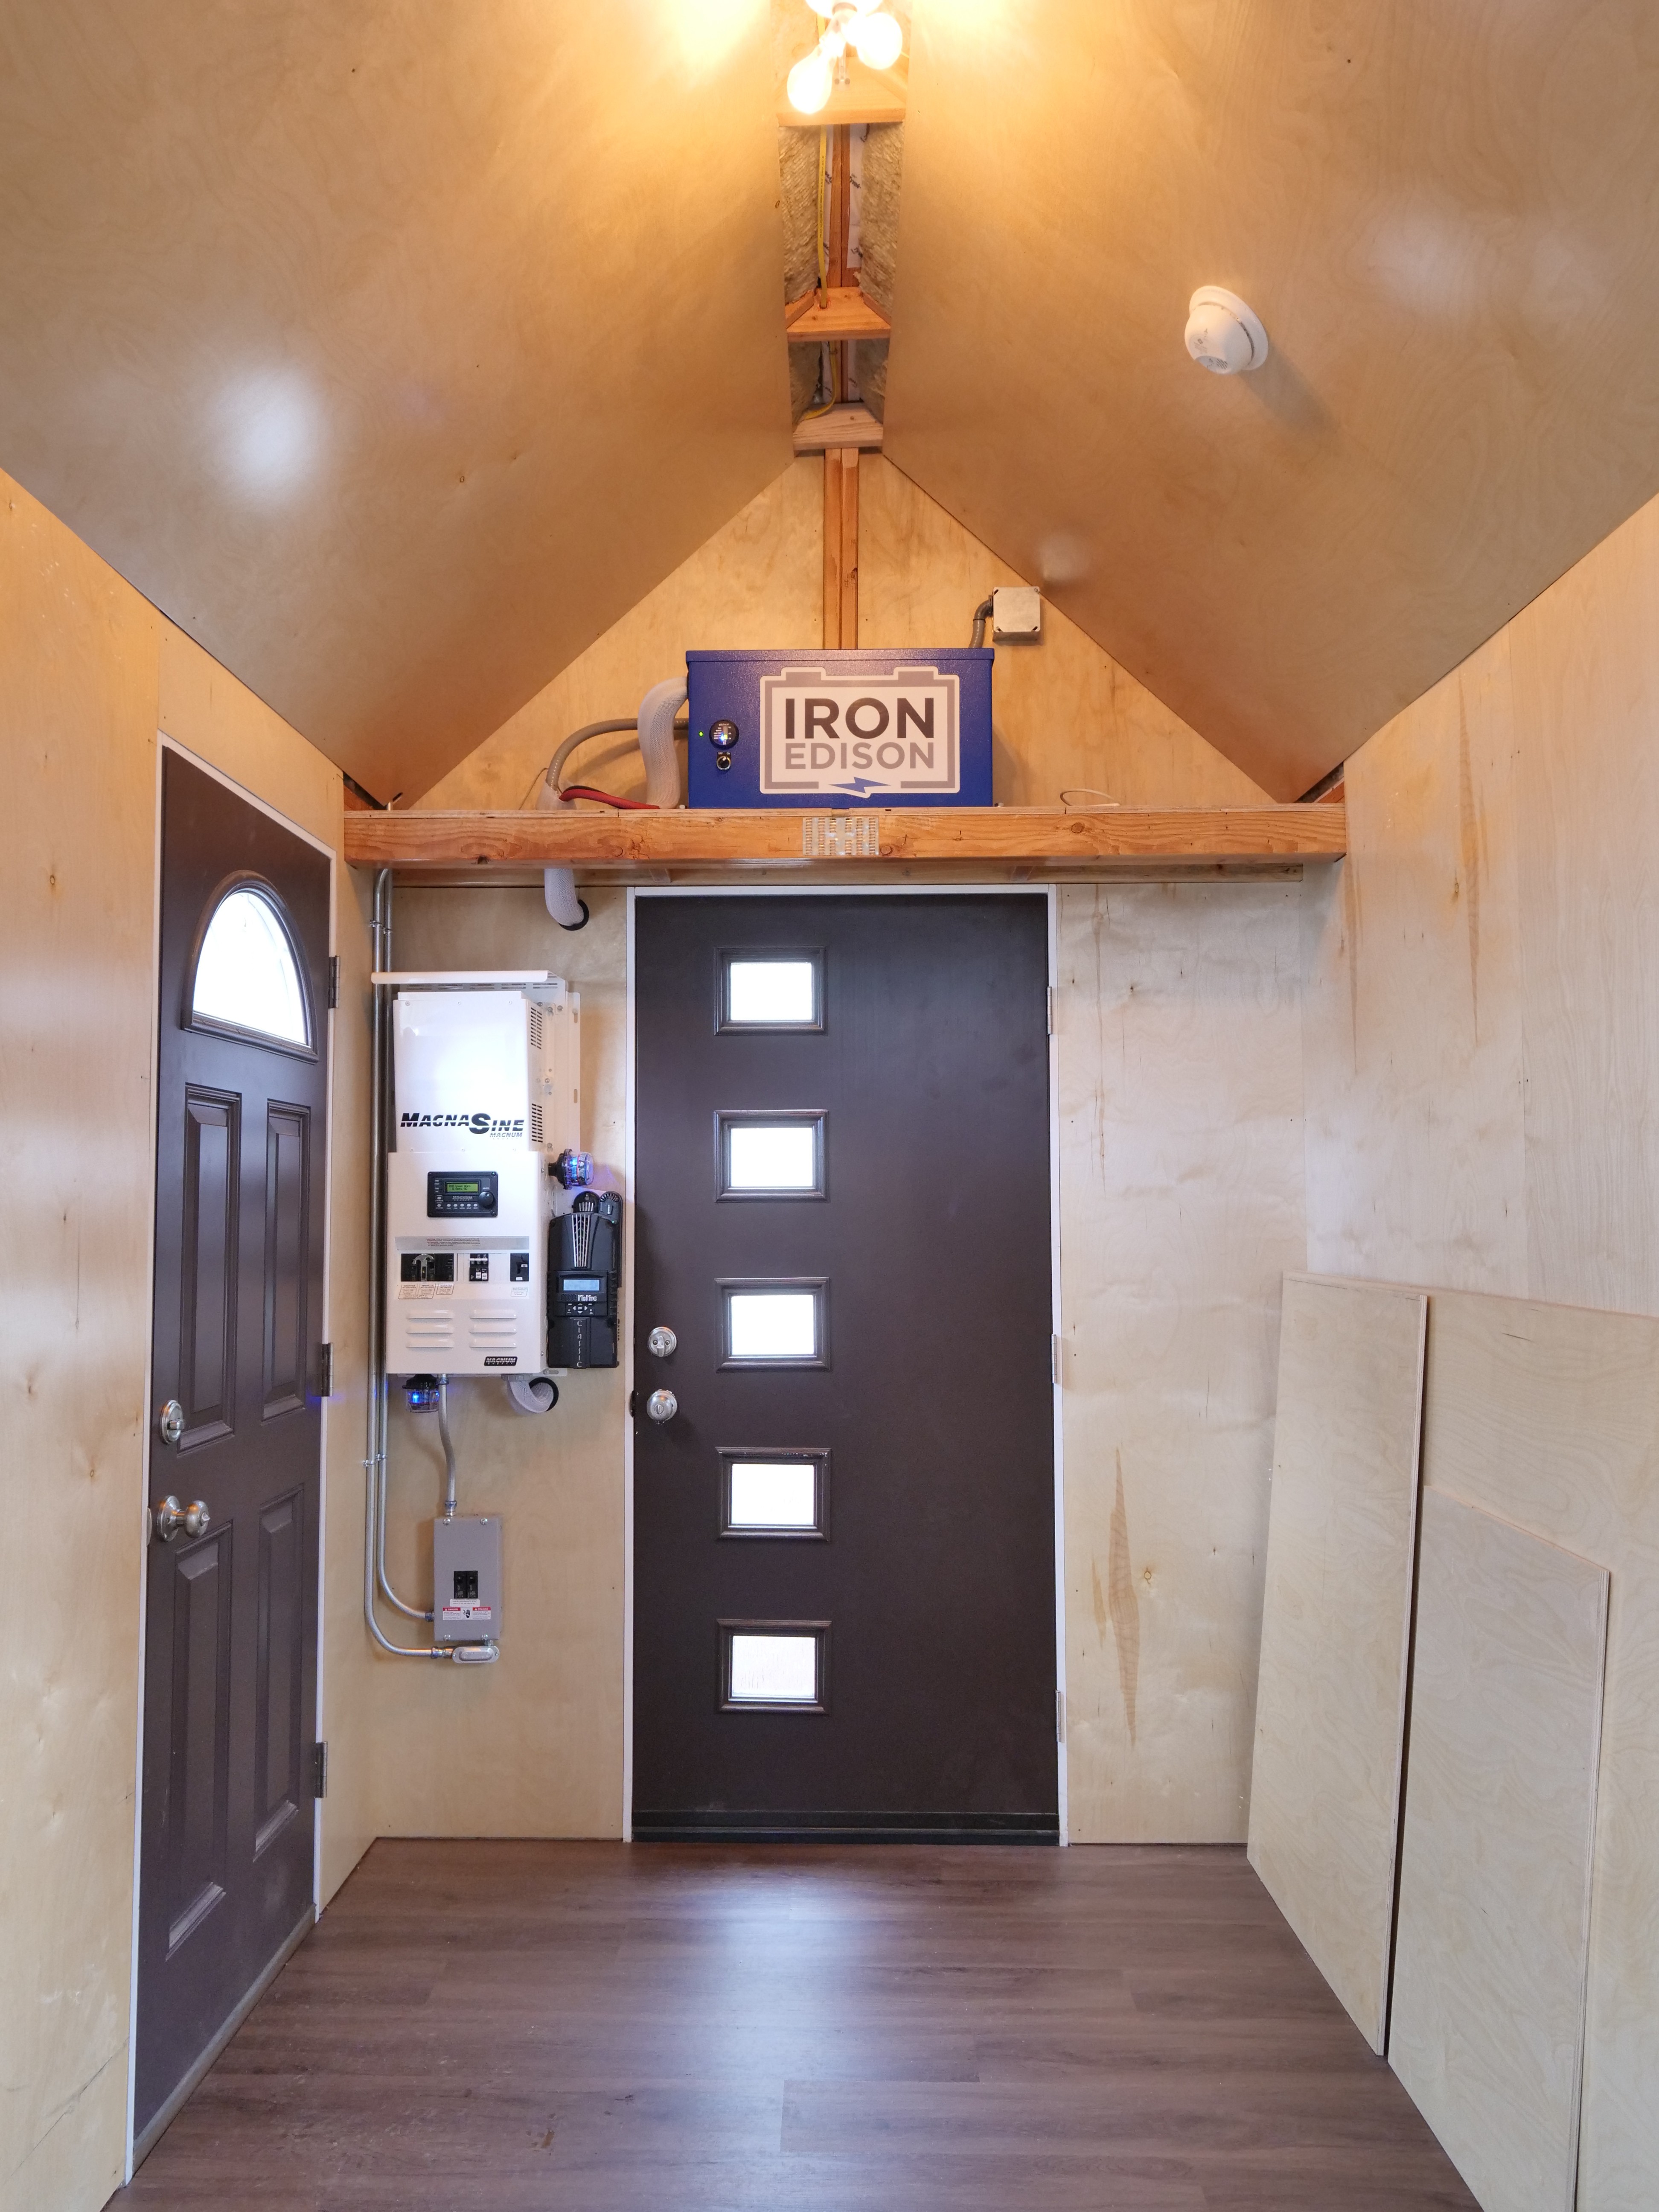
Follow manufacturer's instructions and electrical code for installing solar panel rack system, and other electrical components. The battery was installed above the back door with a heavy duty reinforced shelf and a lot of the wires were hidden inside the wall, but the final version will have the battery on a rack on the floor with wires inside cable trays for easier installation and serviceability.
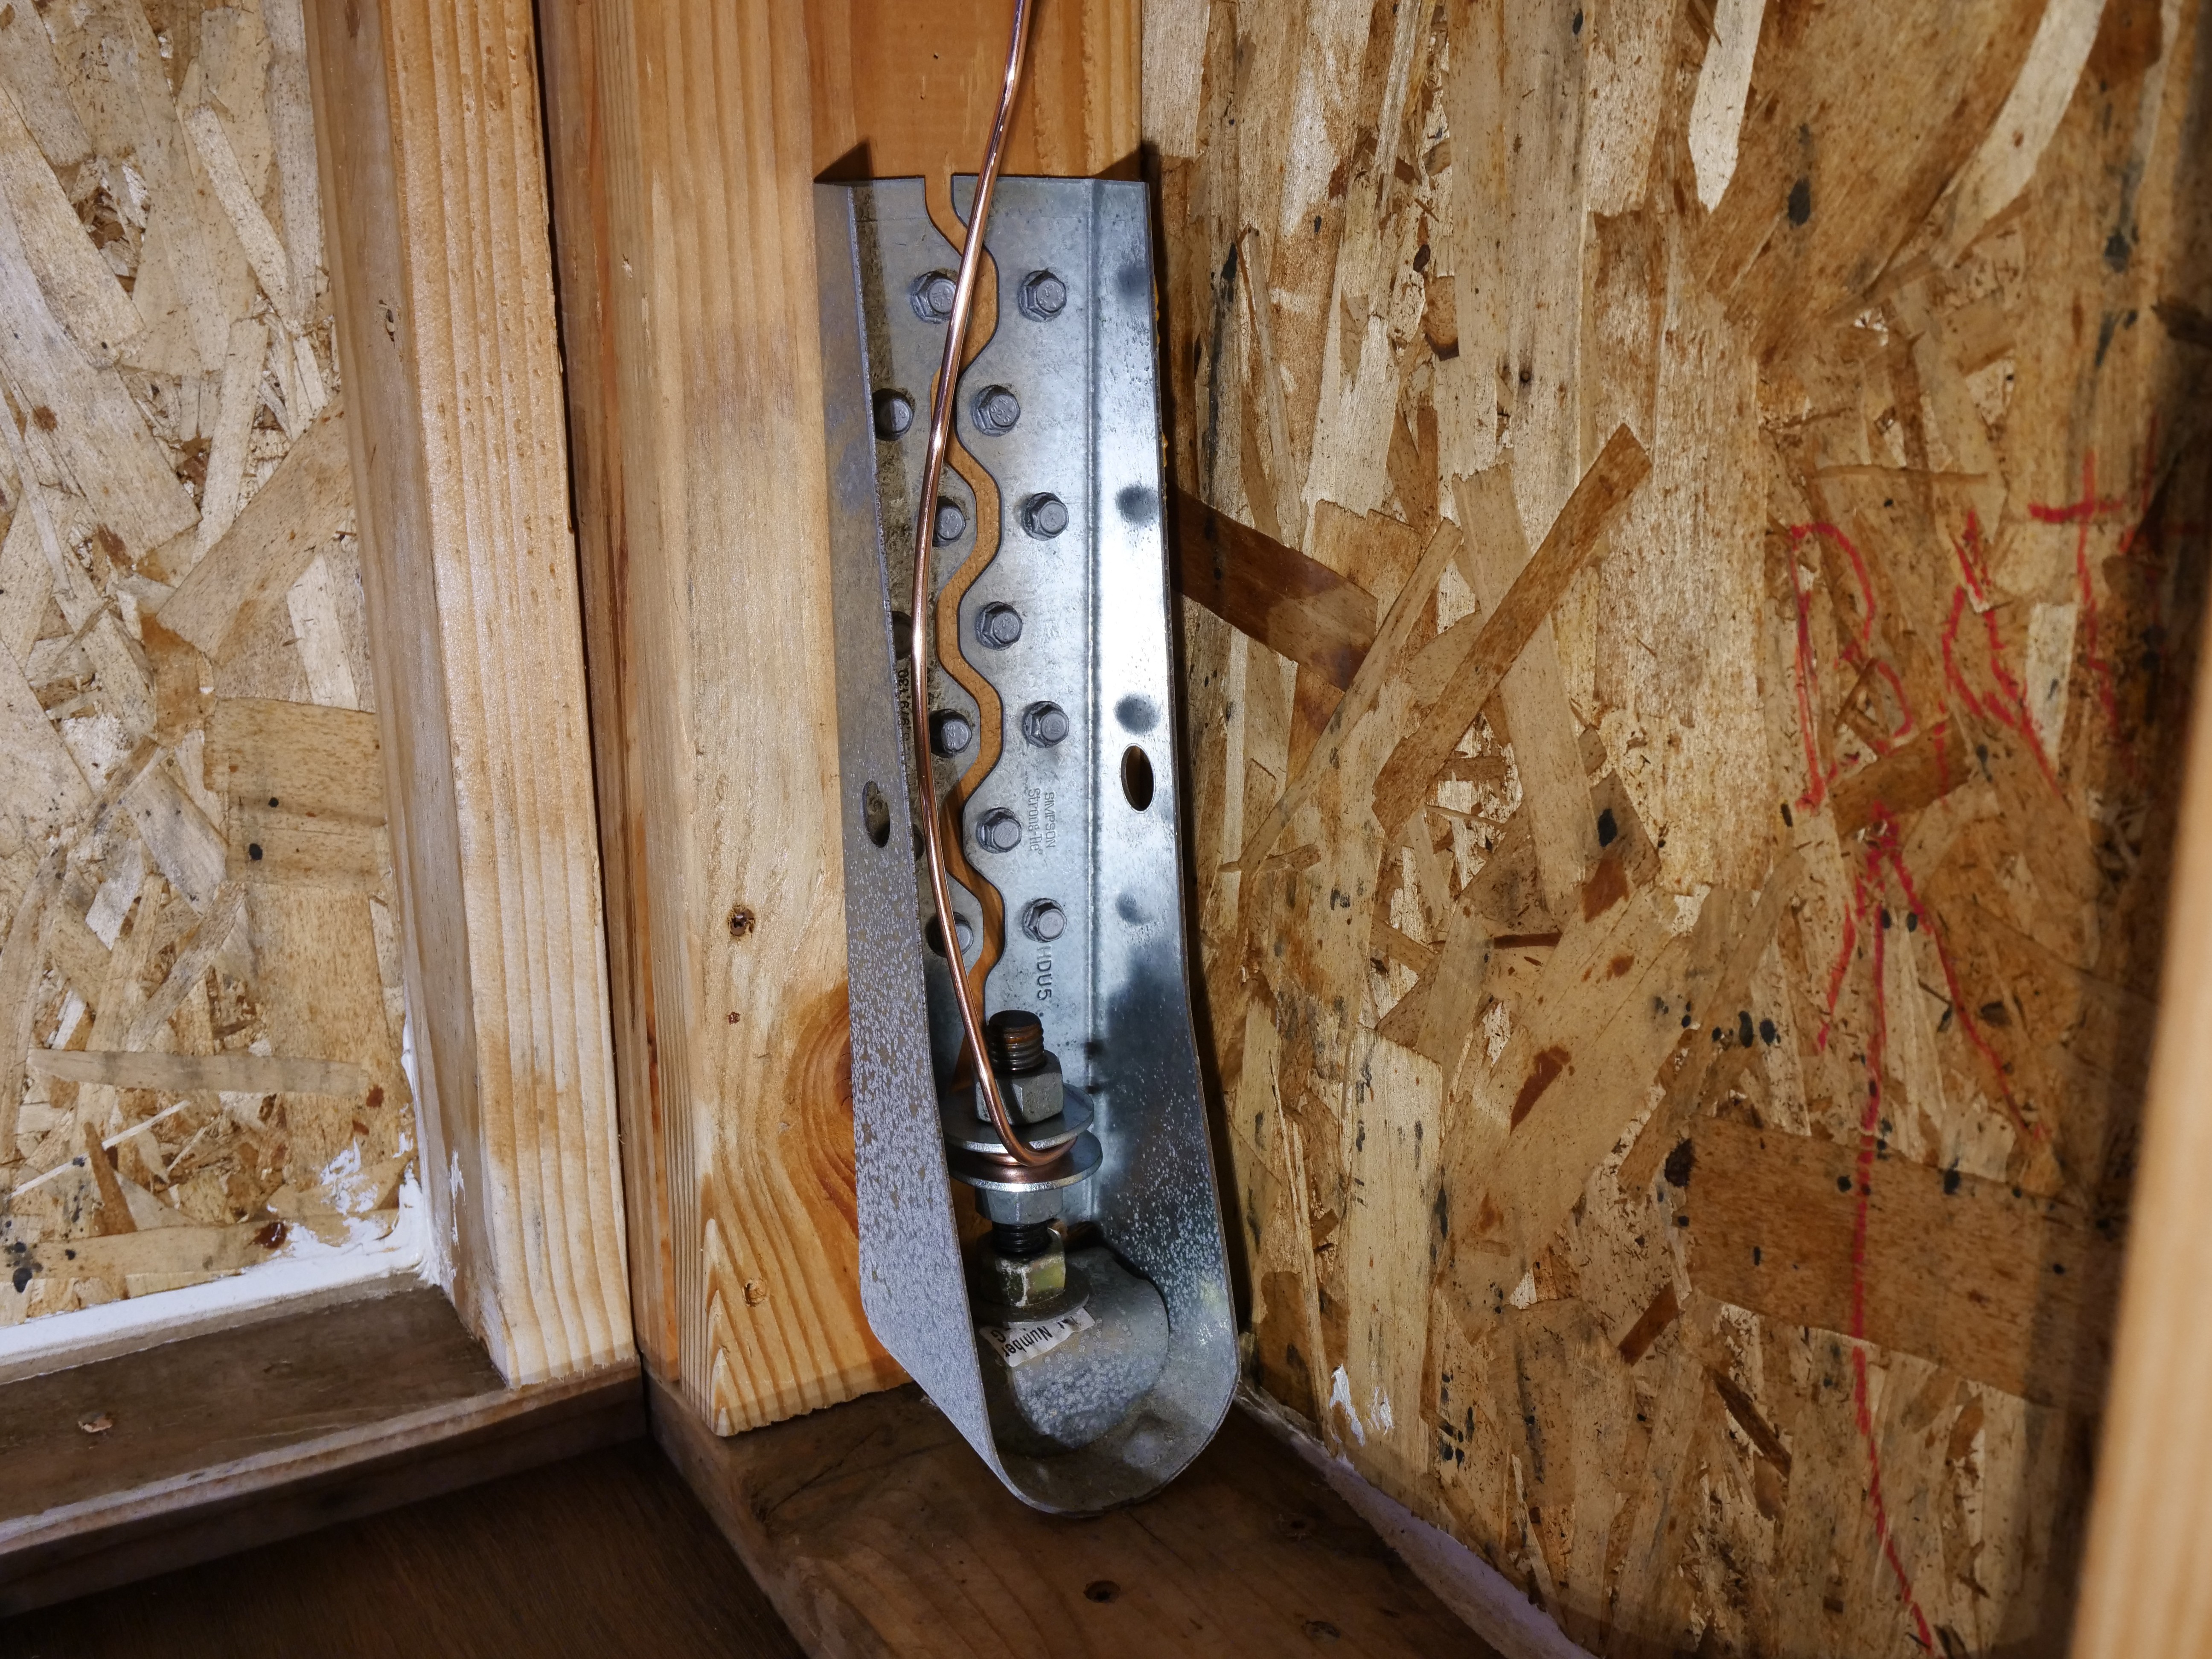
I did decide to ground the entire trailer to the main panel by connecting a 6 gage copper wire to one of the frame bolted holdowns with nuts and washers for extra safety. Once the main panel was installed, the sub panel with two breakers were installed and typical 120V AC wiring was done throughout the house. The 240V inverter has two separate 120V hot wires connected to a shared Neutral. I separated the two 120V hot wire with two circuit breakers in the subpanel and I divided them by lights, fans, refrigerator on one breaker while the air conditioner or hair dryer is on the other breaker. Basically, the breakers were divided by lower power consuming appliances that need to be on most of the time and other higher power consuming appliances that are on for shorter periods of time so that they don't trip a breaker.
-
4Ventilate Right
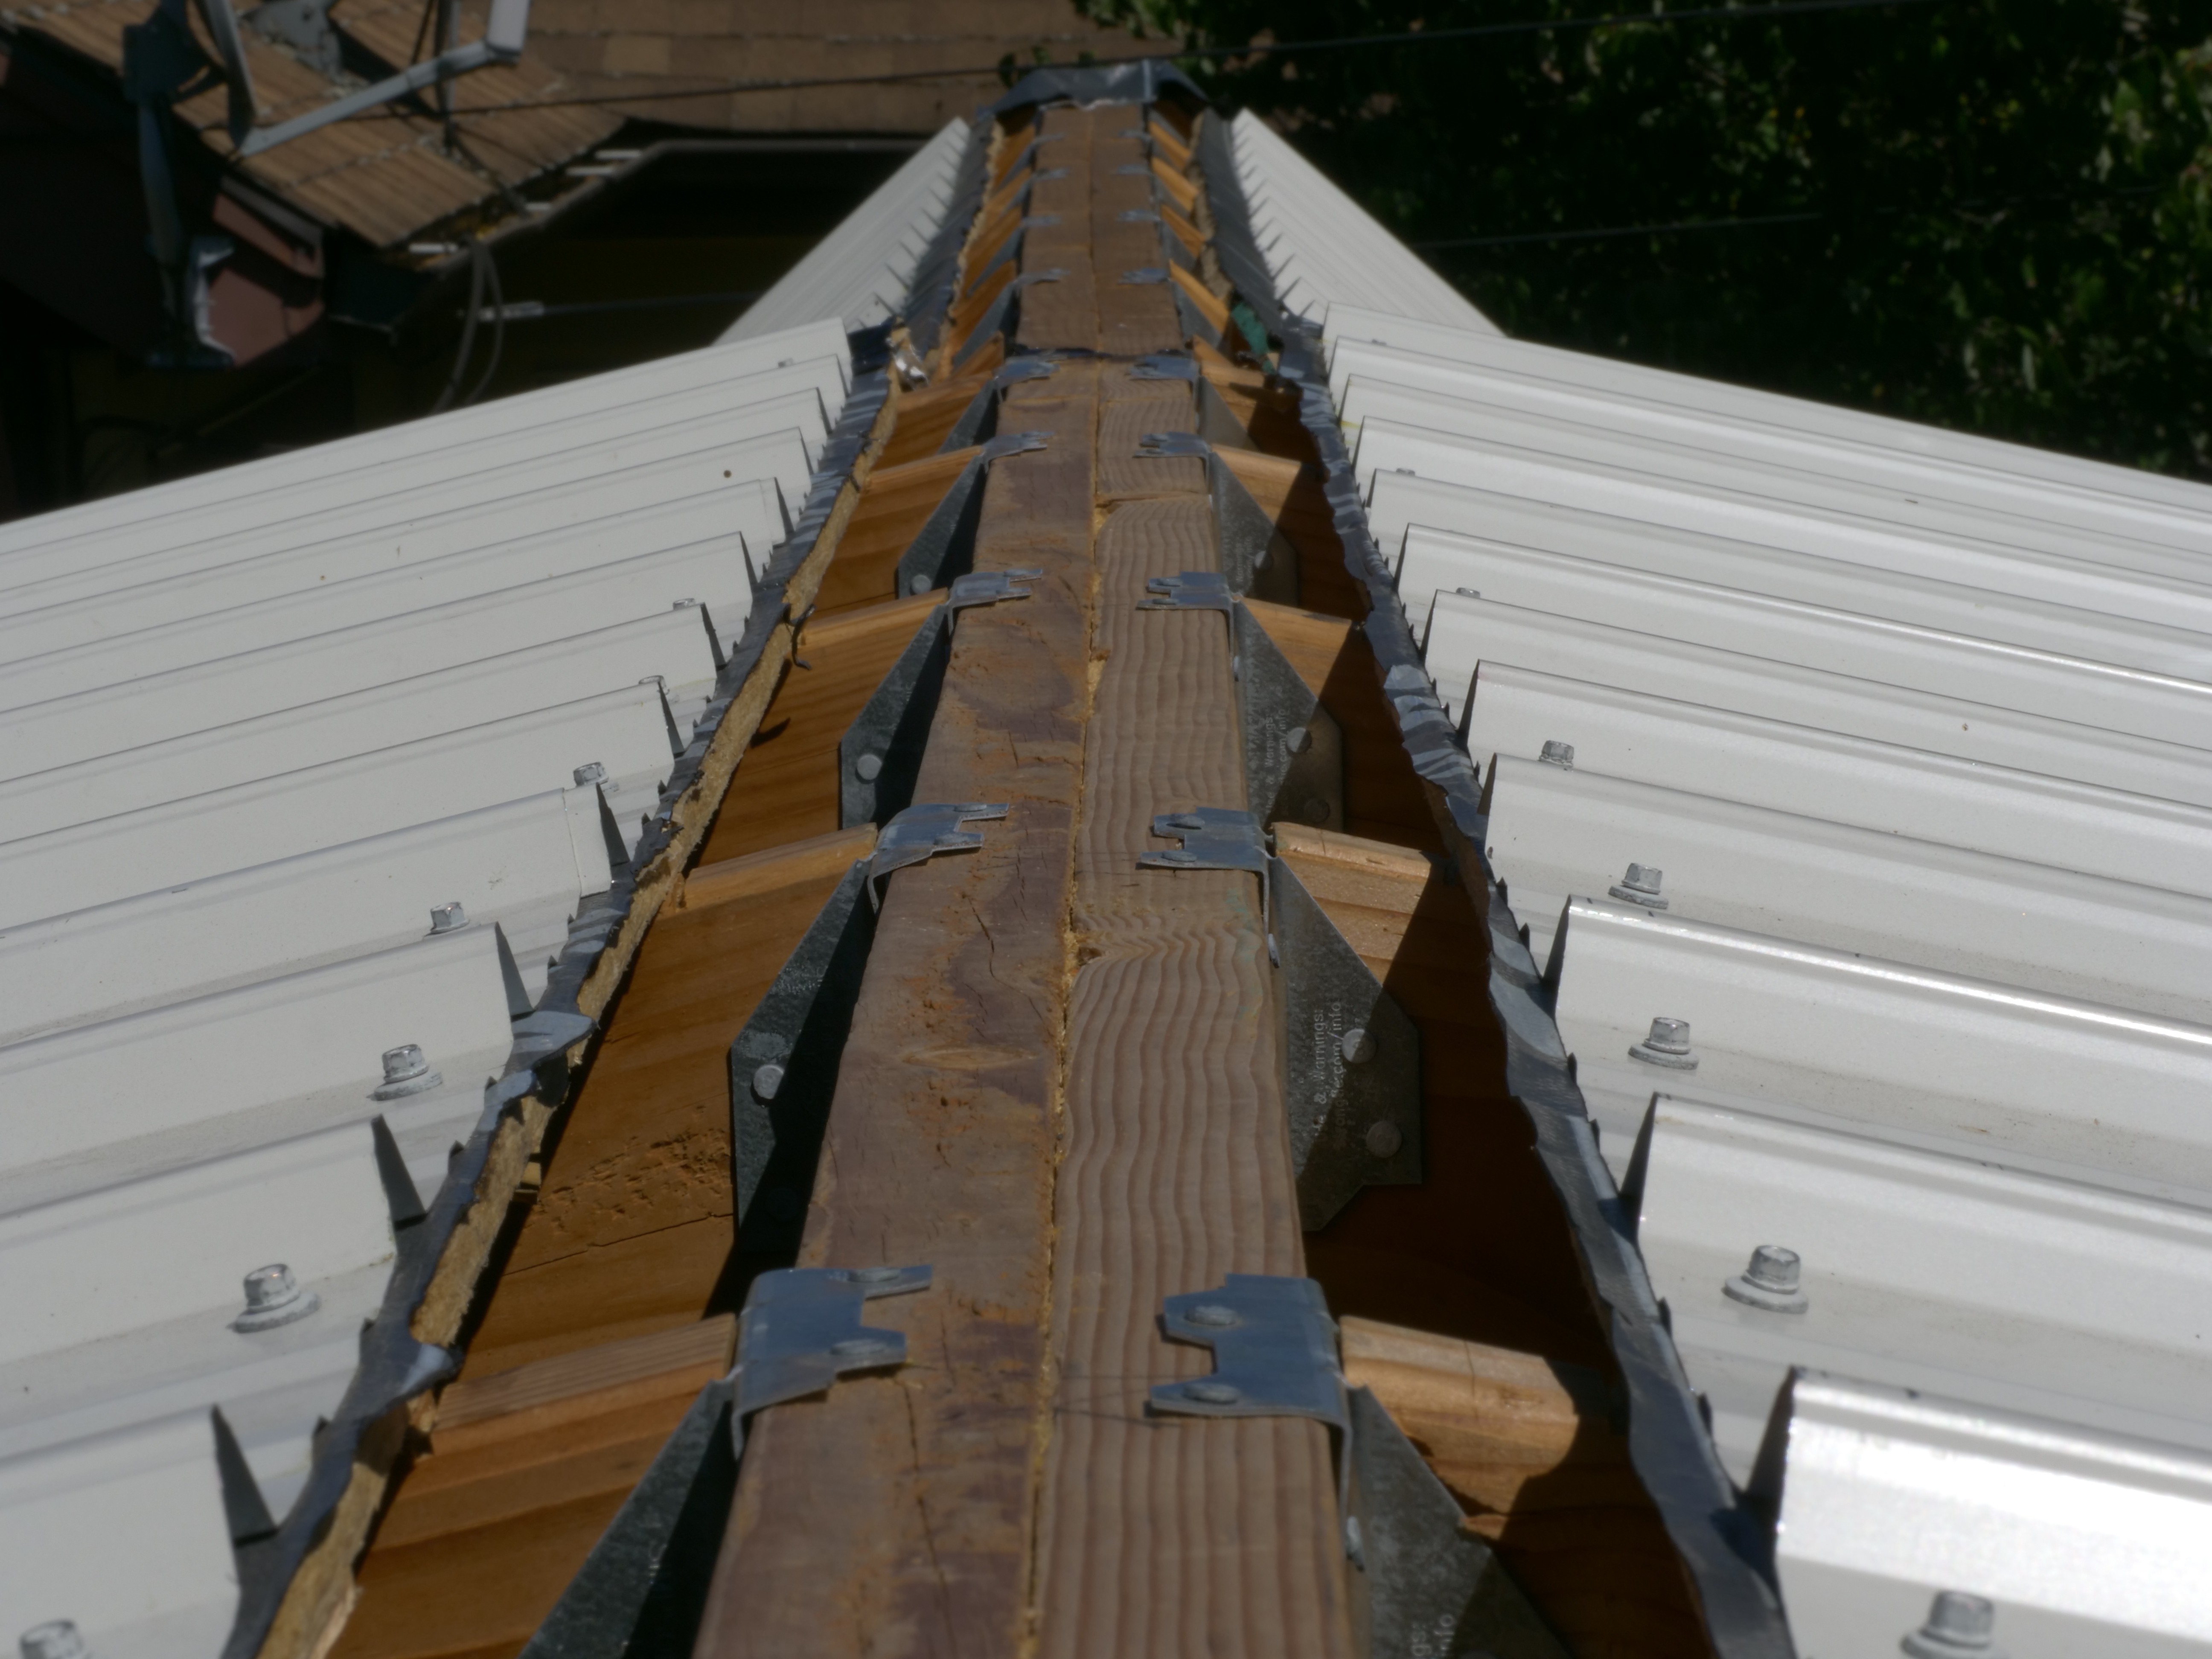
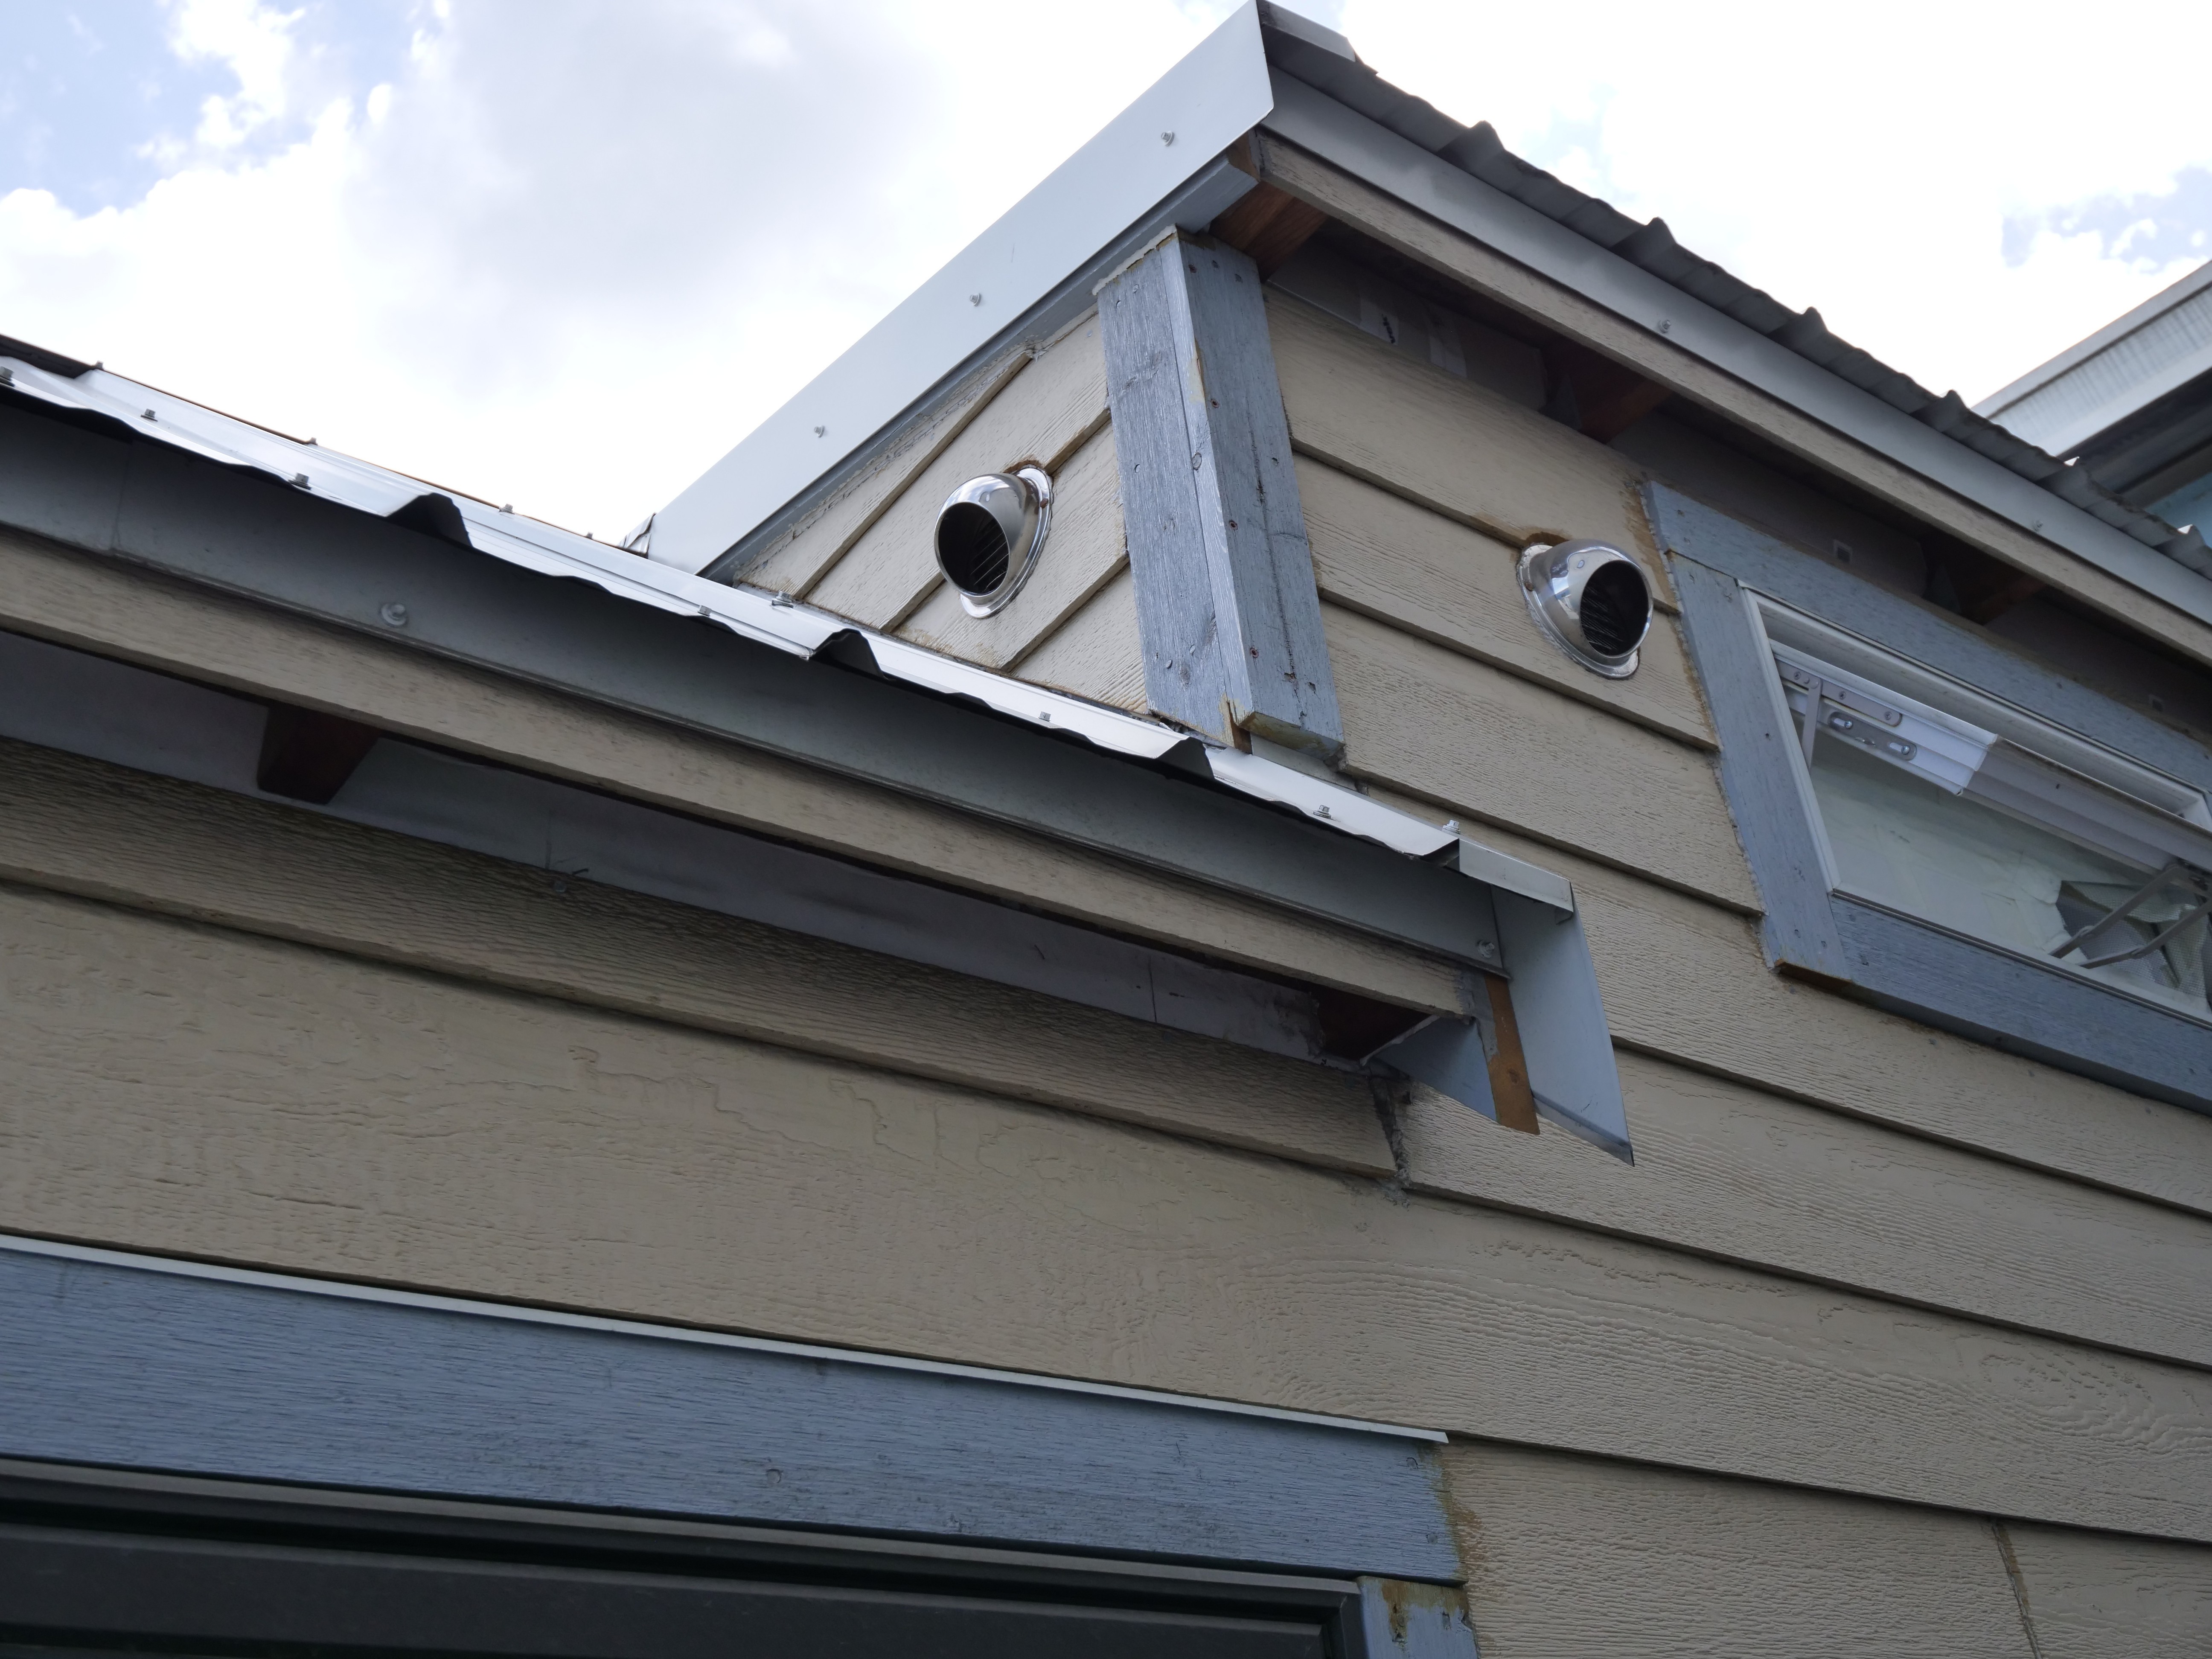
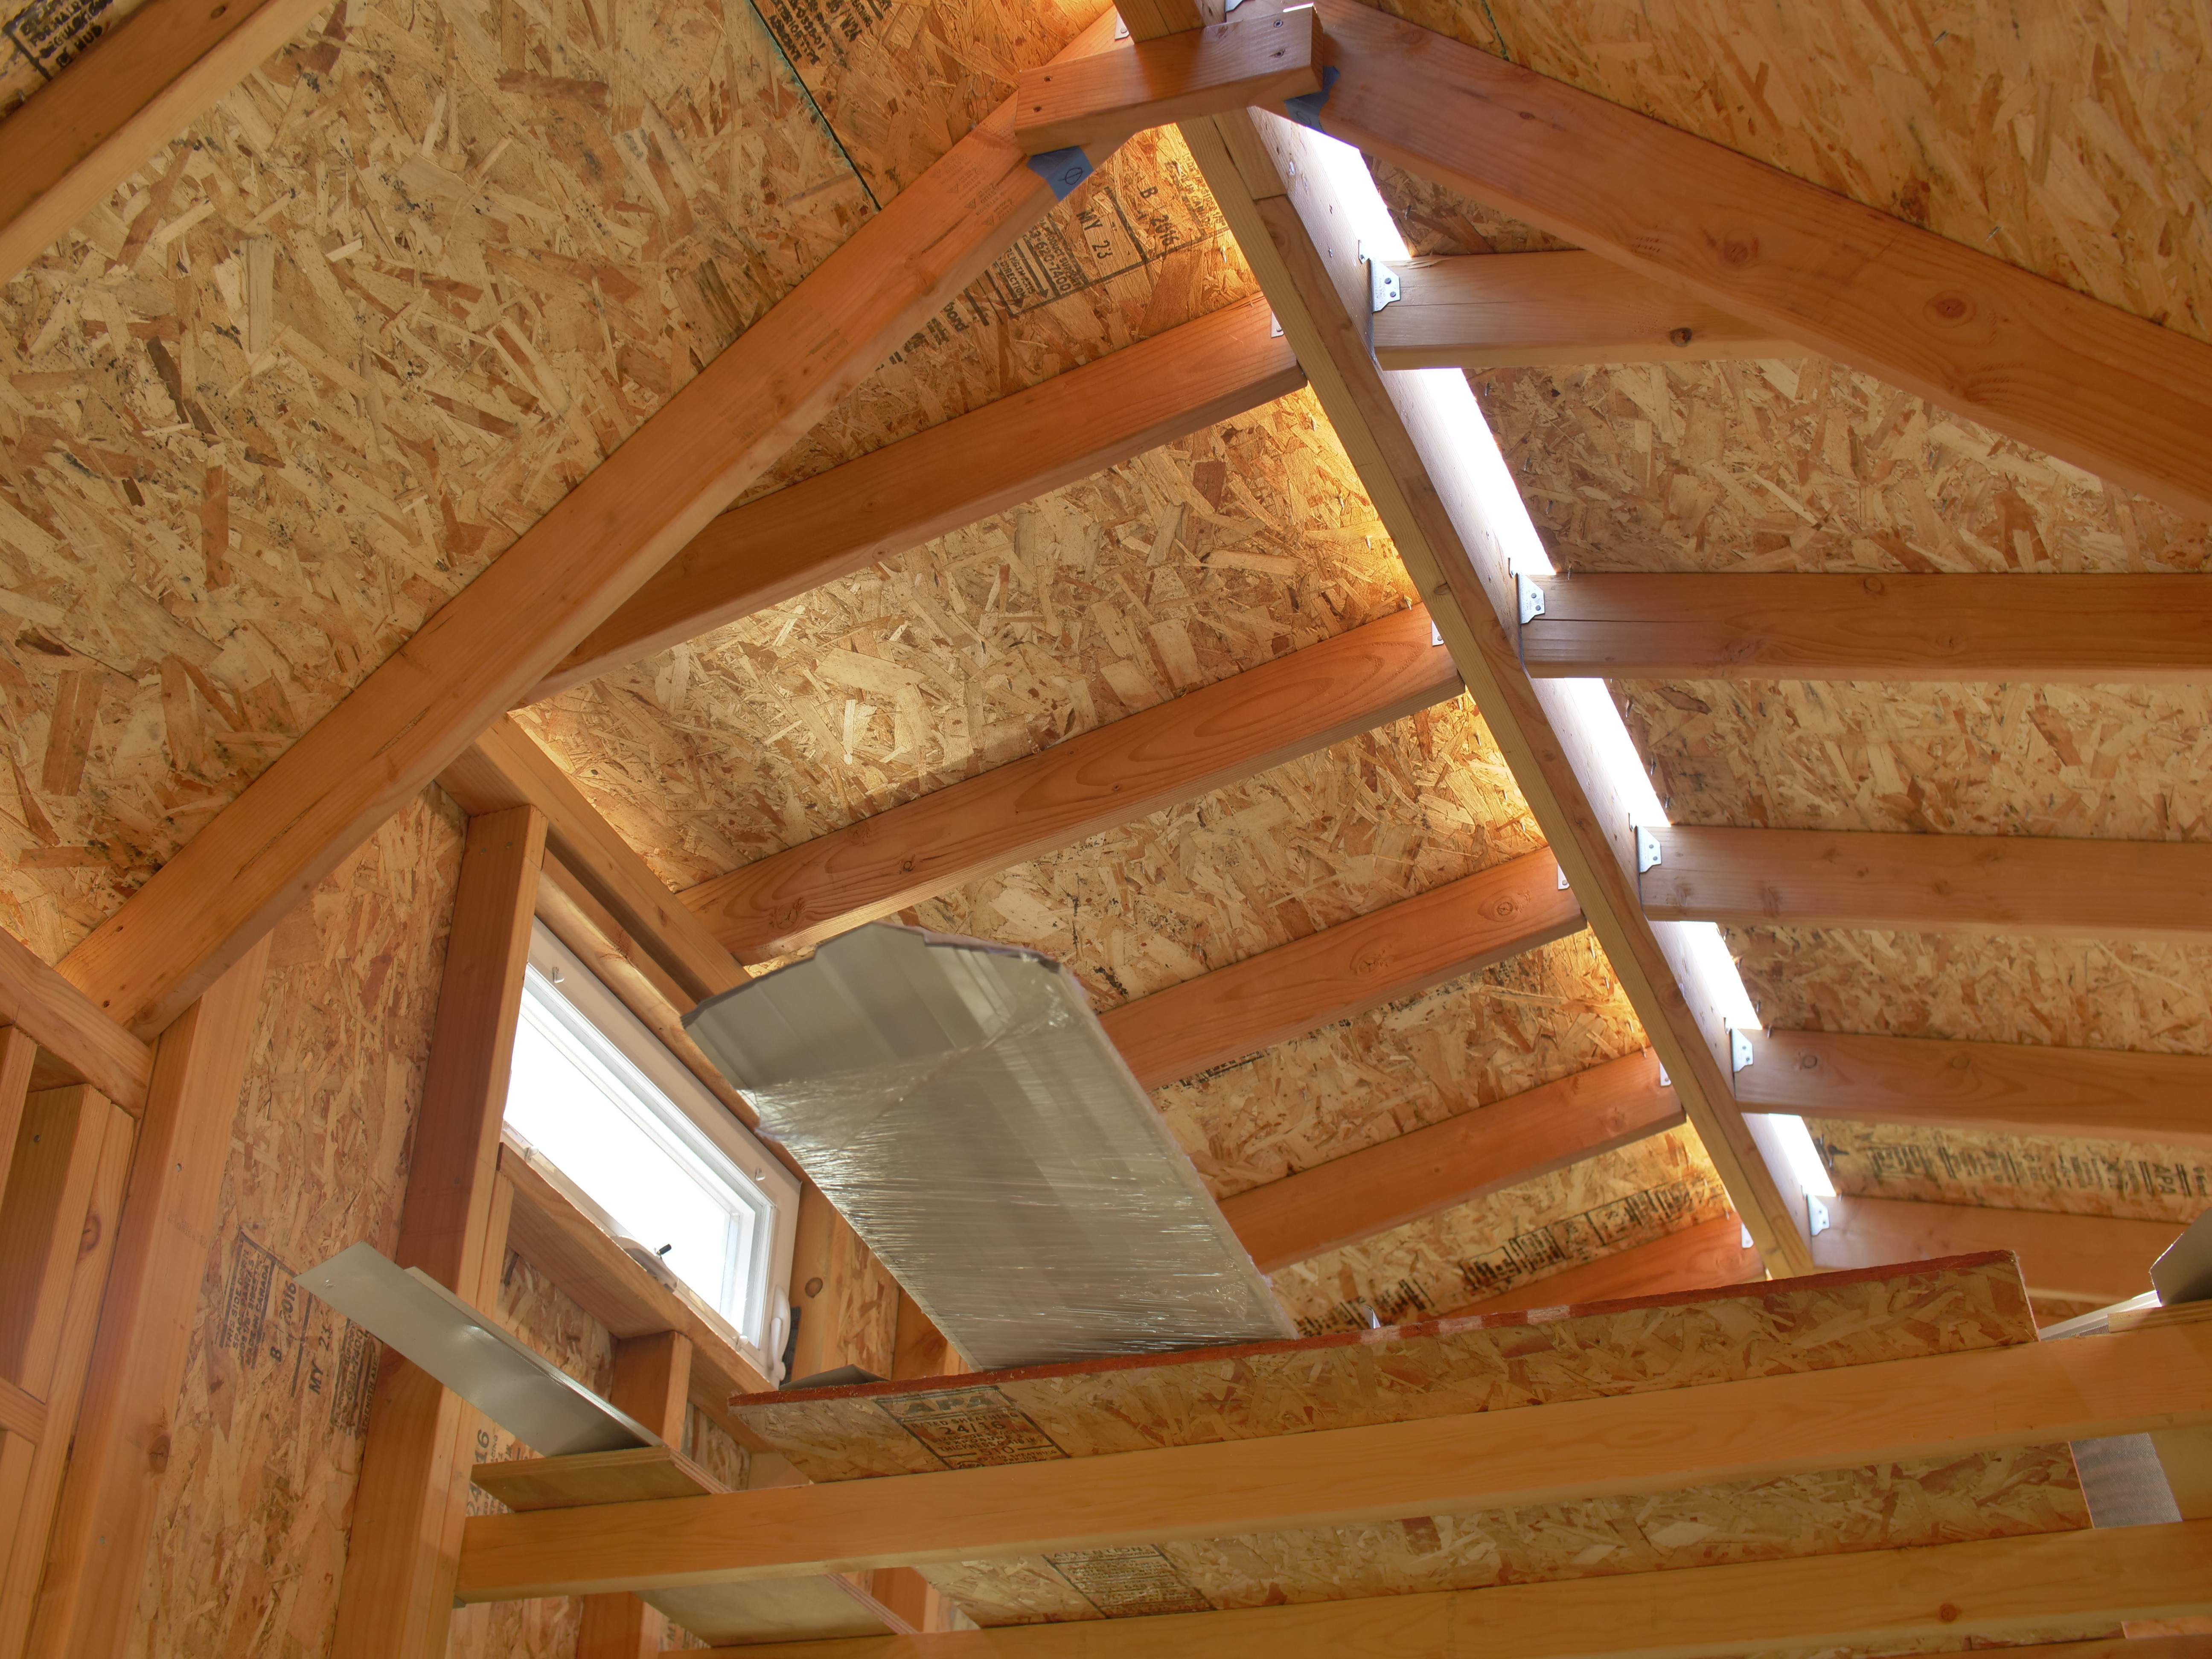
Another key design choice is the use of a vented roof. This reduces the chance of condensation build up on the inside of the ceiling when warm air inside condenses on a cold roof, especially while running a heater inside with snow on the roof. Foam baffles were installed on the inside, which create a 1 inch air gap between the insulation and roof and there is a gap in the roof ridge for air to vent through the metal roof ridge cap. Warmer air rises, so this vented roof allows air to flow from holes in the soffit, under the roof, and out the ridge cap. Since air is not a very good conductor of heat, this air gap significantly reduces the chance of interior ceiling condensation and moisture buildup.
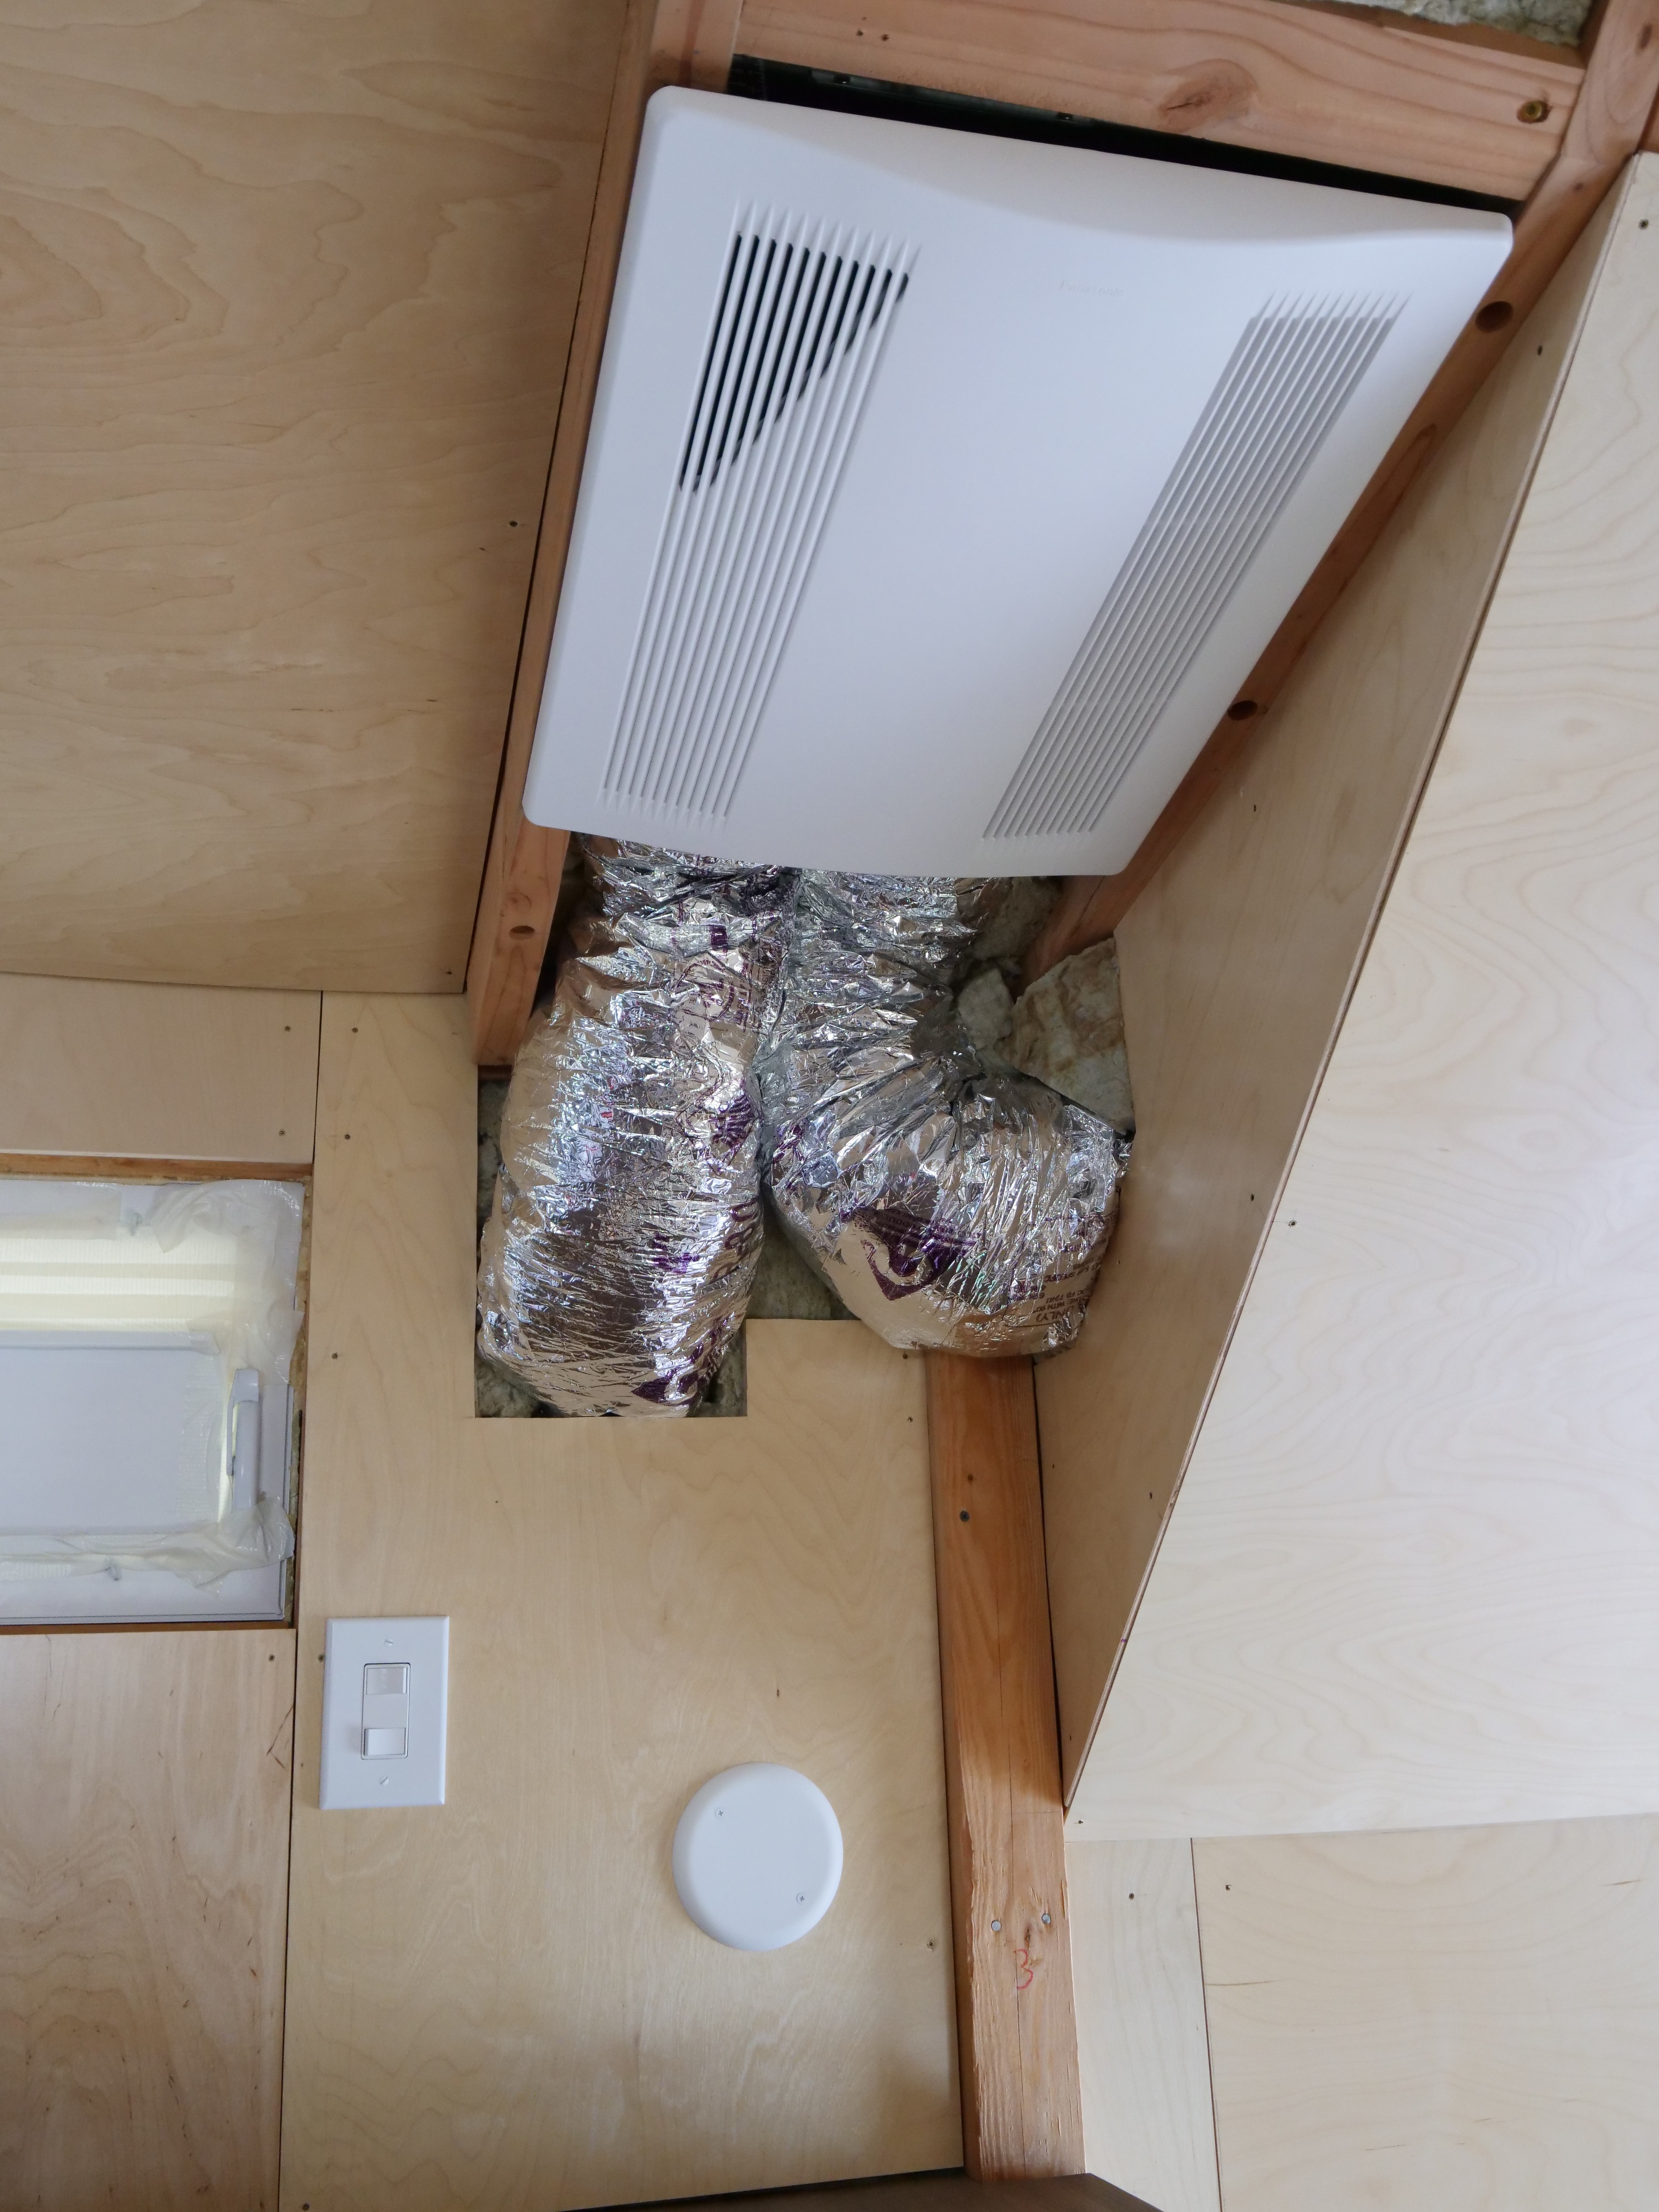
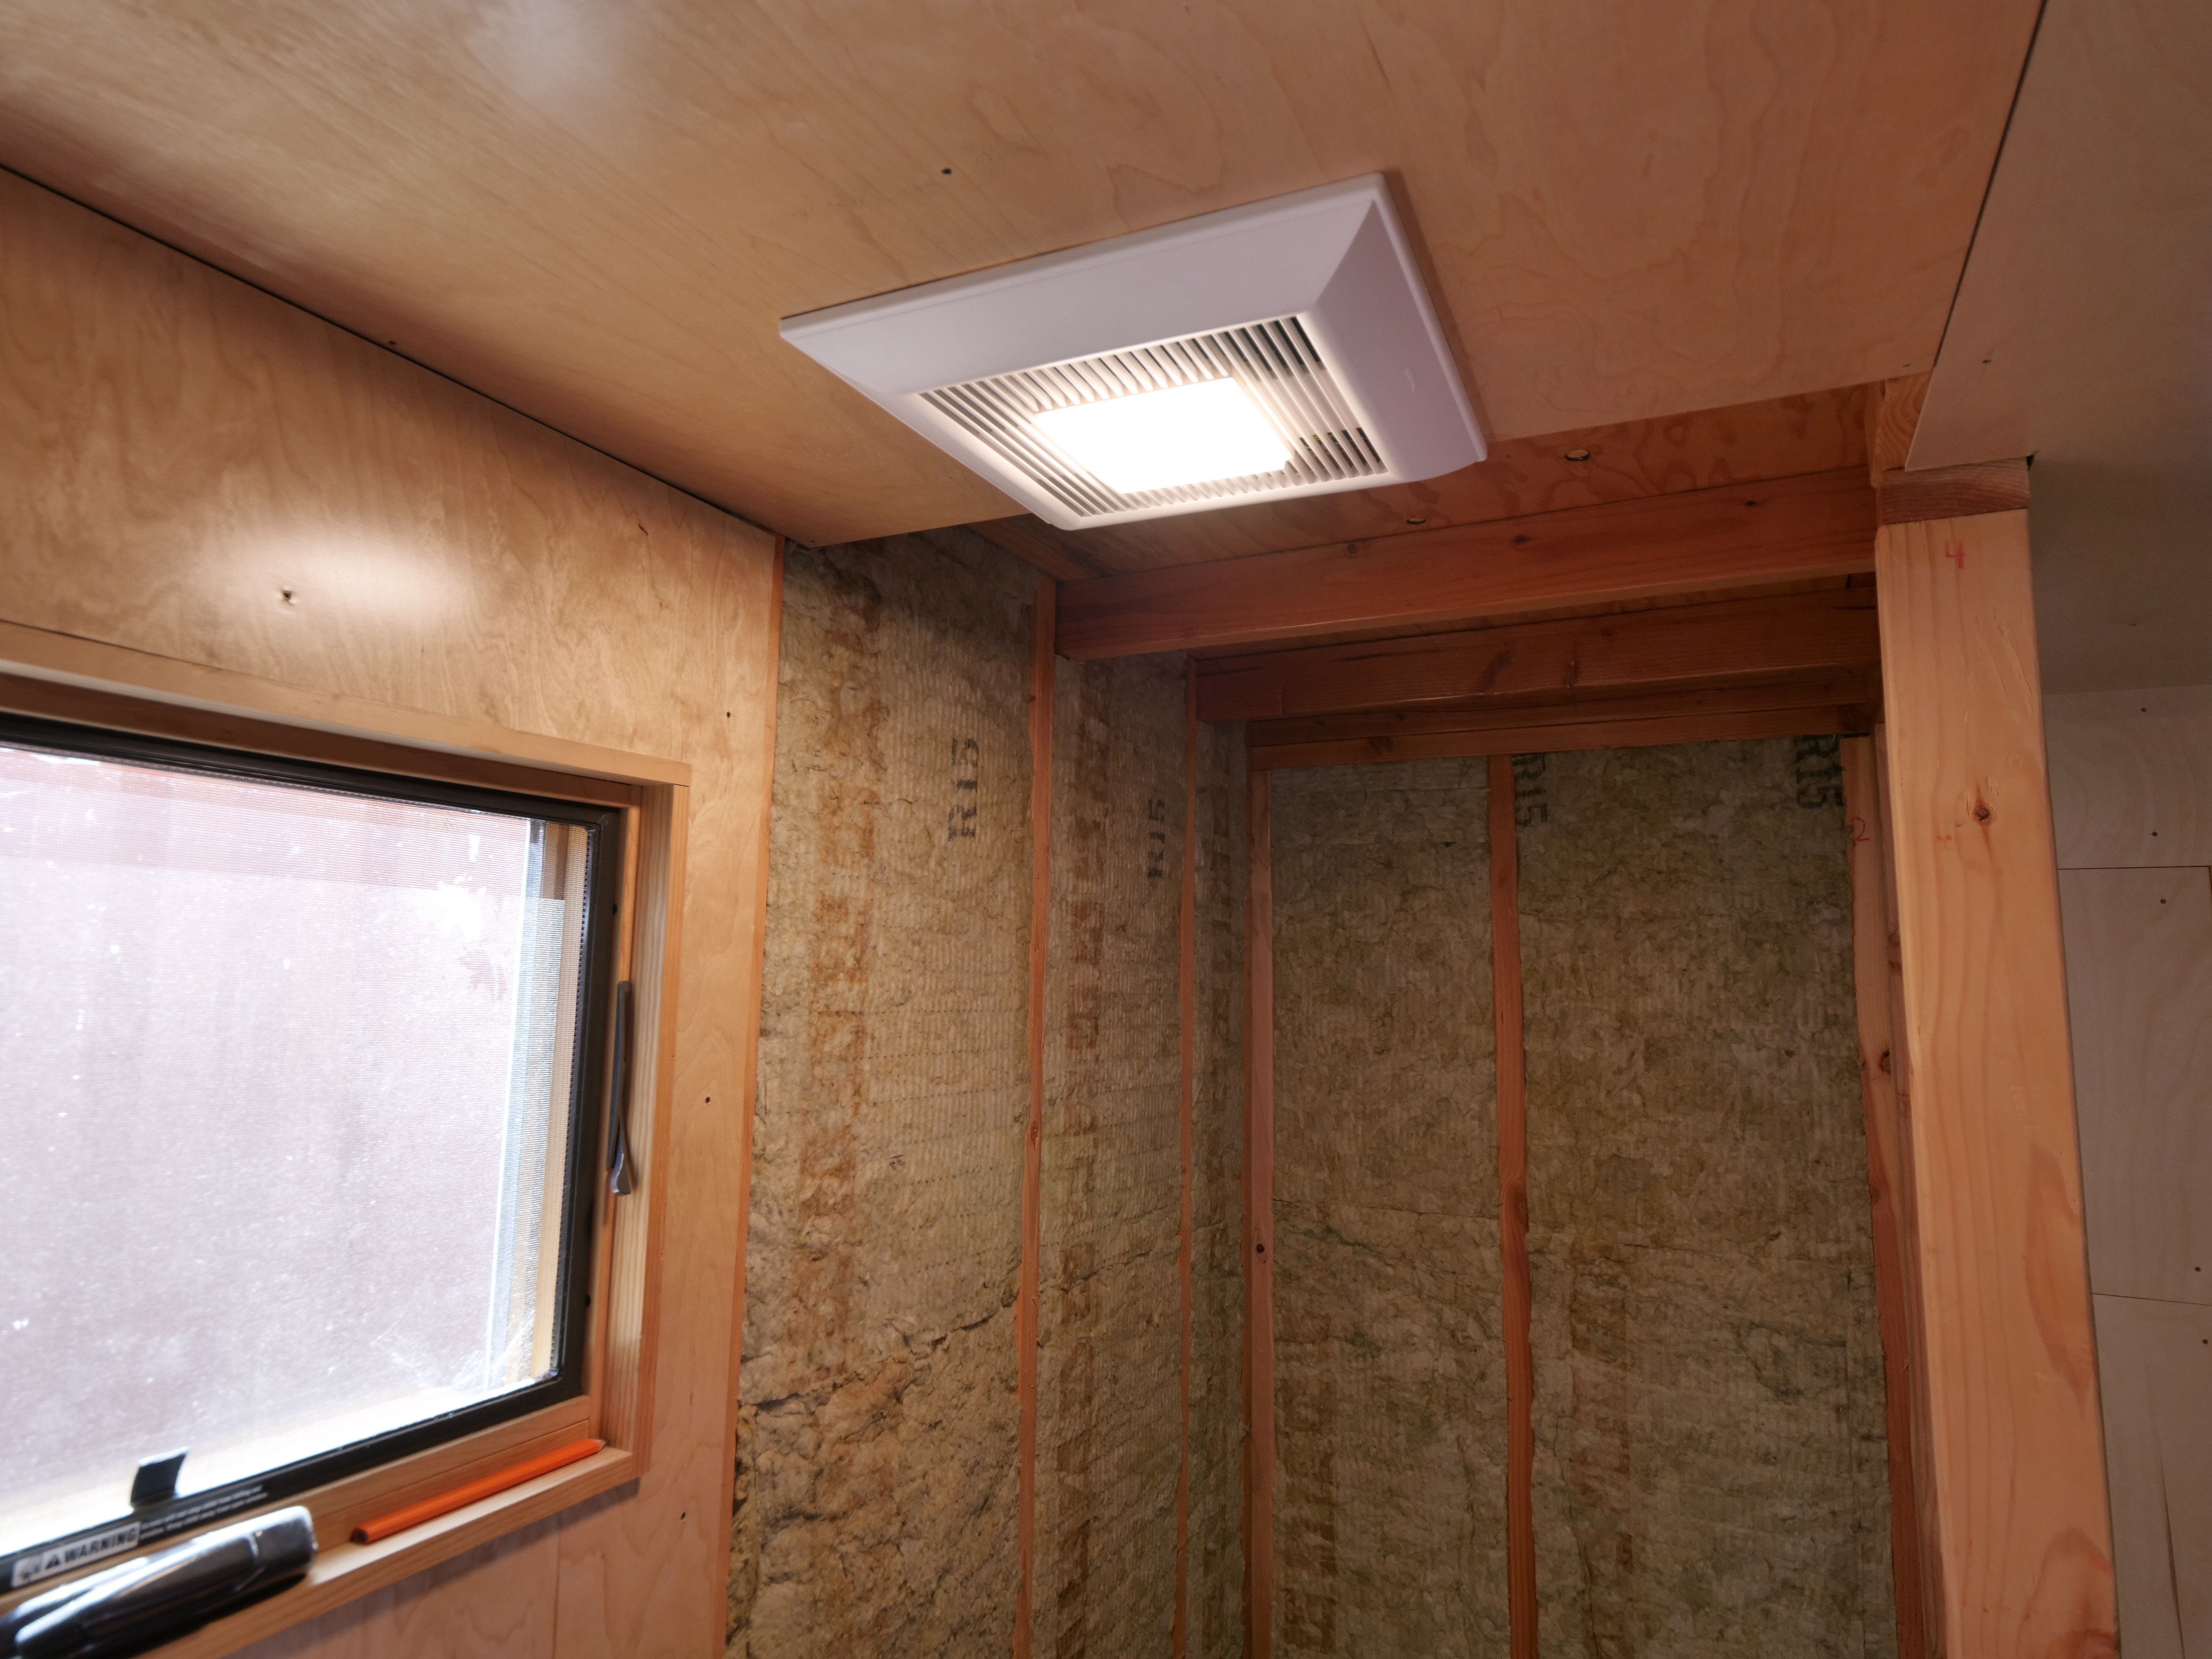
For ventilating the interior space, an Energy Recovery Ventilator (ERV) was used. The ERV works by transferring heat and moisture between the exhaust air and outside inlet air. This prevents wasting energy having to heat or cool incoming fresh air as much and removes the need to open a window to allow fresh air in. It is essential that the exhaust and inlet vent on the outside are separated so they don't mix.
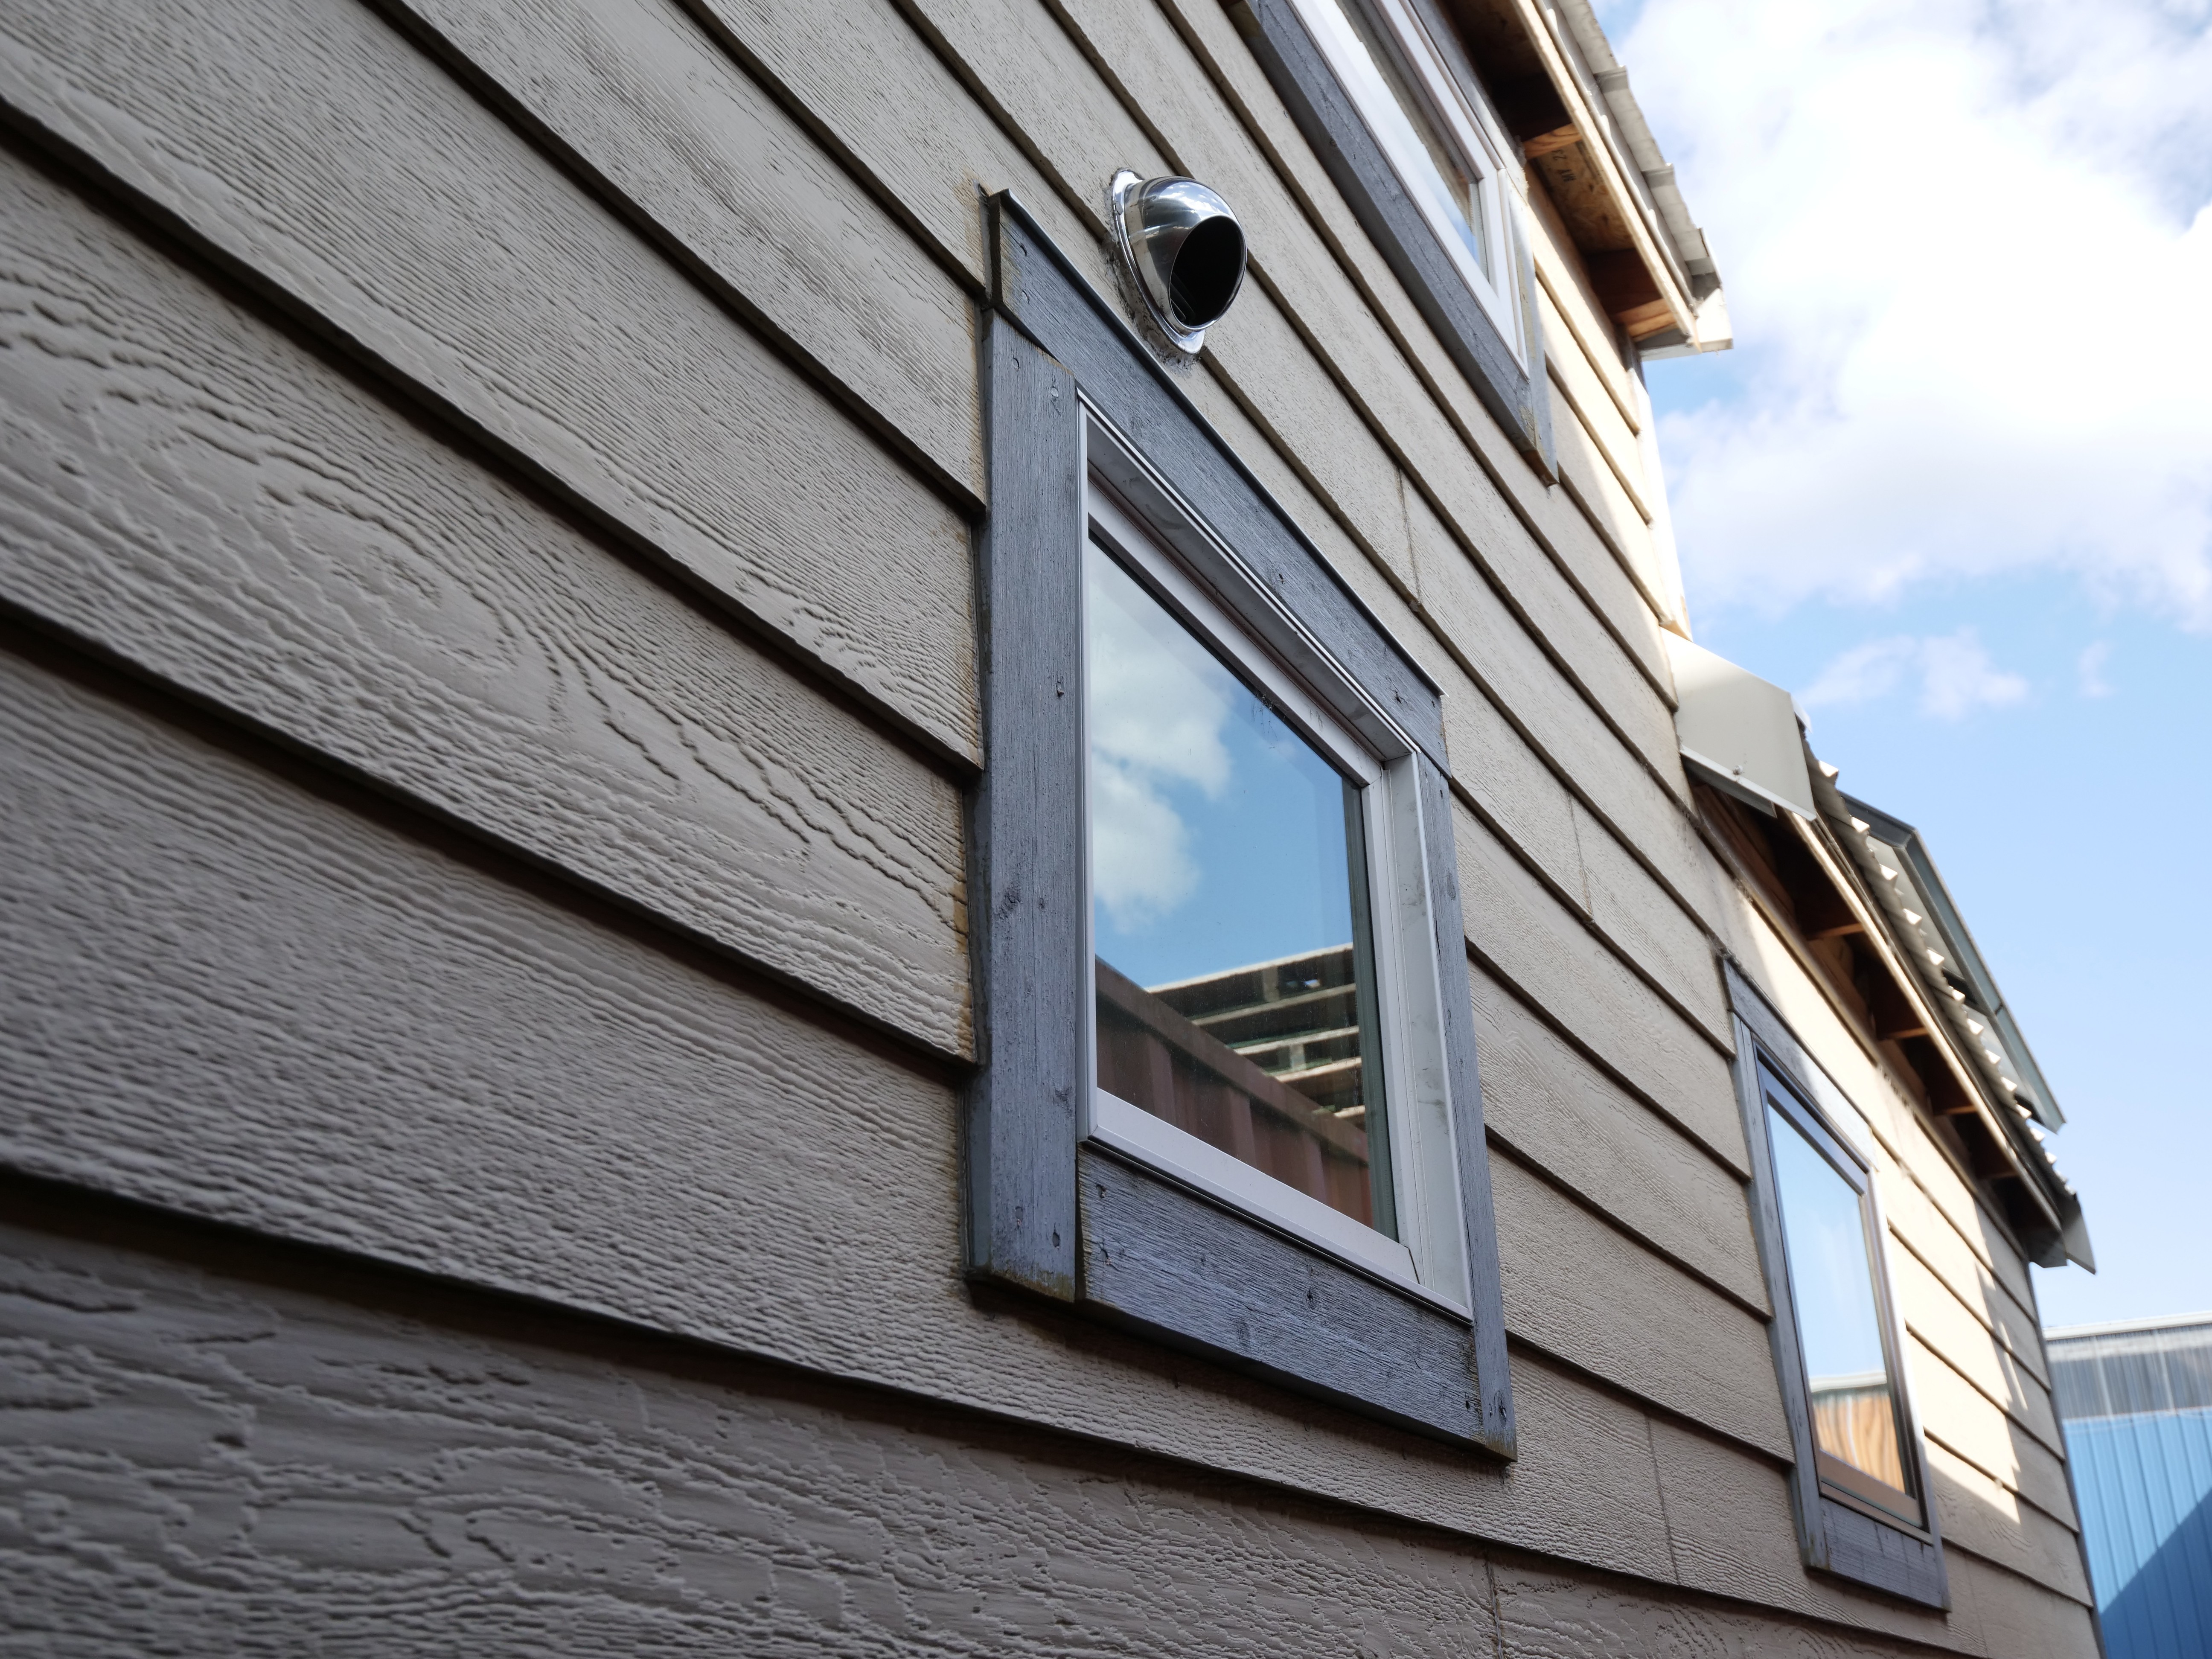
One design mistake is that the outside bathroom exhaust vent is right above the bathroom window, which can blow bathroom air back inside if the window is open. The final design will have the bathroom vent far away from any window.
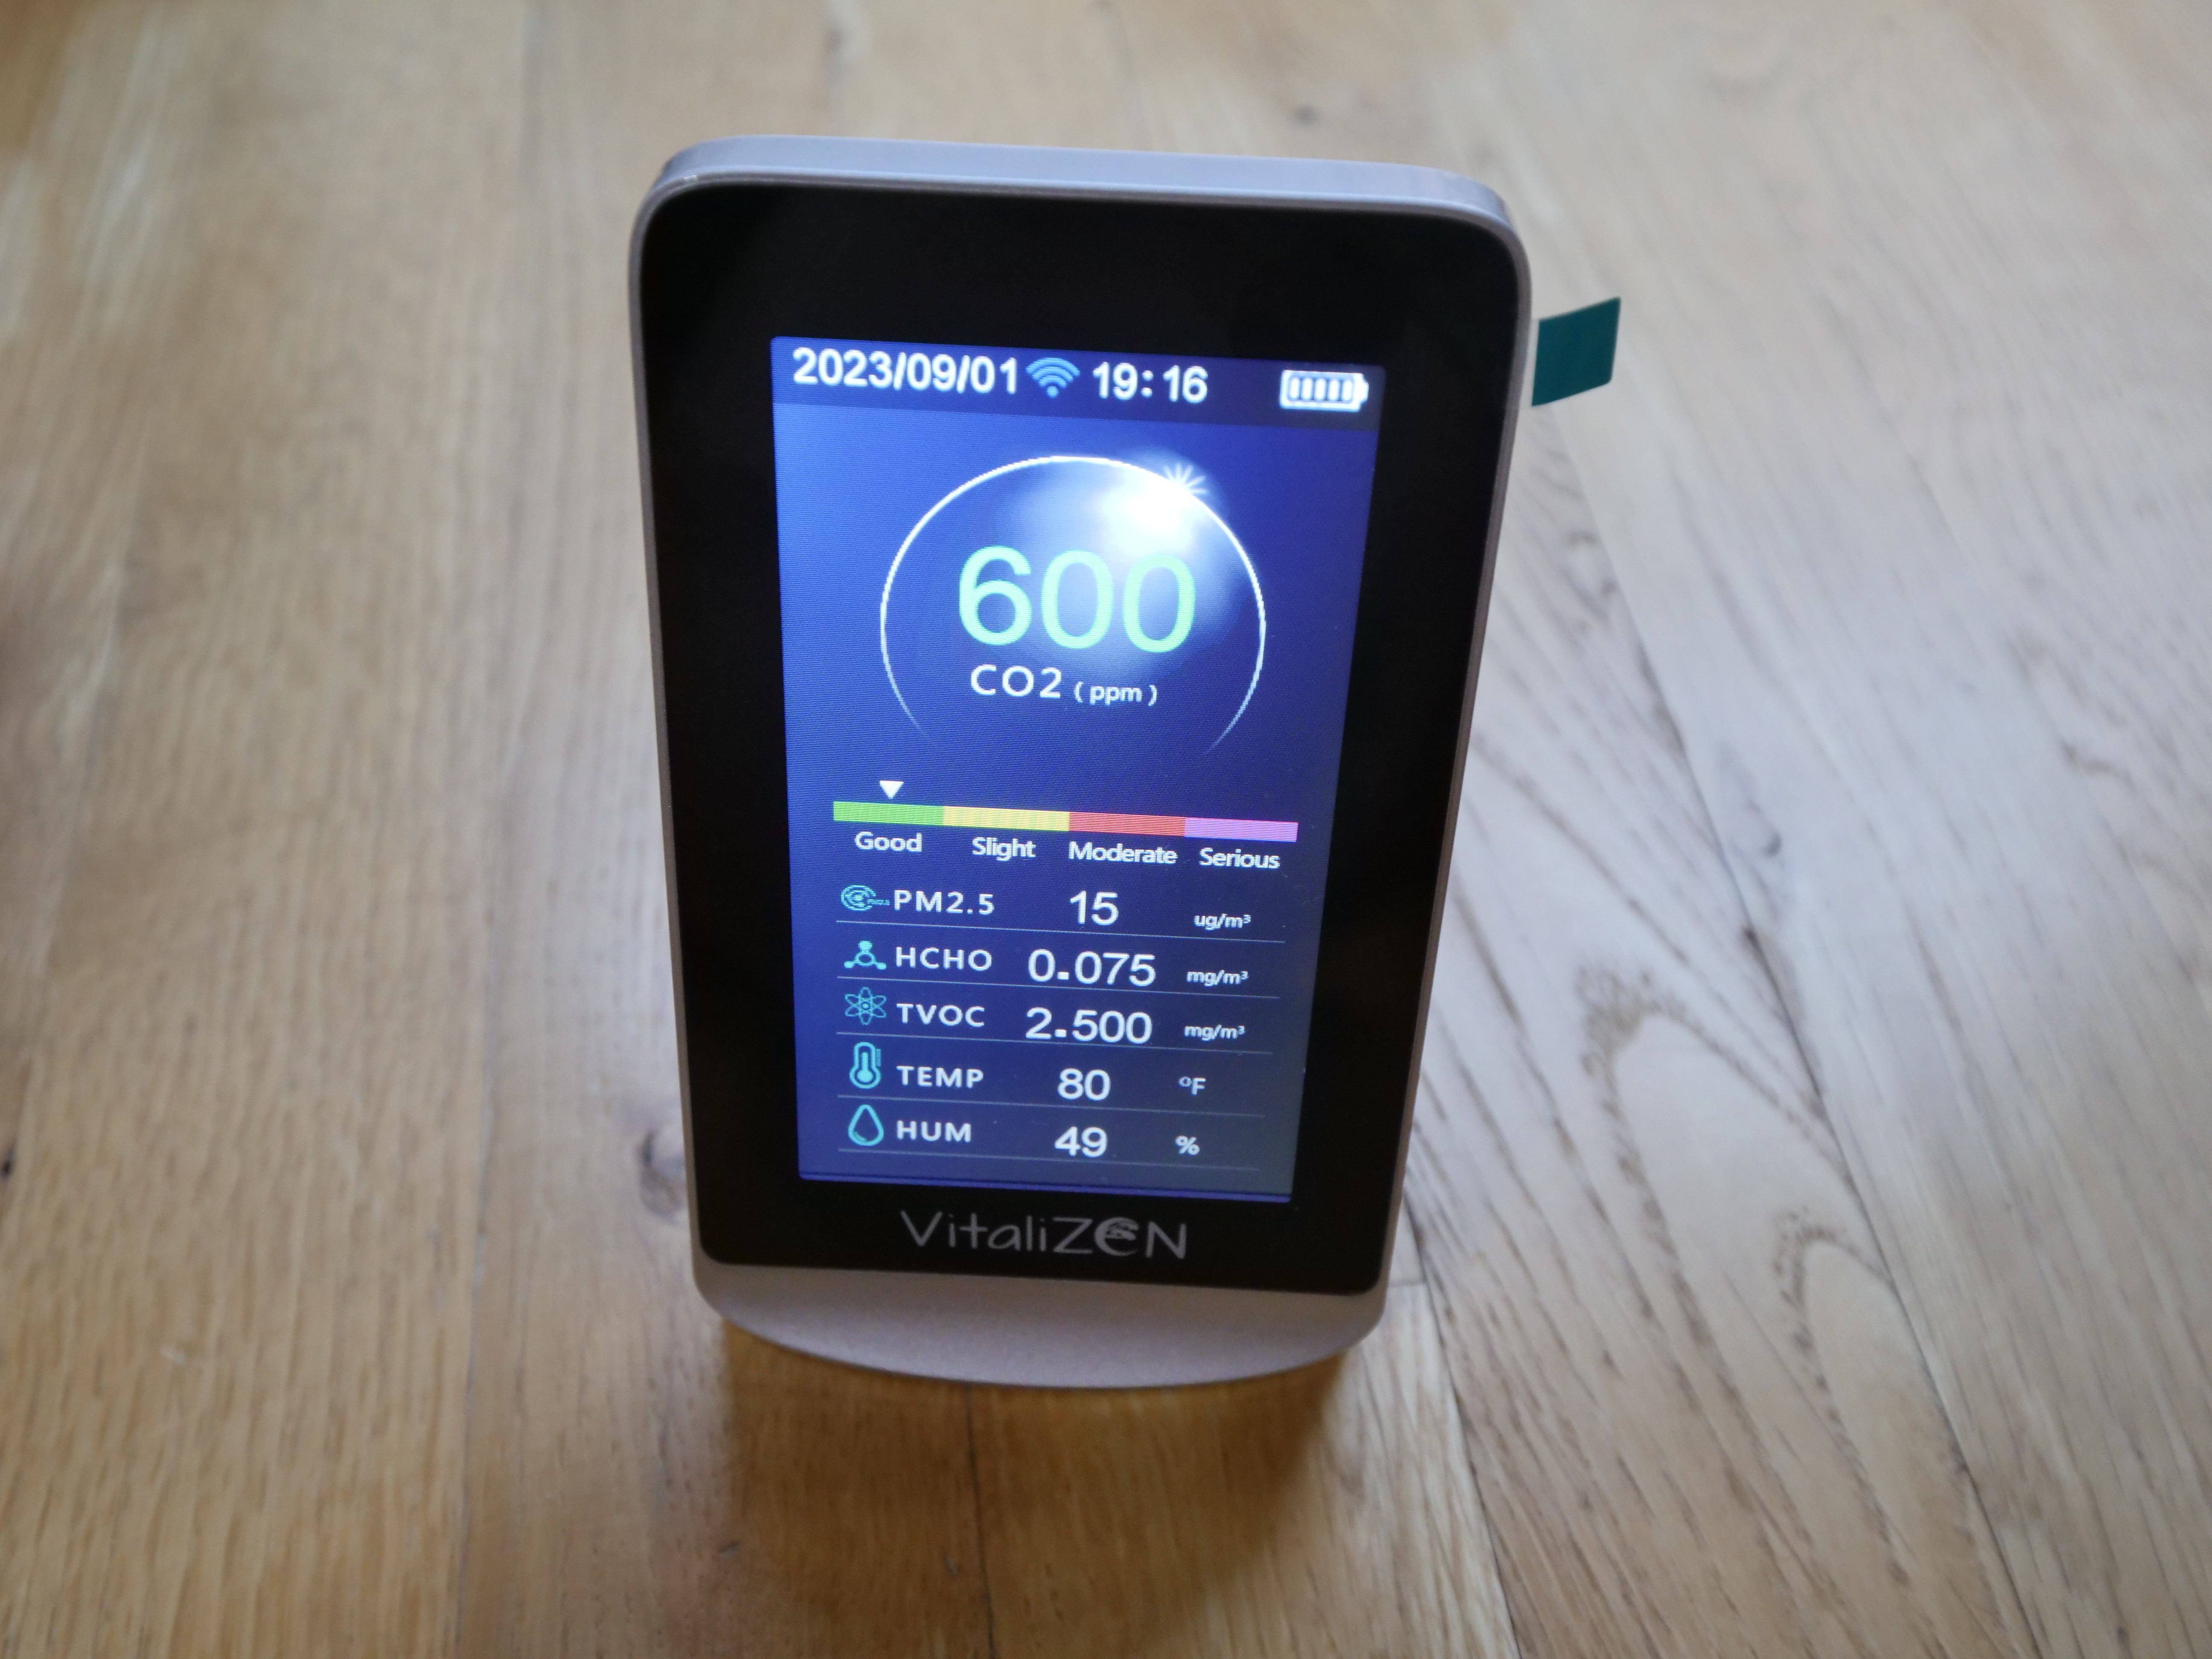
It is very important to have an air quality monitor to measure any CO2, smoke, temperature, and humidity. Simply turning on the ventilation system can lower the CO2 levels and an air conditioner with built in air filter can remove smoke particles from the air.
Another prototype design mistake is the absence of a kitchen range hood, which would have vented cooking fumes outside. It is possible to open a window and aim a fan to blow over the stove top, but the final version will have a range hood to fix this problem.
-
5Insulate Tight
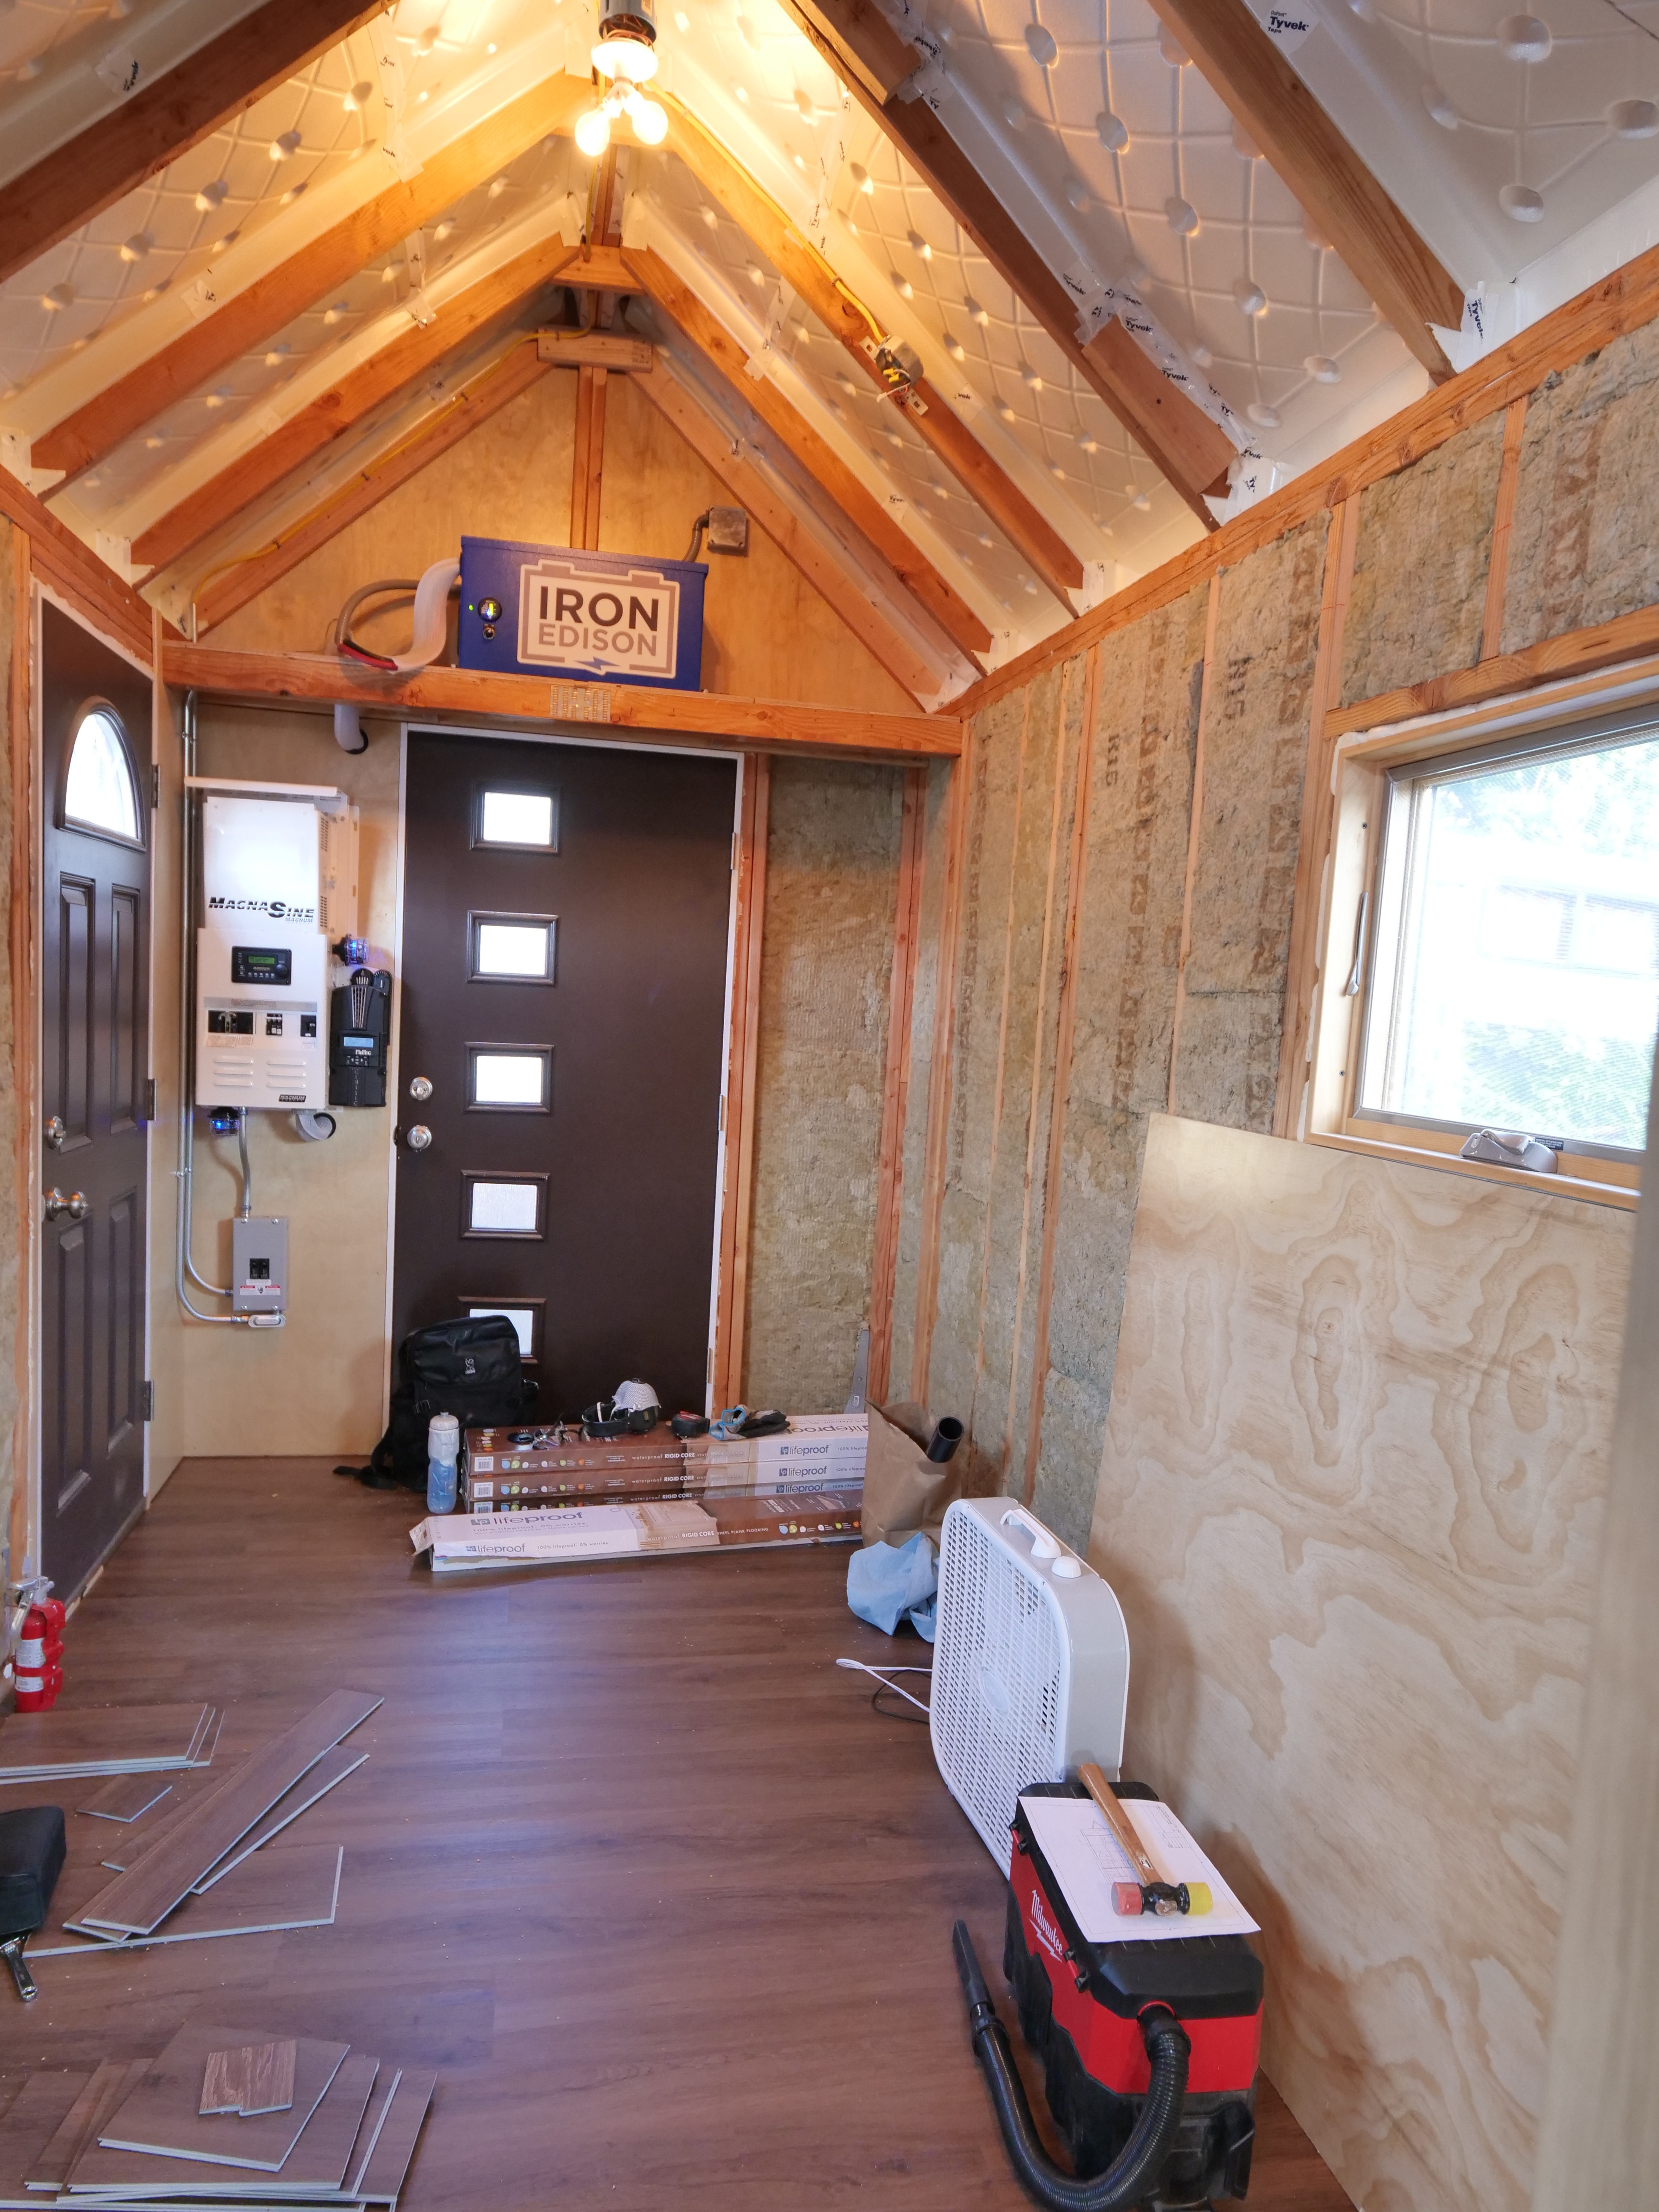
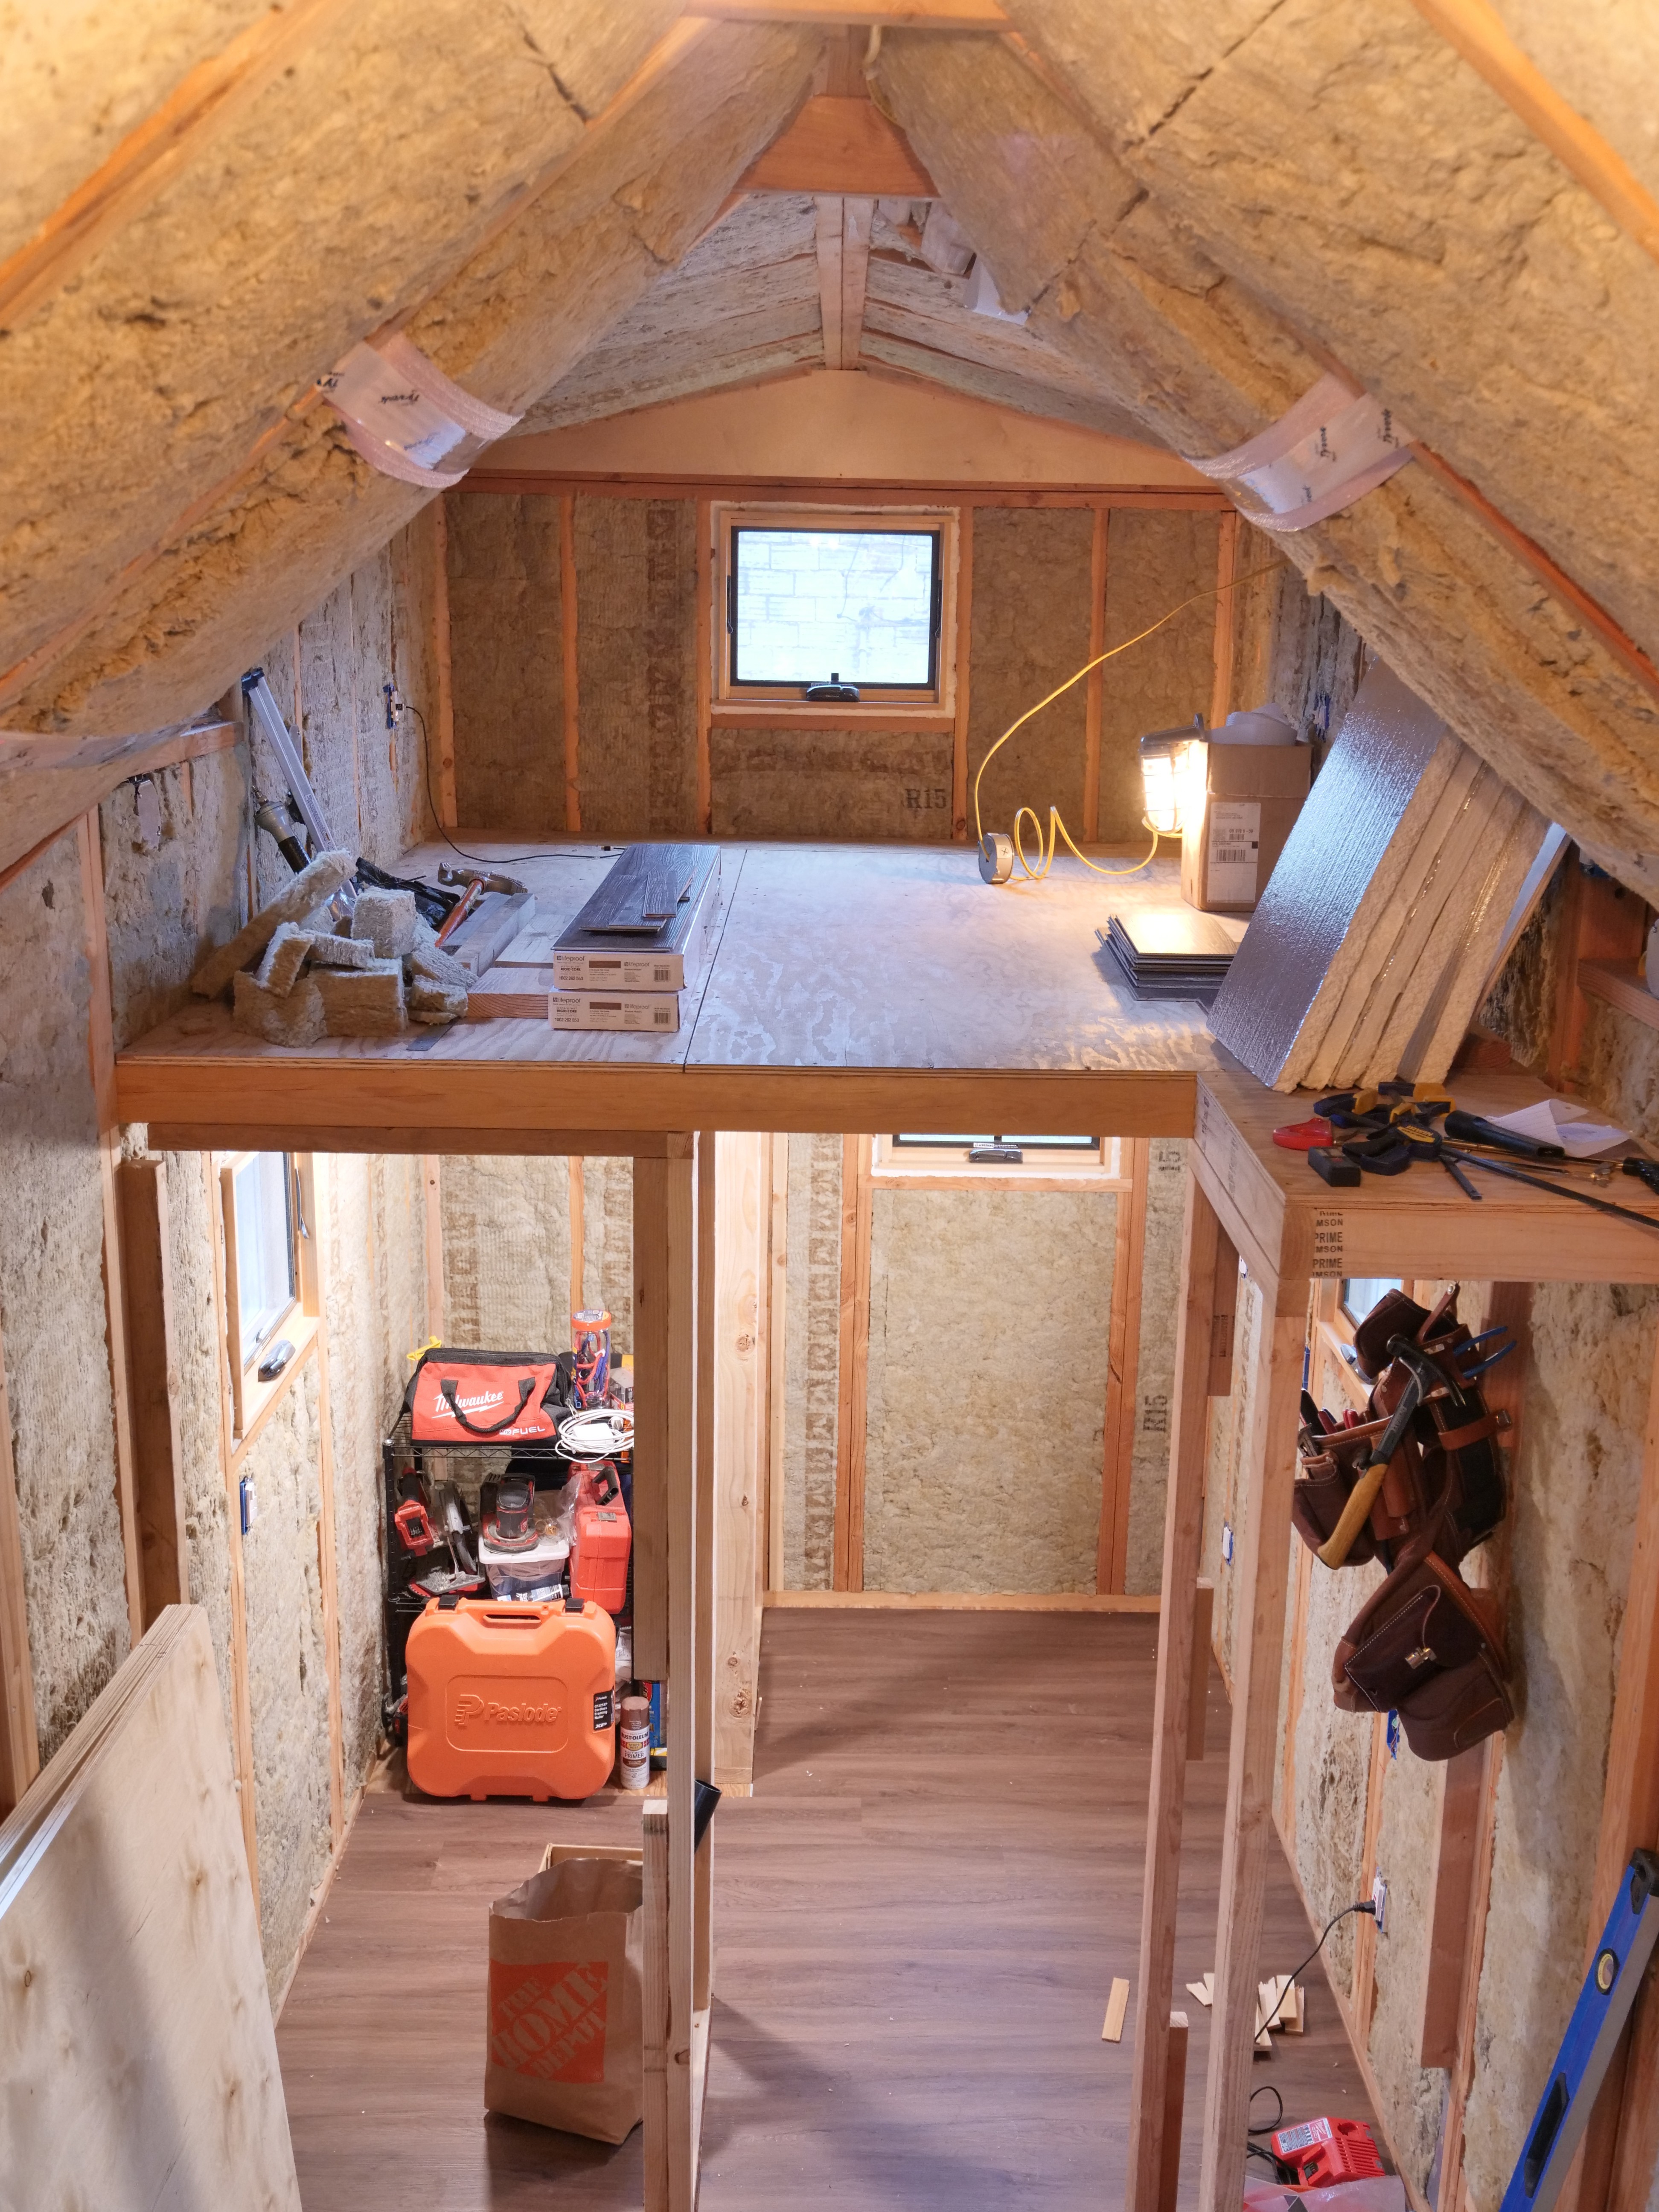
Insulation is very important for energy efficiency by significantly reducing thermal transfer through the walls and roof. Rockwool insulation was chosen because it is fire proof, water repellant, and easy to cut to shape. It is important to cut the insulation to fit tightly inside the walls and around any electrical wires or plumbing. Any air gaps between the insulation and wall has the potential to cause wasted heating or cooling through tiny air flows. Another side effect of properly installing insulation is a sound proofing effect from outside noise. Spray foam was not used because of the risk of inconsistent curing due to many variables like temperature, humidity, and spray velocity.
-
6Thermal Performance
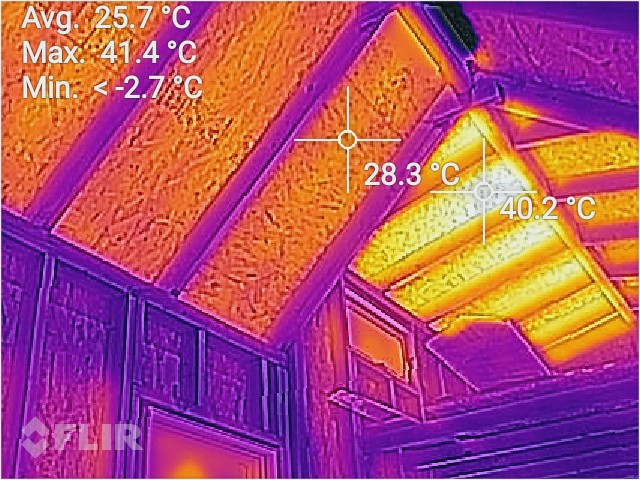
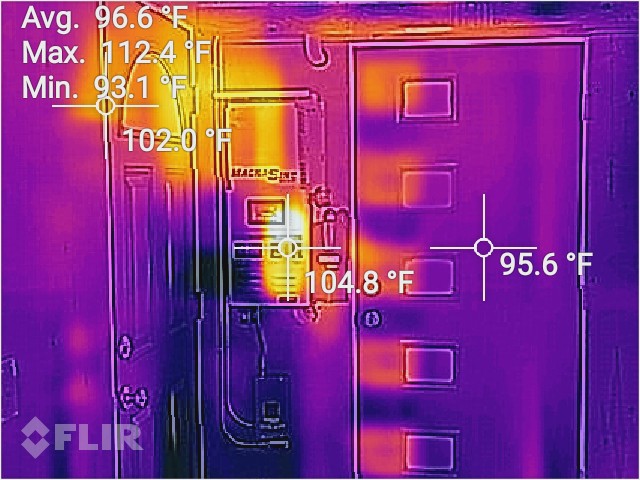
It is important to check the thermal performance of a living space with an infrared temperature sensor or Thermal Imaging Camera in order to identify hot or cold spots that could be caused by air gaps or poor sealing. Here are some examples of ceiling temperatures on a hot day and heat produced from the inverter and charge controller. White metal roofing was chosen to minimize heat absorption. Also, there seems to be a heat shield effect from the solar panels by lowering the roof temperature directly under the panels by a few degrees.
![]()
![]()
-
7Solar/Battery Performance
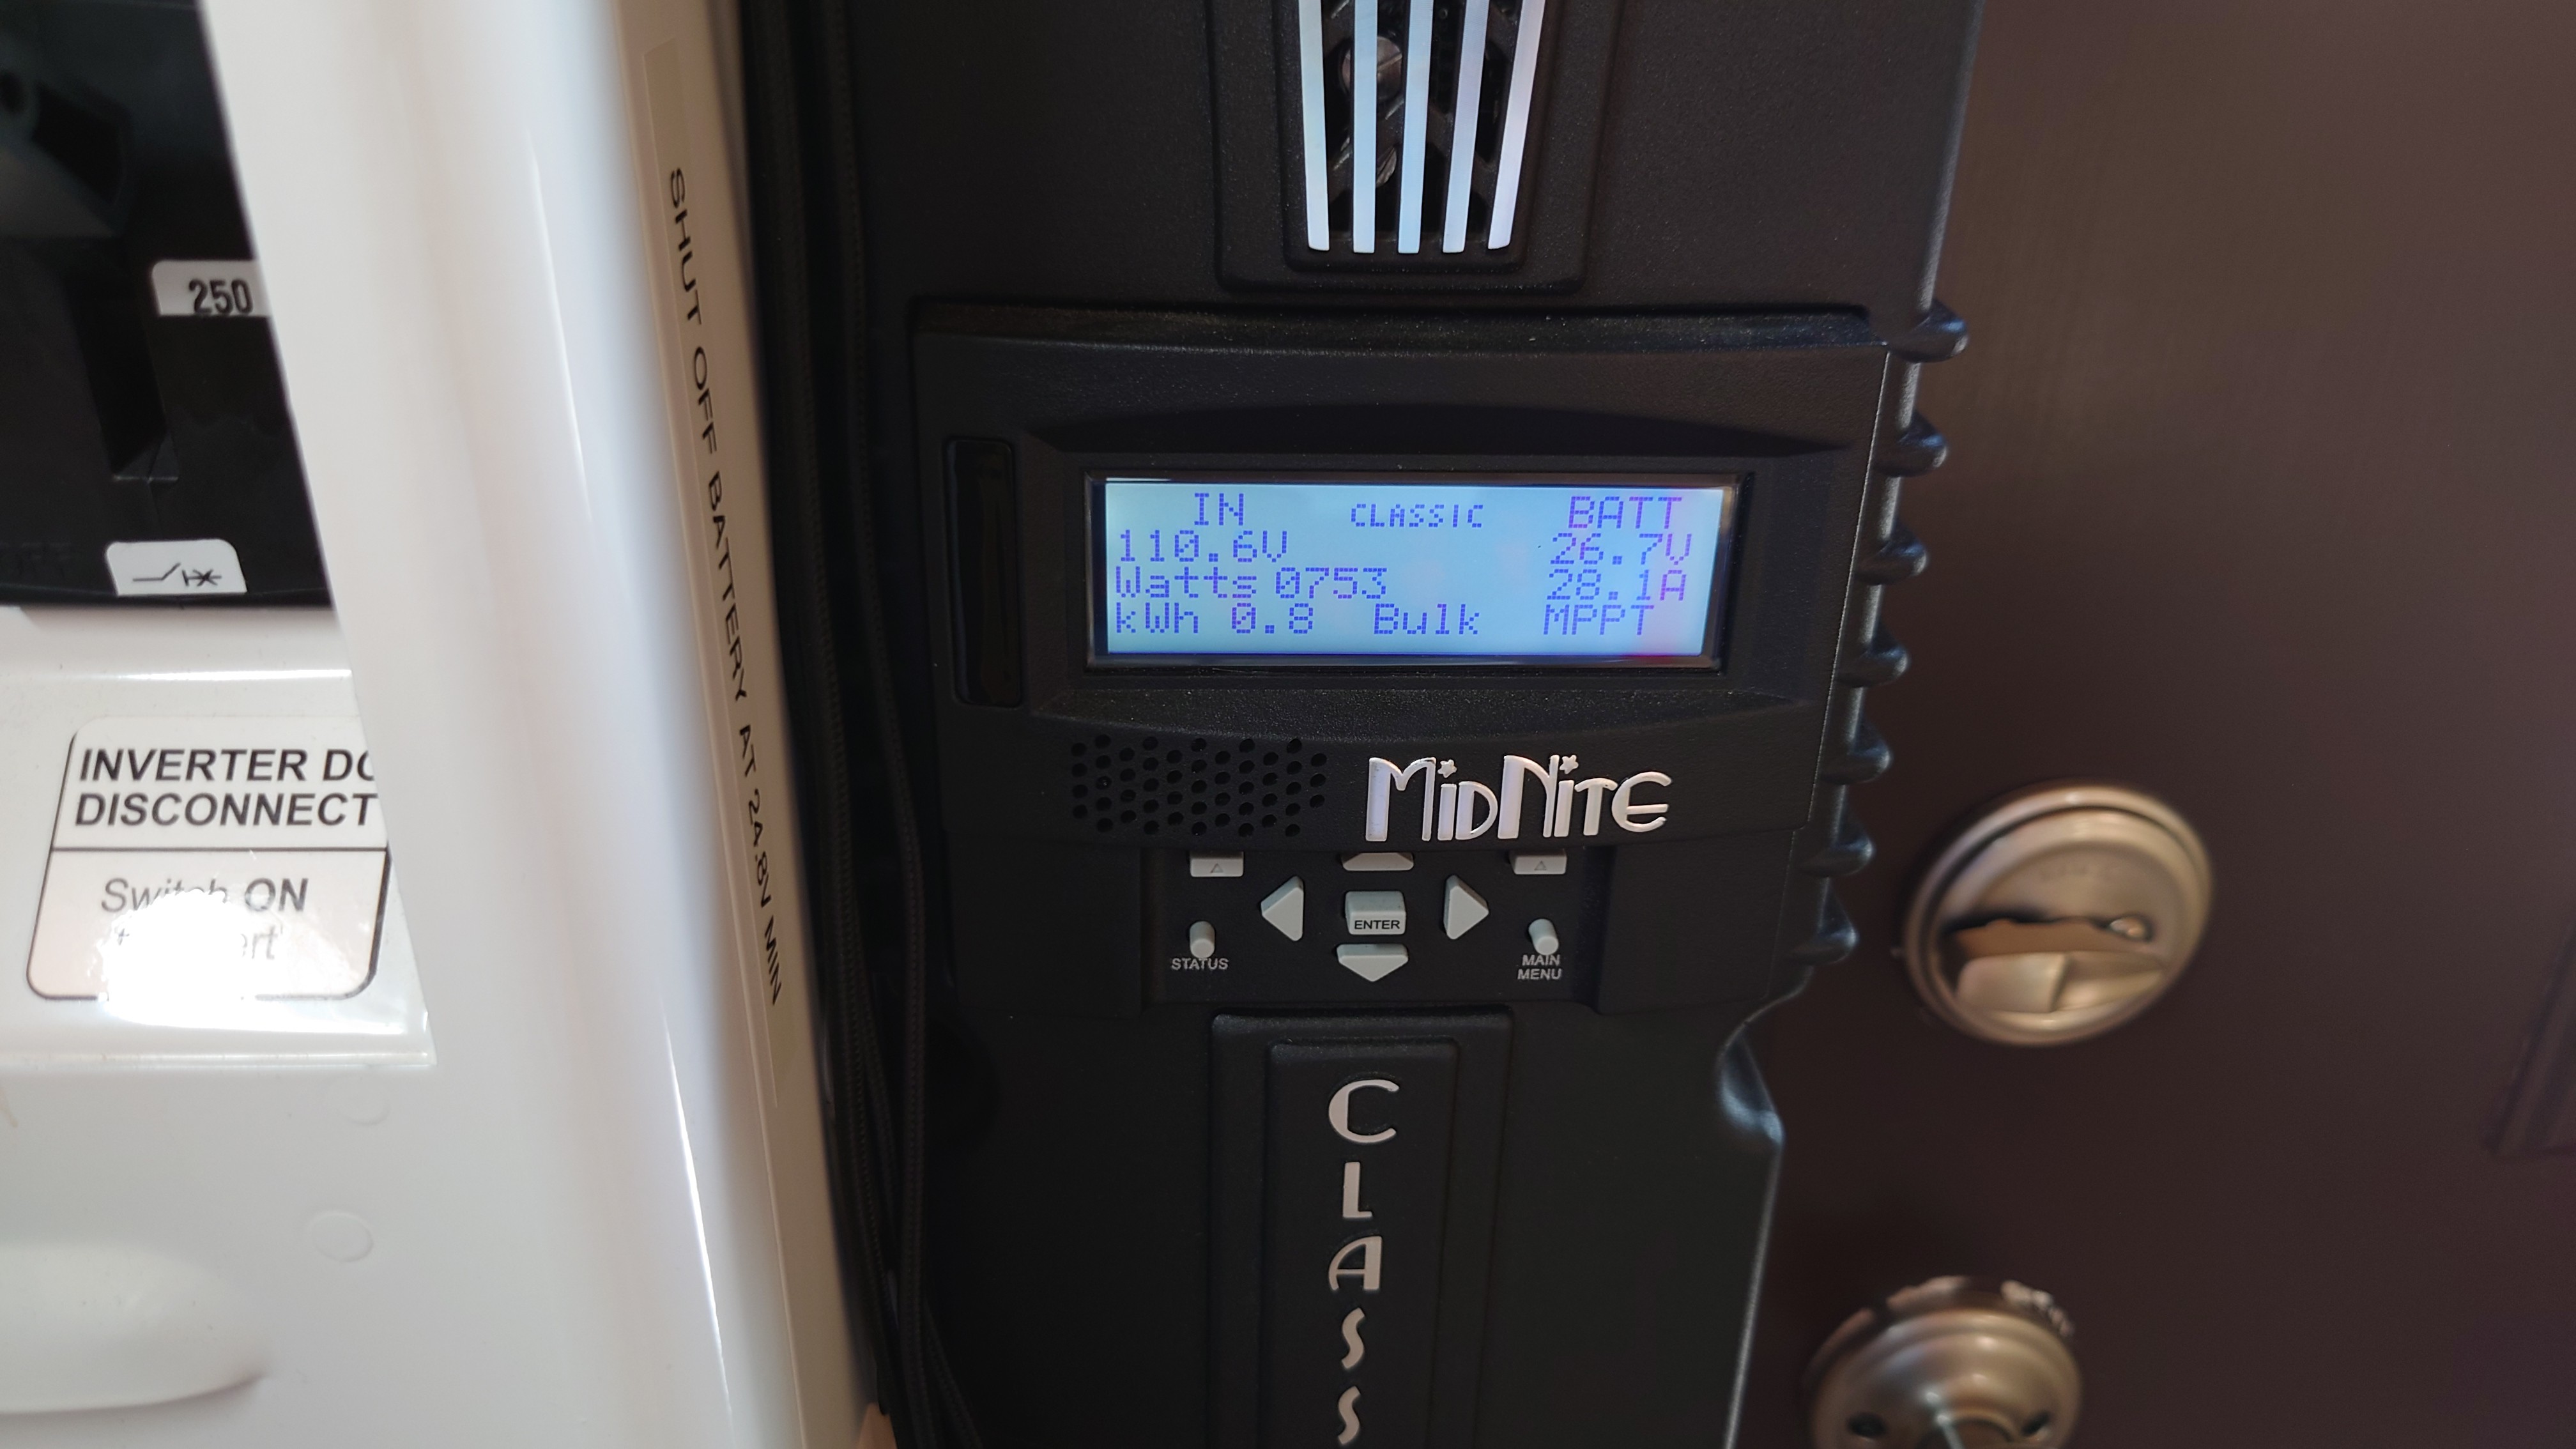
This prototype has enough solar power to work inside for 8 hours a day and last 1 day without sun. The maximum power I was able to get out of the two 345W X21 Sunpower solar panels for the prototype was around 750 Watts shown in the photo below. It may sound strange that two 345 Watt solar panels can produce over the rated power, but a good solar panel brand will actually produce a little more than the rated power output to achieve their warranty guarantee over the life of the panel. Of course this is peak power not continuous, but on average I see about 500 to 600 Watts on a sunny day and around 110 Watts on a cloudy day.
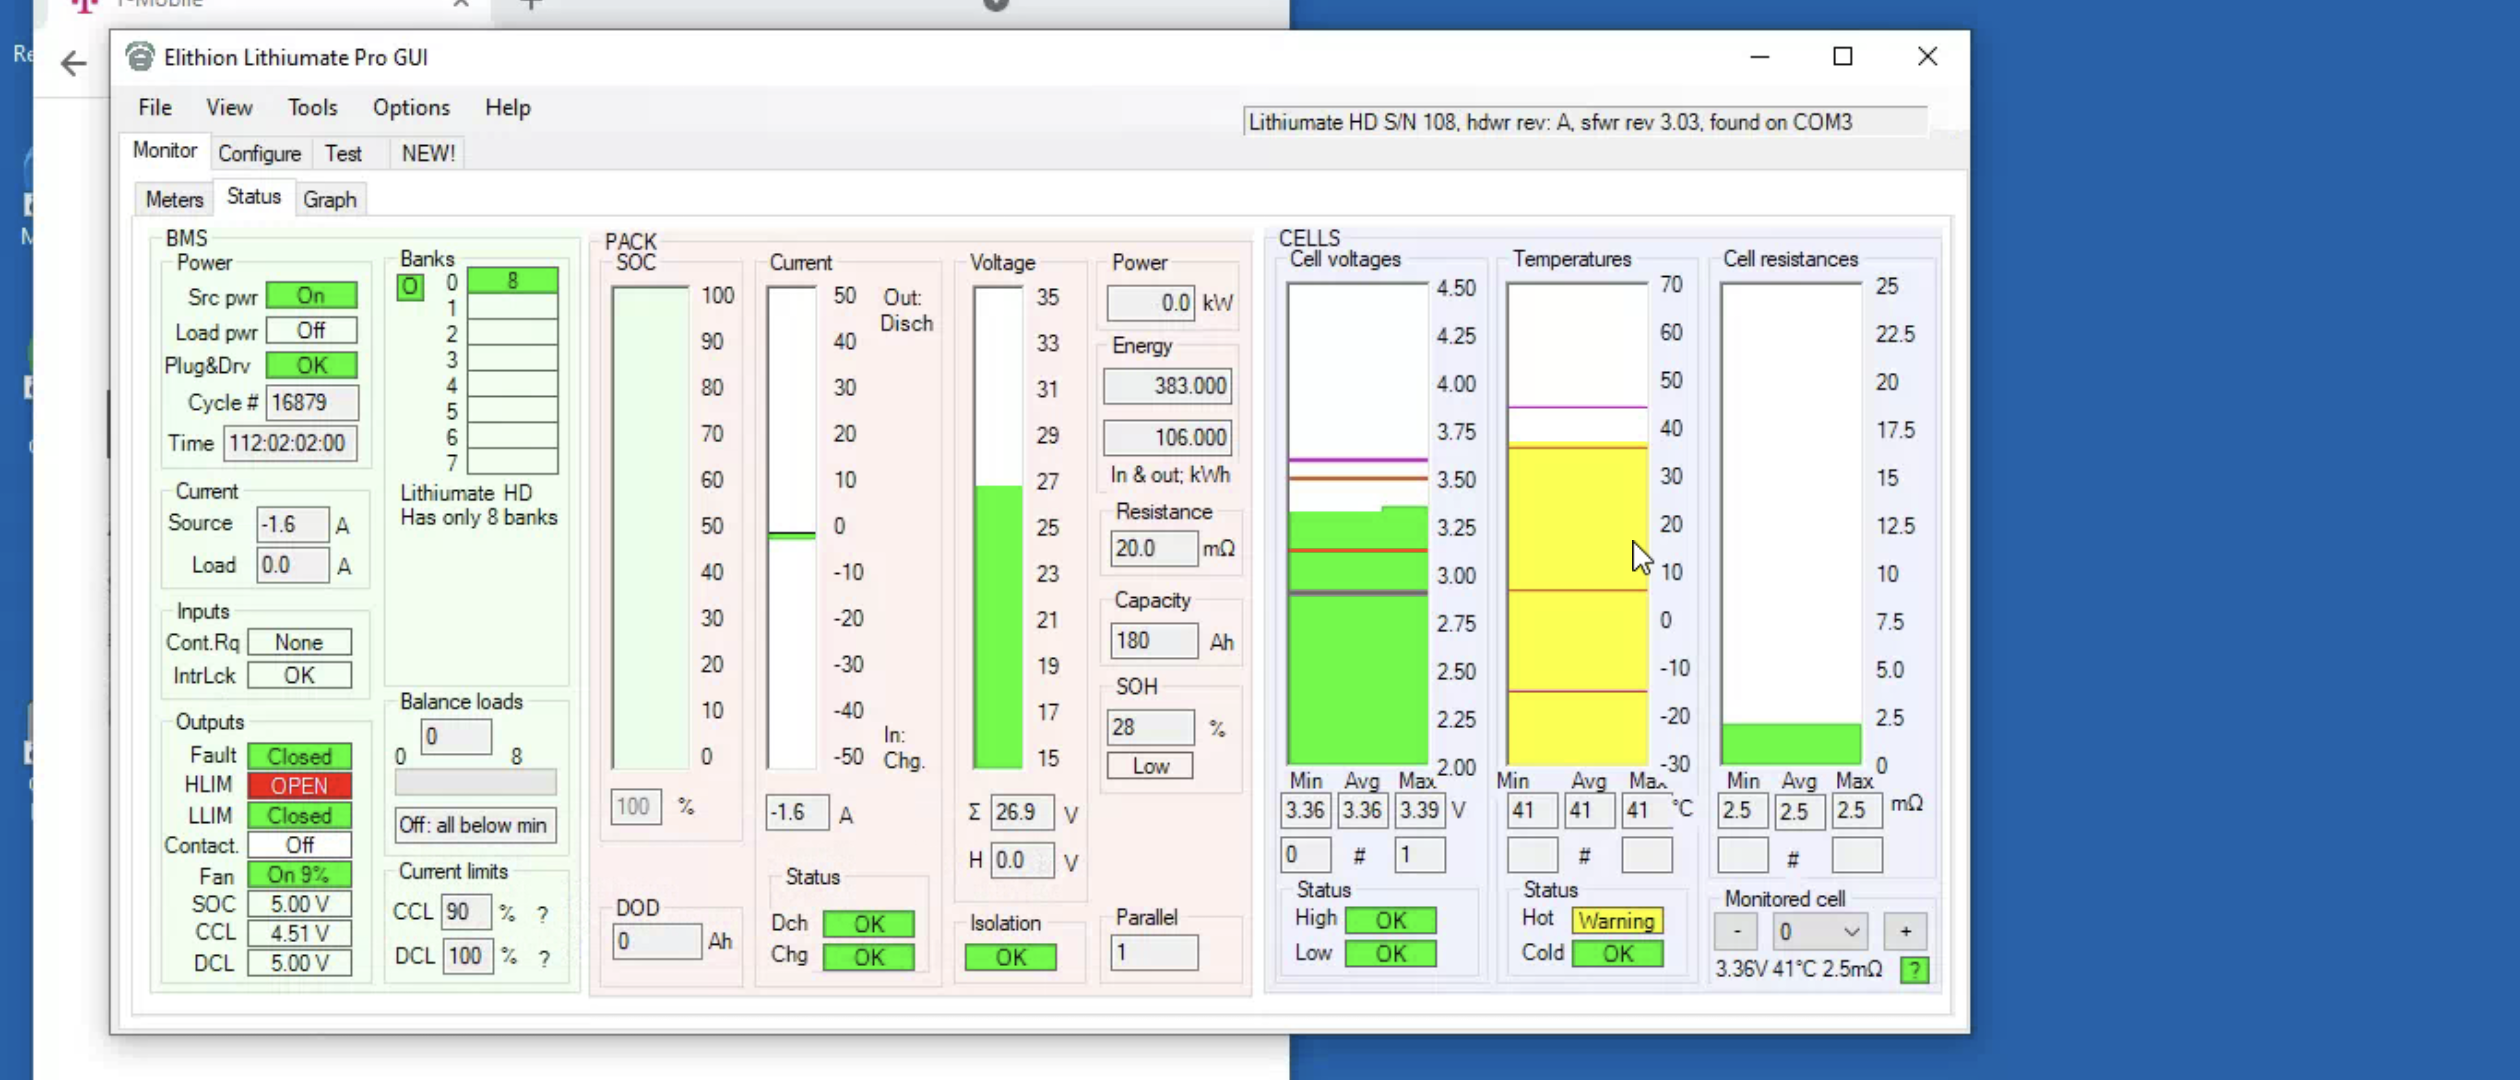
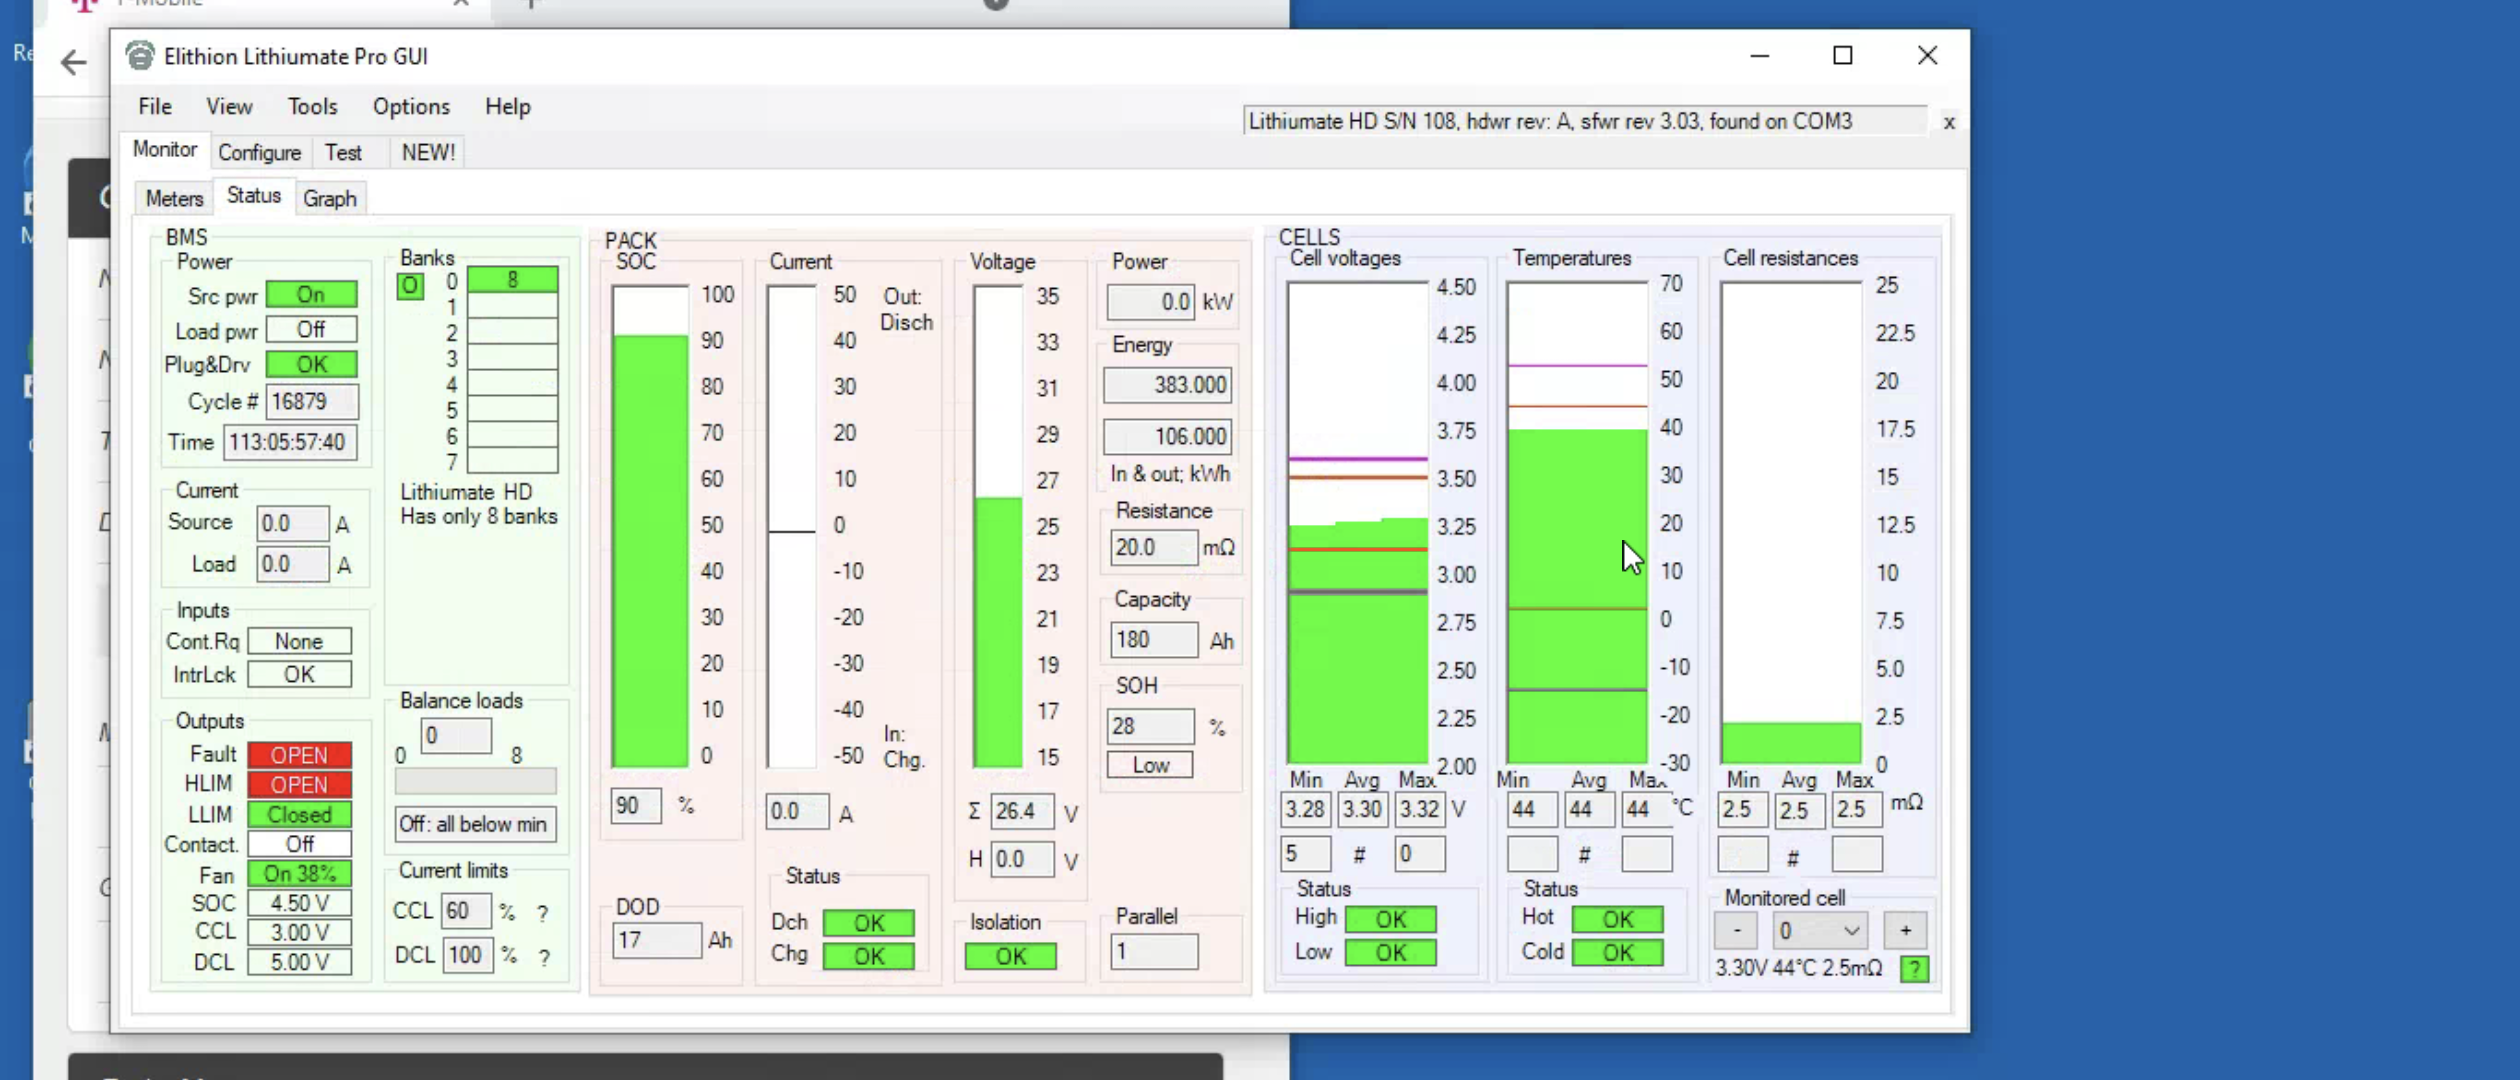
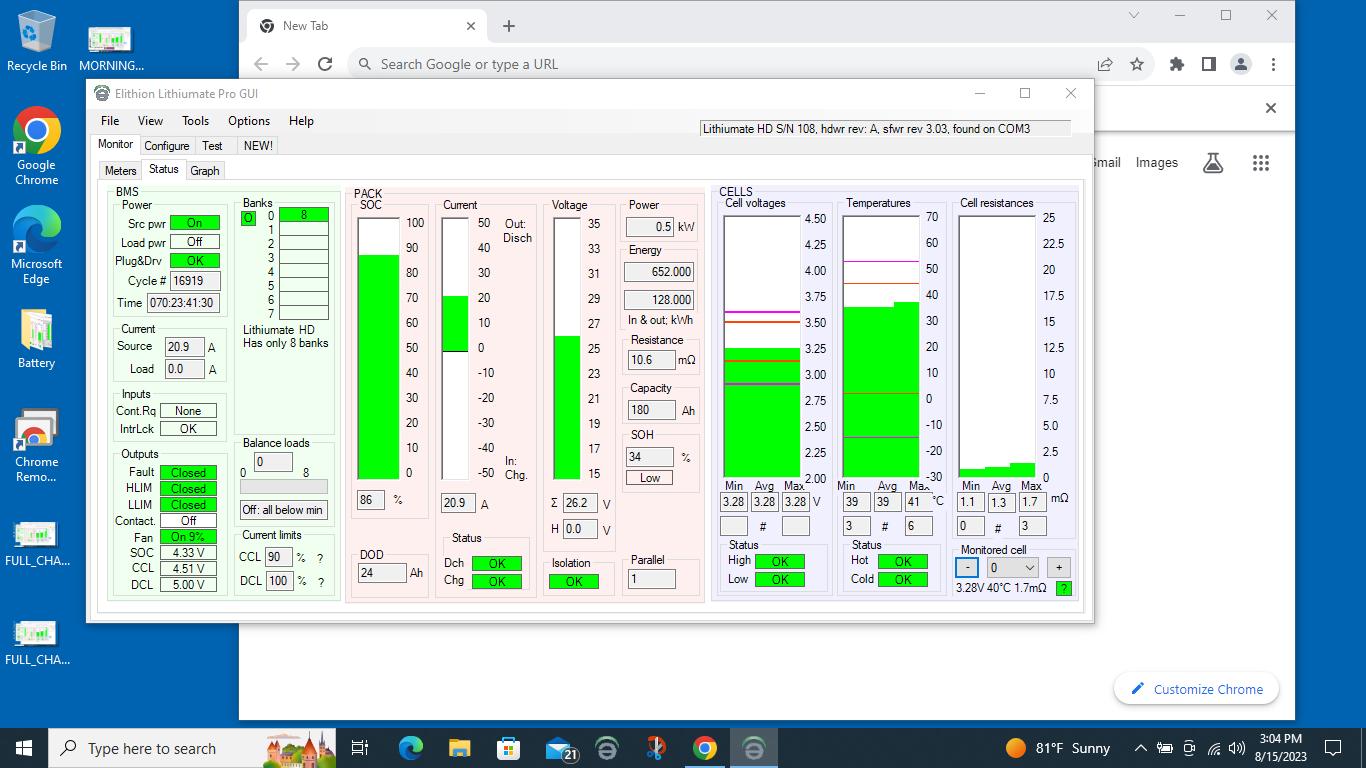
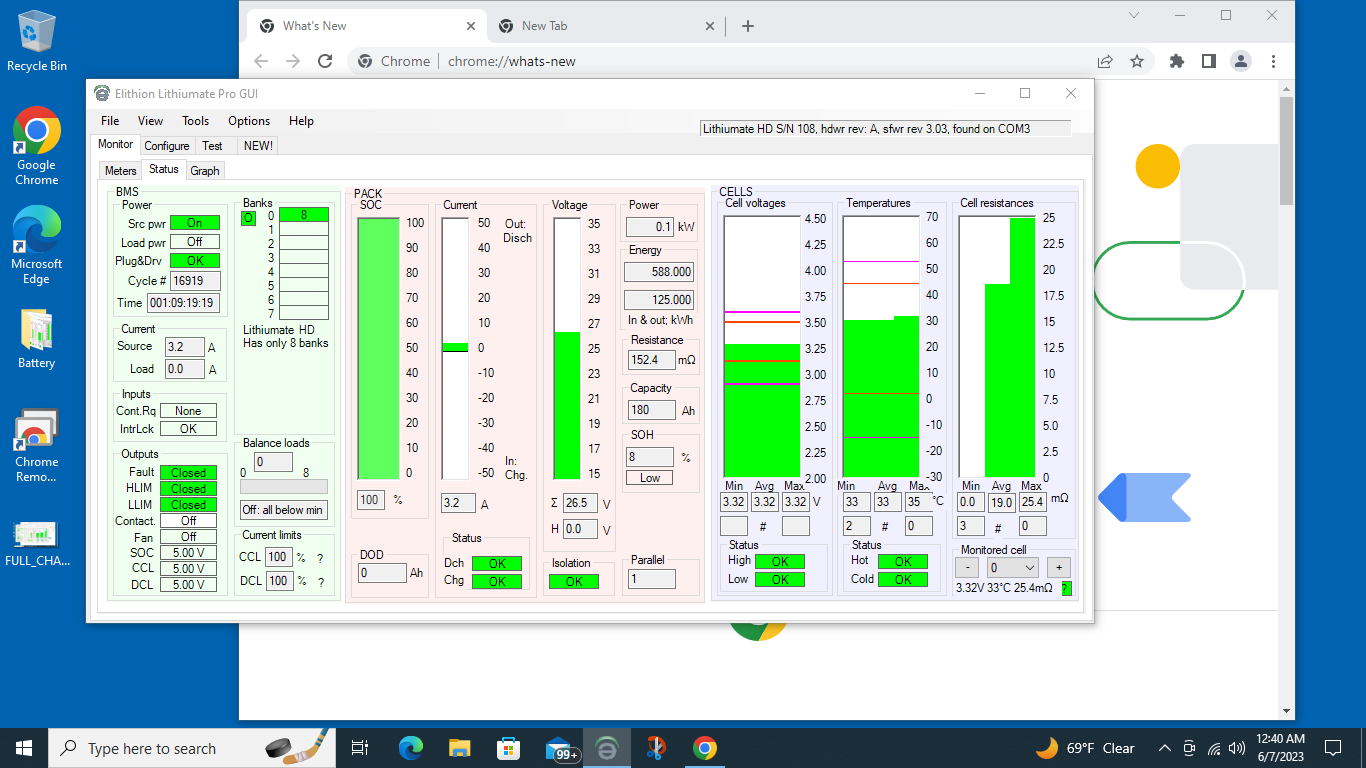
For the 24V 180Ah battery, I learned that temperature control is very important especially during heat waves, which occur more frequently due to Climate Change. From the screenshots, you can see that the battery management system (BMS) has a safety shutoff while charging at about 45 Degrees Celsius with a warning at around 40C. Inside of a sealed tiny home, or even an outdoor storage closet, can easily reach 50C if there's no air conditioning because over time it will build up heat inside like an oven. This safety shutoff Fault activated during a heat wave when I wasn't in the tiny home and I could remote log in to see the Red Fault BMS status, but I could not reset the inverter remotely so the rest of tiny home had no power. Therefore, I came to the conclusion that the battery must be located inside the air conditioned living space in order to prevent any battery thermal safety shutdown.
![]()
![]()
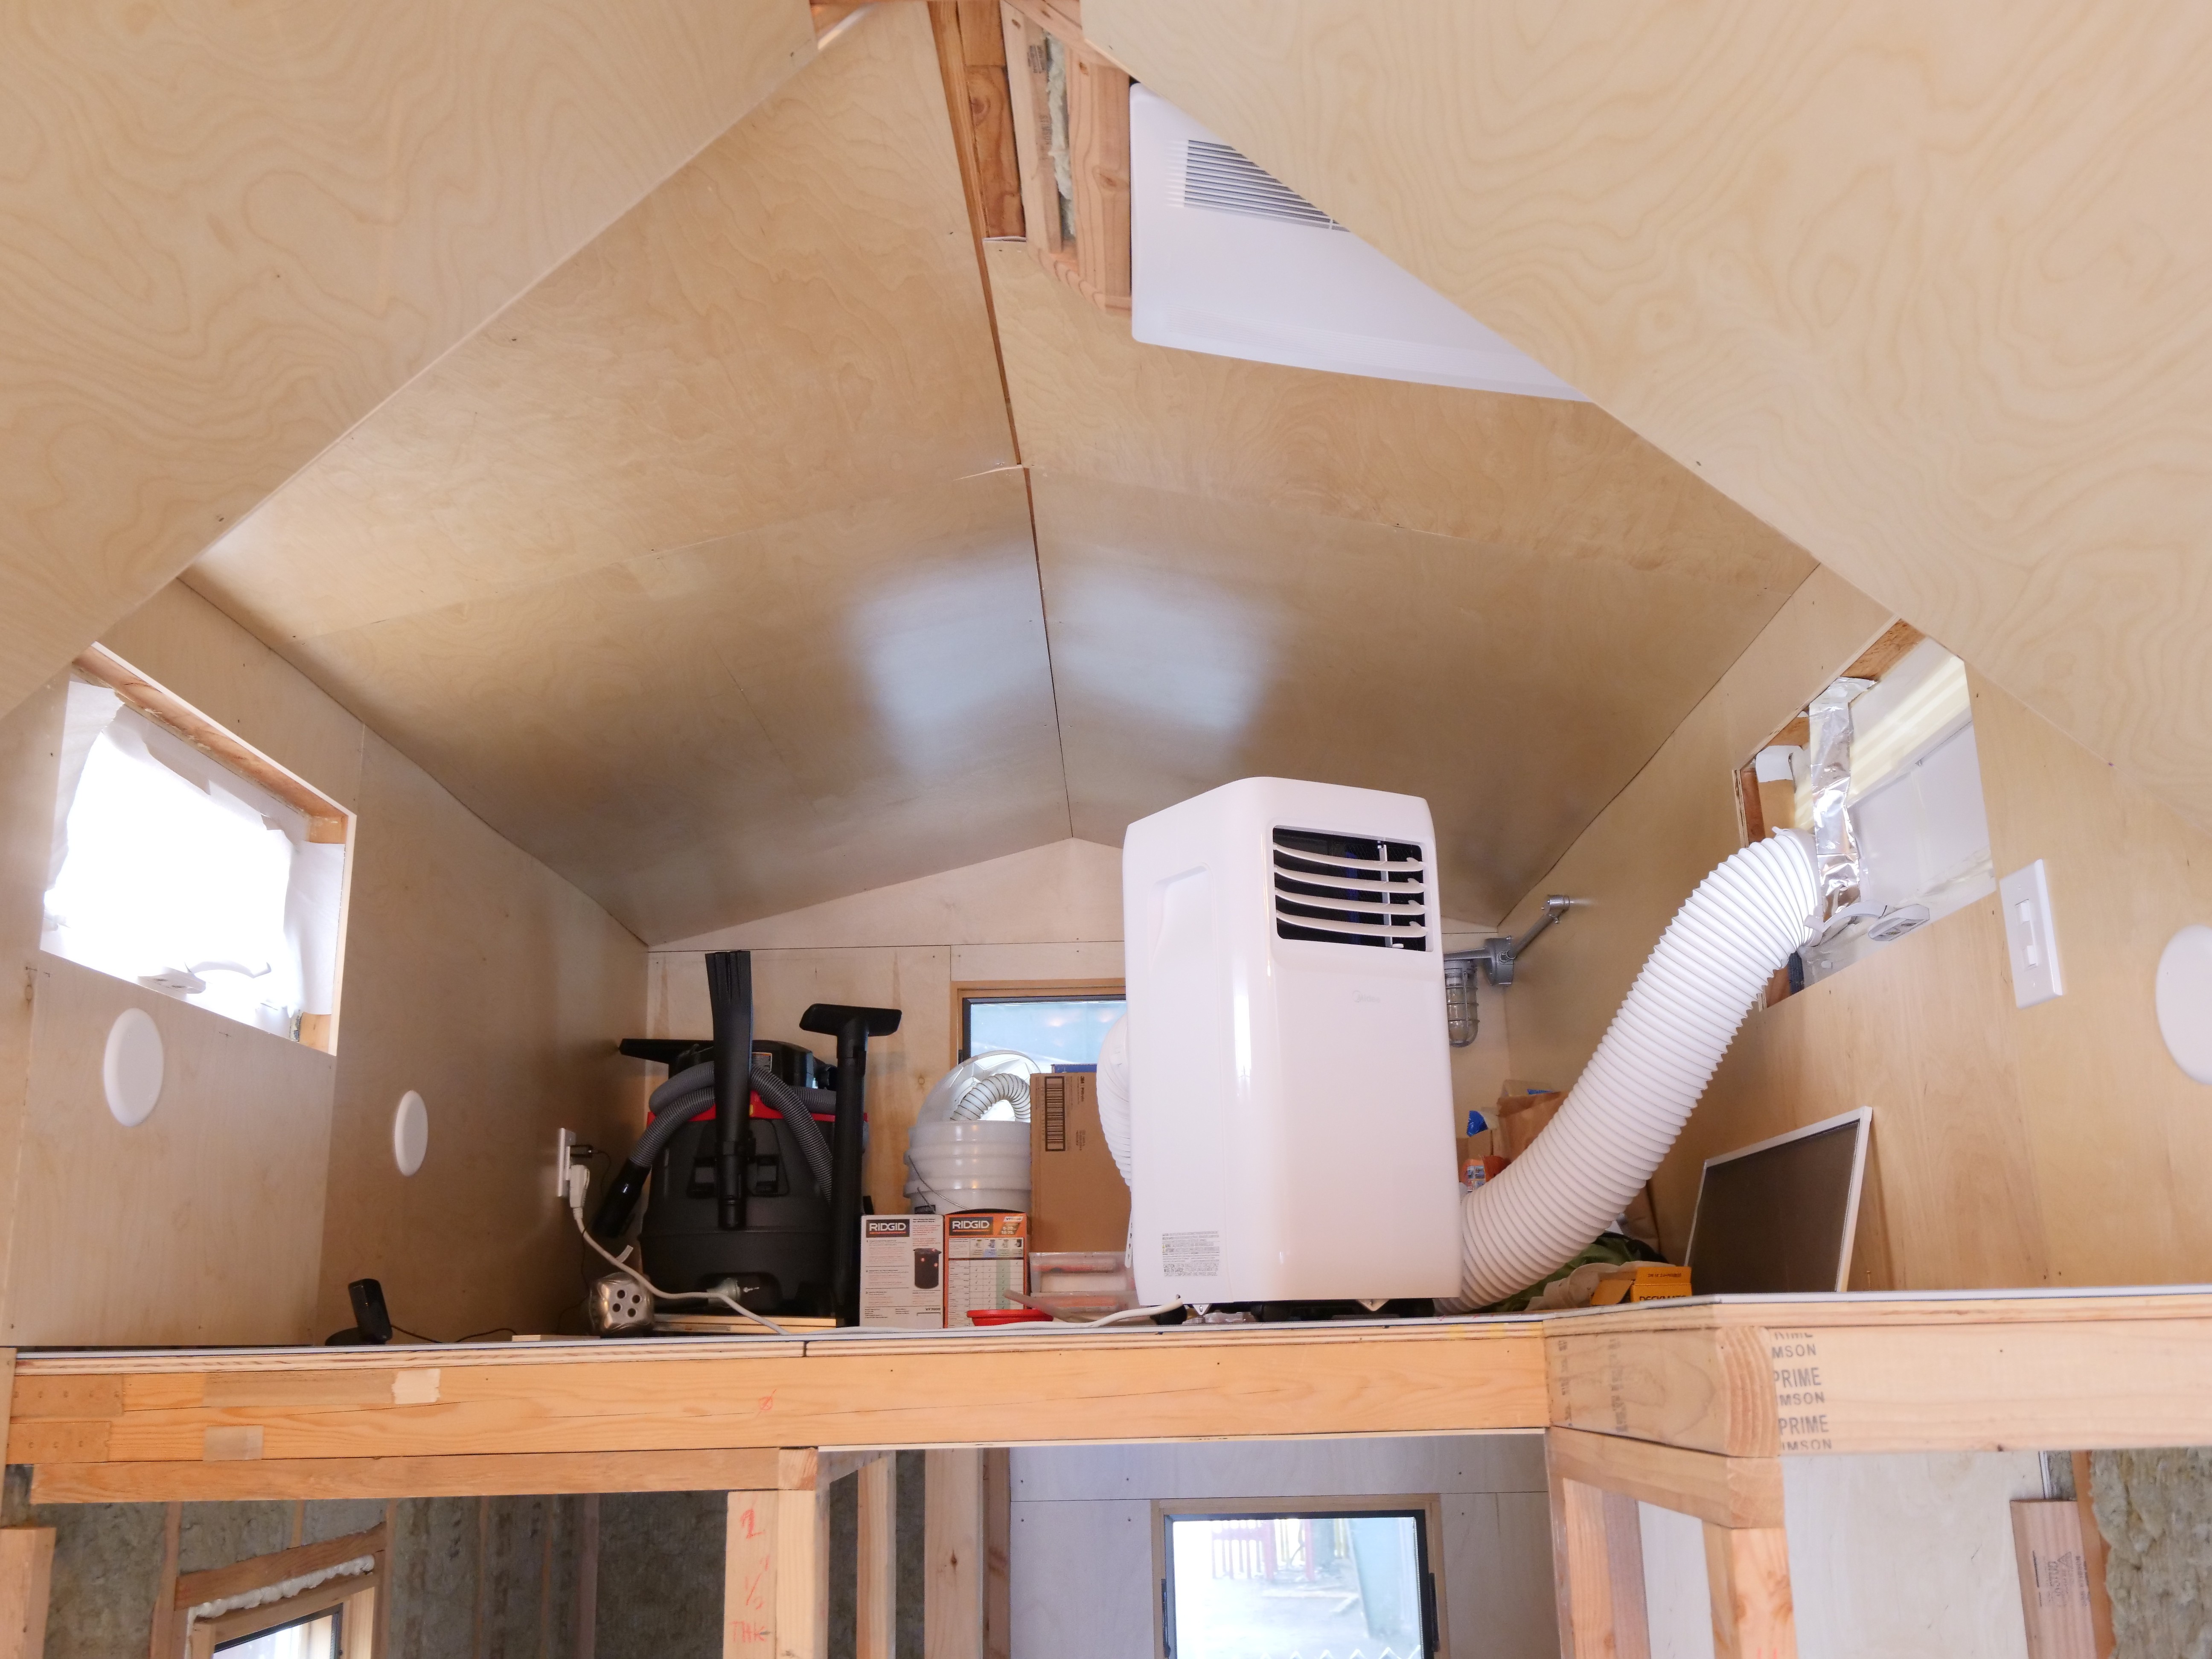
After installing a portable air conditioner in the tiny home, the battery never had a thermal safety shutdown as shown in the screenshot below with the air conditioner pulling over 20 Amps from the battery to cool itself down (Positive Amps is discharging and Negative Amps is charging).
![]()
Another important thing to consider is the idle power consumption of all the solar equipment including inverter, charge controller, and BMS. You can see that at night with nothing turned on, the solar system consumes about 3 Amps all night long, which can be significant especially when the the battery has been drained during the day an may not have enough power to last overnight until the sun comes up again. More efficient power electronics will reduce this idle solar equipment power consumption, which is actually the third highest power consuming equipment because it drains power constantly all day long. The final tiny home design will incorporate smarter control systems to enable deep sleep modes and automatically reboot the system when it is safe to collect solar energy without wasting idle energy.
![]()
-
8Interior
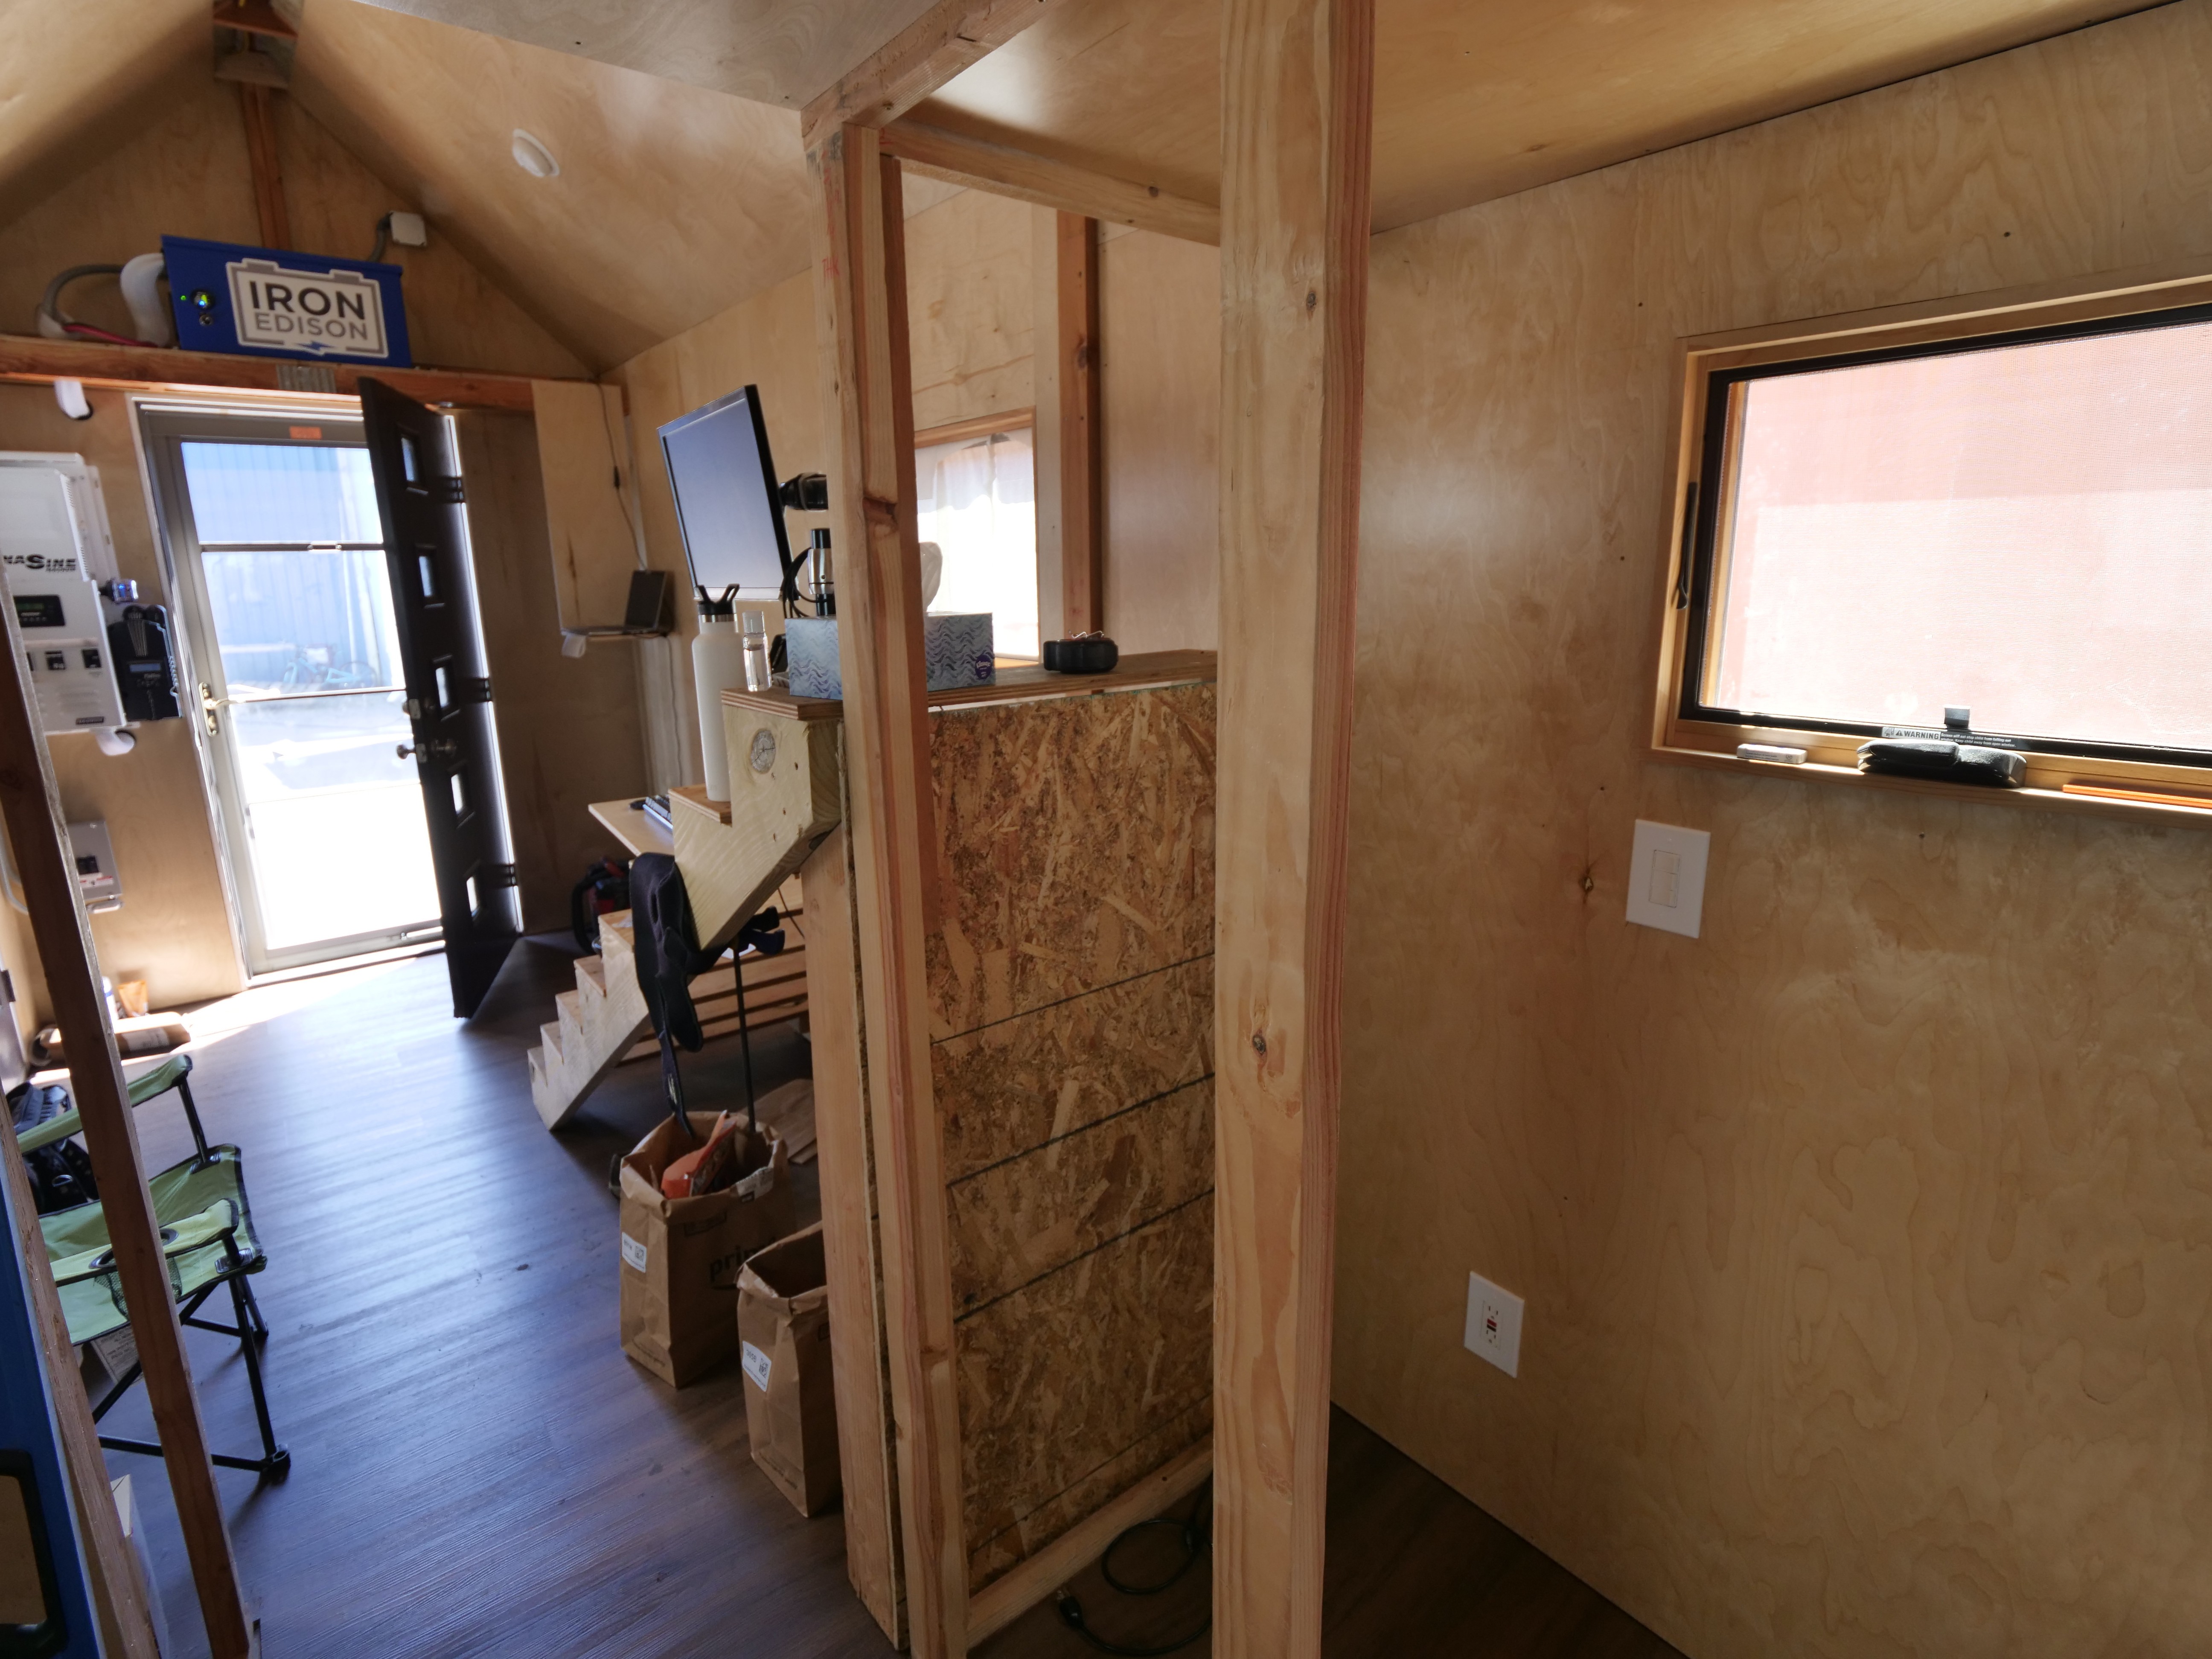
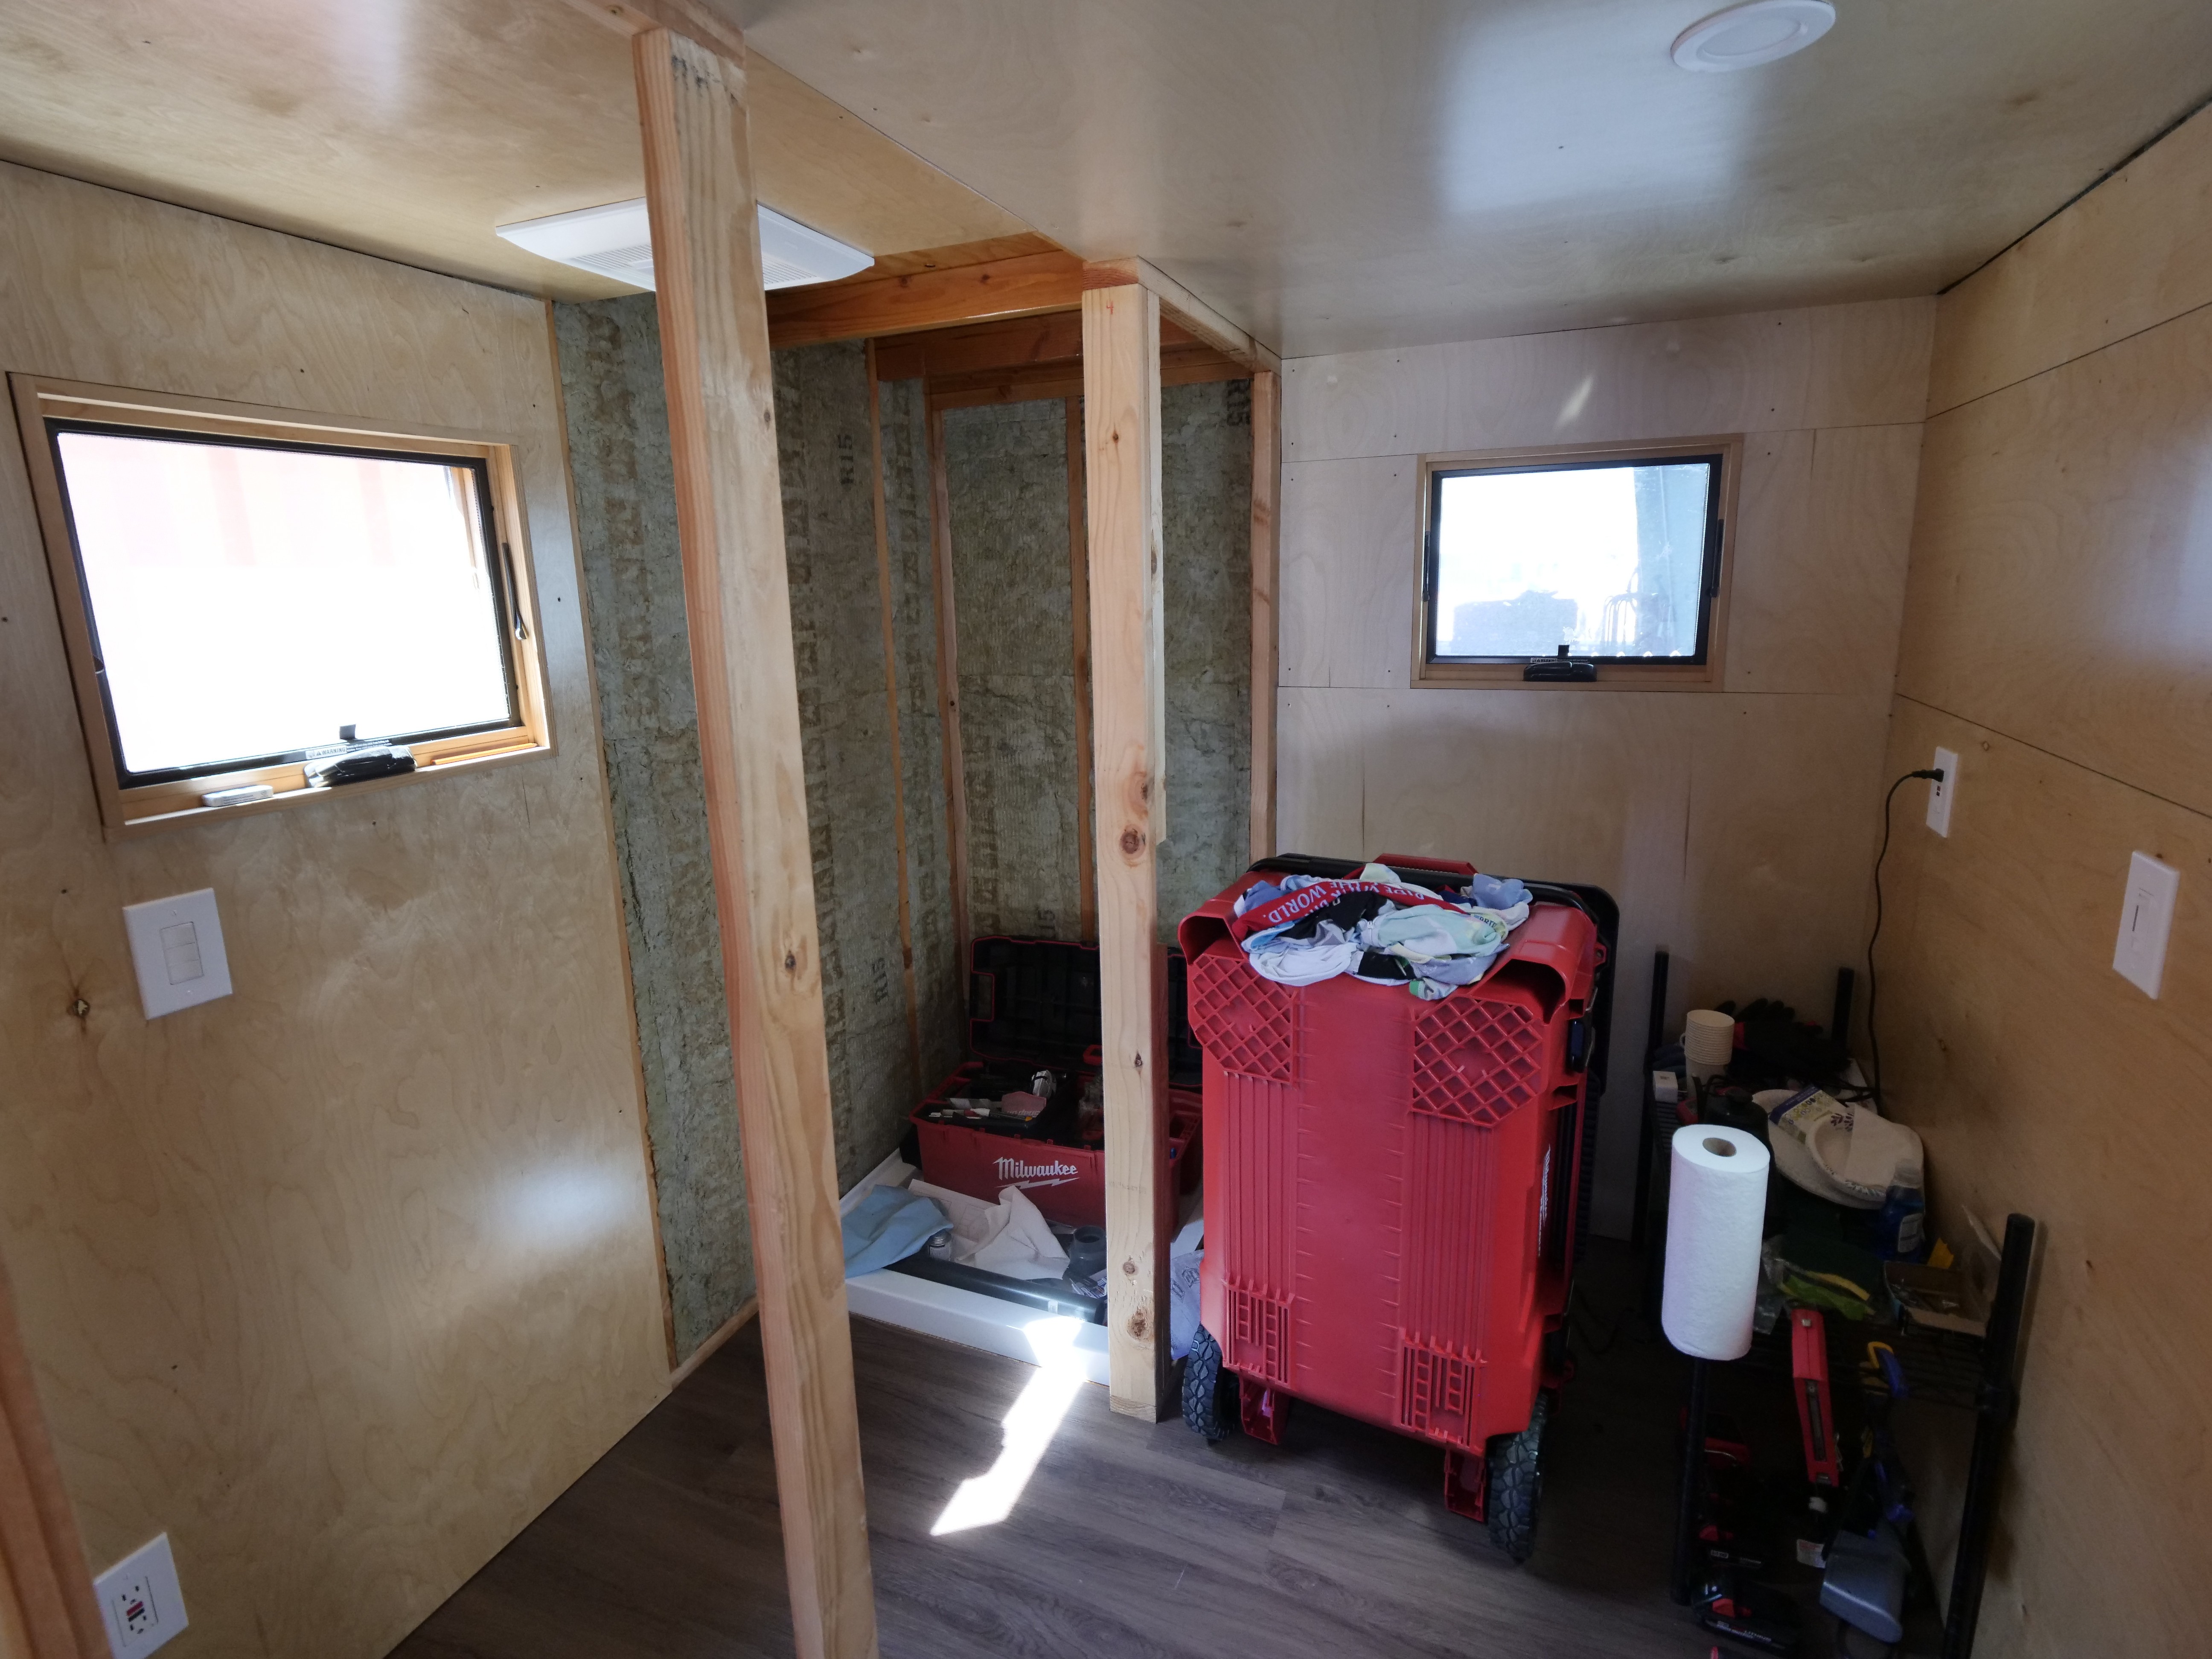
For this prototype, a prefinished birch plywood interior with vinyl plank flooring was chosen. The flooring was very straight forward to install, but the final version will have fewer interior walls to cut around in order to save some time. The idea for the walls was that plywood walls could be precisely cut with clean lines to cover the most area with the fewest pieces of material. However, in practice, the edge cuts of the plywood were difficult to control and took many cuts before a satisfactory fit was made. The final version will use interior ship lap wall siding because even though it has a lot more pieces, it is a lot easier to cut and fit precisely.
-
9Storm Door
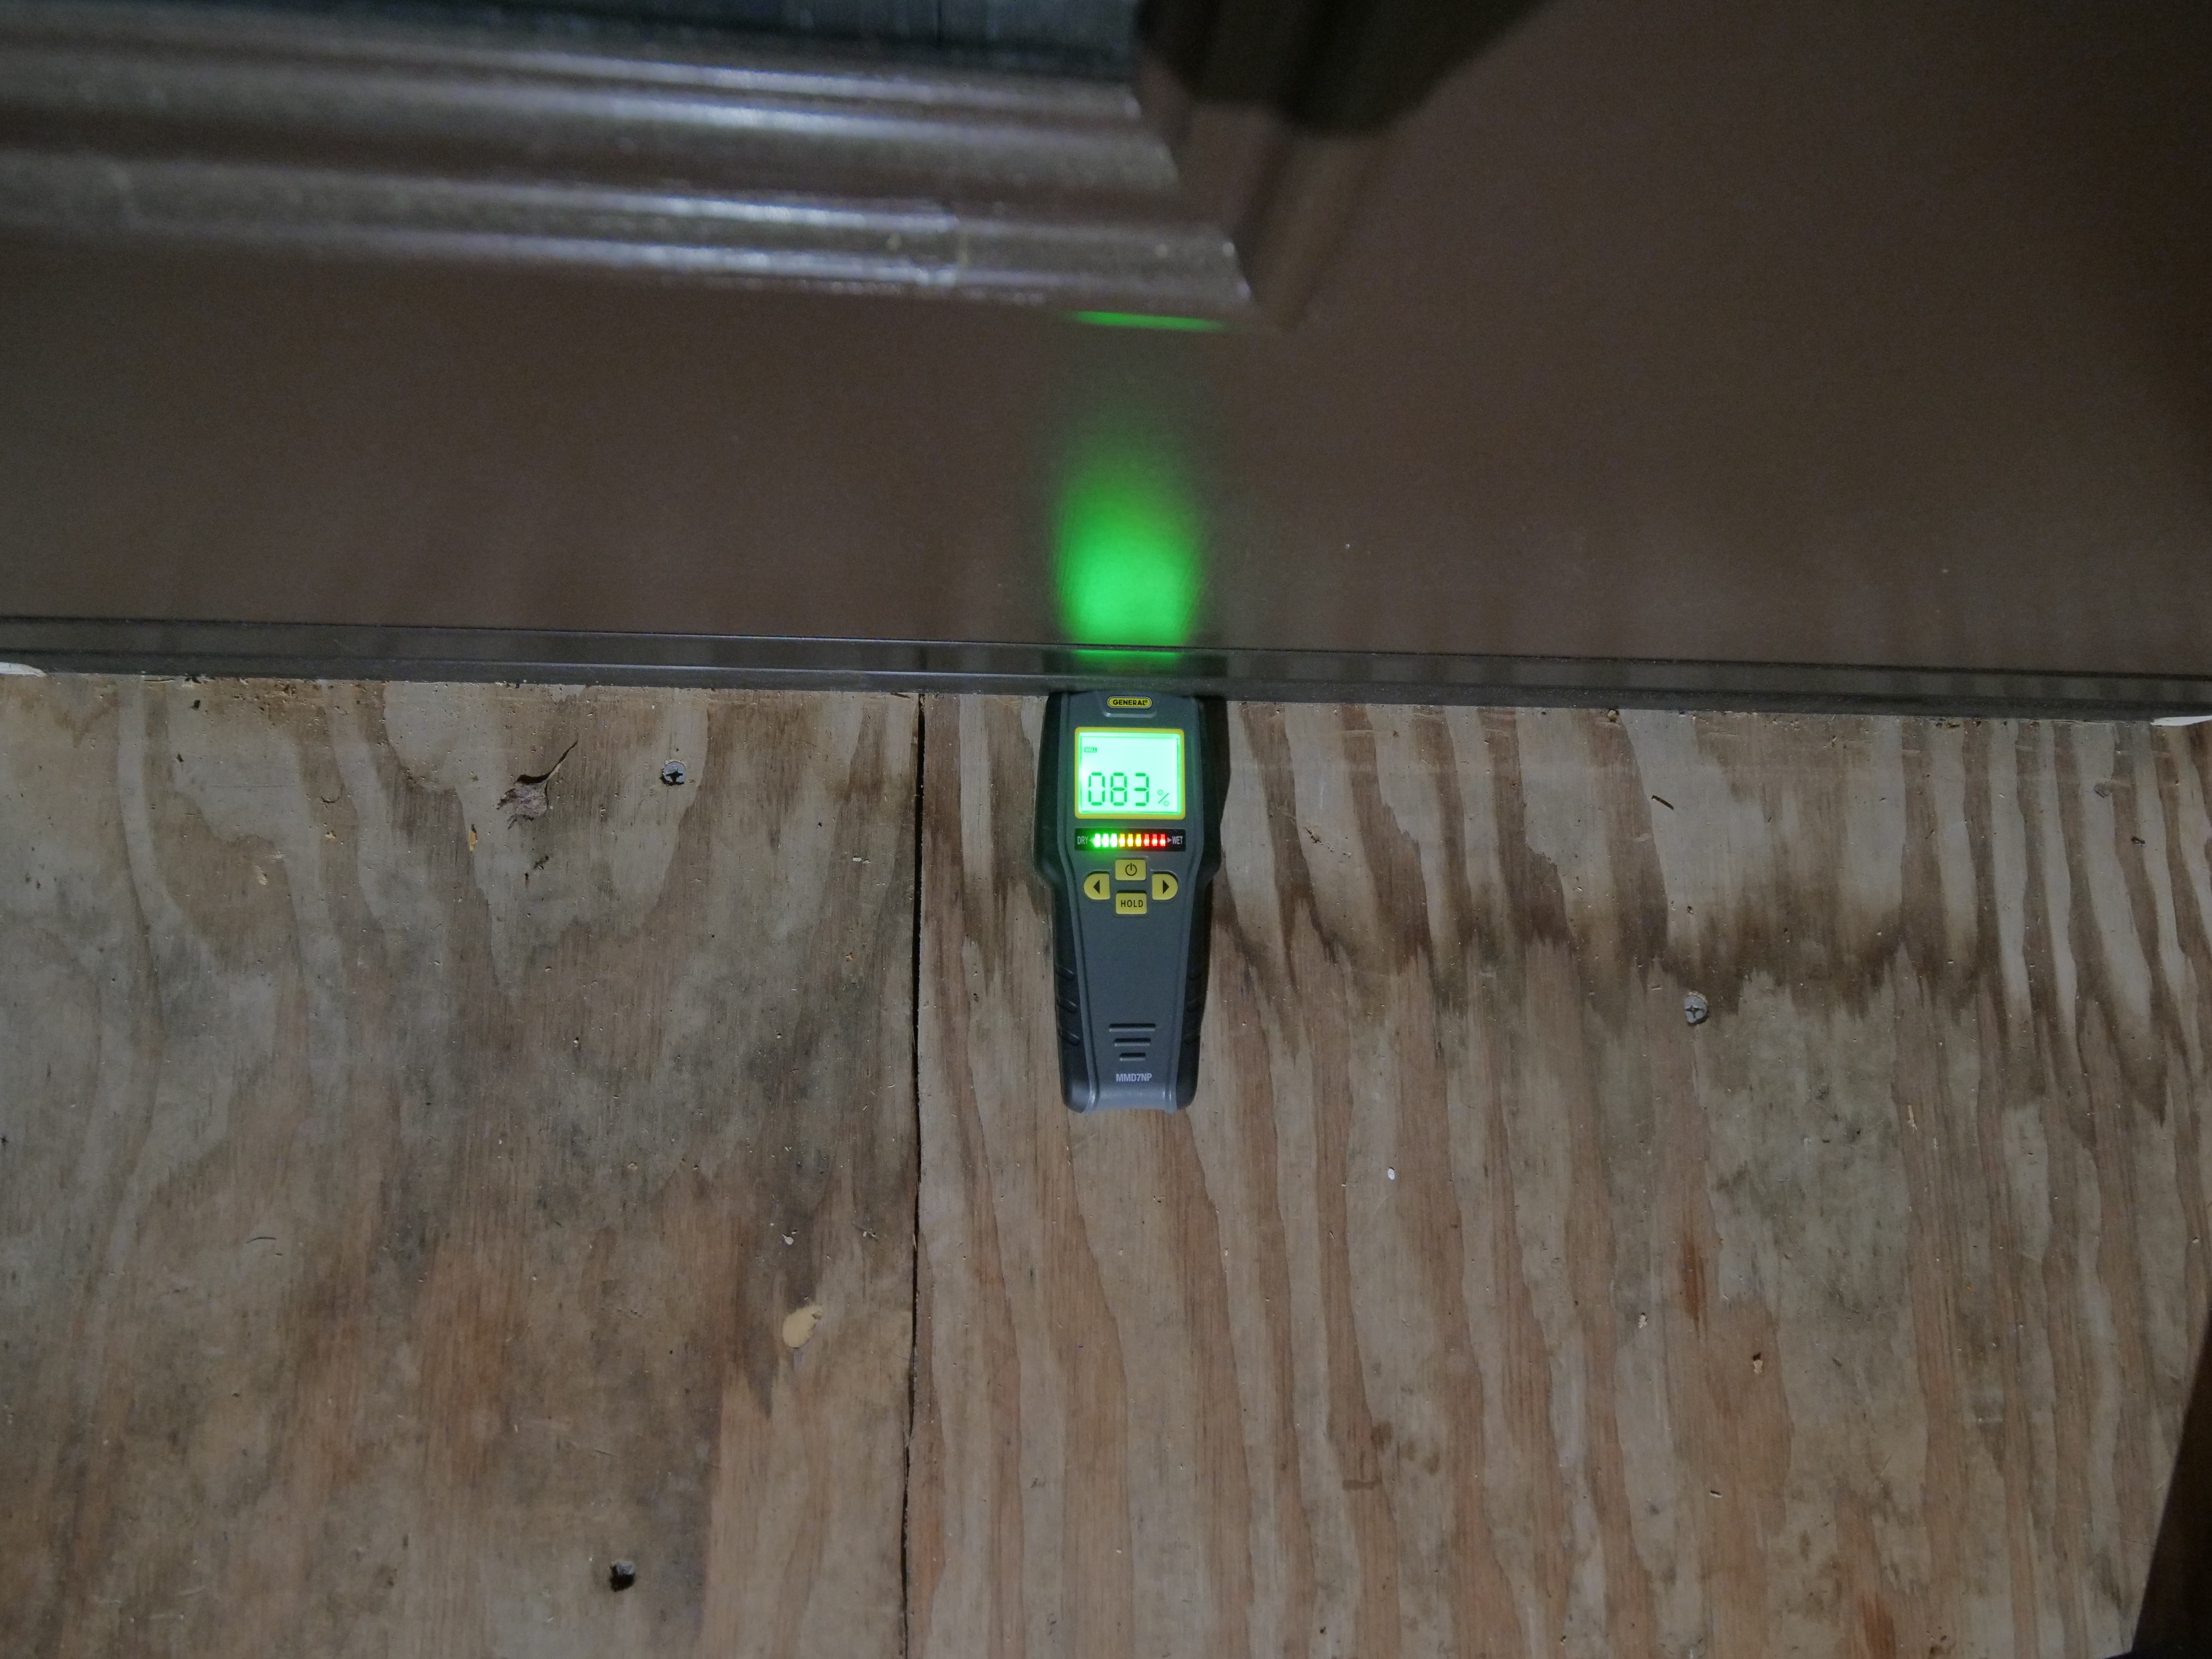
Unless an RV style door with weather sealing is used, a residential style door on a tiny home seems to require a storm door in order to prevent moisture from seeping through the door frame and entering the interior space. This was more severe around the larger 38" back door compared to the 36" side door. A wood moisture sensor will detect any moisture coming in the house. Even if there are small water droplets, over a long period of time, the tiny splashes are enough to build up and penetrate the interior space through any seam around the door. Not even epoxy and silicone sealant seemed to stop all the moisture penetrating the interior space. Once an after market storm door was installed, no more moisture was detected entering the interior space. Therefore, it is highly recommended that any tiny home have a storm door installed. The final version of the tiny home will only have one door in order to reduce the surface area in contact with rain and it will have a storm door.
1.8 Billion Homes Powered by Renewable Energy
100% full-time solar off-grid living, designed for completely sustainable rooftop solar or renewable grid electrification.
 isaacporras
Discussions
Become a Hackaday.io Member
Create an account to leave a comment. Already have an account? Log In.