-
Building a Custom SDR Controller with Raspberry Pi Pico and ADS1115
3 days ago • 0 commentsI am building a custom controller using a Raspberry Pi Pico paired with an ADS1115 analog-to-digital converter. In this guide, I will walk you through the process of connecting three linear potentiometers, a potentiometer with an on/off switch, four push buttons, and three rotary encoders with push buttons to your Raspberry Pi Pico.
Why ADS1115?
The primary motivation for selecting the ADS1115 is the absence of an Analog-to-Digital Converter (ADC) on the standard Raspberry Pi. Additionally, the Raspberry Pi Pico, while offering ADC capabilities, is limited to only three analog inputs. However, our design calls for four analog inputs, making the ADS1115 an ideal choice. Moreover, the decision to employ ADS1115 has an eye on the future, as it allows for the straightforward transfer of Python code from the Pico to the host Raspberry Pi. Furthermore, the Raspberry Pi Pico presents itself as an HID (Human Interface Device), opening the door to its use as a keyboard input device. Lastly, ADS1115 modules are readily available, ensuring ease of procurement.
Components Needed
Before diving into the assembly and programming steps, let's first gather the components required for this project:
- Raspberry Pi Pico.
- ADS1115 analog-to-digital converter.
- Three 10K linear potentiometers.
- One 10K linear potentiometer with an on/off switch.
- Four push buttons.
- Three rotary encoders with push buttons.
Wiring the Components
Now, let's proceed with connecting the components:
ADS1115 Setup: Begin by linking the ADS1115 to your Raspberry Pi Pico via I2C communication. The Pico has I2C pins on GPIO 0 (SCL) and GPIO 1 (SDA).
Potentiometers: Connect the three 10K linear potentiometers to the analog inputs on the ADS1115. Wire the center pin of each potentiometer to an analog input on the ADS1115. For the remaining two pins on each potentiometer, connect one to GND and the other to the 3.3V on the Pico.
Potentiometer with On/Off Switch: Establish connections for the potentiometer with the on/off switch in a similar manner. The on/off function will be employed to control the power state of the entire device.
Push Buttons: Link the four push buttons to GPIO pins on the Pico. Ensure you use appropriate pull-up or pull-down resistors to prevent floating inputs.
Rotary Encoders: Connect the three rotary encoders to GPIO pins as well. Each encoder comprises two outputs (A and B) that generate pulses during rotation. Additionally, they are equipped with a push button which can be connected to another GPIO pin.
Programming the Raspberry Pi Pico
Now that the hardware setup is complete, you need to program the Raspberry Pi Pico to:
- Read analog values from the potentiometers via the I2C interface.
- Interpret the potentiometer values as control inputs for your SDR software.
- Configure the push buttons to trigger specific actions in your SDR software, such as mode selection or preset switching.
- Monitor the pulse outputs of the rotary encoders to detect rotations and use push button presses to initiate additional functions. You may consider implementing a rotary encoder library to streamline this process.
In the upcoming sections, we'll provide you with detailed code and instructions to execute each of these tasks.
Stay tuned for the continuation of this guide, where we'll delve into the programming and software integration aspects of building your custom SDR controller with the Raspberry Pi Pico and ADS1115.
-
Search for SDR software continued
7 days ago • 0 commentsAs I continue to search for a SDR software that is capable, light on processing, and easy to customize, I came across this excellent work by Paul.
Paul has built ESP32 based controllers, and built custom software for SDR, with nice GUI.
Also, PiHPSDR is another option.
-
SDR Software selection
09/06/2023 at 16:55 • 0 commentsI had some great feedback with Hackaday members. There was recommendation for GNU Radio. So, I wanted to do a further detailed analysis on what are the options, and pros and cons of using the software options.
GNU Radio Companion (GRC)
- Pros:
- Extremely powerful and versatile, designed for both simple and intricate signal processing tasks.
- Modular graphical interface for drag-and-drop processing blocks.
- Rich library of pre-built modules and functions.
- Highly customizable and extendable with new modules.
- Strong community support and a plethora of online tutorials and resources.
- Cons:
- Can be resource-intensive, which might challenge the Raspberry Pi's capabilities for complex tasks.
- Has a steeper learning curve, especially for those unfamiliar with signal processing
While GNU seems to be the top contender, I am also liking GQRX distribution. GQRX is very simple, and it is also opensource. And in my experiments, GQRX consumes less power. So, when the 10,000 MaH battery on the SDRDock gets low, SDR++ glitches due to lack of power, while GQRX keeps running when battery gets low.
- Pros:
-
3d print, enclosure and build
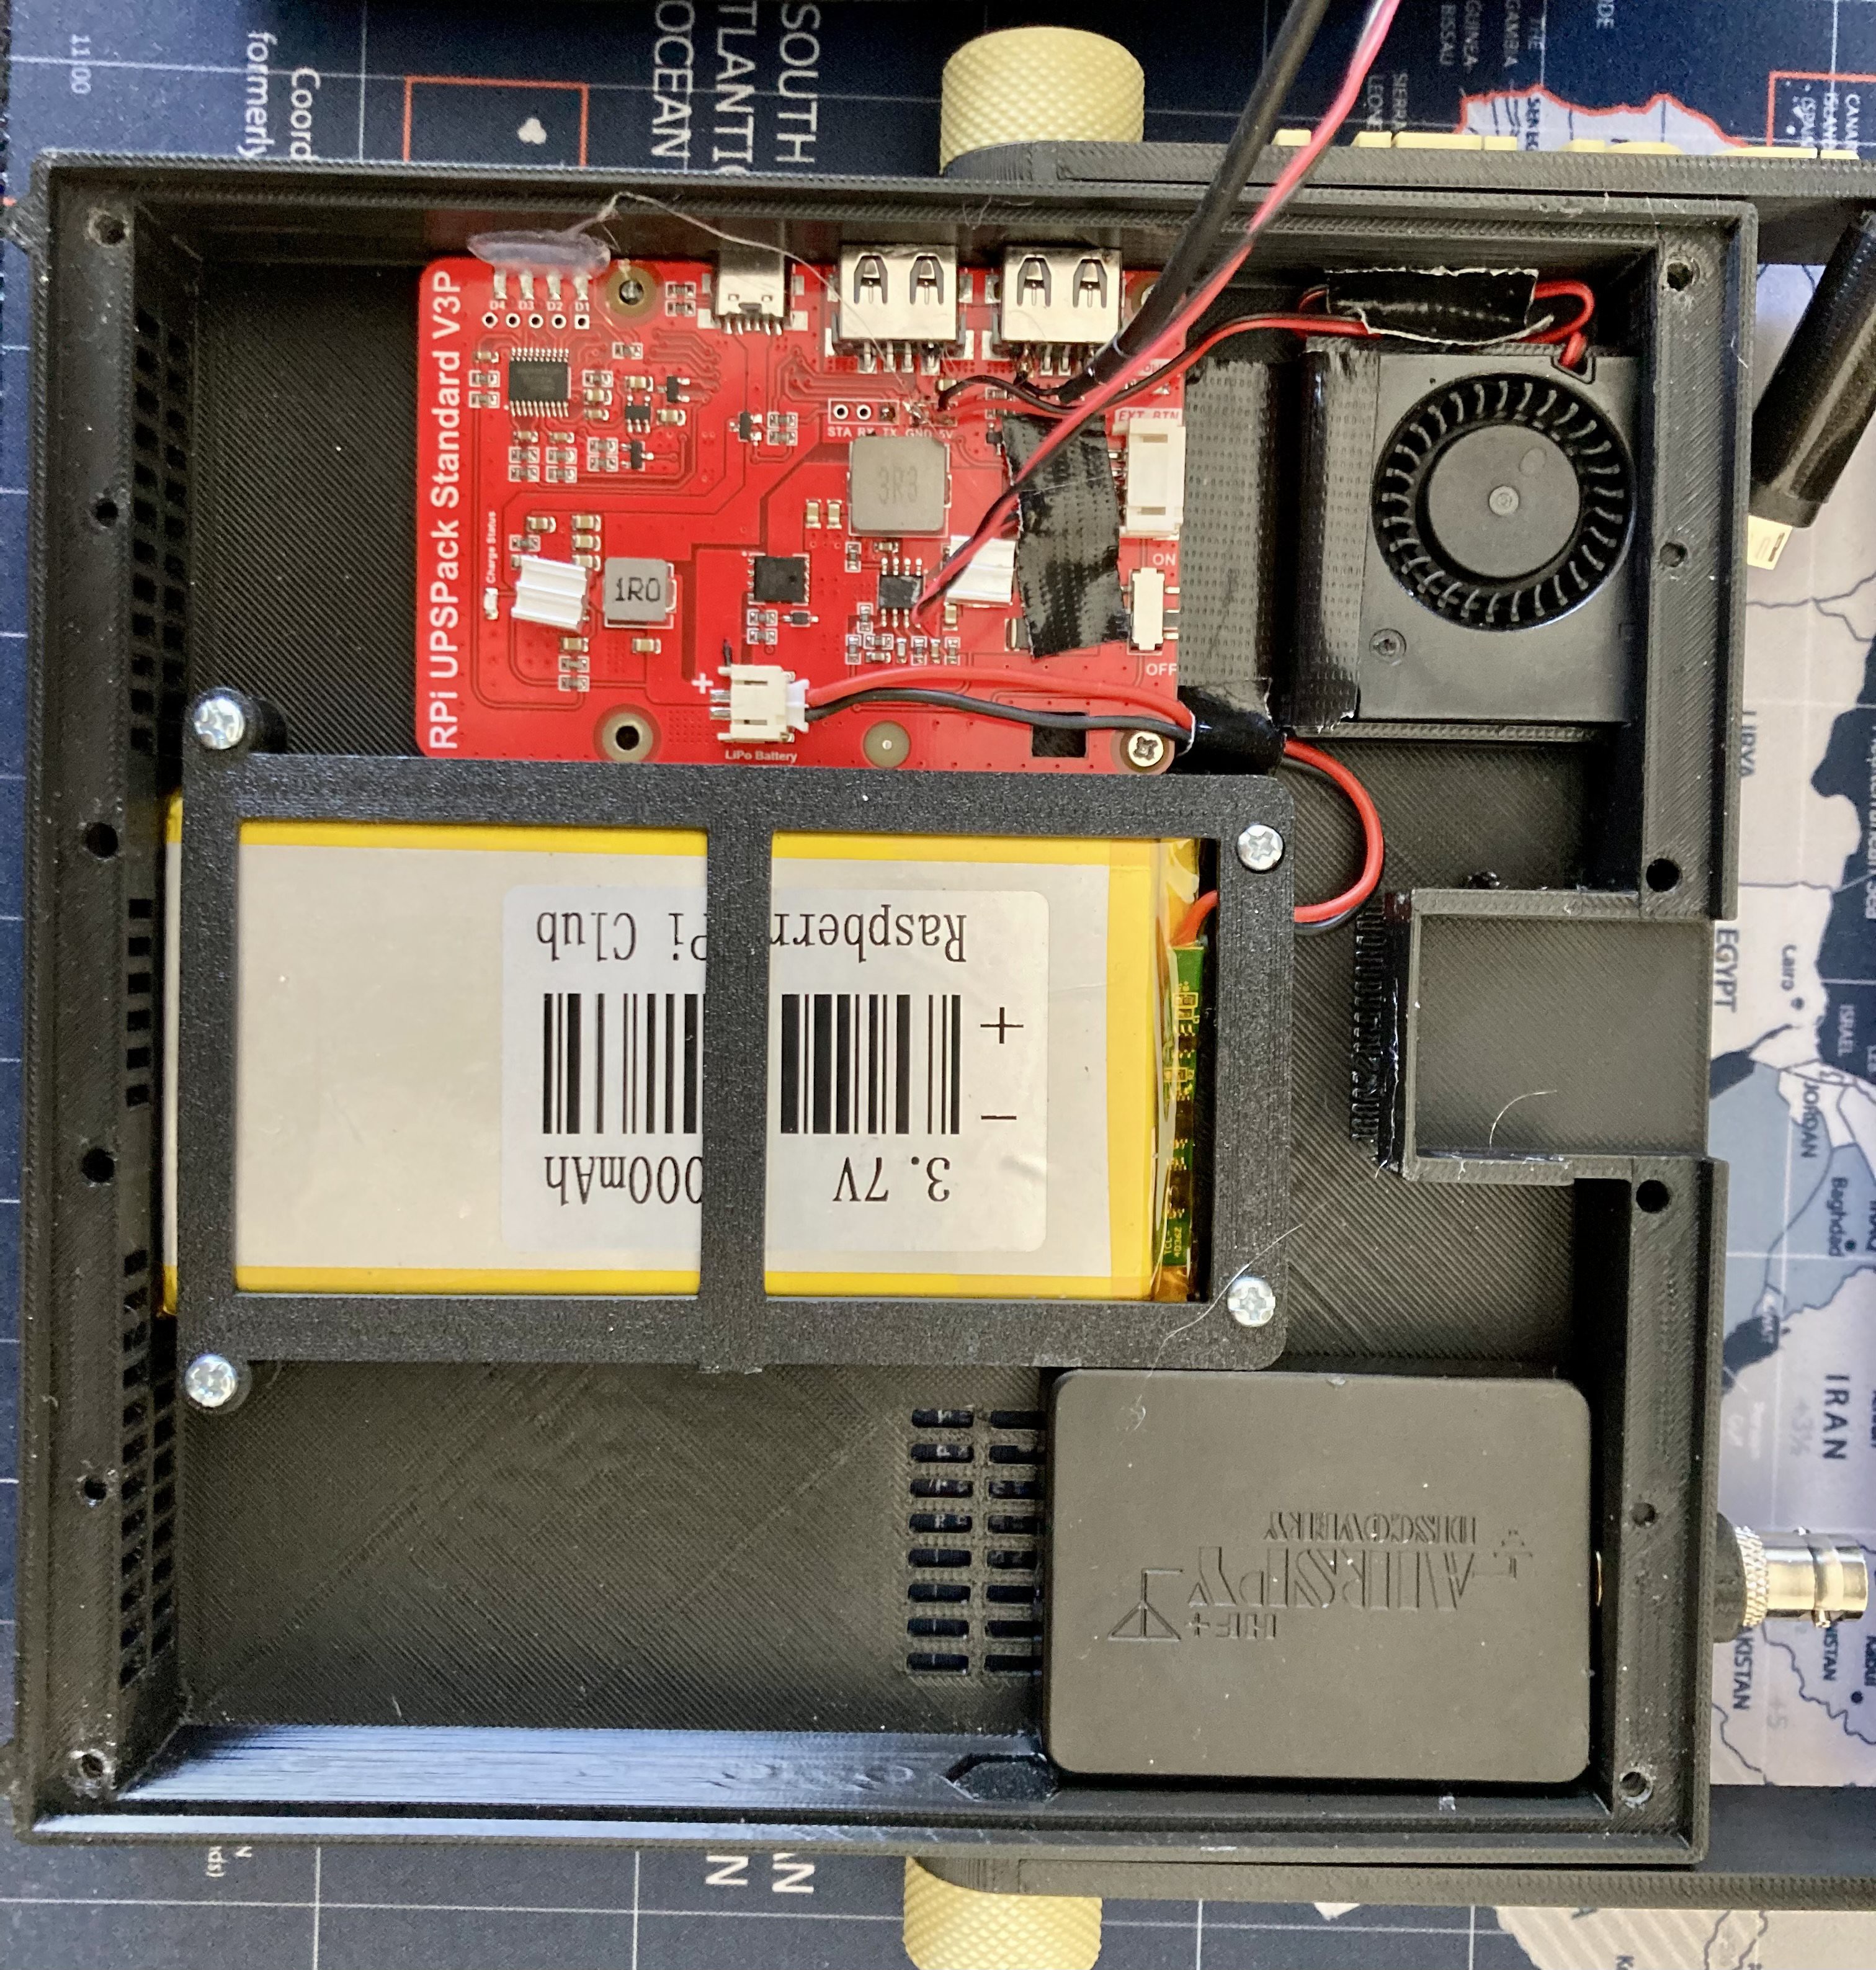
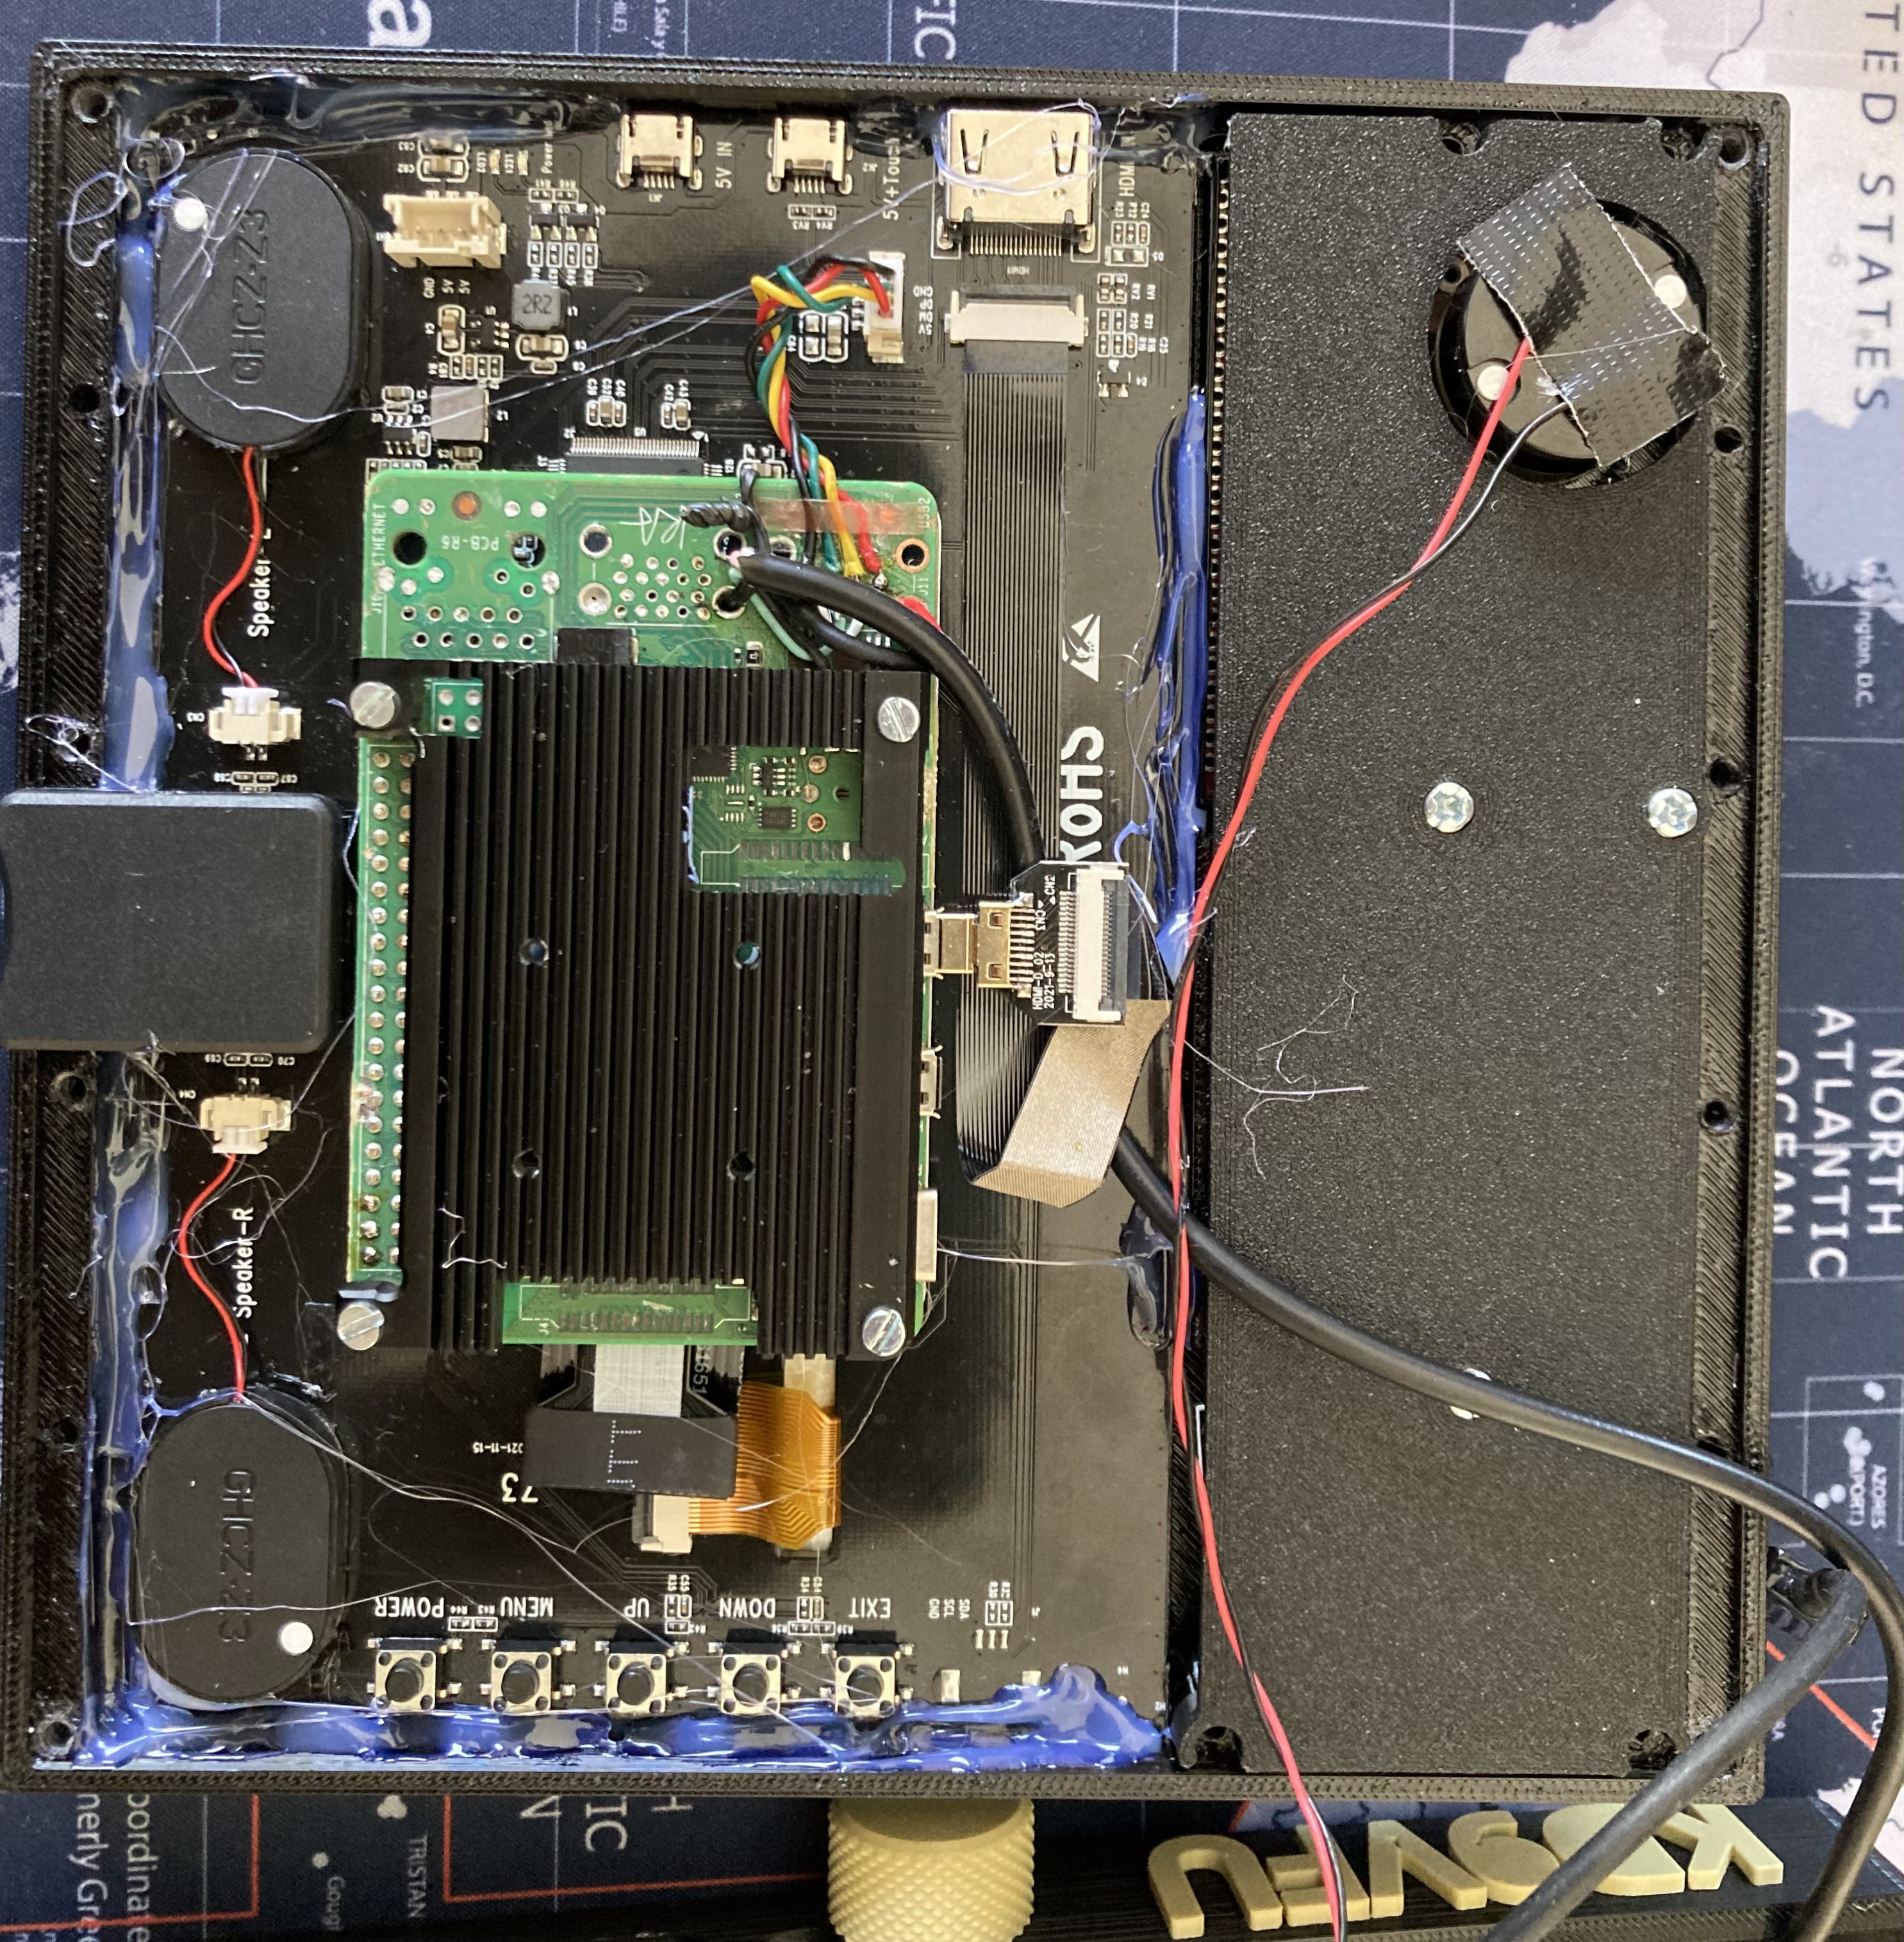
09/03/2023 at 19:02 • 0 commentsHere are some pictures illustrating the build. I will share a video explaining each step of the build.
![]()
The back enclosure has Airspy, Fan, battery and BMS system
![]()
The font panel has LCD, Raspberry Pi, SD Card, and keypad controllers (Behind the black panel).
![]()
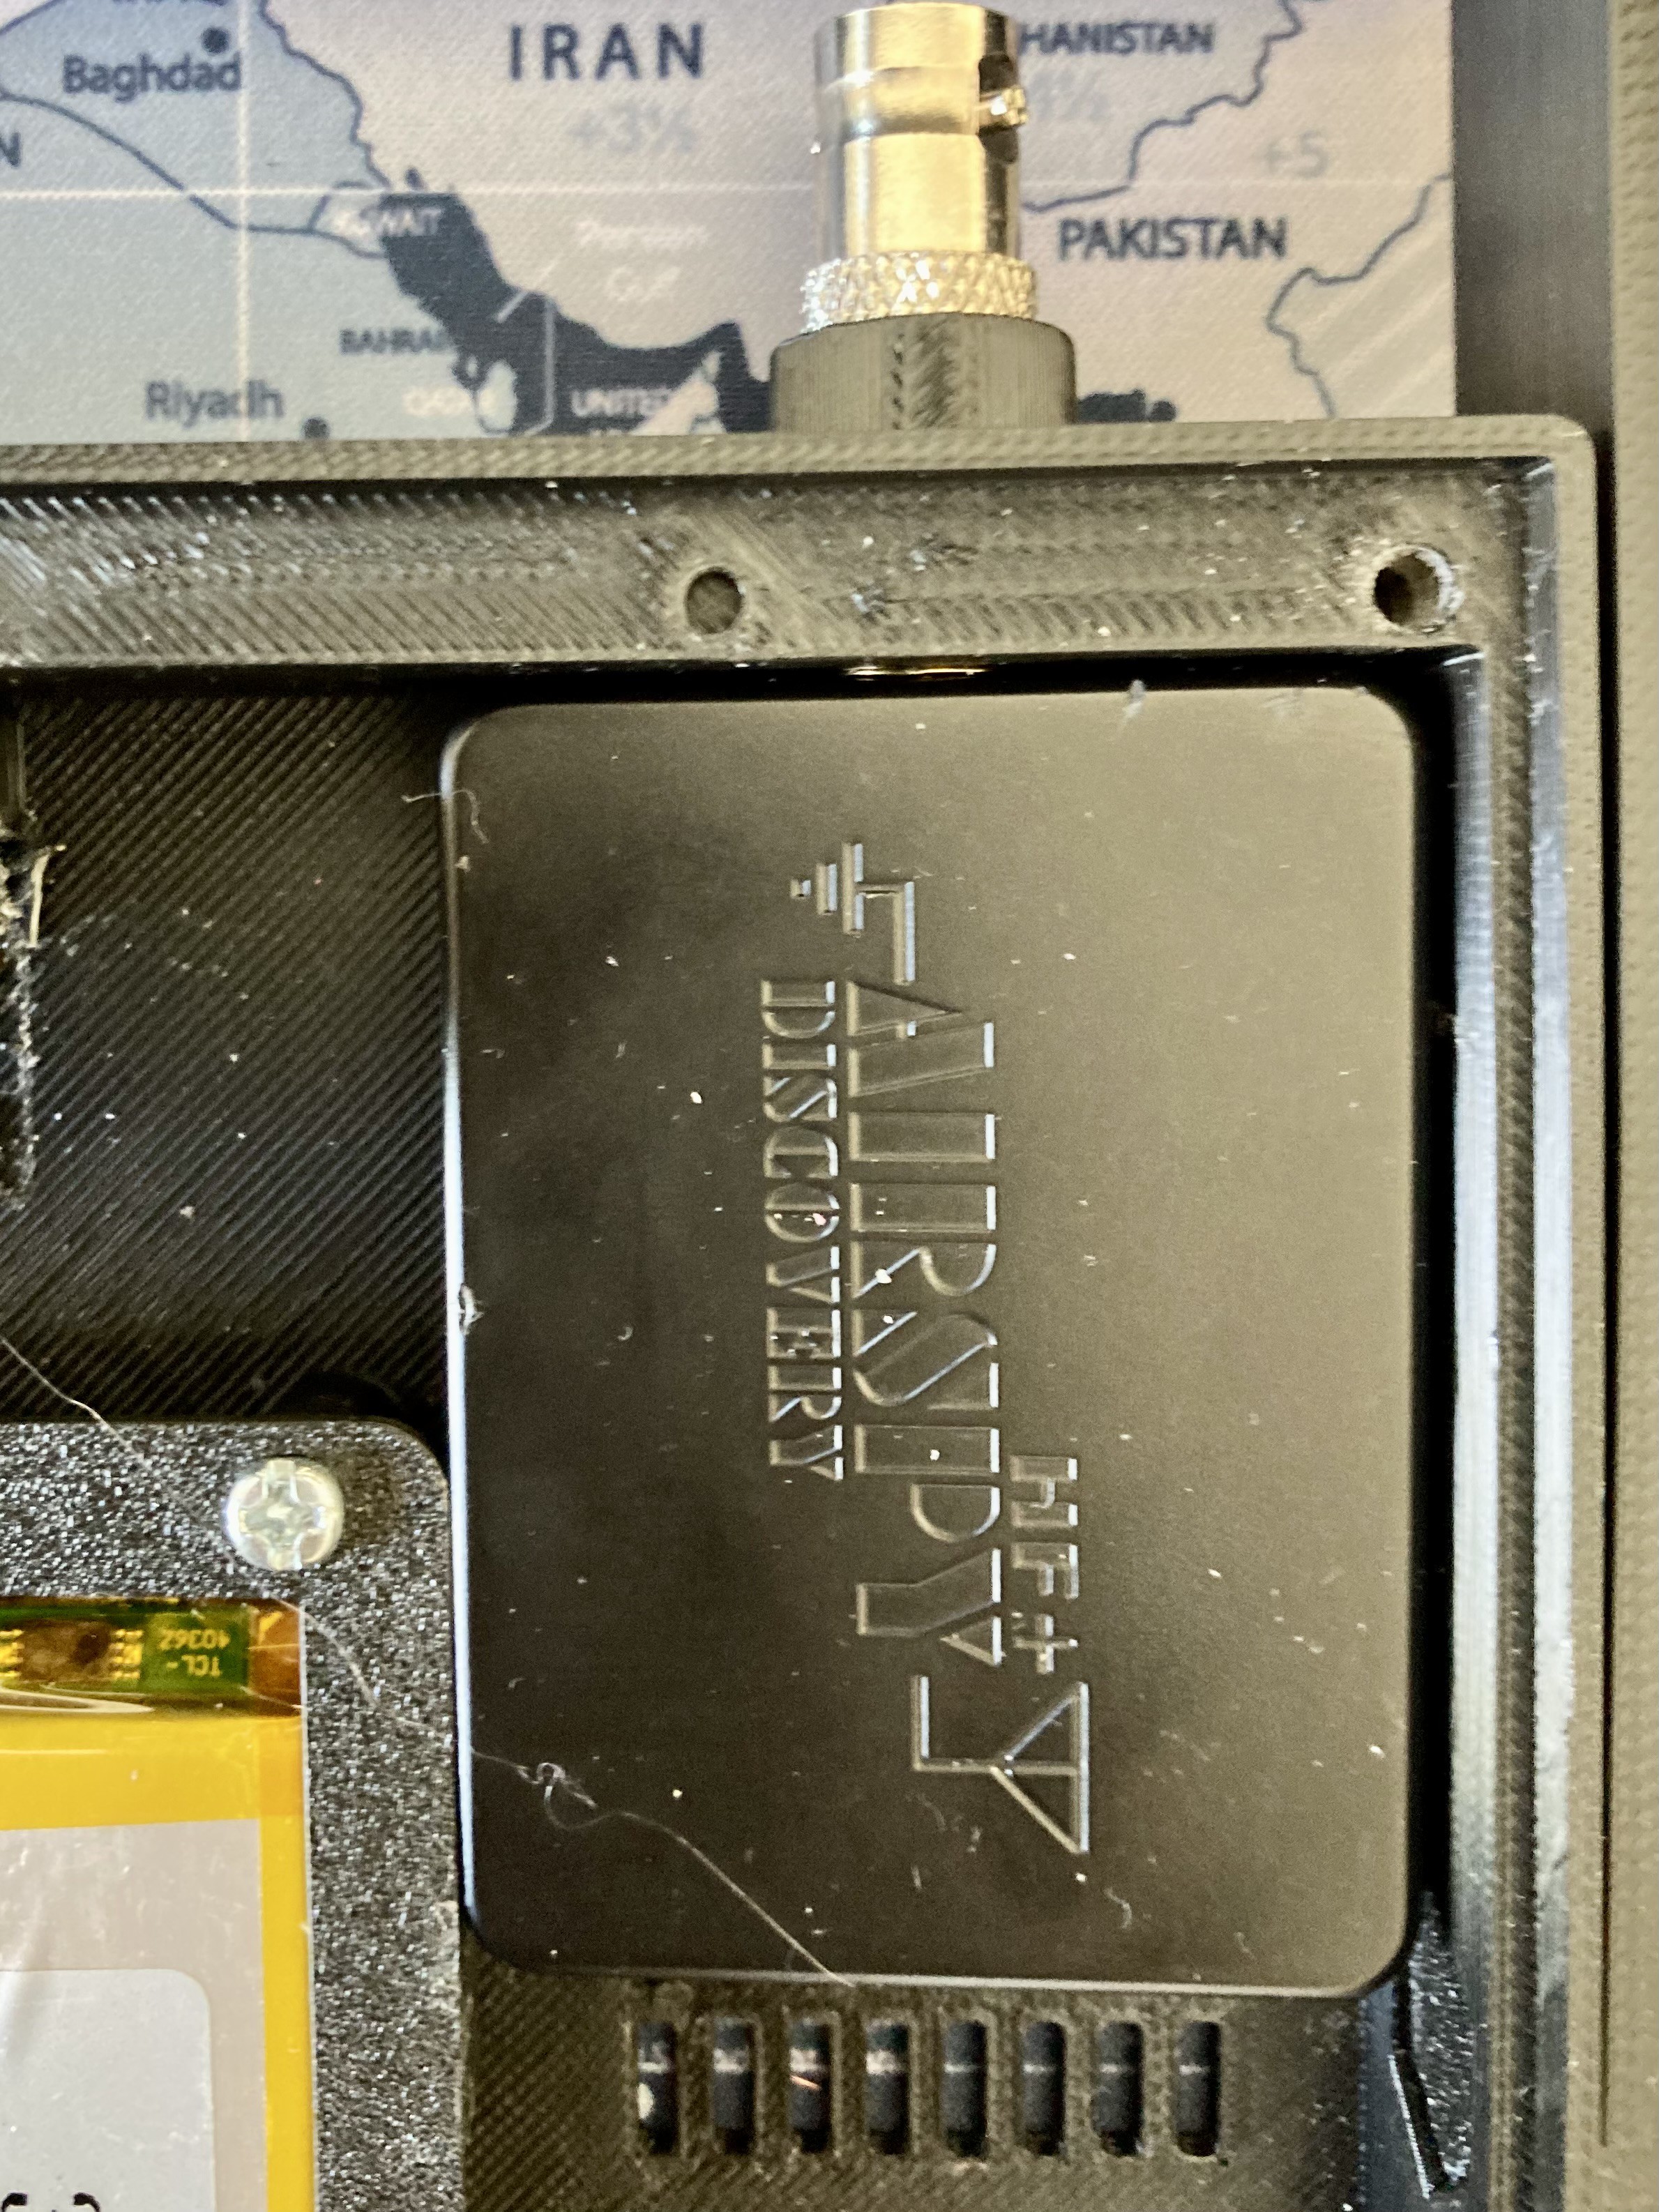
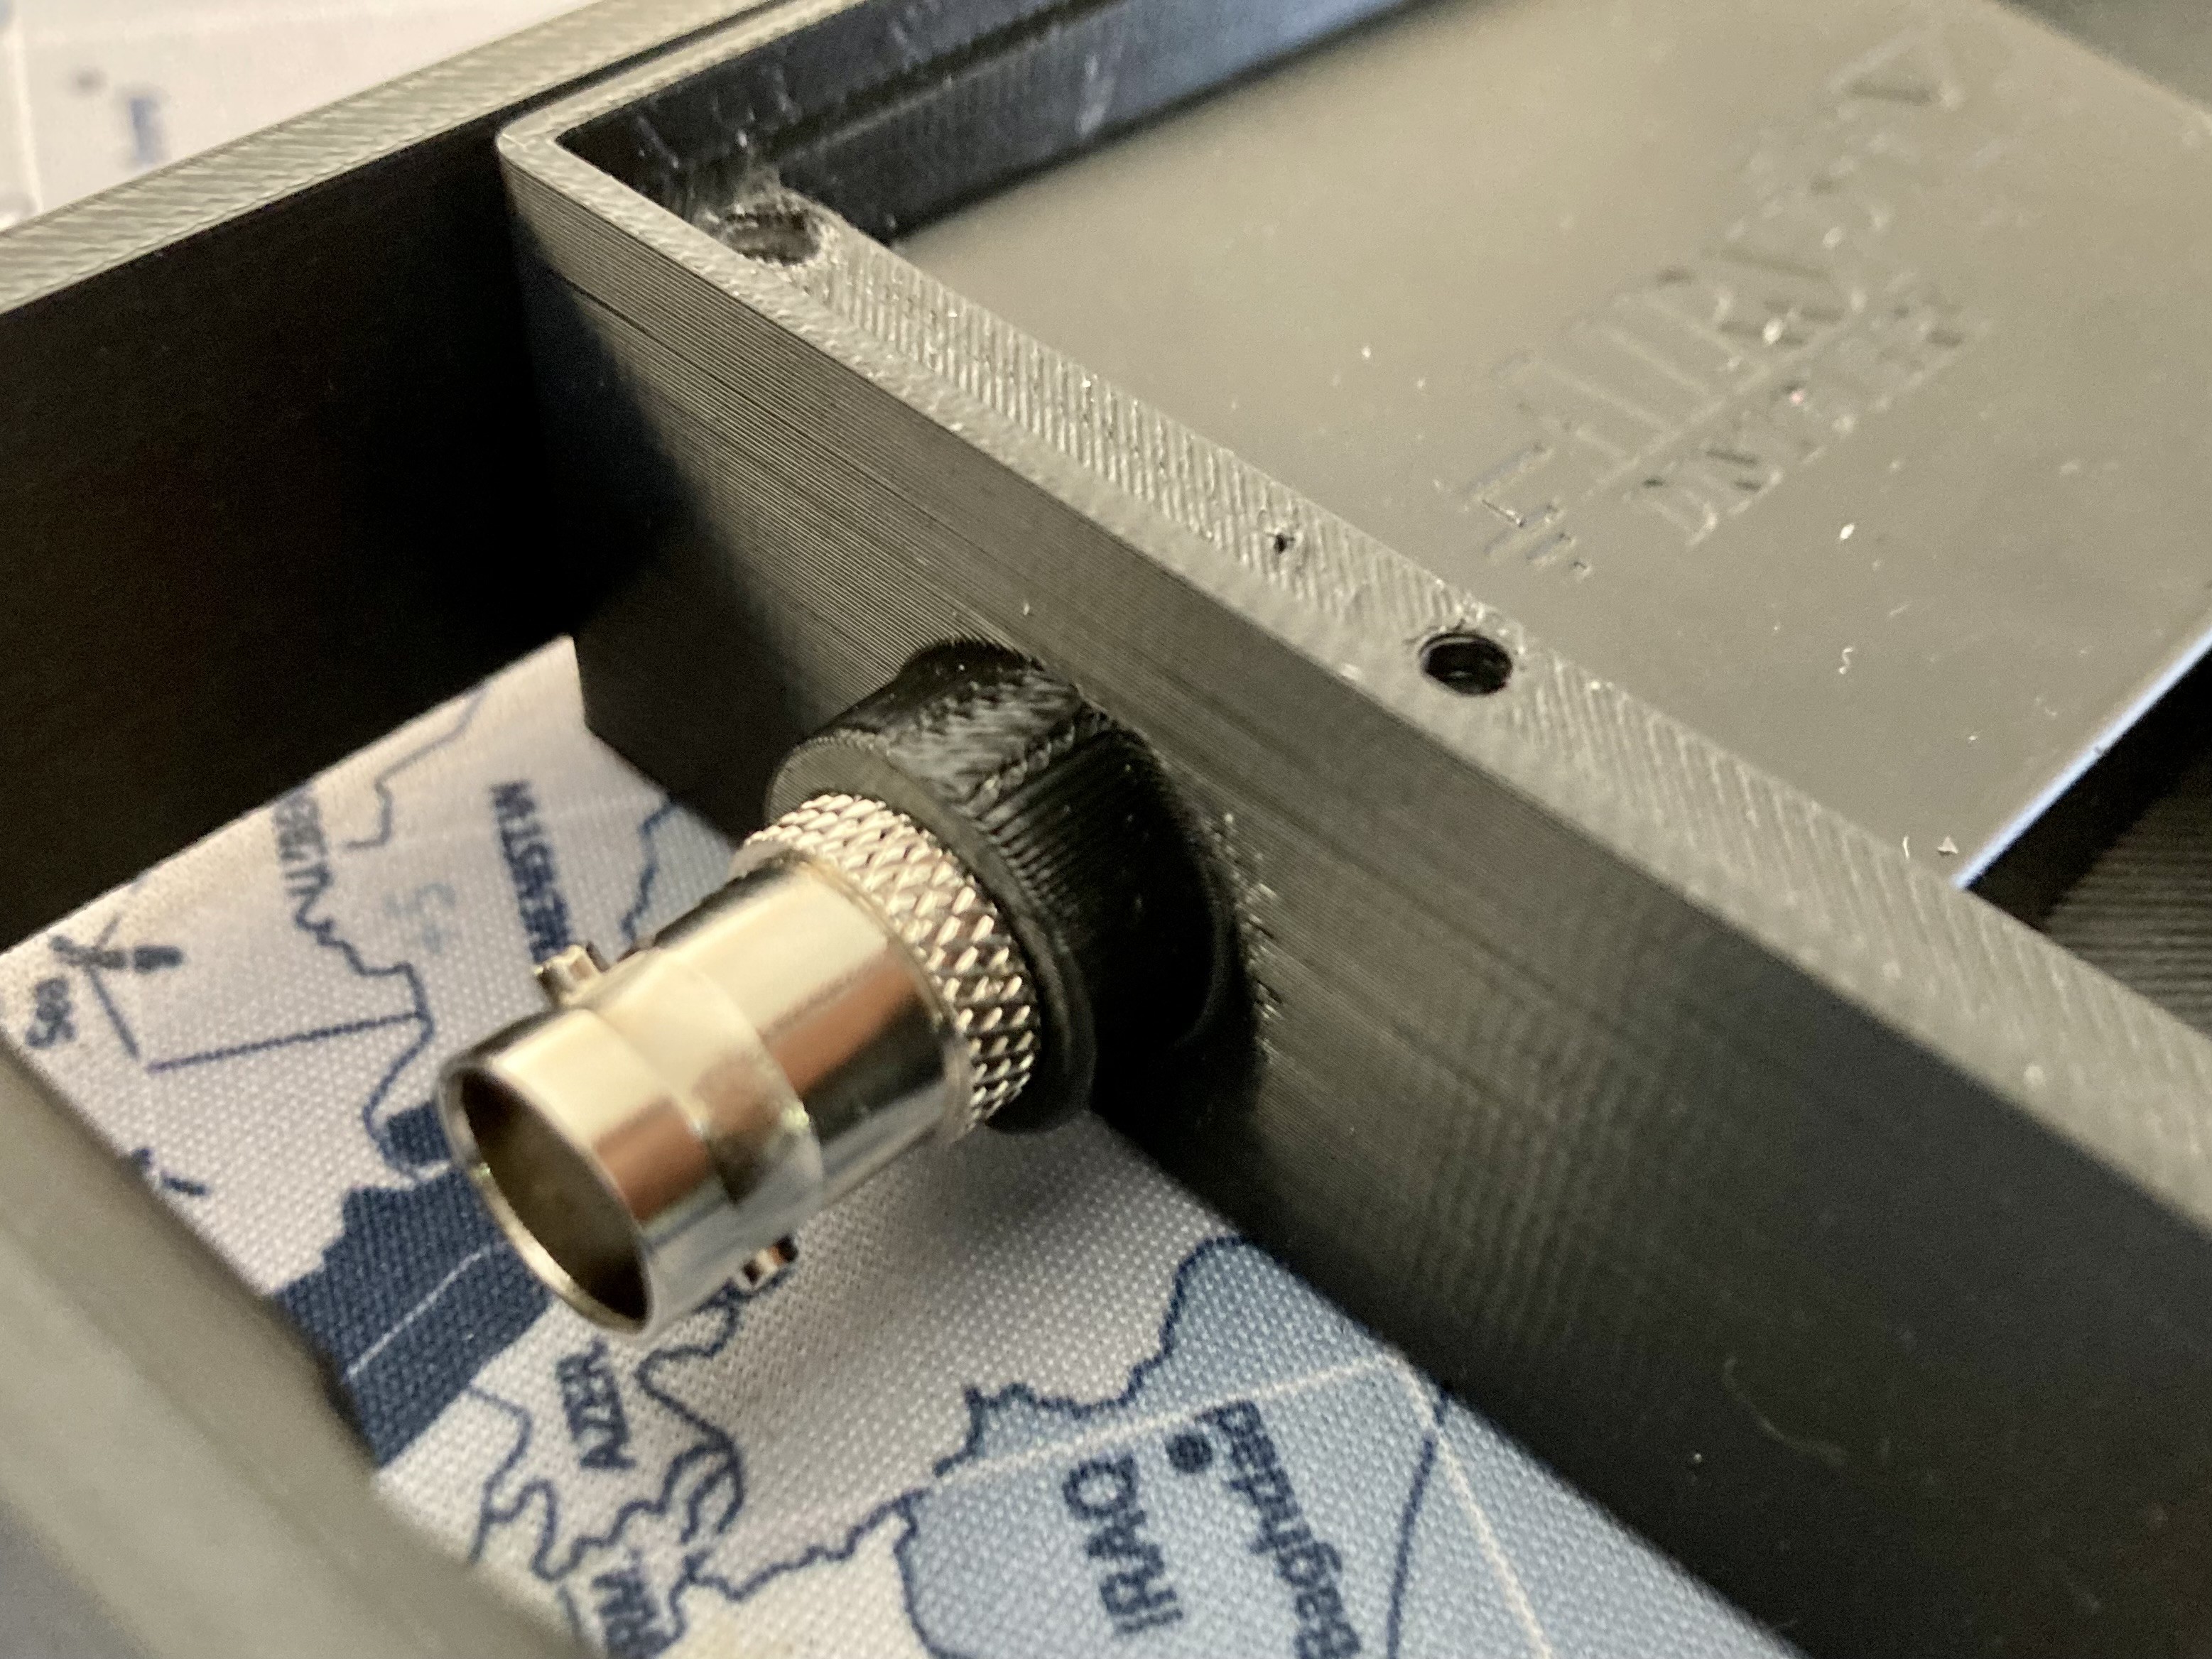
Airspy HF+ is an excellent device to explore the HF signals. And a BNC extension, makes it easy to secure the Airspy, and to mount common antennas.
![]()
![]()
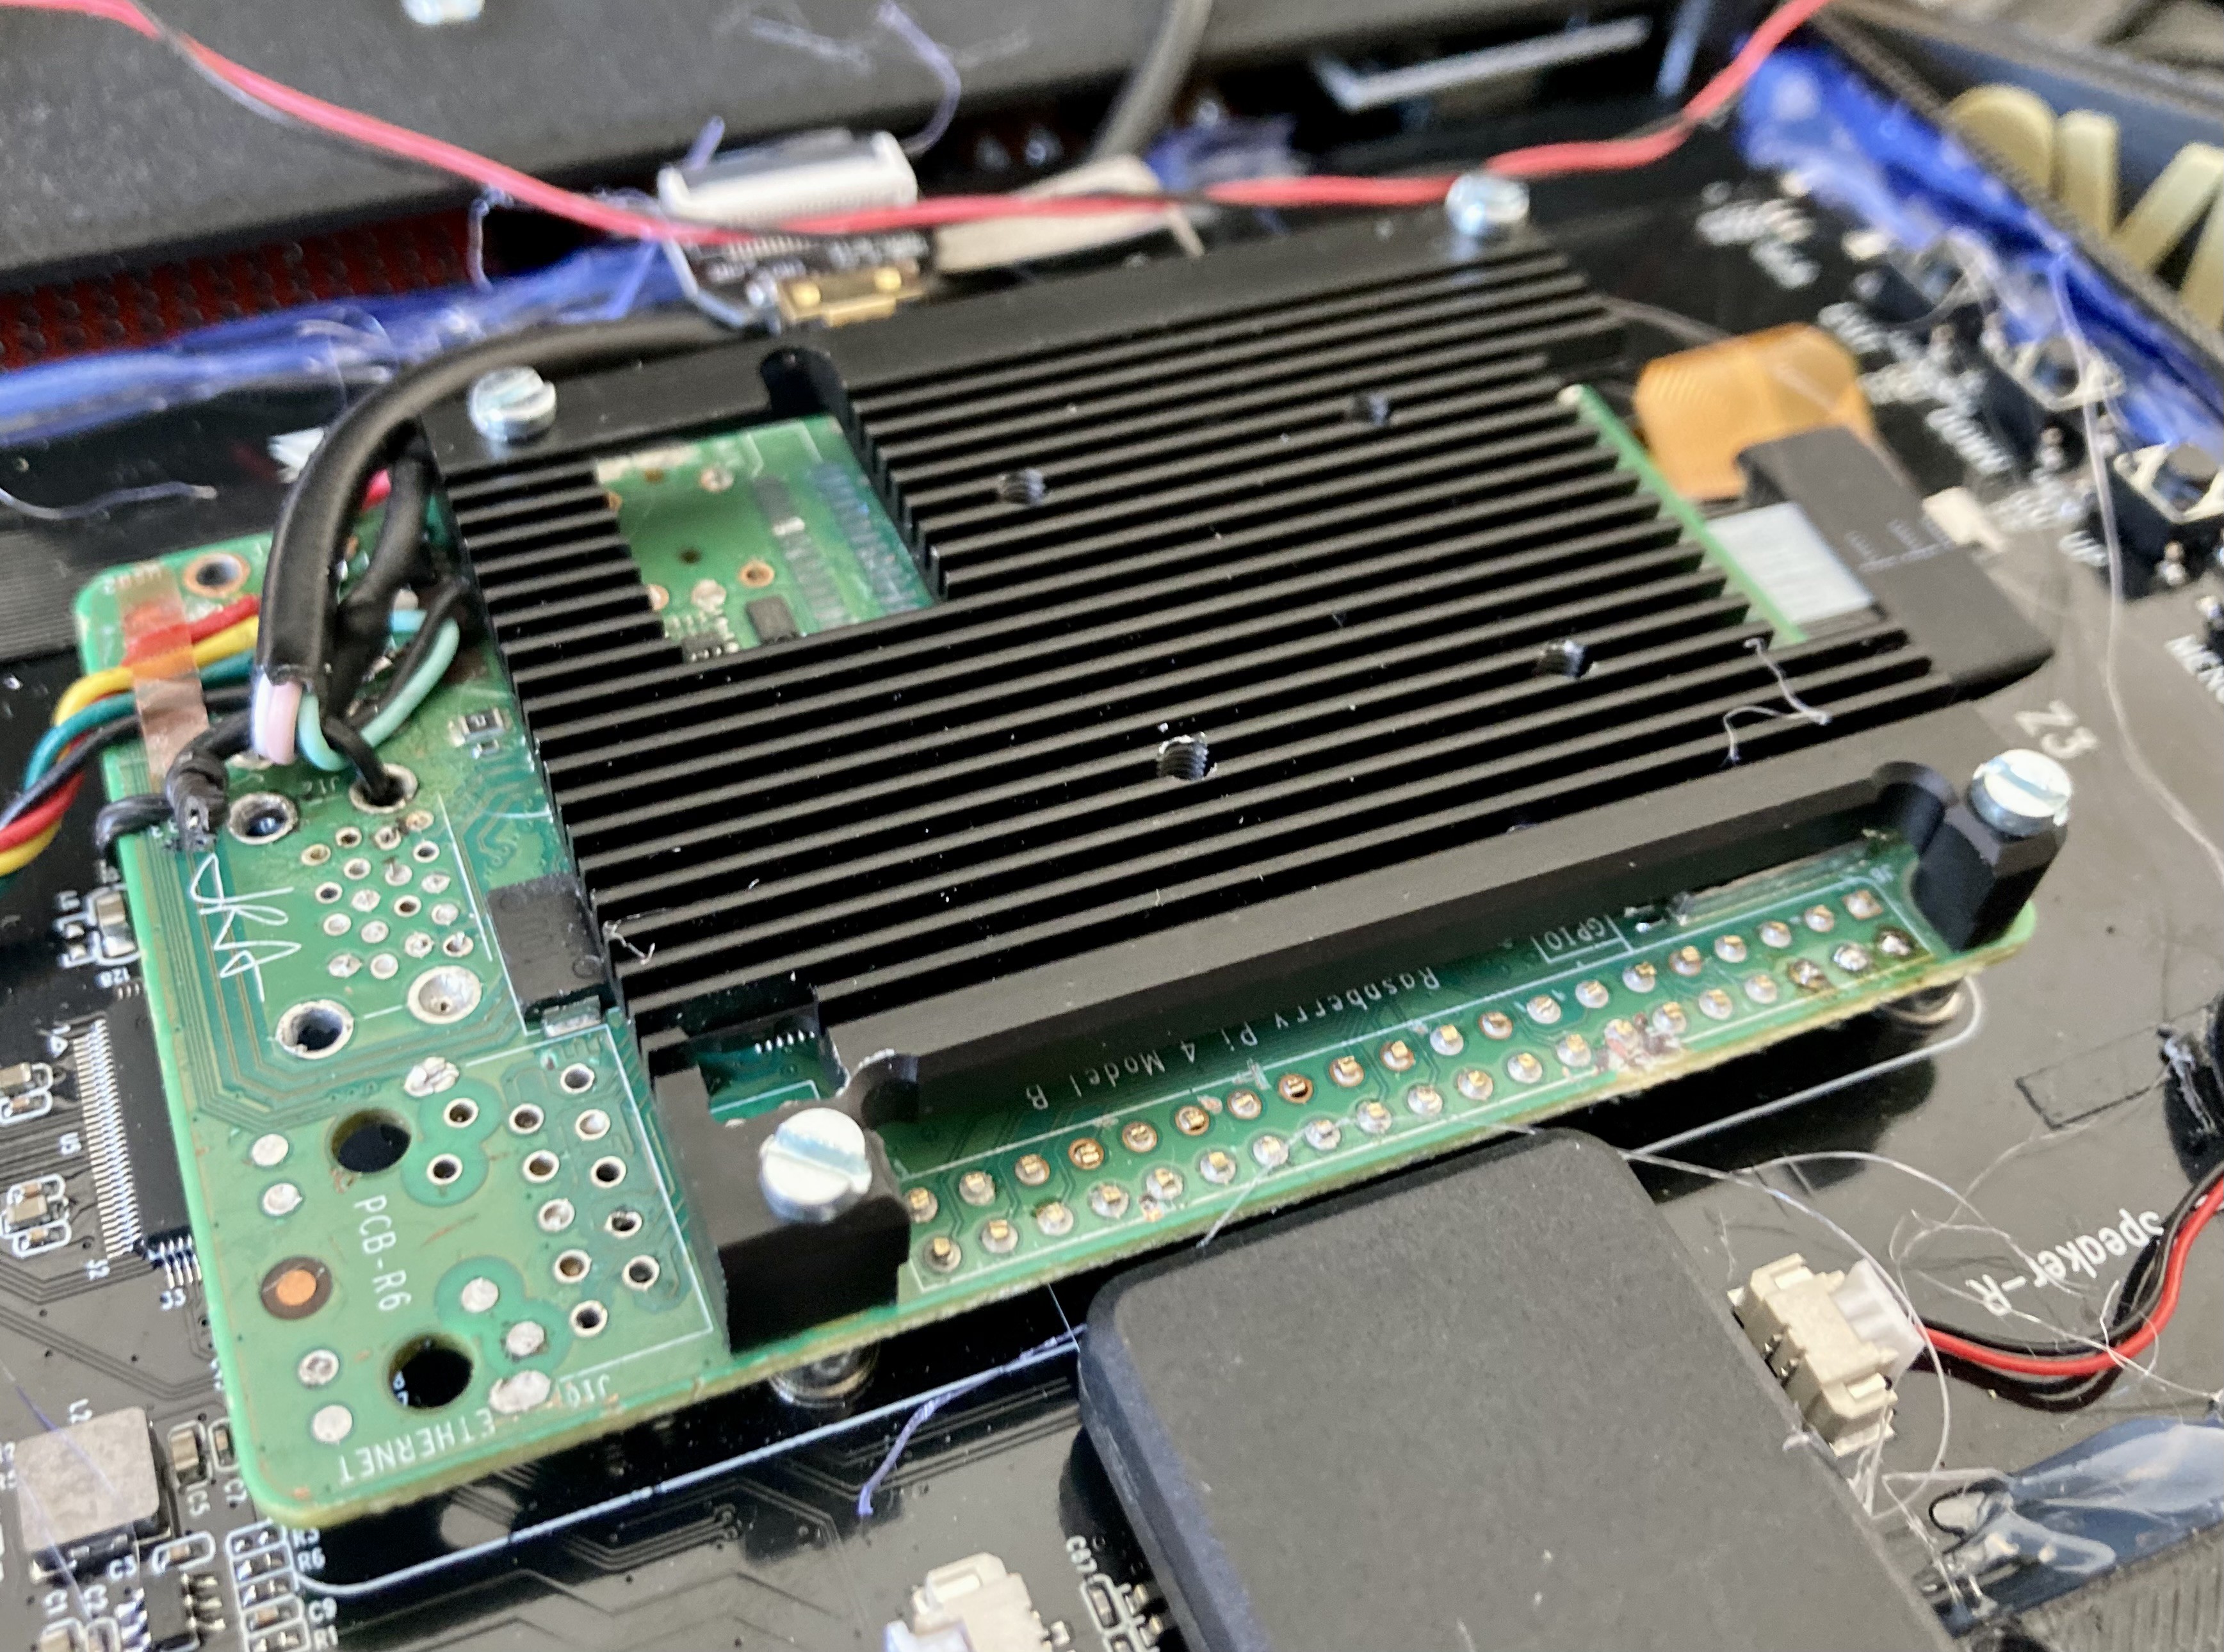
To make the device slim, I stripped off all the extra stuff from this raspberry pi 4. But you can build without removing anything. Only thing you will need is to increase the enclosure height.
![]()
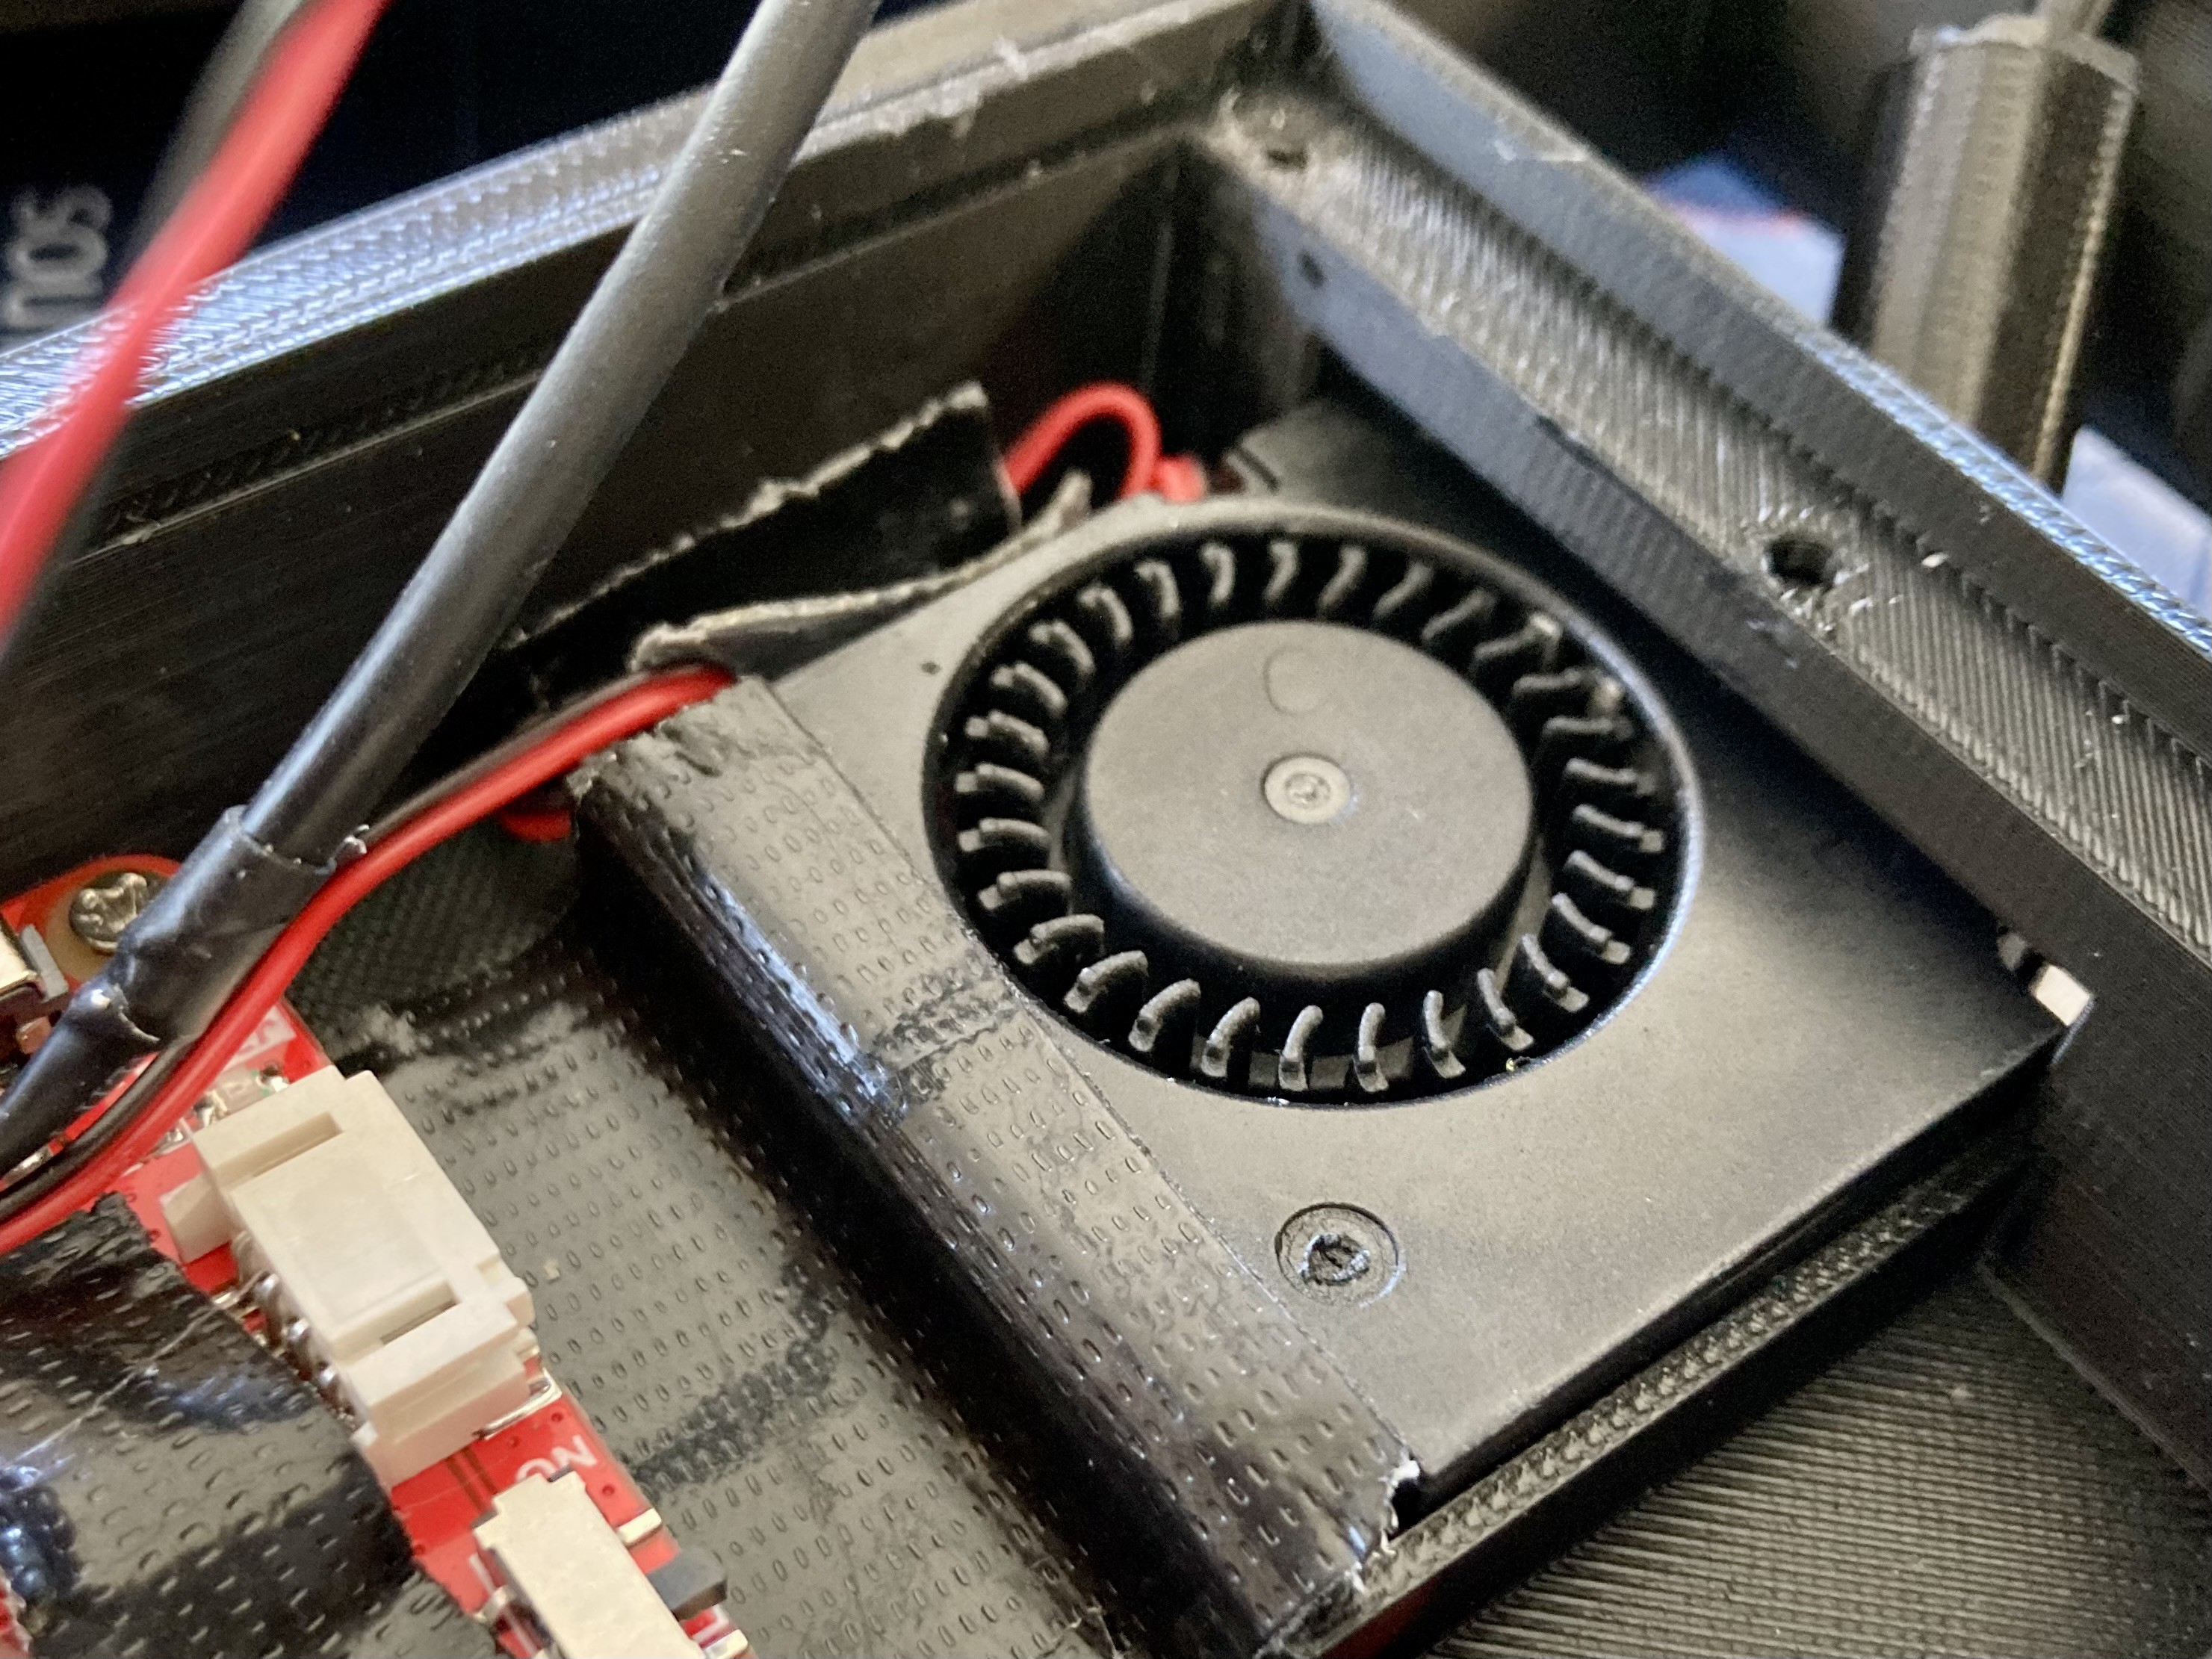
I am using 5V fan for ventilation. TODO add PWM control to this fan. right now, its always on, and has some noise.
![]()
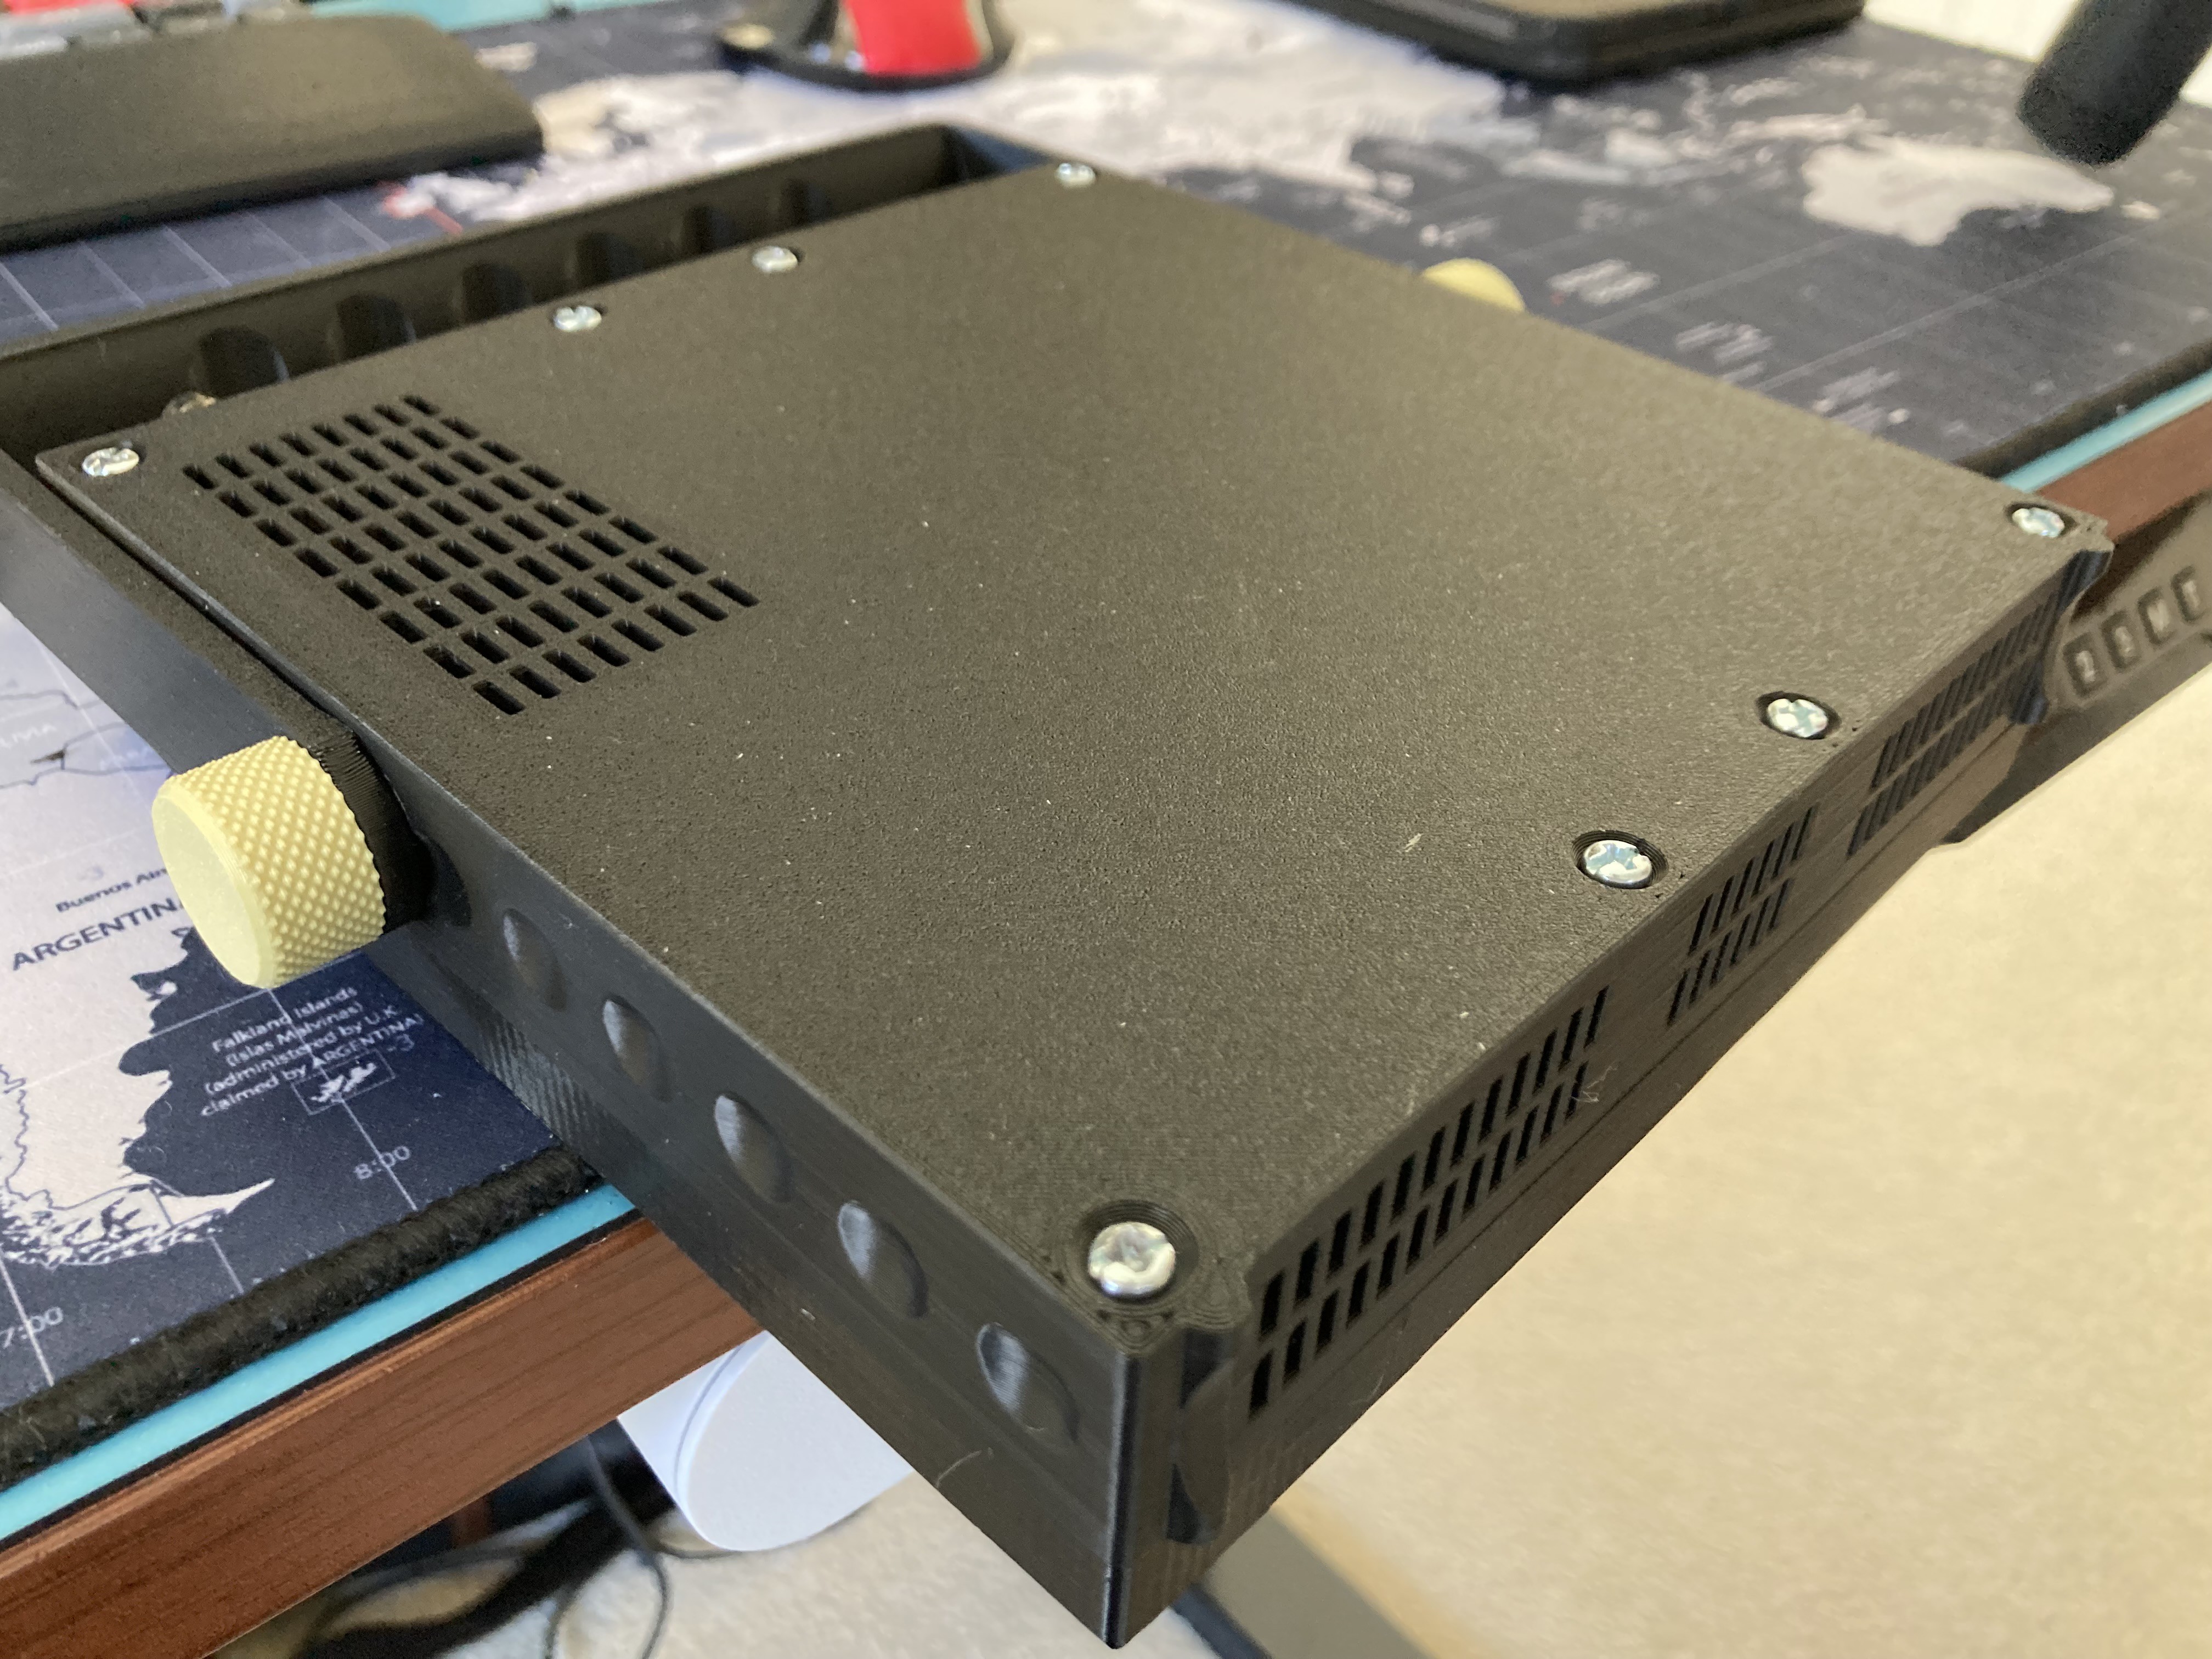
Finally, enclosure is secured by some basic screws about 1.5 inch long. I would love to add some brass screw inserts
-
Step 1 : Picking the right SDR softawre
08/26/2023 at 19:03 • 0 commentsGoal: I want to find SDR software that supports keyboard shortcuts, and is most feature rich for raspberry pi. An option to program custom plugins will be an added advantage.
A few of the available options for raspberry Pi.
GQRX : GQRX is a general-purpose software-defined radio receiver that works very well on the Raspberry Pi, especially for the more powerful versions like the Raspberry Pi 4.
RTL-SDR: While not strictly a software, RTL-SDR is a cheap USB SDR receiver that is widely used in the hobbyist community. Software to run RTL-SDR on Raspberry Pi is plentiful, including the rtl_fm command-line tool.
CubicSDR: CubicSDR is another software option that provides a graphical interface for SDR operations.
SDRangel : SDRangel is an Open Source Qt5 / OpenGL 3.0+ SDR and signal analyzer frontend to various hardware. It's more geared toward advanced users and offers a wide variety of features.
SoapySDR: SoapySDR is not an SDR application per se but serves as a SDR data manipulation library that can act as a middle layer between your SDR hardware and the software you use to process the radio signals. Many of the above-mentioned software options use SoapySDR in the backend.
GNURadio: Although complex, but it has a lot of features, and can be customized. It might me a good choice for this use case.
FreqShow: Its simple SDR software with options optimized for touchscreens.
Now, I am looking for something that I can be easily customized.
right now GQRX and SDR++ are on top.
do share in comments if you feel a better SDR option
SDR dock 1.0
Raspberry pi based open source device with SDR and easy to use controls for exploring RF signals and data.
 Kaushlesh C. ( KD9VFU )